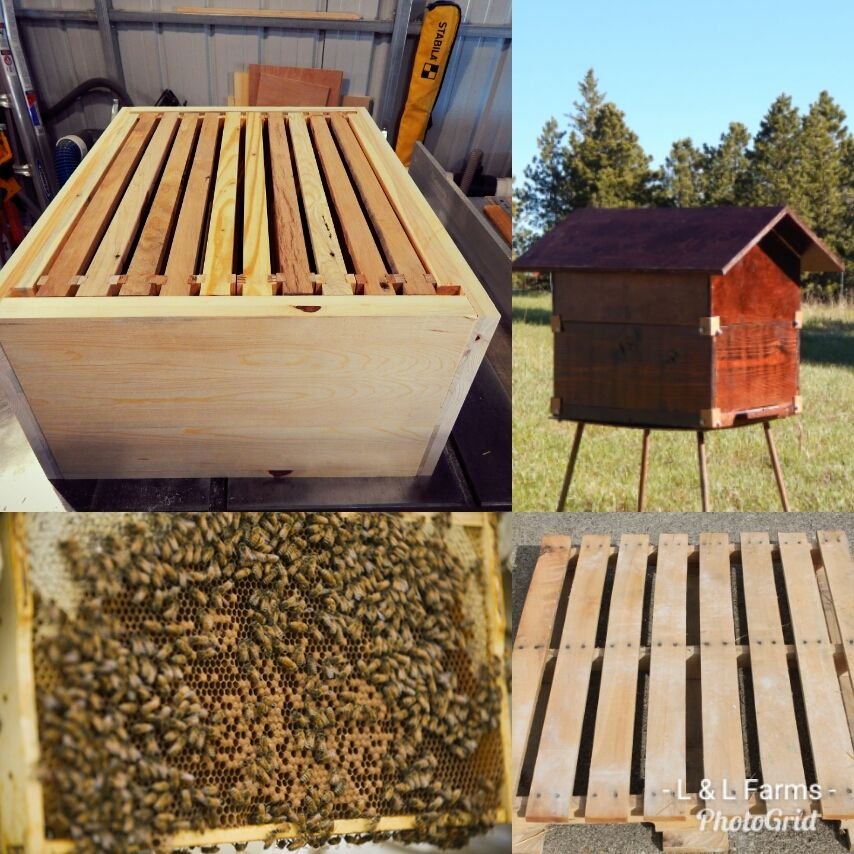
In this tutorial we will be making part two of the series -the hive box, still using only pallet wood for our material. Now, you may be thinking... wouldn't it be easier to just buy the lumber, or even the full hive for that matter? Well, sure.. it would definitely be easier... but is easier always better? Let's be honest, no one starts homesteading because it is the easiest way of living... we do it because we want to be self sufficient and not have to rely on outside sources. Plus, by doing it yourself you will save quite a bit of money. When running your table saw at a cost of 12cents a KWH and purchasing a $5 bottle of glue, you can make a hive box that would normally cost around $80, for $6. All while ending up with a much higher quality product made completely out of pallets, that would have otherwise ended up in a landfill. So, if you have the tools, the skills, and willing to spend the time you can make a full beehive using scrap material and get a stronger, longer lasting product in the end... made by you.
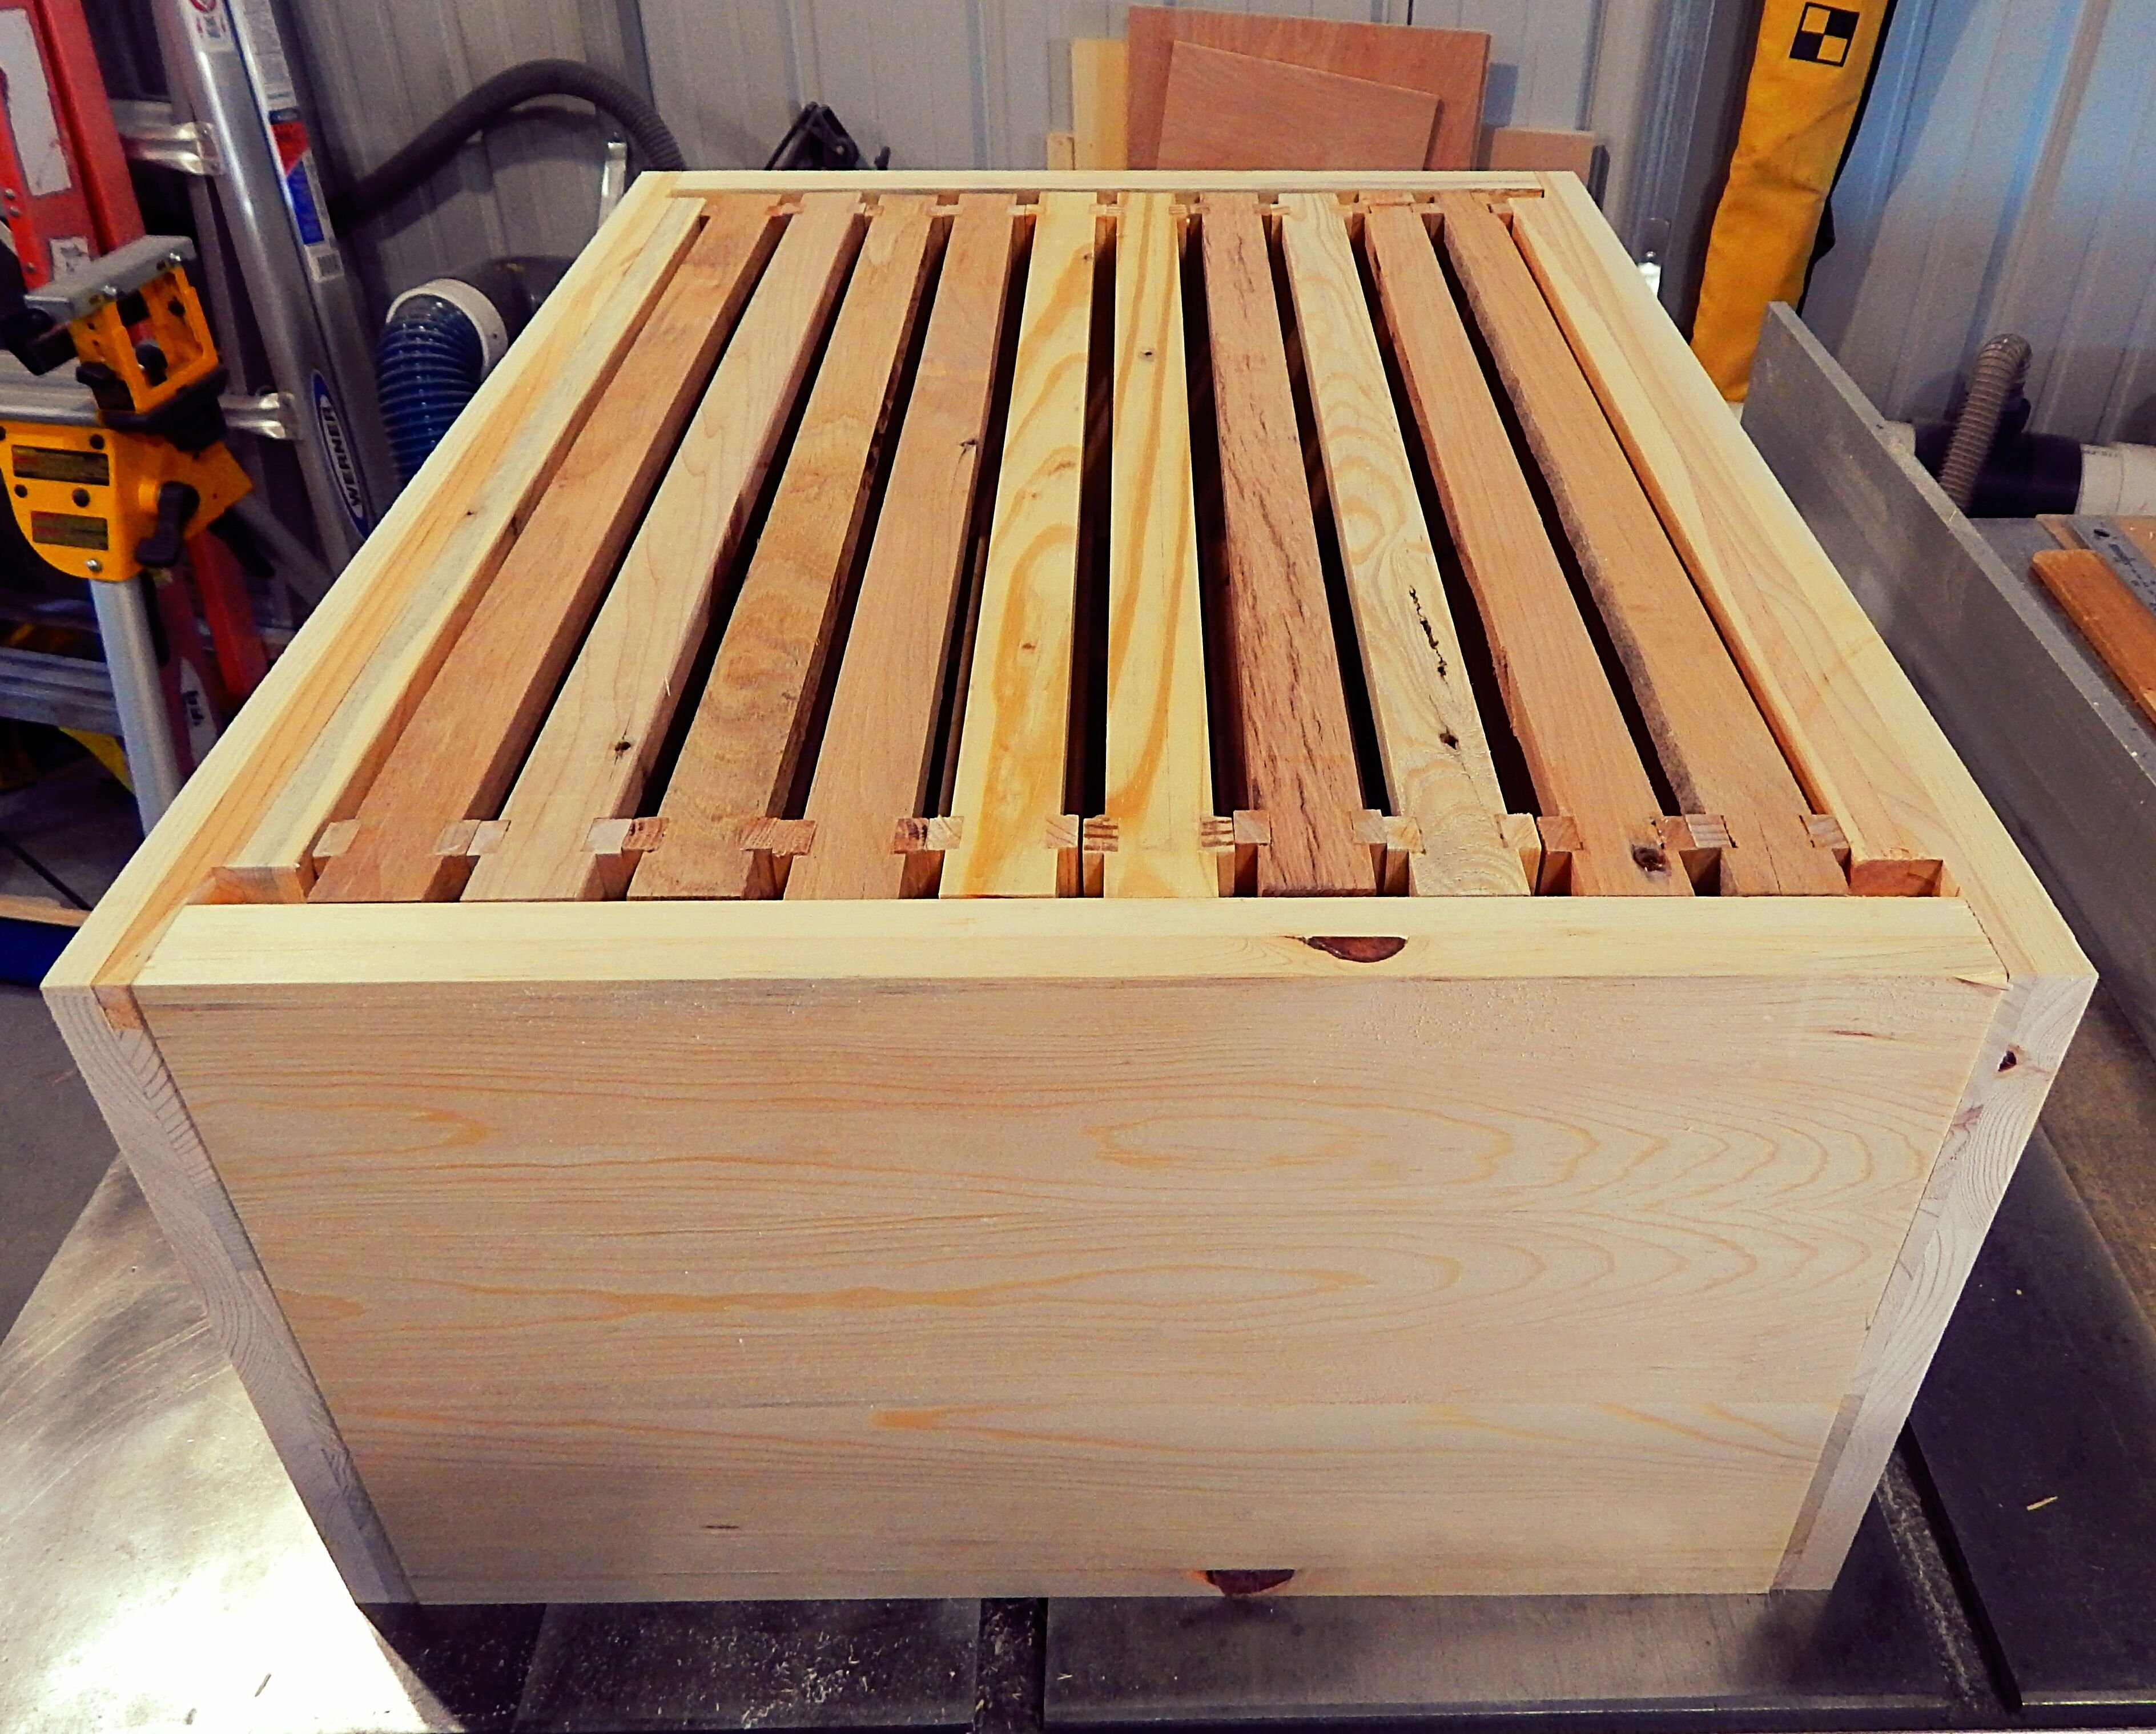
When making your own beehive out of pallet wood here are a few things to consider:
You will need access to a table saw, 12" jointer or planer and several clamps to complete this project.
Avoid hardwood for this project due to its low R value and for the additional weight that it adds.
This hive will fit standard langstroth frames, but the exterior dimensions will be larger due to increased wall thickness for insulation purposes.
Langstroth hives are typically made with finger joints but because of the added thickness rabbet joints work perfectly for this project and make it a bit easier.
We are choosing to make our hives out of pallets for many reasons. If you don't want to use pallets, you can simply skip to Step Four and use 2"x 12" material instead to build this hive.
Typical beehives are made of 3/4" softwood which has an R value of roughly 1 (1.4 R value per inch), this hive measures out to be 1 1/2" thick giving you an R value of 2.1
*****NOTICE TABLE SAW BLADE GUARD HAS BEEN REMOVED FOR DEMONSTRATION PURPOSES, WE DO NOT ADVISE USING YOUR TABLE SAW WITHOUT PROPER SAFETY ATTACHMENTS AND EQUIPMENT.****
The Process
Step One
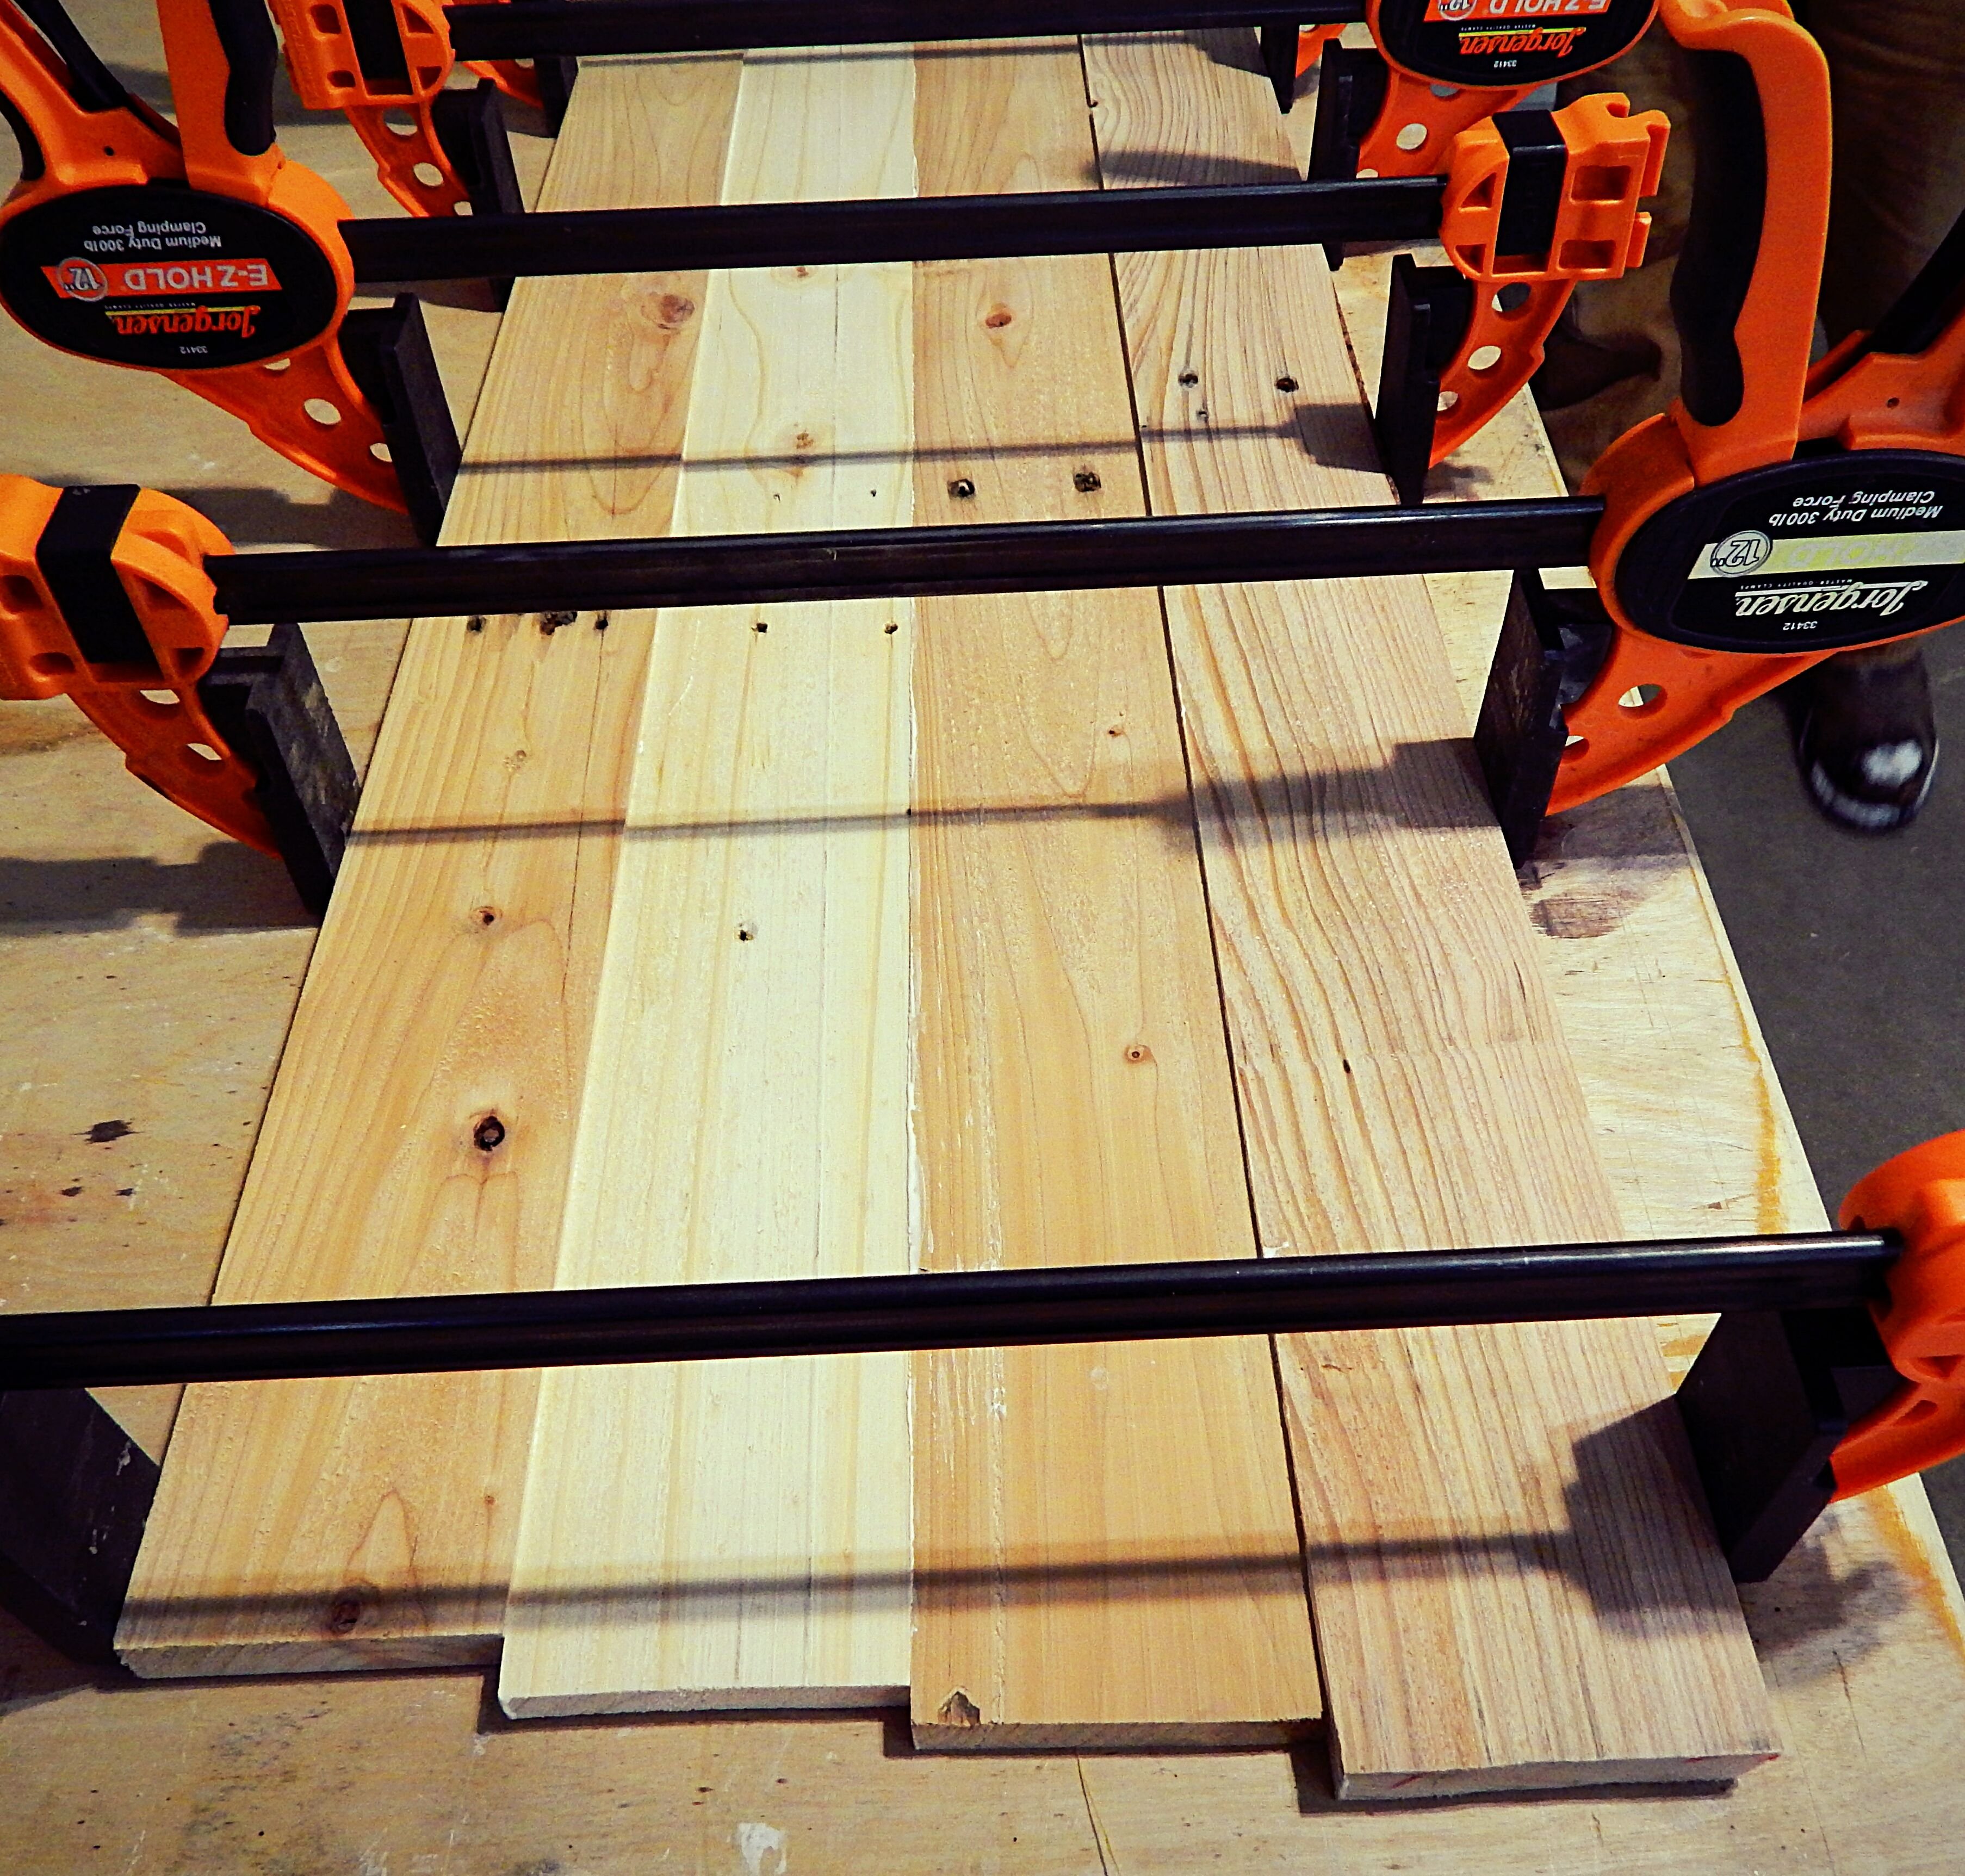
Plane each board until smooth (not less than 1/2") and rip both edges (width doesn't matter here we just want to have a smooth piece of wood to work with). Once you have your smooth pallet wood pieces, you will glue them together to get a width of at least 9 3/4", and a length at least 16" (qty 6) and 22" (qty 6) using a high quality wood glue and several clamps. You can remove the clamps after 1 hour but should not try to continue to the next step until wood is completely dry (24hrs).
Step Two
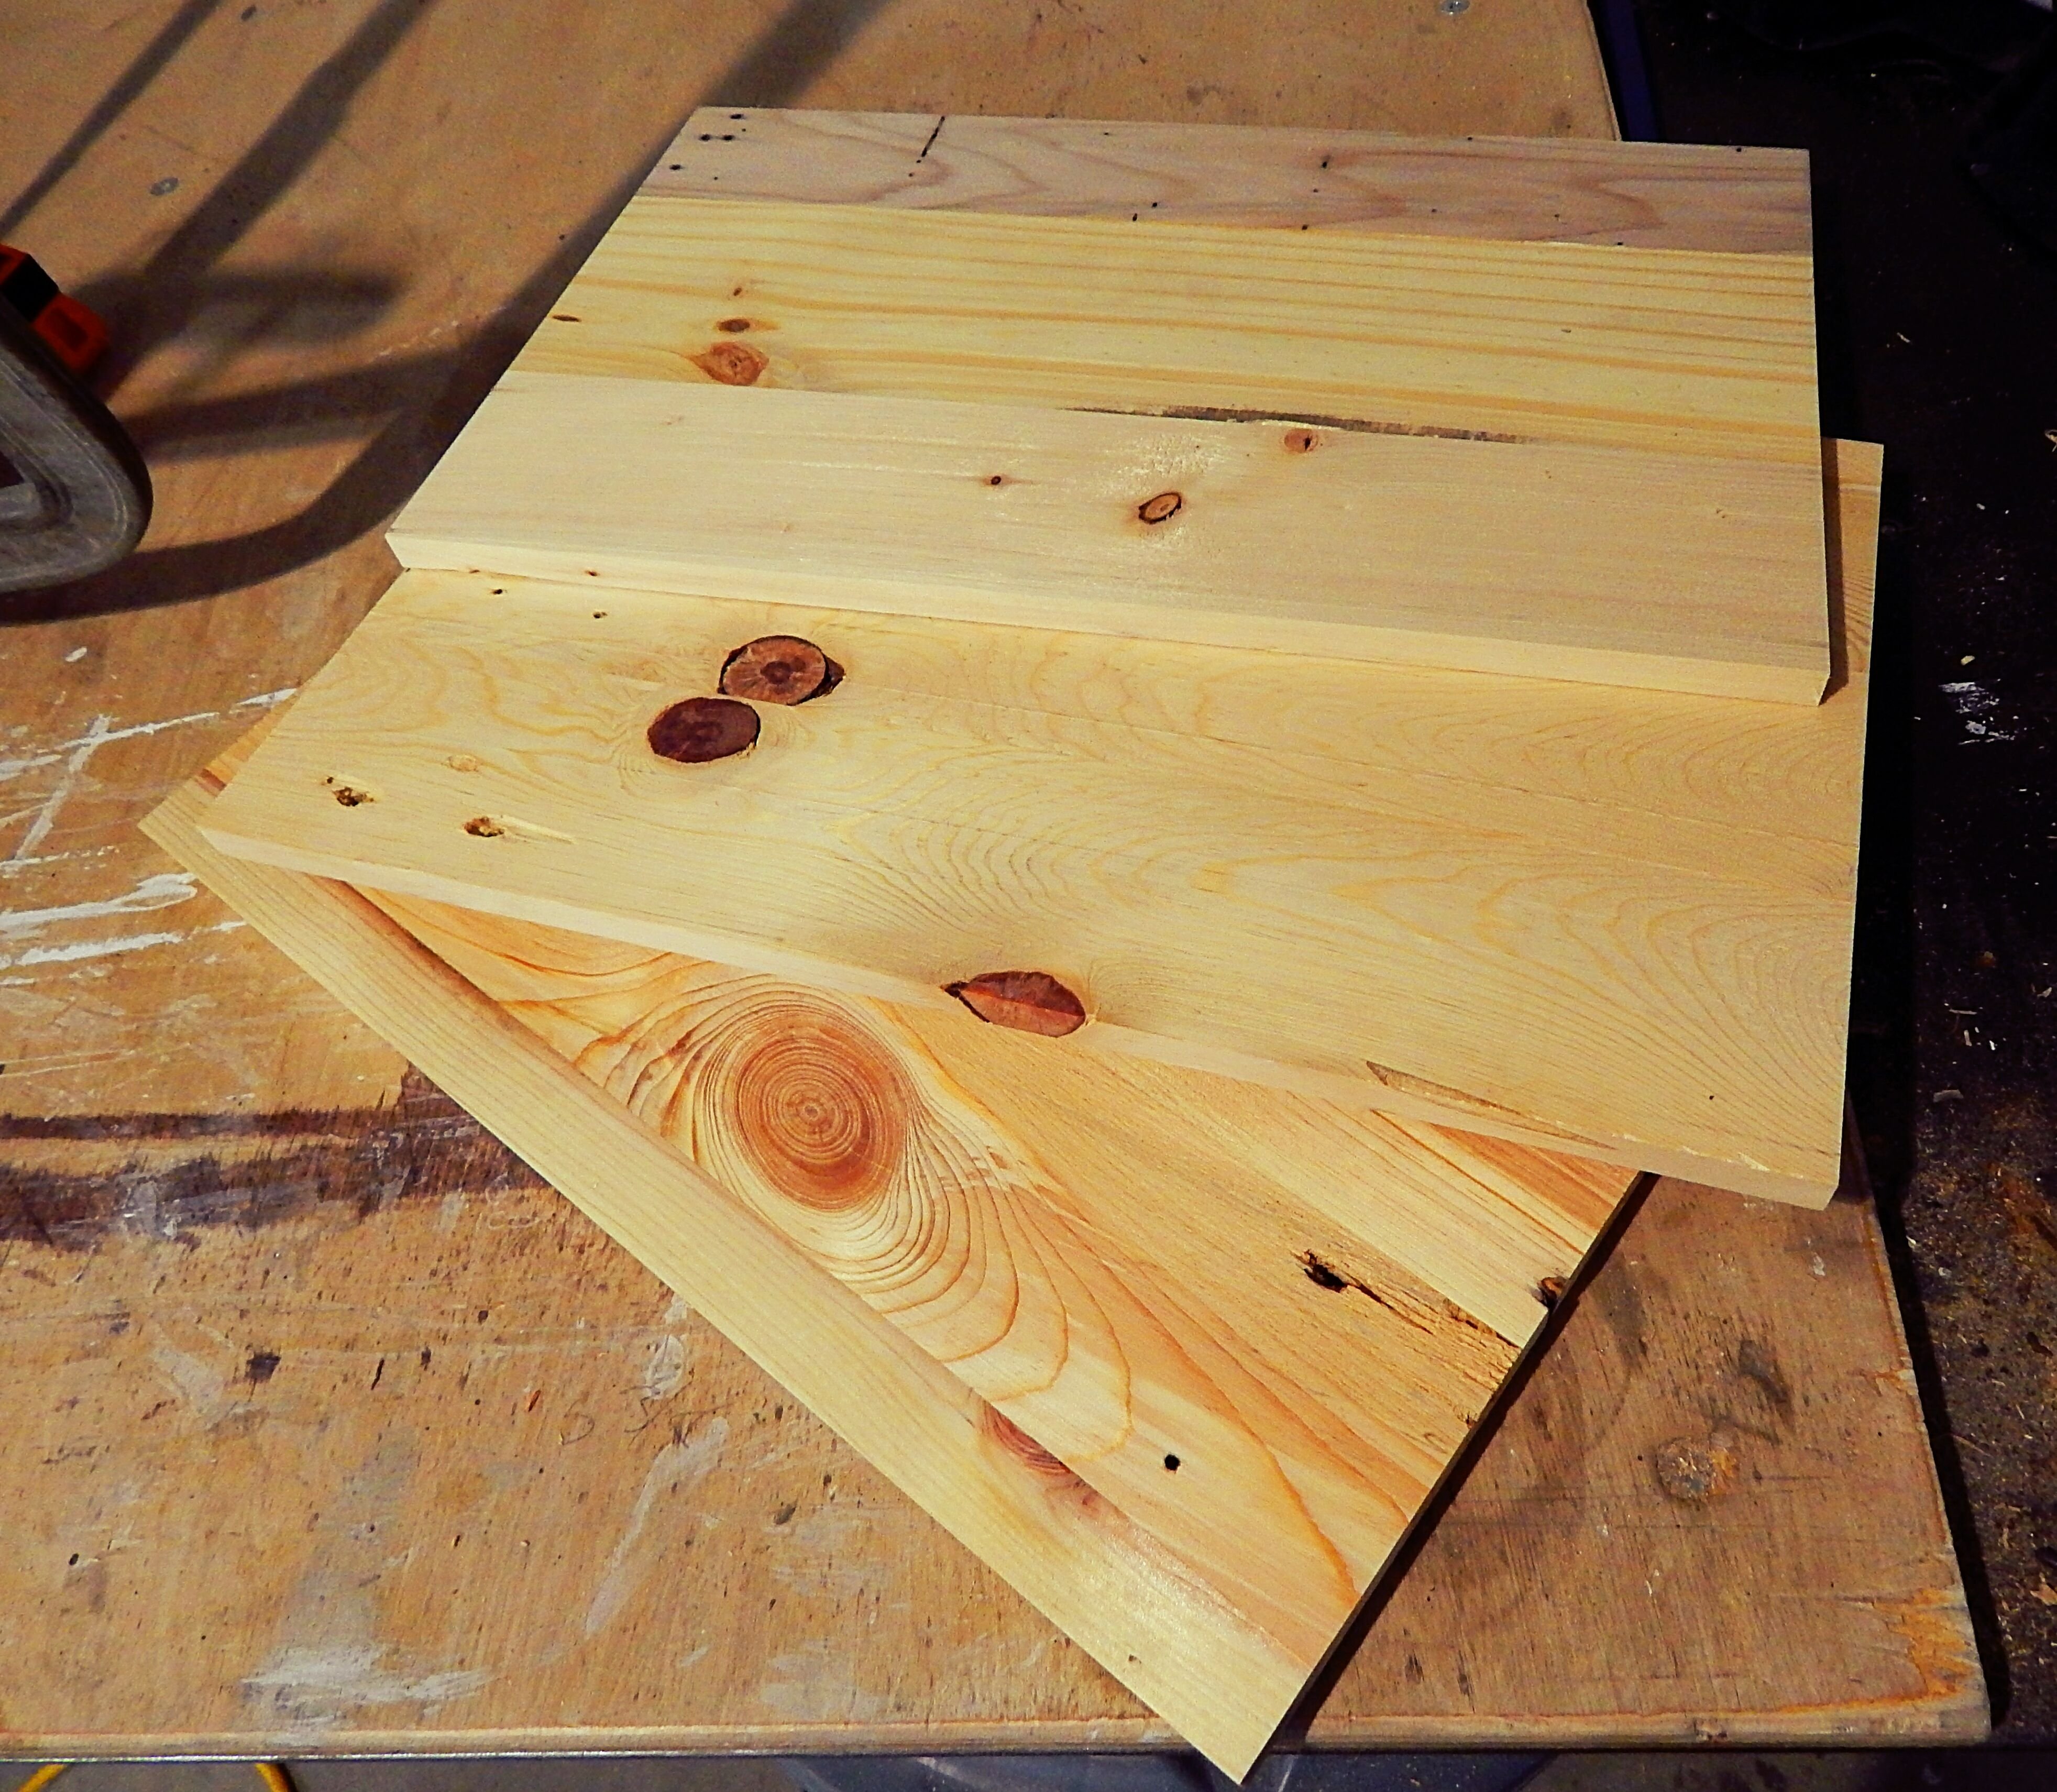
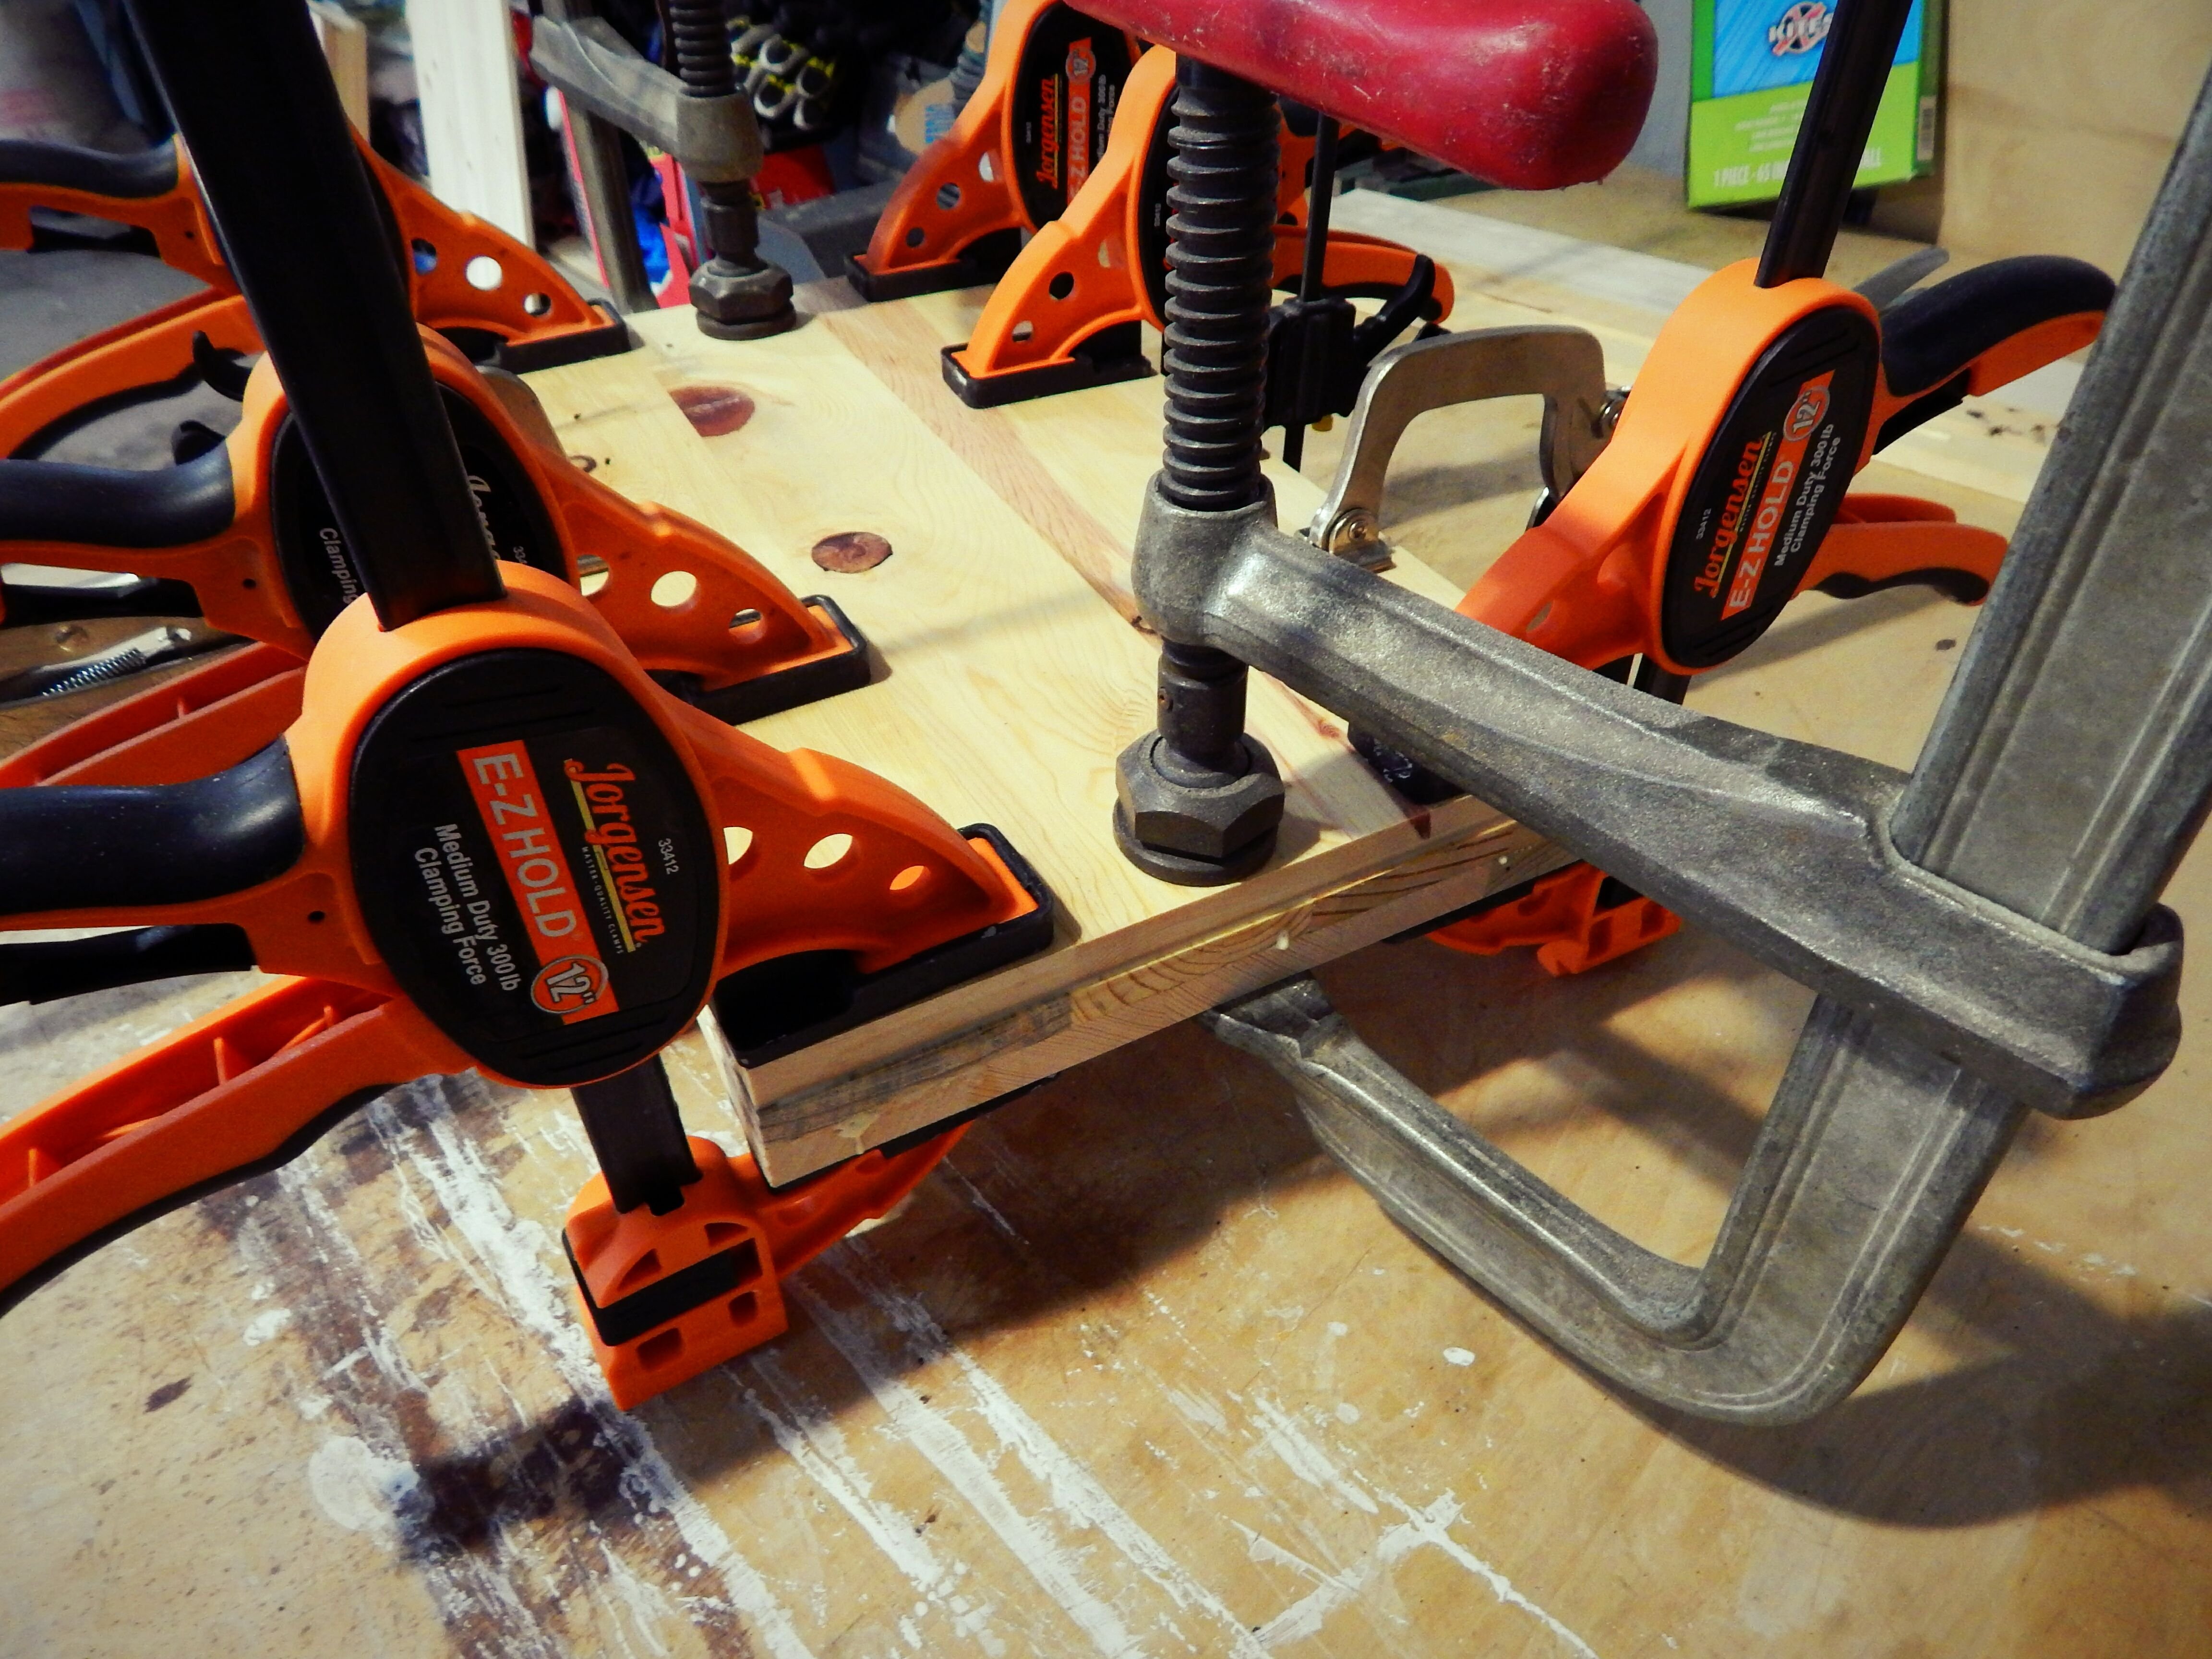
Once boards are dry, plane to 1/2" thickness. This will remove any extra glue and even out the surface, leaving you with a smooth board once again. We then are going to take (3) of our glued 9 3/4" width and 16" length pieces and glue them on top of one another, clamping well. You will want to stager the seams to add strength and don't worry about nail holes or knots, they will not affect the end result. You should try to select your nicest pieces of wood for the exterior though. When clamping your three boards together pay close attention to the perimeter of the wood pieces to insure a tight hold. Repeat. You will do this same process to your 9 3/4" x 22" pieces. You can remove the clamps after 1 hour but should not try to continue to the next step until wood is completely dry (24hrs).
Step Three
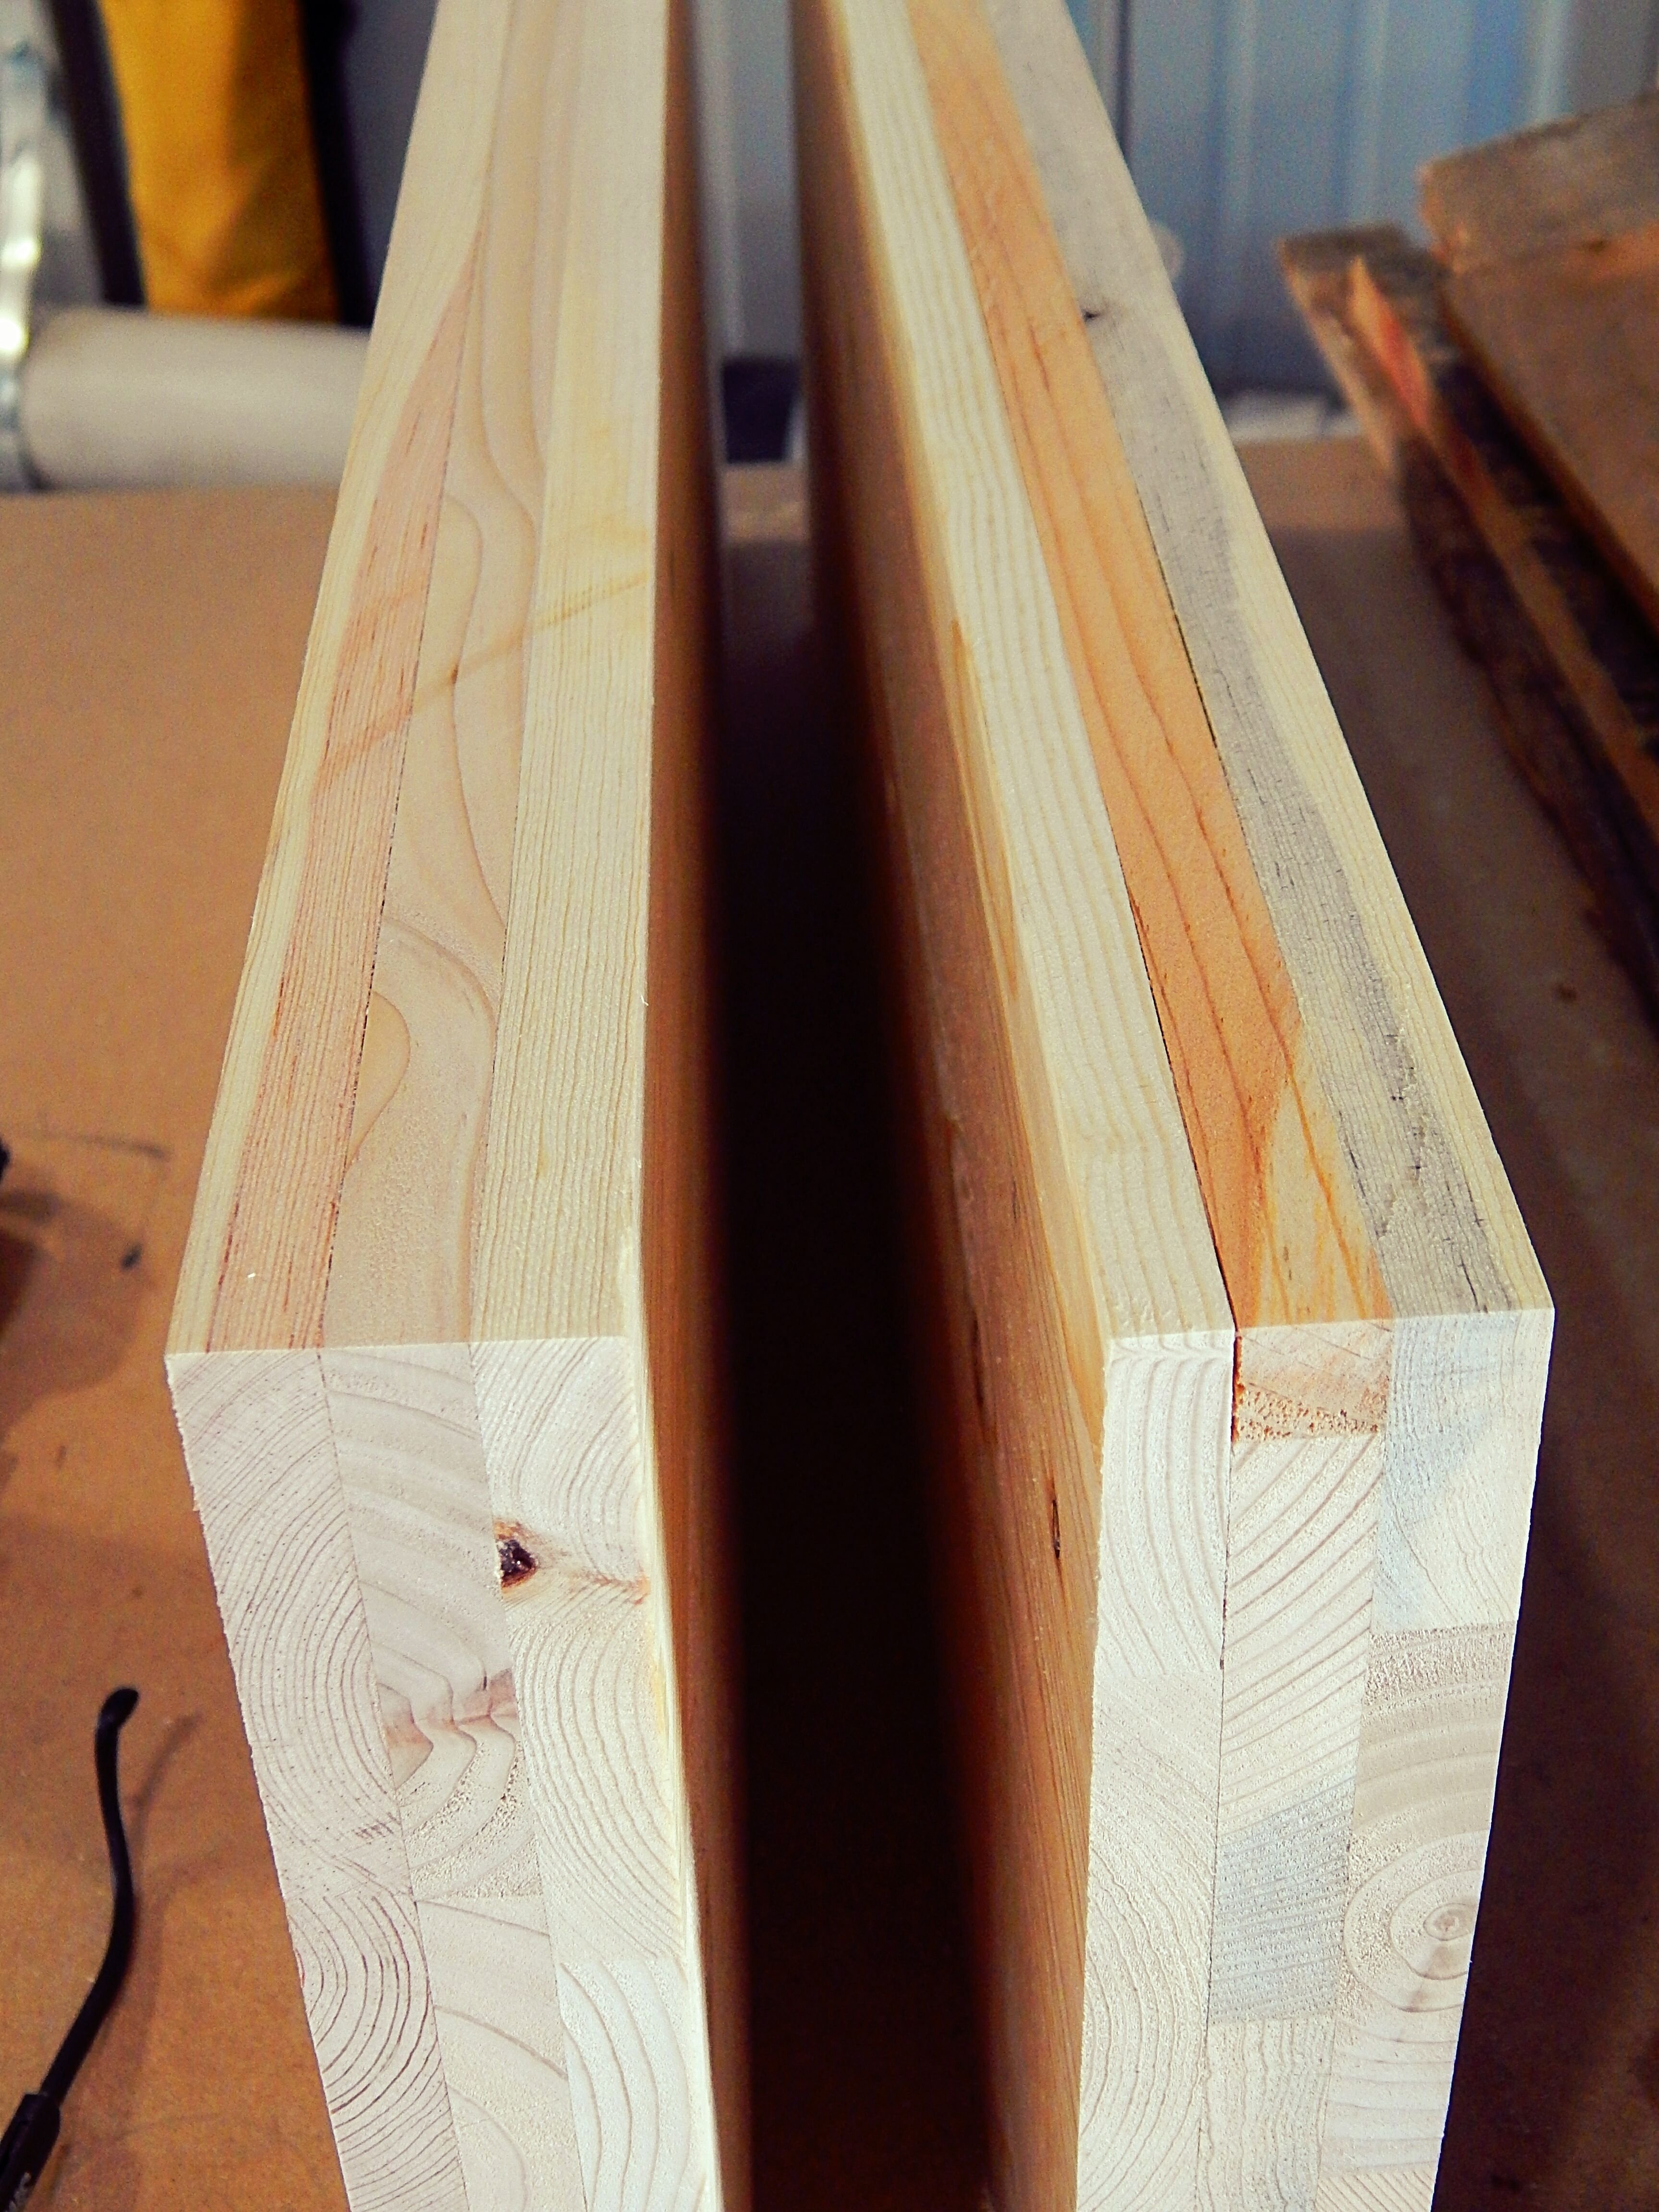
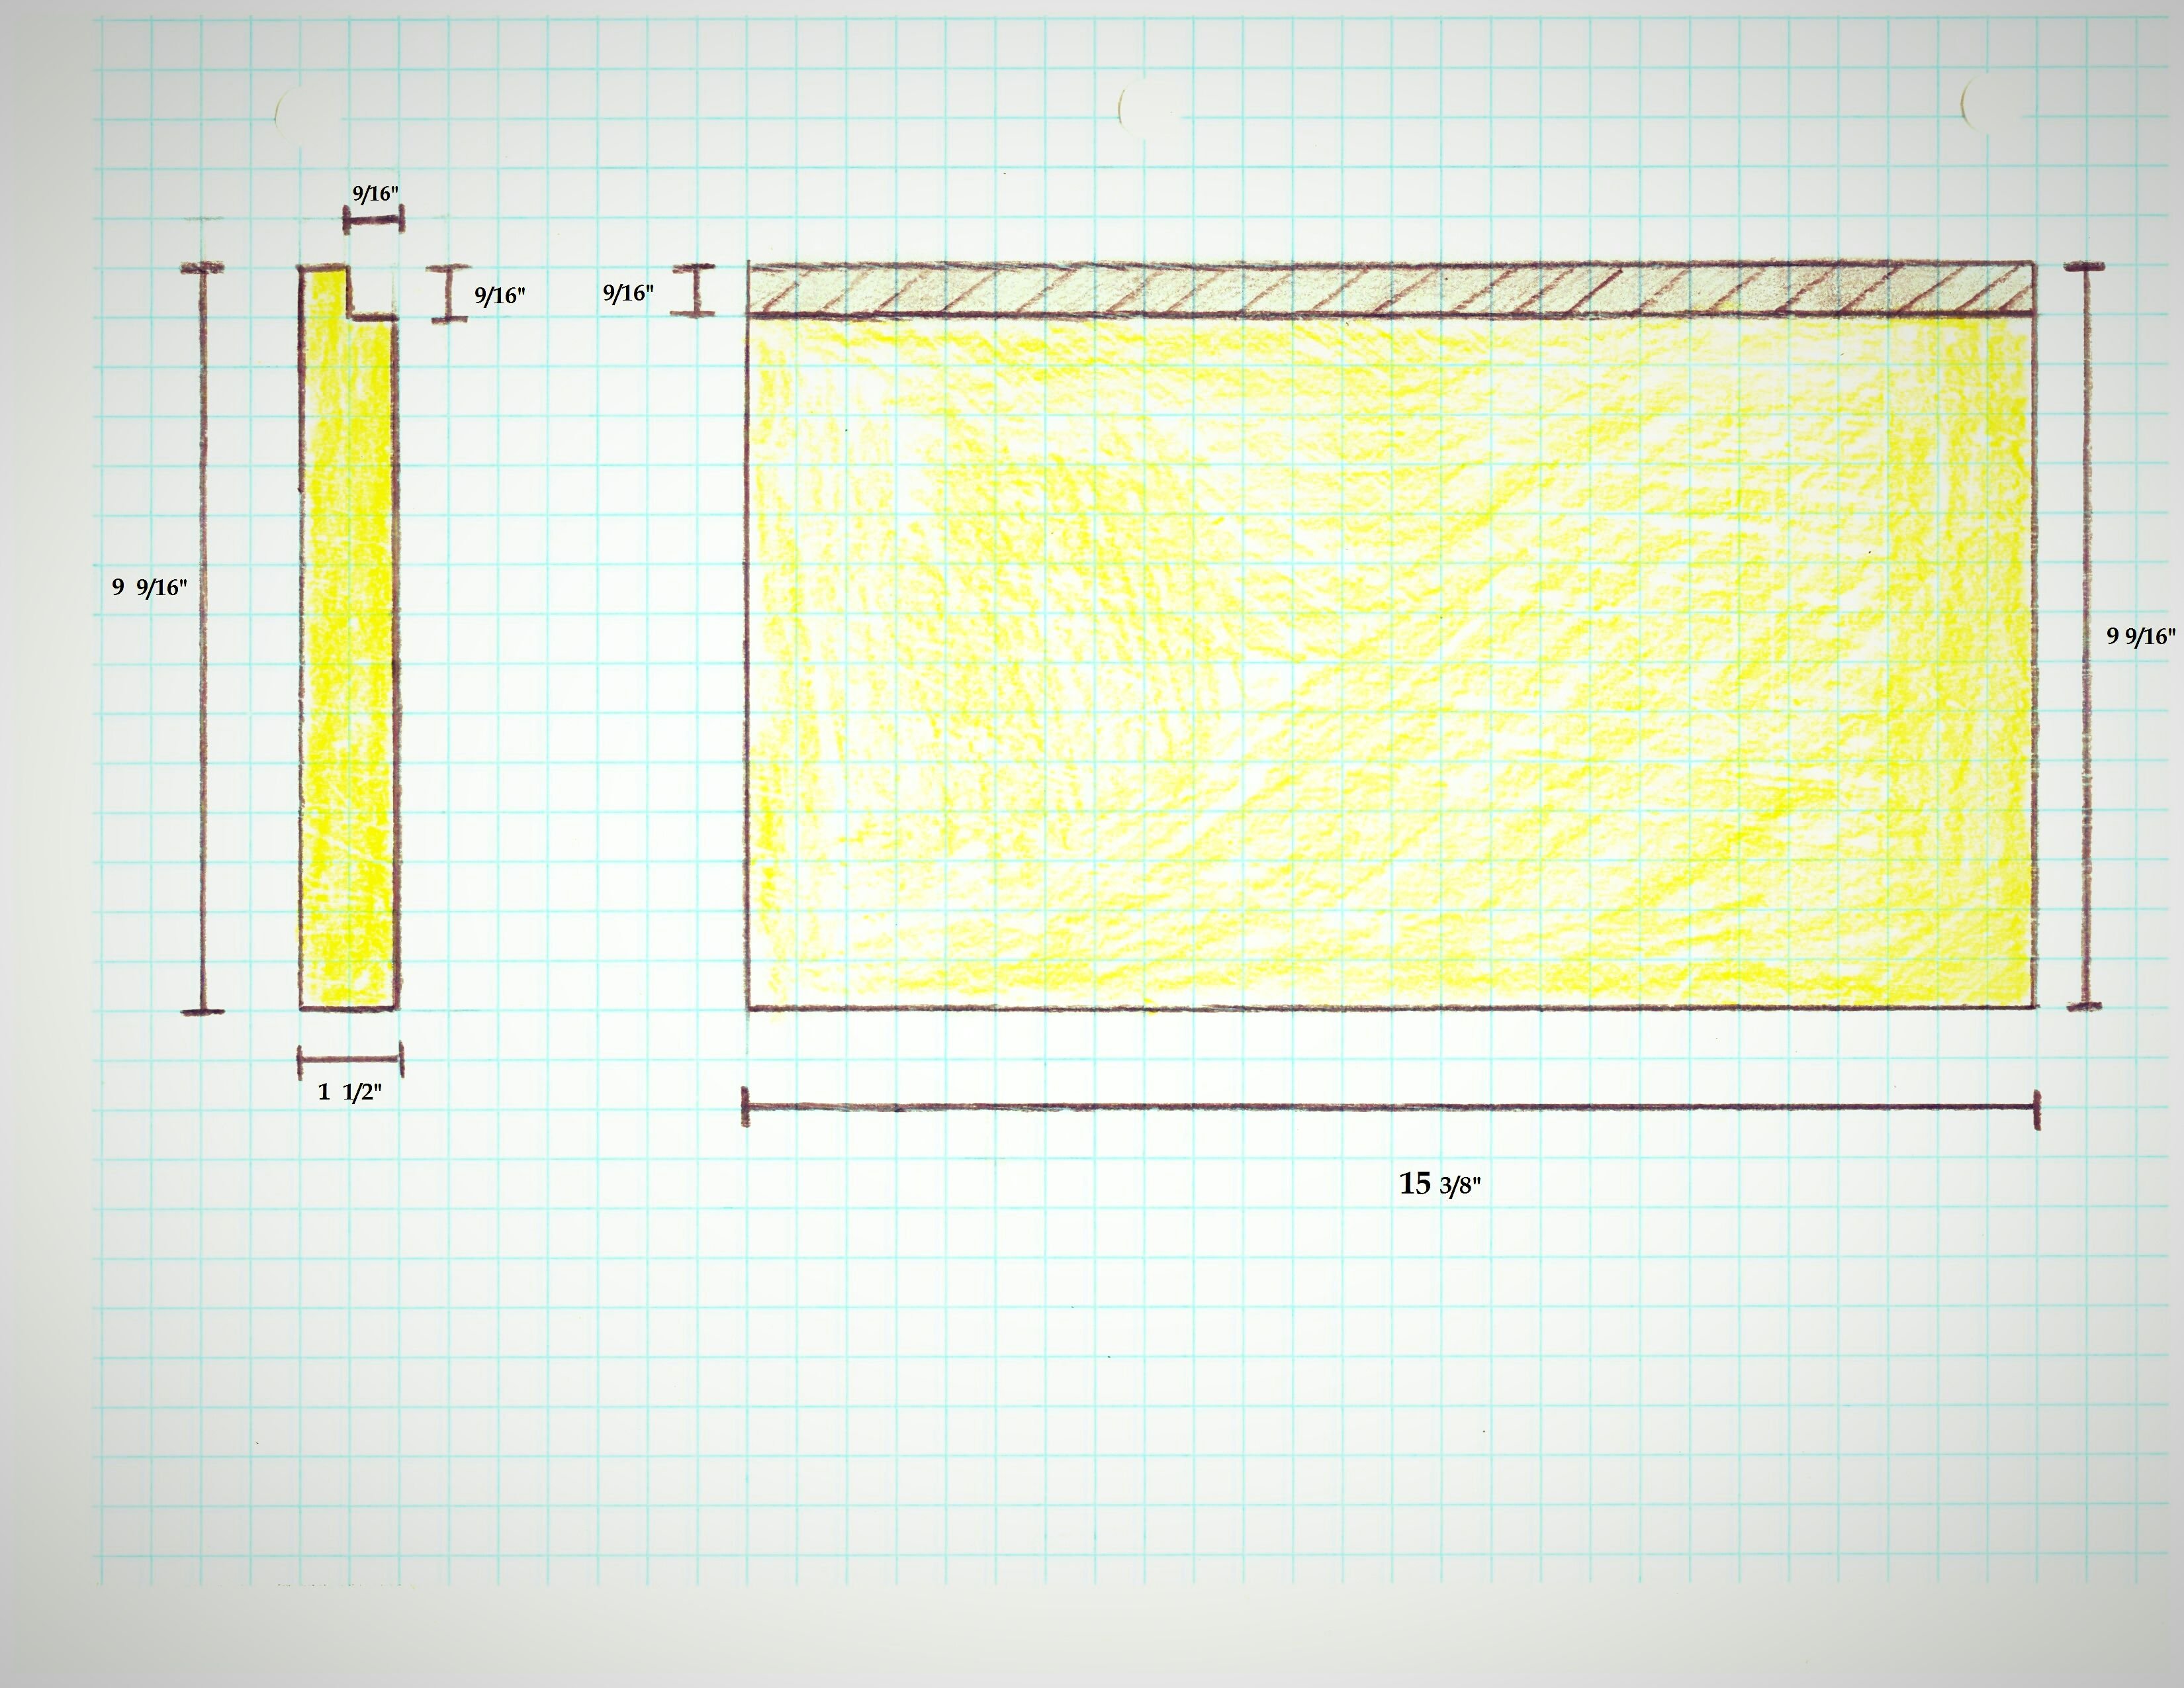
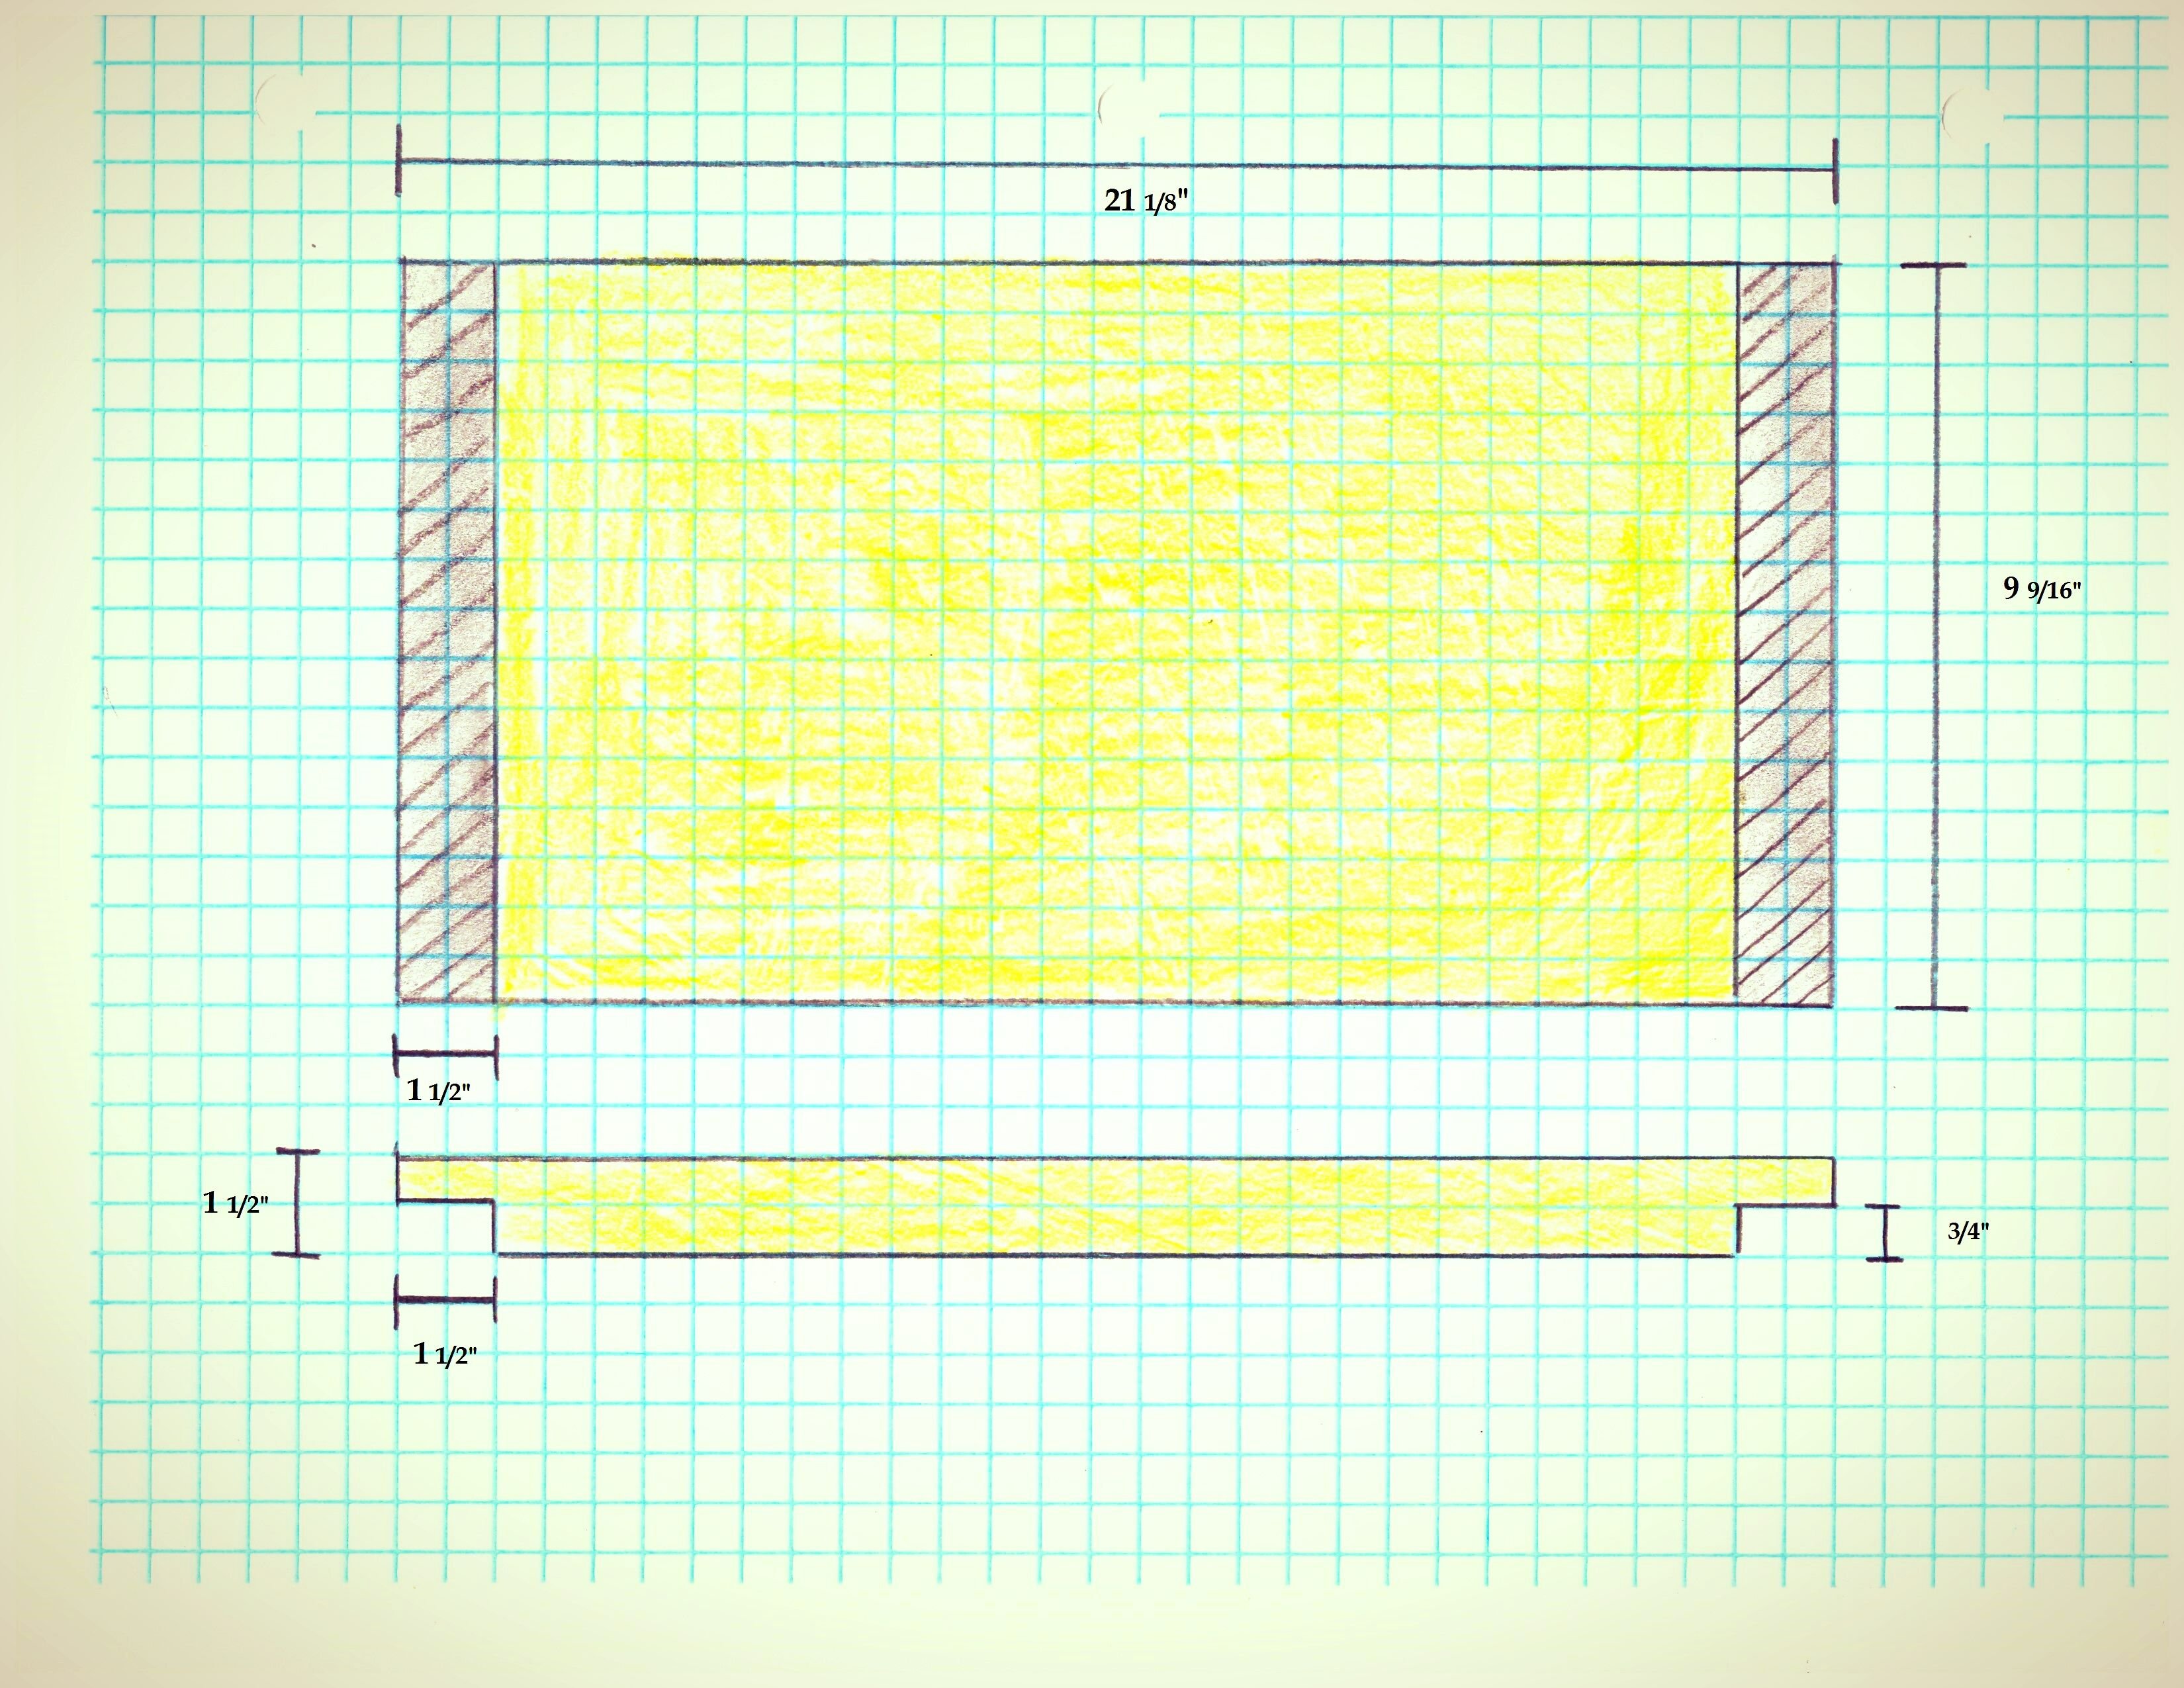
Once your boards are dry you will want to plane them to 1 1/2" thickness. Then rip each side of the board down to the final dimensions width of 9 9/16". Then, cross cut the 16" length boards to a final dimensions length of 15 3/8" and the 22" length boards to 21 1/8".
This will leave you with;
(2) - 9 9/16" x 1 1/2" x 15 3/8"
(2) - 9 9/16" x 1 1/2" x 21 1/8"
Step Four
You will need to place your 9/16" Dado Blade into your table saw at this time.
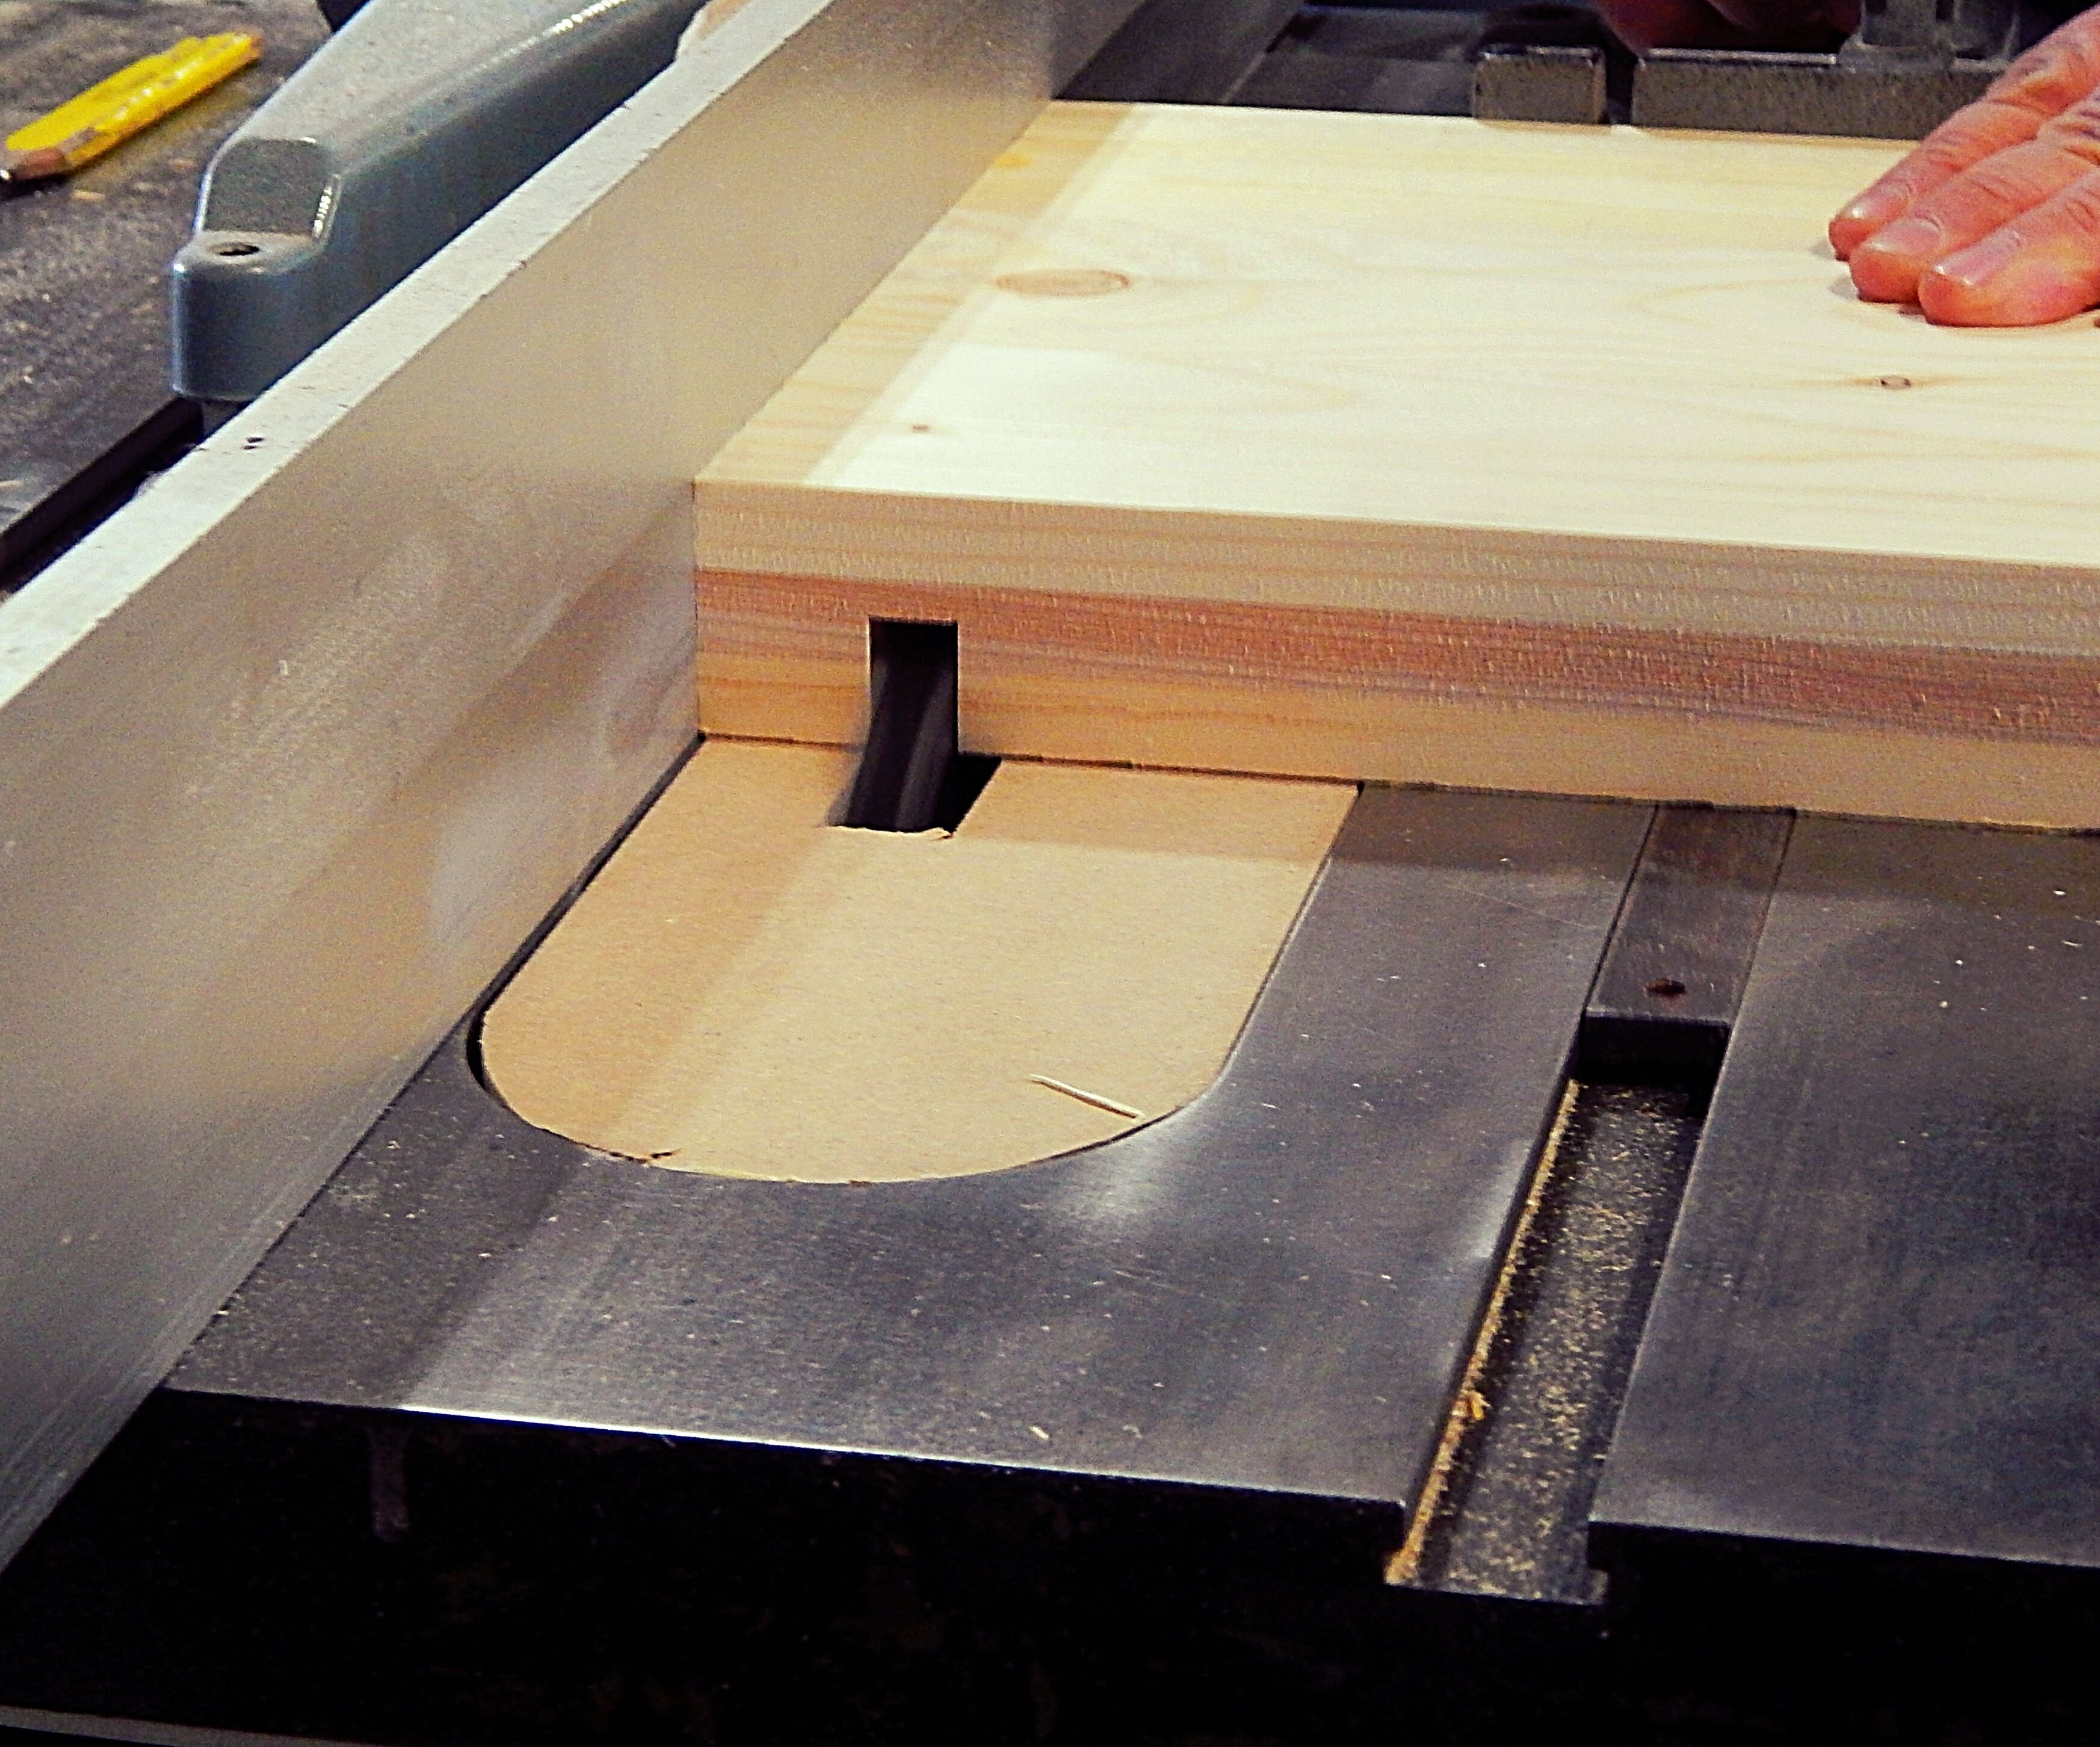
Move your fence to 15/16" off the Dado Blade edge. Then, run both of your 15 3/8" boards vertically. Set aside.
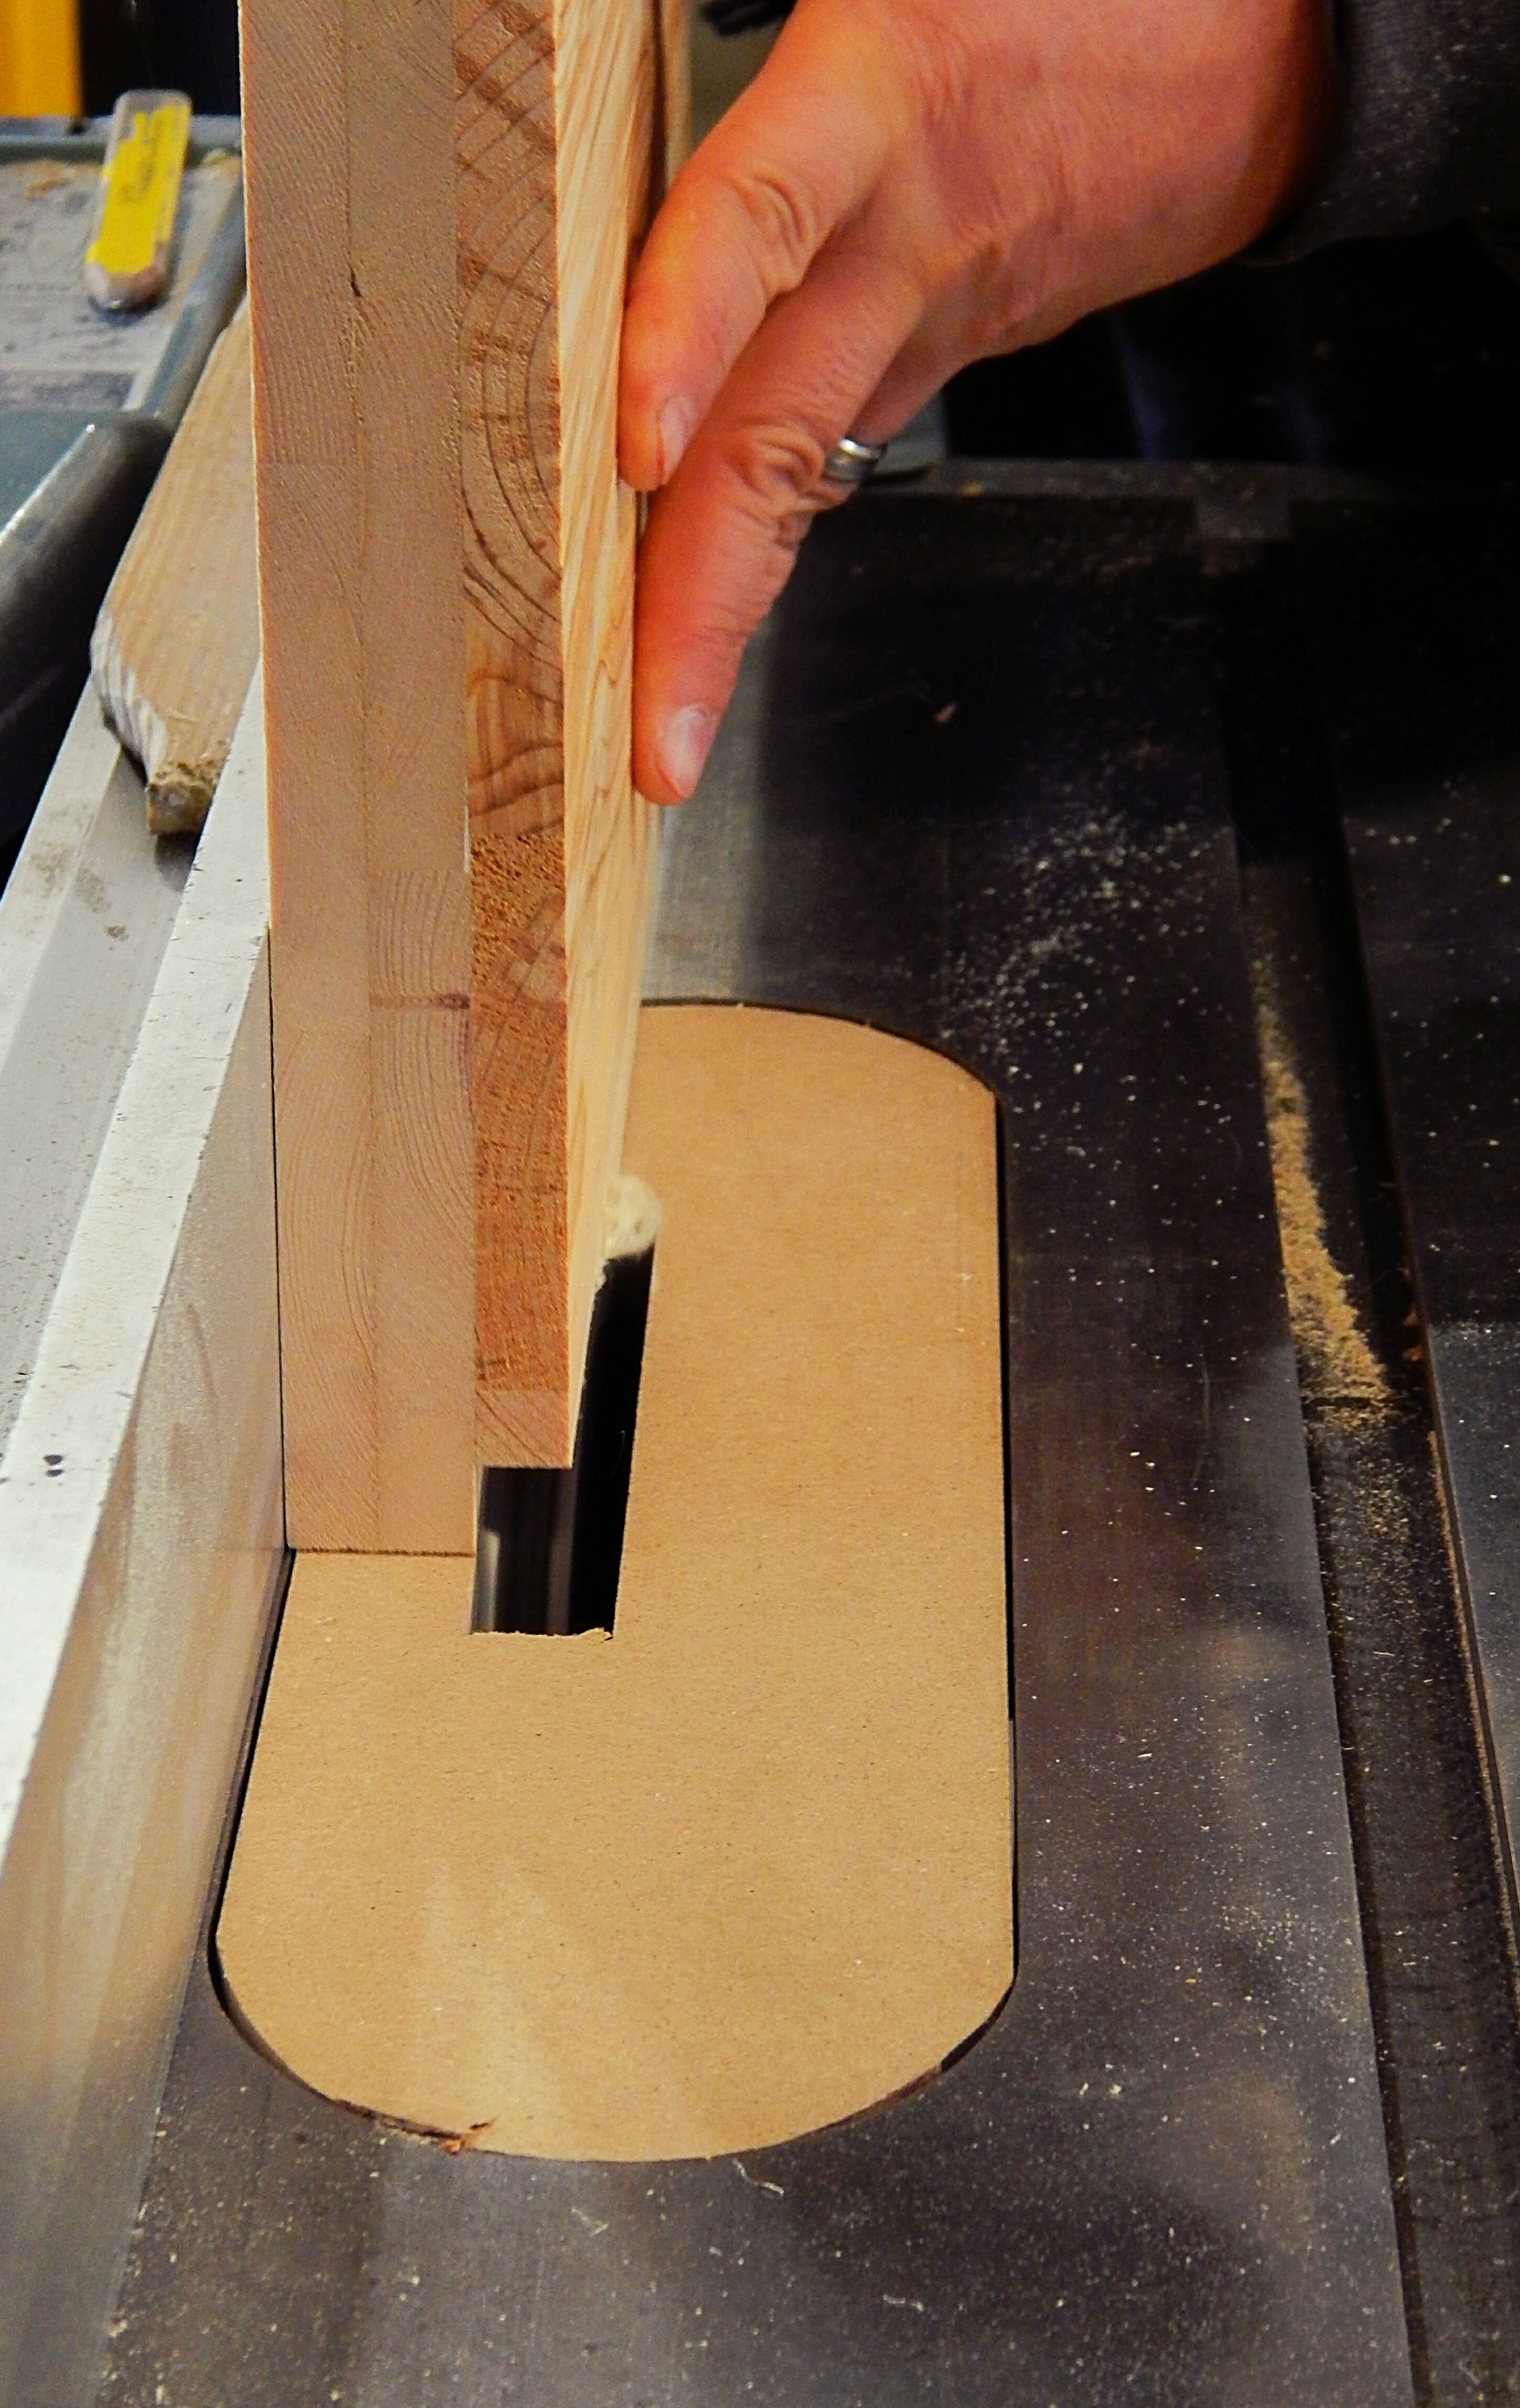
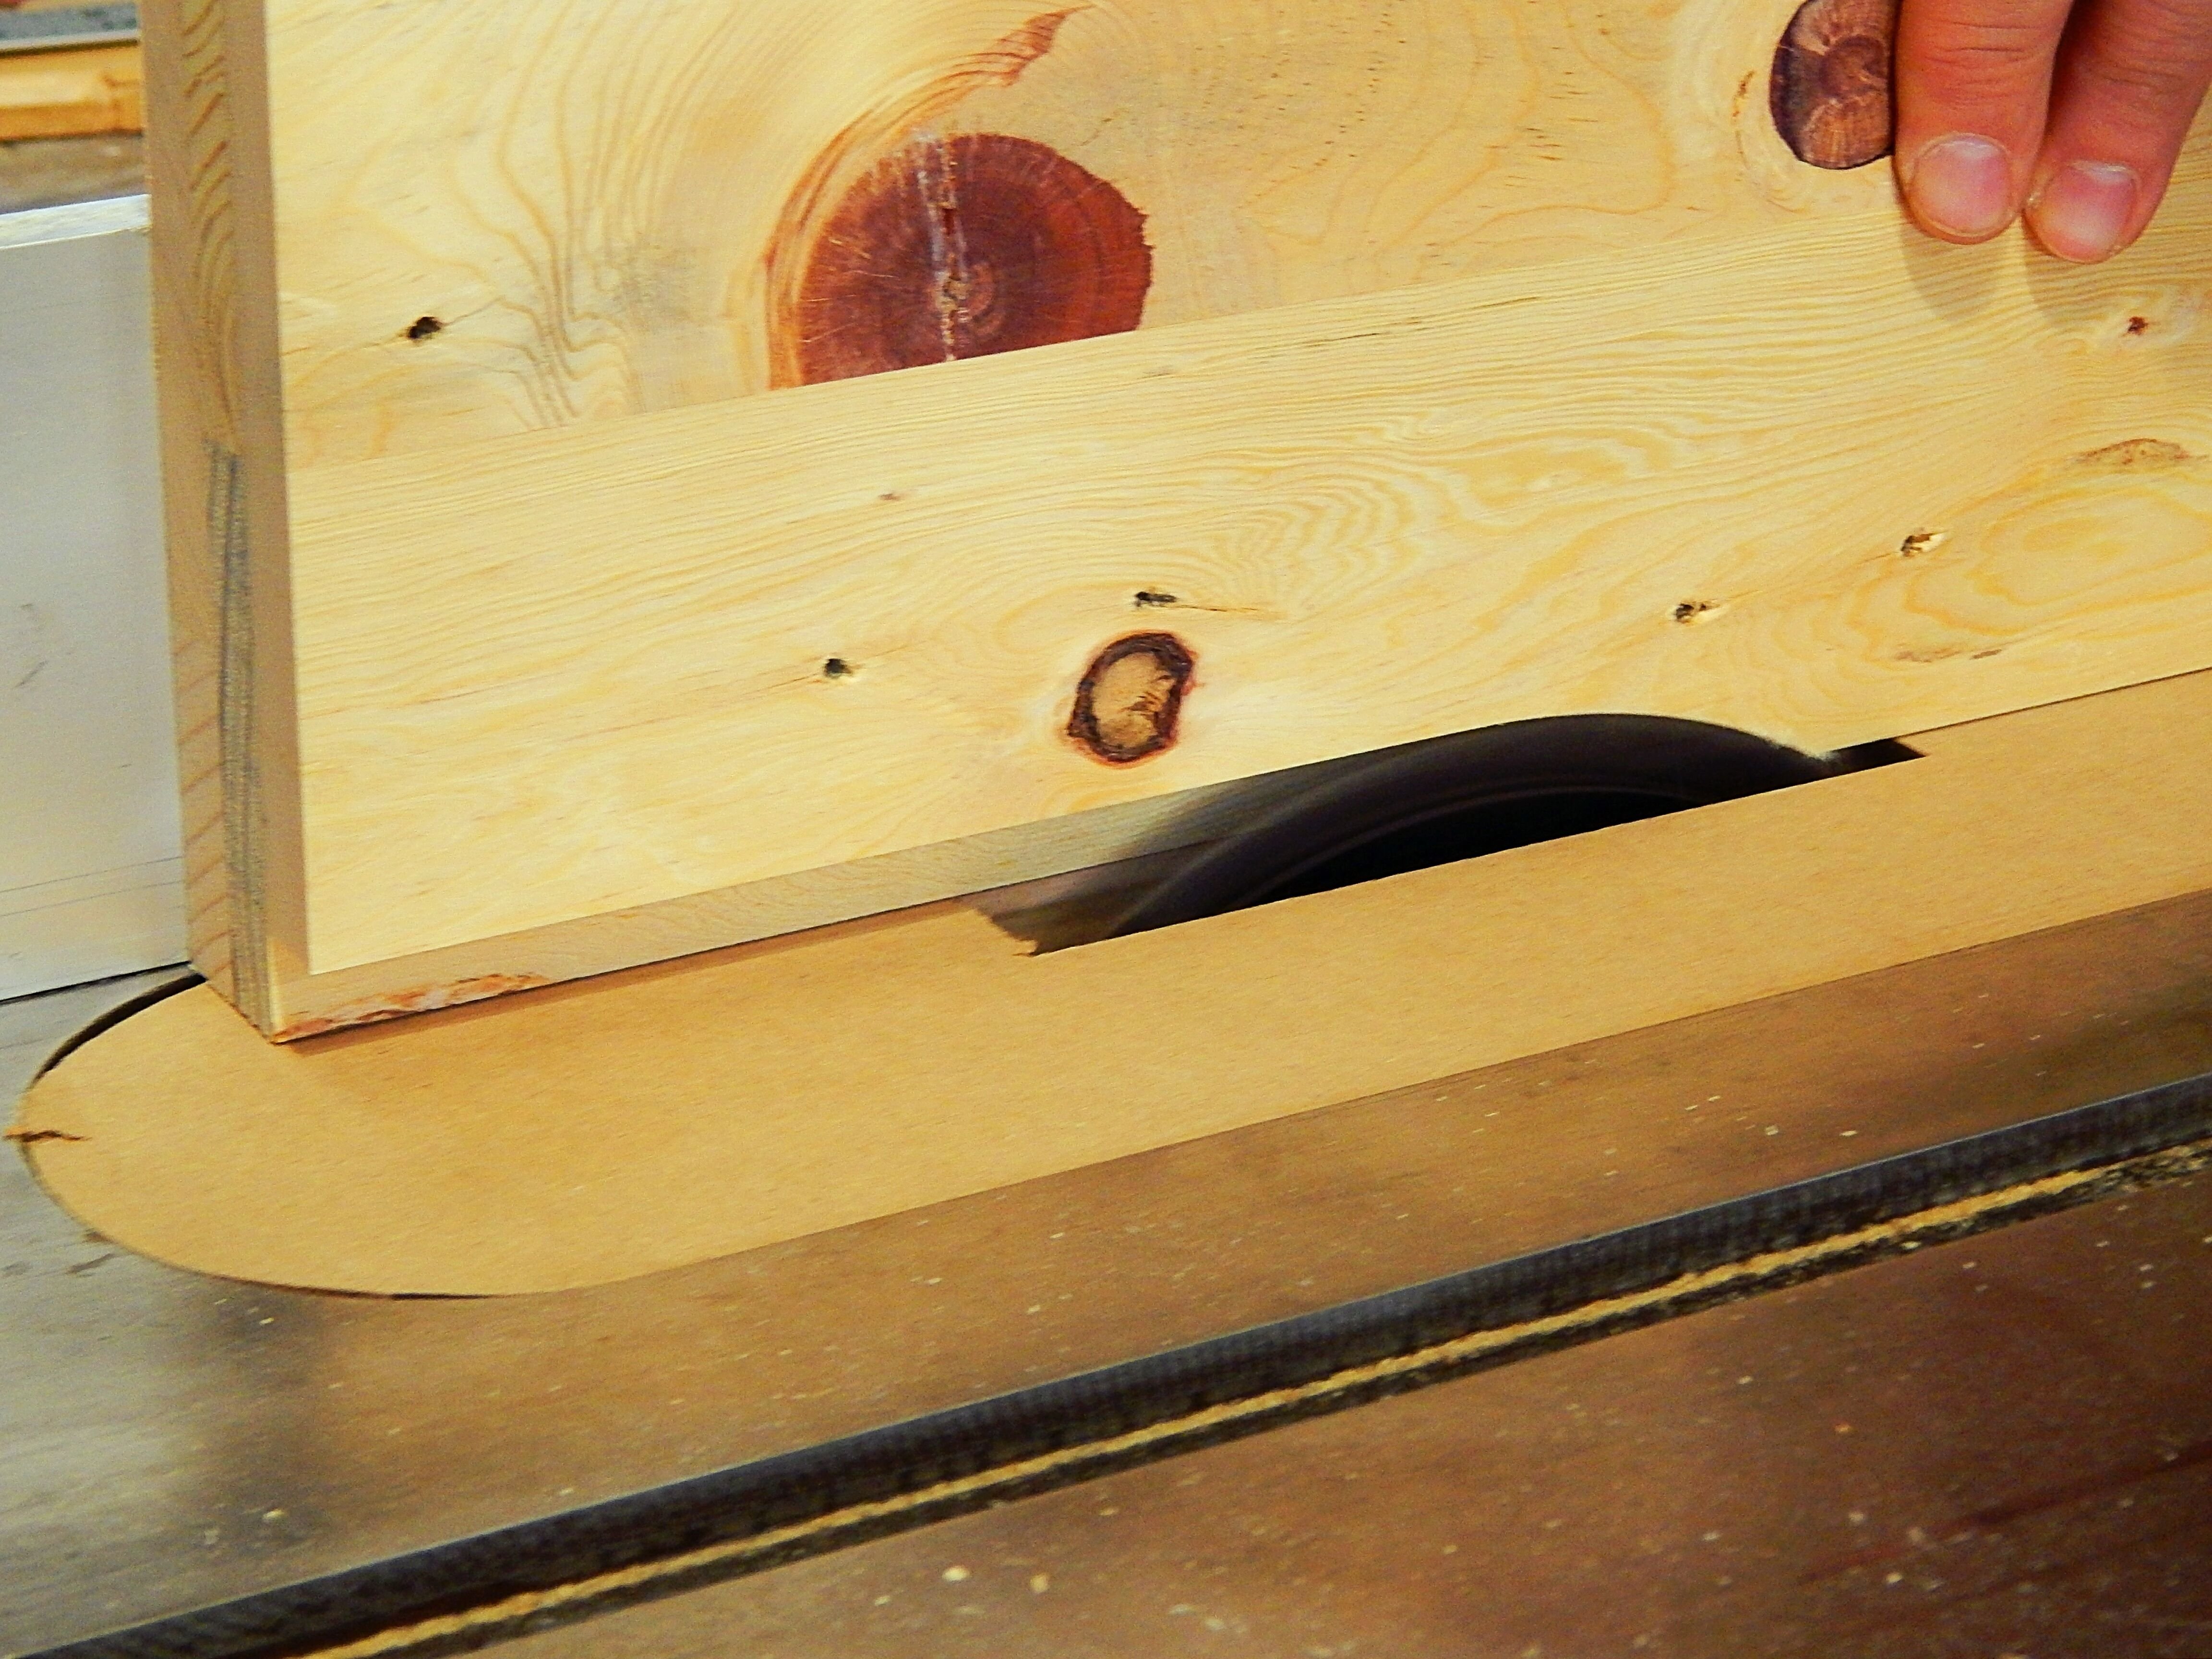
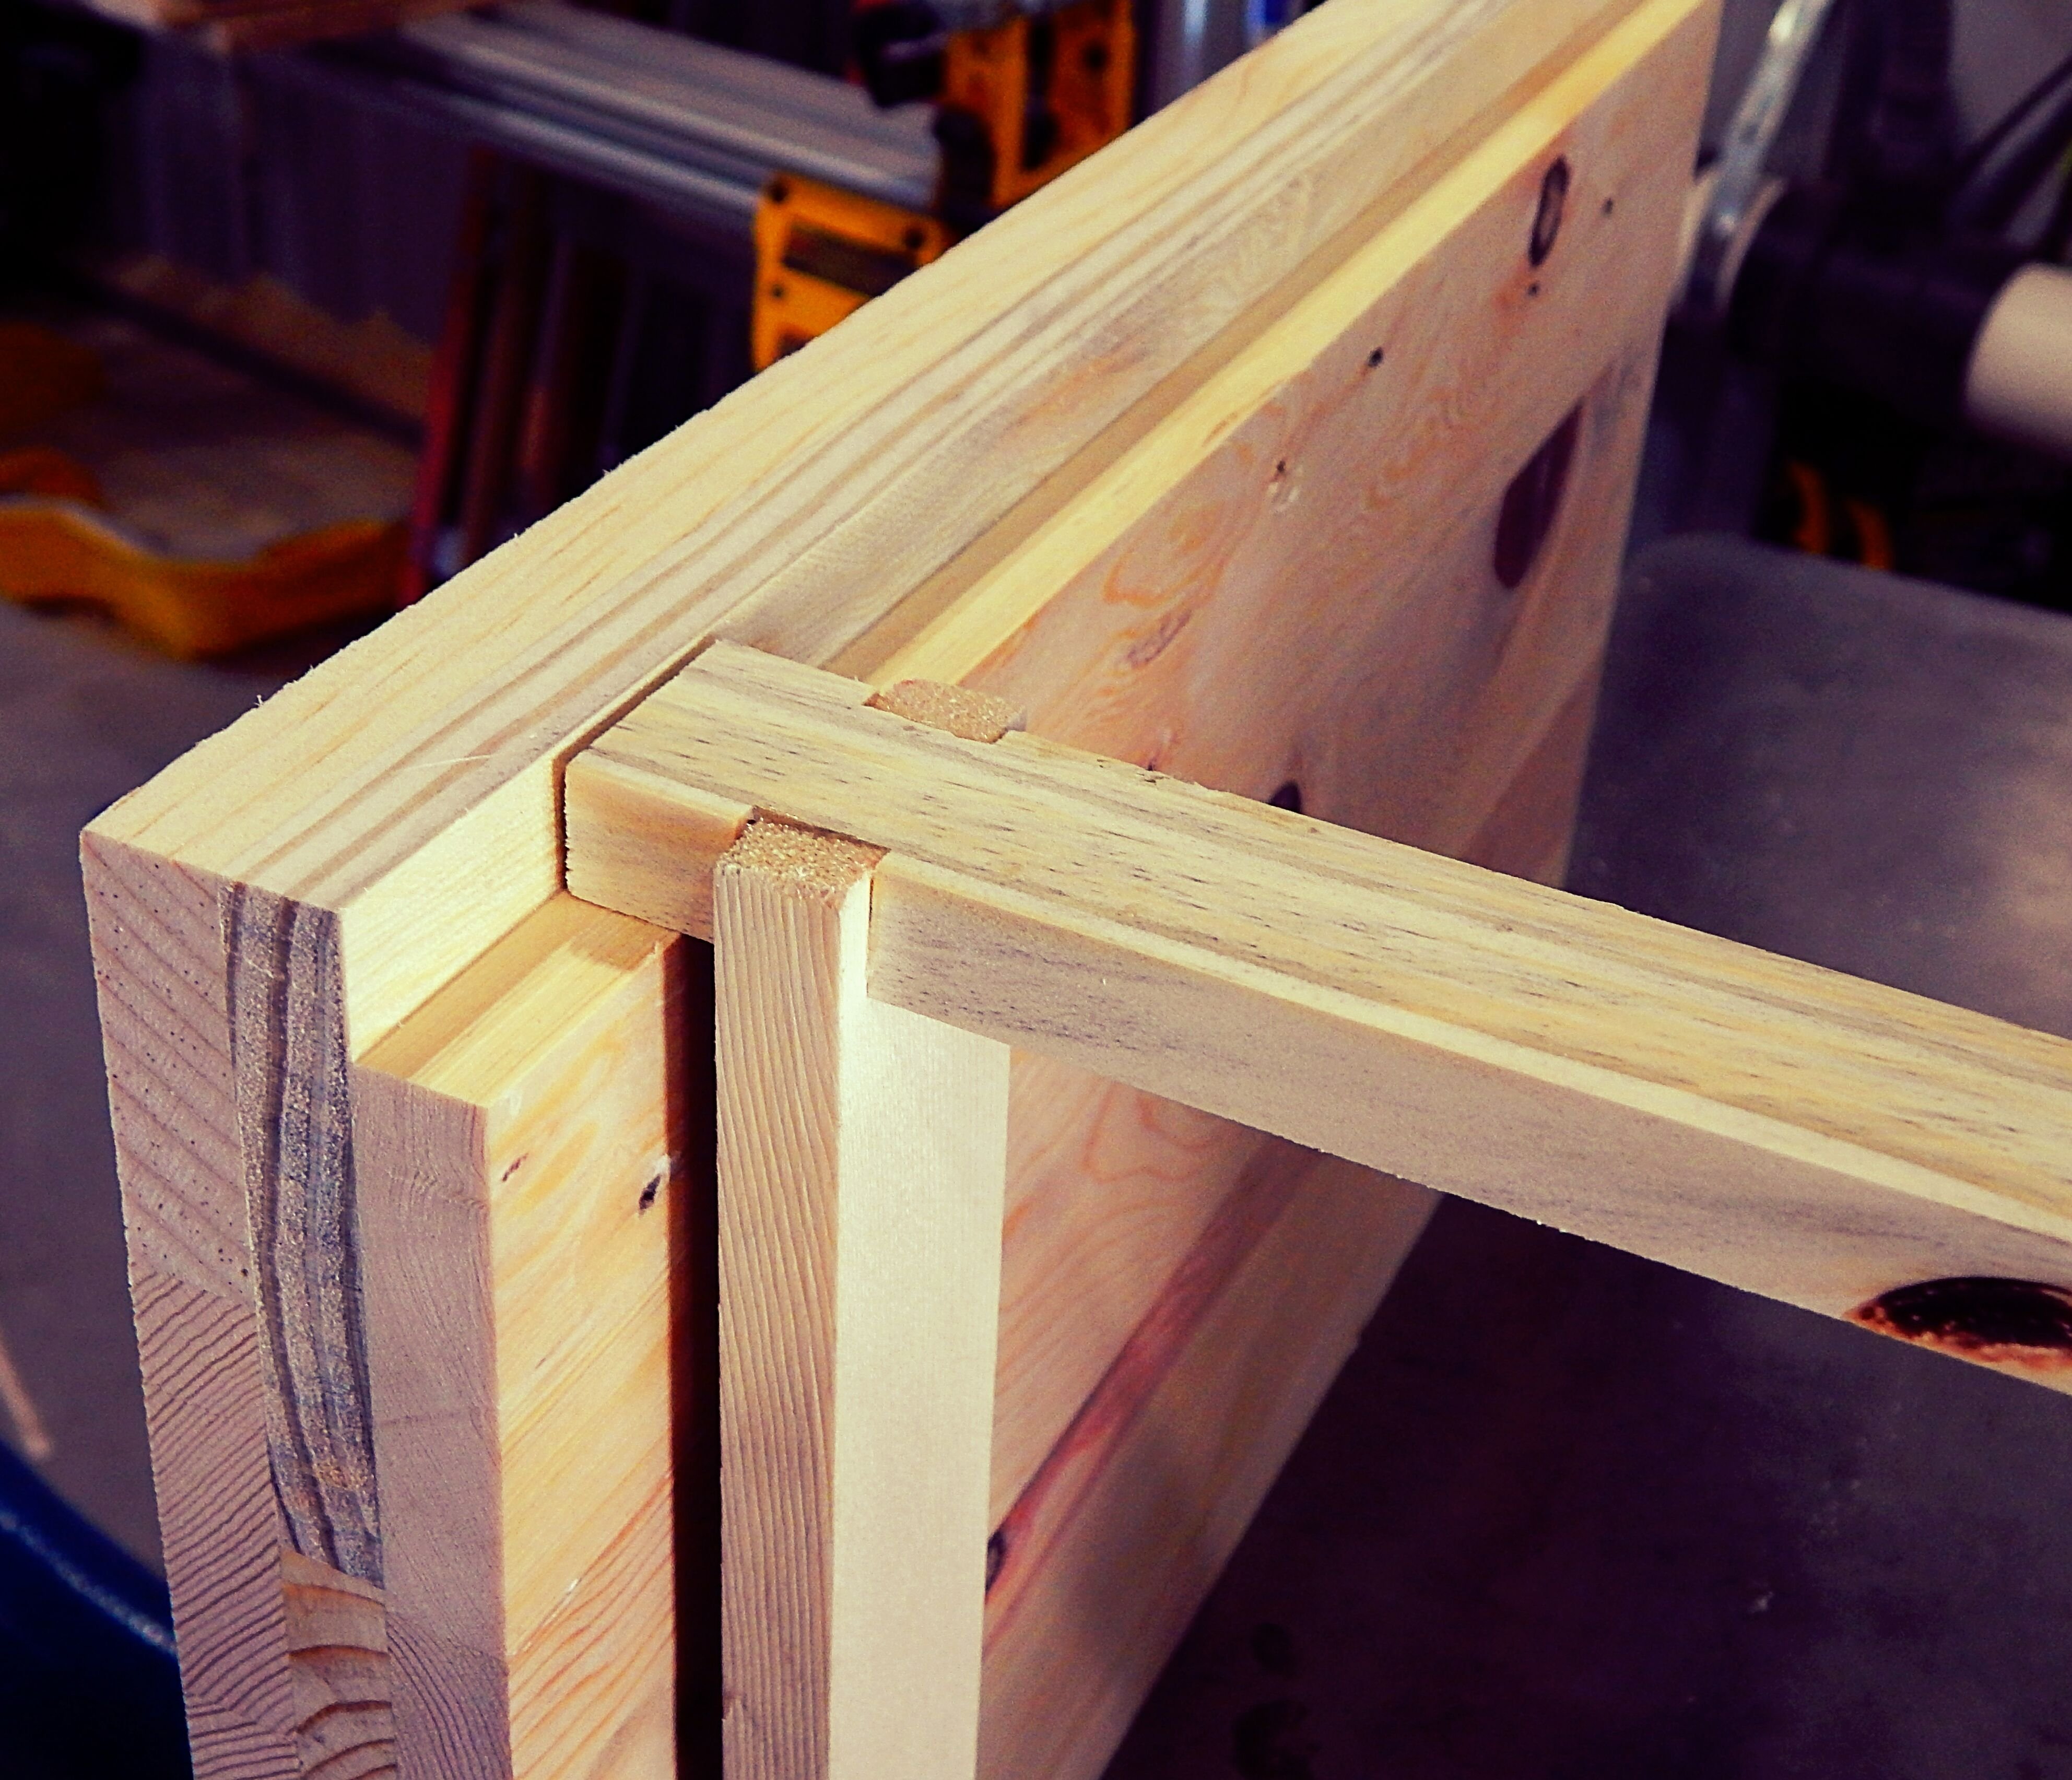
You will be left with a recess that your frames will sit on...
Step Five
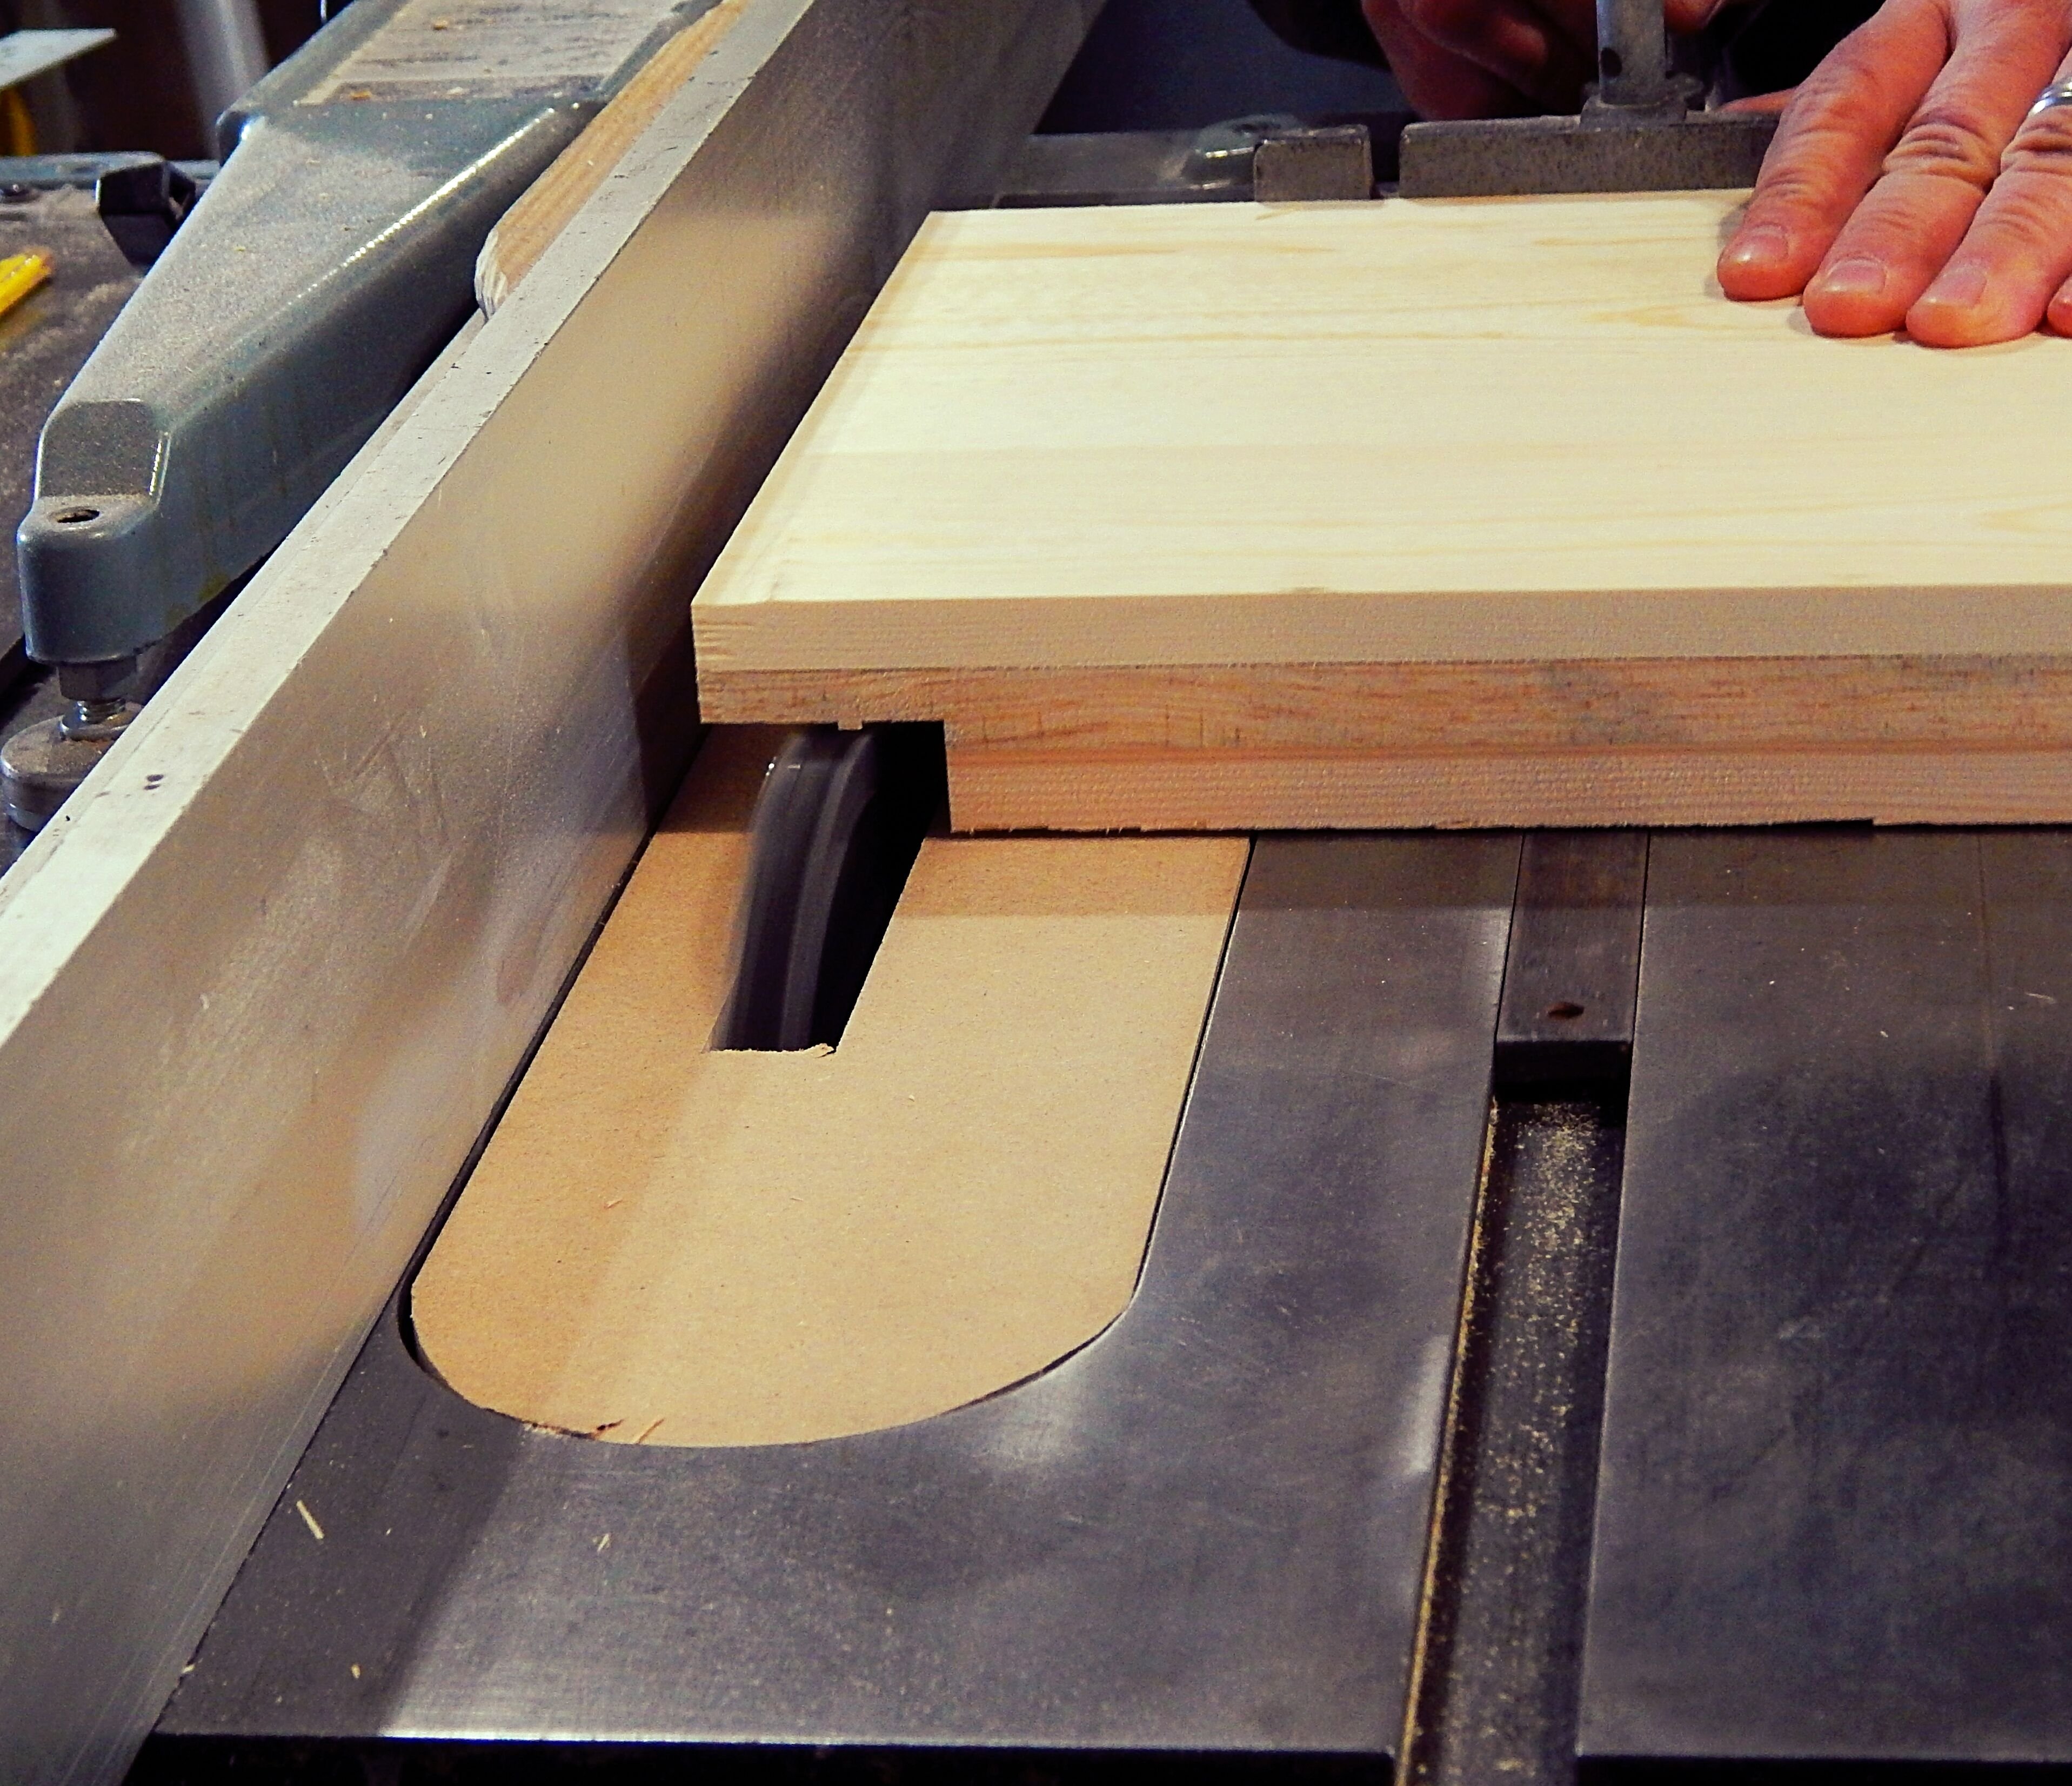
Now without moving your fence, raise the Dado Blade to 3/4" up and run the 21 1/8" boards against the fence with your miter. Repeat passes until all 1 1/2" is removed from edge.

Step Six
You will then assemble the hive, using wood glue, clamps and a brad gun. Make sure to measure from opposite corners that they are equal, to ensure your hive box is square. Handles can be easily added to ease carrying. You are now ready to insert your frames from part one
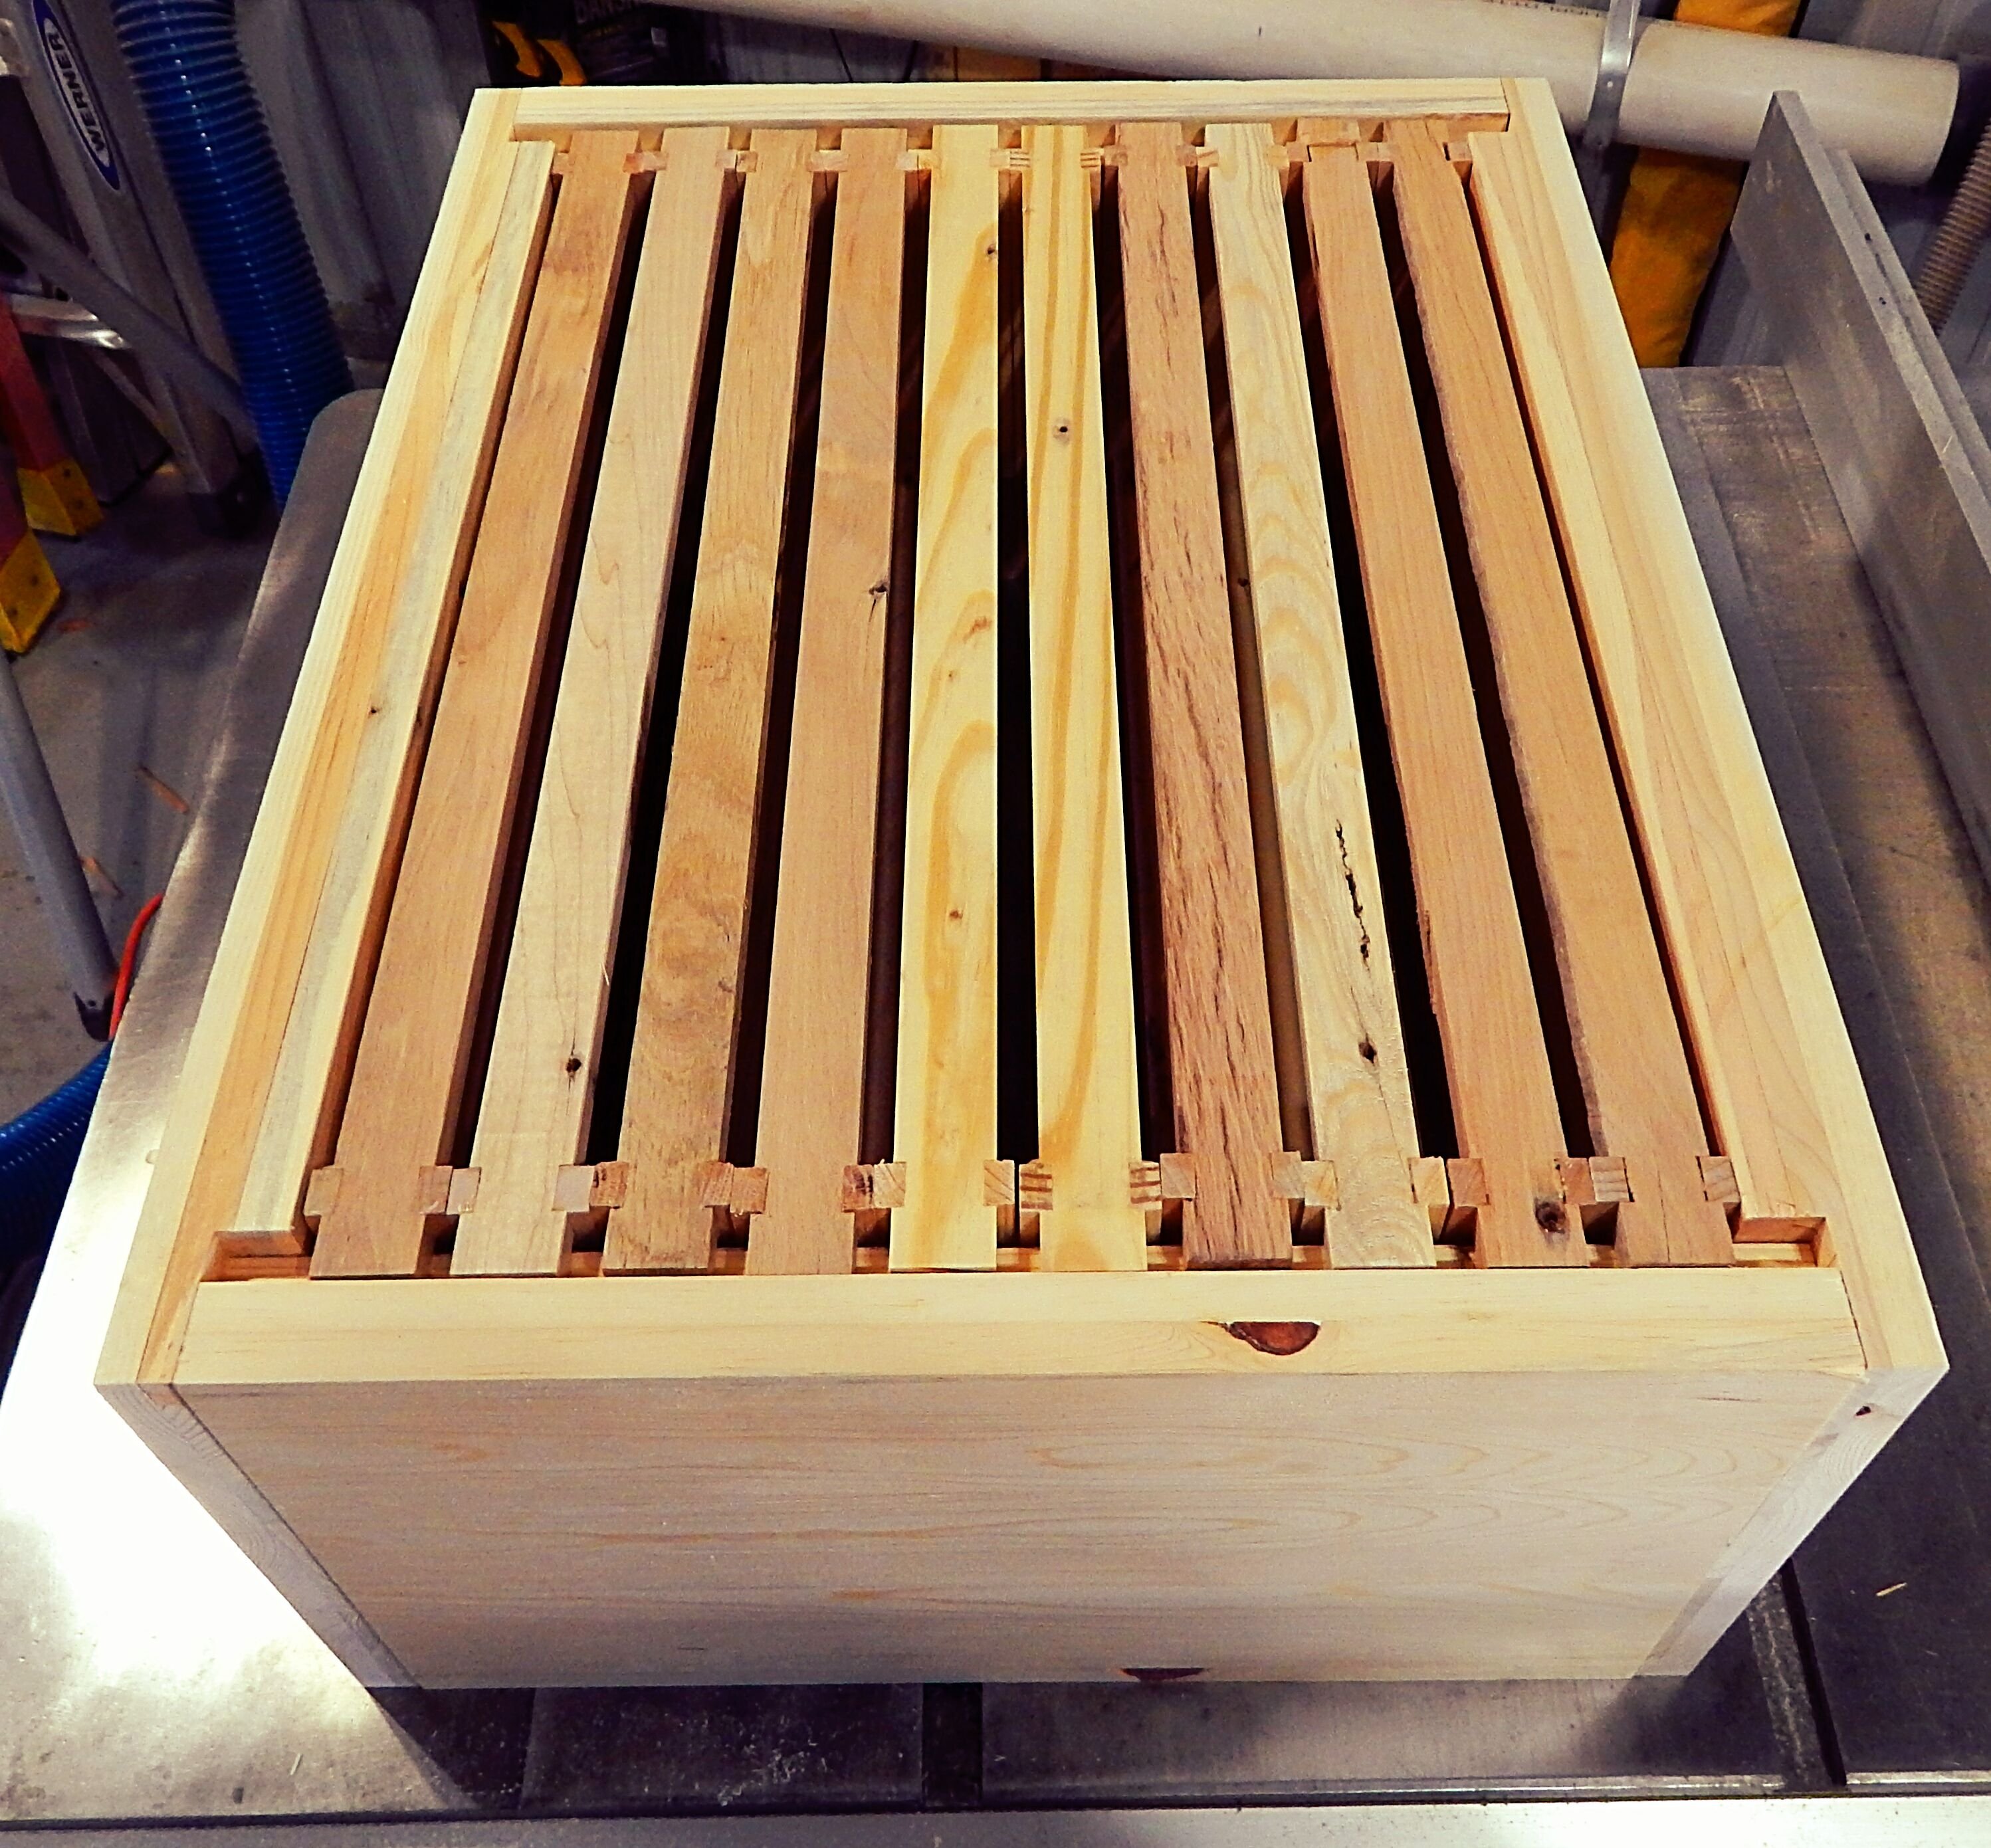
There you have it, a Beehive Box made completely out of pallet wood. Stay tuned for Warre Tops, Beehive Base, Super Frames, Super Boxes, and In Hive Feeders.
We hope you have found this post helpful. Feel free to contact us with any questions you may have!
Pallet Wood Hive Series
Part One-Hive Frames
Thank you for reading,
Happy Homesteading!
