I have written before about my new 3d printer , and the amasing details that can be achieved with it.
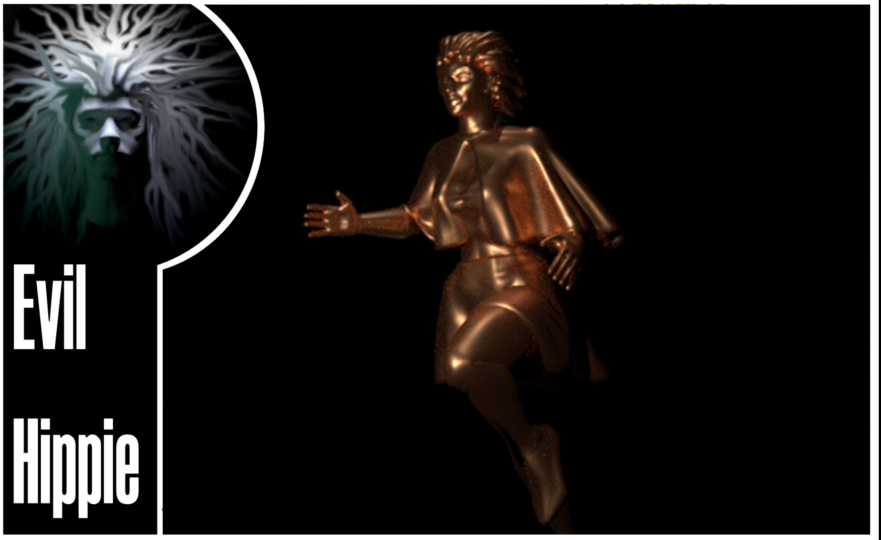
this time I will show you how I posed an existing model of a female in a running pose.
I Made some simple clothes to add someinteresting features to the model, and finally I printed it in 28mm scale or Heroscale as it is often called.
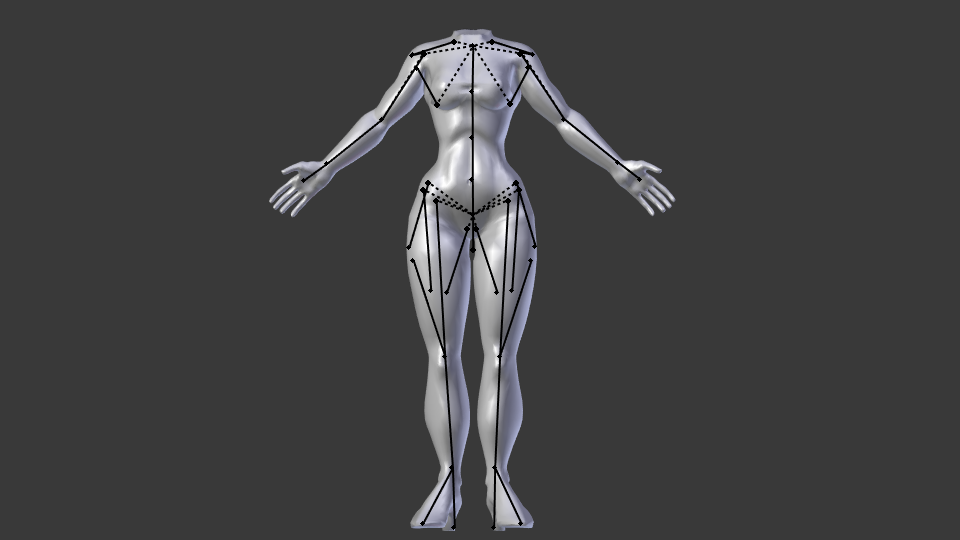
I started with an existing model I had made earlier. It is based on the same model that i used here, but i "clothed" it, in a tight full-bodysuit by adding some wrinkles an a pair of high heels, and posed it using the skeleton that I had fitted it with.

Then I made two circular plates and used blenders cloth modifier to get them to fall naturally around the body.

I actually tilted the gravity a bit to make it look more like the cloth was being blown back by her running
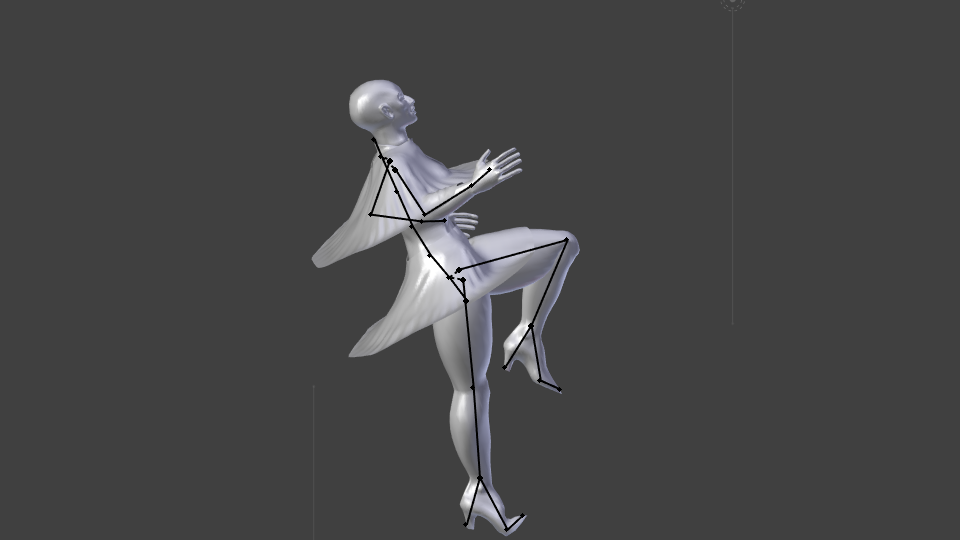
The cloth modifier is a physics simulation so it pretty much does all the hard work of getting realistic cloth
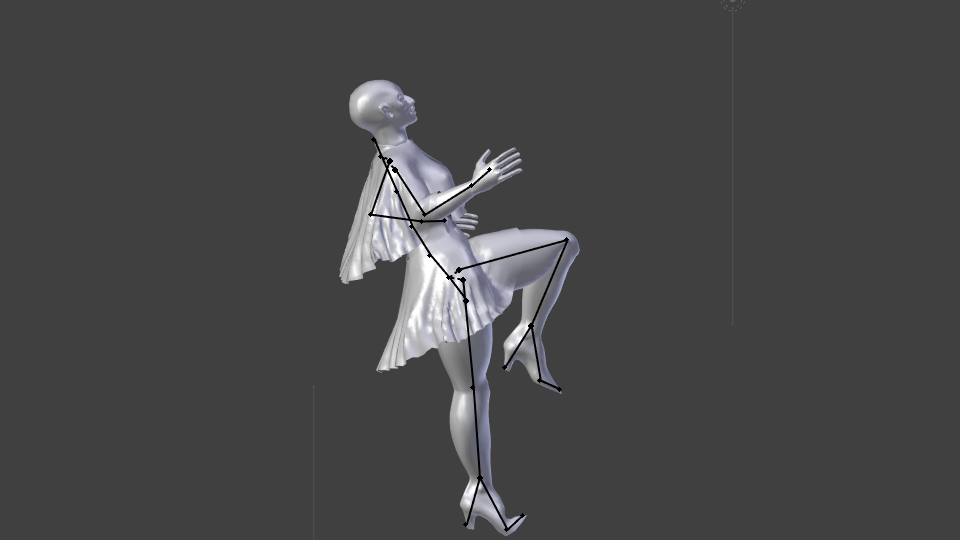
All i had to do was assign the body of teh woman to be a collision object and then wait a bit while the simulation ran.
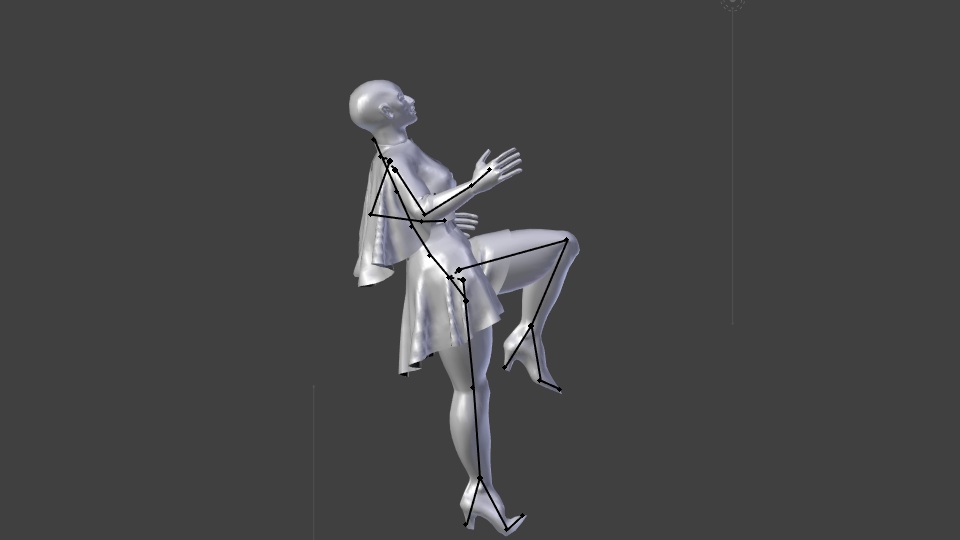
Then when the cloth found a new rest position, I froze it in place by applying the modifier. Now I had a mesh that was no longer simulated , but since this was going to be a print that is fine.
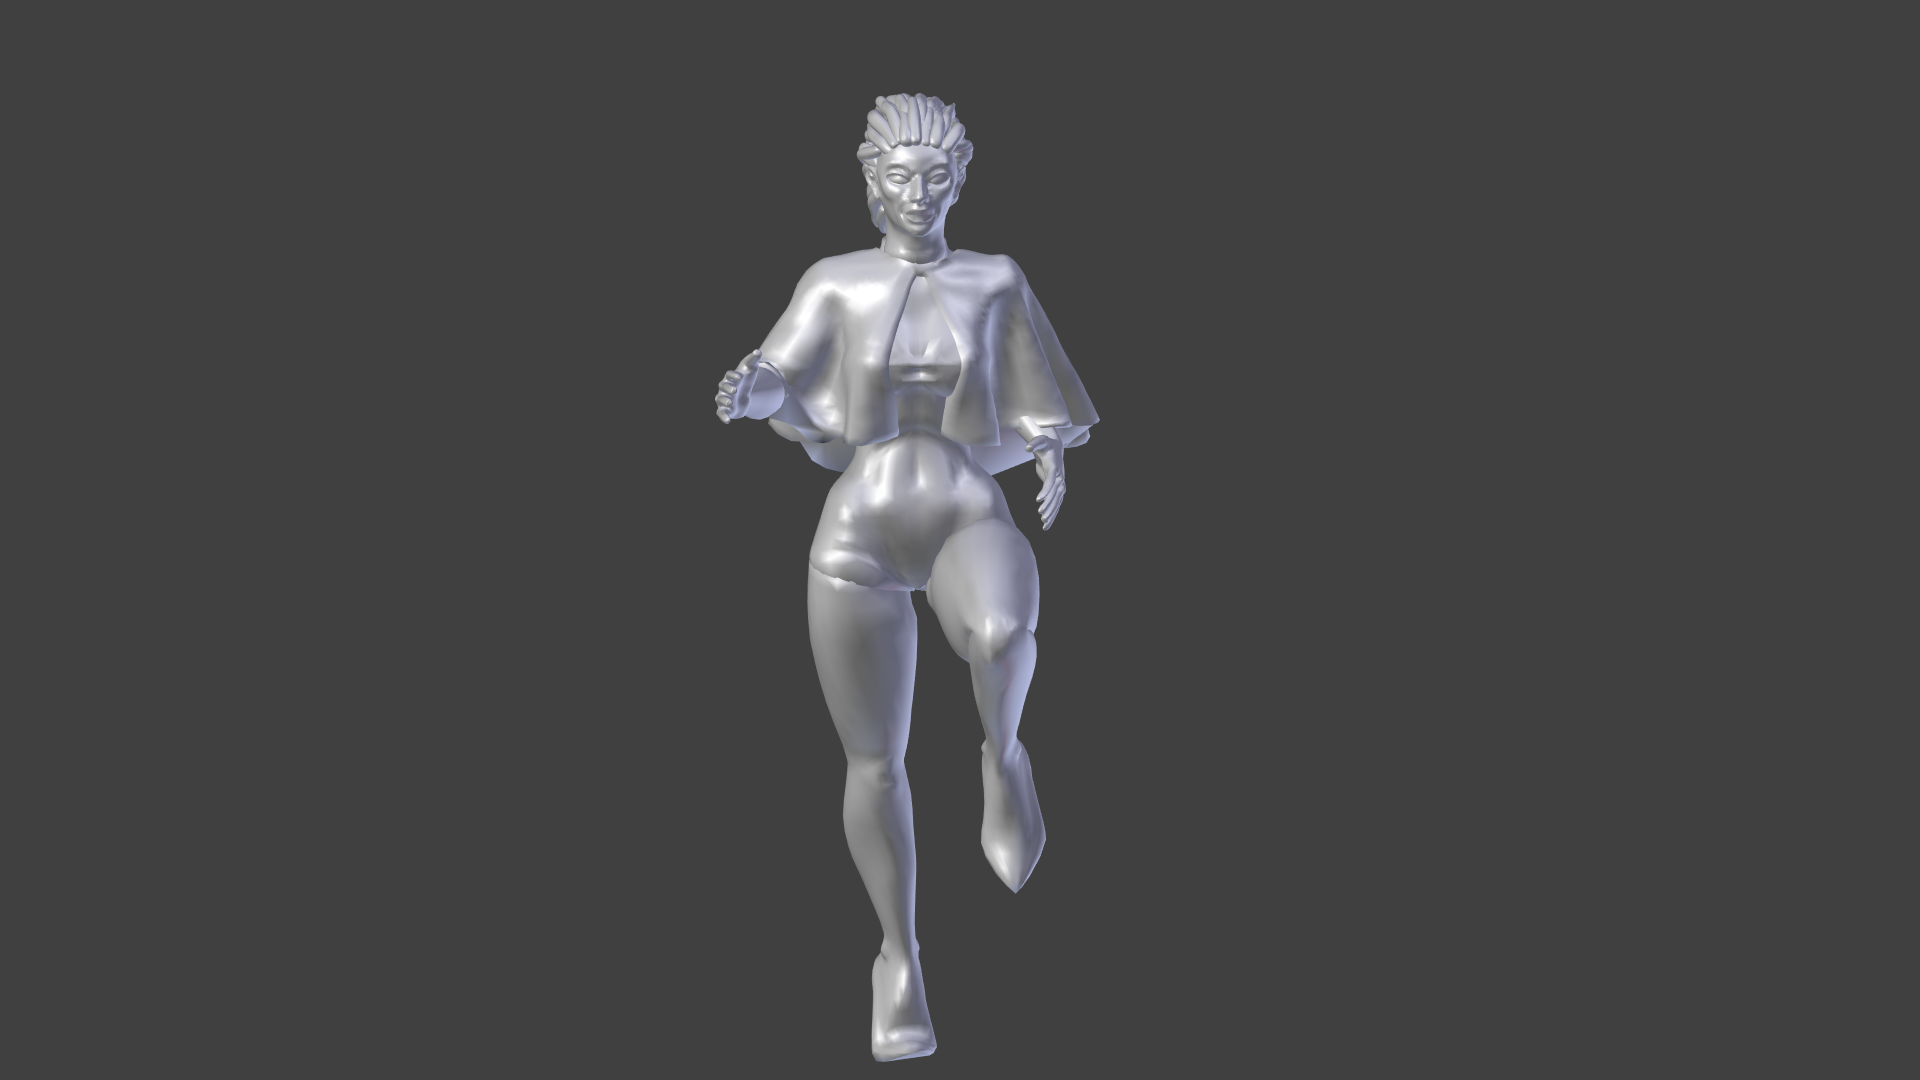
One thing that was not so good was that a cloth simulation mesh is what is called an open mesh, that is it has no thickness. printers does not like that. they want meshes that are 2manifold(which is a fancy word for watertight meshes. that is they need a well defined inside and outside.)
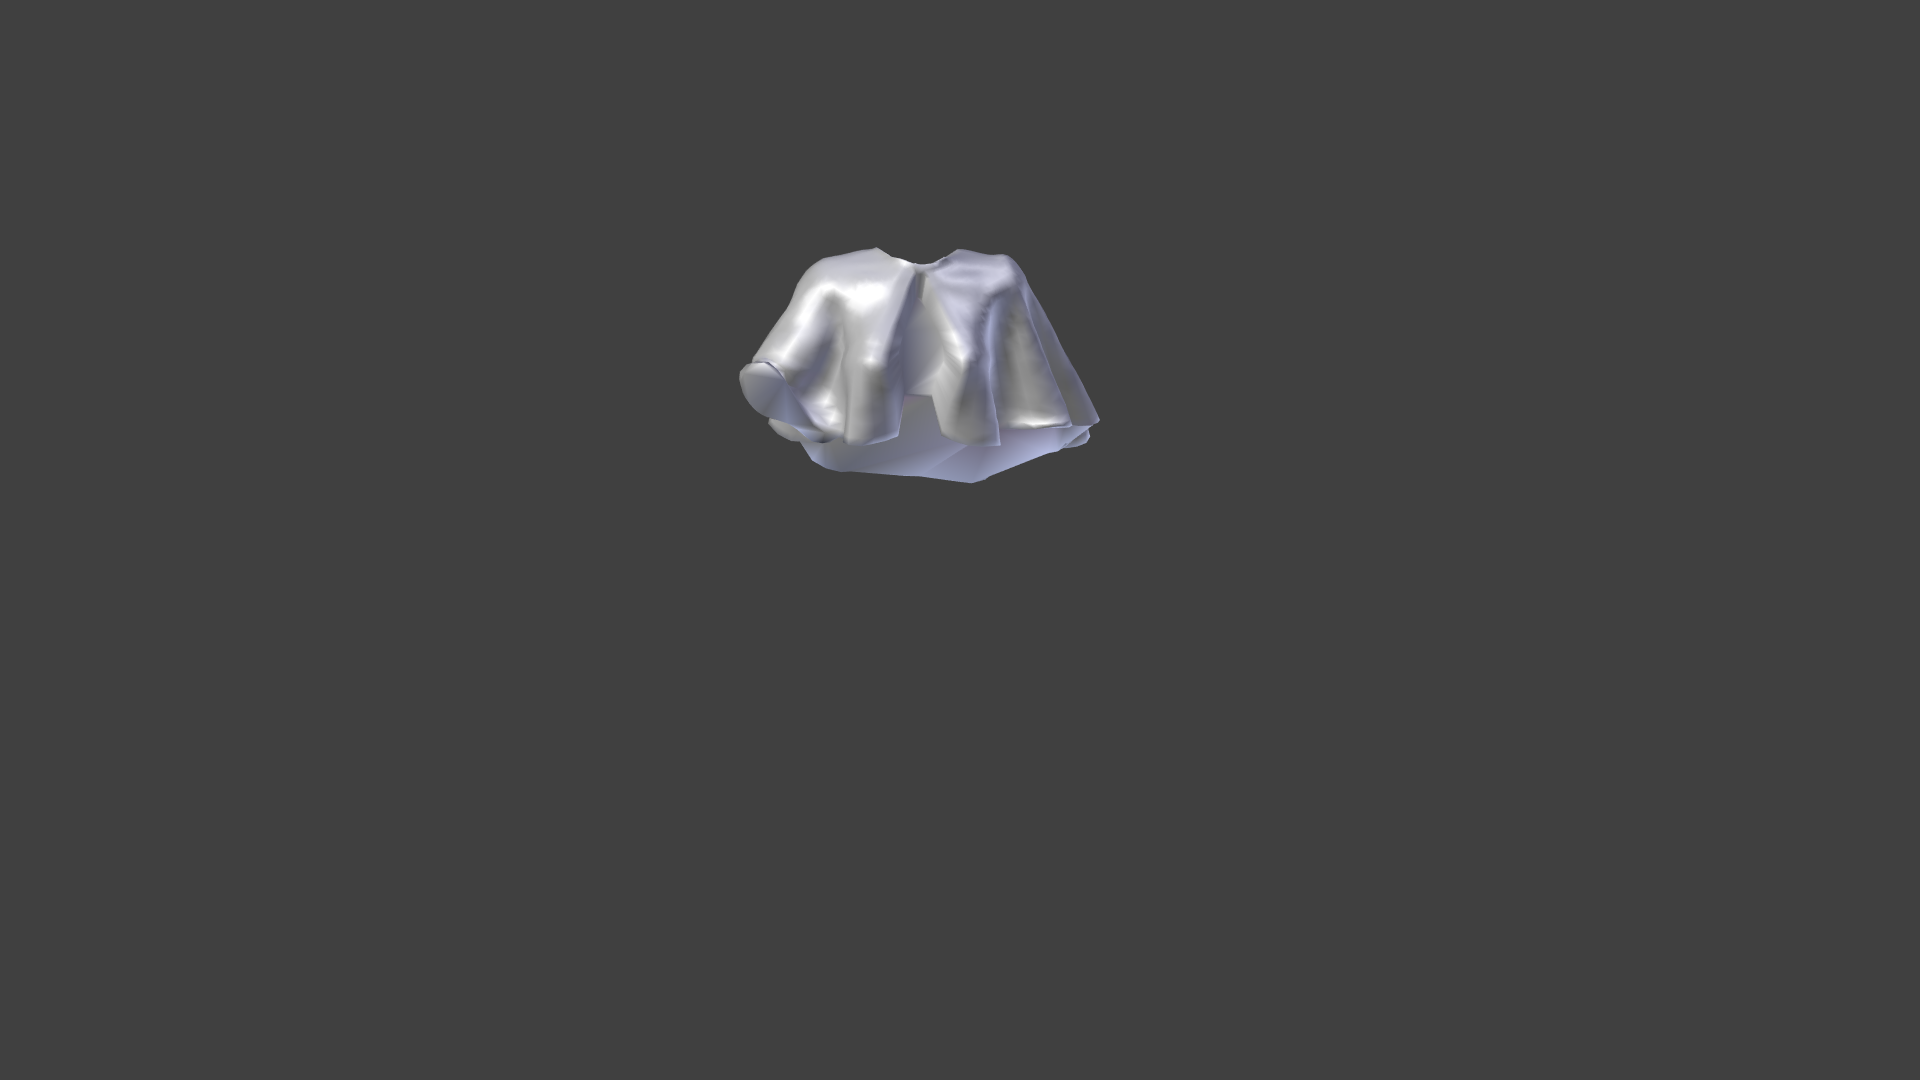
This is something you get used to when working with printable meshes, but is is a bit of extra work. I manually closed the mesh to make sure it would print properly and then it was on to making it print ready.

head and body was separated and I turned the figure upside down and added support struts. Making sure the model does not tough directly unto the buildplate is very important with resin printing since they are otherwise almost impossible to remove without damaging the model.

I sliced it using creation studio, which is the software that came with the printer (slicing is 3d printing lingo for moving the file into a format that the printer can read and understand)

finally I was ready to make the print. The figure ended up being just under 3 cm high and is thus within the normal tolerance for a heroic scale miniature. the next experiment will be trying to cast it in silver or bronze , but that is for another post
finally I chose to make a small rendering of the figure with a bronze-material, just because I can.

Im EvilHippie, a compulsive creative and jack o' trades. If you want to know more about me, check out my introduction post here
If you like what you see, feel free to upvote, follow and resteem
or you can check out these recent posts

