Most of my sword making skills I have taught myself, using experimentation, books and the internet.

Some of them however I have been taught by others in the course of my education as a goldsmith. One of the skills I learned as an apprentice goldsmith was sandcasting.
It is probably one of the oldest metalworking techniques known to man, and it has not changed significantly in the thousands of years it has existed. The most prominent changes are probably the heat source I use and the way I make my masters(the model used to make the impression in the mold)
My masters for this project are 3d printed and modeled, but they can also sometimes be handmade. I have made a post about sandcasting 3d prints before, but this one will go into more details about the casting process.

I place the model on a flat surface and compact the sand around it, using my hand and a hammer. The sand I use is called delft sand and is a combination of burnt pulverized clay and some king of oil probably kerosene or something similar.
Some people use water moistened sand instead. The upside of water based sand is that it doesn't burst into fire, and it doesn't smoke as much, but it might explode if the sand is too wet, due to the water evaporating explosively. I use the oilbased version because it is what is most readily available in my area.
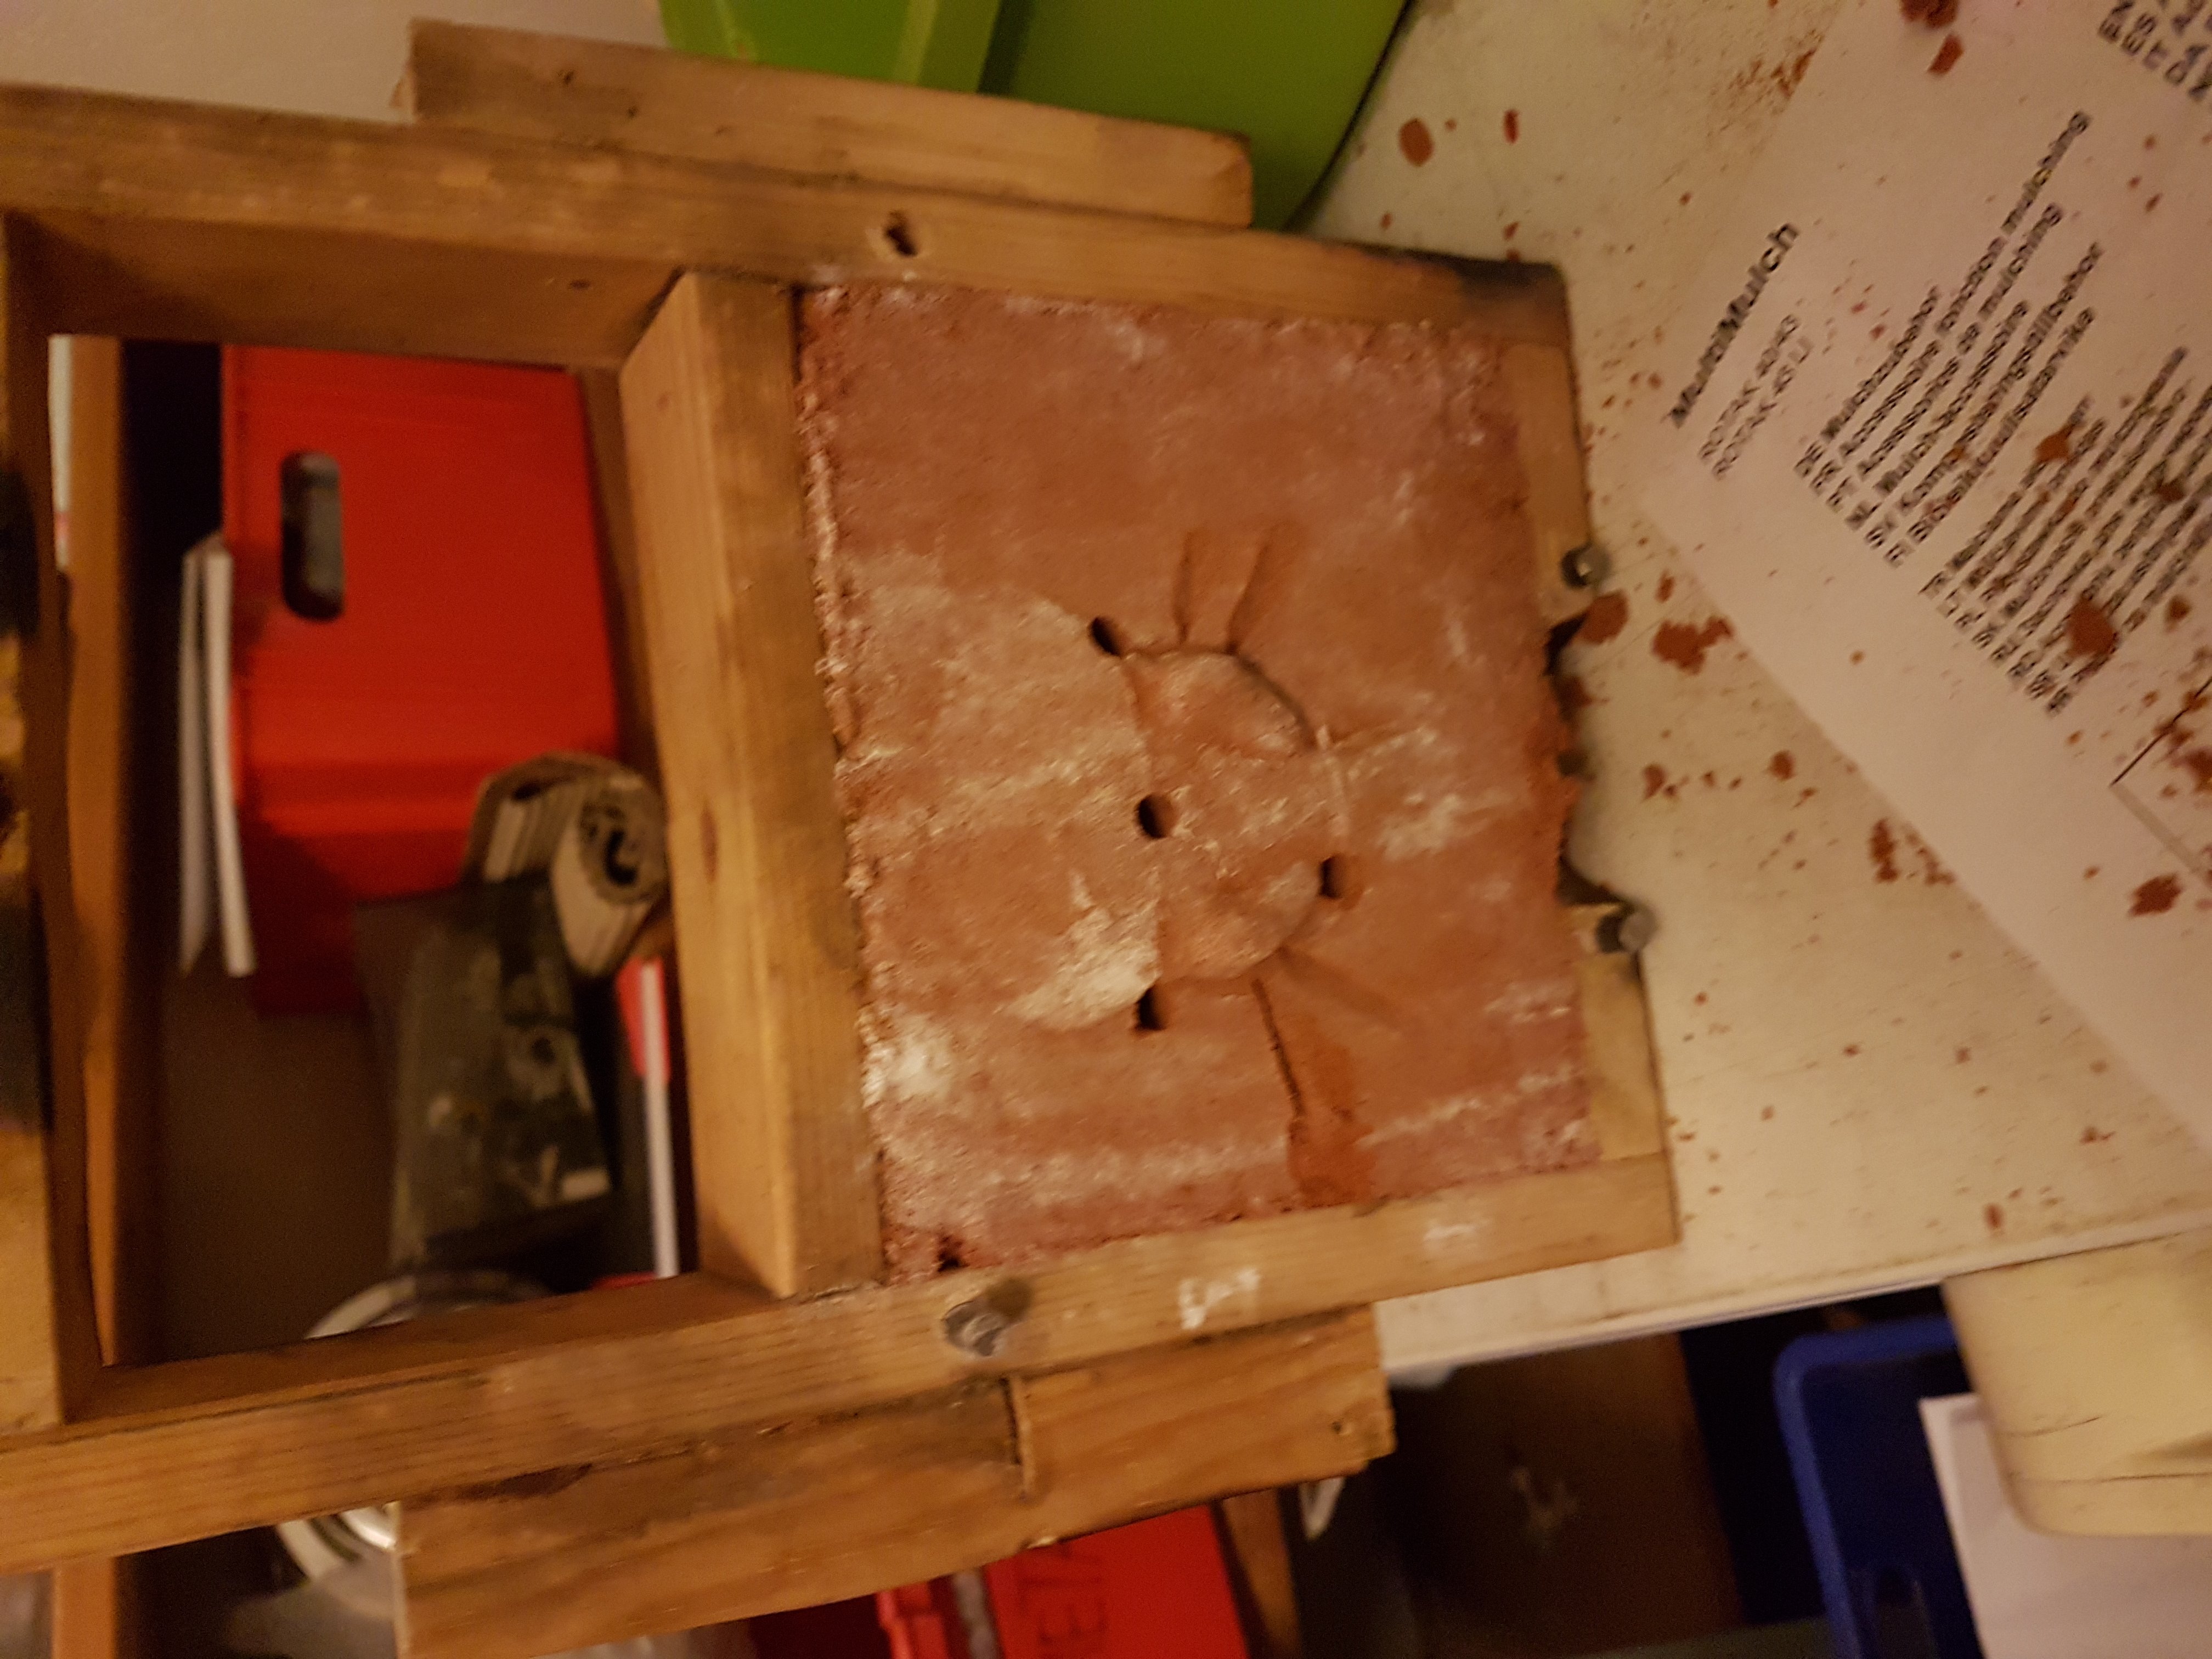
Apart from the actual hole for the model, I also cut canals for the metal to flow into the mold and for air to flow out.
Since the mold is made of sand I need to be fairly careful when removing the master and putting the two mold-halves together. Small amounts of sand may get brushed of and this can get caught inside the casting - ruining it. Therefore, making the molds are always a slow, slightly nerve wracking, and very concentrated task.

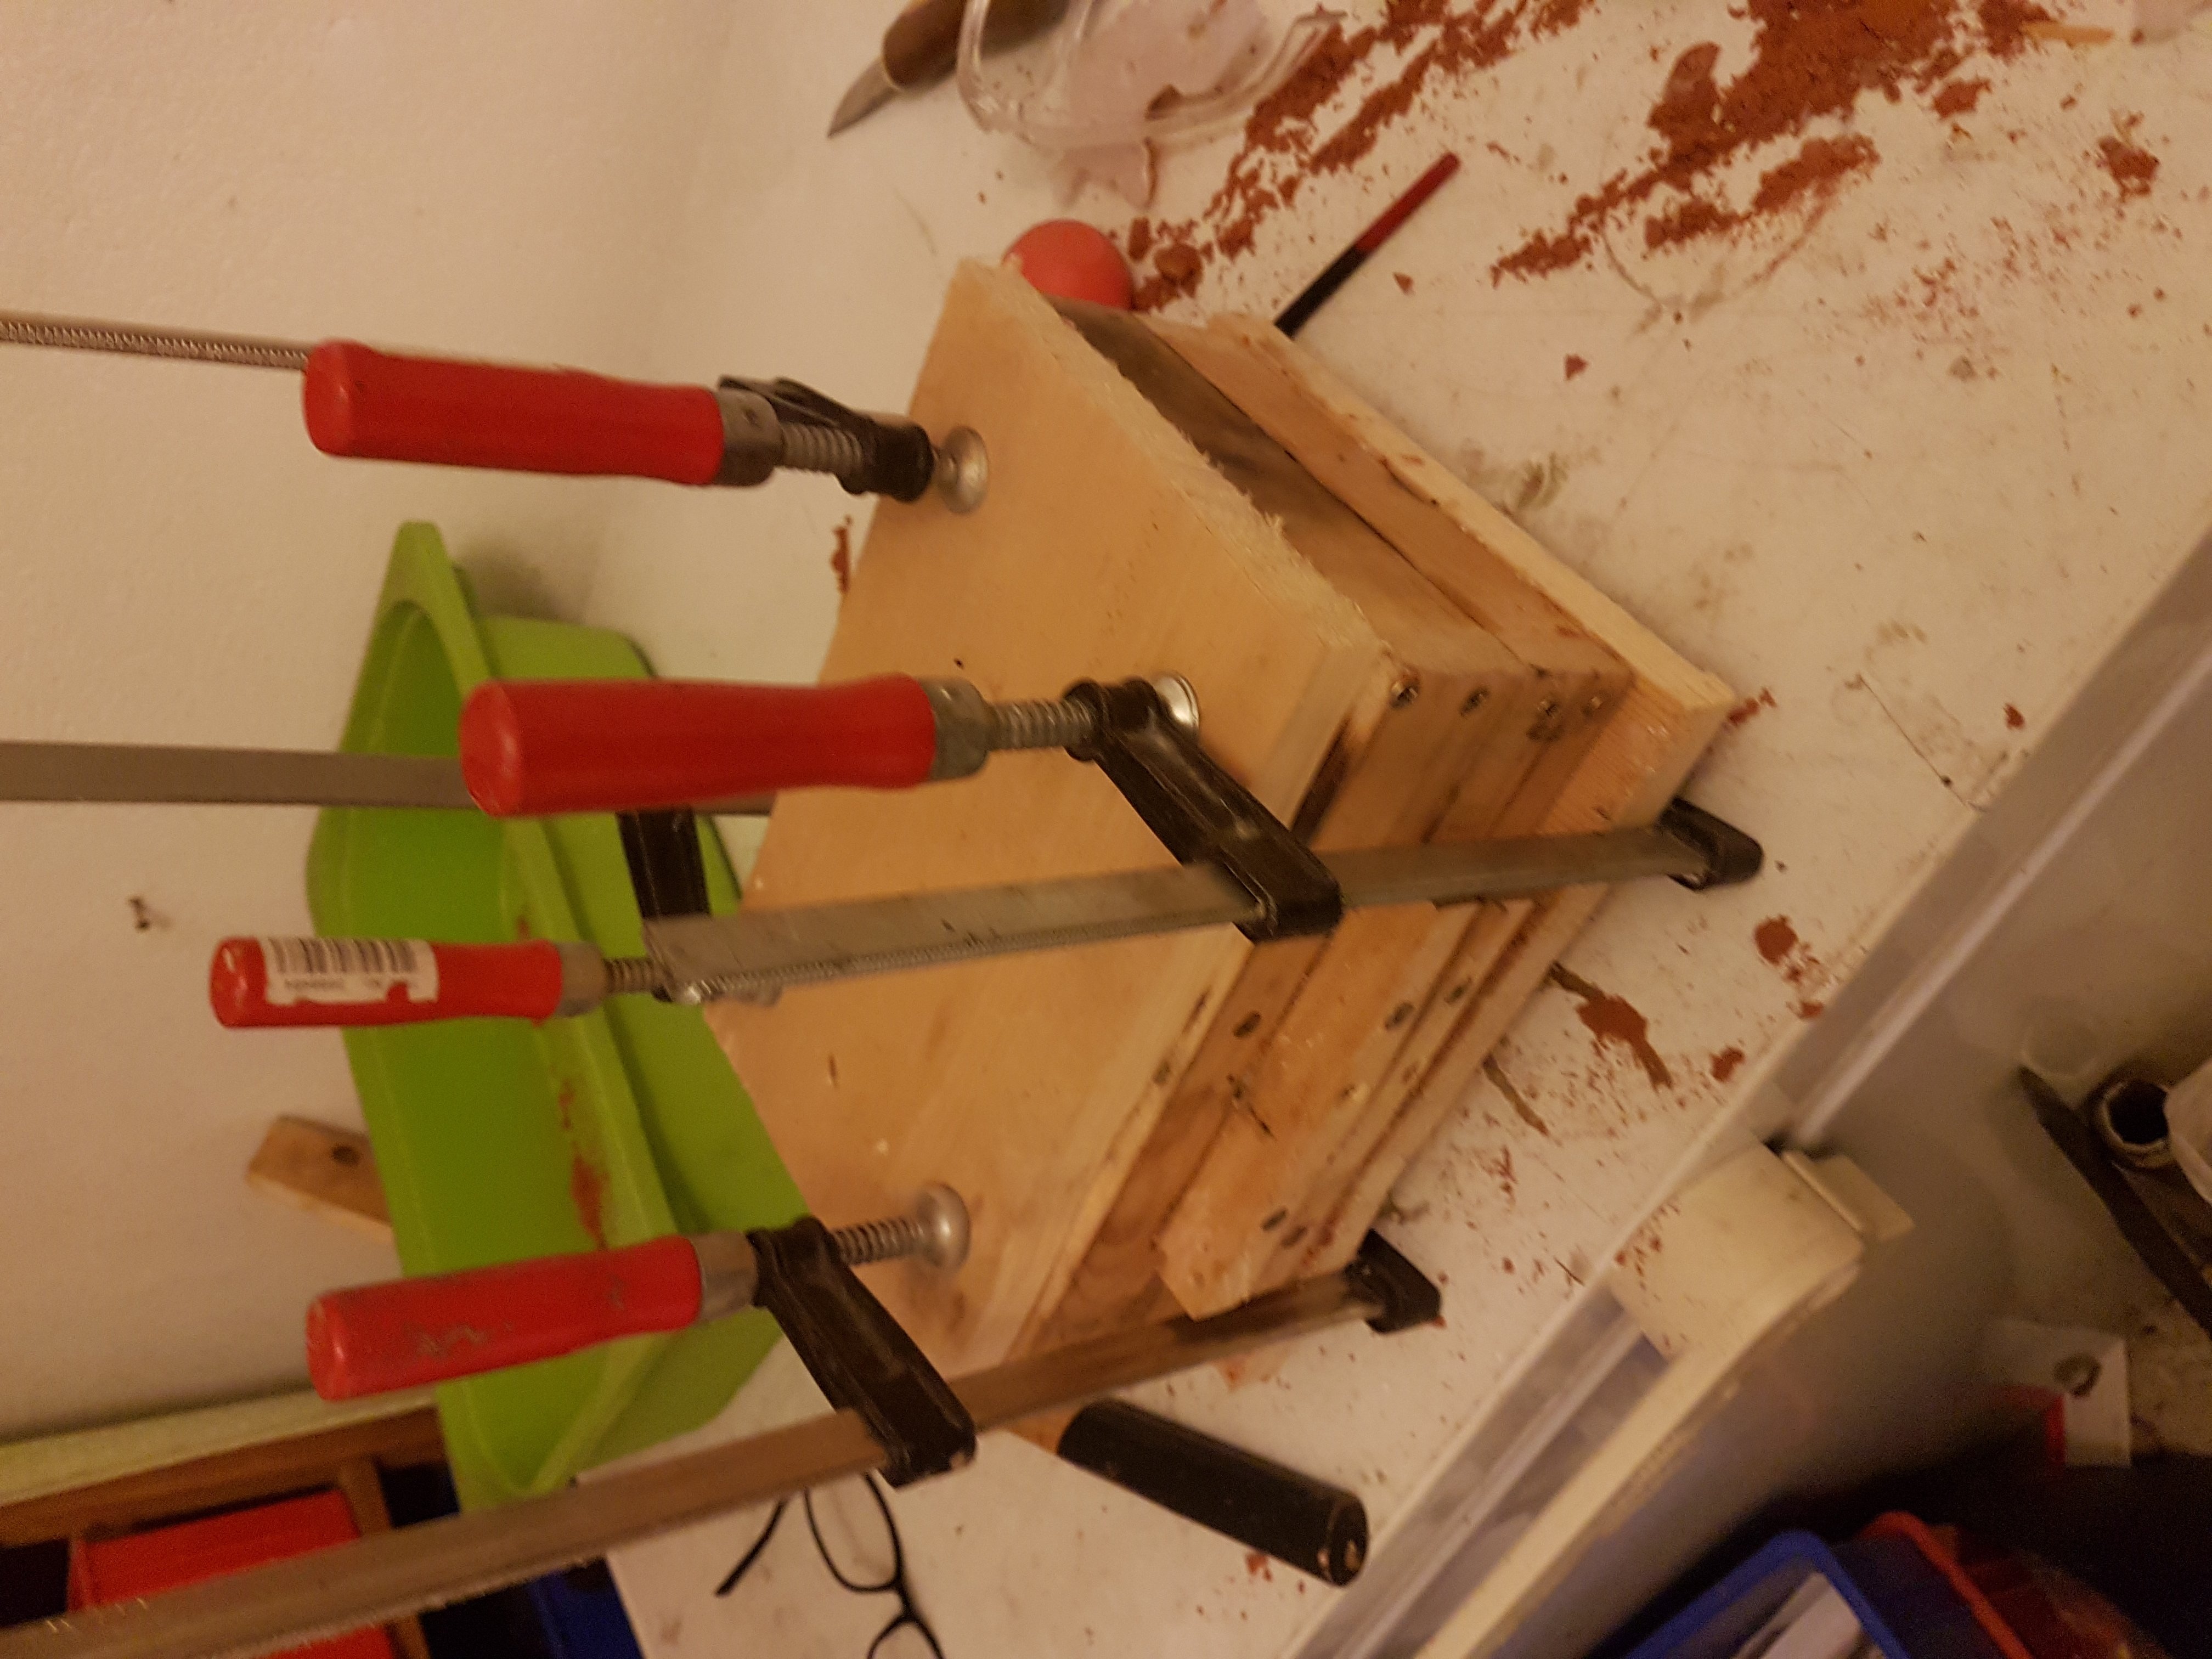
Once the mold is collected it is fairly sturdy. I just need to avoid dropping it, and all should be fine.

Then it is on to heating the bronze. Bronze melts at around 1000 degrees celsius, depending on the alloy, and I need it to get at least 100 degrees warmer than that for it to run smoothly into the mold.
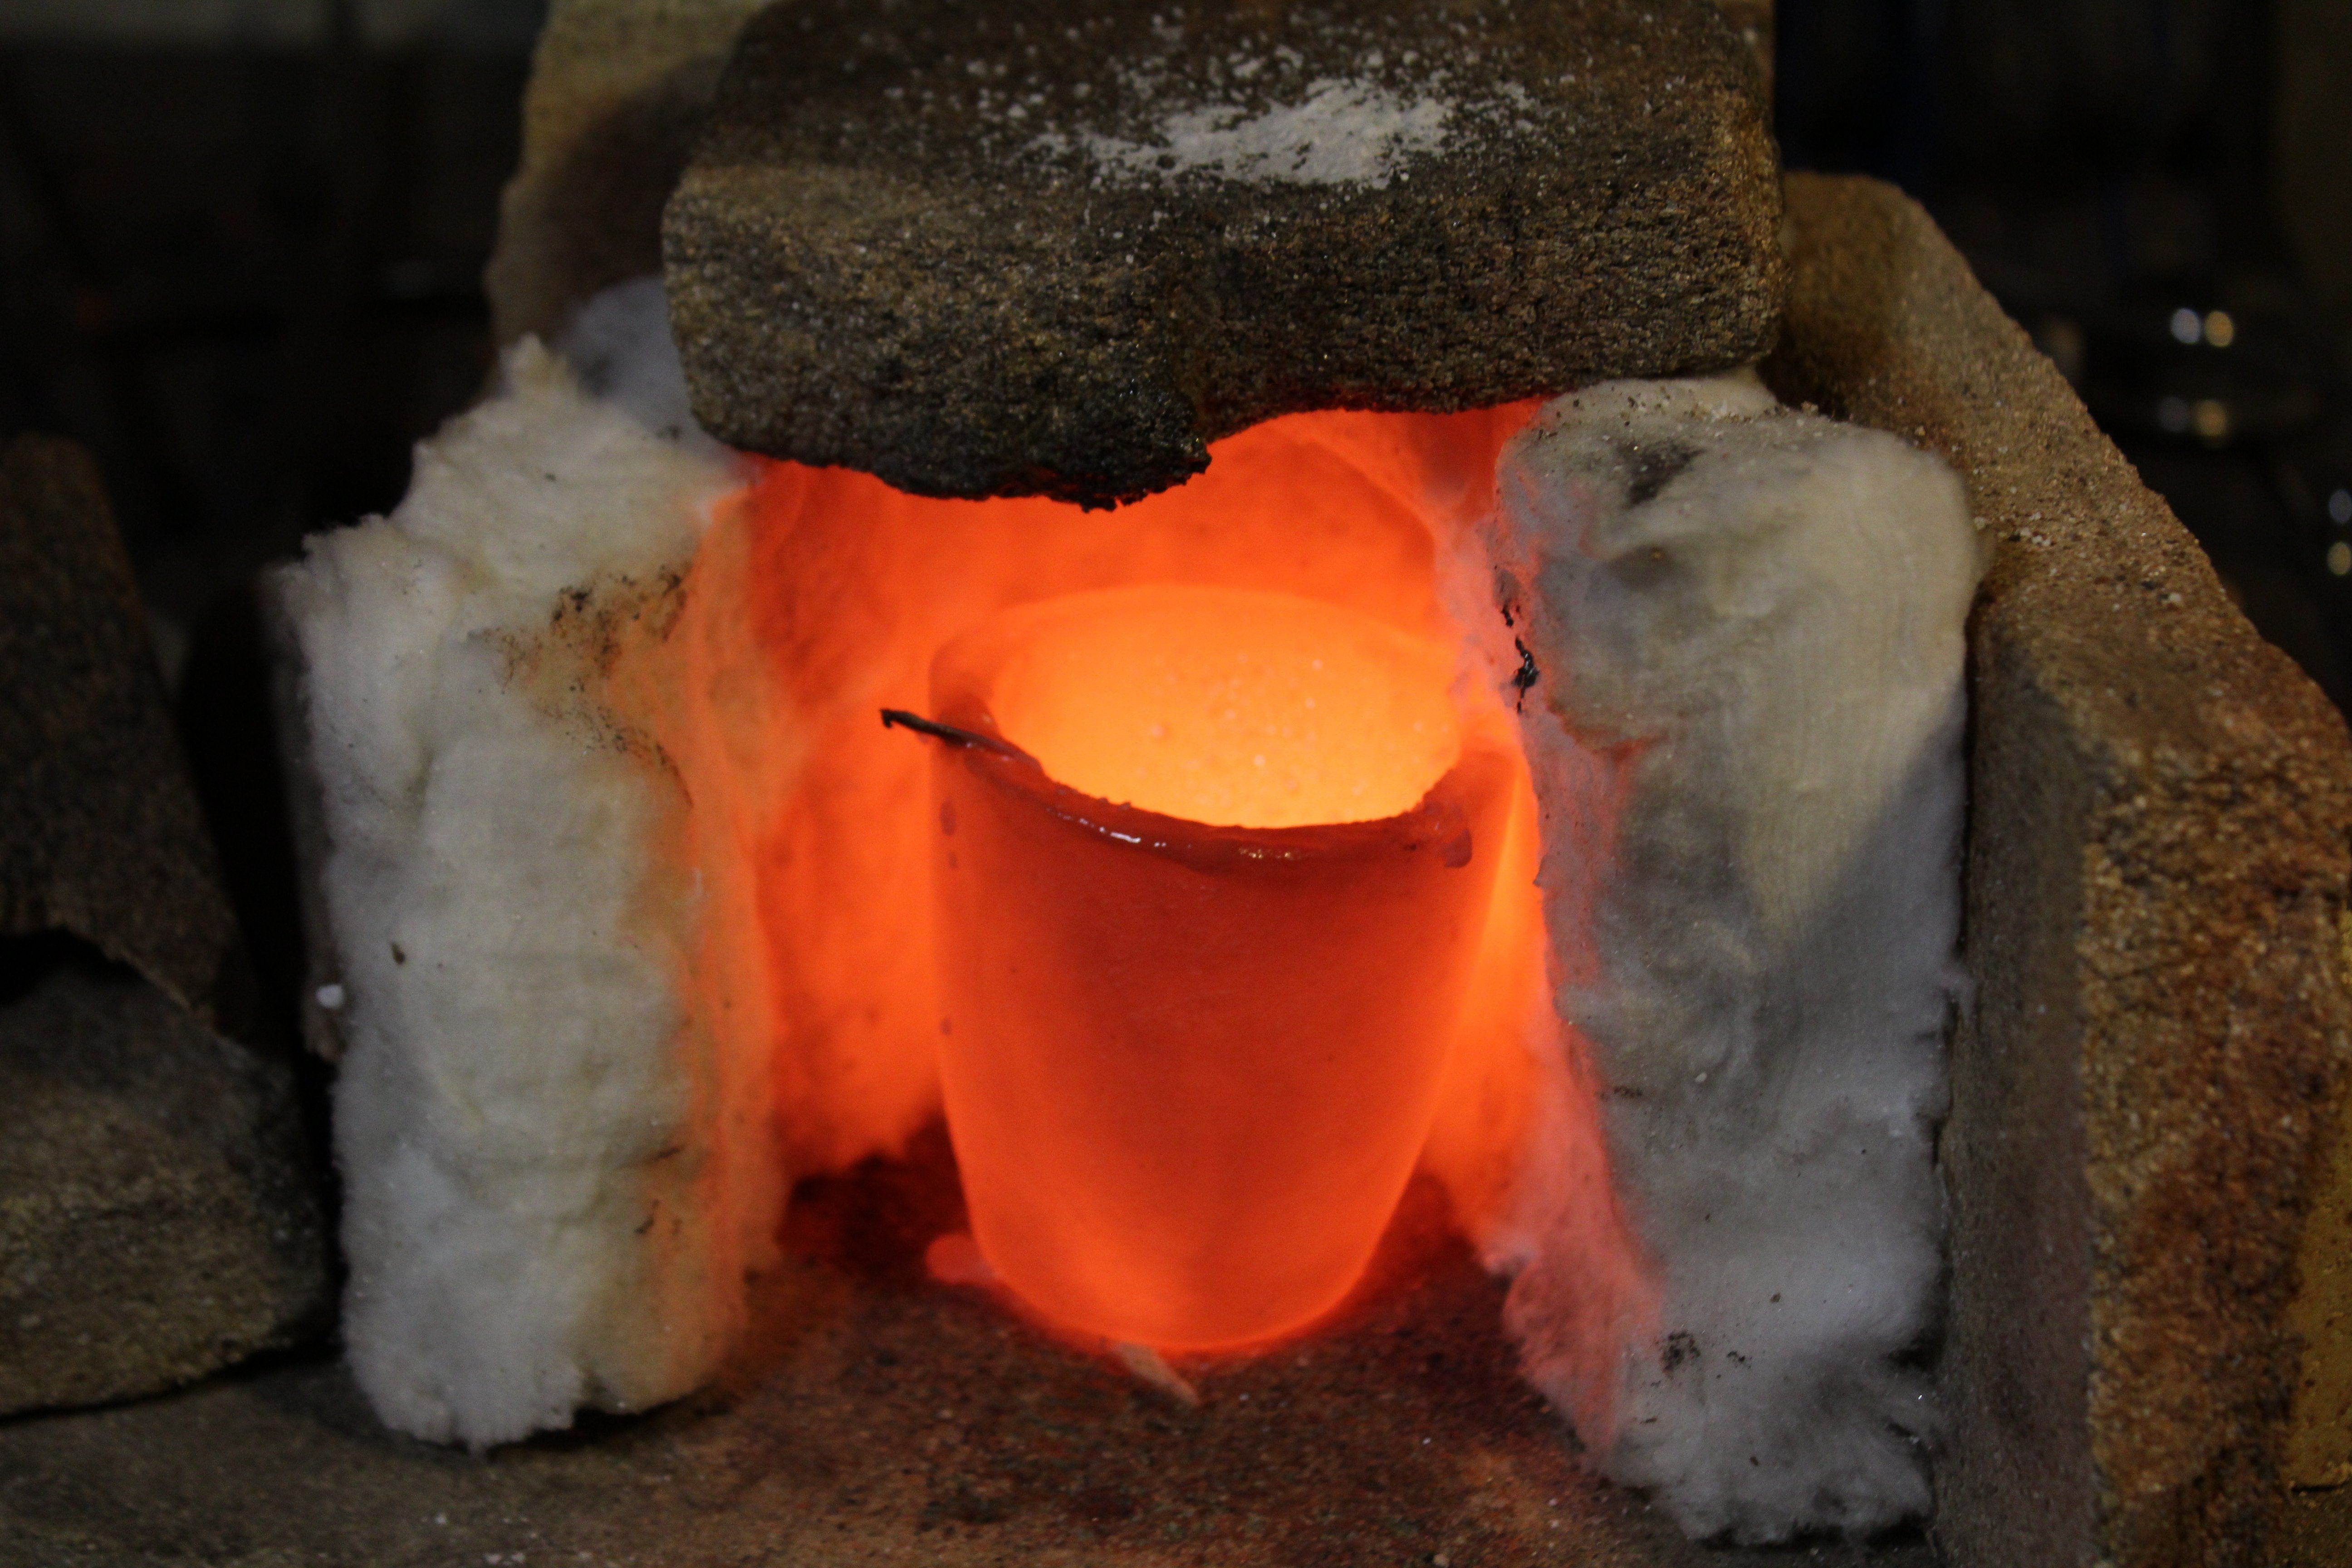
I use a gas-torch for this and to conserve energy, the kiln (which is made of graphite) is put in a small oven made of scamolex plates, fireproof stones and ceramic wool. This picture was taken after the pour so the kiln is already cooled a bit. When I pour, it is a bright yellow, and the metal inside is almost white-hot

As soon as the metal is no longer red-hot I usually remove the upper part of the mold. because the integrity of the sand is compromised by the heat burning the oil, I can usually do this without actually opening the mold.
This gives the bronze time to properly set(if some of it is still molten inside the model) while allowing the heat to dissipate quicker. It also means less of my casting sand gets burned, and since the unburnt sand can be reused this is a good thing.

Then it is the moment of truth. It is always super exciting to break the mold and see if everything has flowed and the casting is complete. As I get more experience the failures are rarer, but only recently I actually forgot to remove the plastic master from inside the mold, which resulted in a destroyed master, a failed casting and a rather obnoxious smelling smoke.

After the casting has been cleaned up and the sprues has been cut of, it is time for polishing and mounting. These fittings were used on my Lupine themed Champagne Sabre and I got to use it shortly after finishing it, since new years eve was coming up.

I can conclude that it works, even when its not a Champagne, but a very nice Cremant de bourgogne instead.

Im EvilHippie, a compulsive creative and jack o' trades. If you want to know more about me, check out my introduction post here
If you like what you see, feel free to upvote, follow and resteem
or you can check out these recent posts
A small handaxe
a nice view revisited
Knives and crypto
Madstedkniv