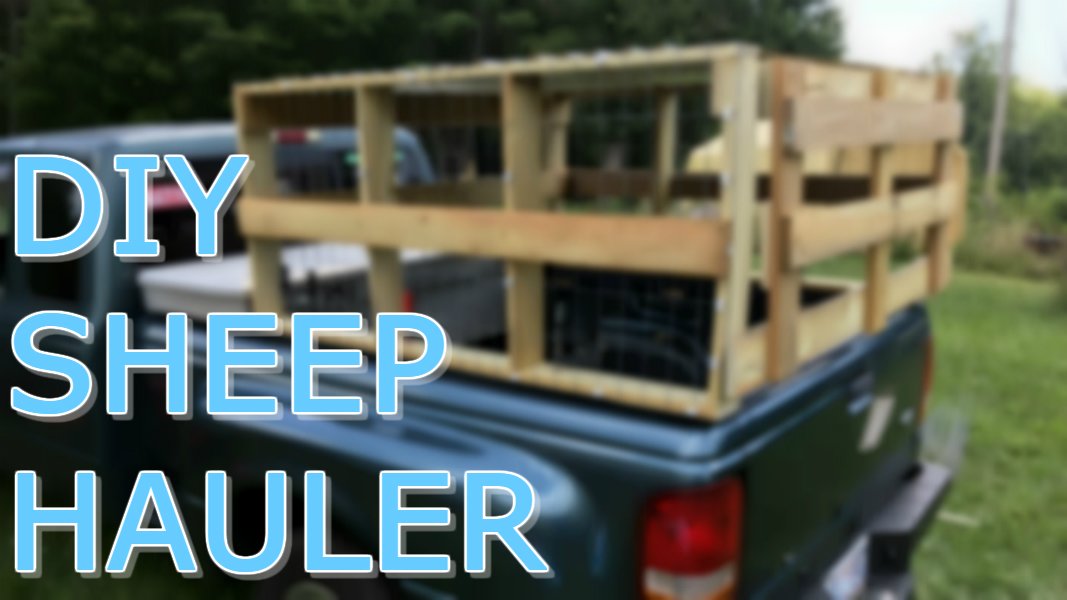
We picked up our first homestead livestock this past weekend and I needed a way of getting them home safe and sound. And thus... the DIY Sheep Hauler was born! Made completely from materials and items we had on hand already, I was able to build this in a few hours. Here's a step-by-step guide.

Step 1: Measure the Truck Bed
Since our sheep are smaller, and we only purchased two, I left my truck toolbox in the bed. I measured the length and width of the enclosure to build. The outside dimensions were 60 inches long and 53 inches wide and 24 inches tall.
Step 2: Material List
For this design, I needed the following boards:
- (6) 60" - Side Rails
- (11) 22" - Uprights
- (4) 53" - Cross Bars
- (3) 44" - Door Cross Bars
I also use the following miscellaneous hardware and materials:
- (6) Clamps to attach to truck bed
- (15 feet) Welded Wire Fencing
- Wire Staples
- 1 5/8" Wood Screws
- (2) Hinges
- Metal Roofing
- Metal Roofing Screws (hex head with washers)
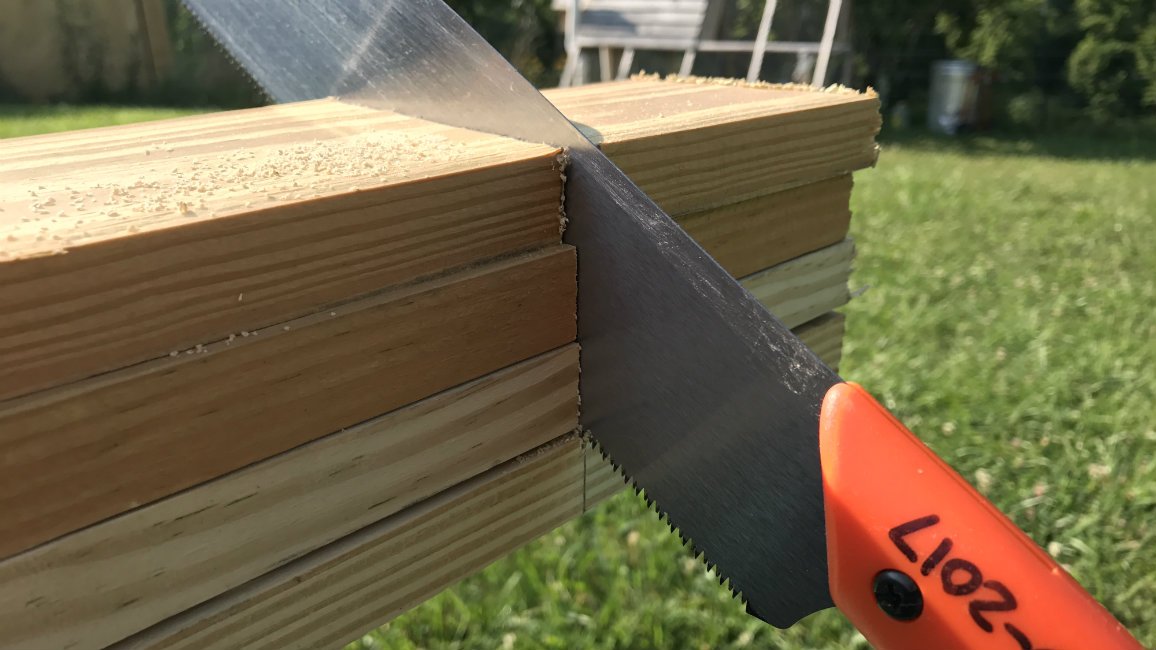
Step 3: Cut and Assemble the Sides
To make the cutting easier, and ensure all my boards were the same, I clamped them together and cut in bulk when possible. This saved the time of measuring and marking each board individually and gave a more precise cut.
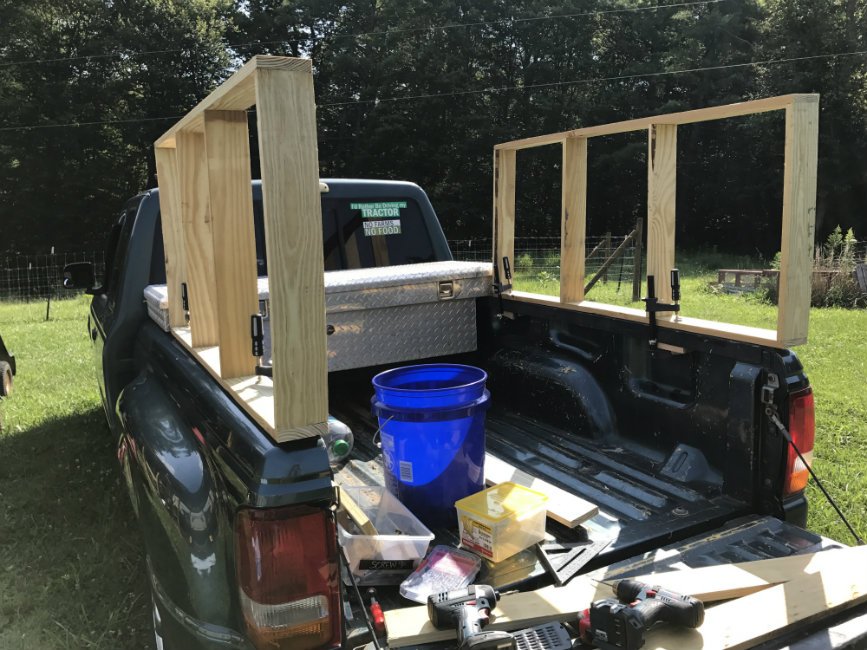
The sides are built like a ladder; two 60" top/bottom boards with four 22" vertical slats. I pre-drilled the holes in the boards before attaching. Thinner material, like this 3/4 inch wood, is very prone to split and crack.

Step 4: Attach the Sides to Truck
I used wood clamps to attach the sides to the truck. They were very strong and held the hauler in place without any issues, while still making it easy to remove and not damaging my truck.
Step 5: Install the Cross Bars
Next I installed the top cross bars to tie the two sides together. These cross bars are 53 inches long.

Step 6: Door Framing
I used a simple design for the back door. It's basically a flat ladder type structure. The lower board is longer than the top so that it would not swing inside of the hauler. It also served as an attachment point for closing up the hauler. In the below photo, you can also see that I added a second cross bar to the front to serve as a stronger barrier for the sheep.

Step 7: Fencing and More Cross Bars
We then wrapped the outside of the hauler in welded wire fencing and attached it to the boards with electrical wire staples. I then added another cross bar to the sides of the hauler to keep the sheep from pushing the fence outwards. The fence is one piece; going from one back corner to the other.
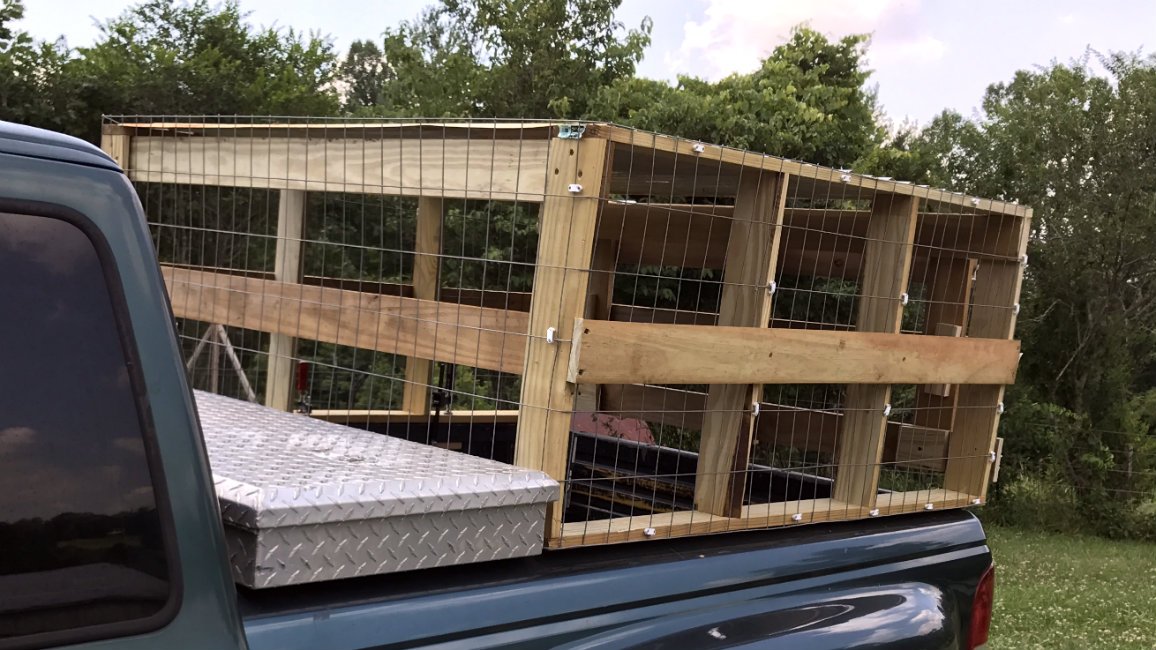
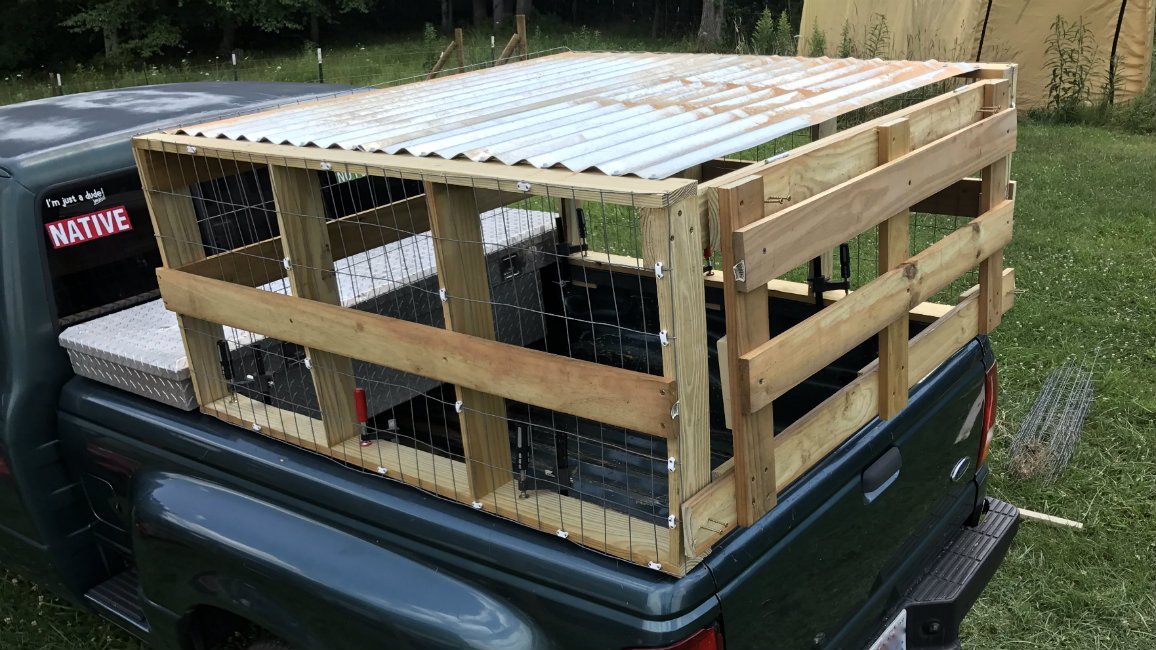
Step 8: Roofing and Done!
Finally, I cut an old sheet of metal roofing into two 4 foot lengths and screwed it to the top of the hauler. This served as a secure closure for the top and as a shade structure for the sheep from the sun and rain.
Trial by Fire!
Right after building this hauler, it was time to hit the road to pickup our sheep. Nothing like putting it to the test right away! I tossed a few extra tools and items into my truck tool box just-in-case, and took off. The ONLY issue we had was the constant high winds popped the roofing off of the front few screws. I quickly fixed it with a few ratchet tie down straps. Roofing aside, there were no other issues with the hauler on the five hour road trip! Hooray!
Wait, Where's the Sheep?!
That's coming up in the next post. They deserve their own spotlight. Stay tuned!
See you in the comments below, and on the next post!
Until next time, @greenacrehome