This was my second time making biochar and it turned out quite well! I am hoping to make a biochar fan out of you too!
Gardeners, homesteaders and farmers can benefit from biochar in the soil in garden beds, containers, field crops, and compost. If you don't want to or can't make biochar it's also available as a commercial product!
First off, what is Biochar?
Charcoal is created from biomass (wood, manure, crop residues, solid waste, etc) through pyrolysis which is heating the biomass in a manner that releases as little carbon into the atmosphere as possible.
Then the char is inoculated with life and nutrients, hence the "bio" part of biochar.
The carbon from the biomass, that might otherwise be "waste" material, is locked up in the char. If done right biochar can be carbon neutral or even carbon negative because it can help facilitate locking up carbon in the soil, improve carbon sequestration, reduce fertilizer inputs, reduce soil emissions, reduce feed stock emissions and generate energy. Source: Climate Change and Biochar
Improved water retention. Biochar attracts and holds water in its pores which gives soil better water retention.
Improved soil fertility. When added as a soil amendment, biochar helps gardens, farms and fields organic matter, minerals and nutrients. But they are not locked up, they are all accessible to plants and trees and released as needed!
The porous nature of biochar provides home and habitat to microbes and other soil organisms helping facilitate a more robust the soil food web.
Biochar persists in the soil for 100s to 1000s of years vs other organic amendments that break down relatively quickly. As a soil amendment it is an invaluable investment in your soil.
There are many, many, many other benefits of biochar. These are just a few to wet your appetite :)
I highly recommend listening to this interview with Biochar expert Gloria Flora on Permaculture Voices. It is packed with info and tips. Practical Tips, Ideas and Technologies for Homescale Biochar with Gloria Flora
In addition to the podcast the notes at the bottom of the above link also include links to more quality information and books about biochar.
You an also learn more about biochar at www.biochar-international.org and www.biochar-us.org
How I Made Biochar
Please bear in mind while I show you how I made biochar, I am a beginner. I understand the basic concepts but this is only my second time making it. So take that into consideration!
That said, at a basic level biochar is very easy to make and being inexperienced shouldn't stop you from trying!
And a warning: Please make sure not to light a slash pile during the dry season, which can start fairly early in the year in many places. Check with your local fire department about the burn ban season in your locality. Have your water source ready before starting the fire in case you need to put the fire out at any point.
First things first the tools were assembled:
- A garden rake for tending the fire and pulling out char
- A shovel for tending the fire
- A hose for quenching the fire and the char
From my understanding there are several common ways of making biochar. A cone kiln, a pit and a slash pile are 3 of the most common ways that I have heard of. The first time I made biochar was in a cone kiln. This time I tried out the slash pile method. The process is slightly different but the underlying concepts and goals are the same.
Don't let being in a suburban environment or not having a slash pile discourage you from trying out making biochar because it can be done in any scale, including in a fire pit, in a cone kiln, with bricks, even in a bbq.
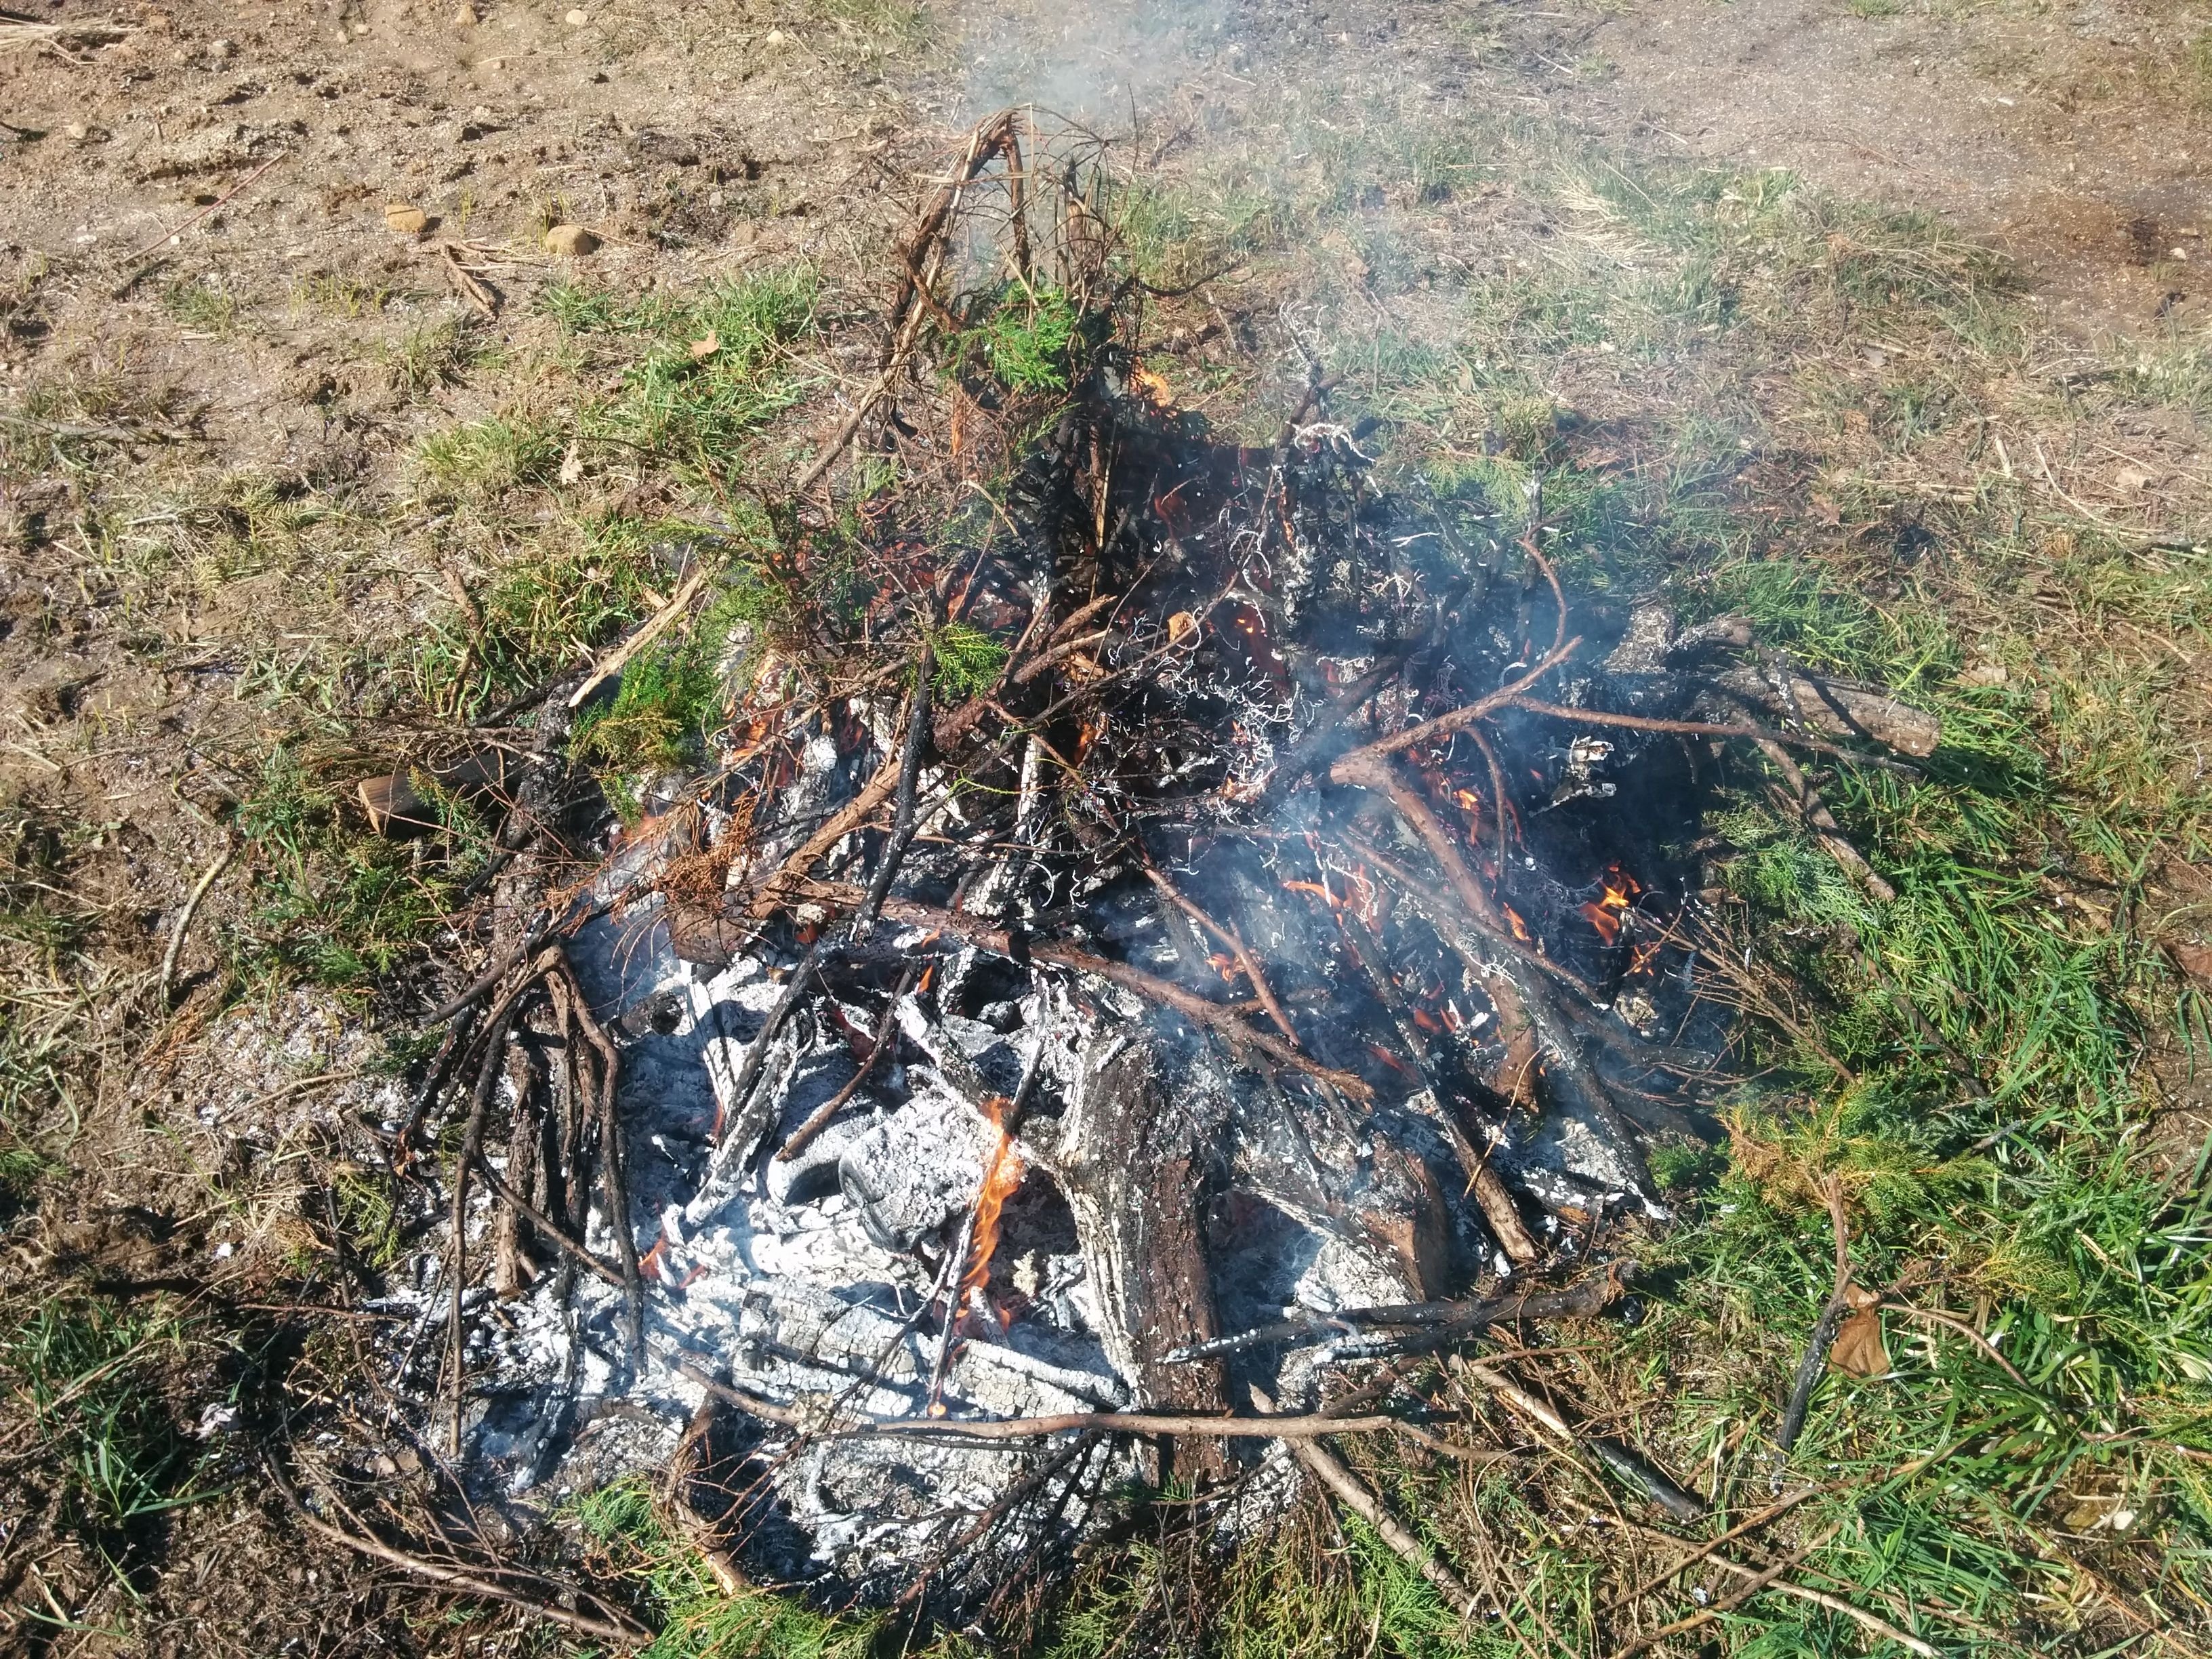
This is the slash pile I started with. There were several piles already on the property, piled up last year. This pile had the most uniform thicknesses of branches, which is helpful in making biochar as I'll explain shortly.

The pile was top lit.
The reason for that is as the fire burns downward it can more effectively burn more of the gasses that are emitted, creating less smoke and a cleaner burn. Our goal is to create as clean a burn as possible in order to release less carbon.

To start the burn I built a fire on top of the pile and top lit it.
This was one of the first dry and sunny days coming out of some snowy and rainy days. I was a little concerned about the wetness of the pile so I opted for a good sized starter fire. But I would rather deal with some wetter pile now than risk missing out on making the char before burn ban season starts up or risking drier conditions. In retrospect I could have built a smaller starter fire and have been OK with it.
It turned out the top of the pile was pretty open and dry while the bottom half of the pile was more wet on the outside. That was another benefit of top lighting, since it allowed the fire to get hot before the damper pieces were burned.
It was a fairly breezy day so I placed the starter fire on the up wind side of the brush pile. The wind would blow the flames toward the center of the pile. If I started on the other side or the center I would have a harder time getting the whole thing going.
You could also light a pile easily with a flame weeder
If you have access to one, which is usually a really easy way to start a pile burning.
As the fire burns down it begins to catch the pile.
It is important to keep your eye on the pile regularly because it will need tending. I was able to multi task and perform some other chores while I was waiting for the fire to progress but I made sure to check back regularly.
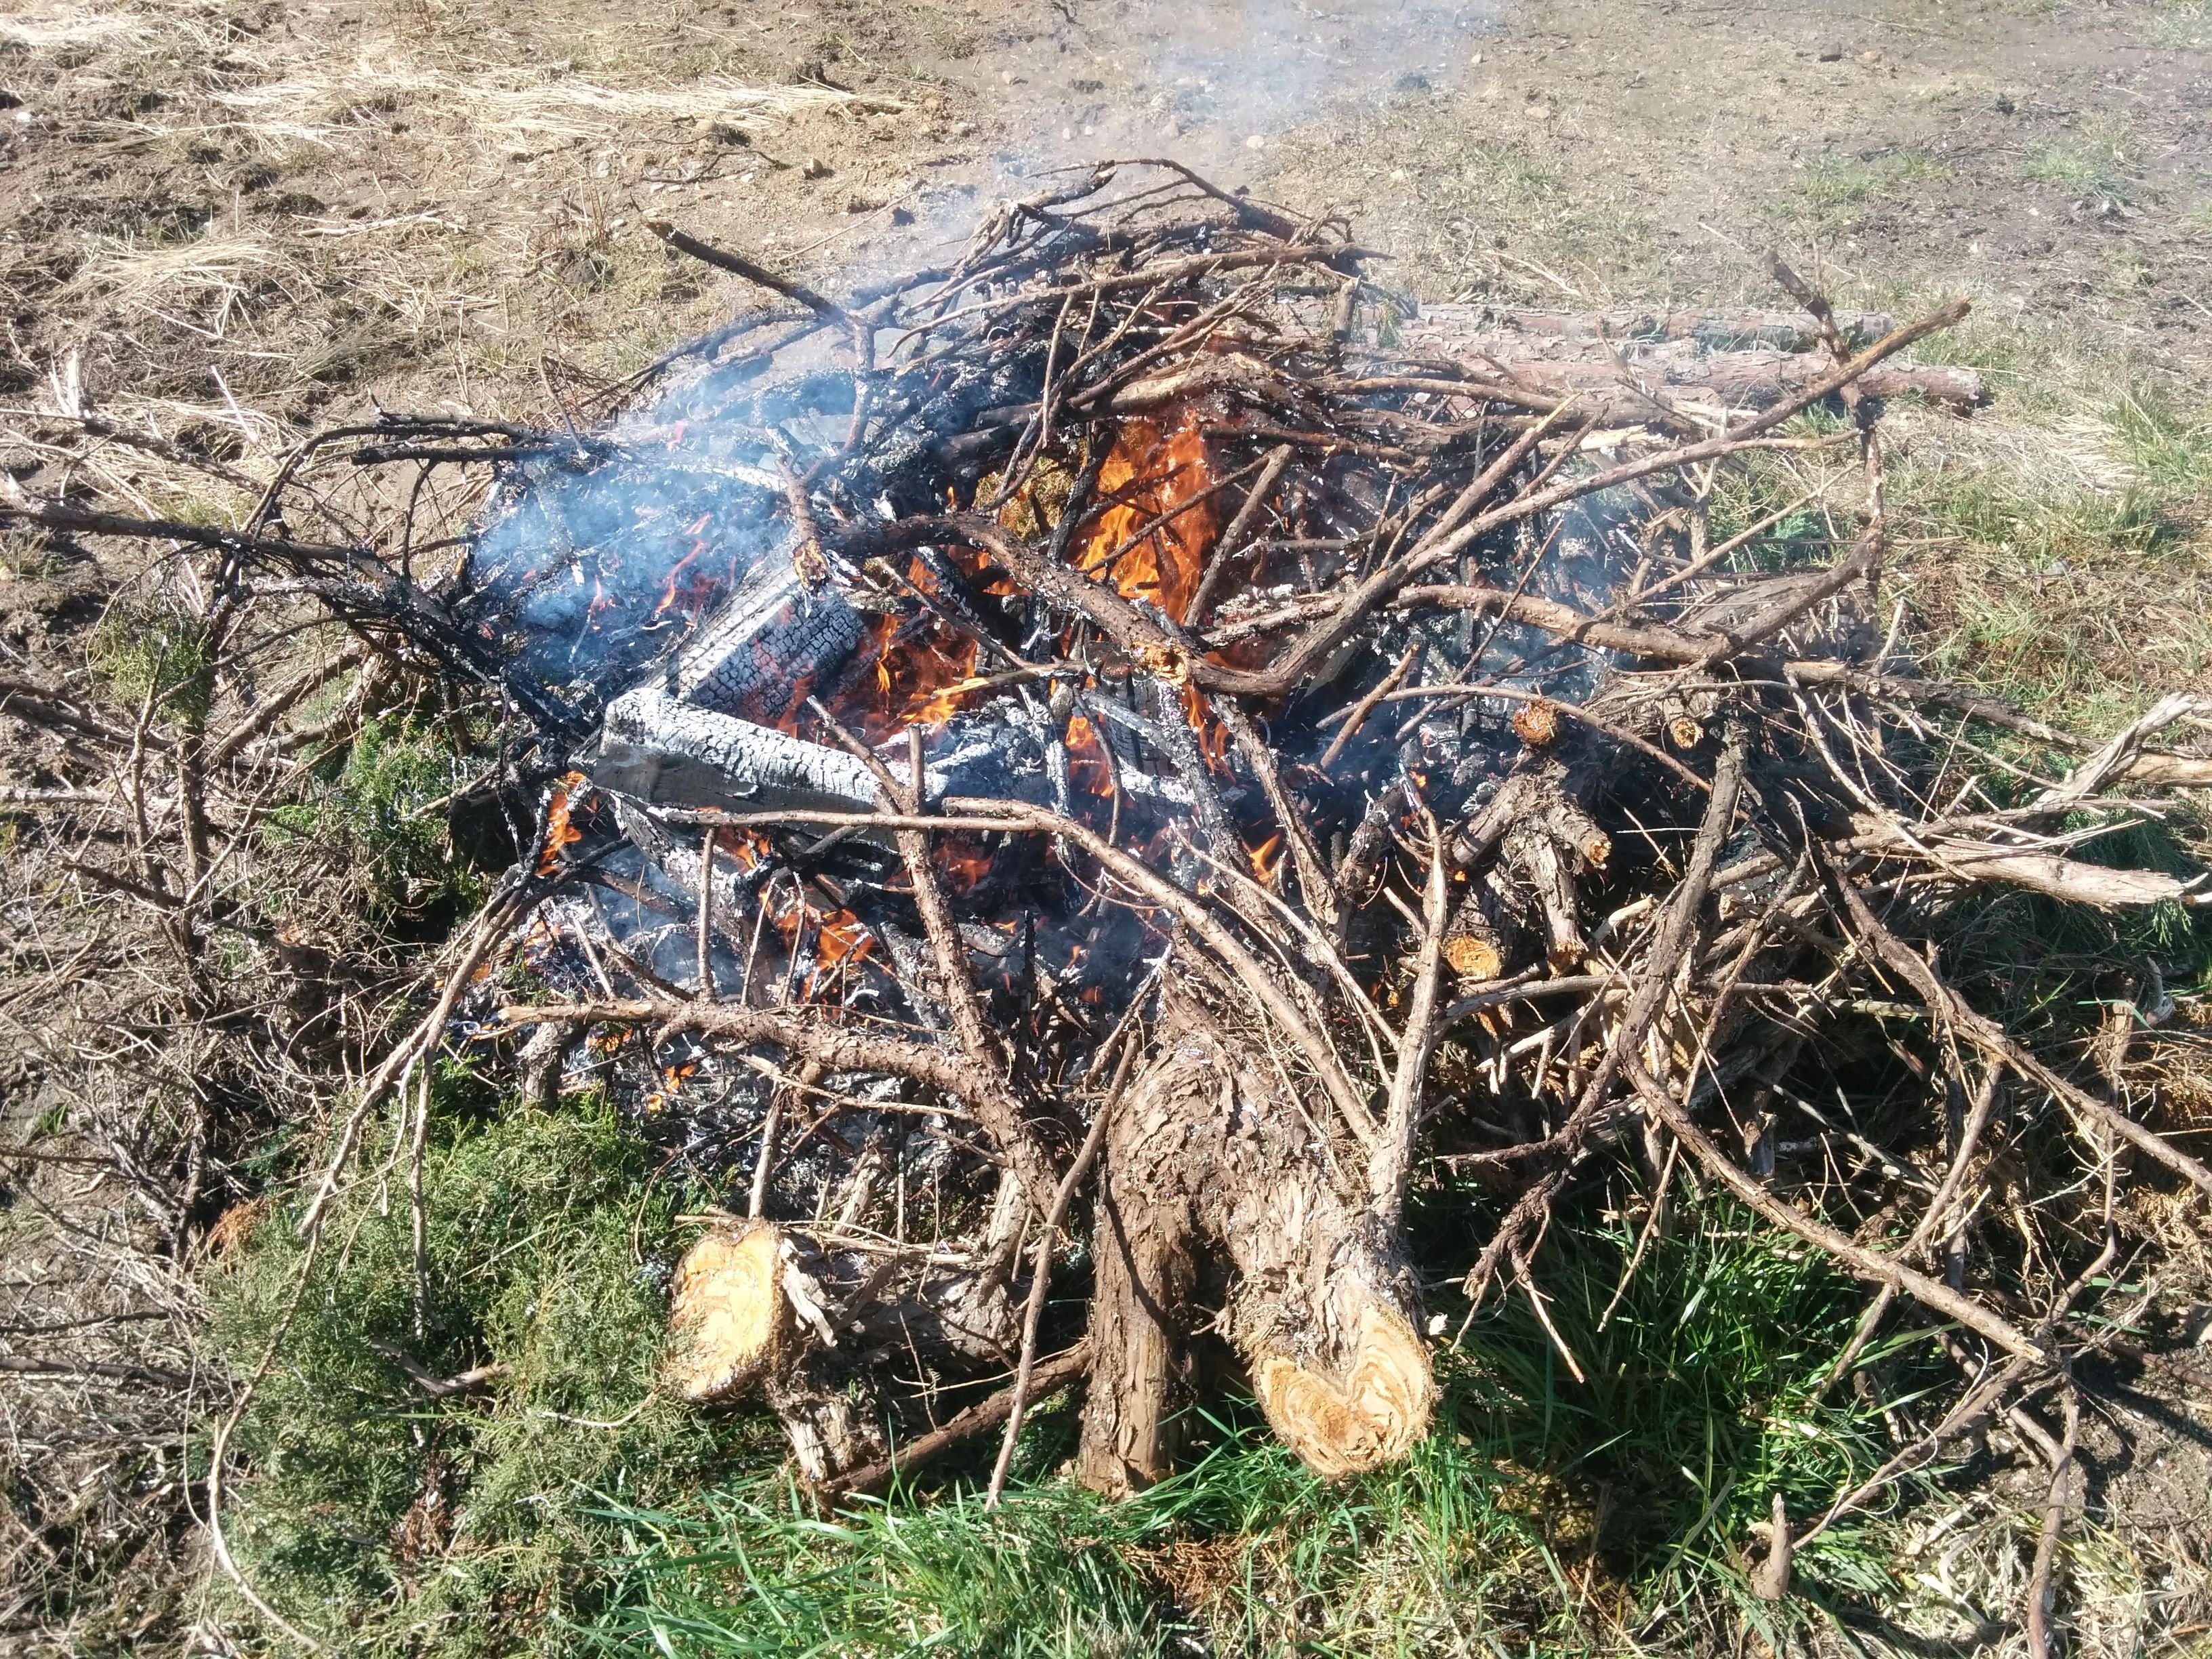
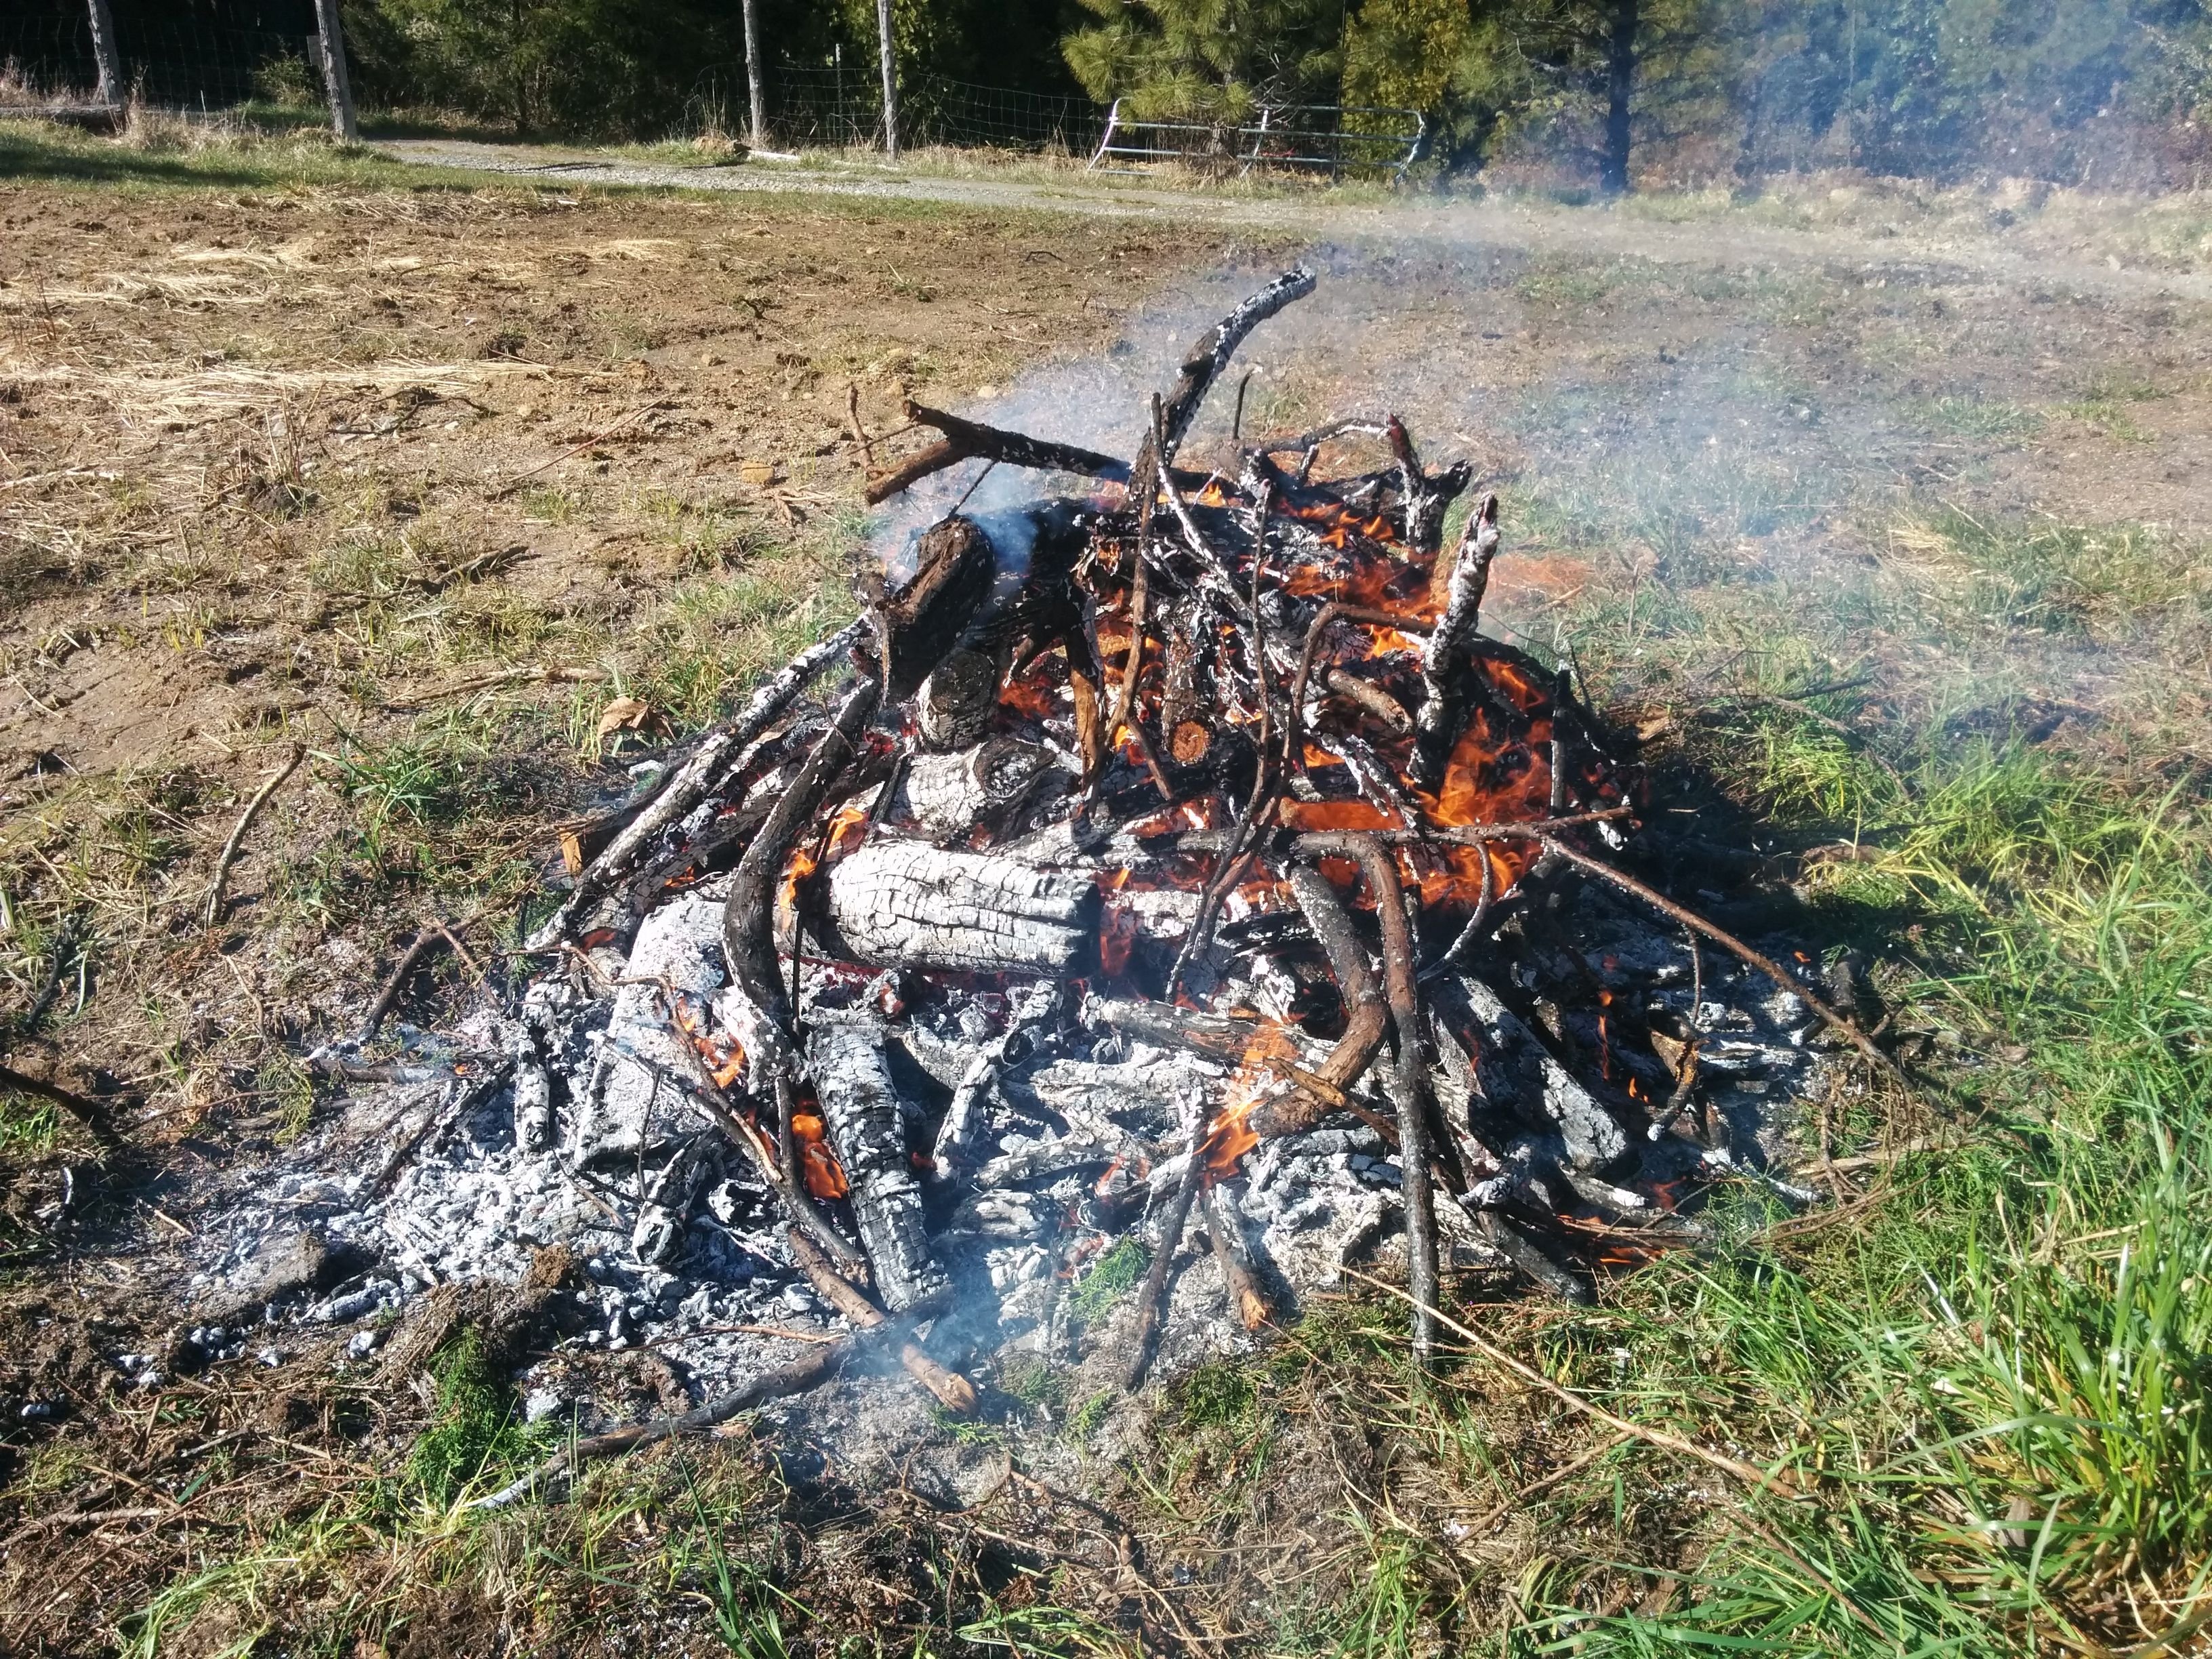
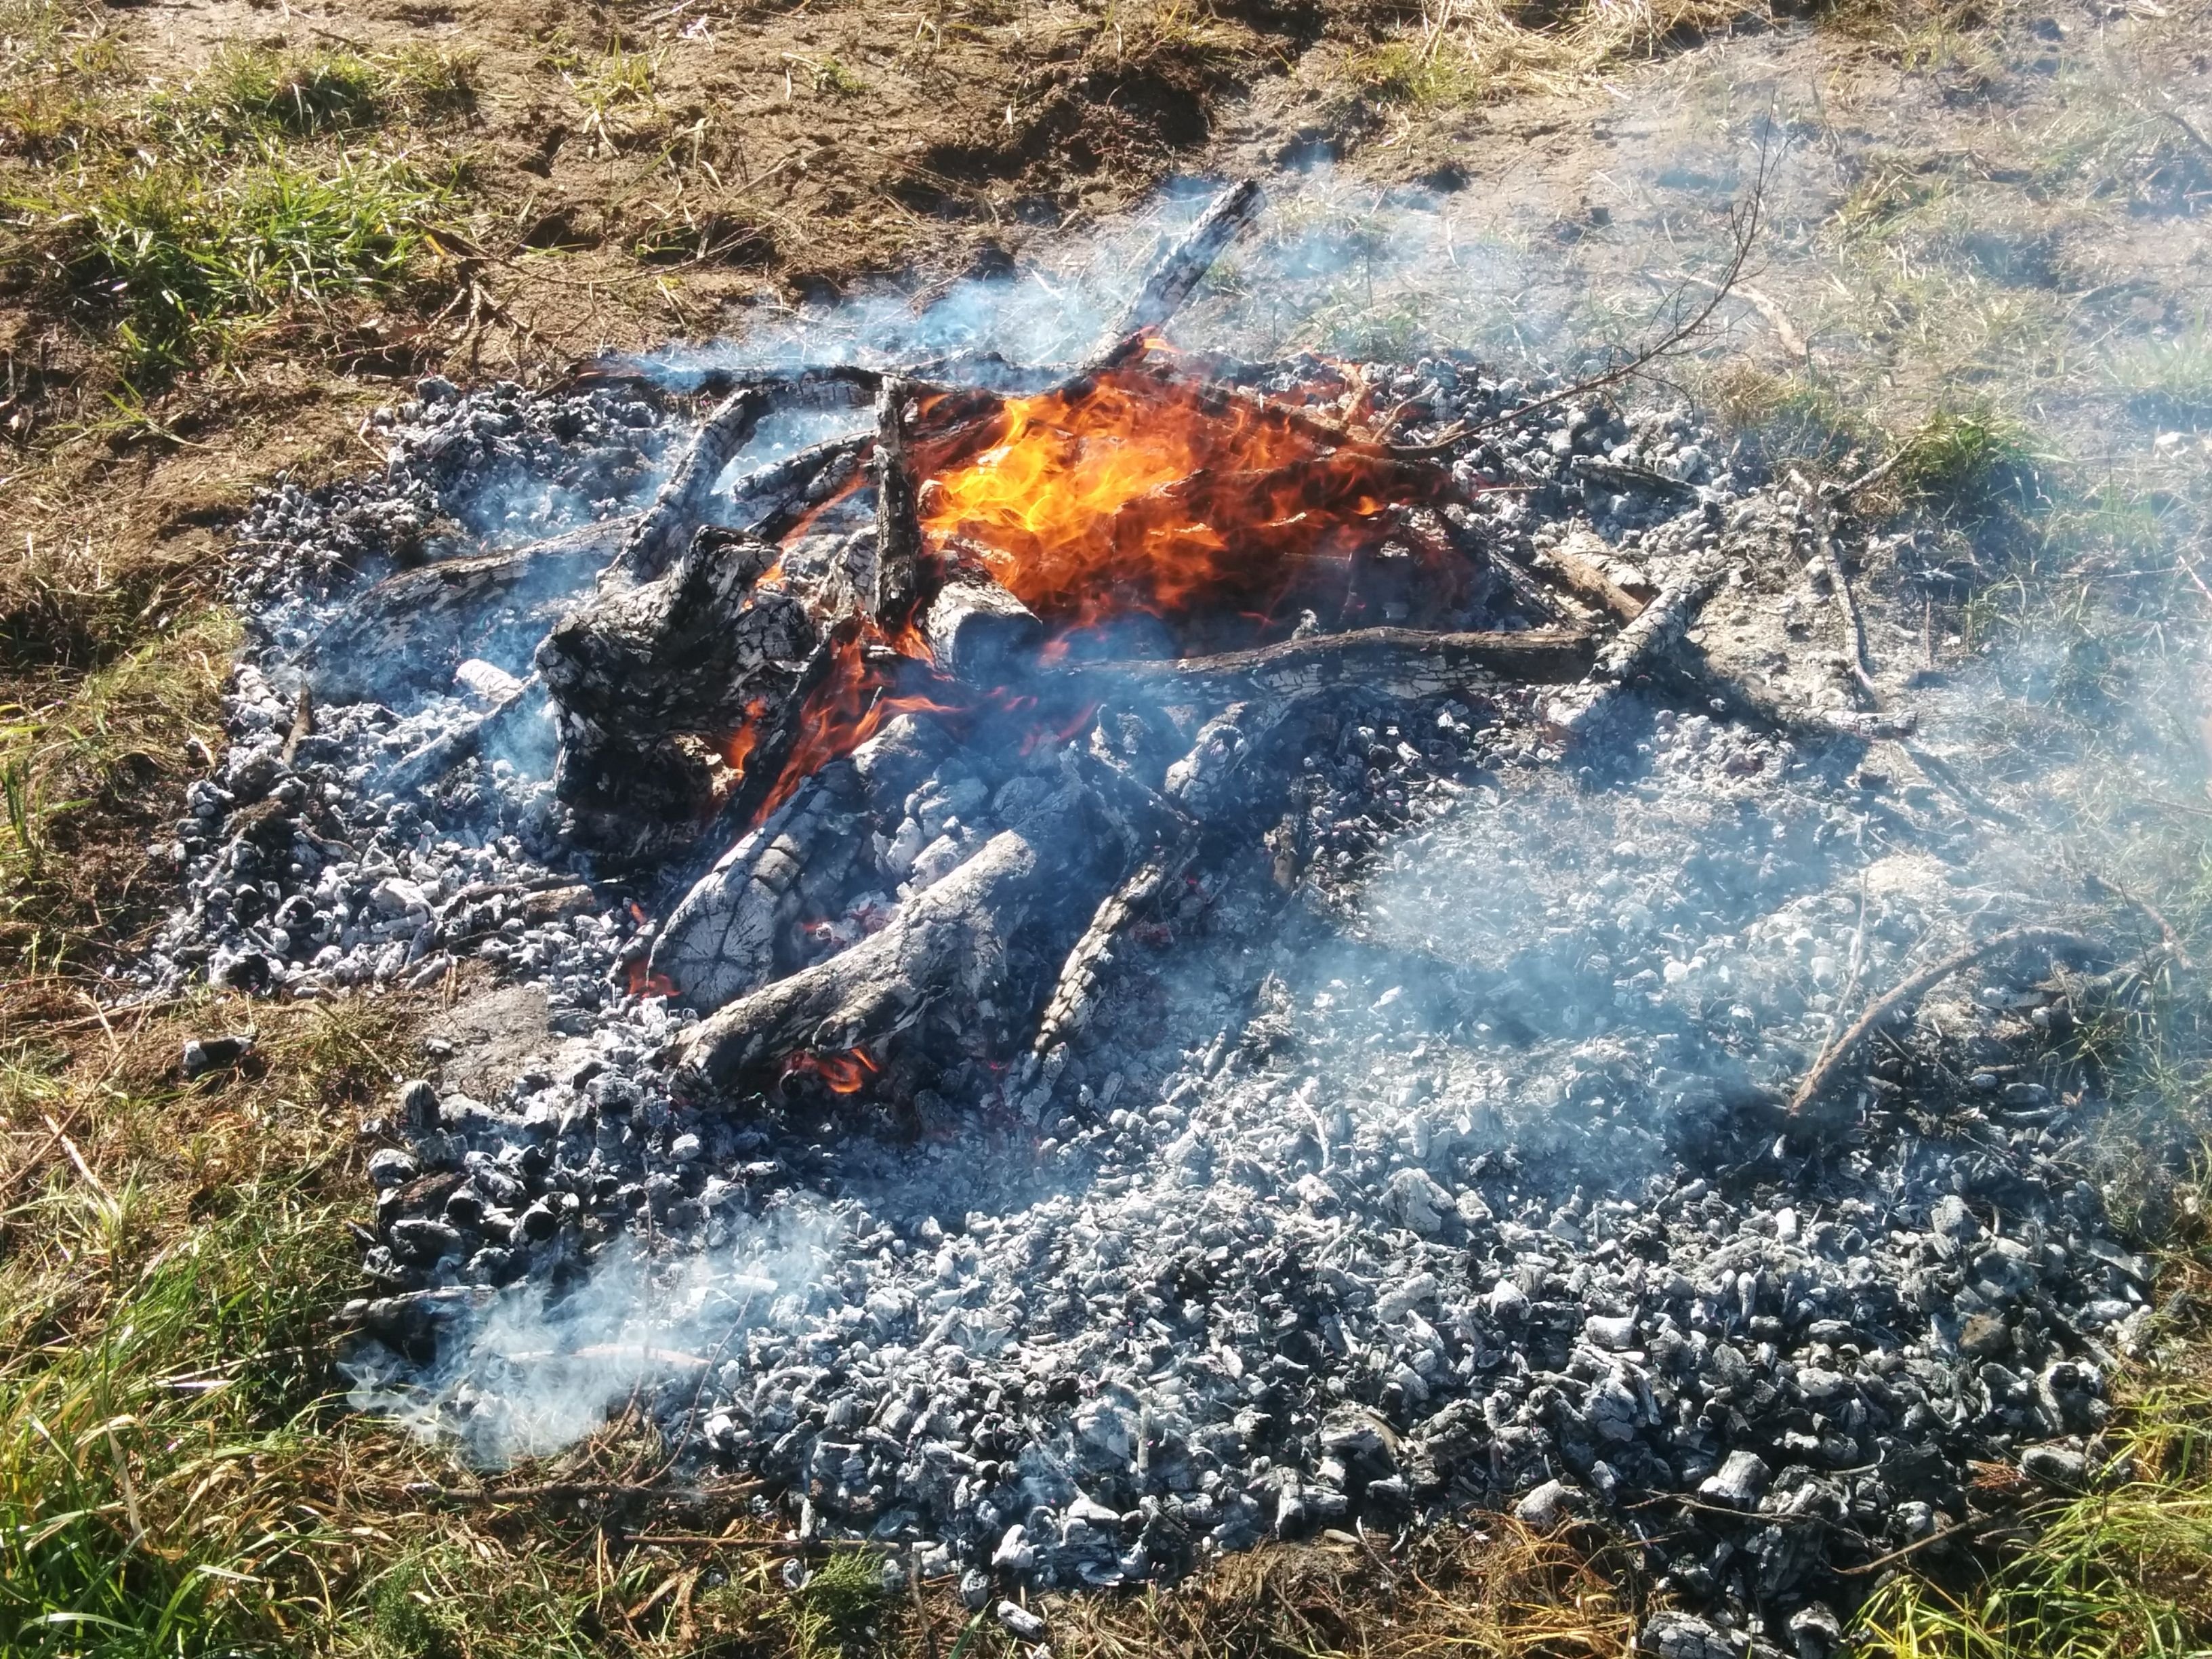
The fire is starting to catch on well.
So far I haven't had to do much tending. There is not too much smoke going on now which is a good sign that the fire is burning efficiently.
As the fire progresses and the fuels in the middle are burning down I start moving some of the outer pieces to the middle in a layering process.
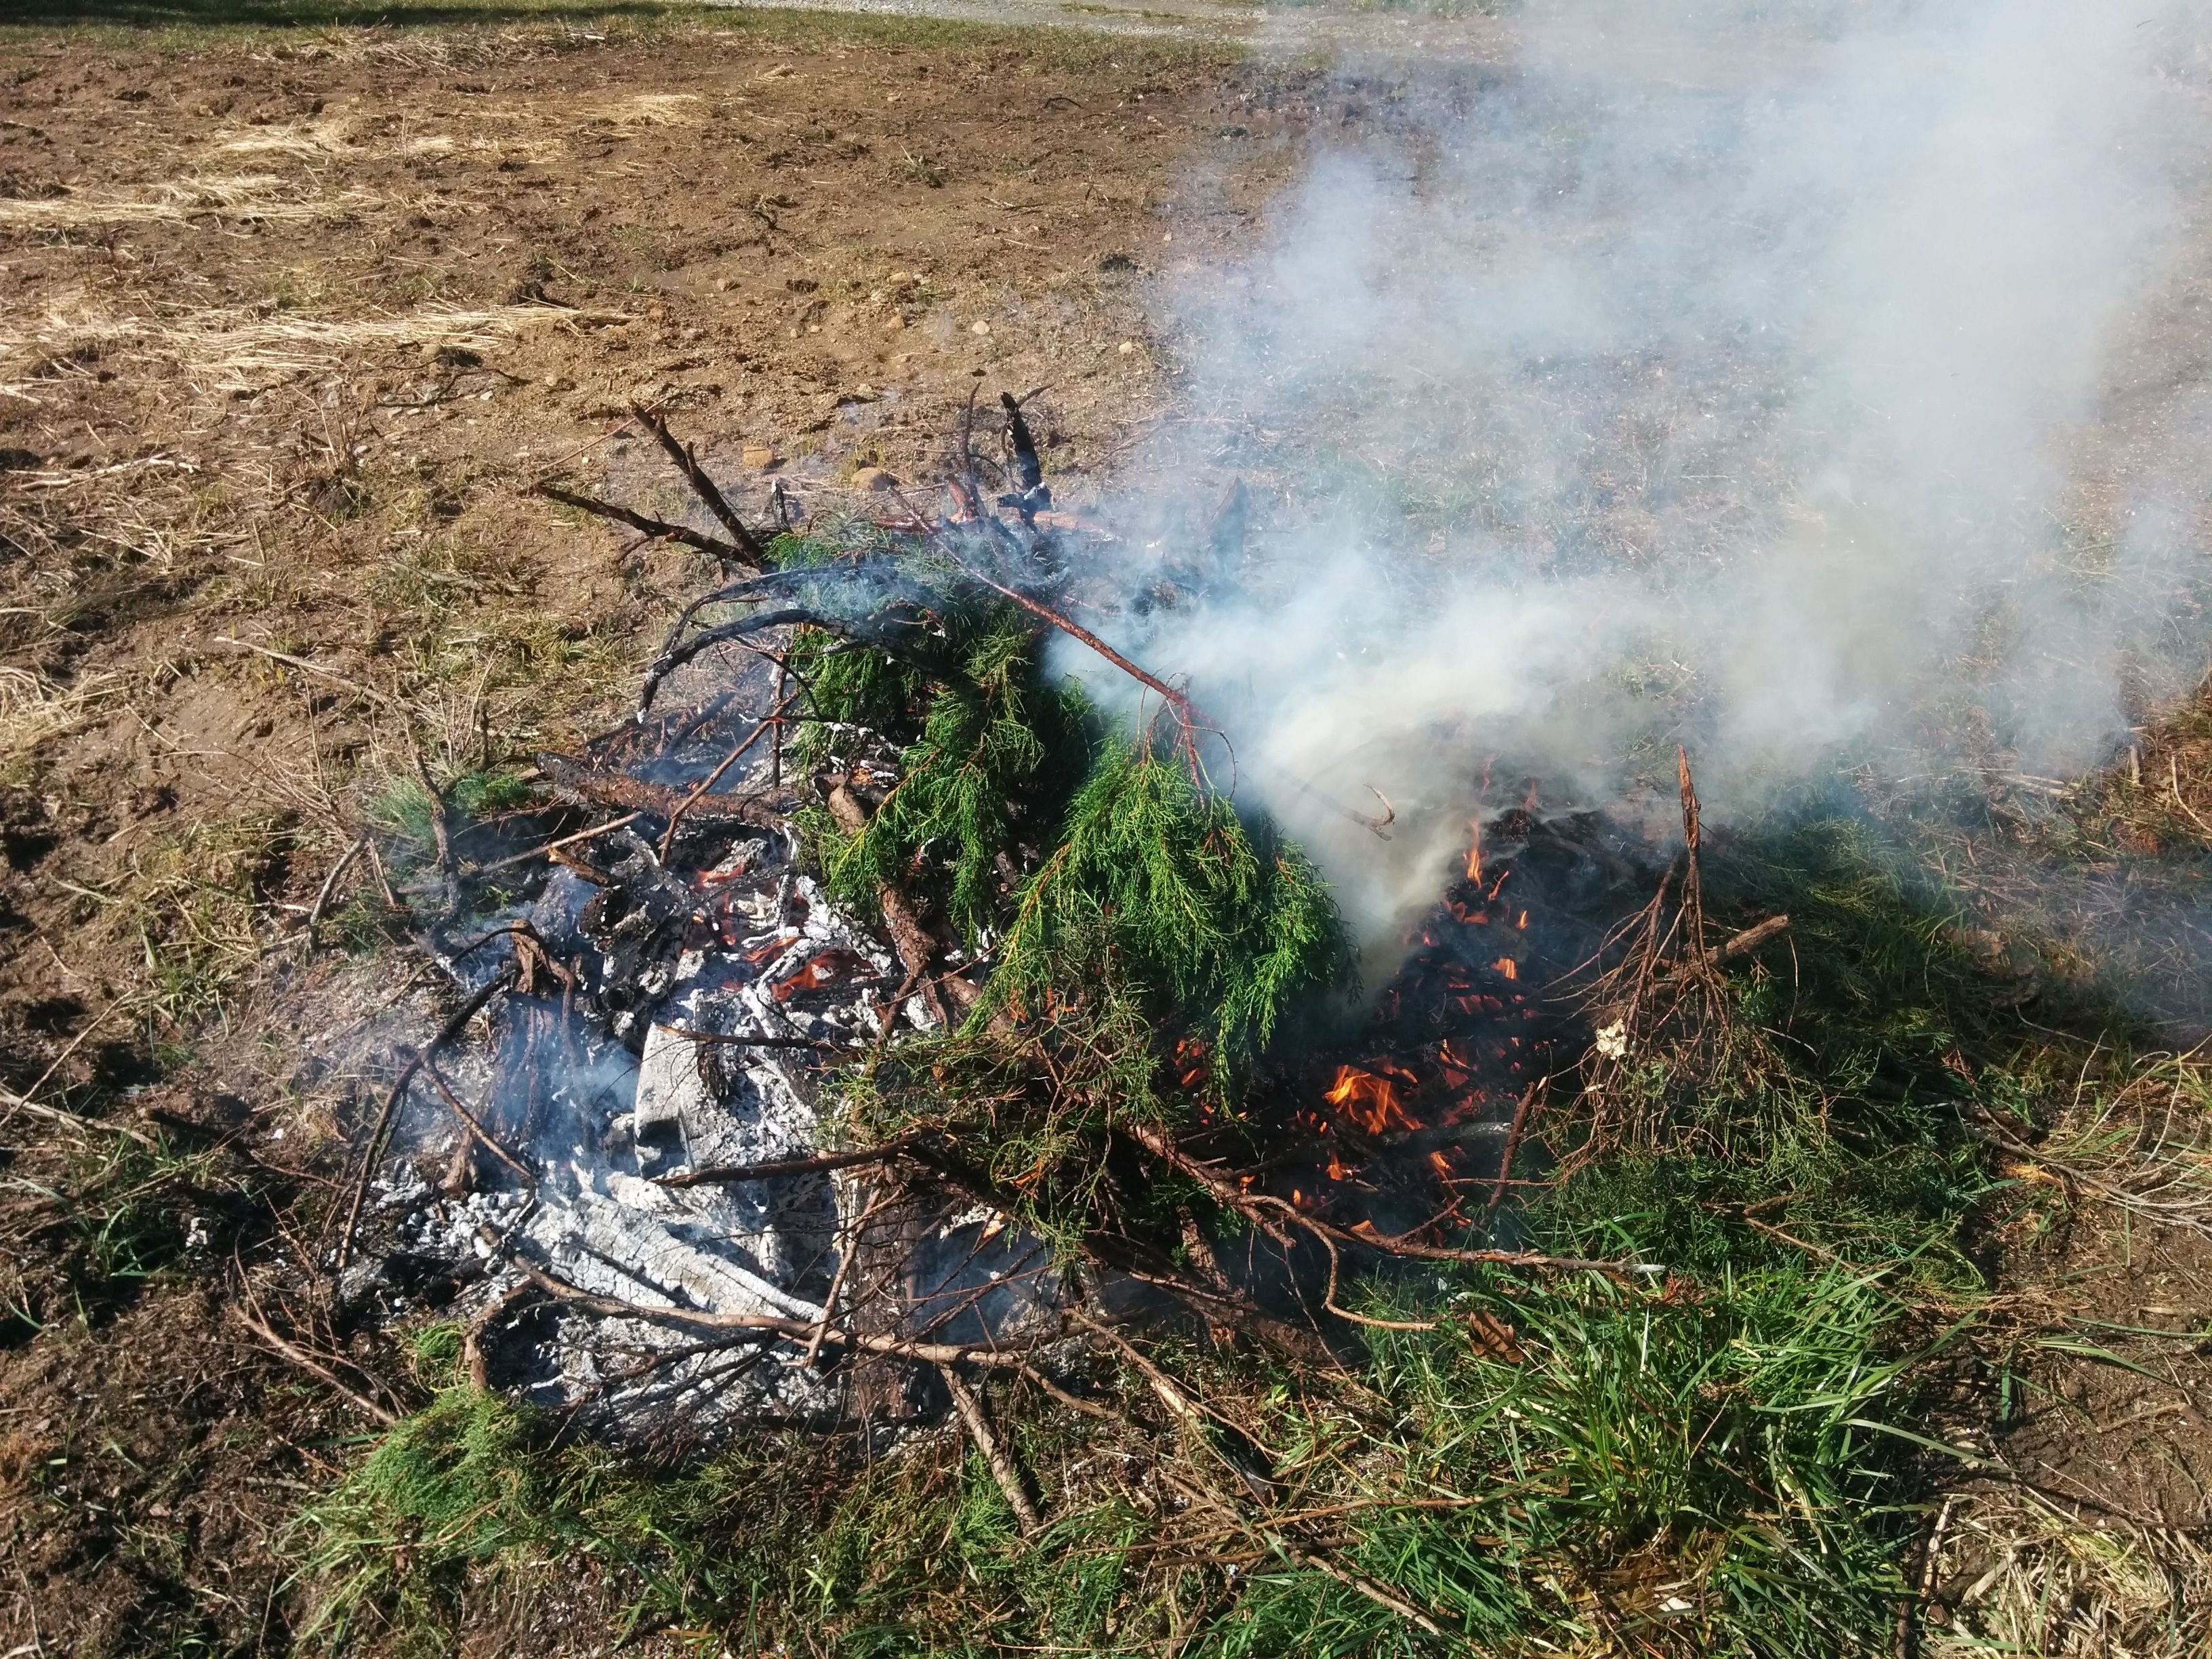
Unfortunately the green leafy branches did let off a lot of smoke
which I think is unavoidable without letting them dry out first. Maybe there is a trick to it that I don't know yet. But no worries.. aside from the green material the branches are burning efficiently with relatively little smoke.
Back to the layering process that I was just mentioning.
I am taking pieces from the outside that are not burning, or perhaps just smouldering and placing them in the middle of the fire.
The more I layer up, the less oxygen there is below. The less oxygen there is the less those lower fuels will burn. Keeping this in mind I know that there are pieces below that may not be getting as much oxygen.
I also know that there are different sizes of feed stock/ fuel in this pile. Some smaller diameter branches and some larger. This is important because they burn at different rates. The smaller branches will burn faster than the larger ones.
There is another trick to biochar that I didn't mention yet.
That is converting as much of your feed stock to char as possible, and as little to ash as possible.
In an ideal burn all the feedstock would be the same dimensions and you could get it all lit and then quench it all at once. In the case of this burn pile there is all different sizes. Which I am OK with because that's where the tending comes into play.
But if you recall earlier I chose a particular pile to make biochar out of because many of the pieces of fuel were relatively similar in size. So keep that in mind when you are piling your slash pile to convert to biochar.
So back to the fire.
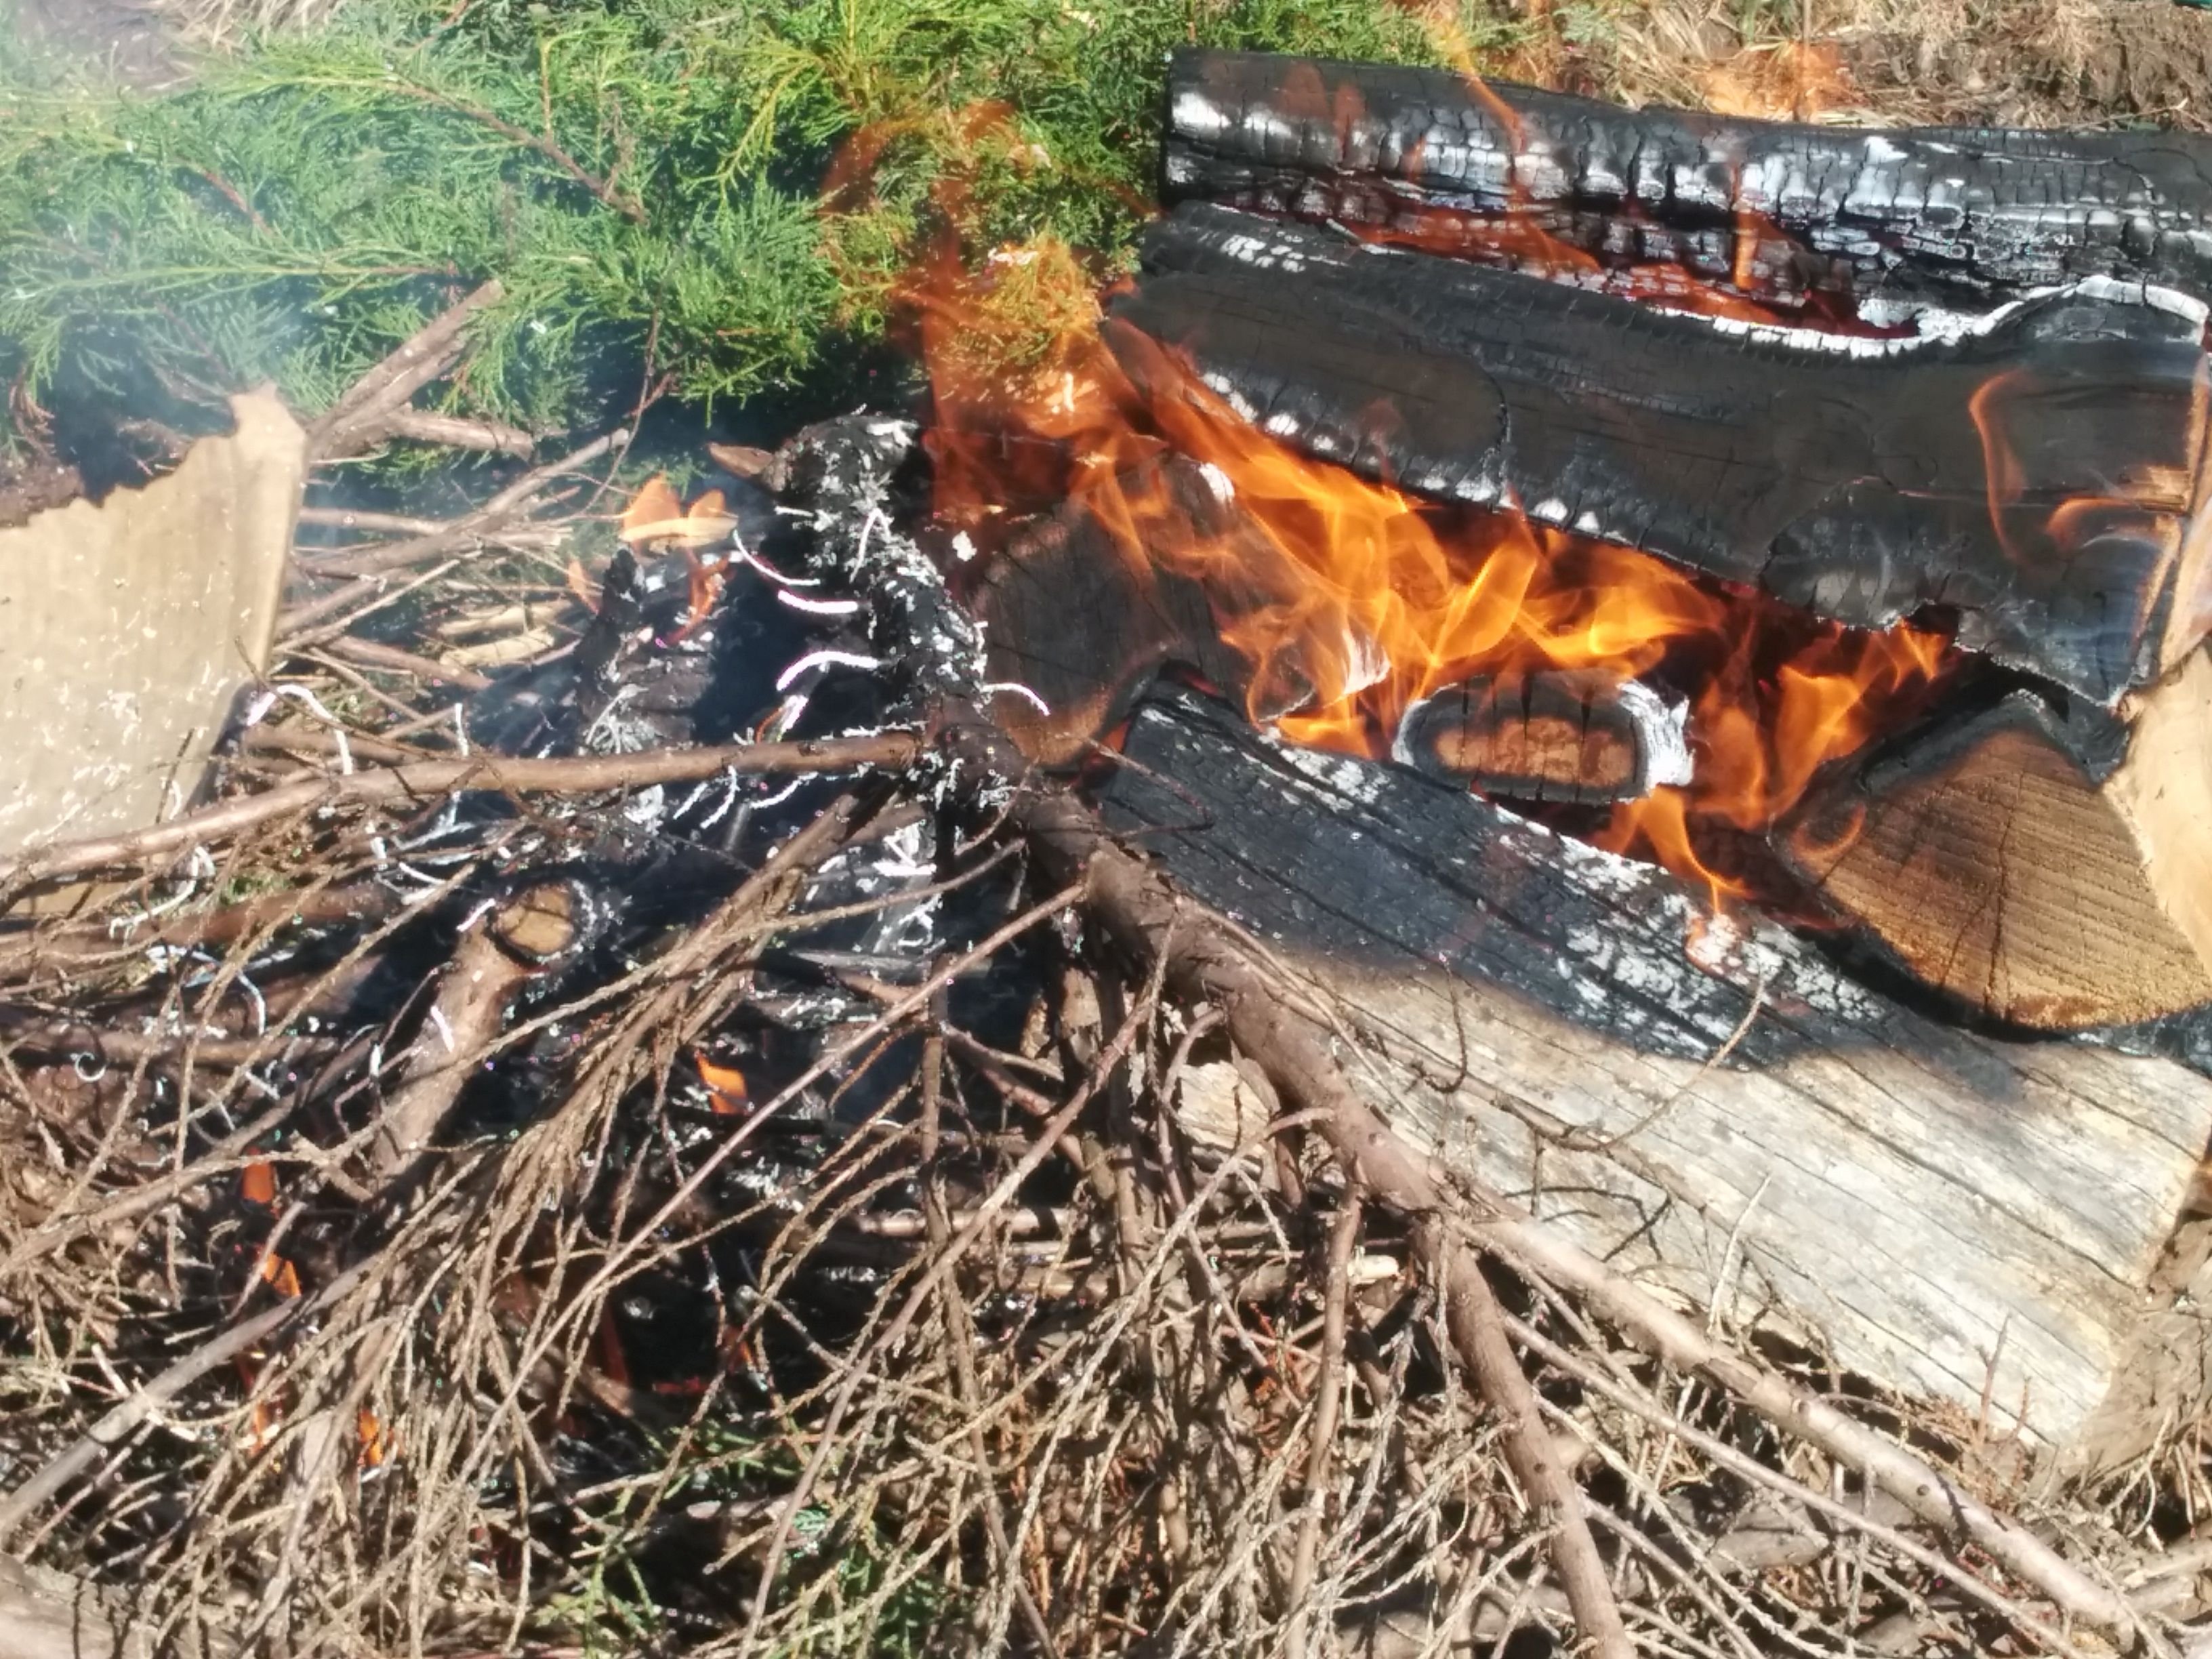
As you can see there is some ash, there is some charcoal already and there is some unburned fuel. I am piling the unburned fuel on top and continuing my layering. The pile is getting more concise and I have less outliers that are unburned.
I know that there is some good char already created
I don't want this char to continue burning, else it will become ash. I start using the rake to pull some of the char to the side and spread it out a bit so that slows down.

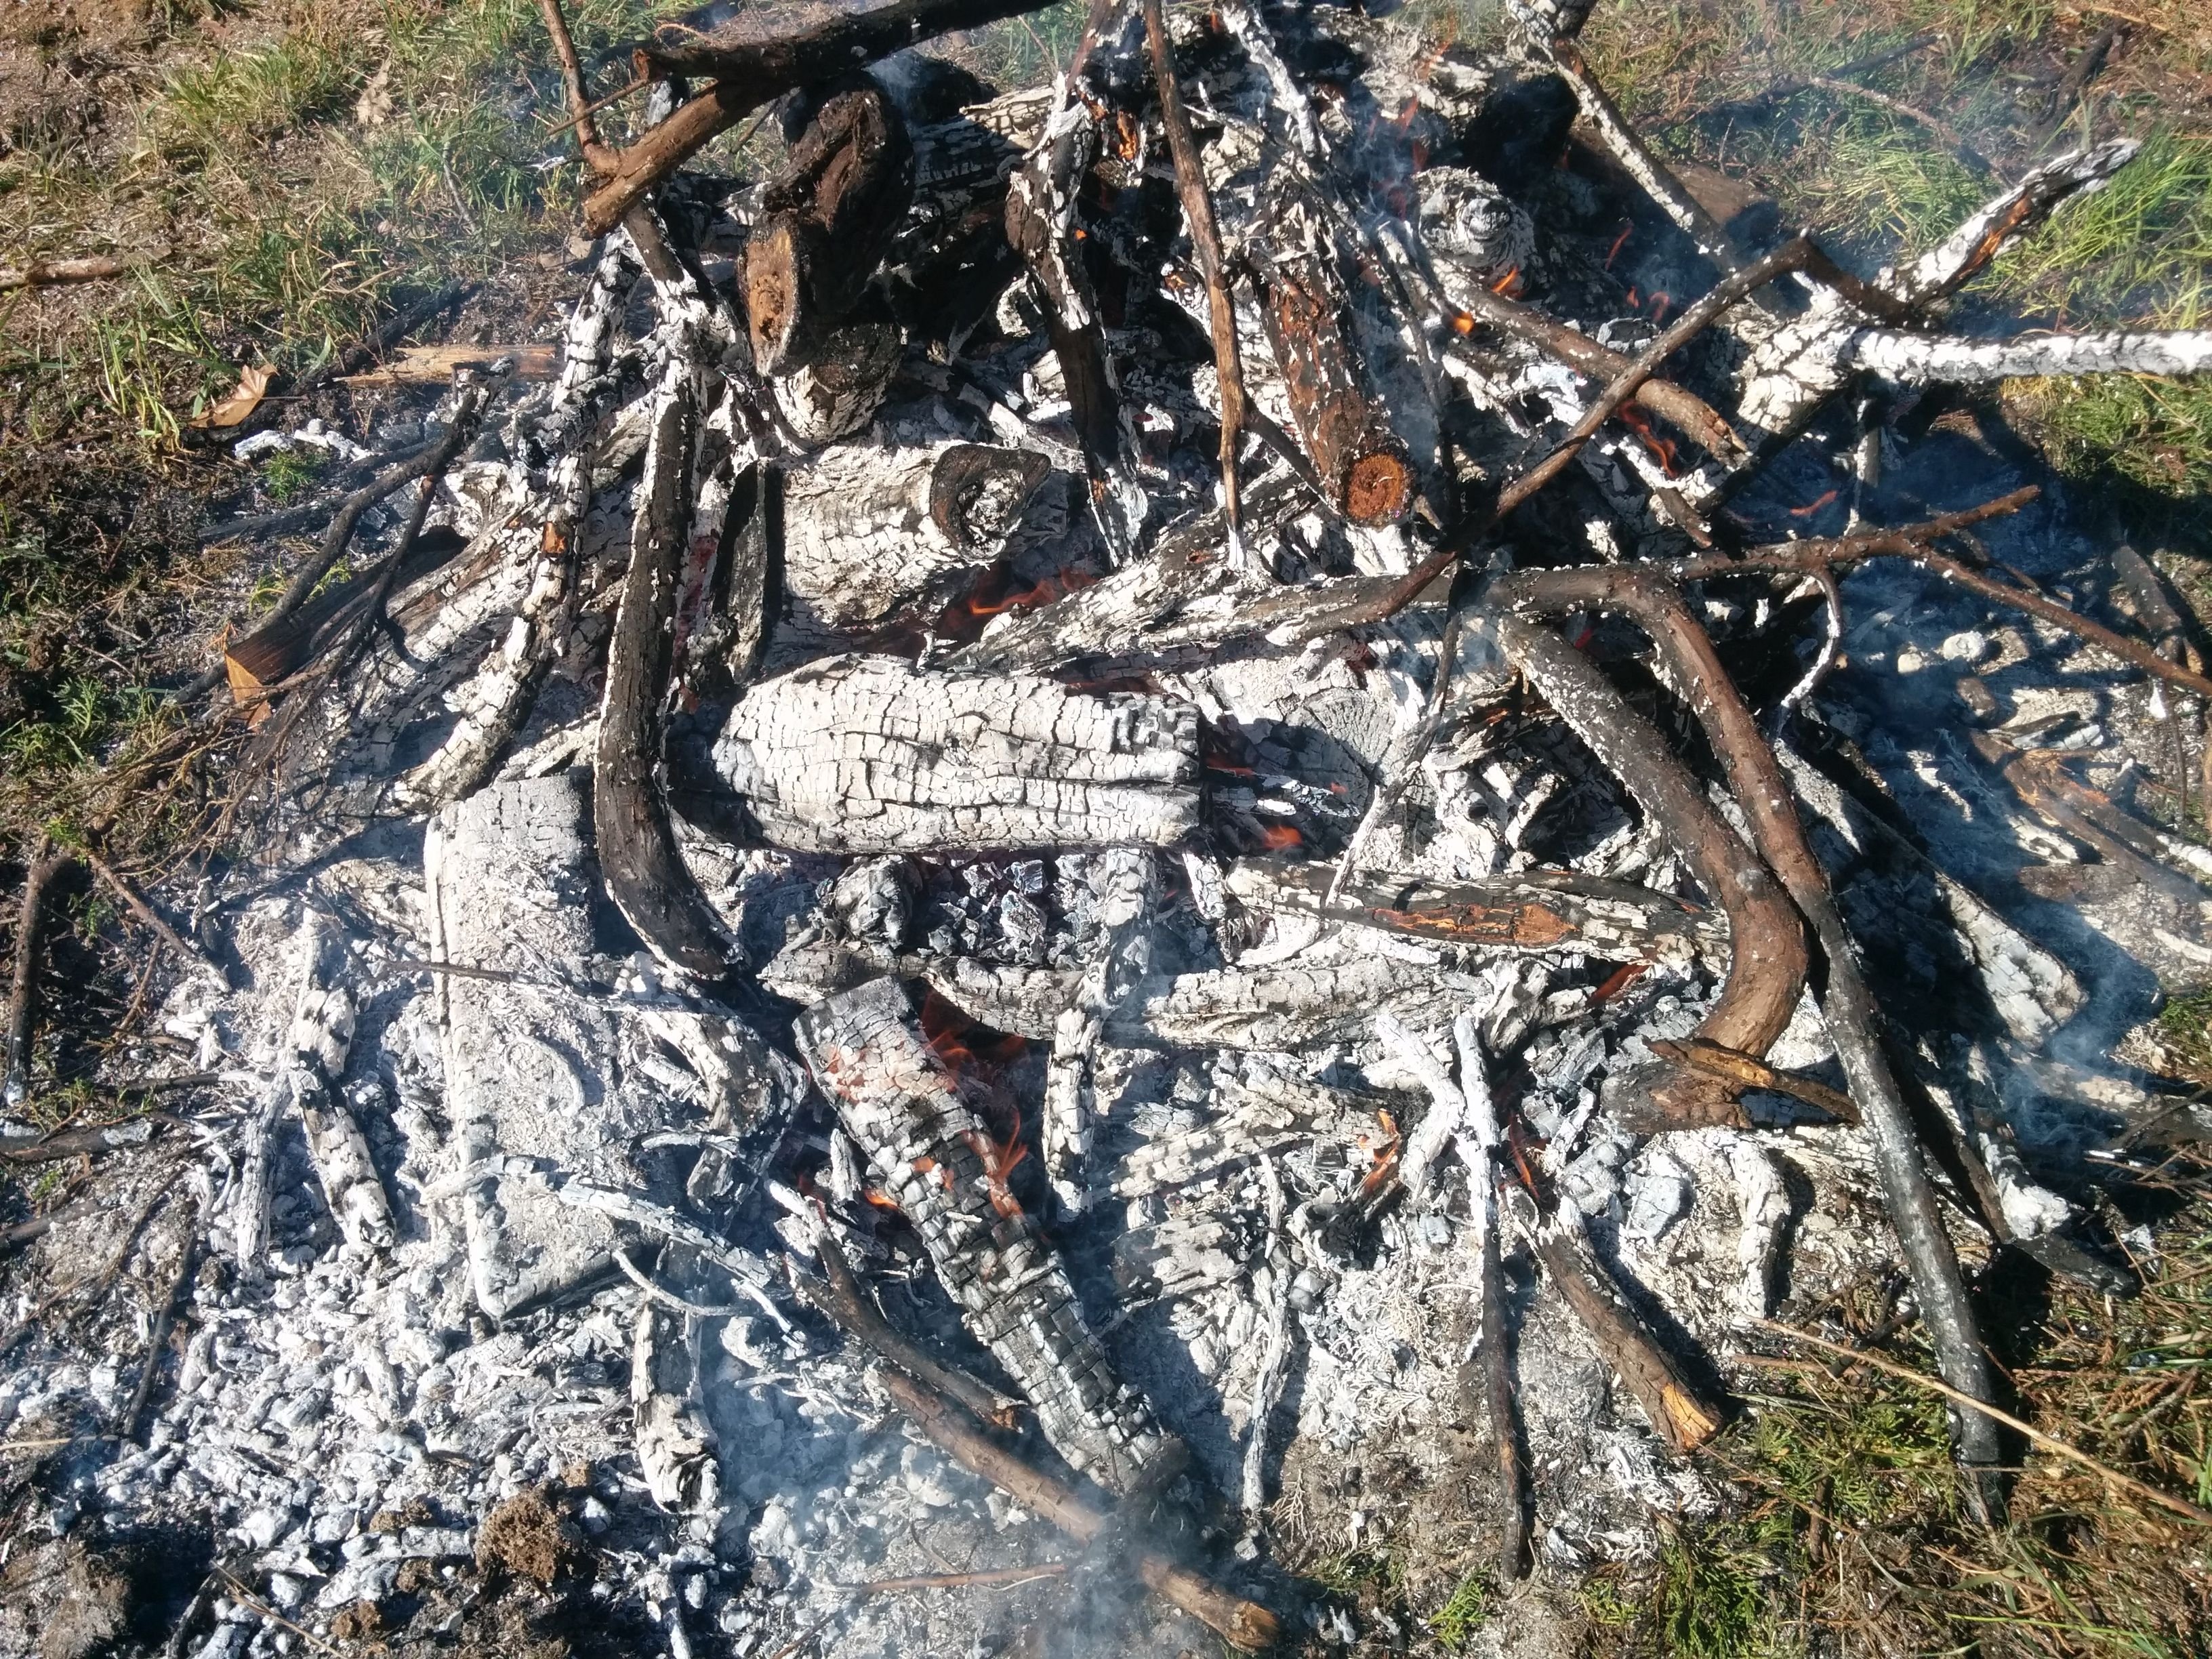
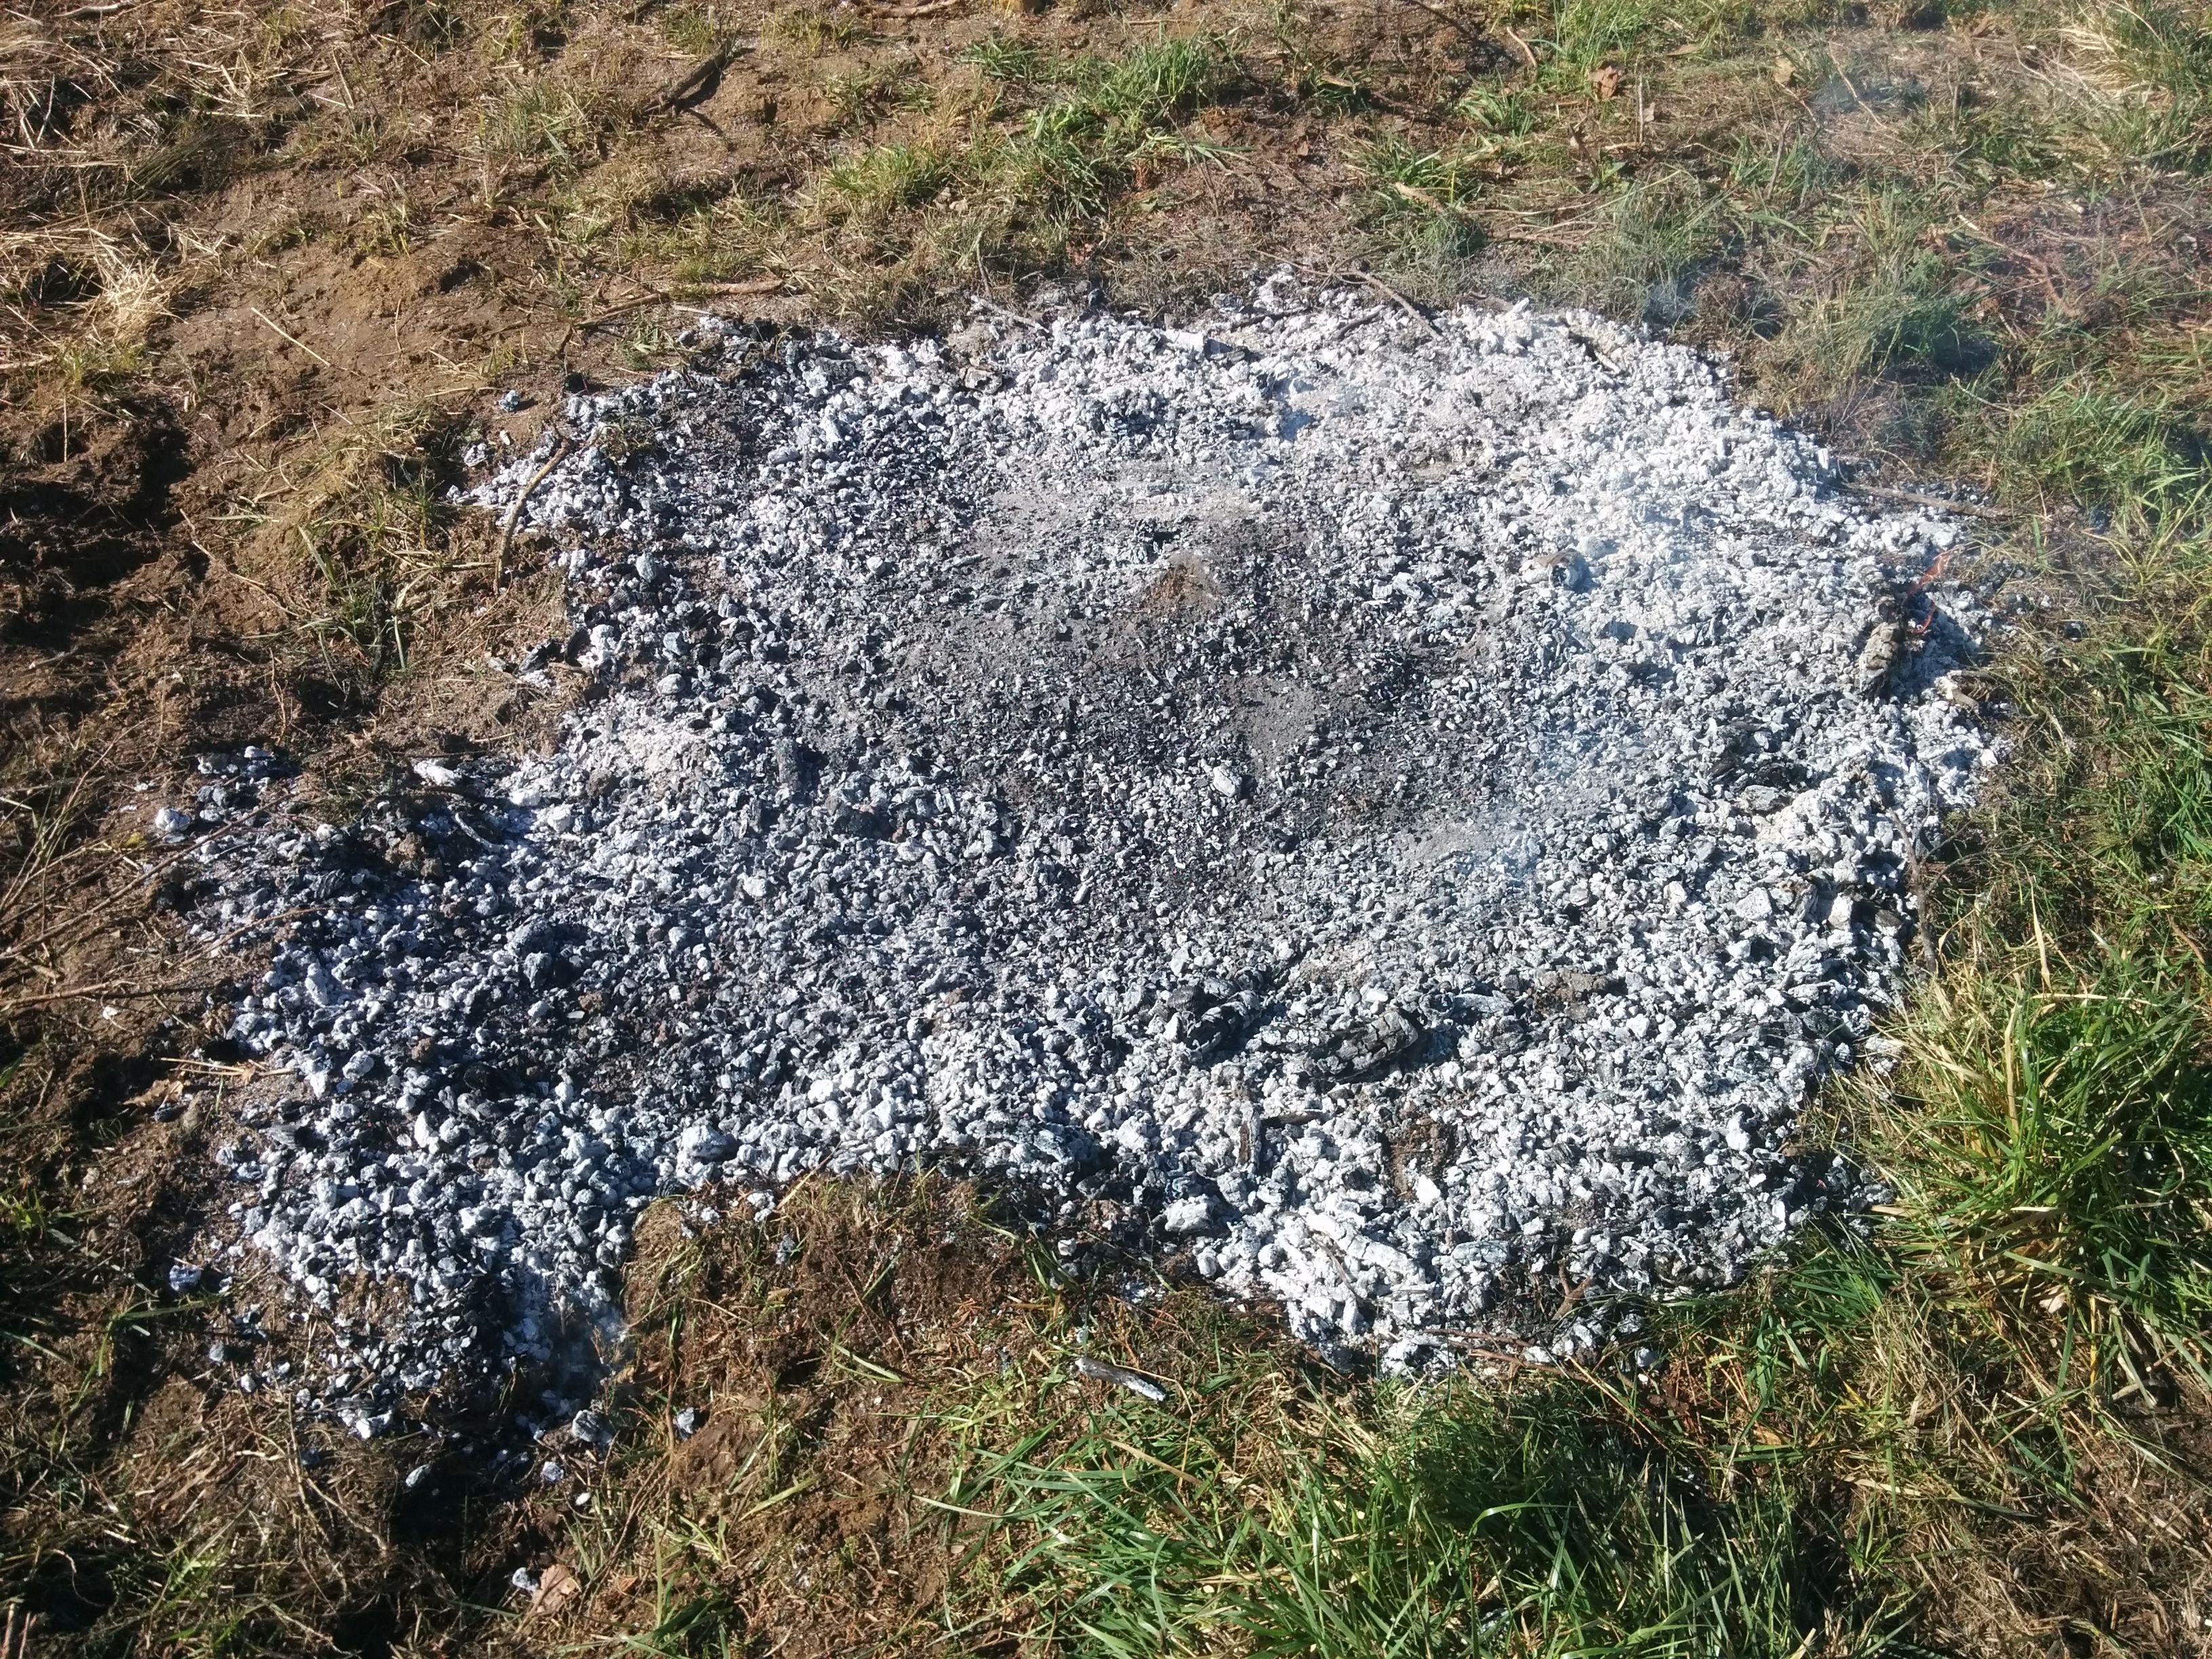
It looks like there is mostly ash now, but that is deceiving
At this point there is actually very little ash and mostly char and unburned fuel. The ash is just a bit of coating. The fire is still burning with relatively little smoke and so things are going well.
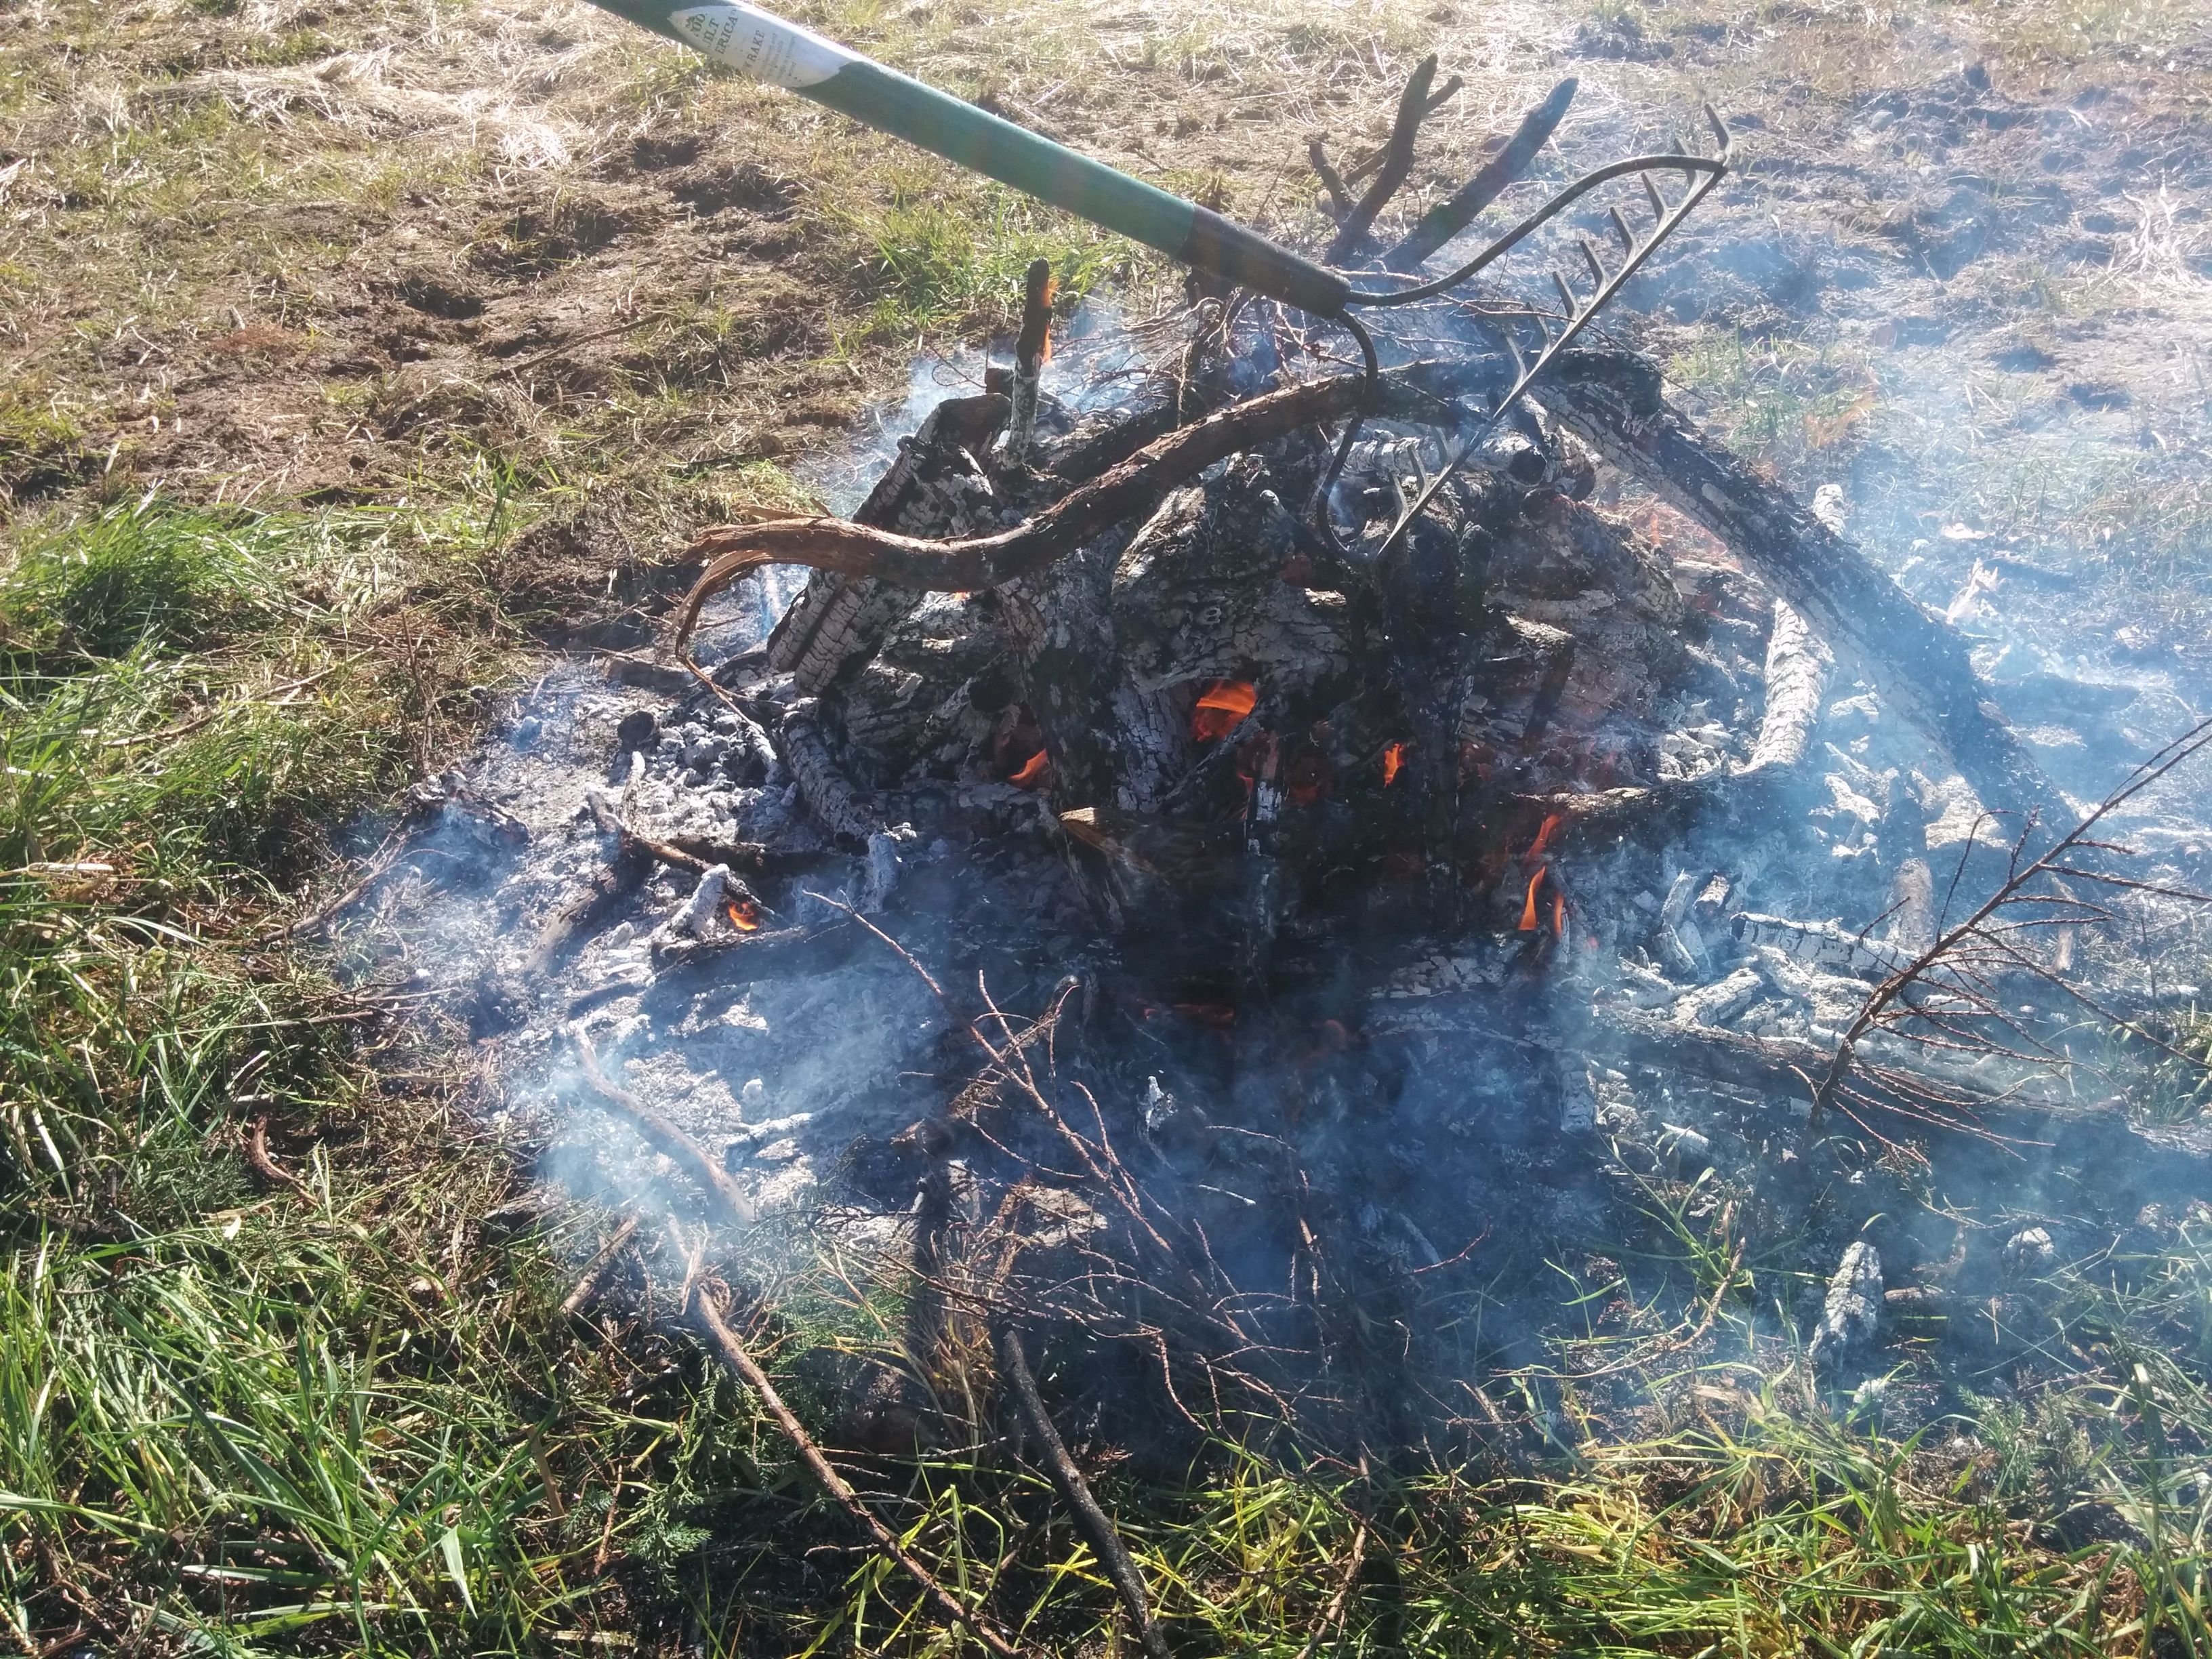
The rake is used to move fuel from the bottom and sides back onto the pile.
I am being more diligent now about raking char out and away from the fire and spreading it out. There is a lot of char in and under the fire that I want to save, so I start moving it carefully to one side and then another to access the char from under it. Both a shovel and the rake are helpful here.
The smaller pieces of char are moved to the side and the bigger pieces are left in the center burning.
You can see how much char was raked and spread out from the center to the sides.
It looks like a lot of ash, but trust me that is all char!
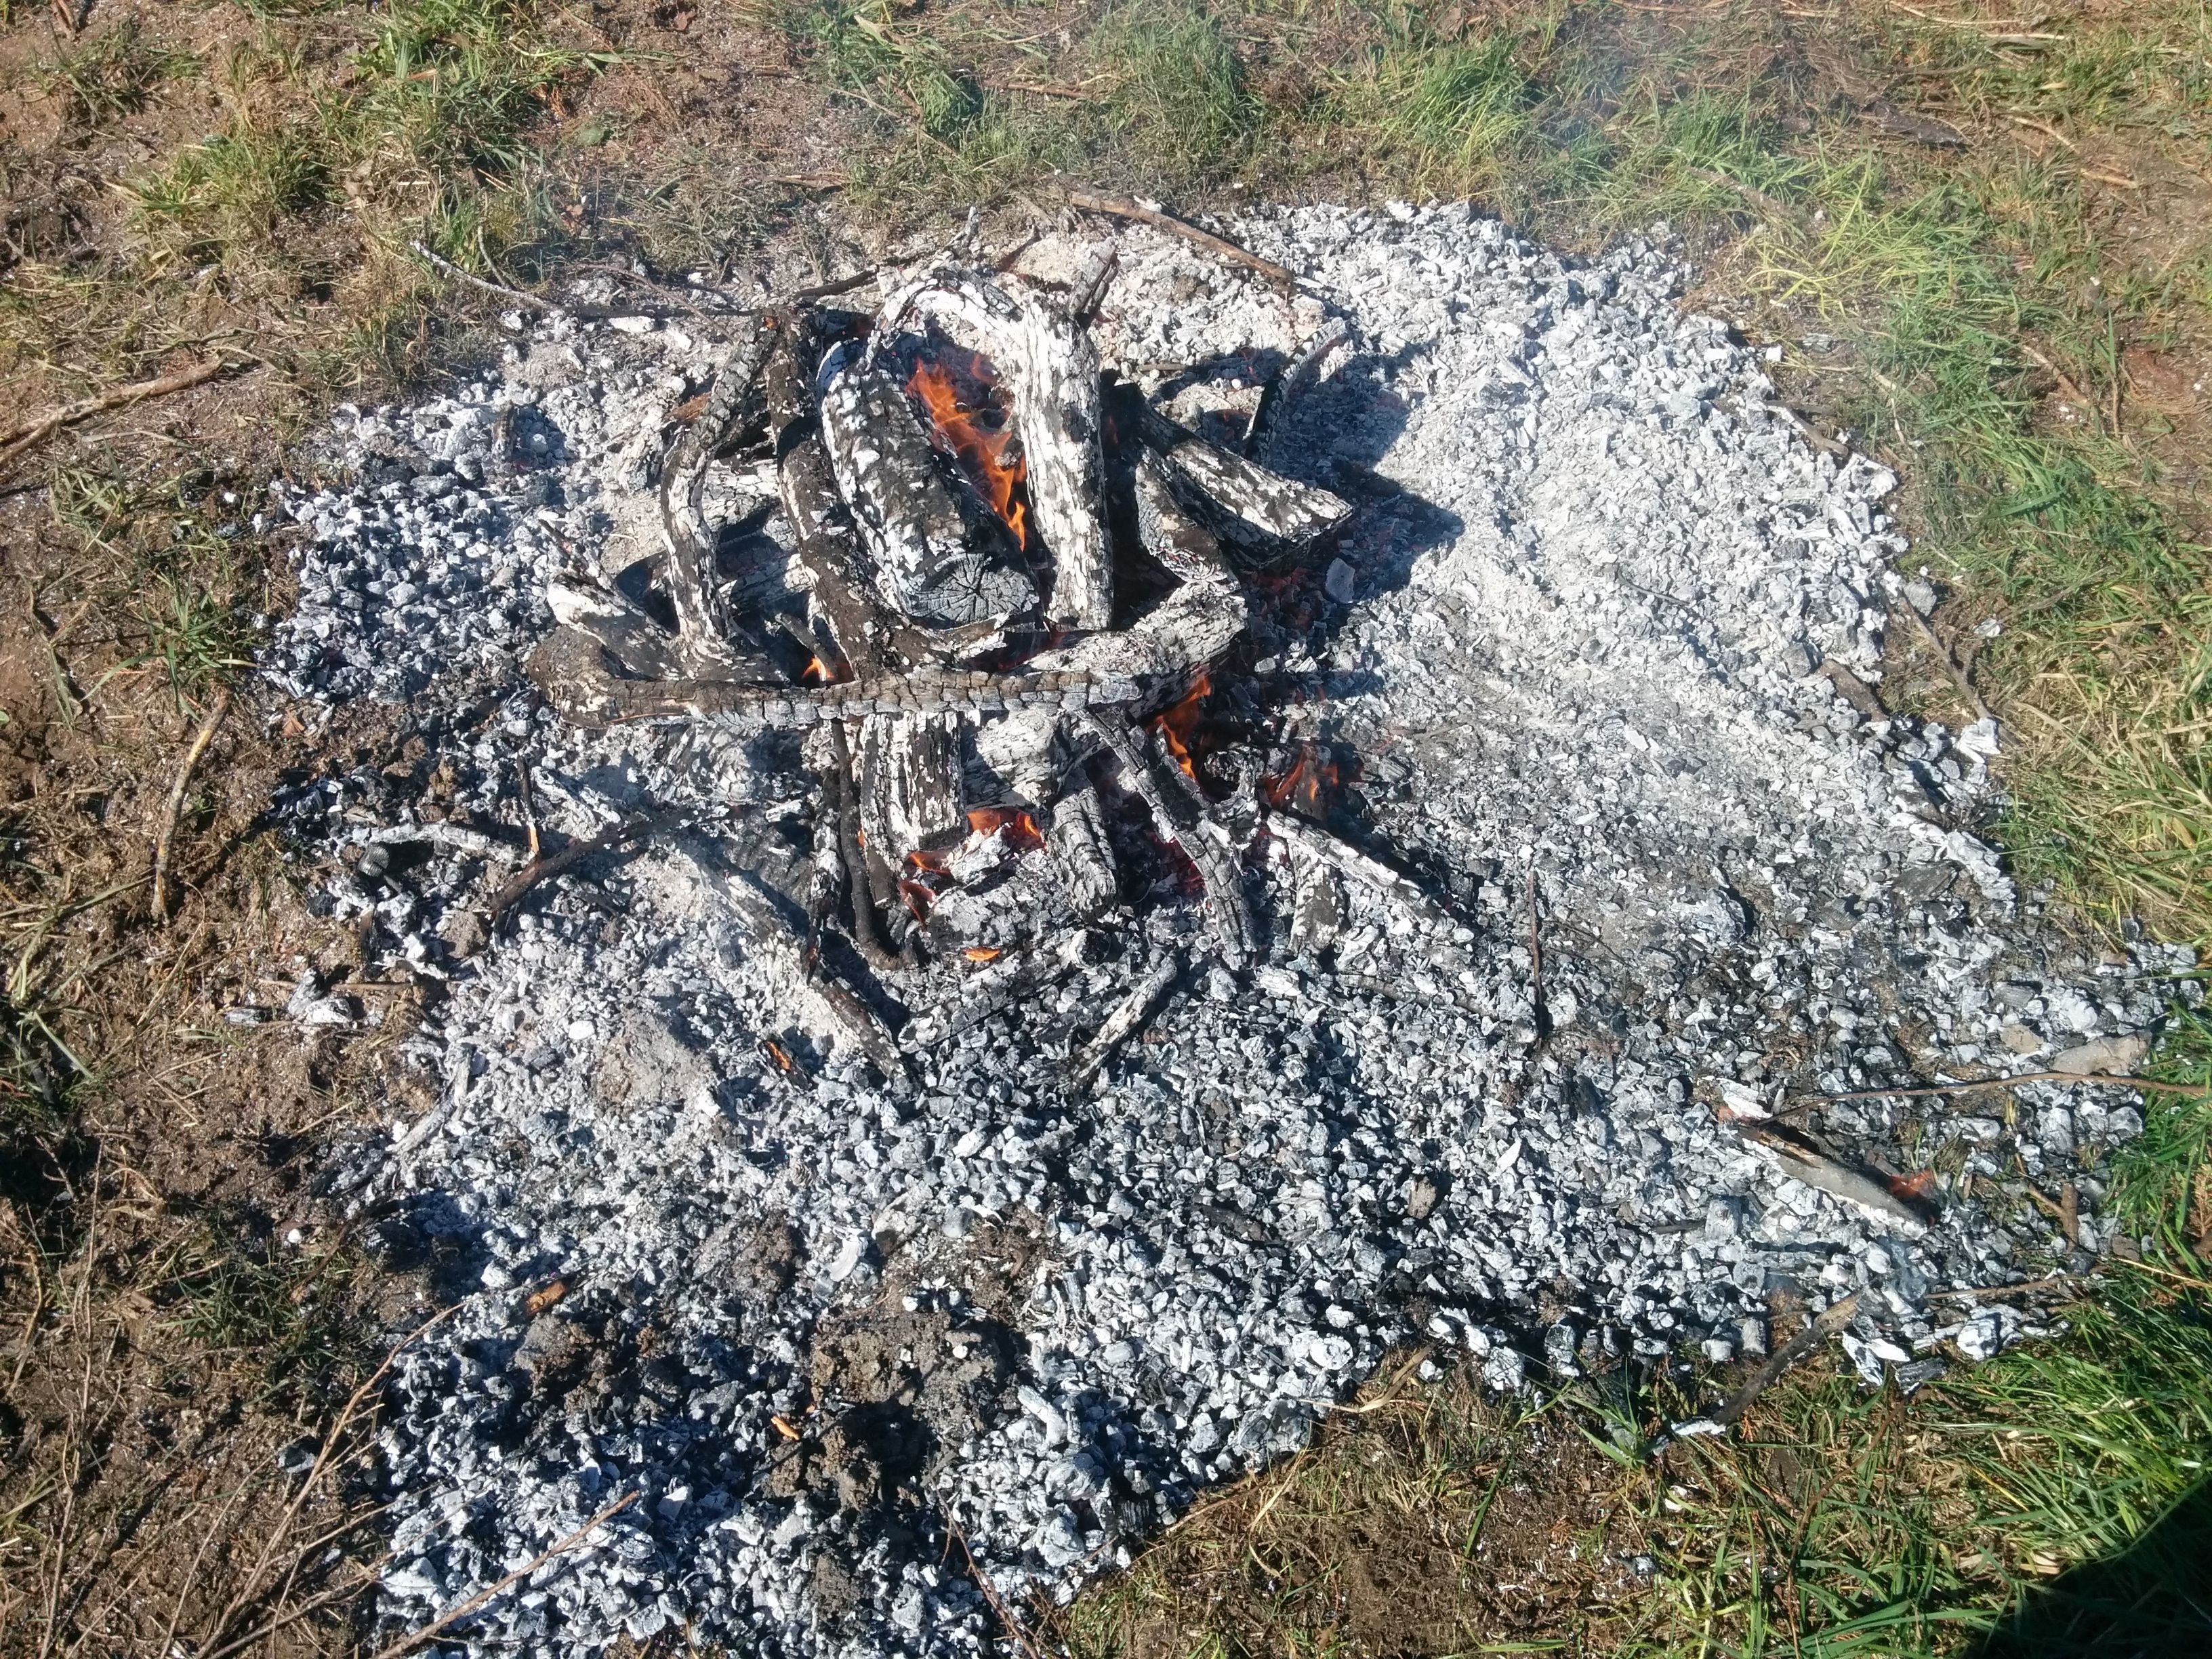
The fire burning the larger wood gets smaller and smaller and left with a few pieces now.
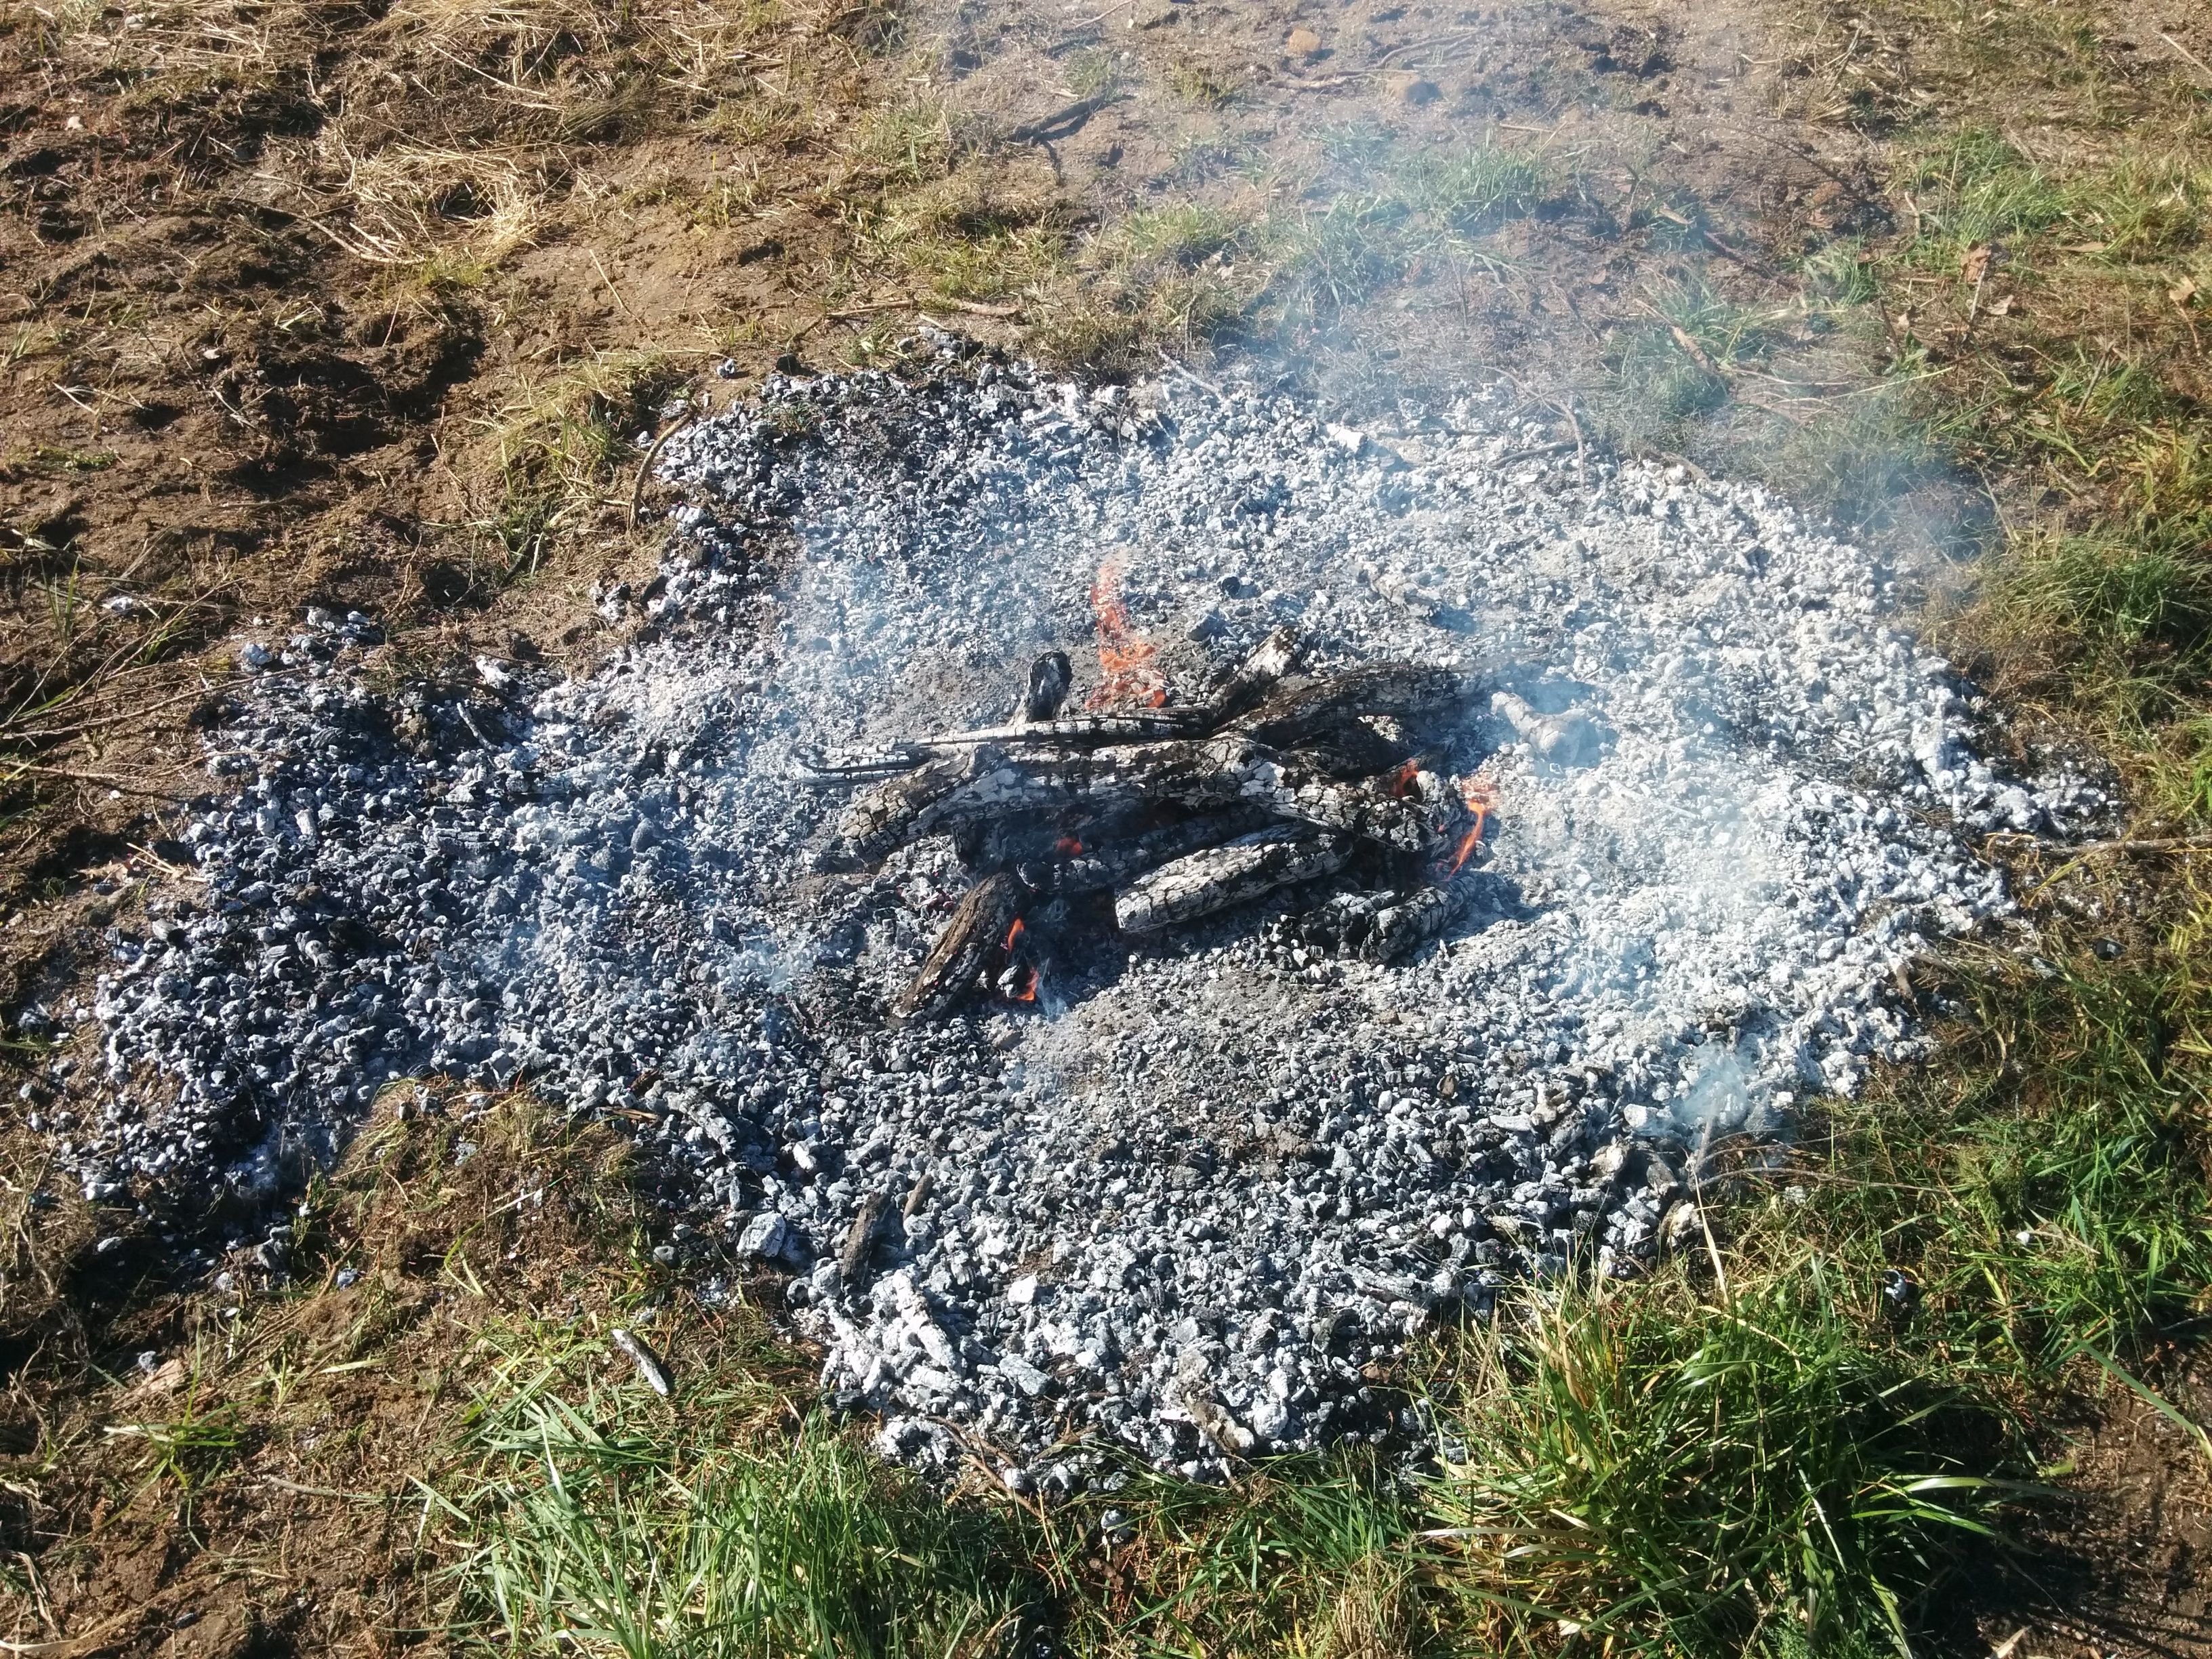
At a certain point there are diminishing returns.
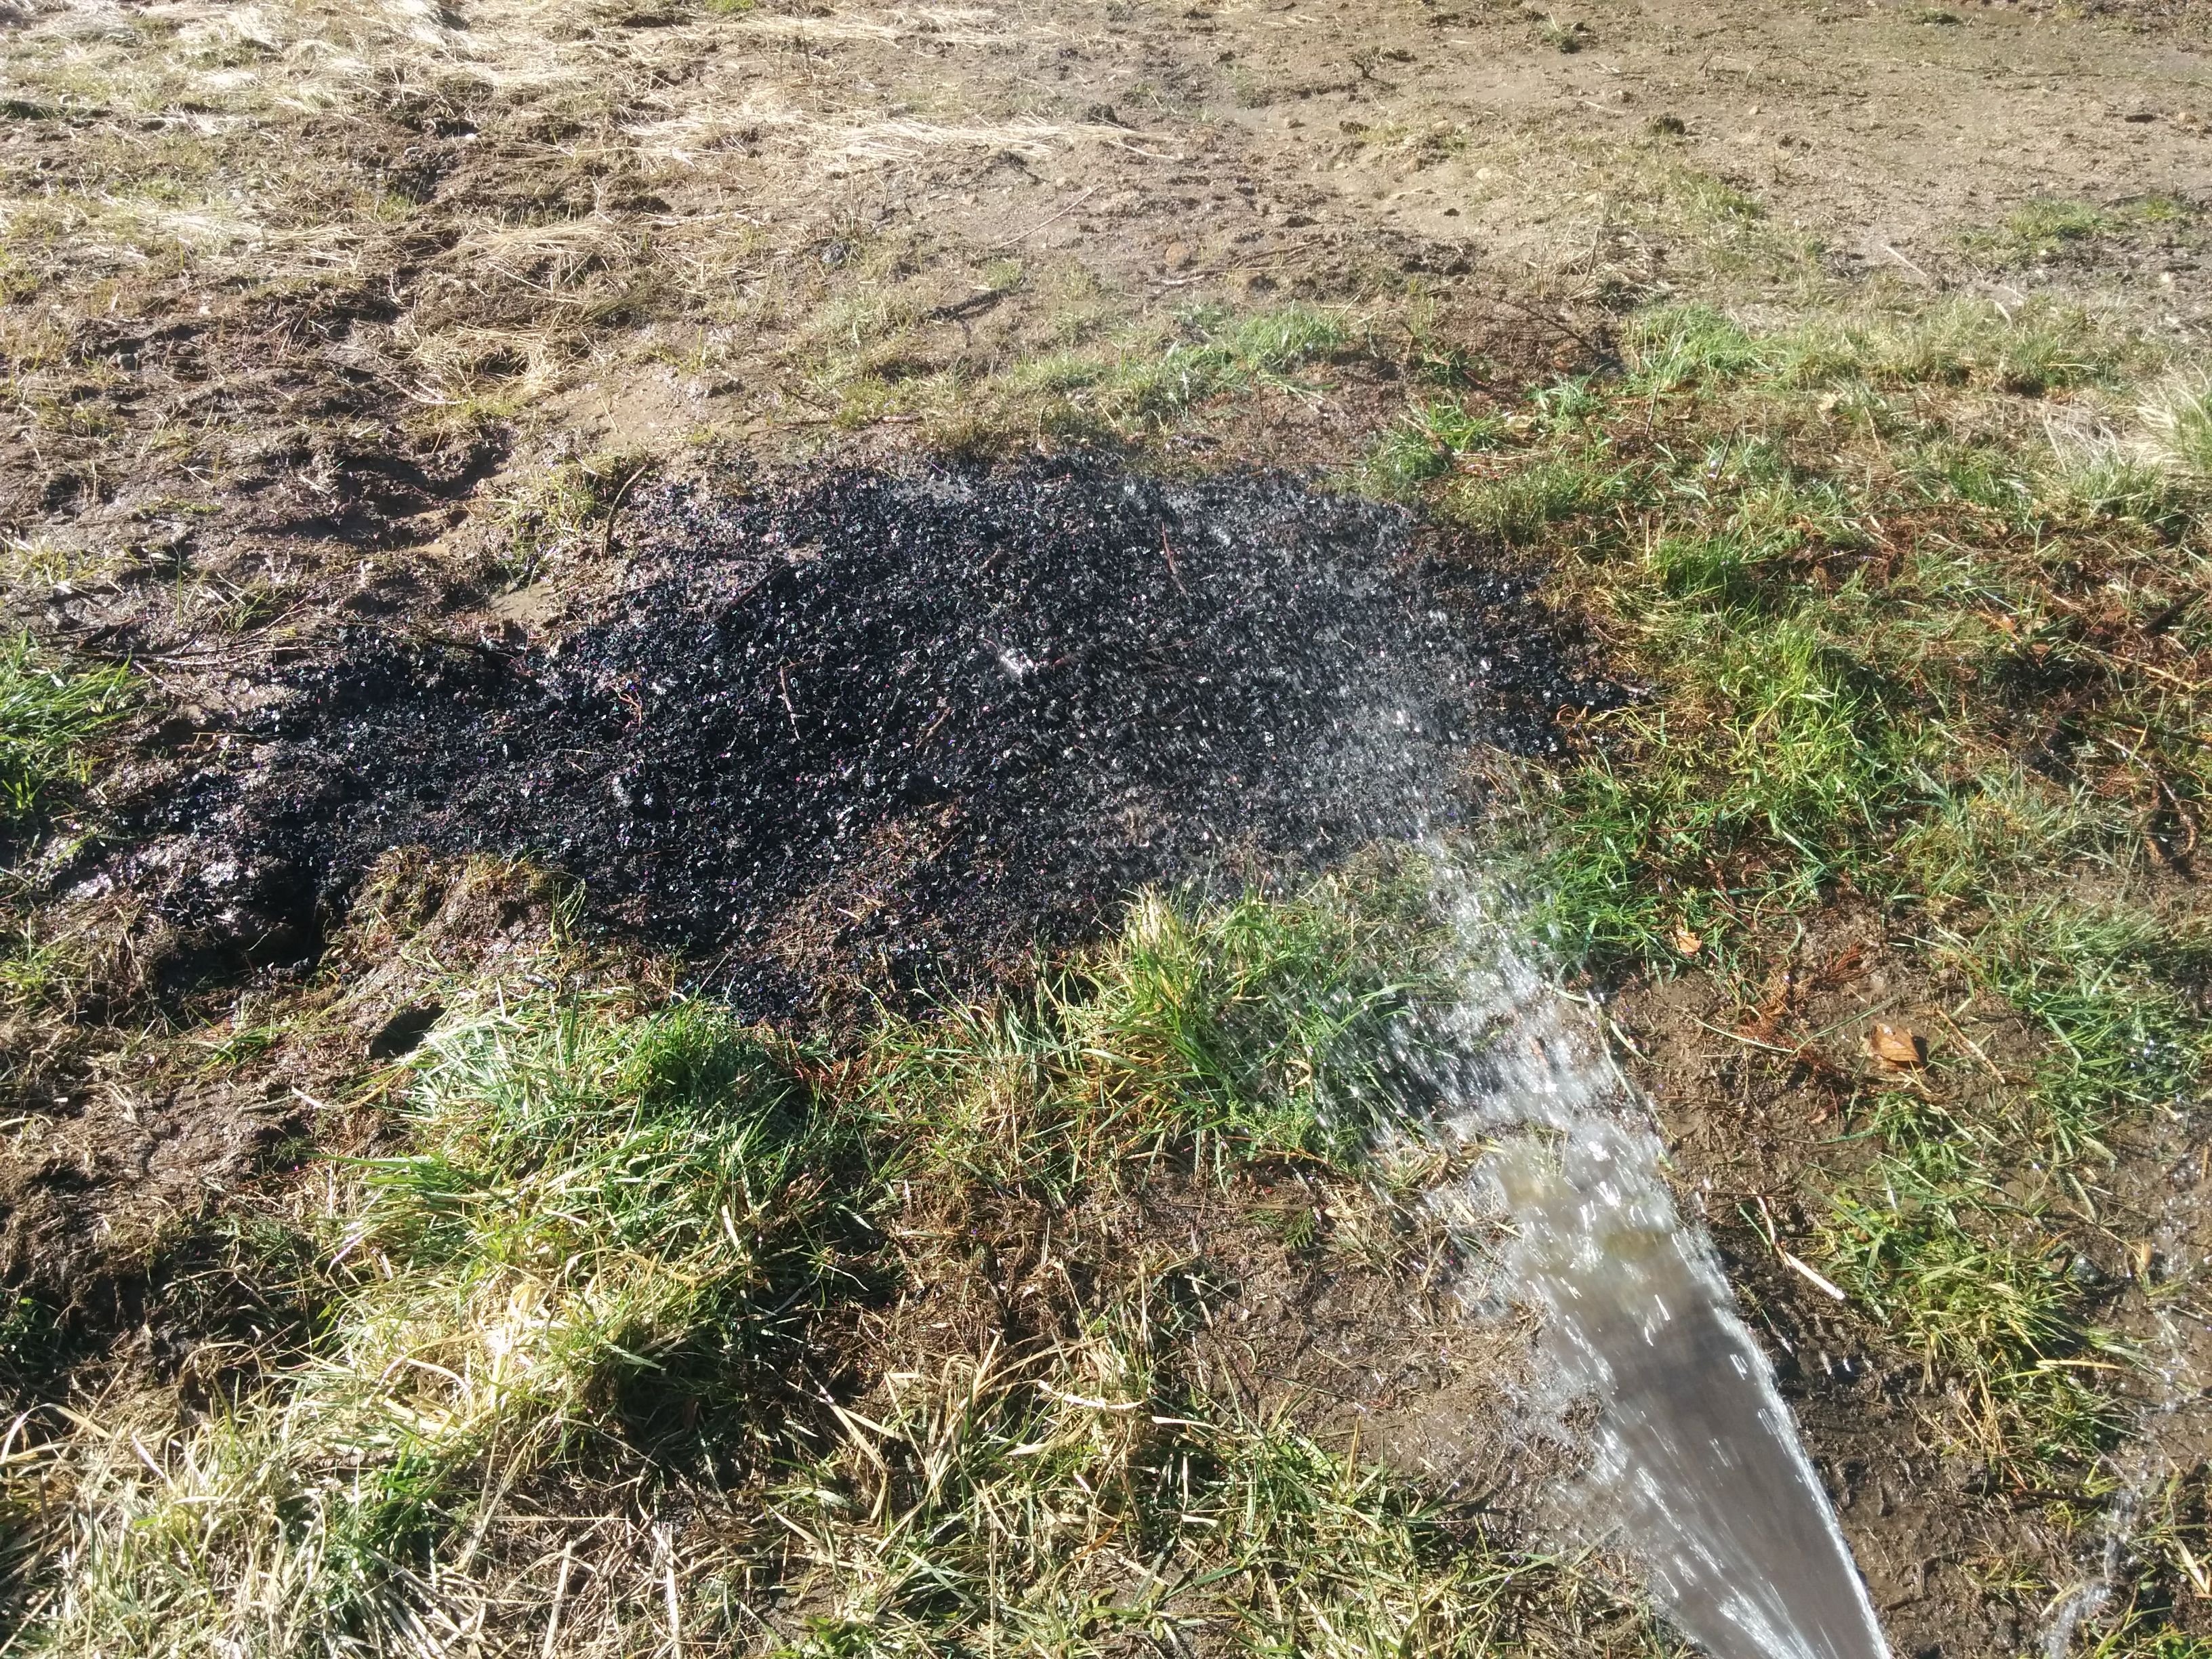
I decided it was time to quench the fire and stop the char that was pulled out from burning. The larger pieces could be quenched and saved for another fire but I took them out and used them to start another burn before quenching.
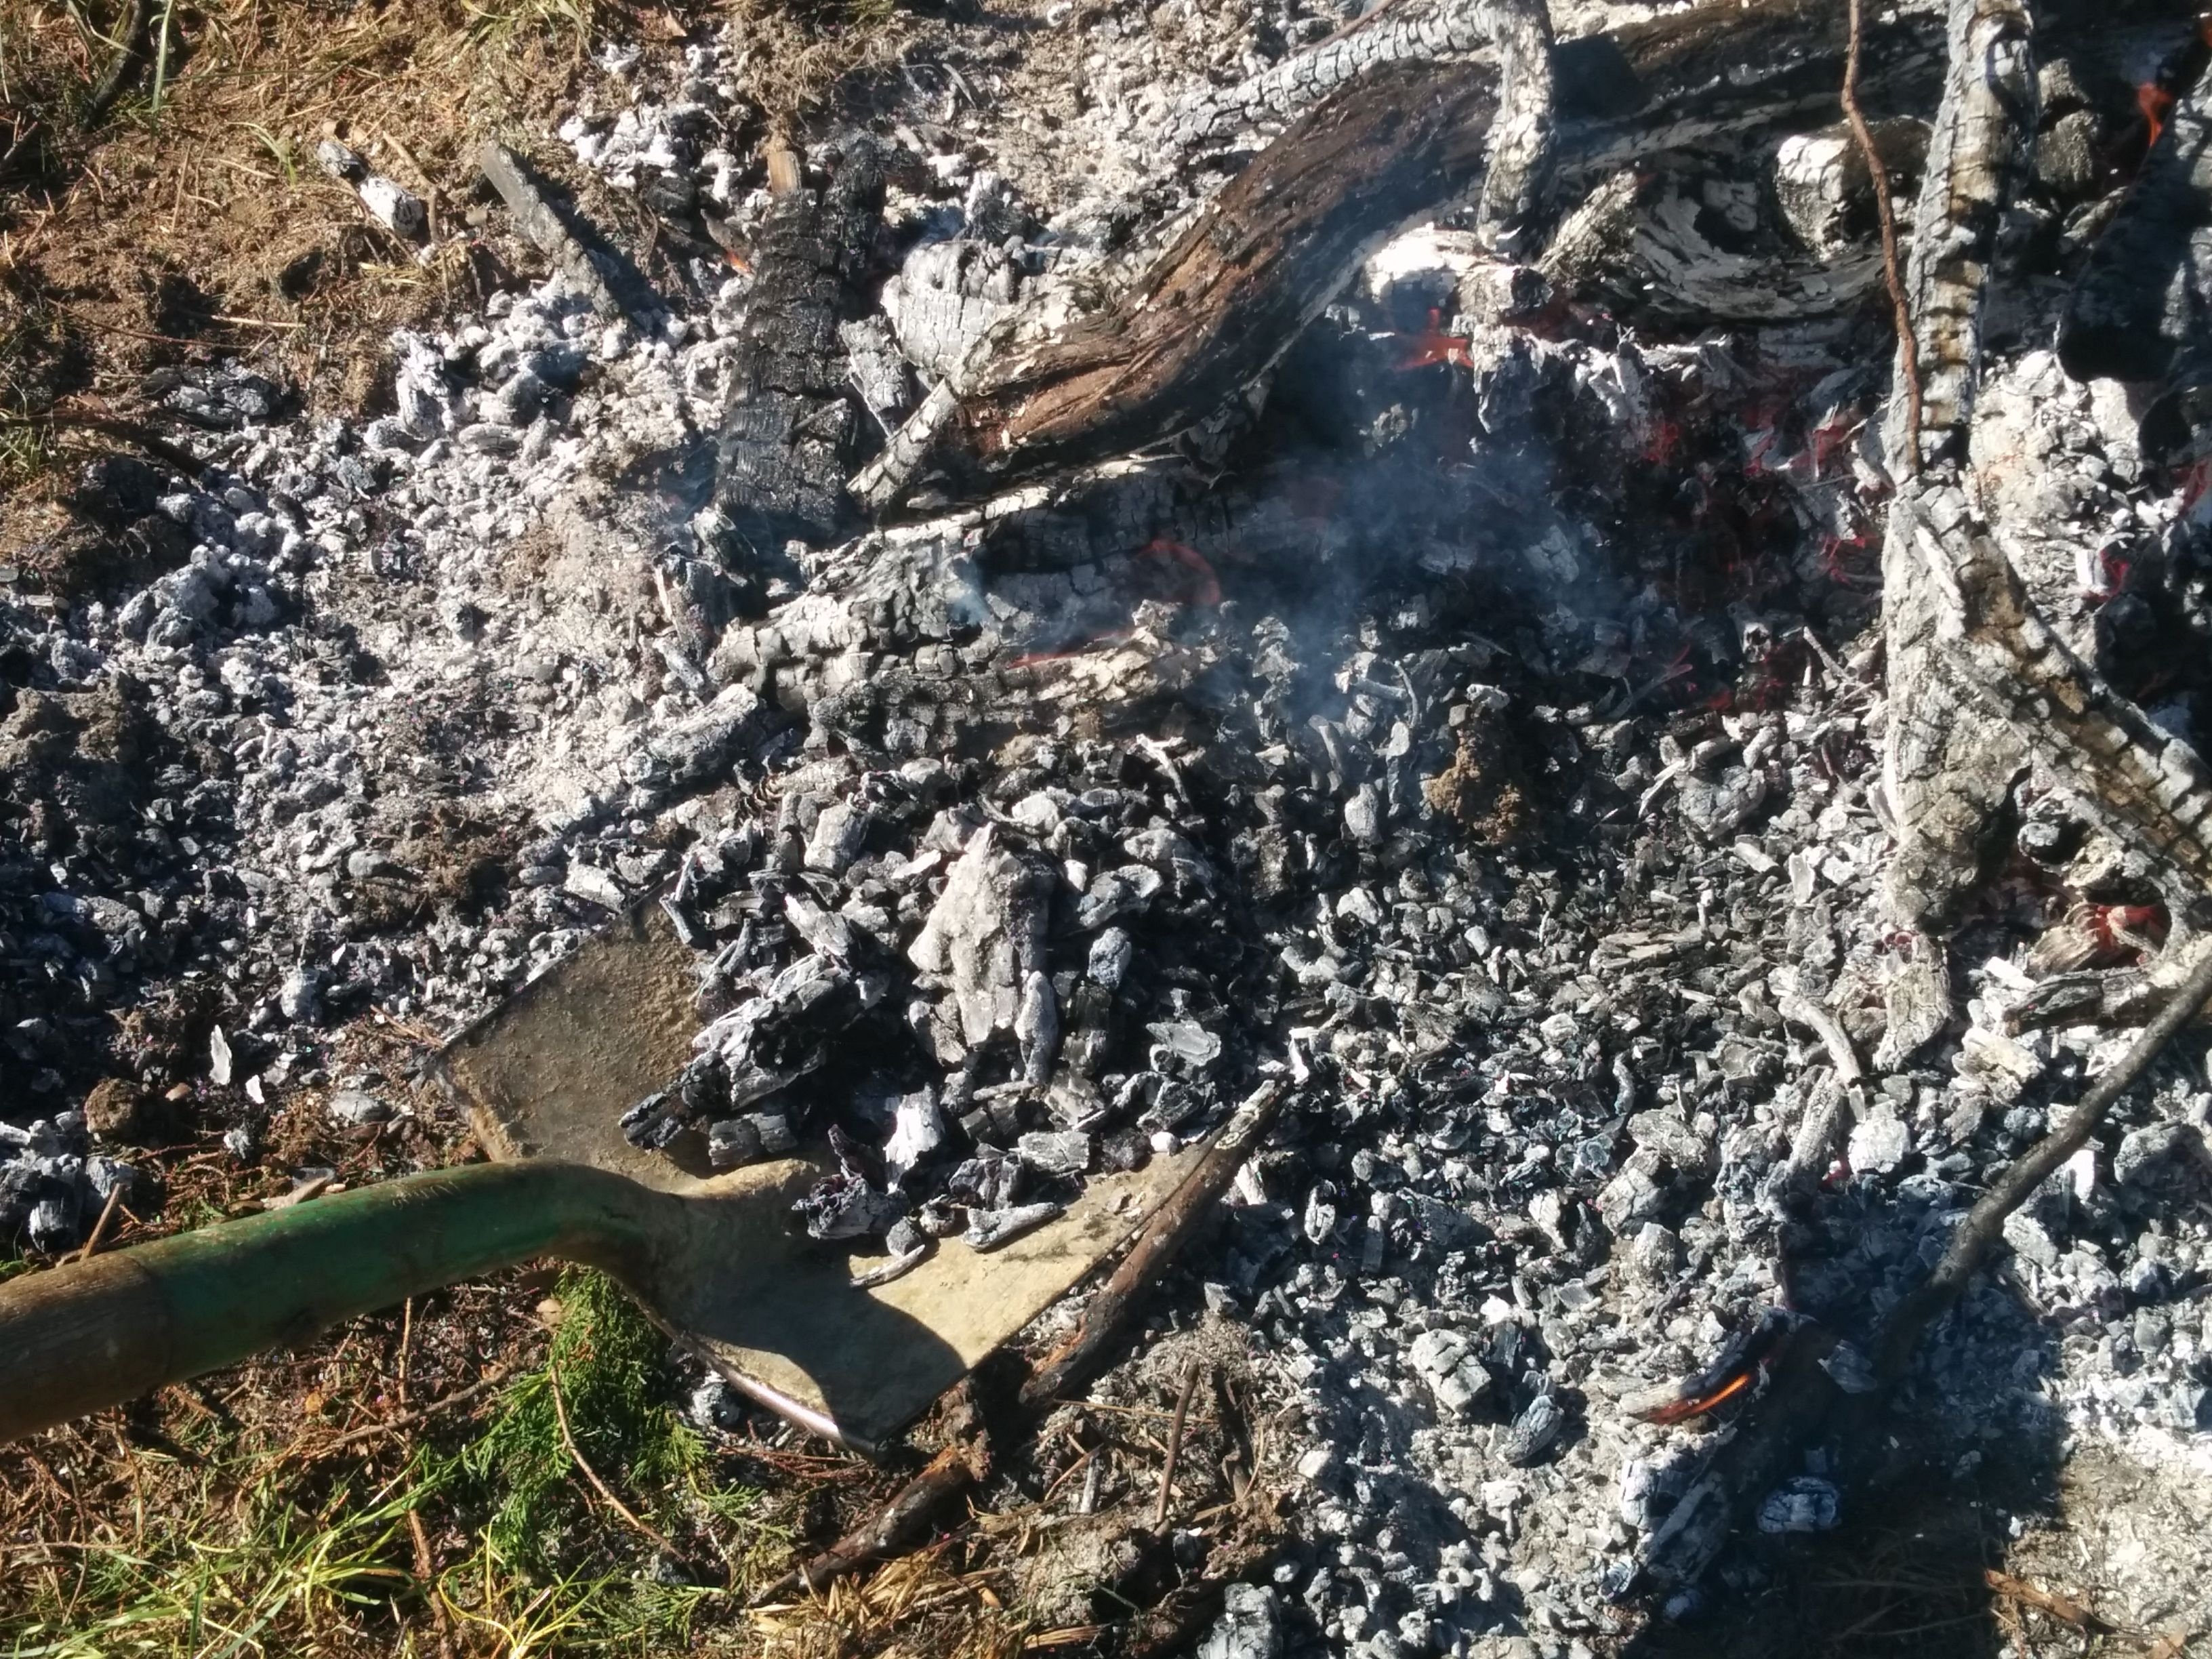
The char was sprayed down, raked lightly to expose more, sprayed down, raked and sprayed down a few times until it was sure to be out.
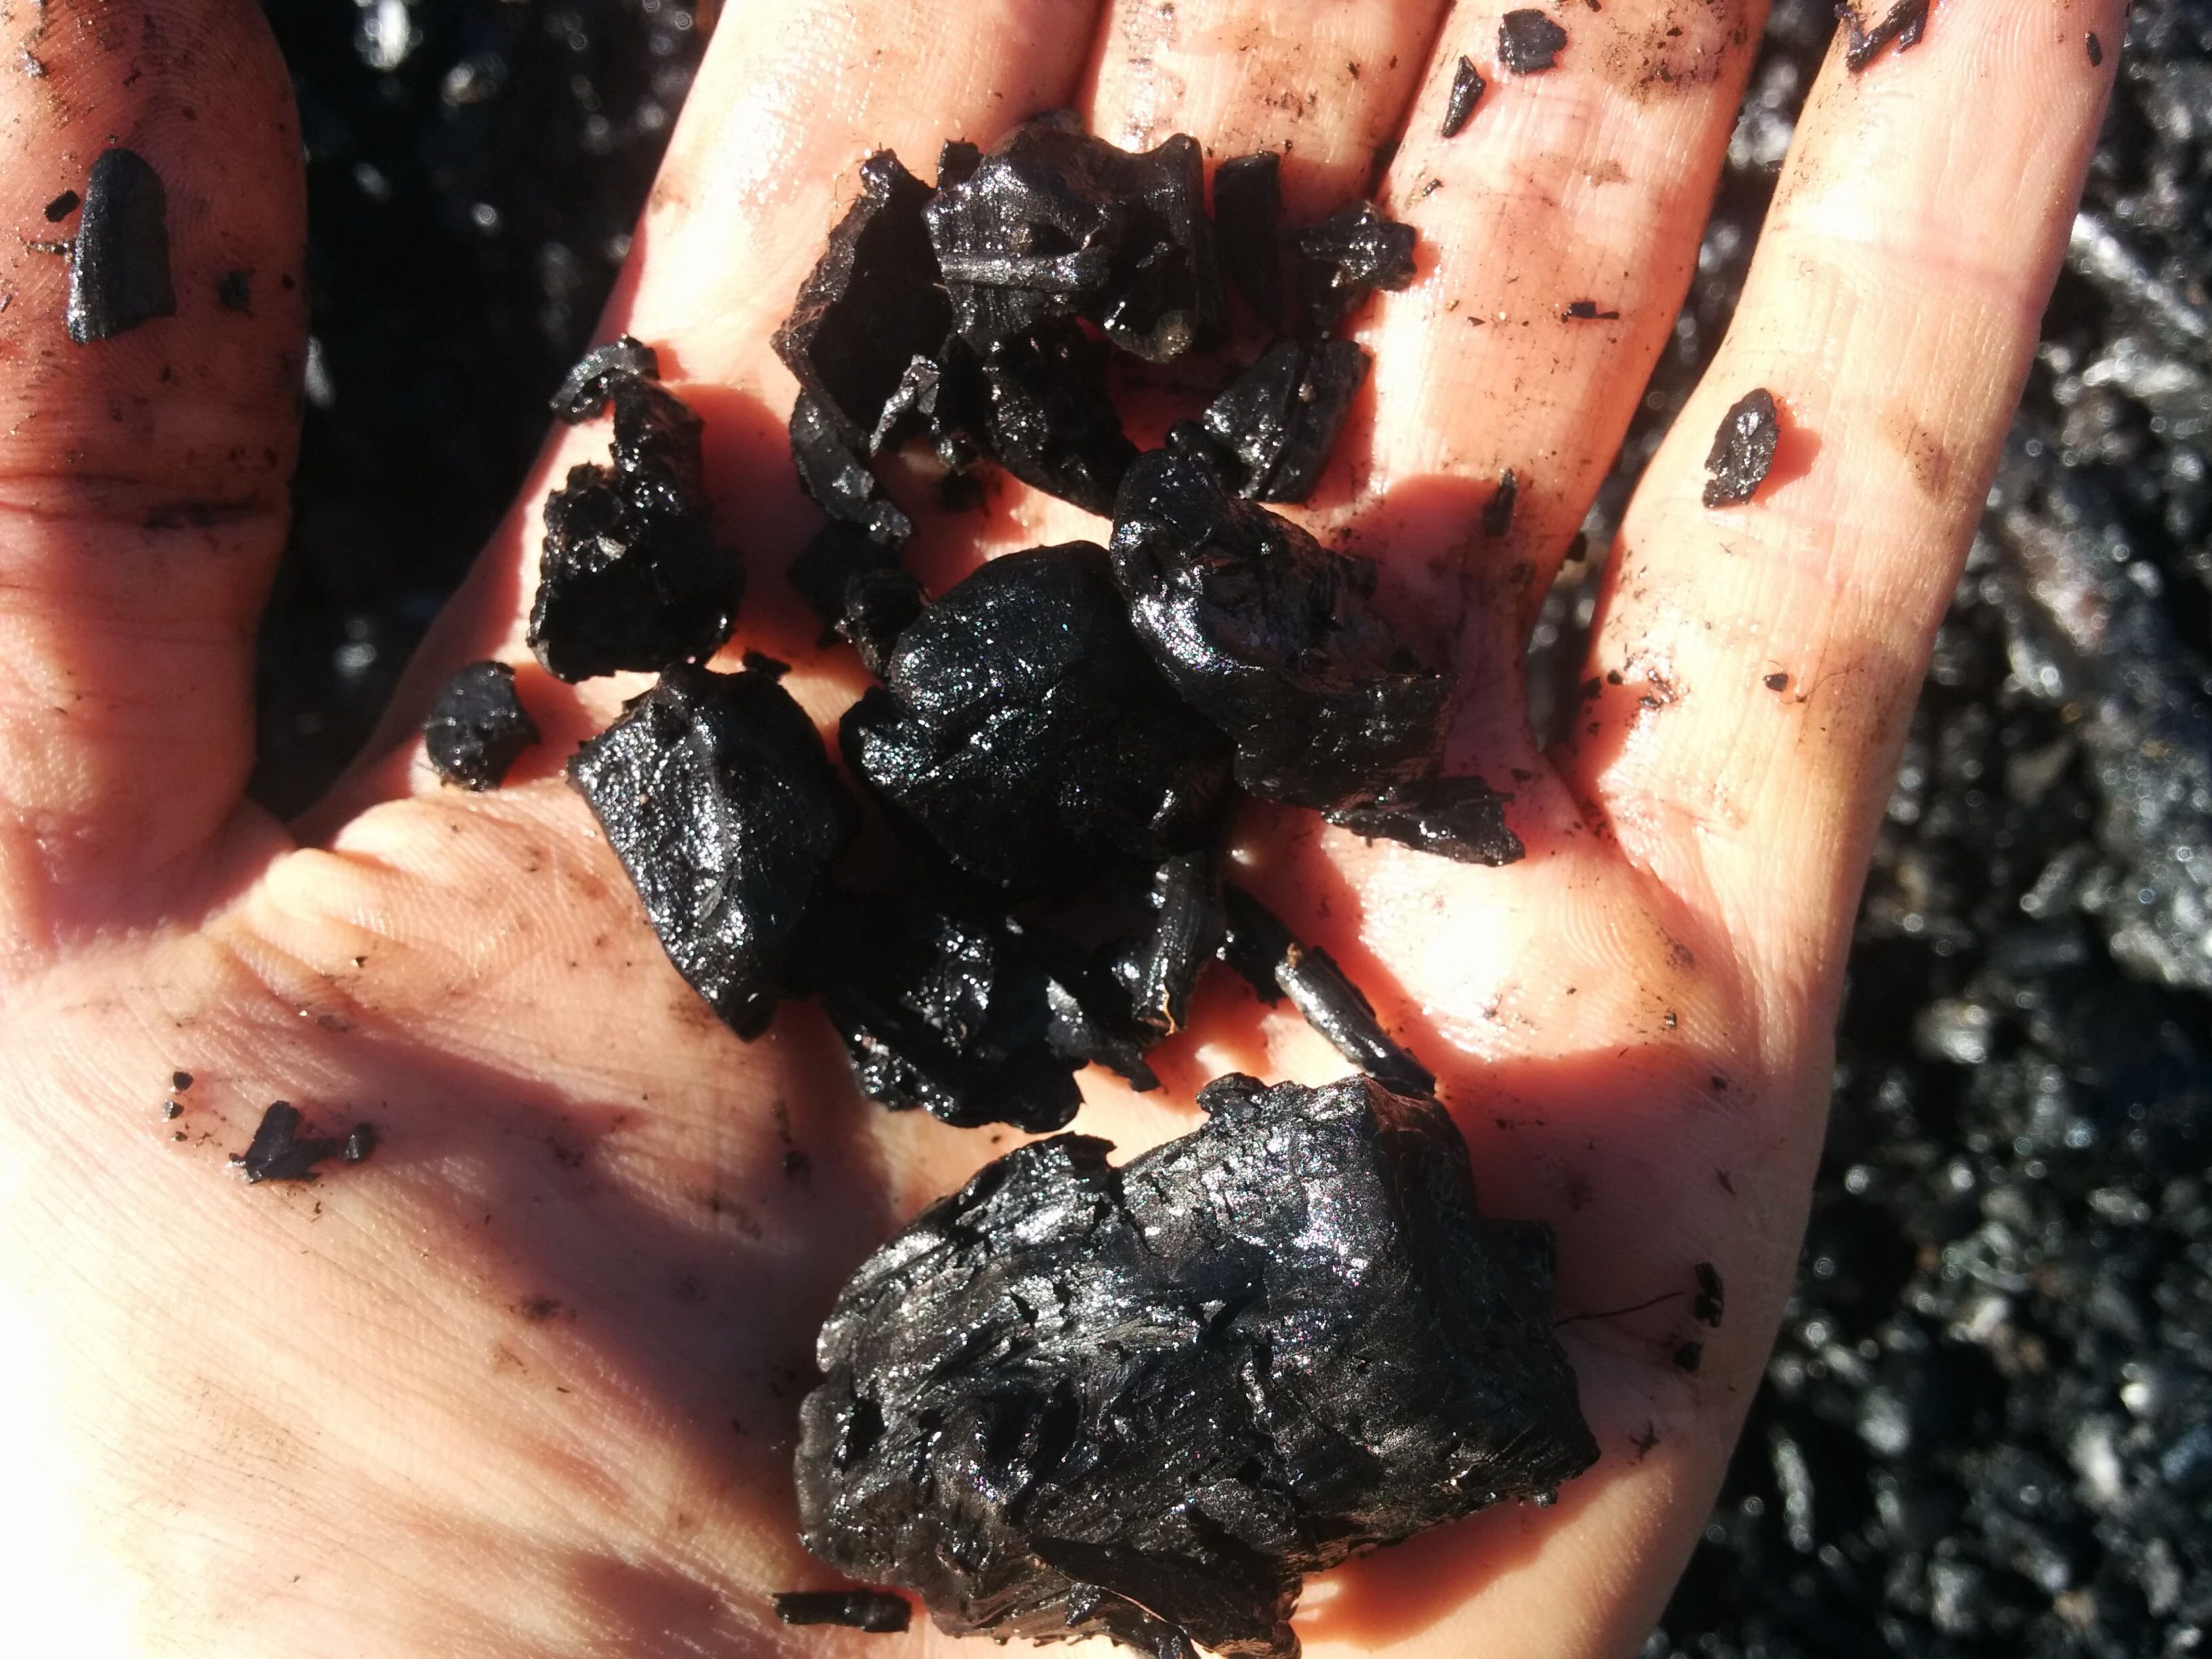
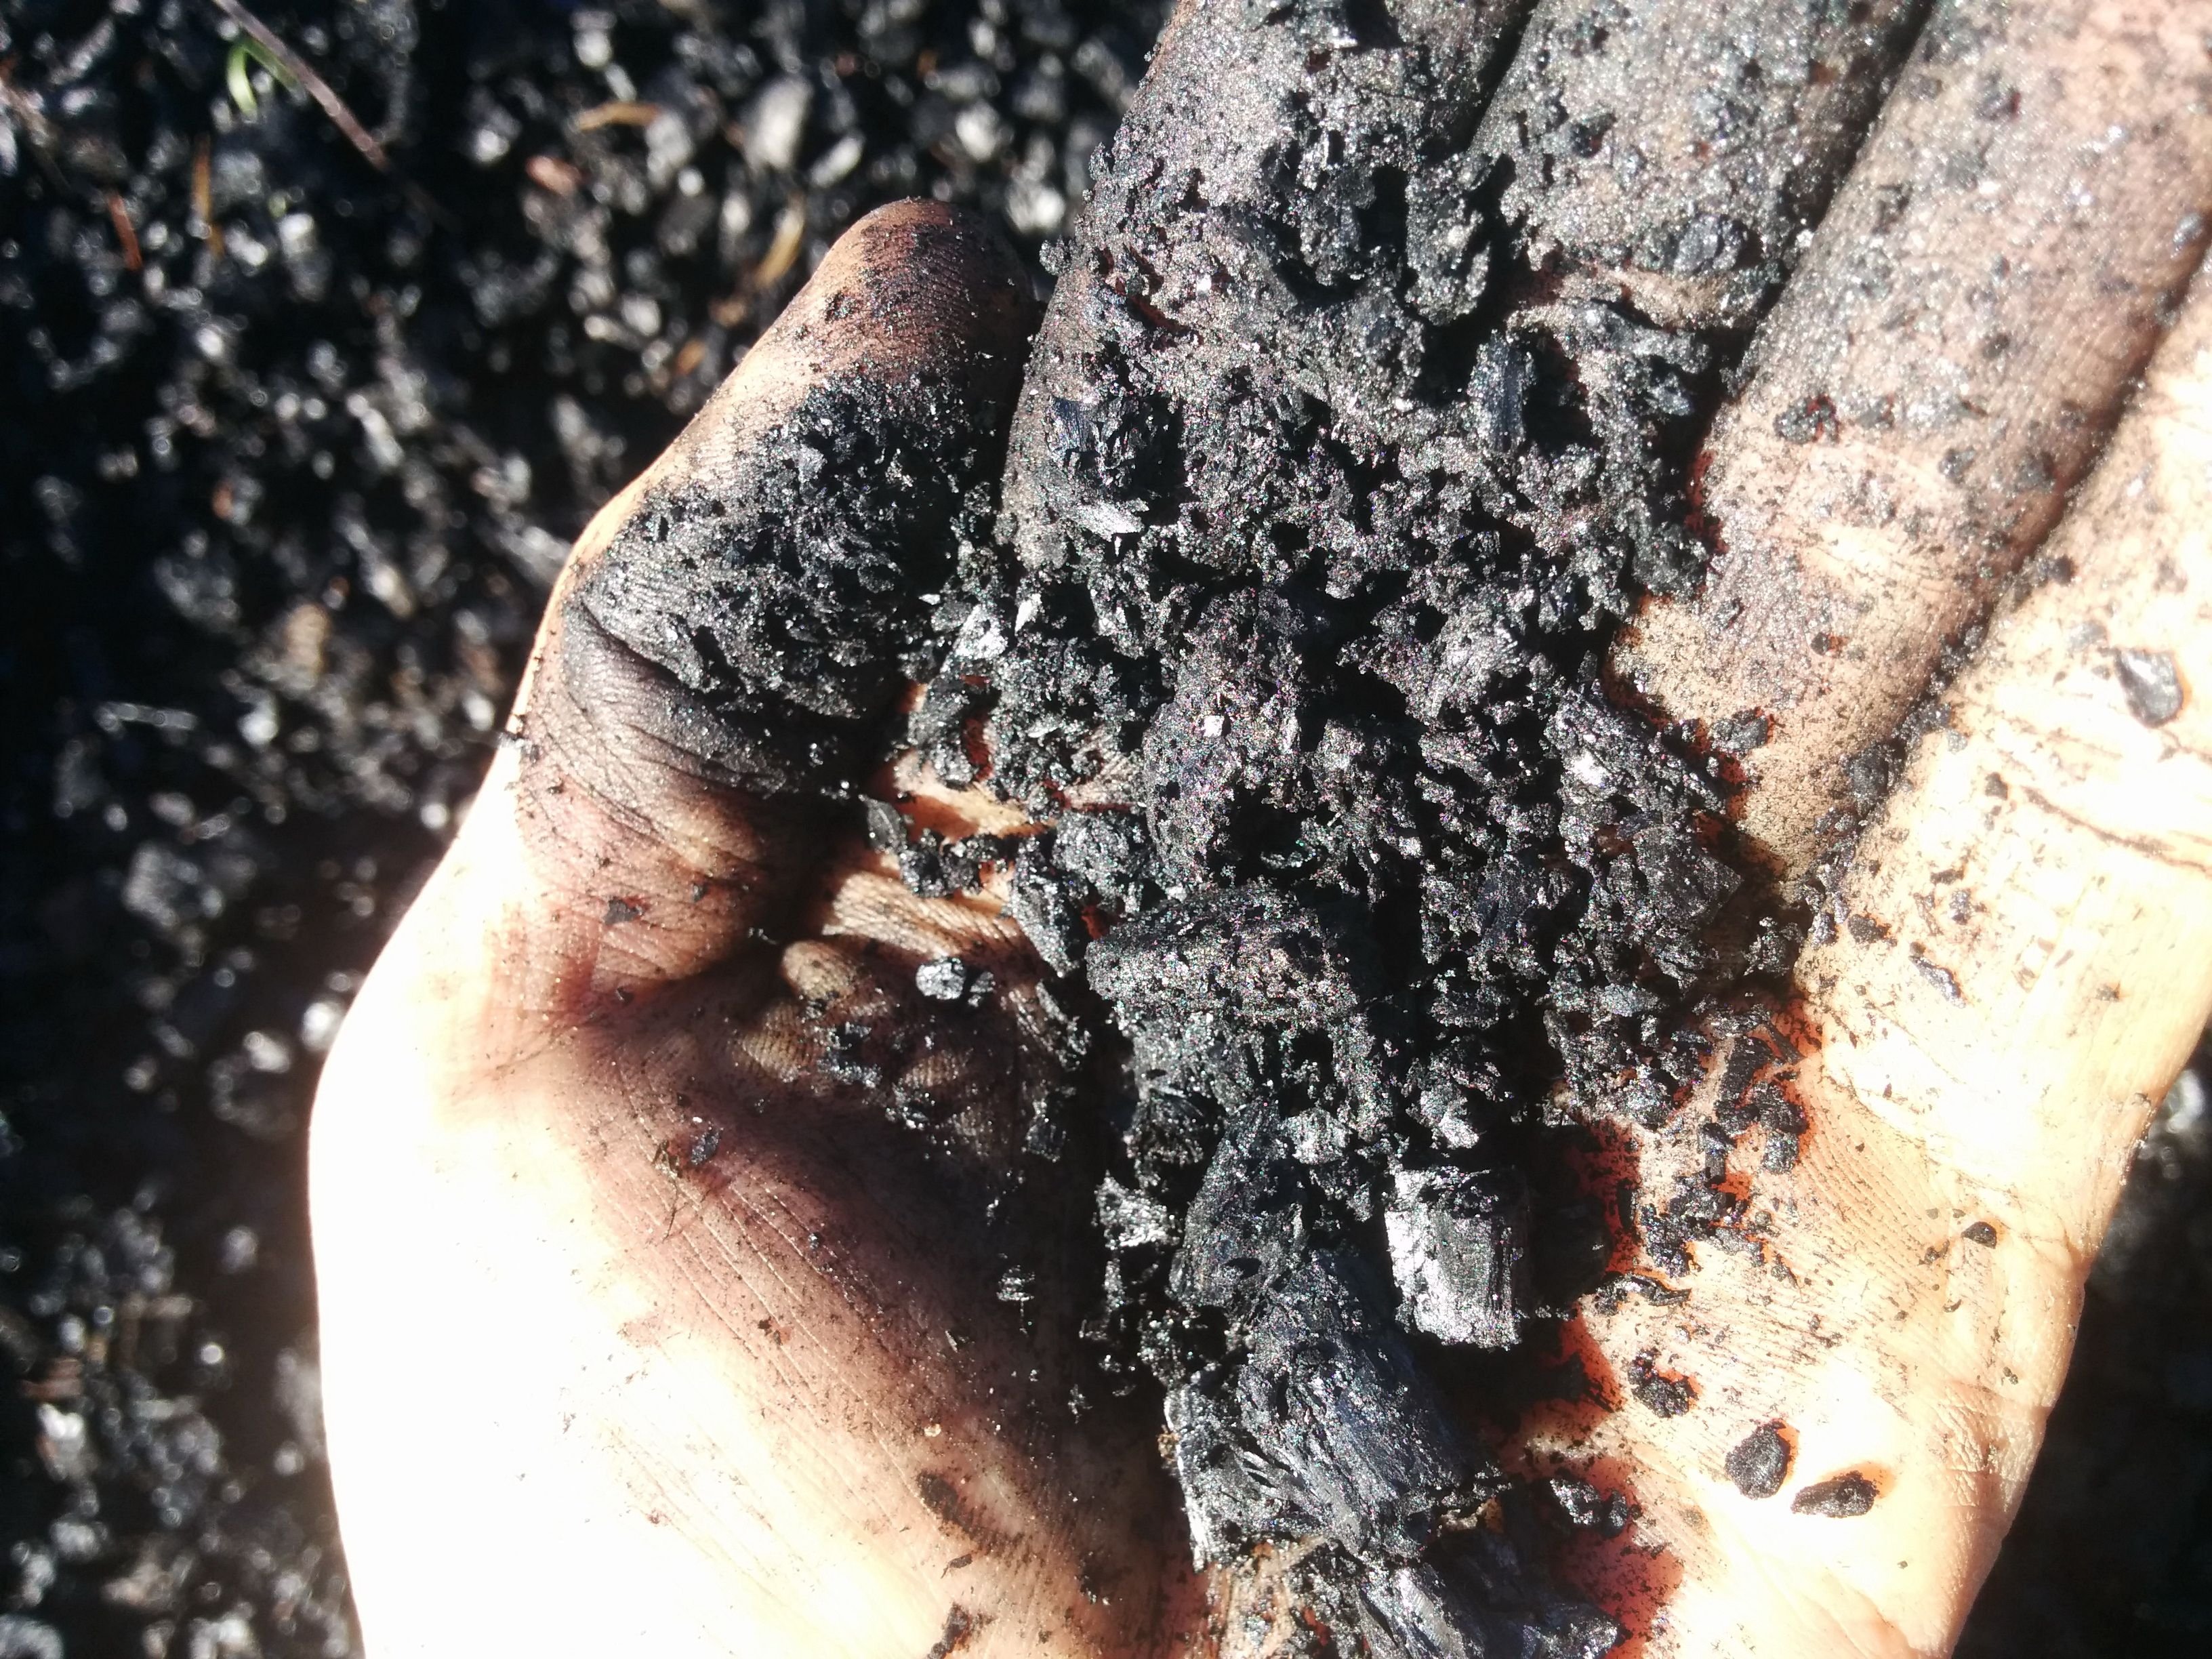
This is what it looks like close up.
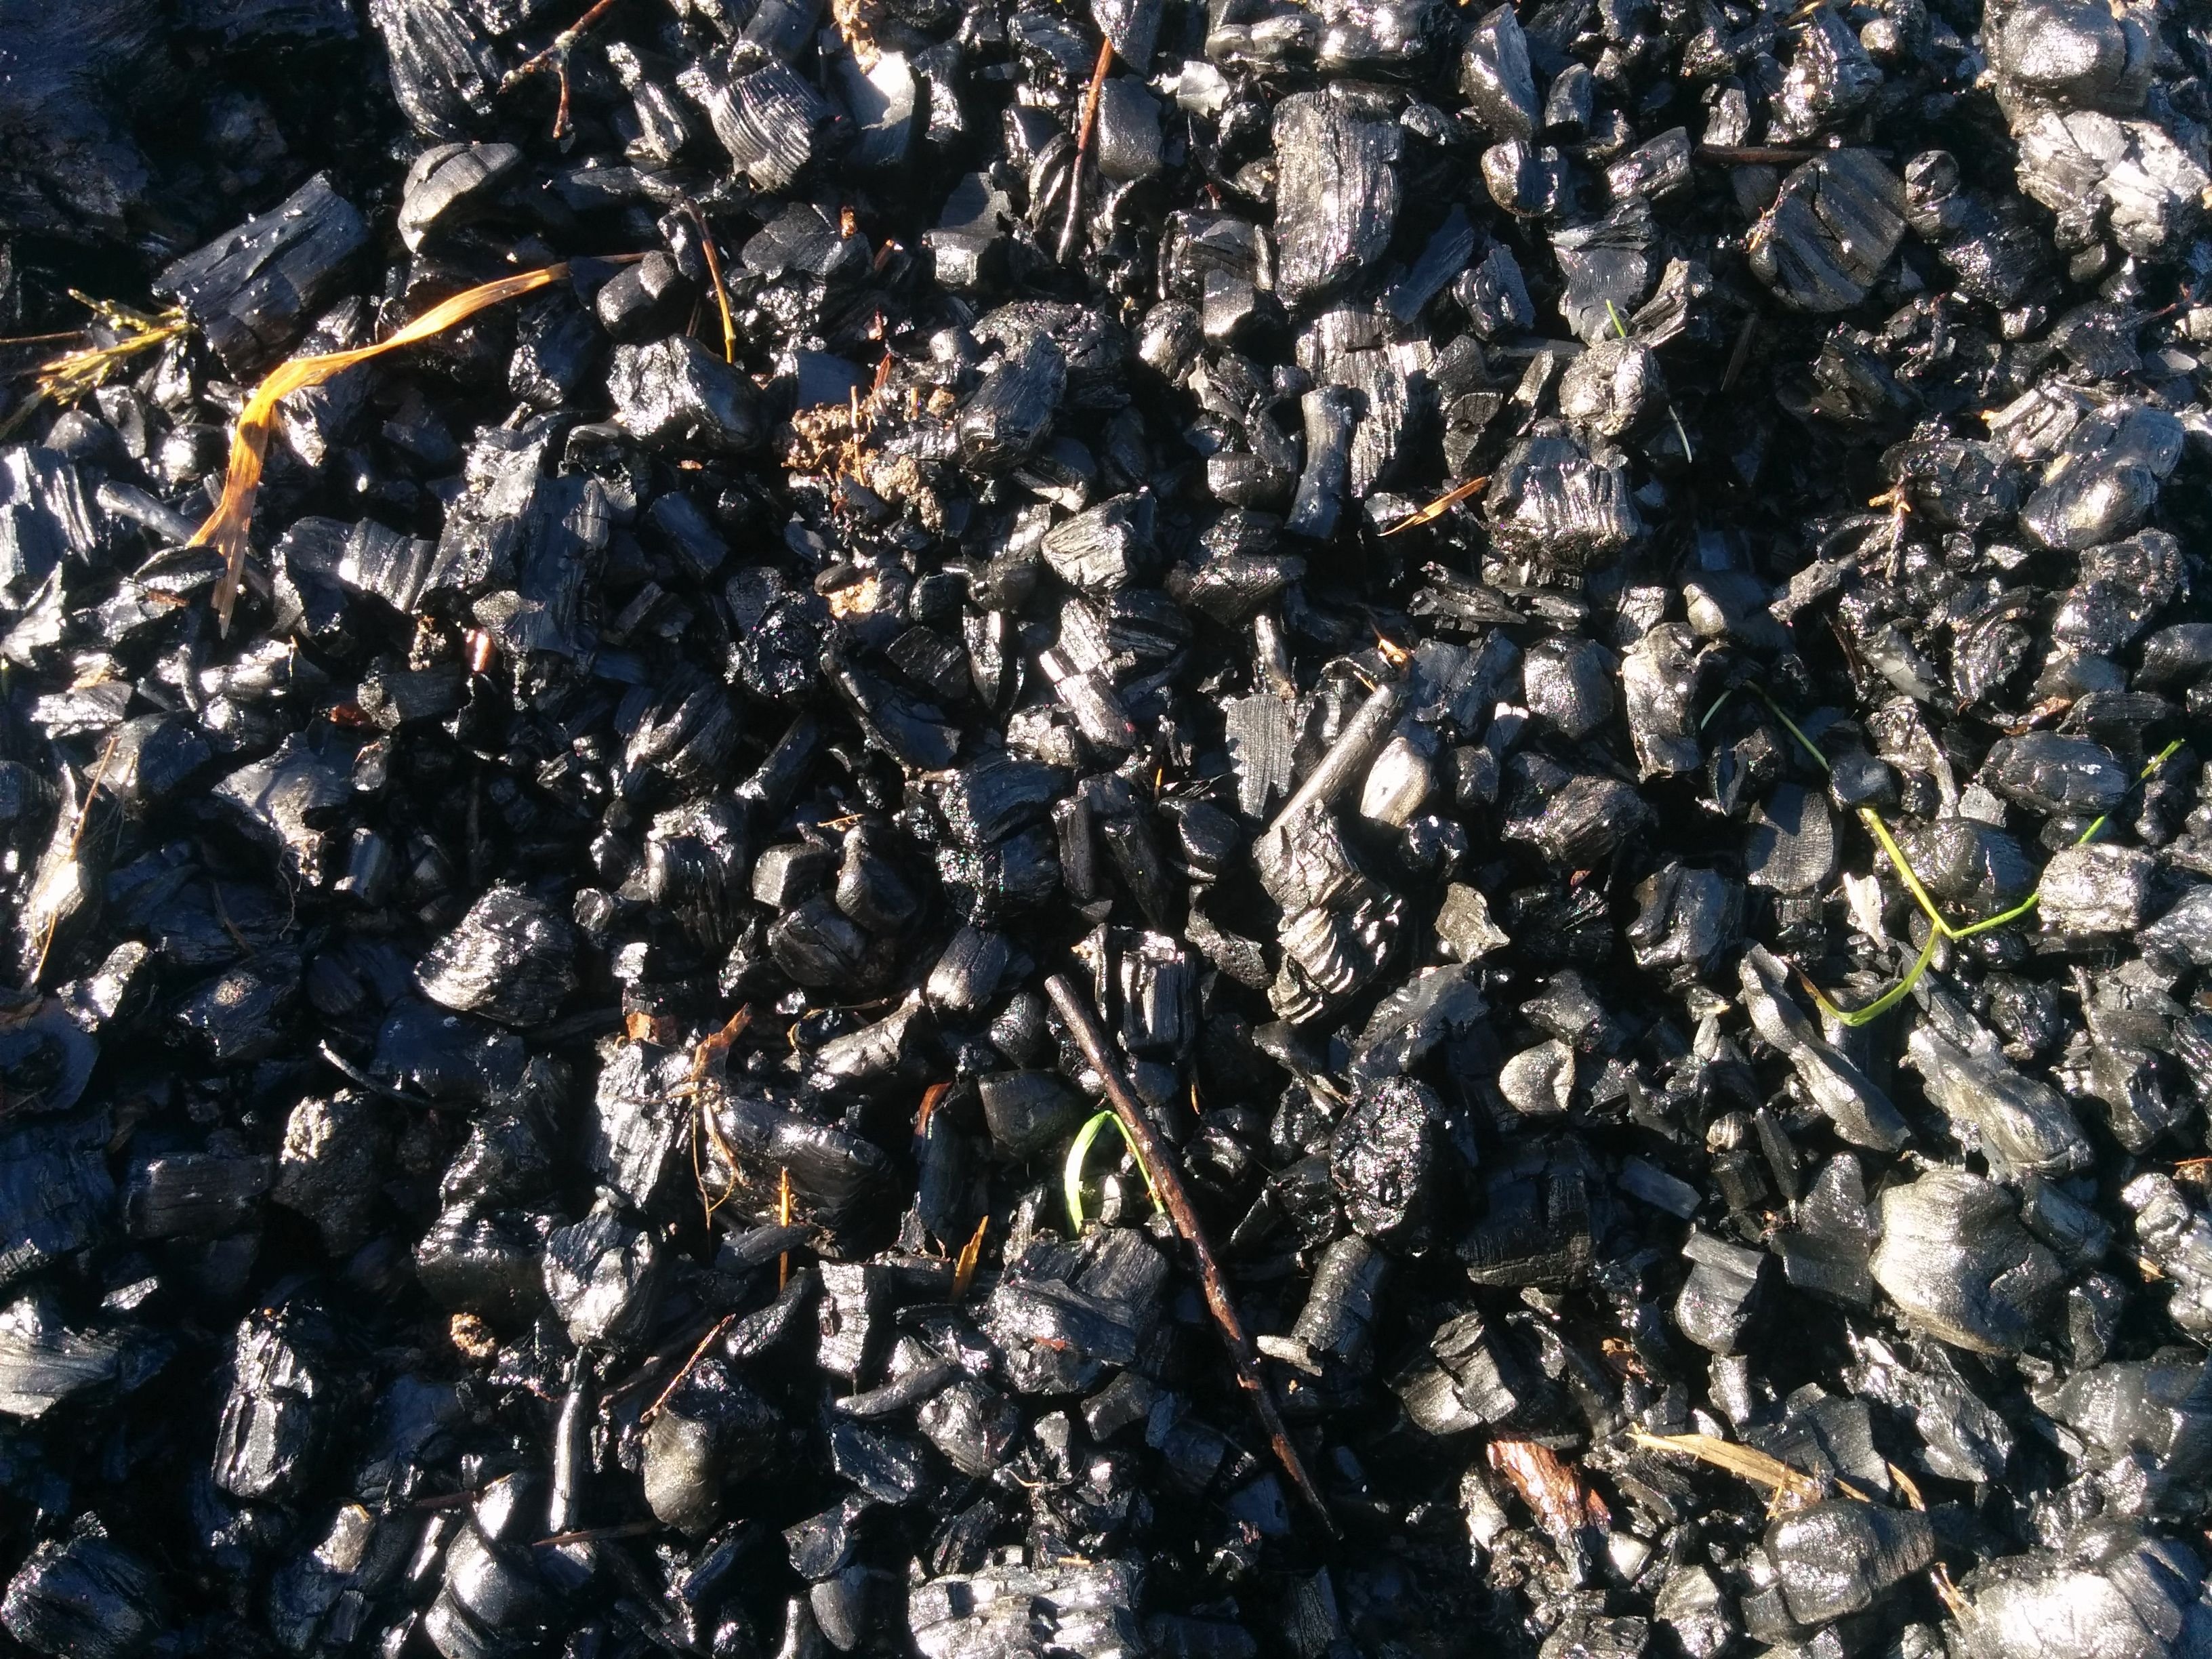
I was impressed how well this worked.
Even the larger pieces were char through and through.
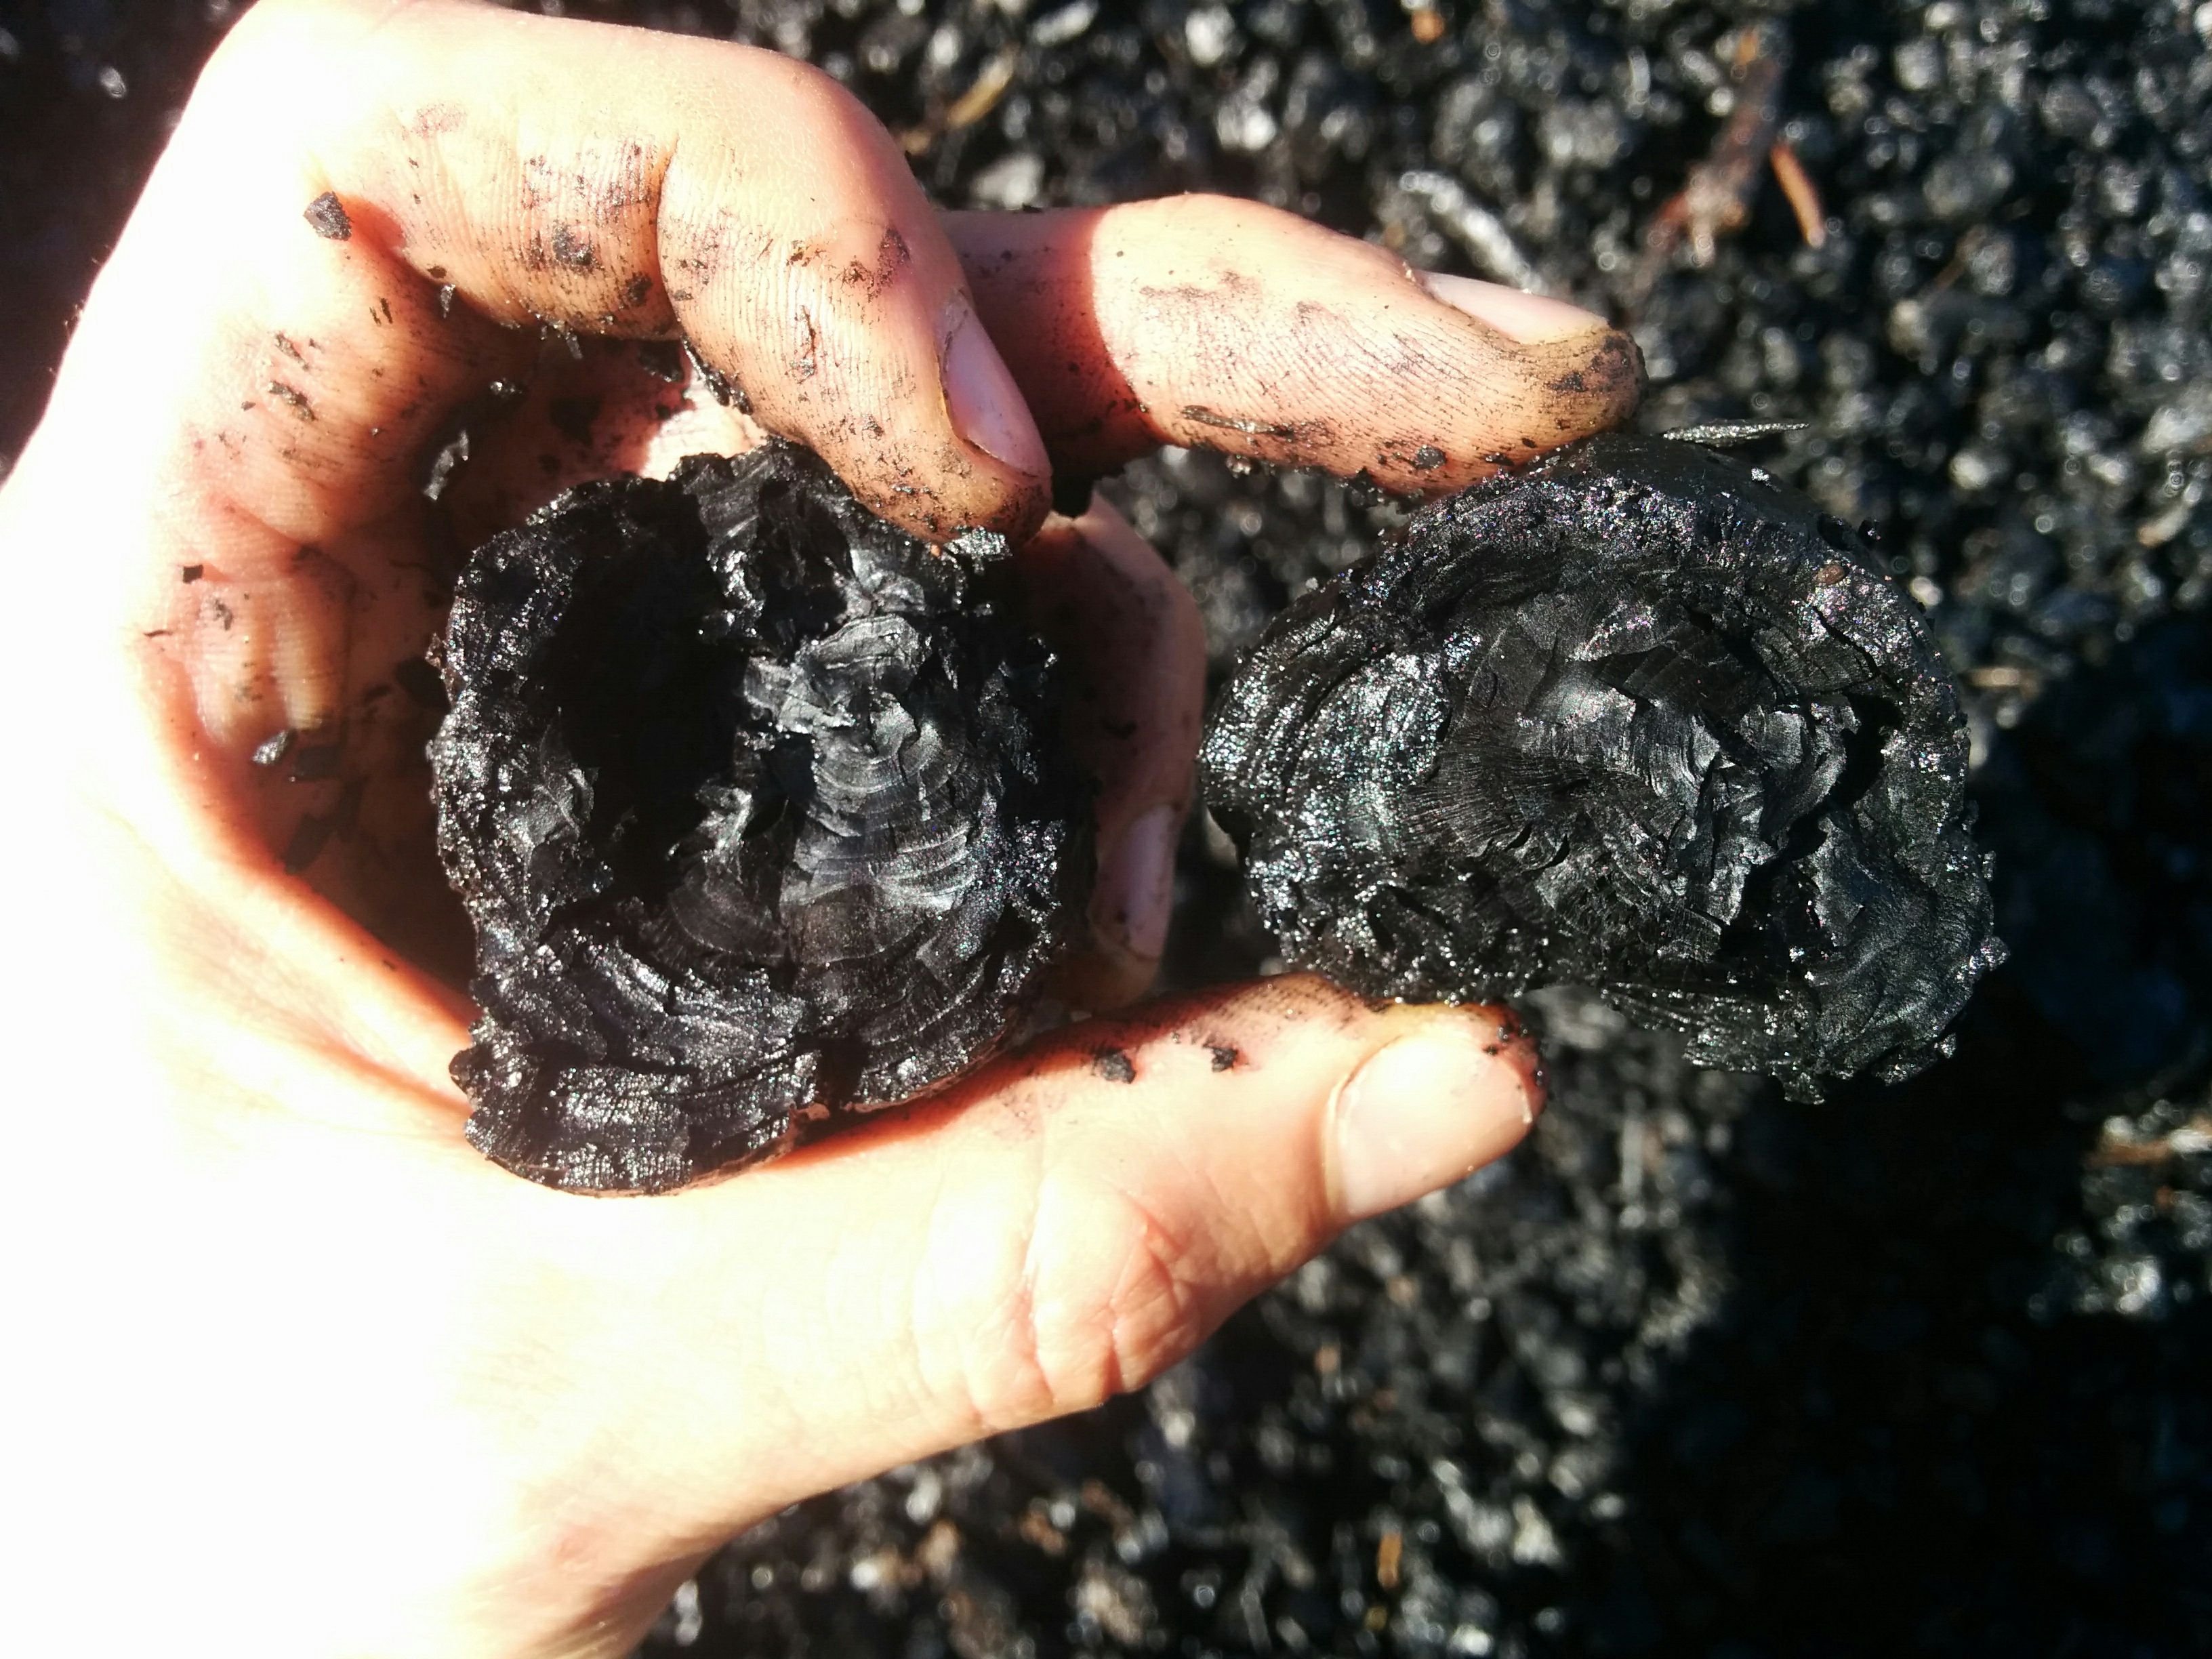
The char is incredibly light and easy to crush.
I imagine it would be pretty easy to crush it down to smaller sizes as needed and depending on the application.
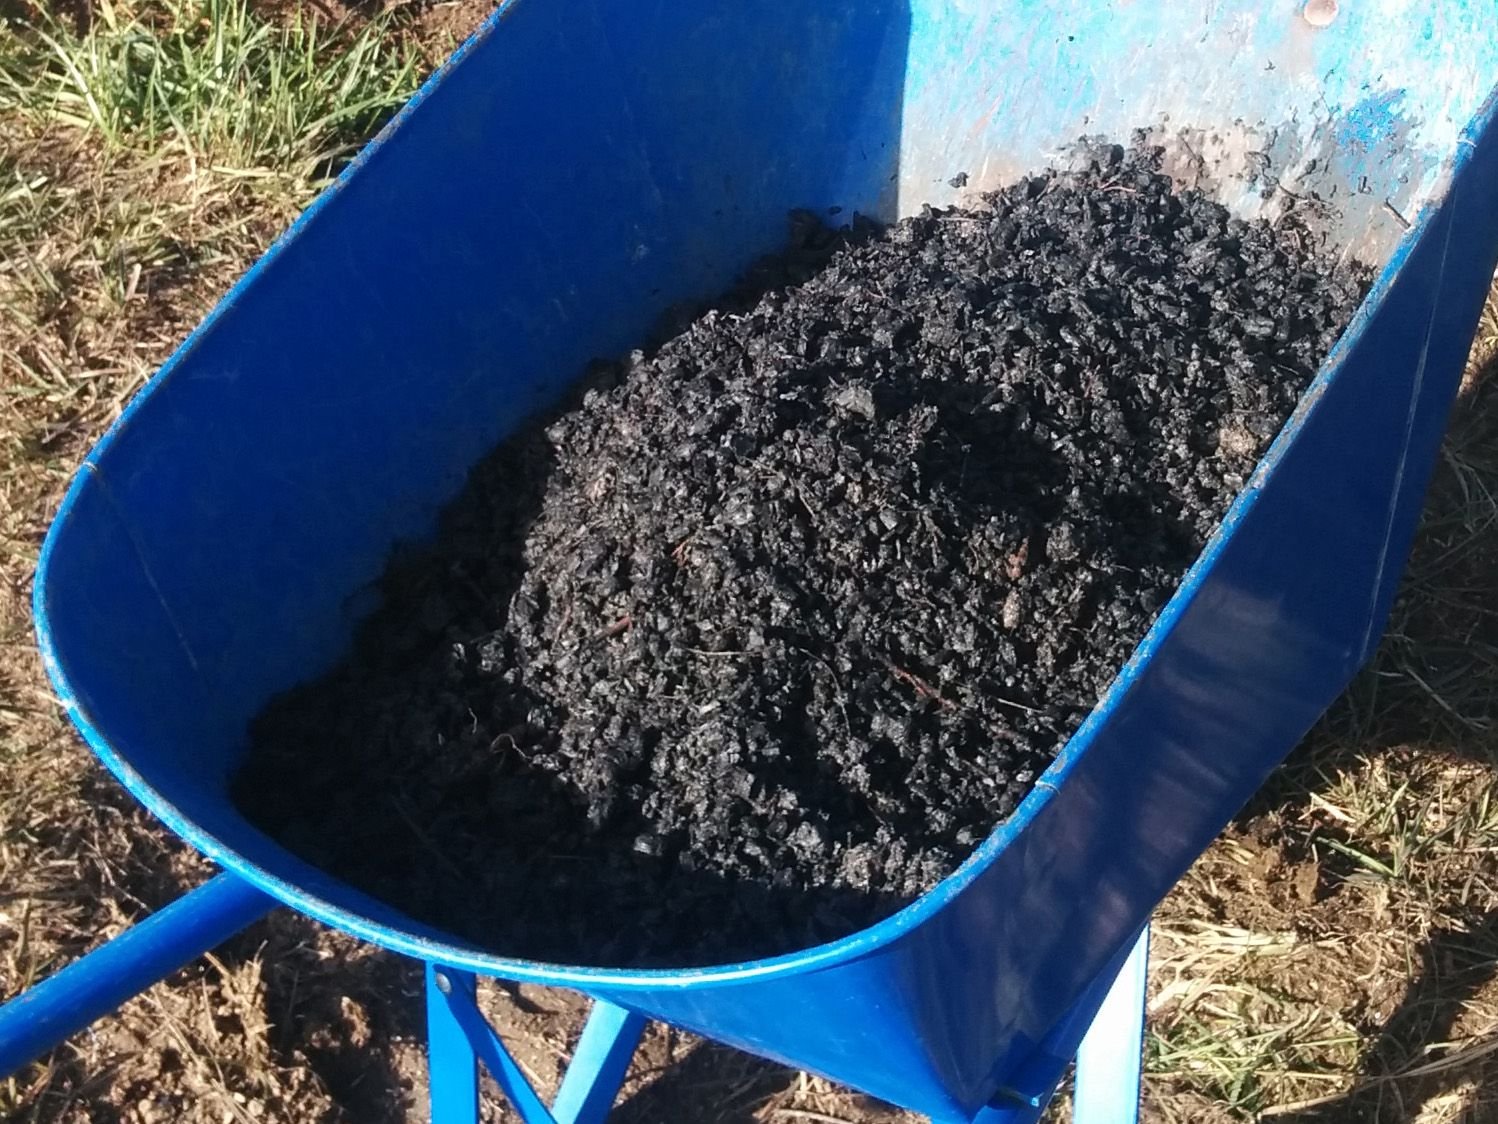
This little slash pile turned into quite a bit of char!
Now for the bio part of biochar
Char by itself will act like a magnet to nutrients. Added in a significant enough quantity to the soil could out compete plants for nutrients and create an unhealthy environment for them.
Therefore it is important to pre-charge the char so that it can absorb nutrients without taking them from the soil around your plants. In the podcast I linked above I learned a few ways to do this. You could pee on your bio char or just leave it out in a pile or in a bucket with holes at the bottom exposed to the rain. Some people pre-charge and innoculate their biochar with compost tea. You can also layer char into your compost piles where it will naturally become biochar by absorbing nutrients and biology throughout the composting process. I am sure there are a plethera of other ways to charge and innoculate biochar!
You can also certainly dig it straight into the soil. The soil is where the char will get the diverse "bio" and become biochar. Organisms will migrate into the char and setup home. So the biochar will hold nutrients and organisms, which means it is a perfect delivery system for plant and tree roots.
Just be sure to pre-charge your char before putting it in the soil, or put it into a space where you are not so worried about tender plants competing for nutrients, like a new garden bed that will over winter or be fallow for a few weeks to a few months.
I opted to pee on the char to pre-charge it for about a week until it smelled like it had absorbed what it could. For a while it was odorless as it absorbed the urine.. that is pretty incredible... there are a lot of applications in that department for biochar as well.
Then I left it in a container with drainage to sit out in the sun and rain and continue charging until it is needed!
I'll definitely update you when I start using the biochar. Thanks for reading!

Enjoy some more bio char info from our fellow steemians!
- Mr. Permaculture on Adventure #4 - Peeing and Making Biochar [ @cheneats ]
- Mitigation of Climate Changes with Biochar [ @jokster ]
- How To Make Charcoal At Home the BIOCHAR??? [ @bfhomestead ]
- Free Retort Makes the Cleanest Biochar [ @stevesmith ]