Homemade sourdough bread. Doesn't get much better than the crackly crust, chewy inside, and the tangy, nutty aroma. Once you have a good sourdough starter, all you need to do is feed it regularly with water and flour, and you've got a perfect leavening for your bread, waffles, muffins, that is way better than store-bought yeast. I've been making sourdough at home for several years, using the same starter kept going throughout. I'm not saying that I'm against store-bought yeast, but there's a time and a place for it. When you want a great loaf of crusty bread, go for the wild-yeast sourdough and, yes, it takes a bit longer, but the payoff is guaranteed to be worth it.

My go-to sourdough recipe is a variation New York Times' No-Knead Sourdough. I've used recipes that require you to knead the dough for 15 minutes until your forearms feel like jello and your hands cramp up, but honestly, the no-knead sourdough has all the glory of the kneaded version with no need to knead.
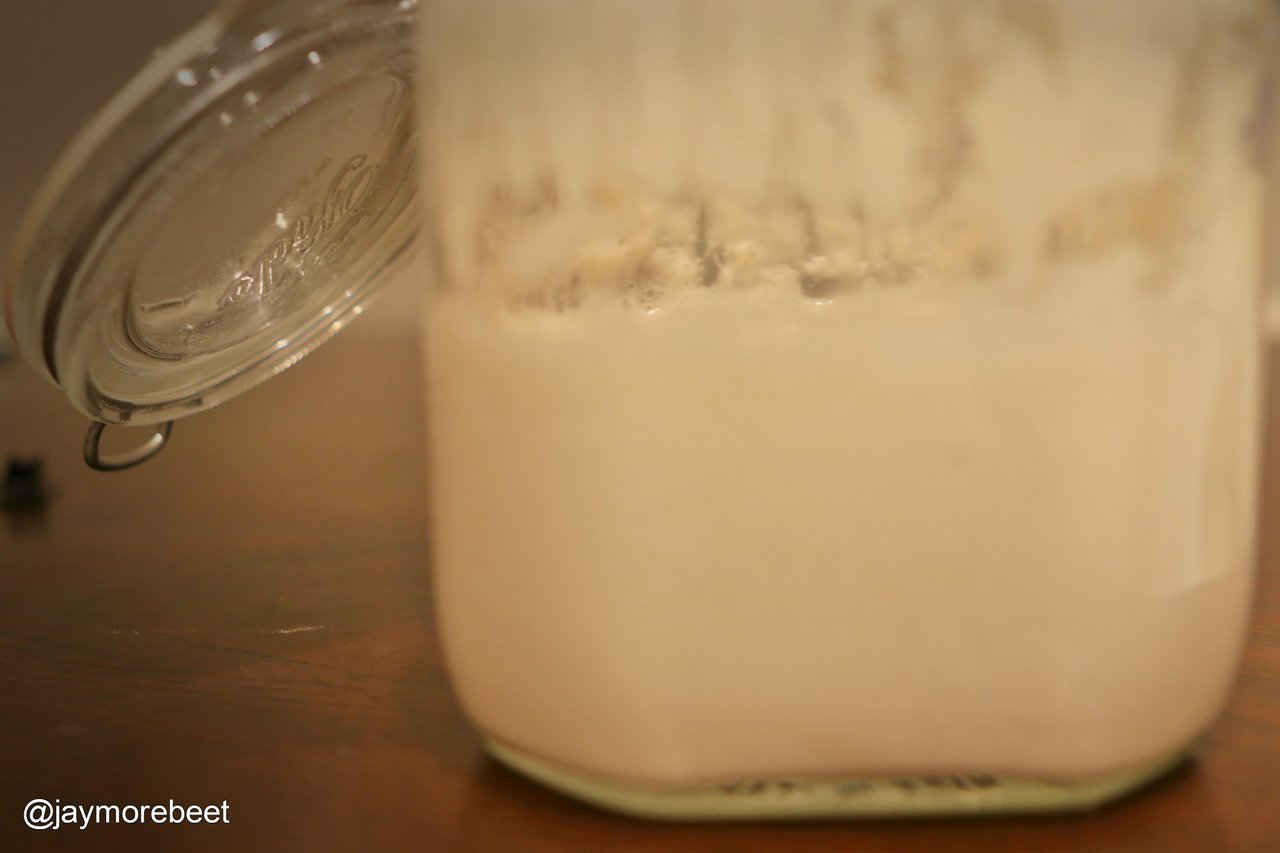
The sourdough starter crock
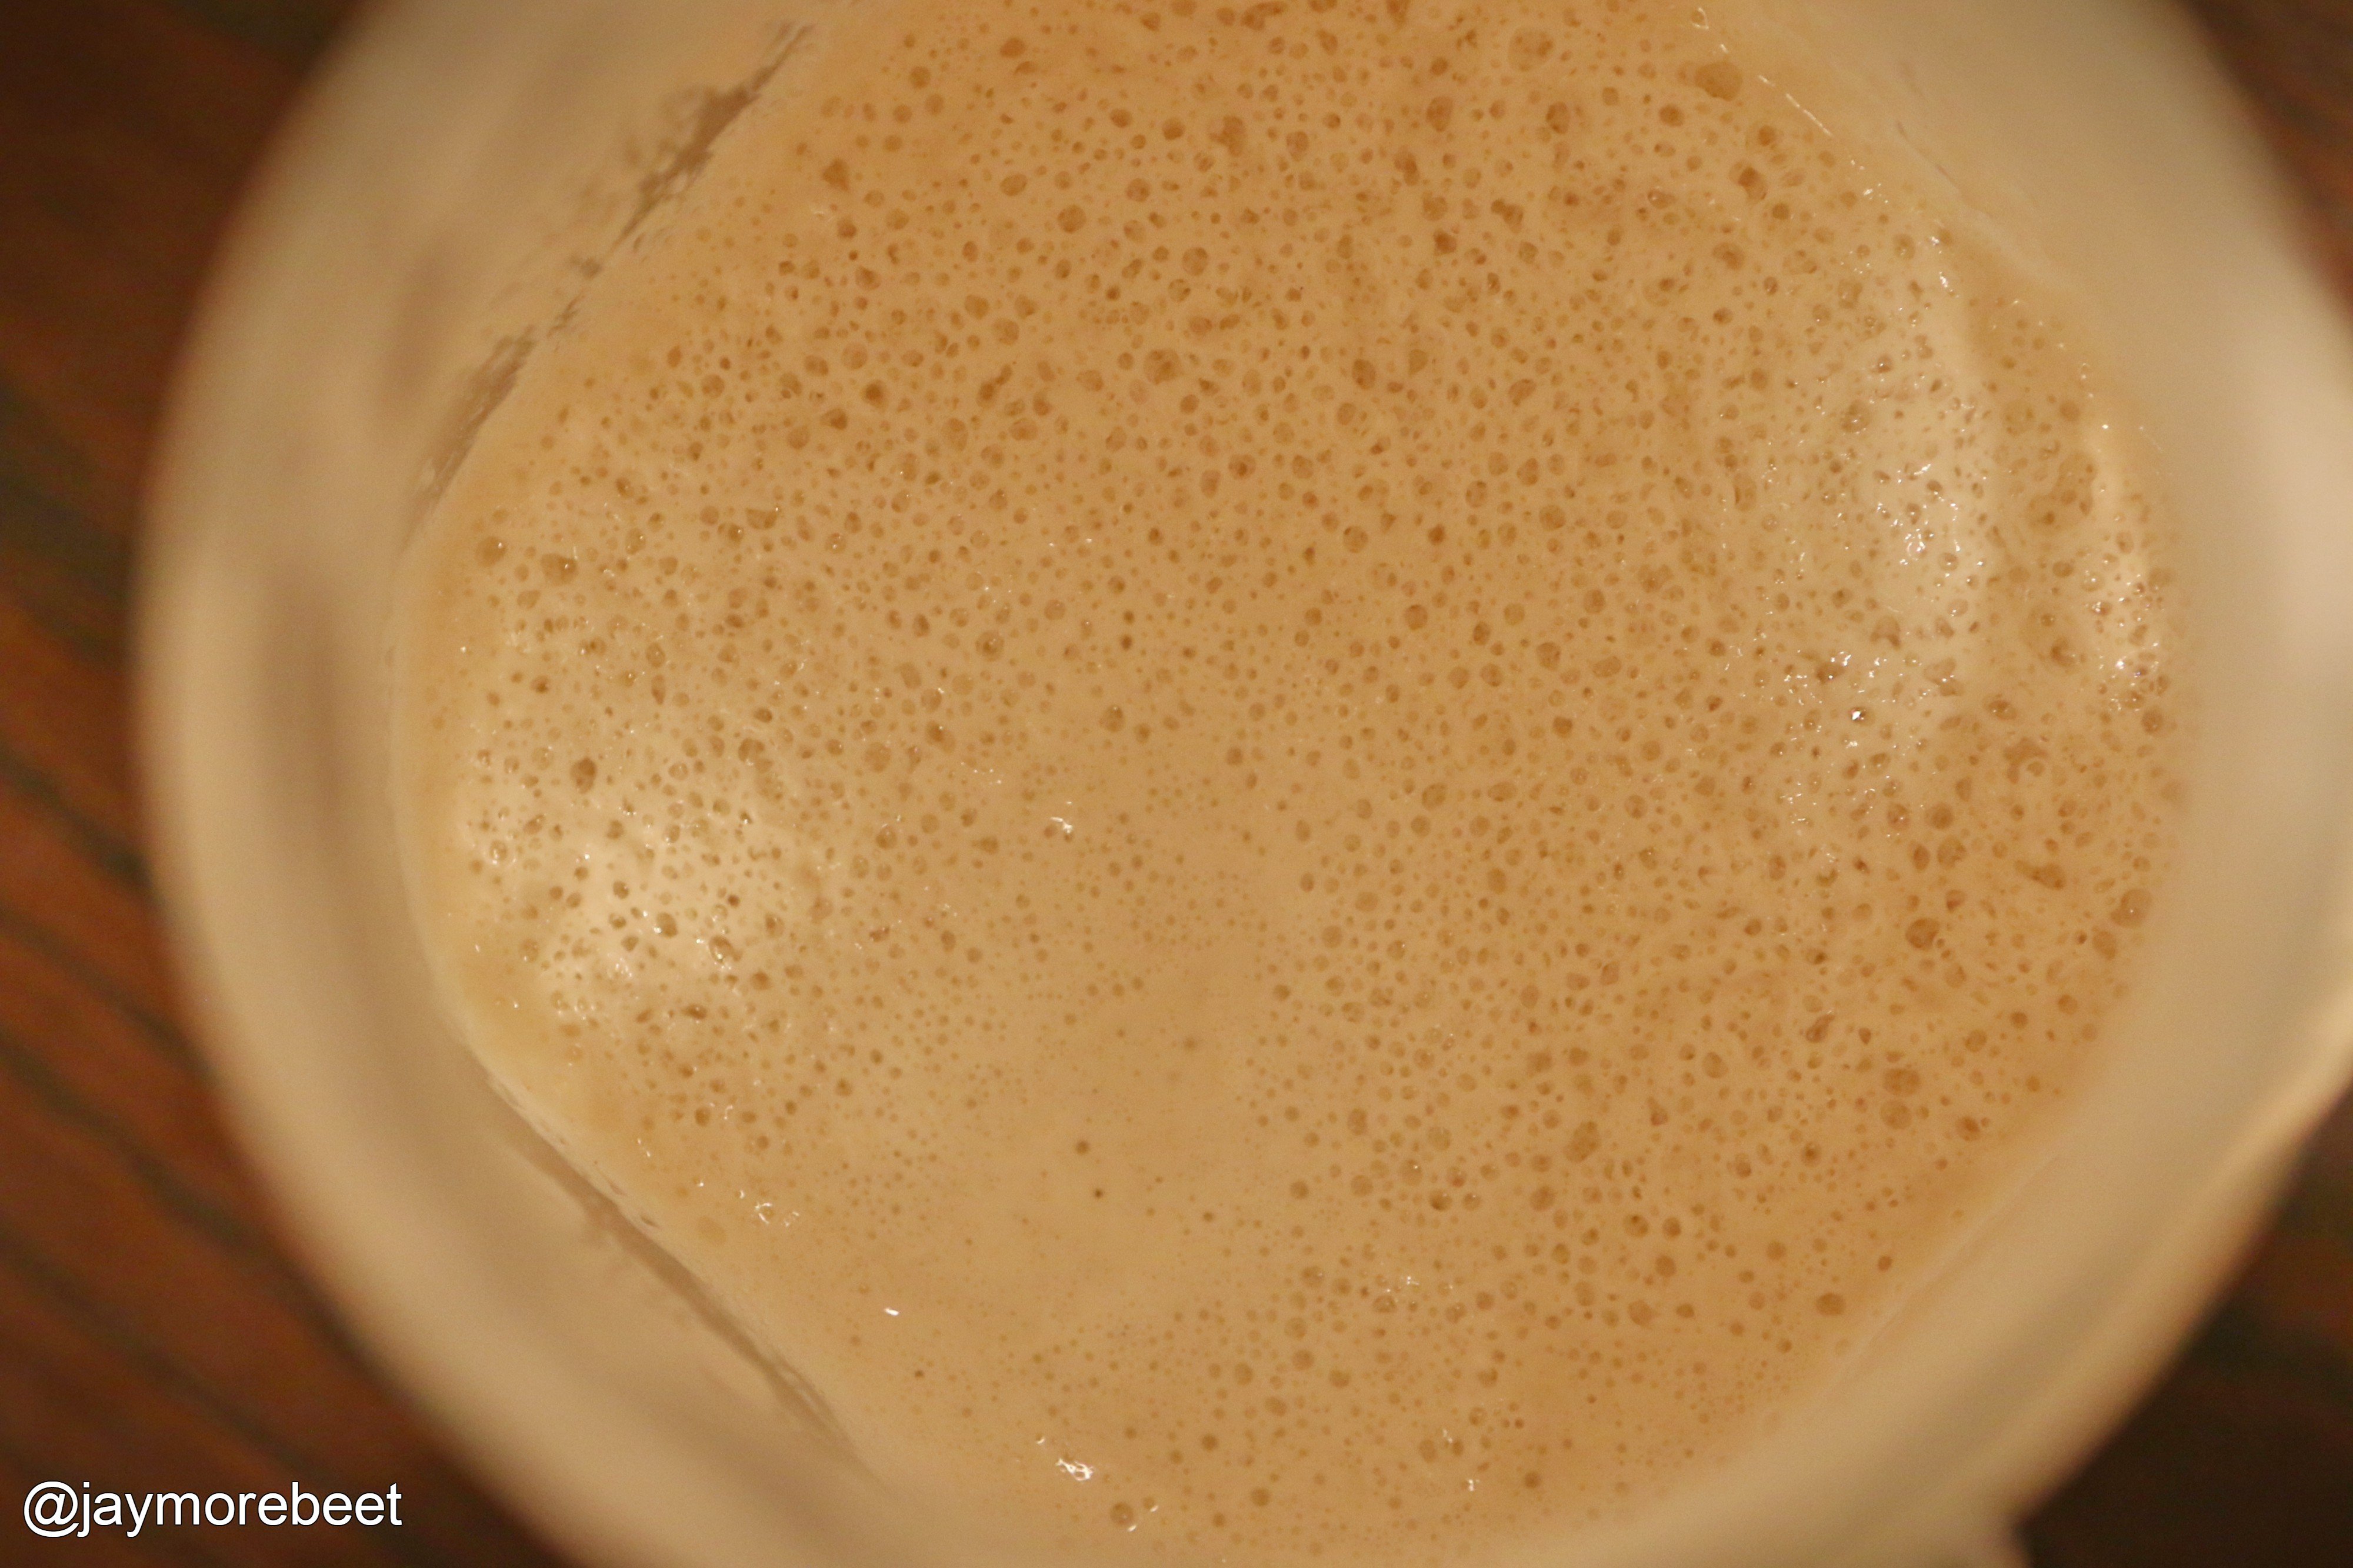
Bubbly starter is well-fed and ready to make bread!
In my sourdough, I replace one cup of the all purpose flour with whole wheat flour, which brings more nuttiness to the bread. I also skip the sesame seeds. Also, instead of dissolving the starter in water and then adding it to the flour and salt, I just dump everything together and add water until it comes together in a shaggy ball.
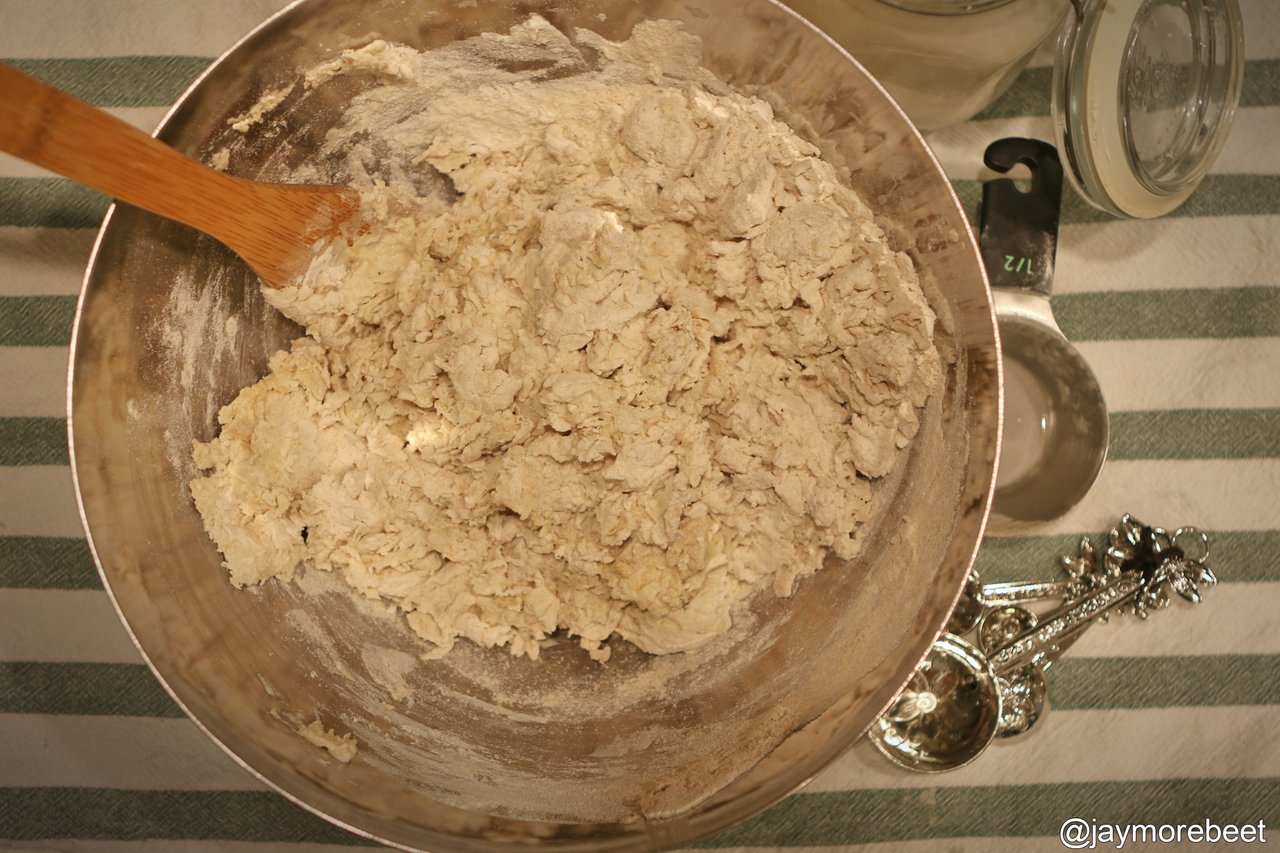
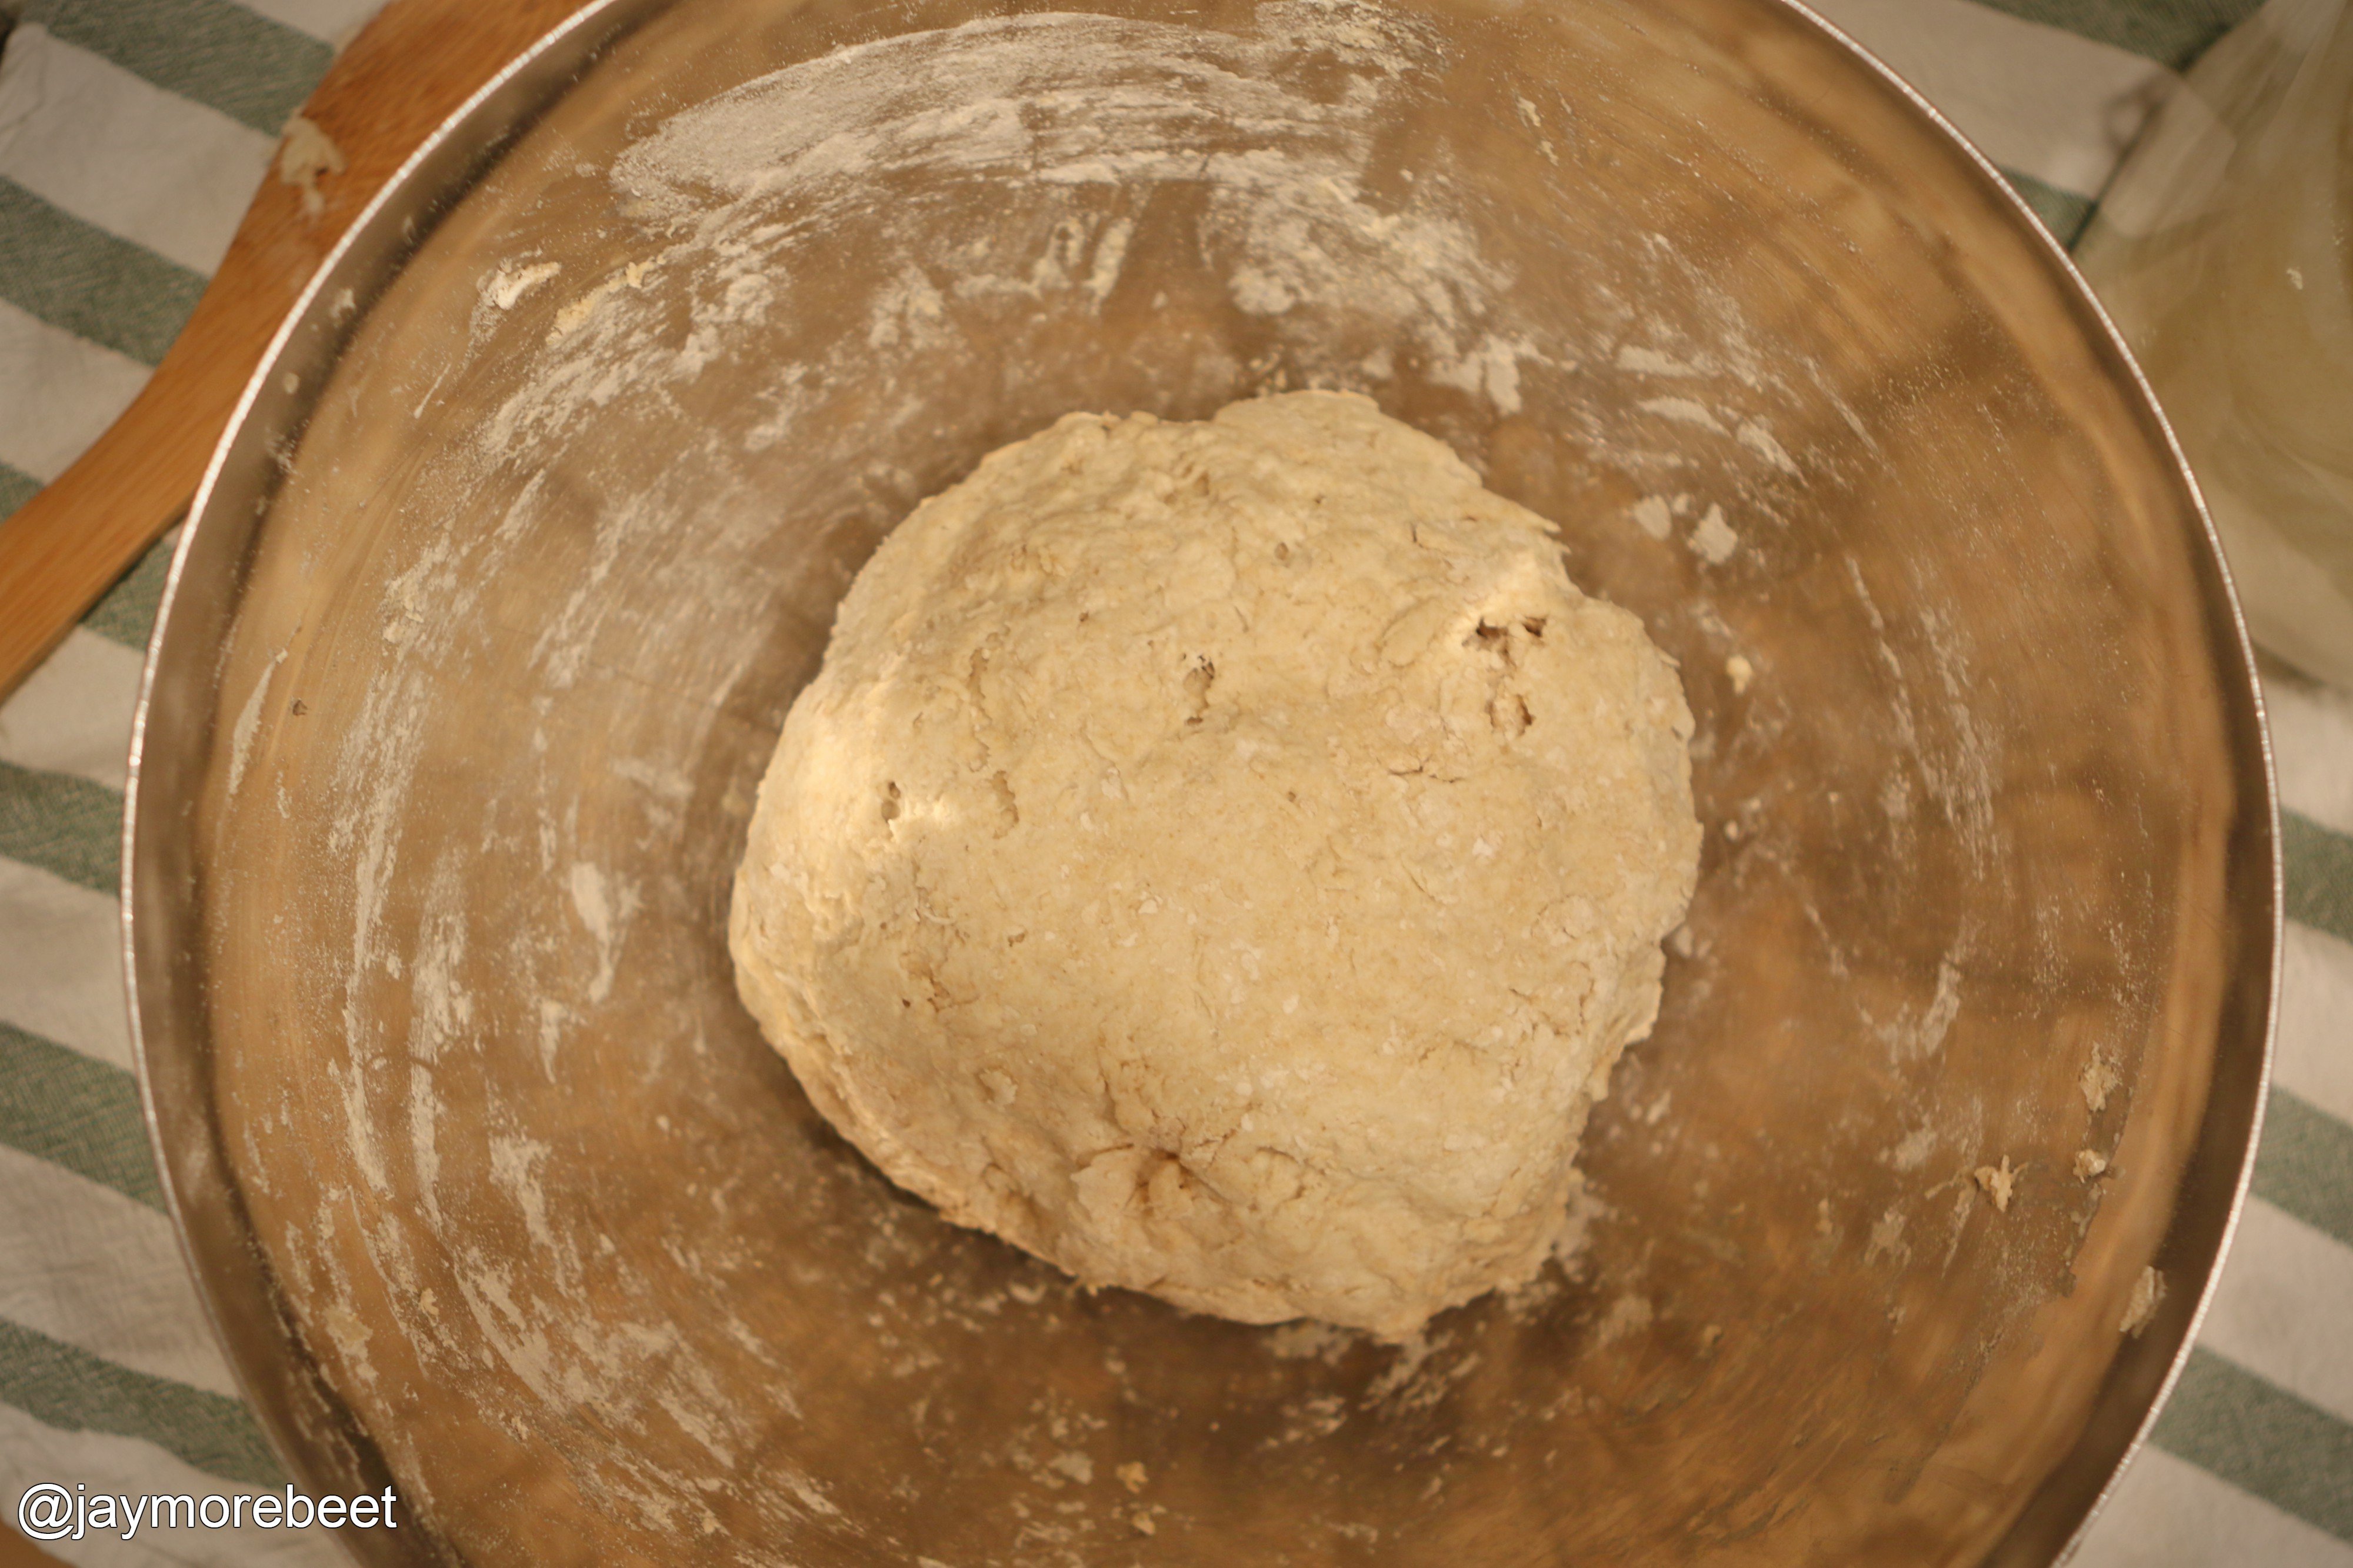
Ready to rest all night
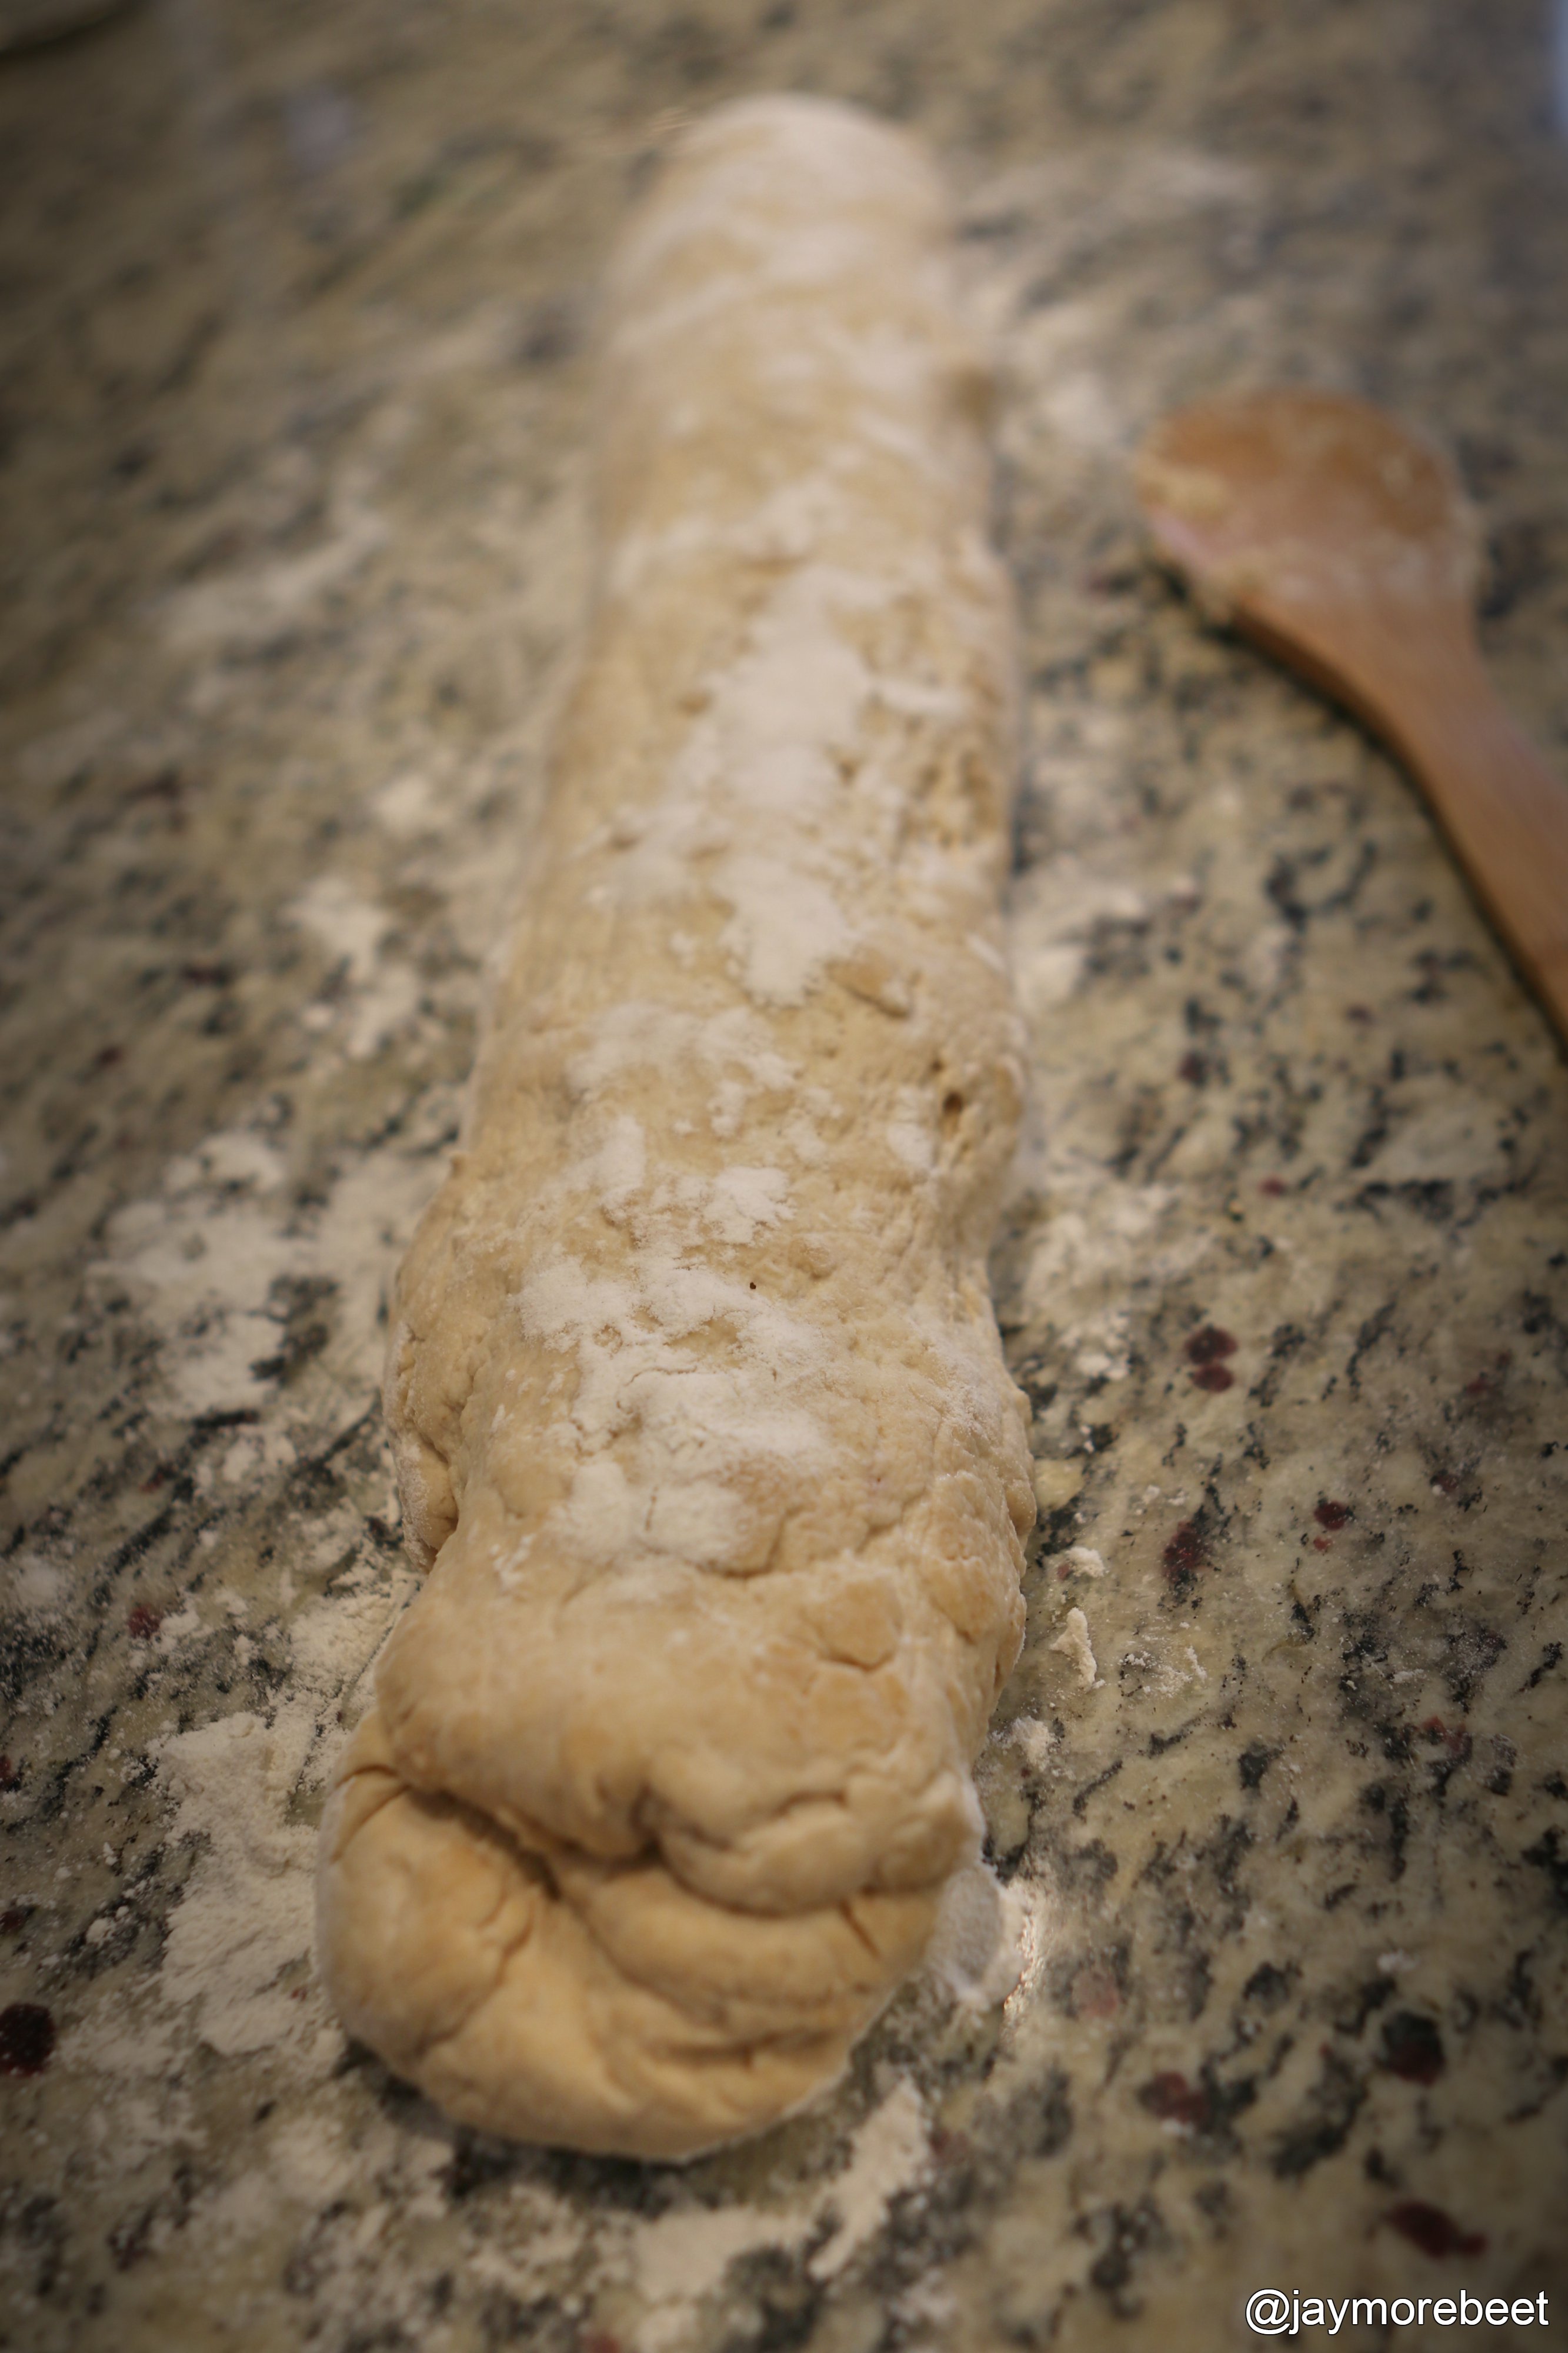
I let this rest overnight on the countertop, for about 15 hours total. Then I turned the dough onto the counter and folded the ends in letter-style twice. Here's a tutorial on this technique. Once I had a rectangle, I rolled it with my hands on the counter to form a baguette shape, channeling my inner youth self making Play Doh snakes.
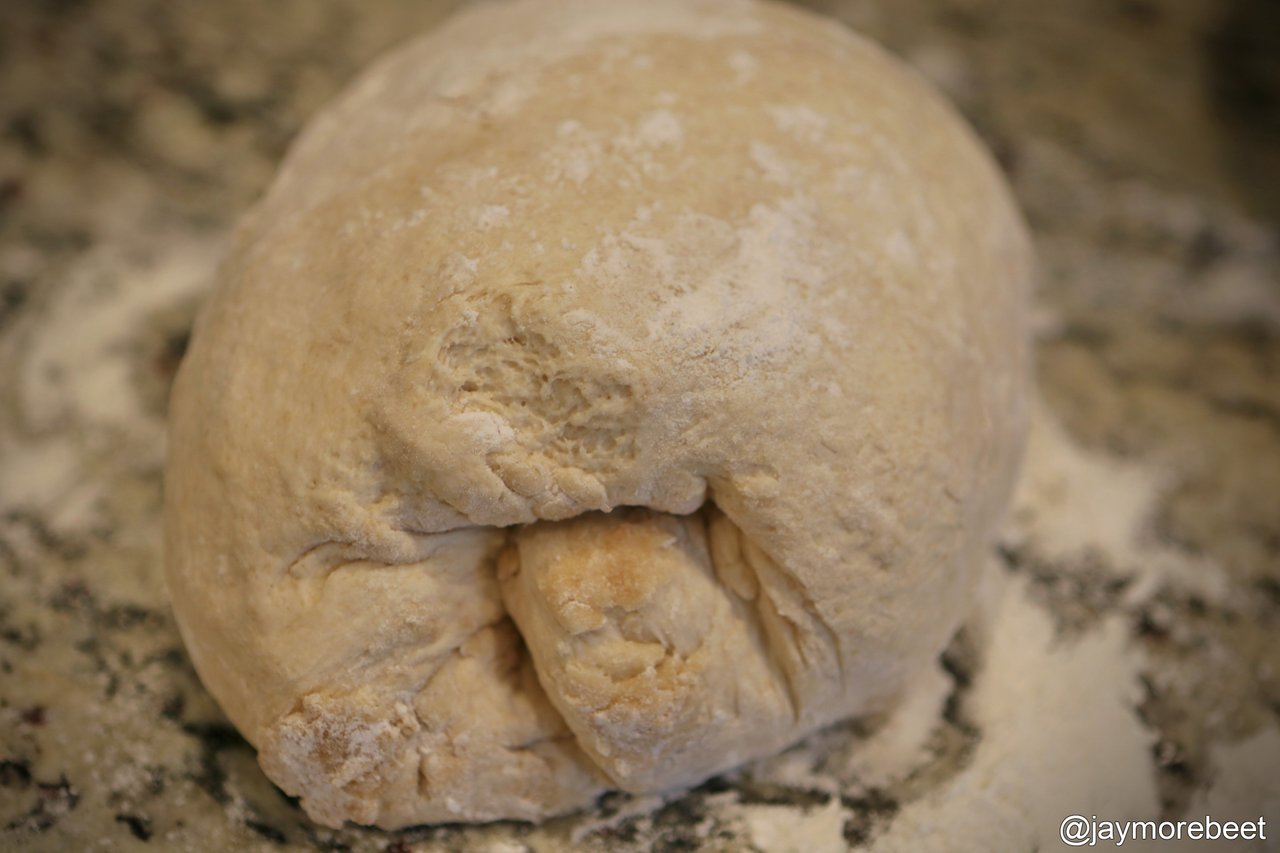
Folded "Letter Style"
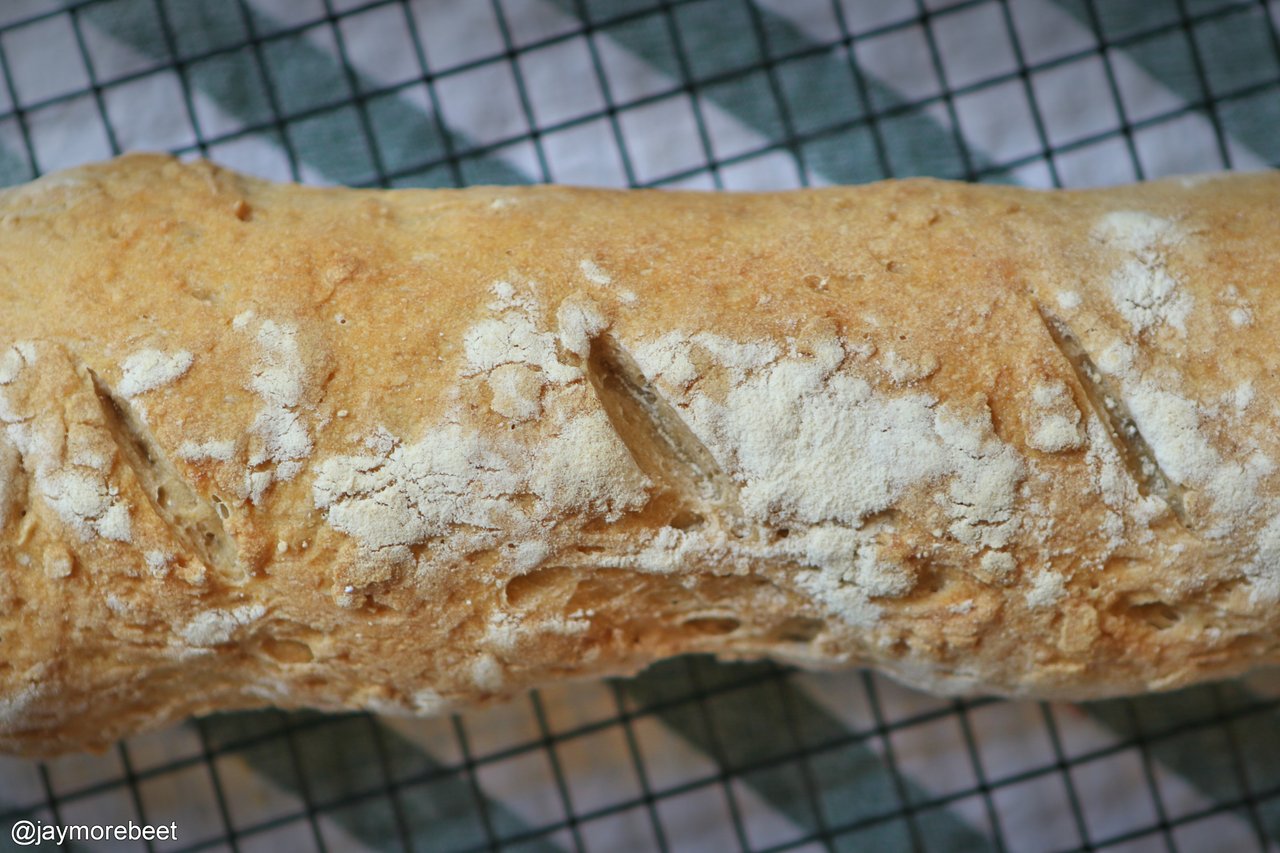
I let it proof on the counter for about 2 hours, preheated the oven to 450°F and set a baking sheet on the middle rack, and a different pan with a inch water on the lower rack. As the water from the lower pan evaporates, it creates steam in the oven to help the bread rise while it's cooking by delaying the crust formation.
I used a straight razor to slash the top off the loaf before putting it in the oven. Once the outside of the loaf had a nice golden brown color, I took it out and let it cool for at least 20 minutes before slicing. This resting stage is very difficult when you just want to cut into your bread, but it is necessary to allow the crumb to set - don't you want those nice bubbles?! Let it rest.


"I love you", she whispers softly.
In the meantime, I made some walnut pesto with basil from the garden. It comes out just like pine nut pesto, but at about a quarter of the cost. Thank me later.
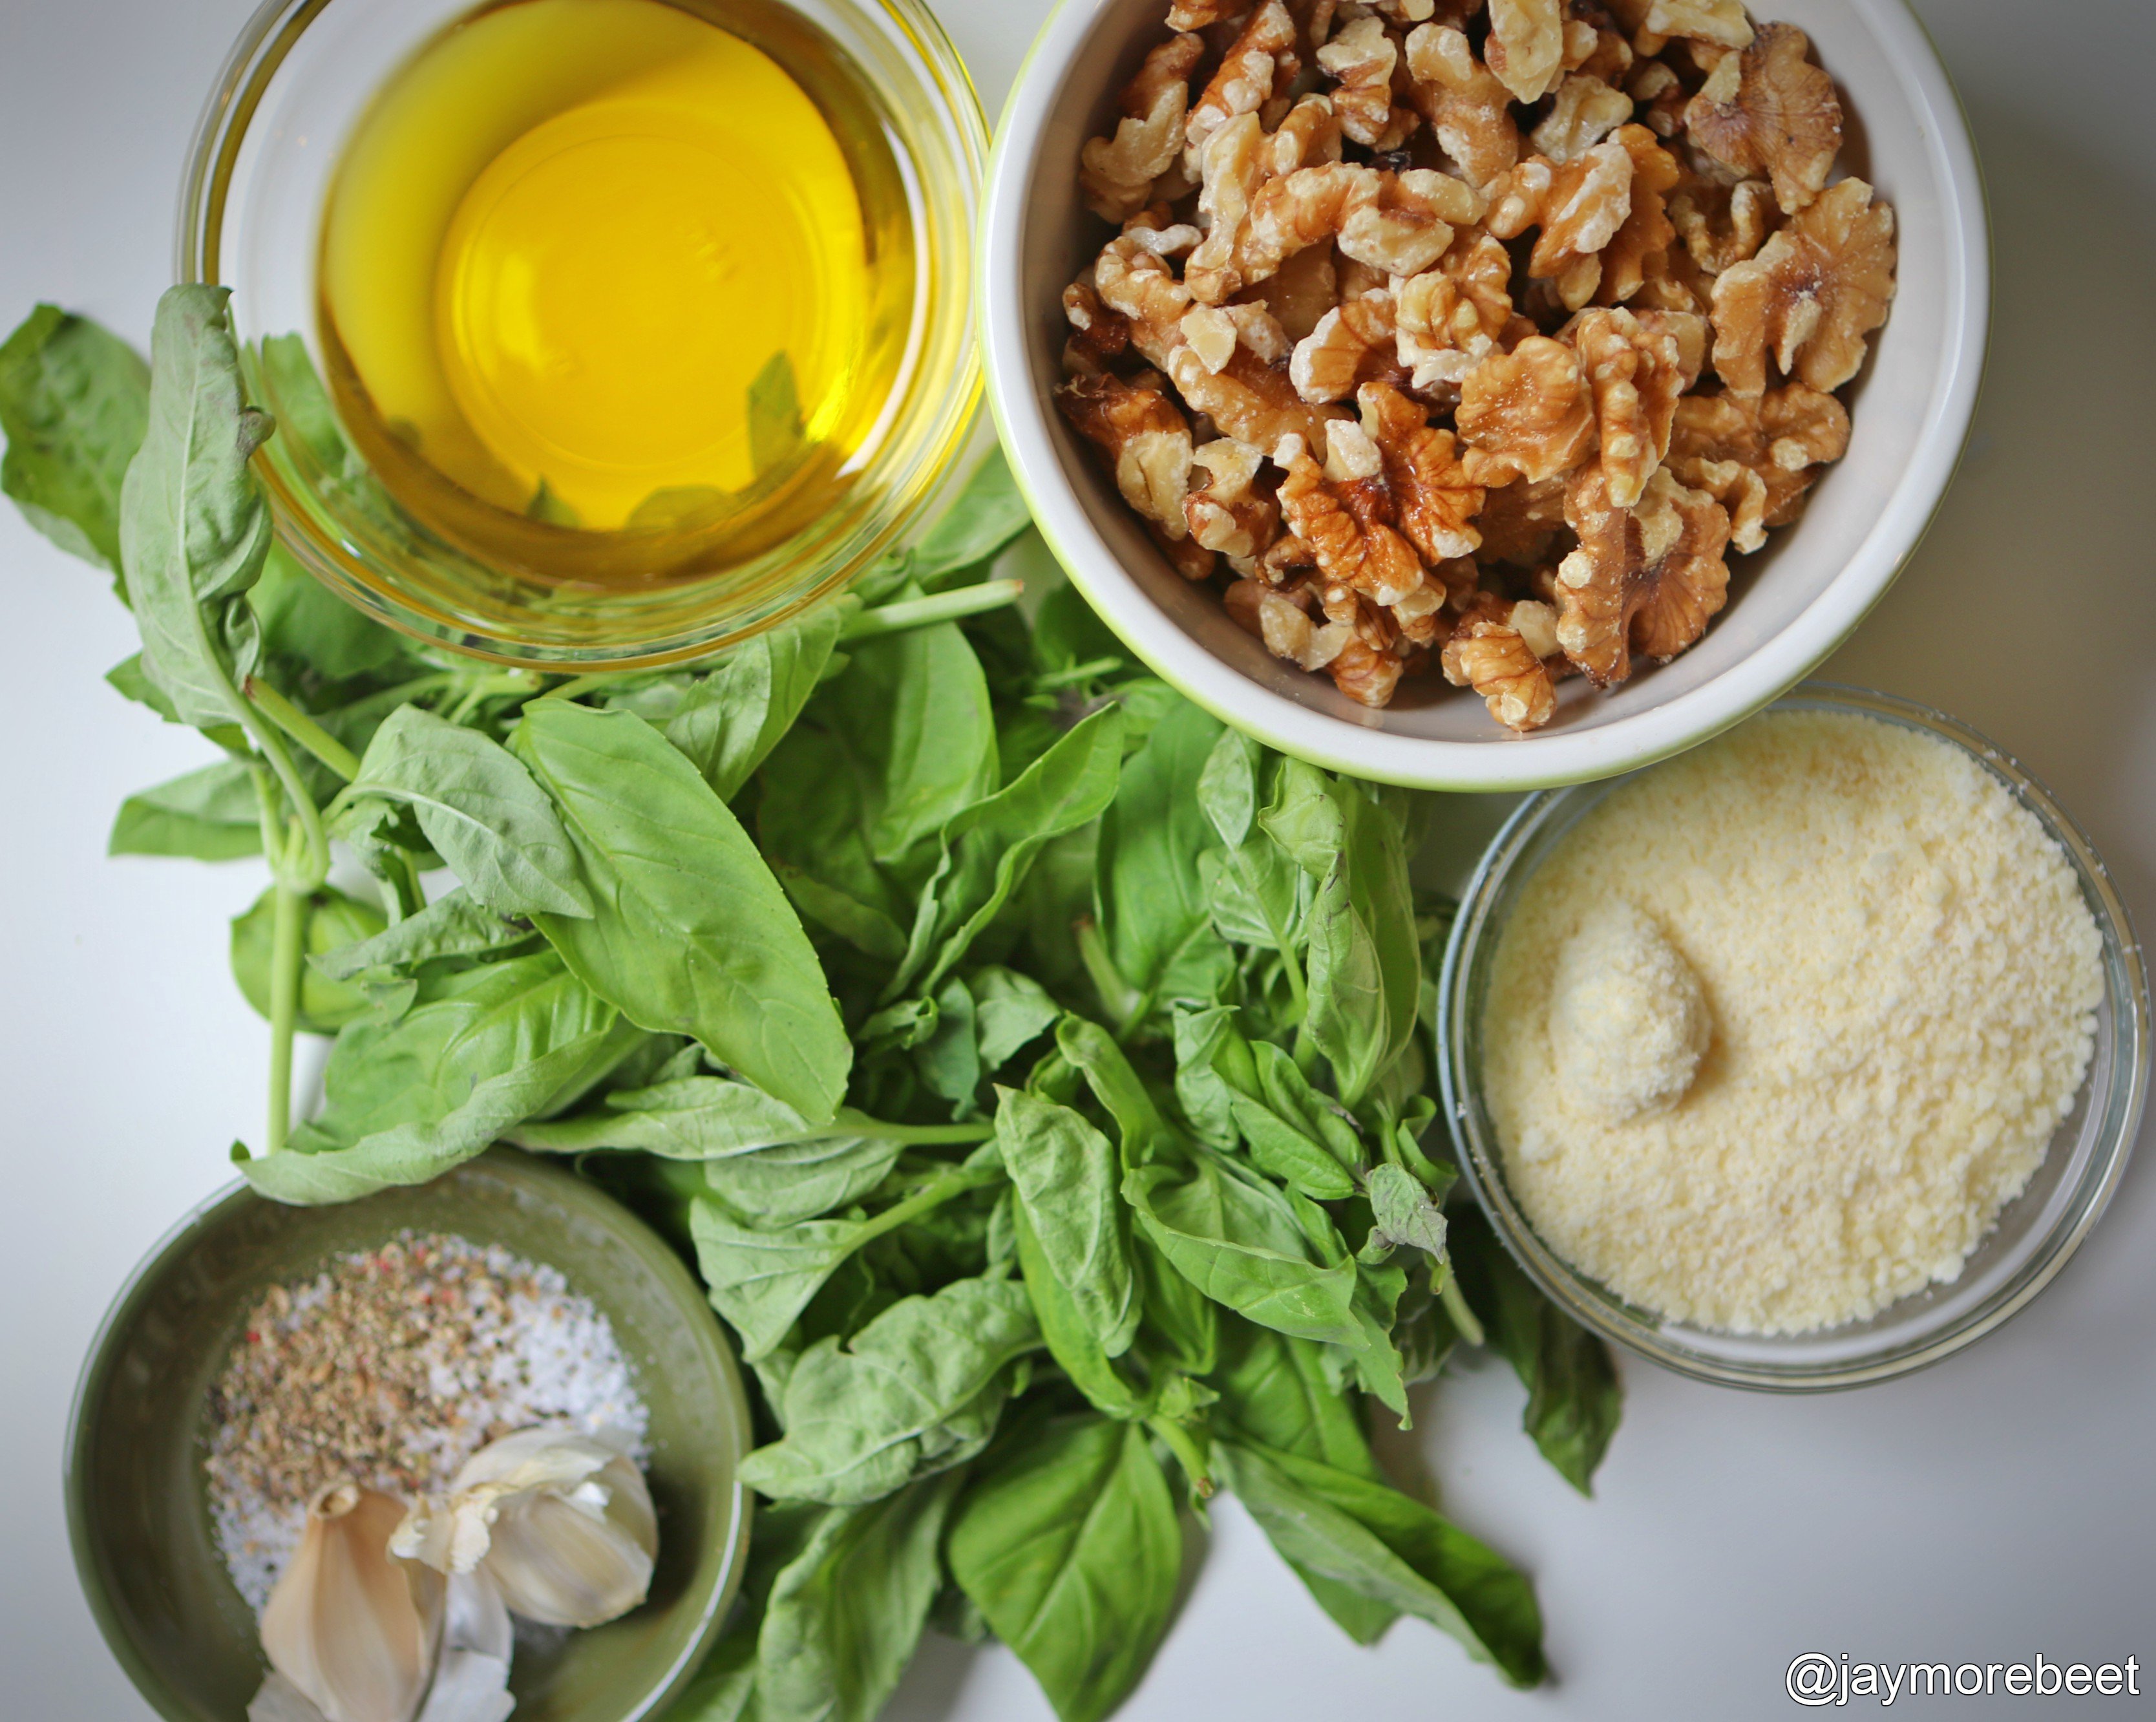
Everything you need for the pesto.
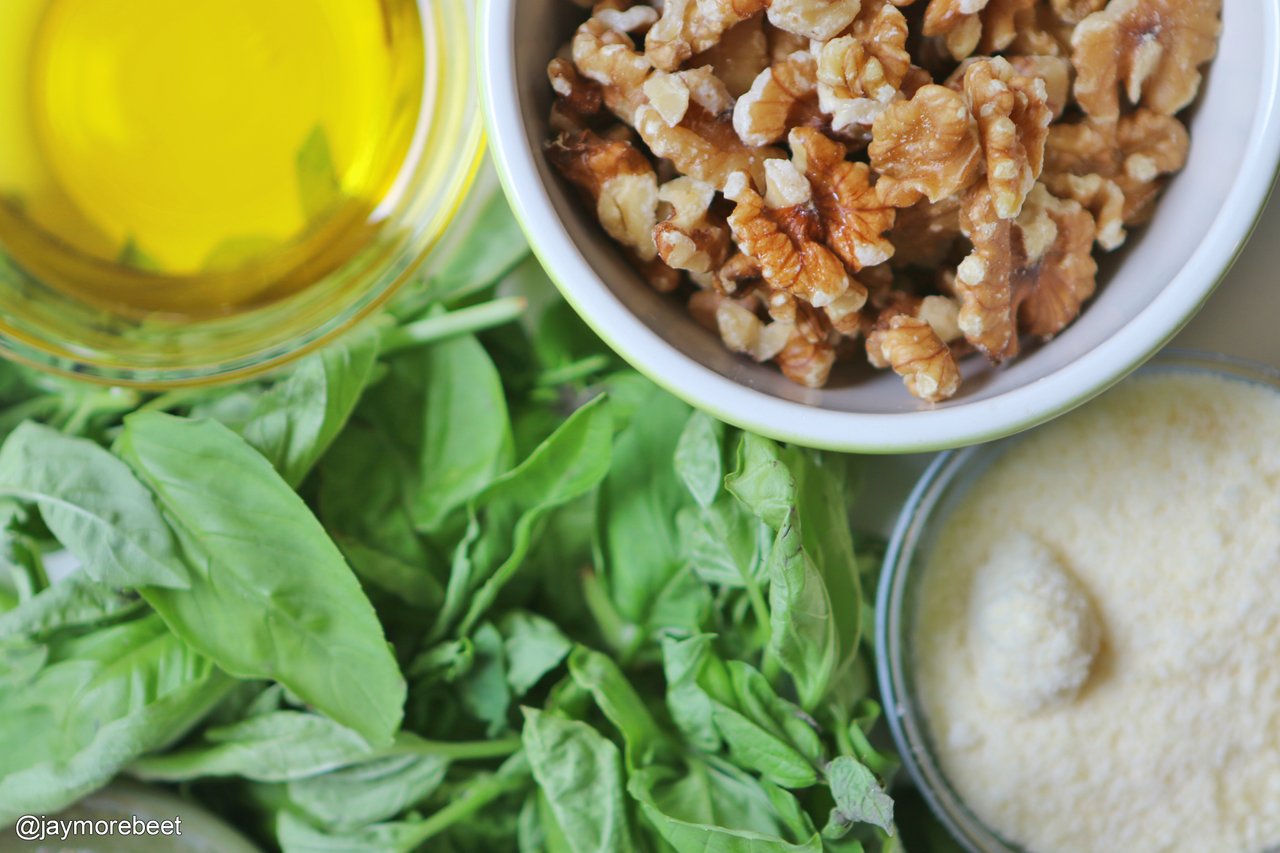
Basil from the garden after a good pruning.
I threw a heap of basil, grated parmesan cheese, a few cloves of garlic, some salt and pepper, and a few handfuls of walnuts into the blender. If you have a food processor, that would work too. I drizzled olive oil in until the consistency was just right, and adjusted seasonings once it was done. Pretty precise right? Not at all. You can't really mess this up.

Pesto? Presto!
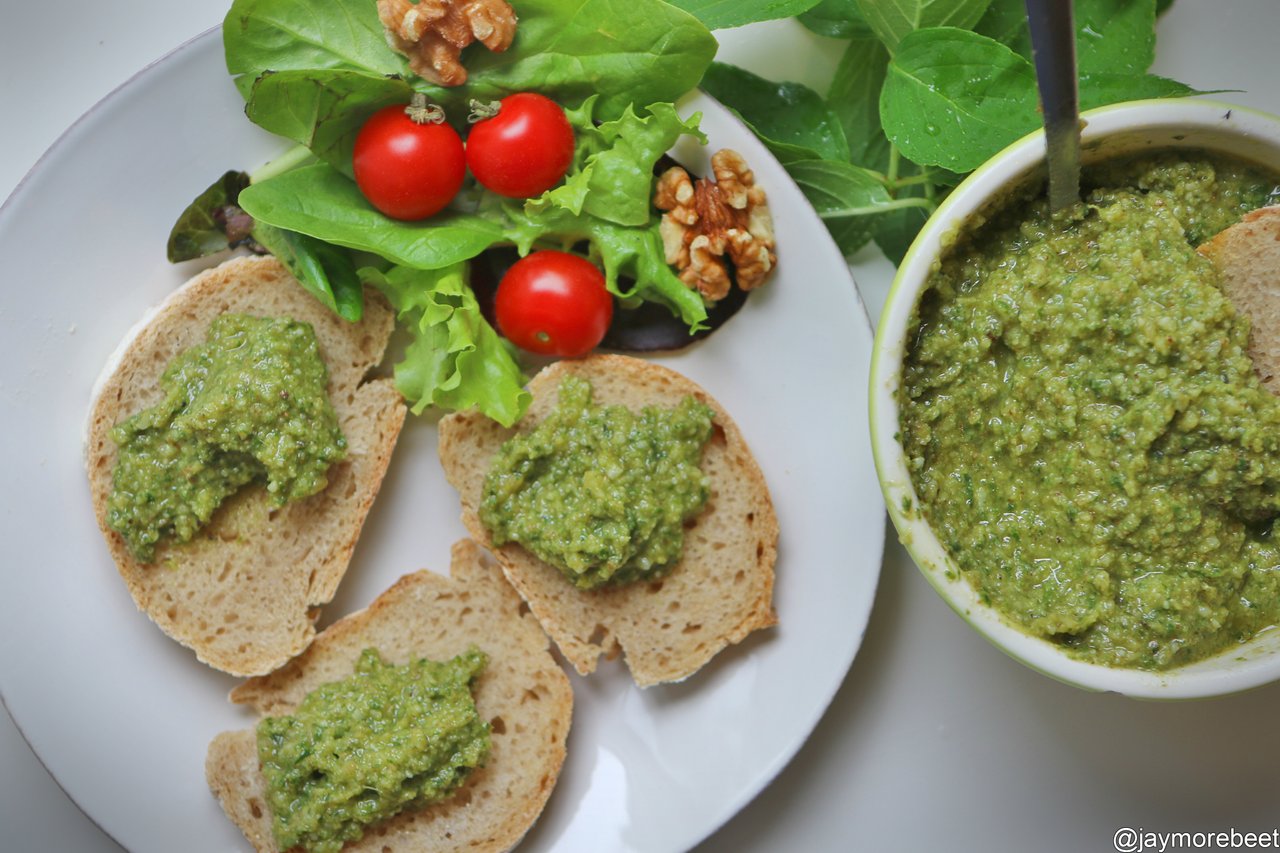
Slice that bread when it's good and rested. Shmear on some pesto. Yum.

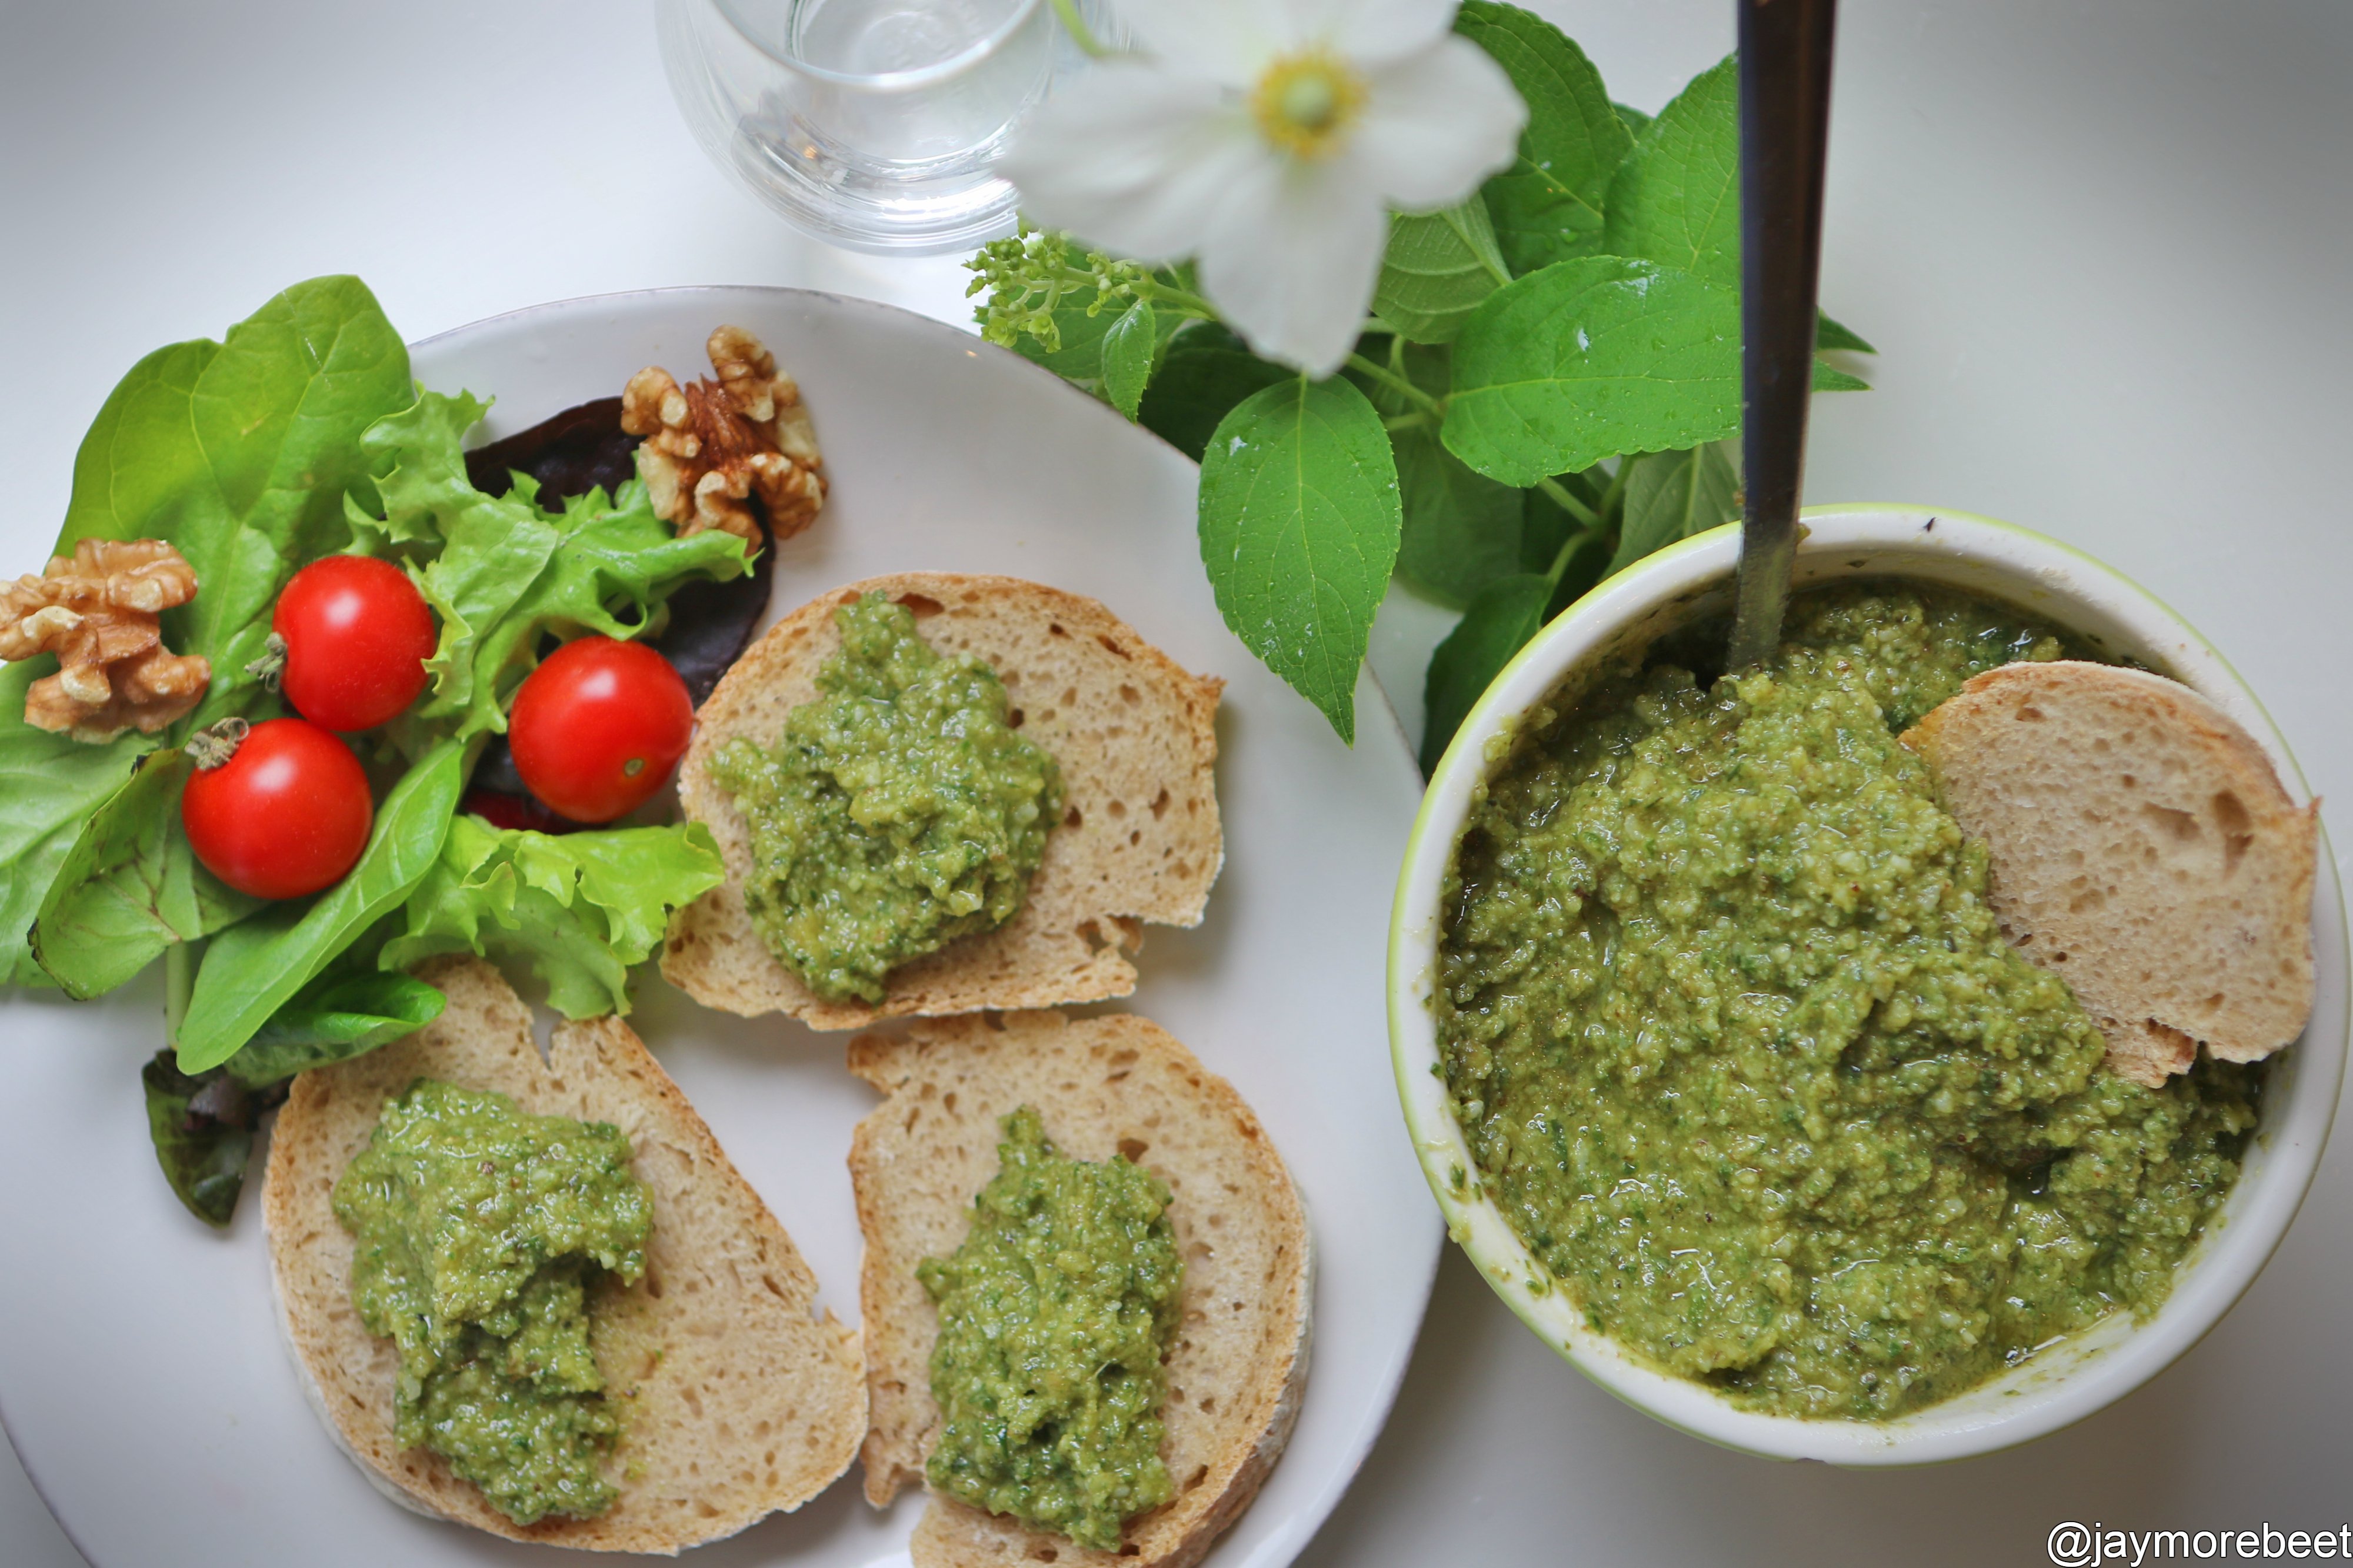
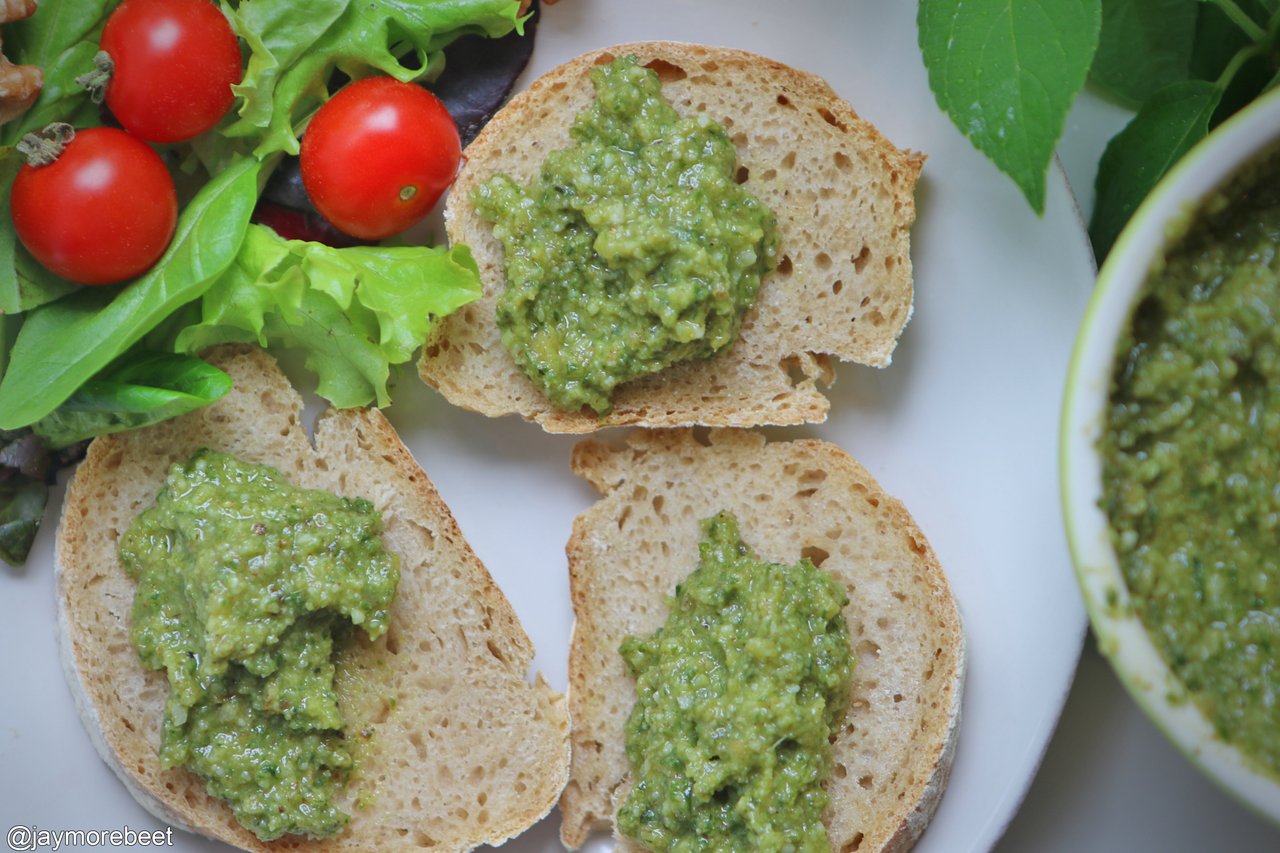
You can fancy it up if you want too. I'll do another post soon on some of my favorite ways to eat this sourdough. For now, you've got all you need for a perfect appetizer! Enjoy!
Thanks for reading! If you enjoyed this post, check out my other food and recipe posts:
- Miso Ramen with Chicken and Recovered Veggies - Recipe and Food Photos
- Steemit Culinary Challenge #33 - Wild Mulberry and Backyard Black Raspberry Shortbread Bars
- Whole food energy bars - My favorite flavor combinations and a tutorial
- "Big-ass salad" - My go-to lunch - Food GIF and Photos
All content and photos by @jaymorebeet, taken on 7/5 and 7/6/2017 using a Canon EOS 7D MarkII.