Oh man, this one is good.
It all started with me buying kiwis in bulk from Costco. There are many things you can buy from Costco and use well before they turn or go bad. Paper towels, for example. Great shelf life. Some new tires for your minivan, a spare toolshed, or a lifetime supply of Q-tips. All very solid choices for a weekend Costco run. Kiwis? Not so much.
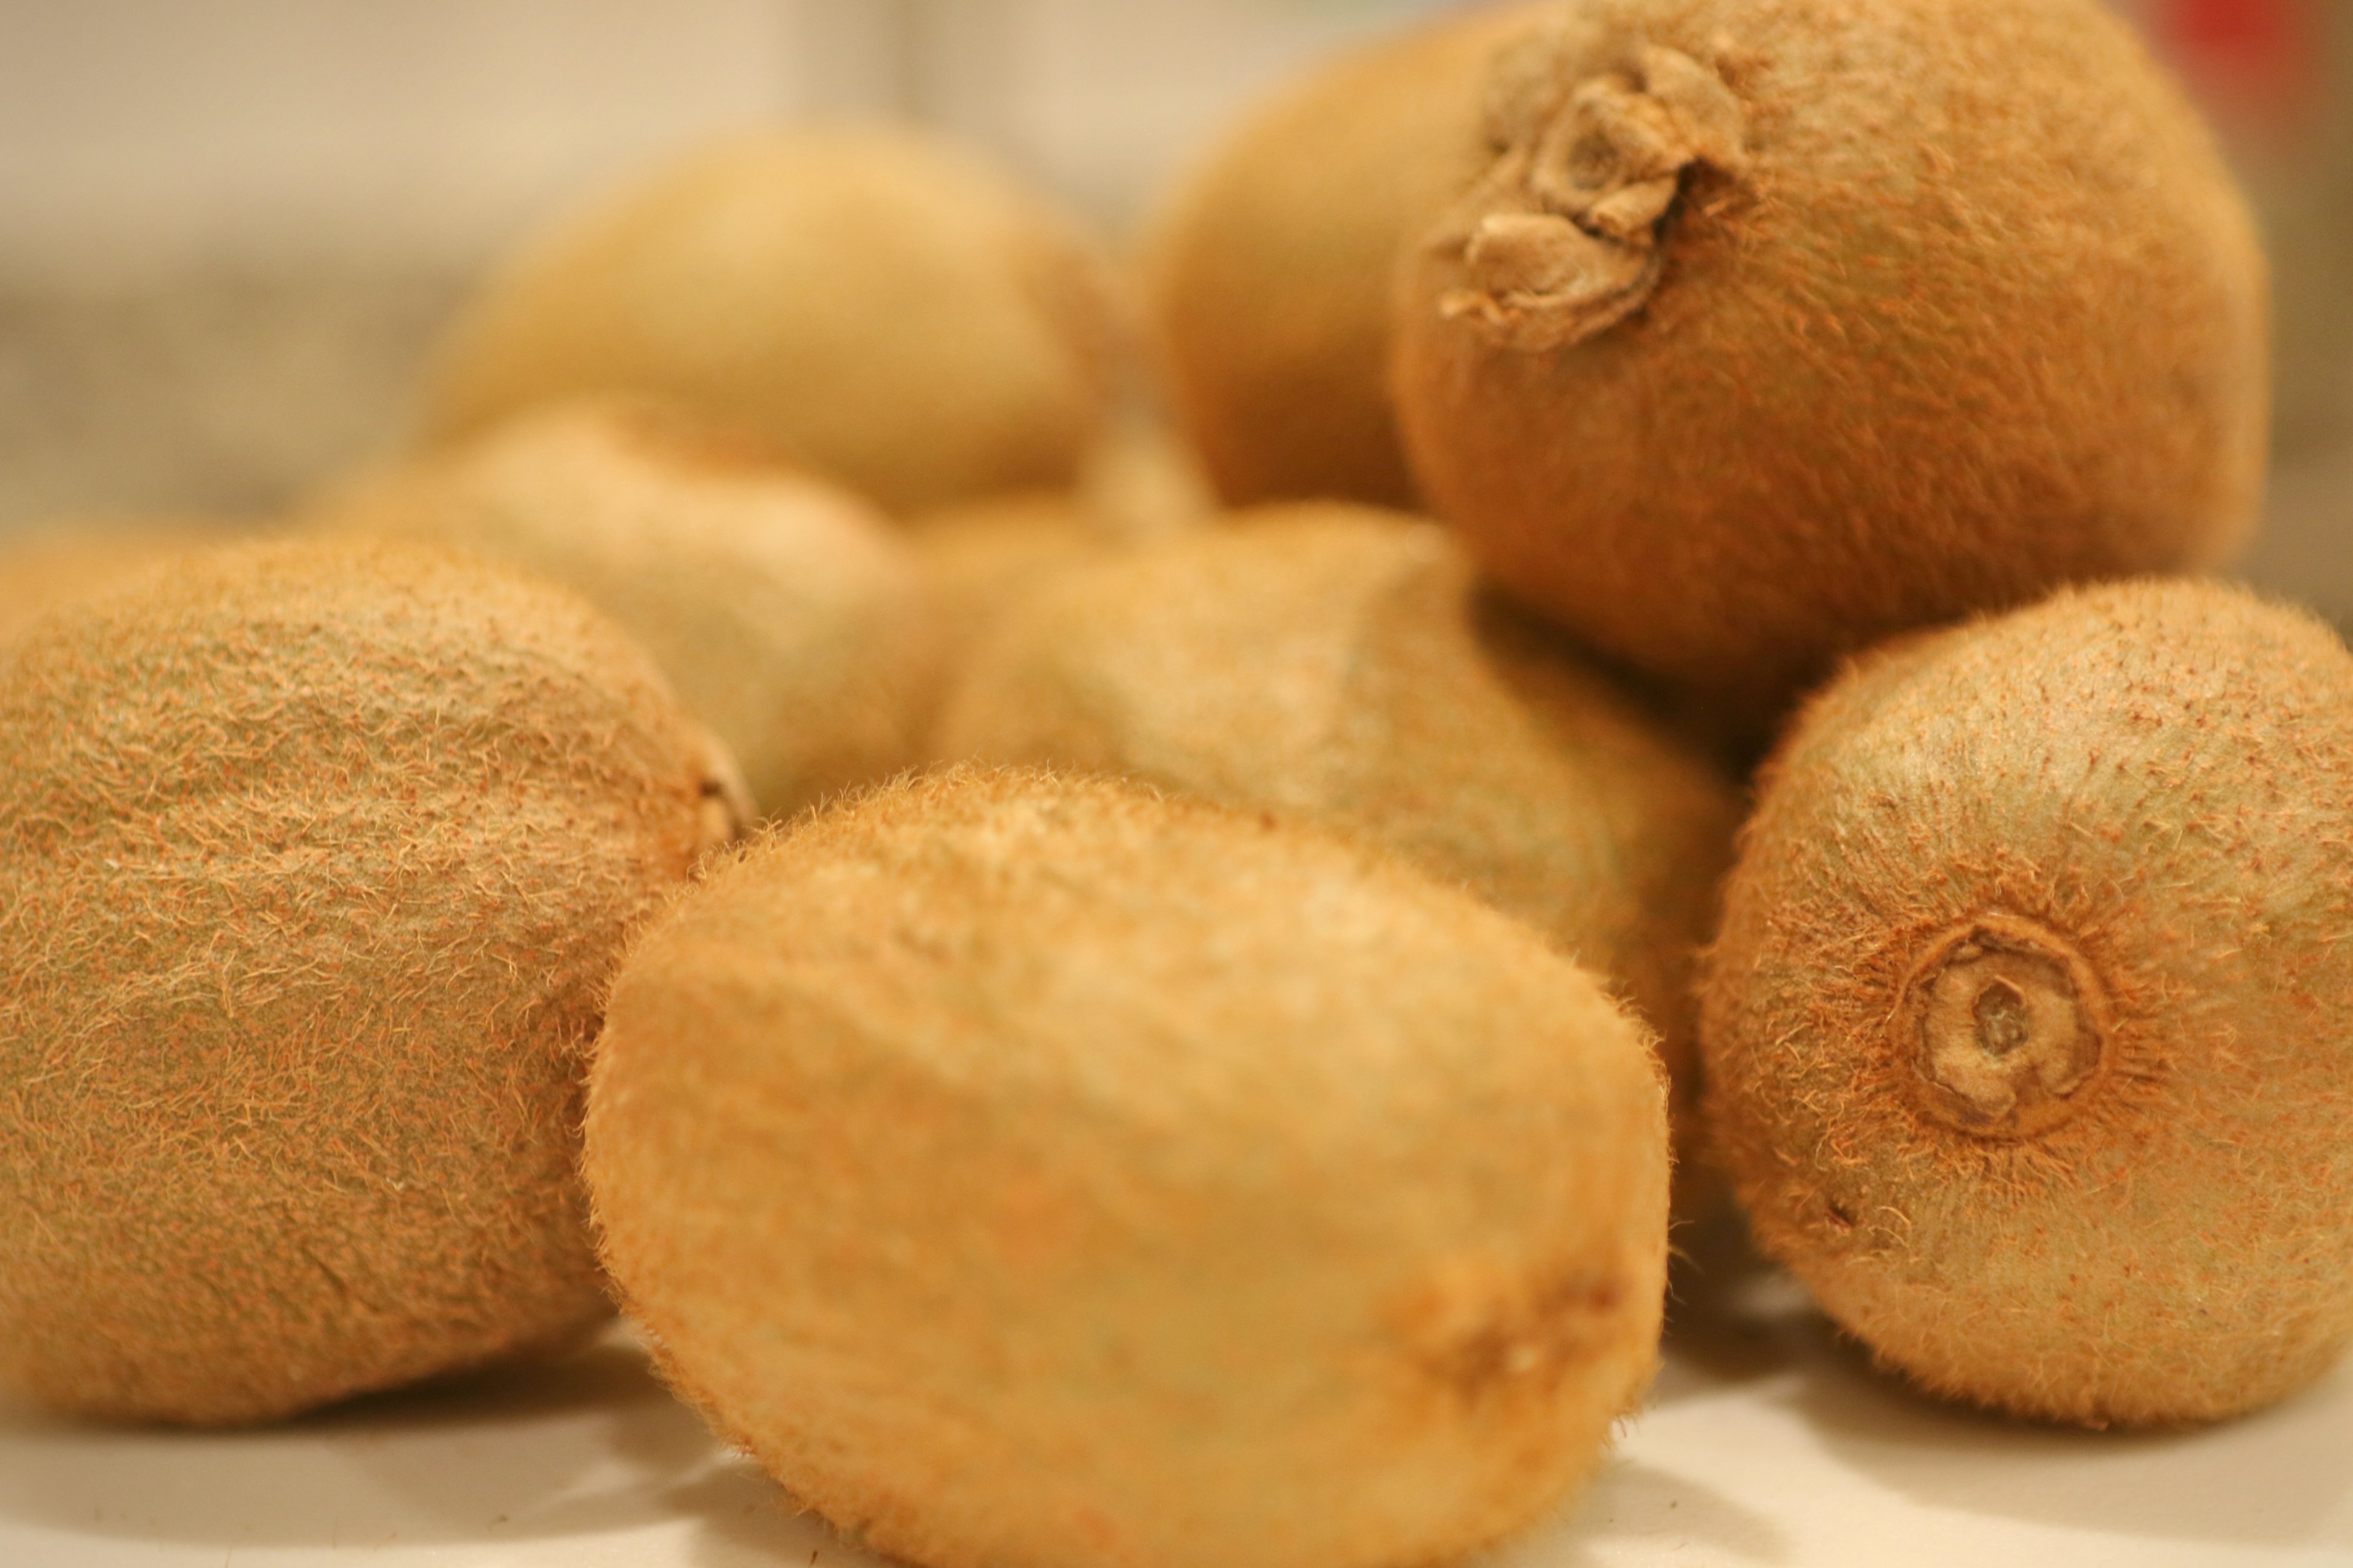
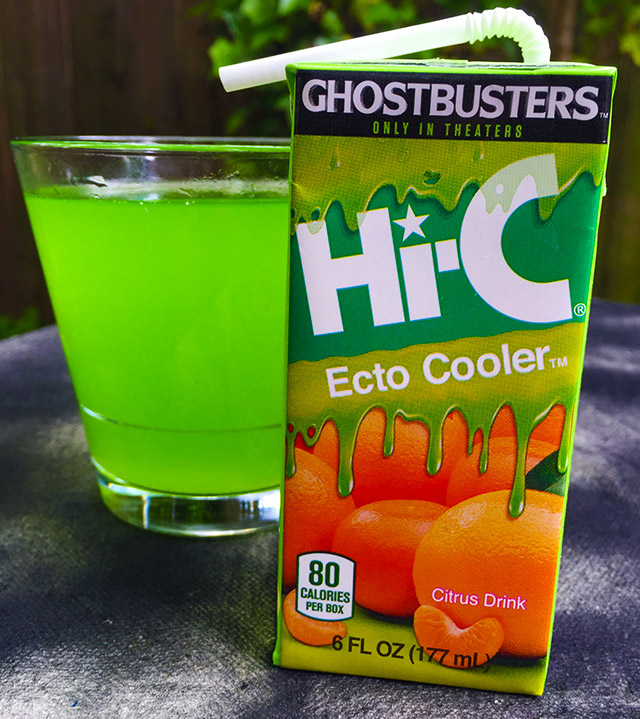
I found myself with two dozen kiwis and there was no way we would consume them before they turned into a slimy green mess resembling Ecto Cooler.
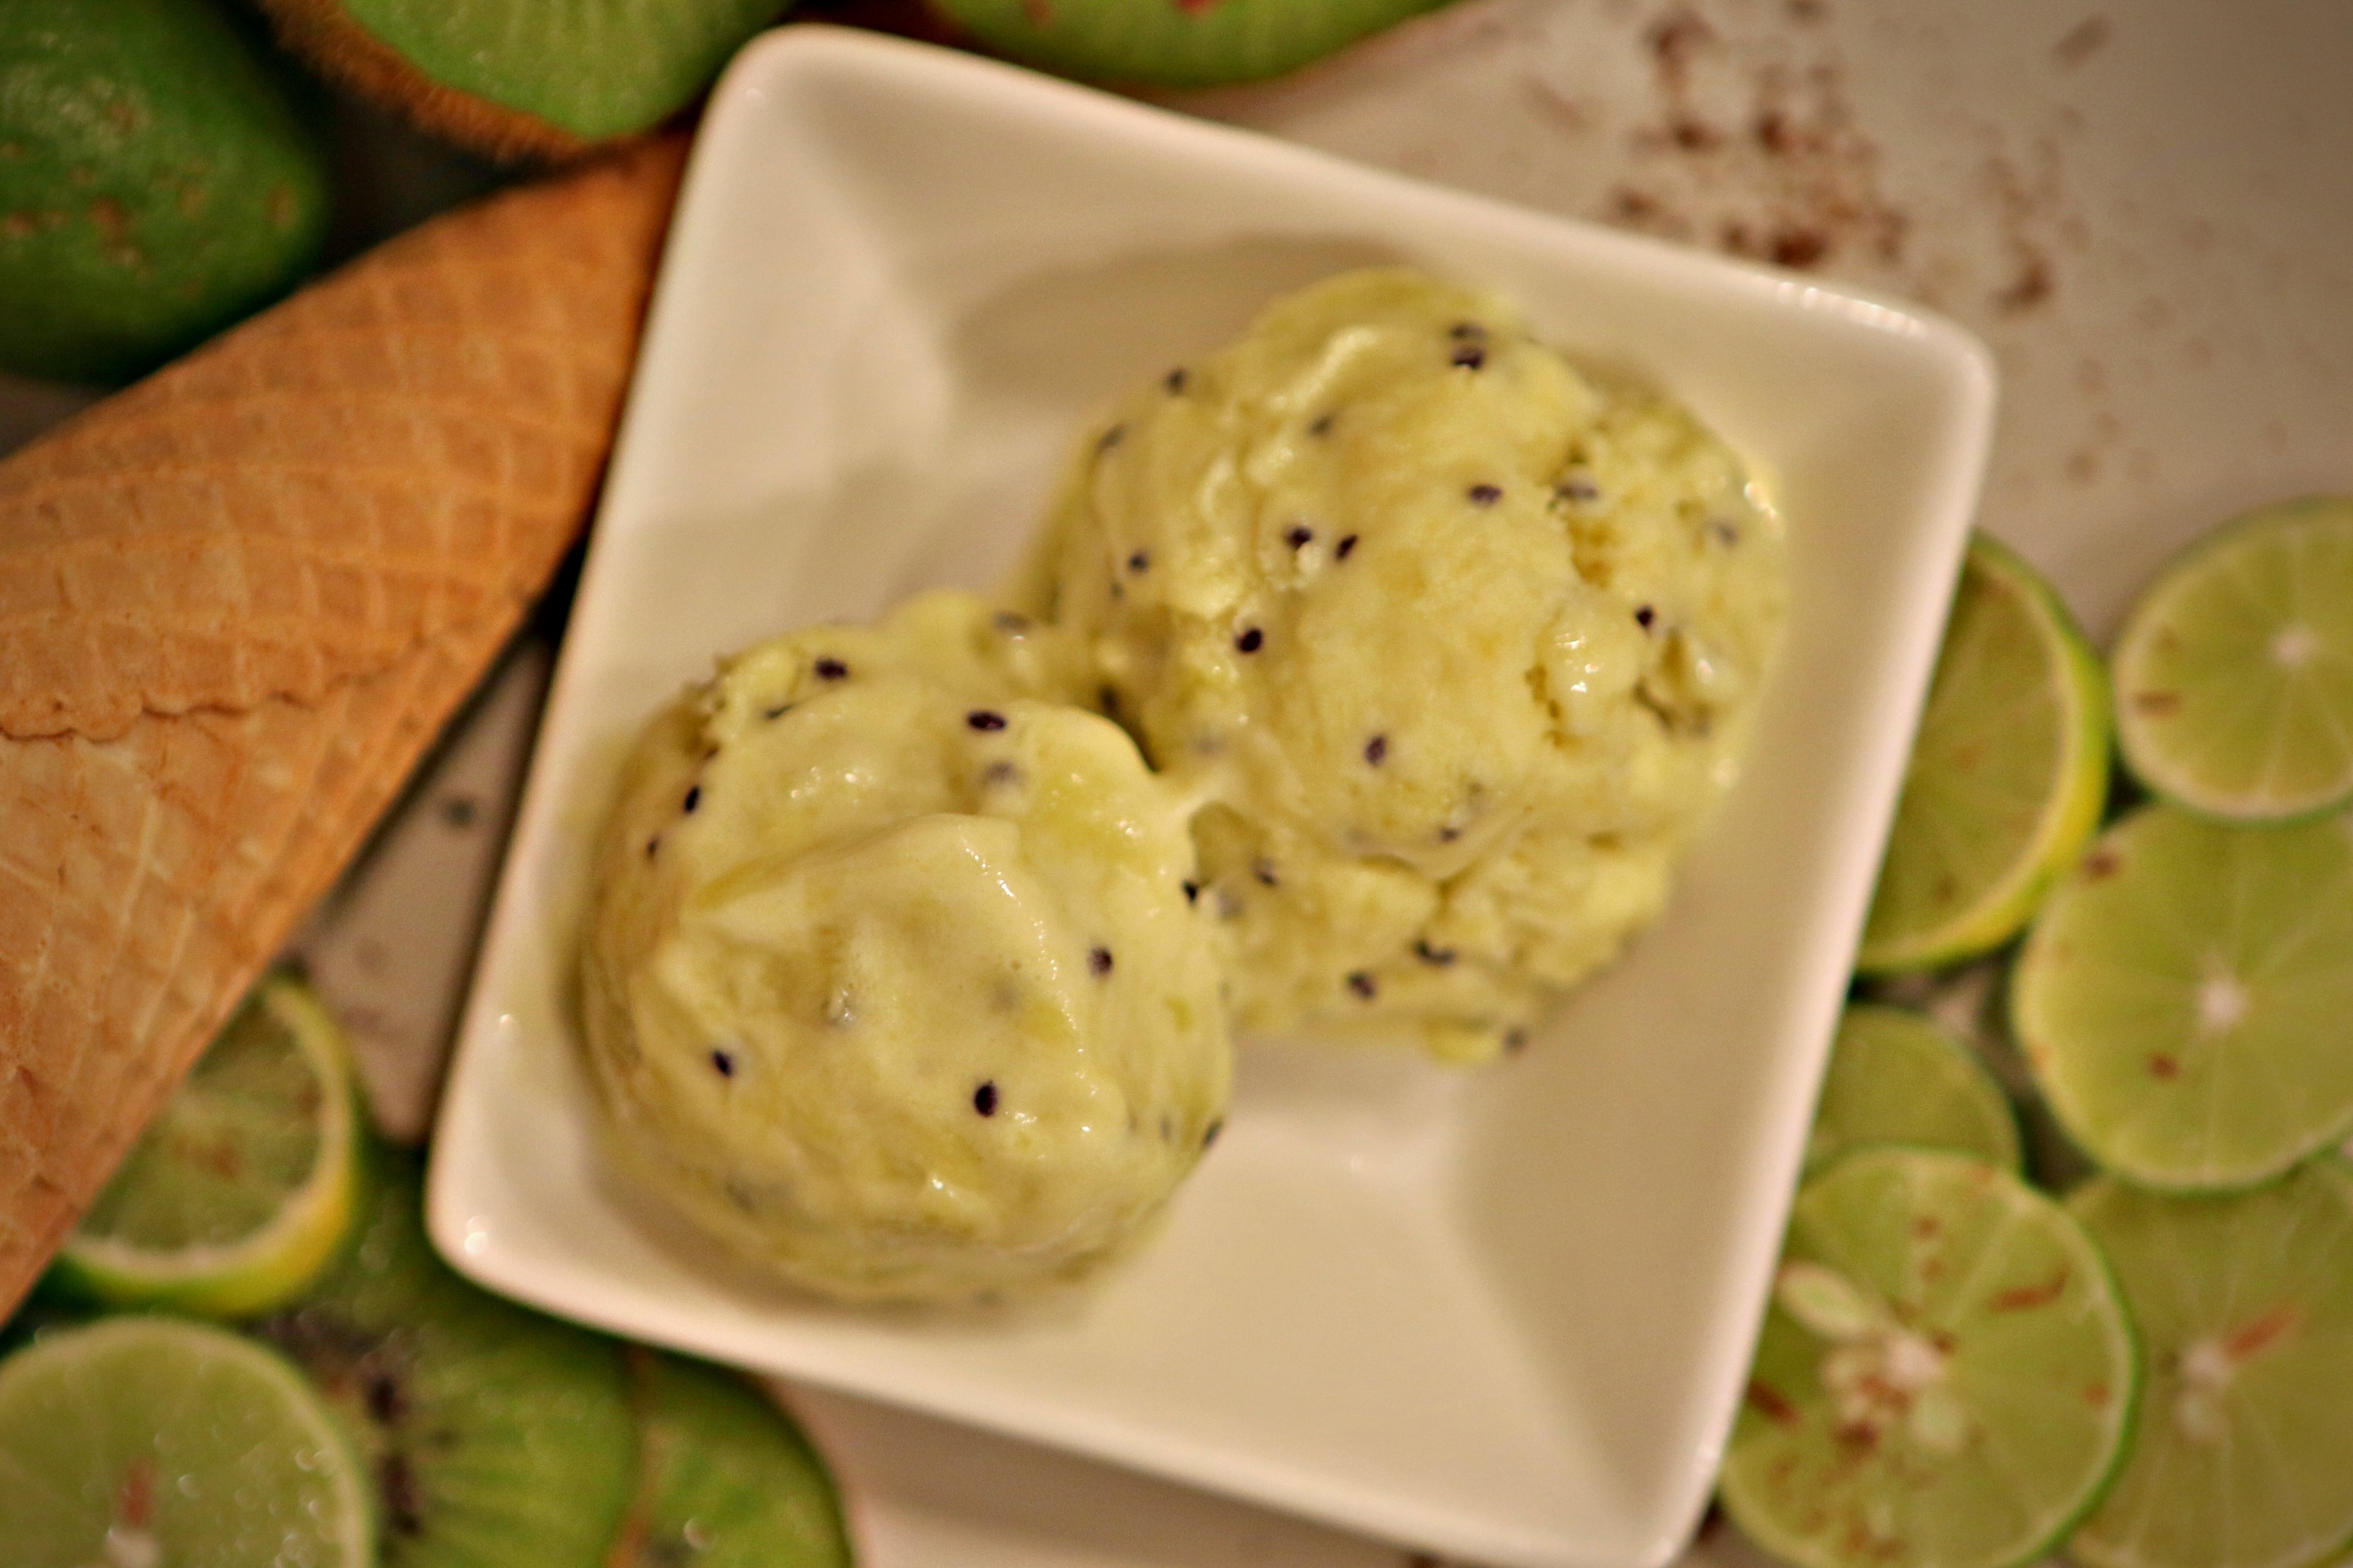
The easy and brilliant solution is kiwi ice cream! Nay! Kiwi Custard! What's that? I also thought it wise to buy key limes at Costco too!? Into the custard they go! And that, my friends, is the story of how kiwi-key lime custard was born.
Let's get to the recipe, shall we?
Start out by bringing 2 cups of heavy cream to a simmer. Add 1/2 cup of sugar, 1/4 teaspoon salt, and 1 tablespoon of vanilla extract and heat until the sugar dissolves.
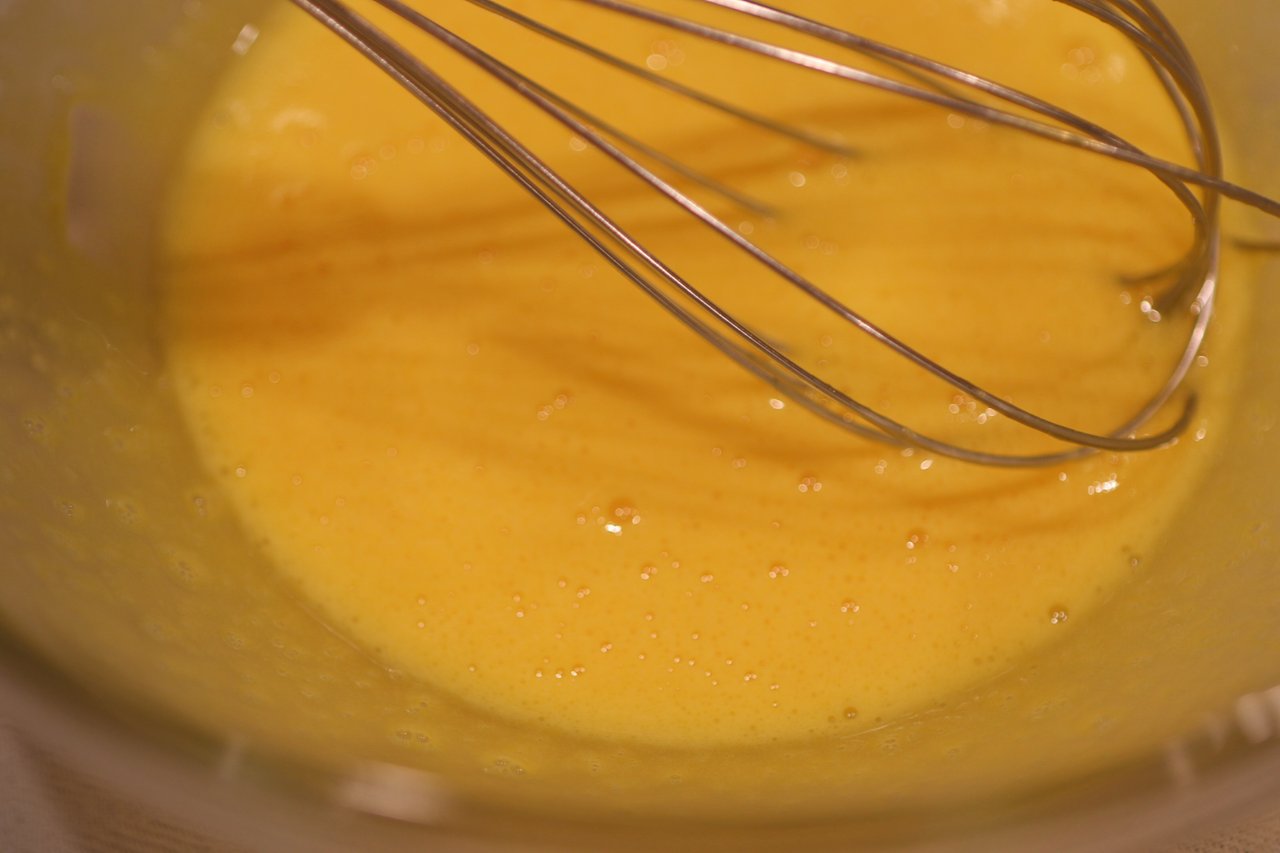
In a separate bowl, whisk 6 egg yolks until the color turns from deep yellow to light yellow, roughly 5 minutes.

Now you've got to combine the egg yolks and the cream mixture. However, if you added the yolks directly to the hot cream mixture, you'd end up with scrambled egg yolks in your custard. So to avoid this, we "temper" the eggs. Here's how: Slowly pour 1/3 of the cream mixture into the egg yolks while whisking the egg yolks constantly. Then, add the egg yolk mixture slowly into the remainder of the cream mixture while whisking the cream mixture constantly. This way, you've gradually warmed up the egg yolks so they don't scramble.

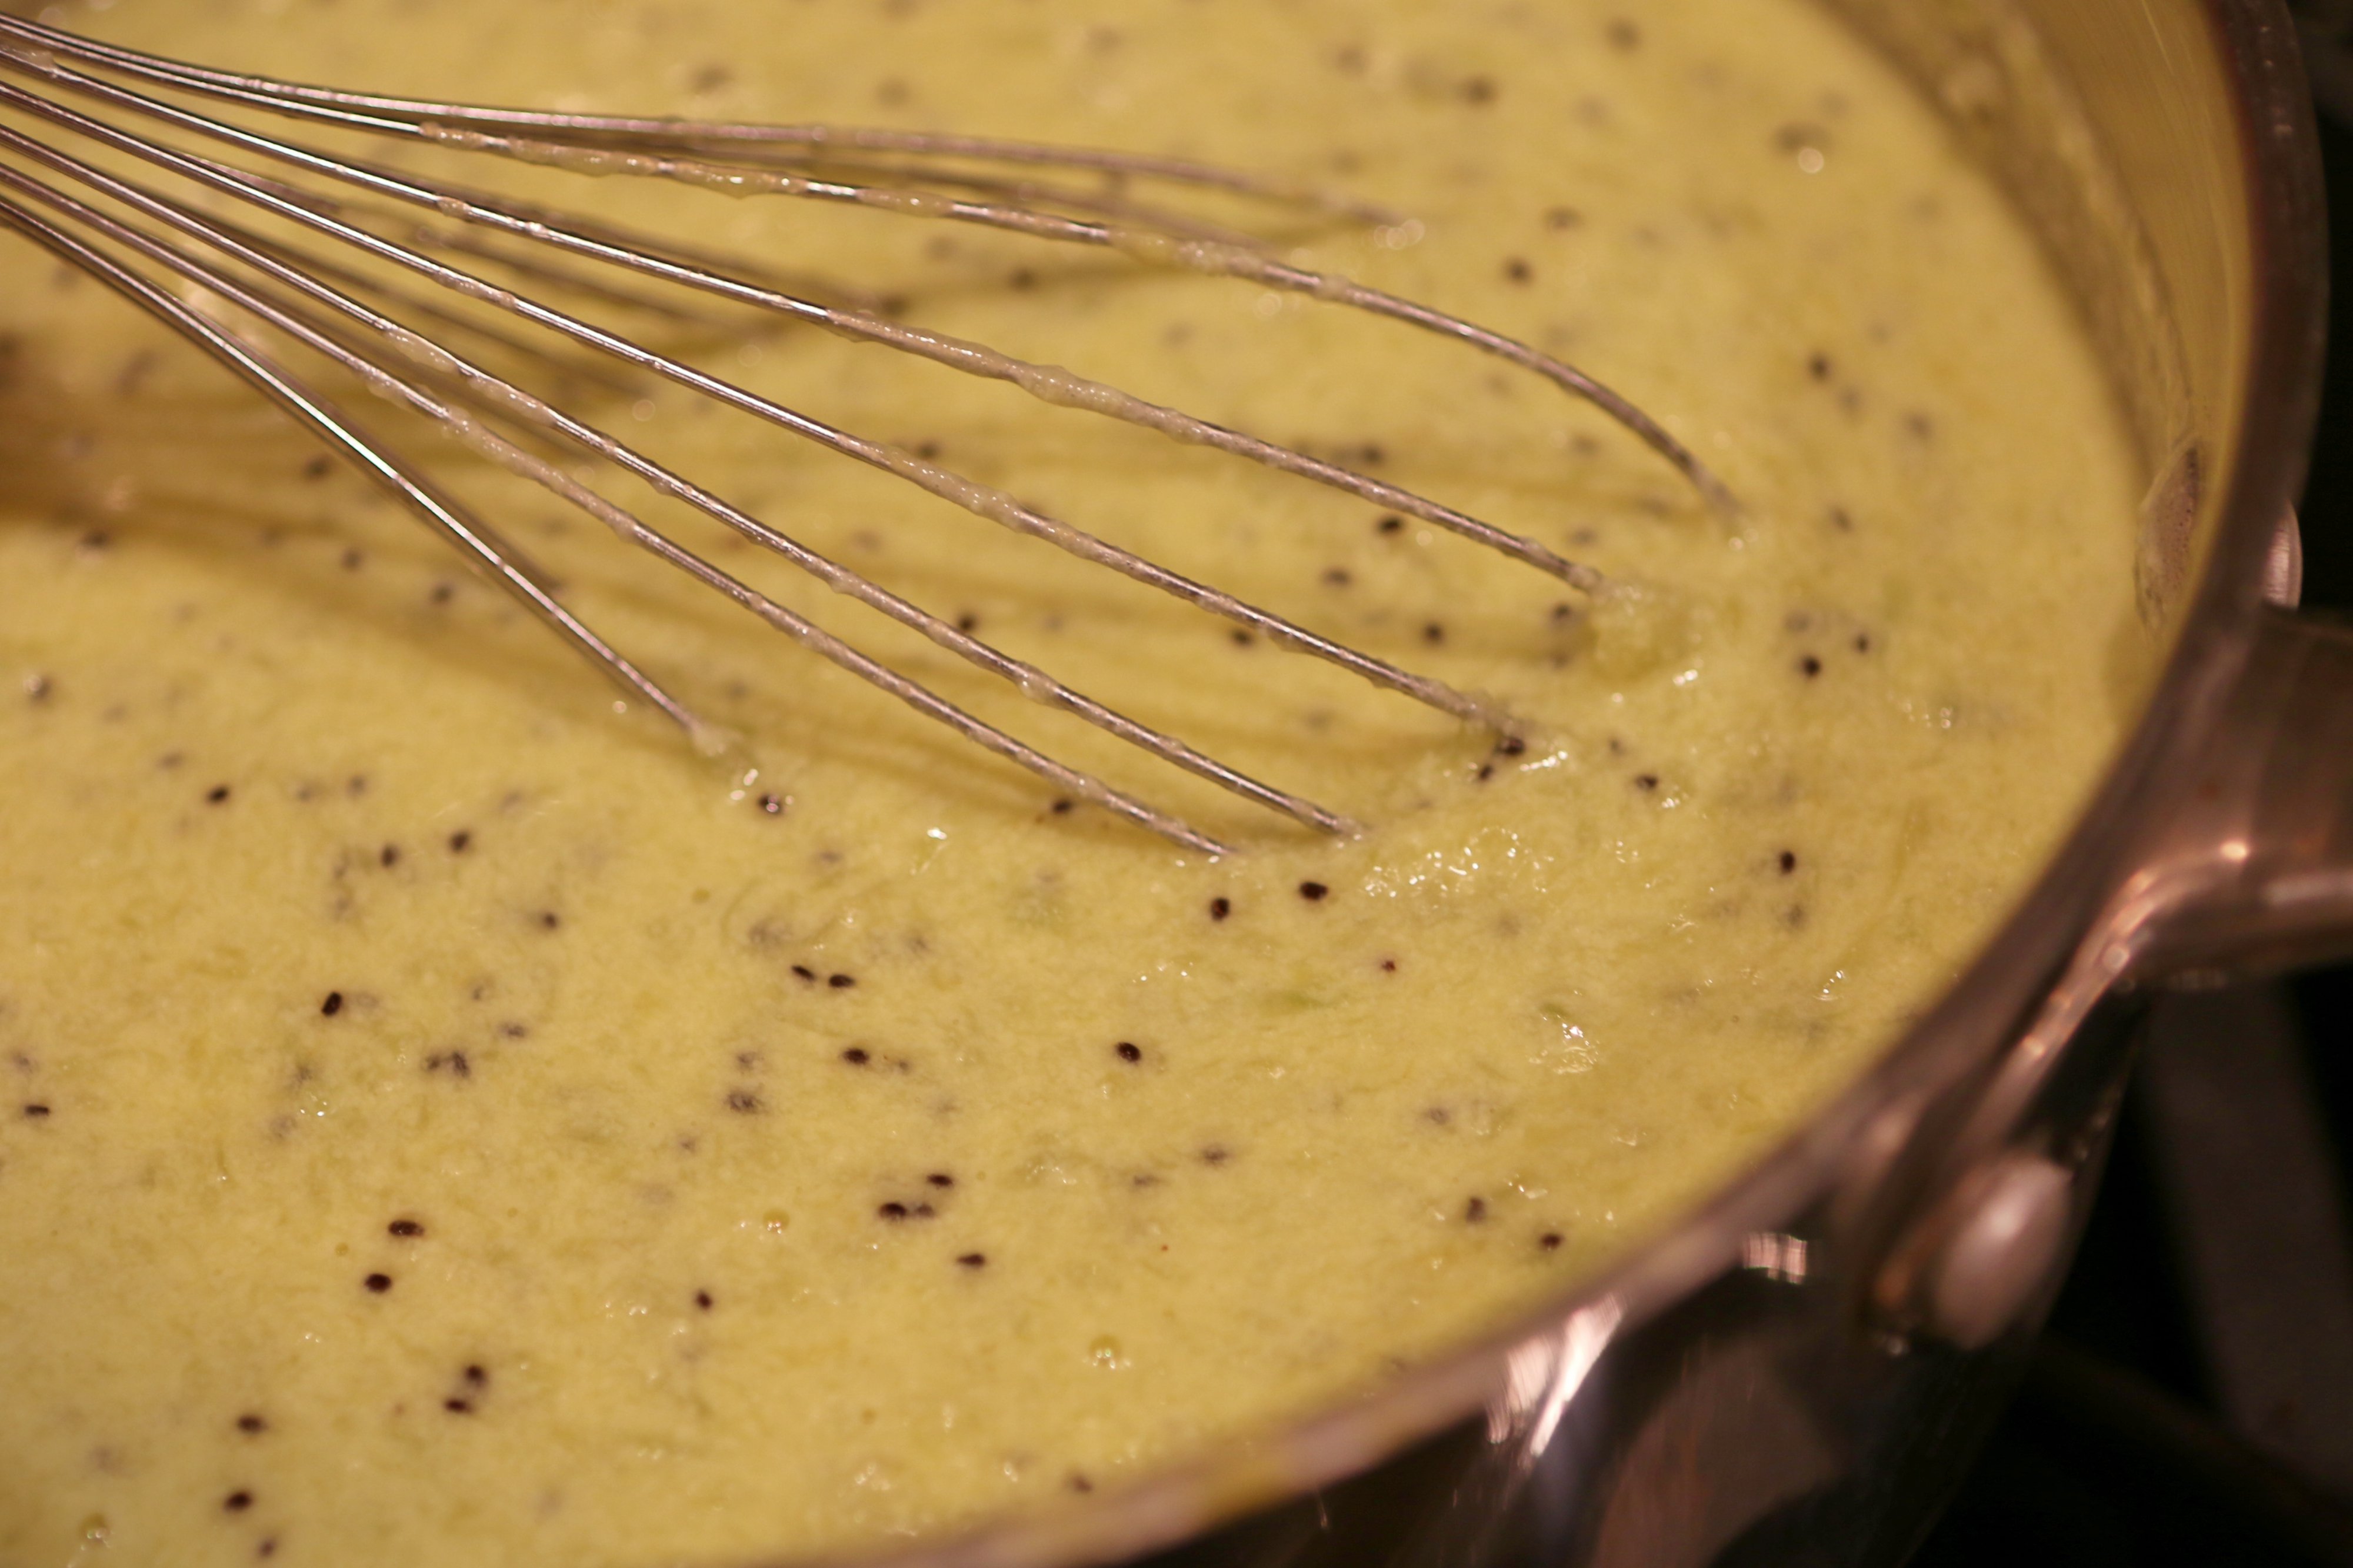
Now, let the entire mixture simmer over low heat until it thickens enough so that when you dip a spoon into the pot, the spoon remains coated with the custard base. Turn off the heat, and strain the mixture to remove any scrambled stragglers and smooth out the mixture.
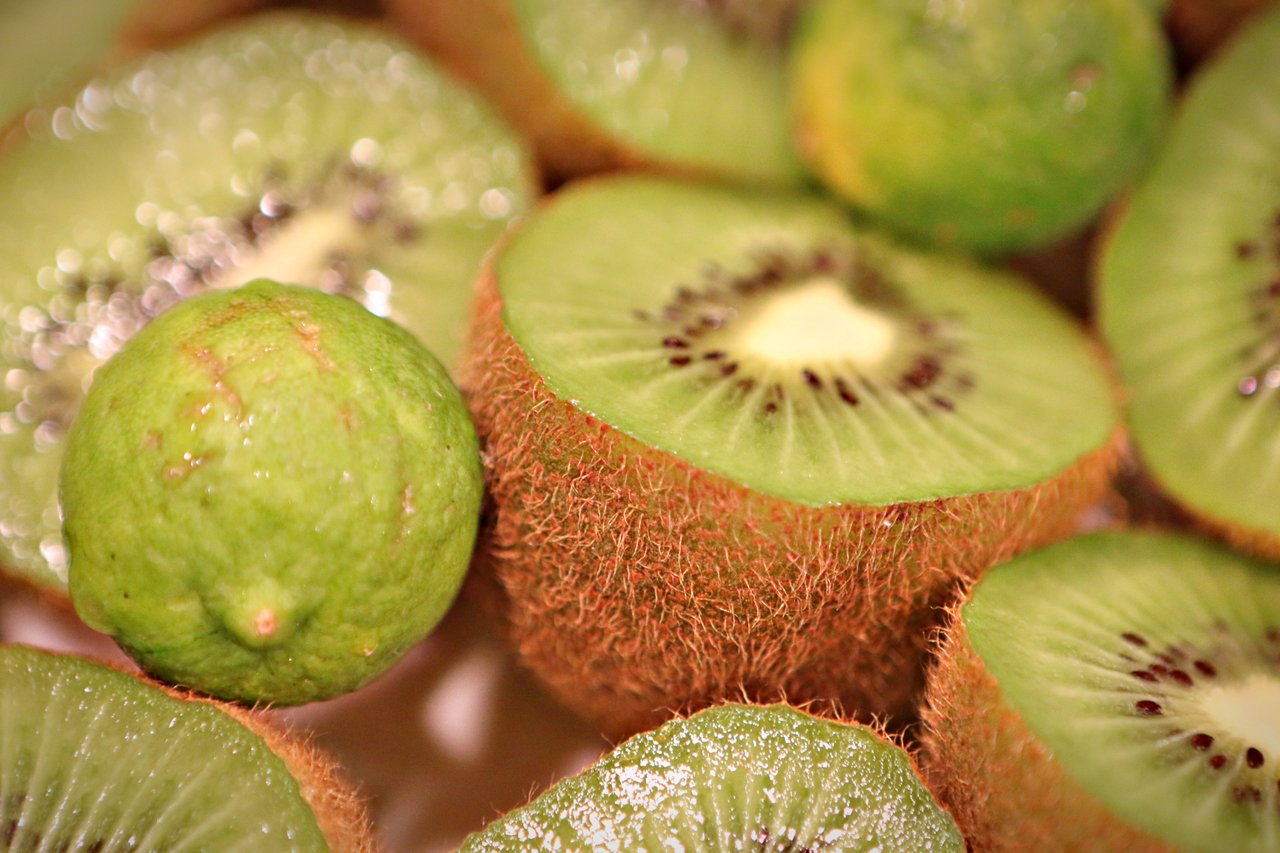
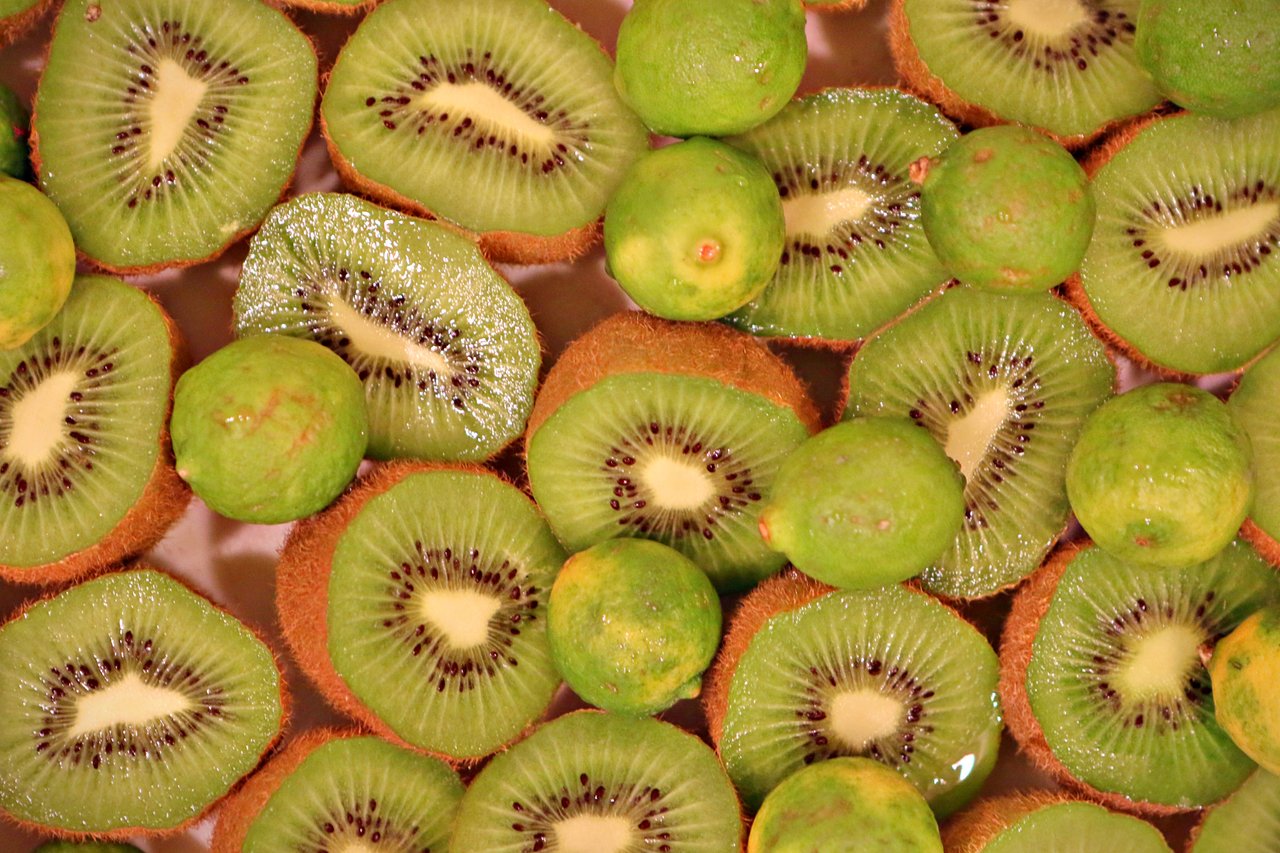
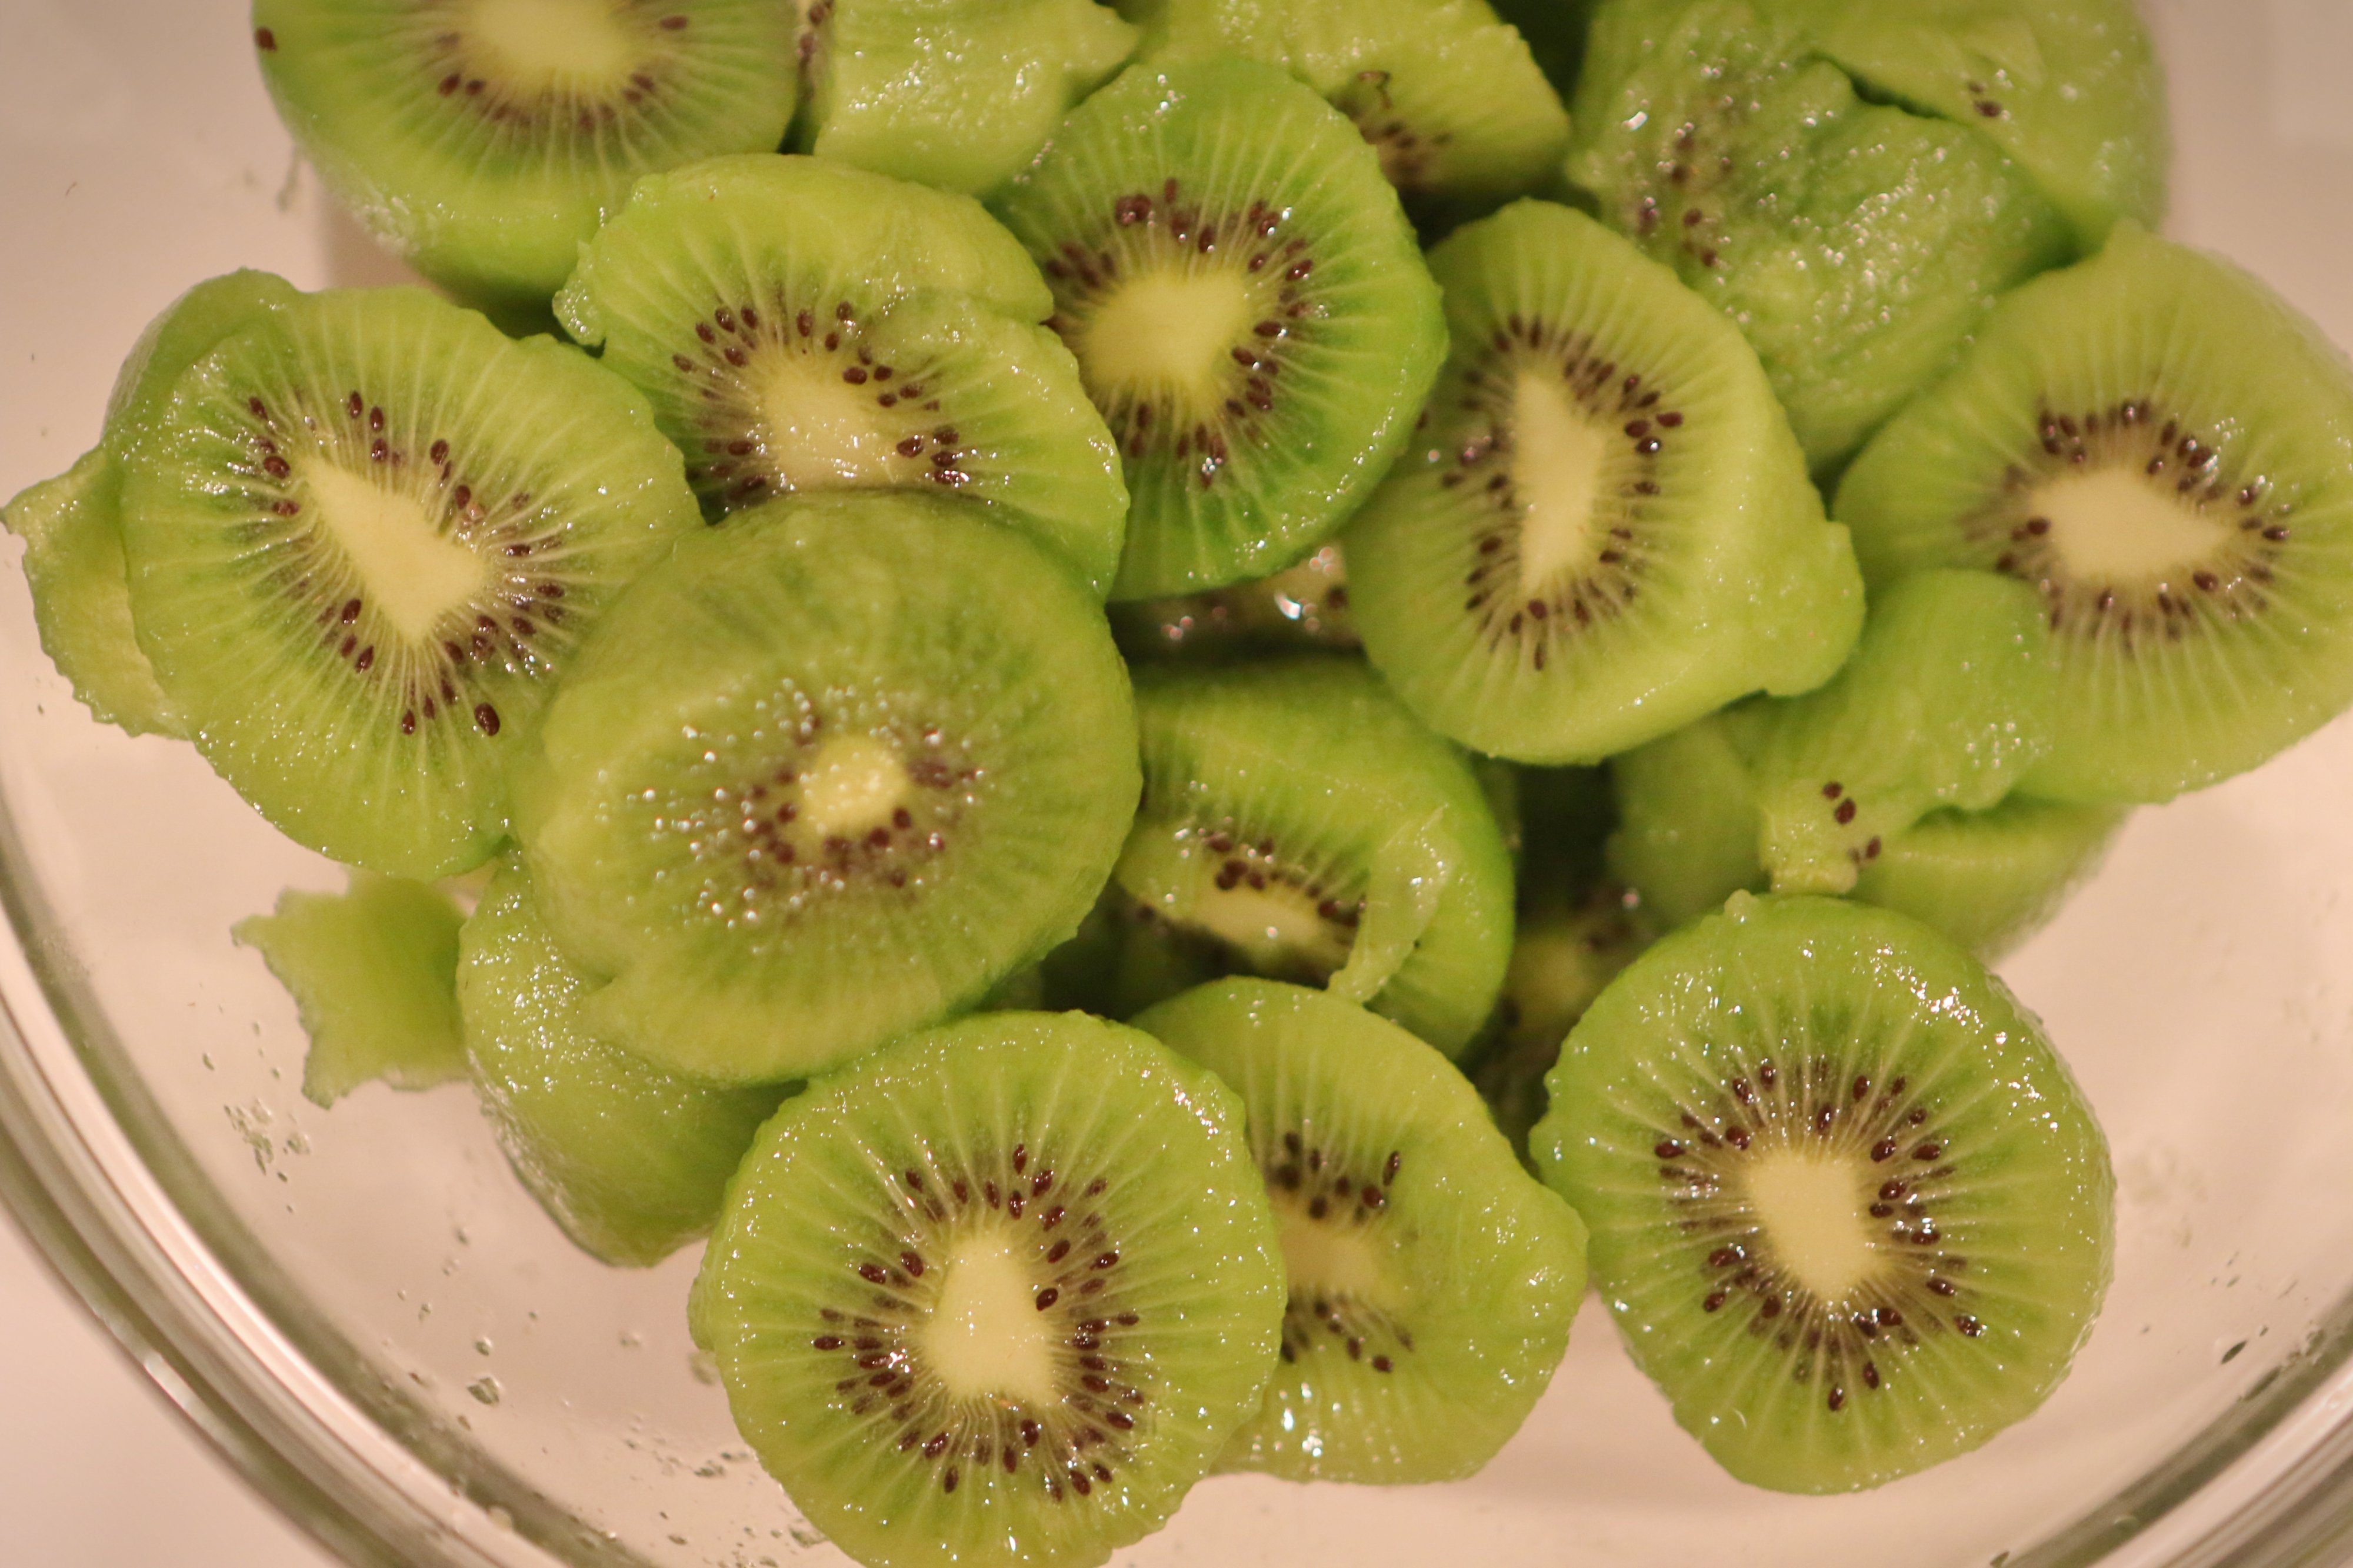
Now, start the kiwi and limes, which will be added to the custard. Cut each kiwi in half around the equator and, using a spoon, scoop out the insides of as many kiwis as you have into a medium saucepan over medium-low heat. I think I ended up using about 10 of them, but as few as 4 would be fine: Your custard will just be less kiwi-y.
Squeeze about 8 key limes, or about 2 regular limes, over the kiwis, using a strainer to catch any lime seeds. Now, add 1/2 cup sugar to the kiwis and lime juice and bring to a simmer. Use the back of a spoon or a potato masher to soften the kiwis and get them to break down a bit. Once the kiwis are mostly broken down, transfer the entire contents of the pot into the blender or food processor, and pulse a few times to break down any large chunks of kiwi. You could continue to pulse until your desired smoothness is reached. Some like it chunky.
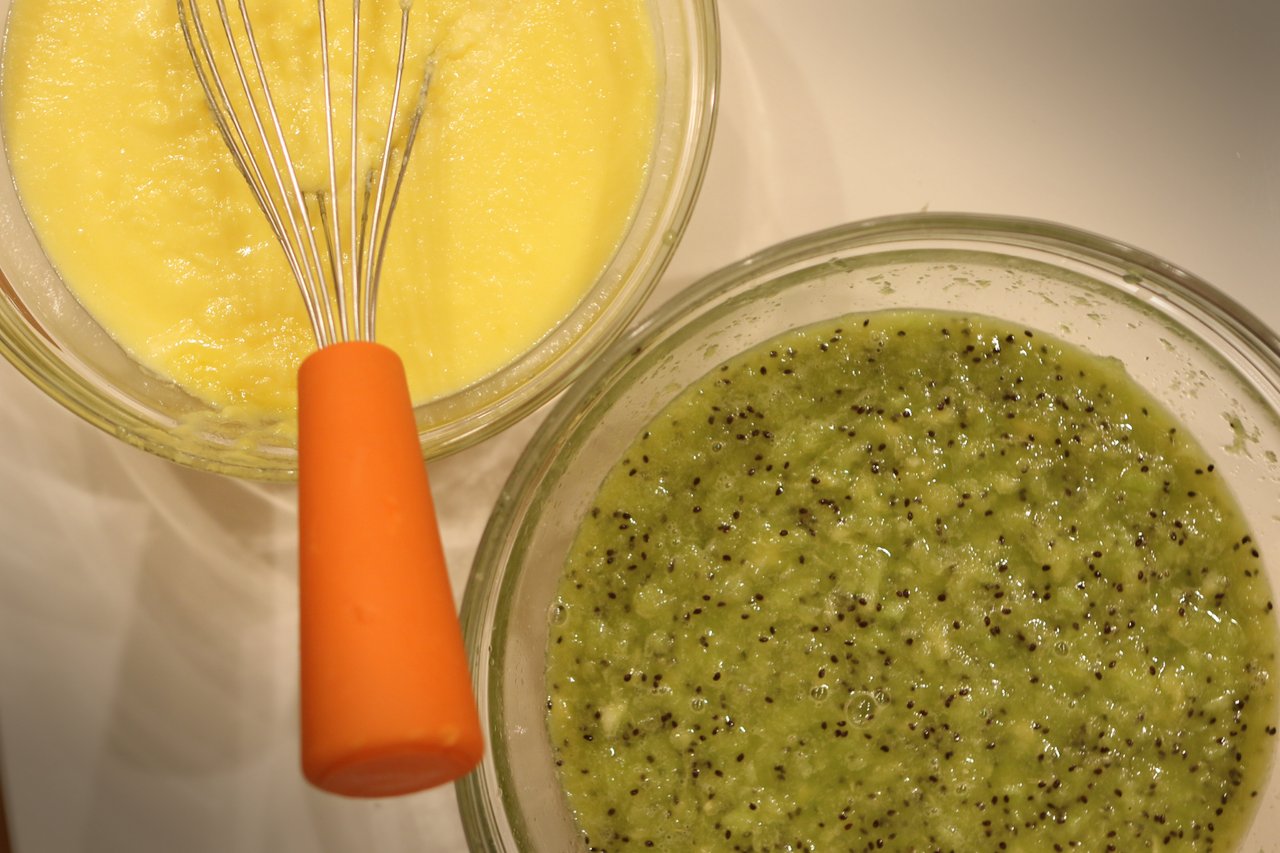
Now, combine the kiwi and lime mixture into the cream mixture and stir until they are combined. Pour into a bowl or a large container and refrigerate at least 4 hours or overnight.
The next day, churn the frozen custard according to your ice cream maker's instructions. As I mentioned in my cherry vanilla sherbet recipe, if you don't have an ice cream maker, have no fear! Instead, put the mixture in the freezer, stirring it every half hour until the custard reaches the consistency of soft serve ice cream. Here are even more ideas on how to make ice cream without an ice cream maker.
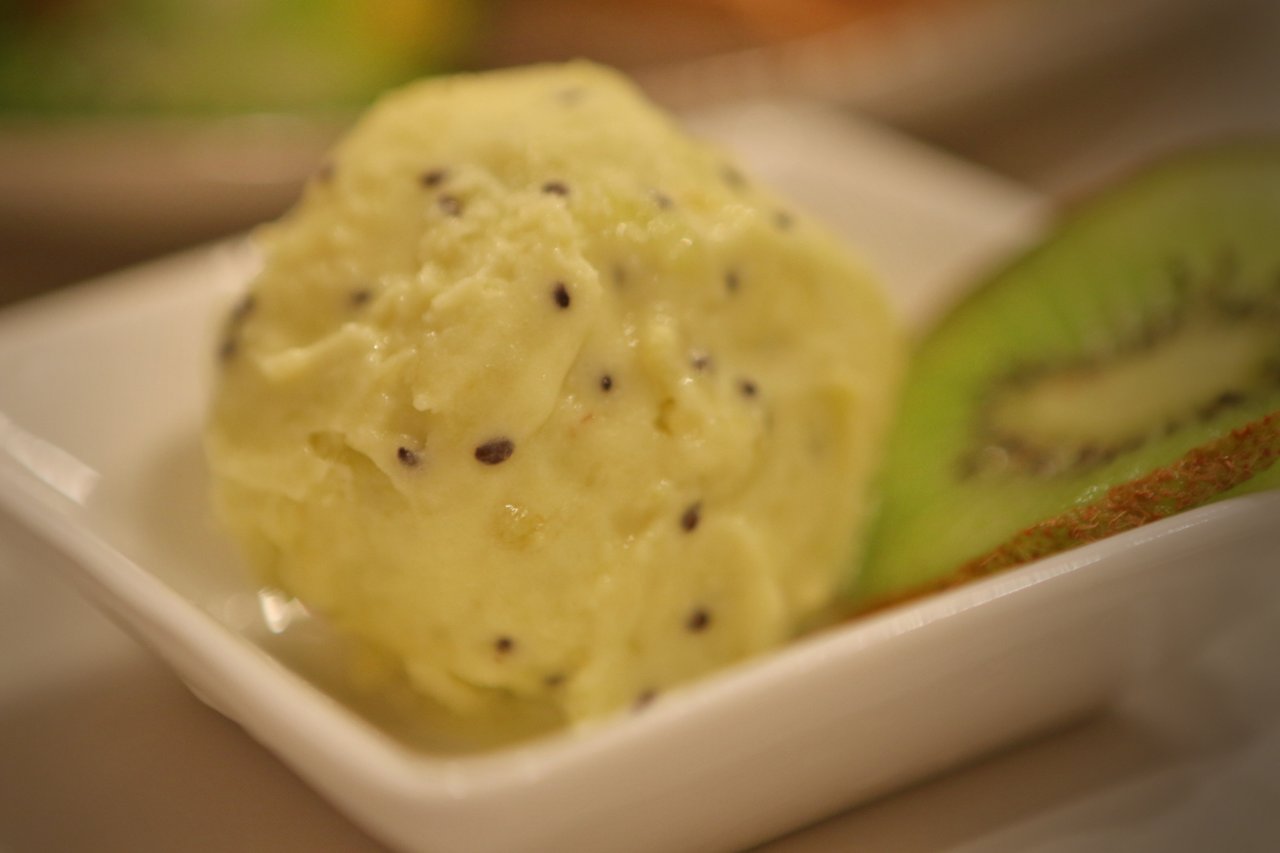
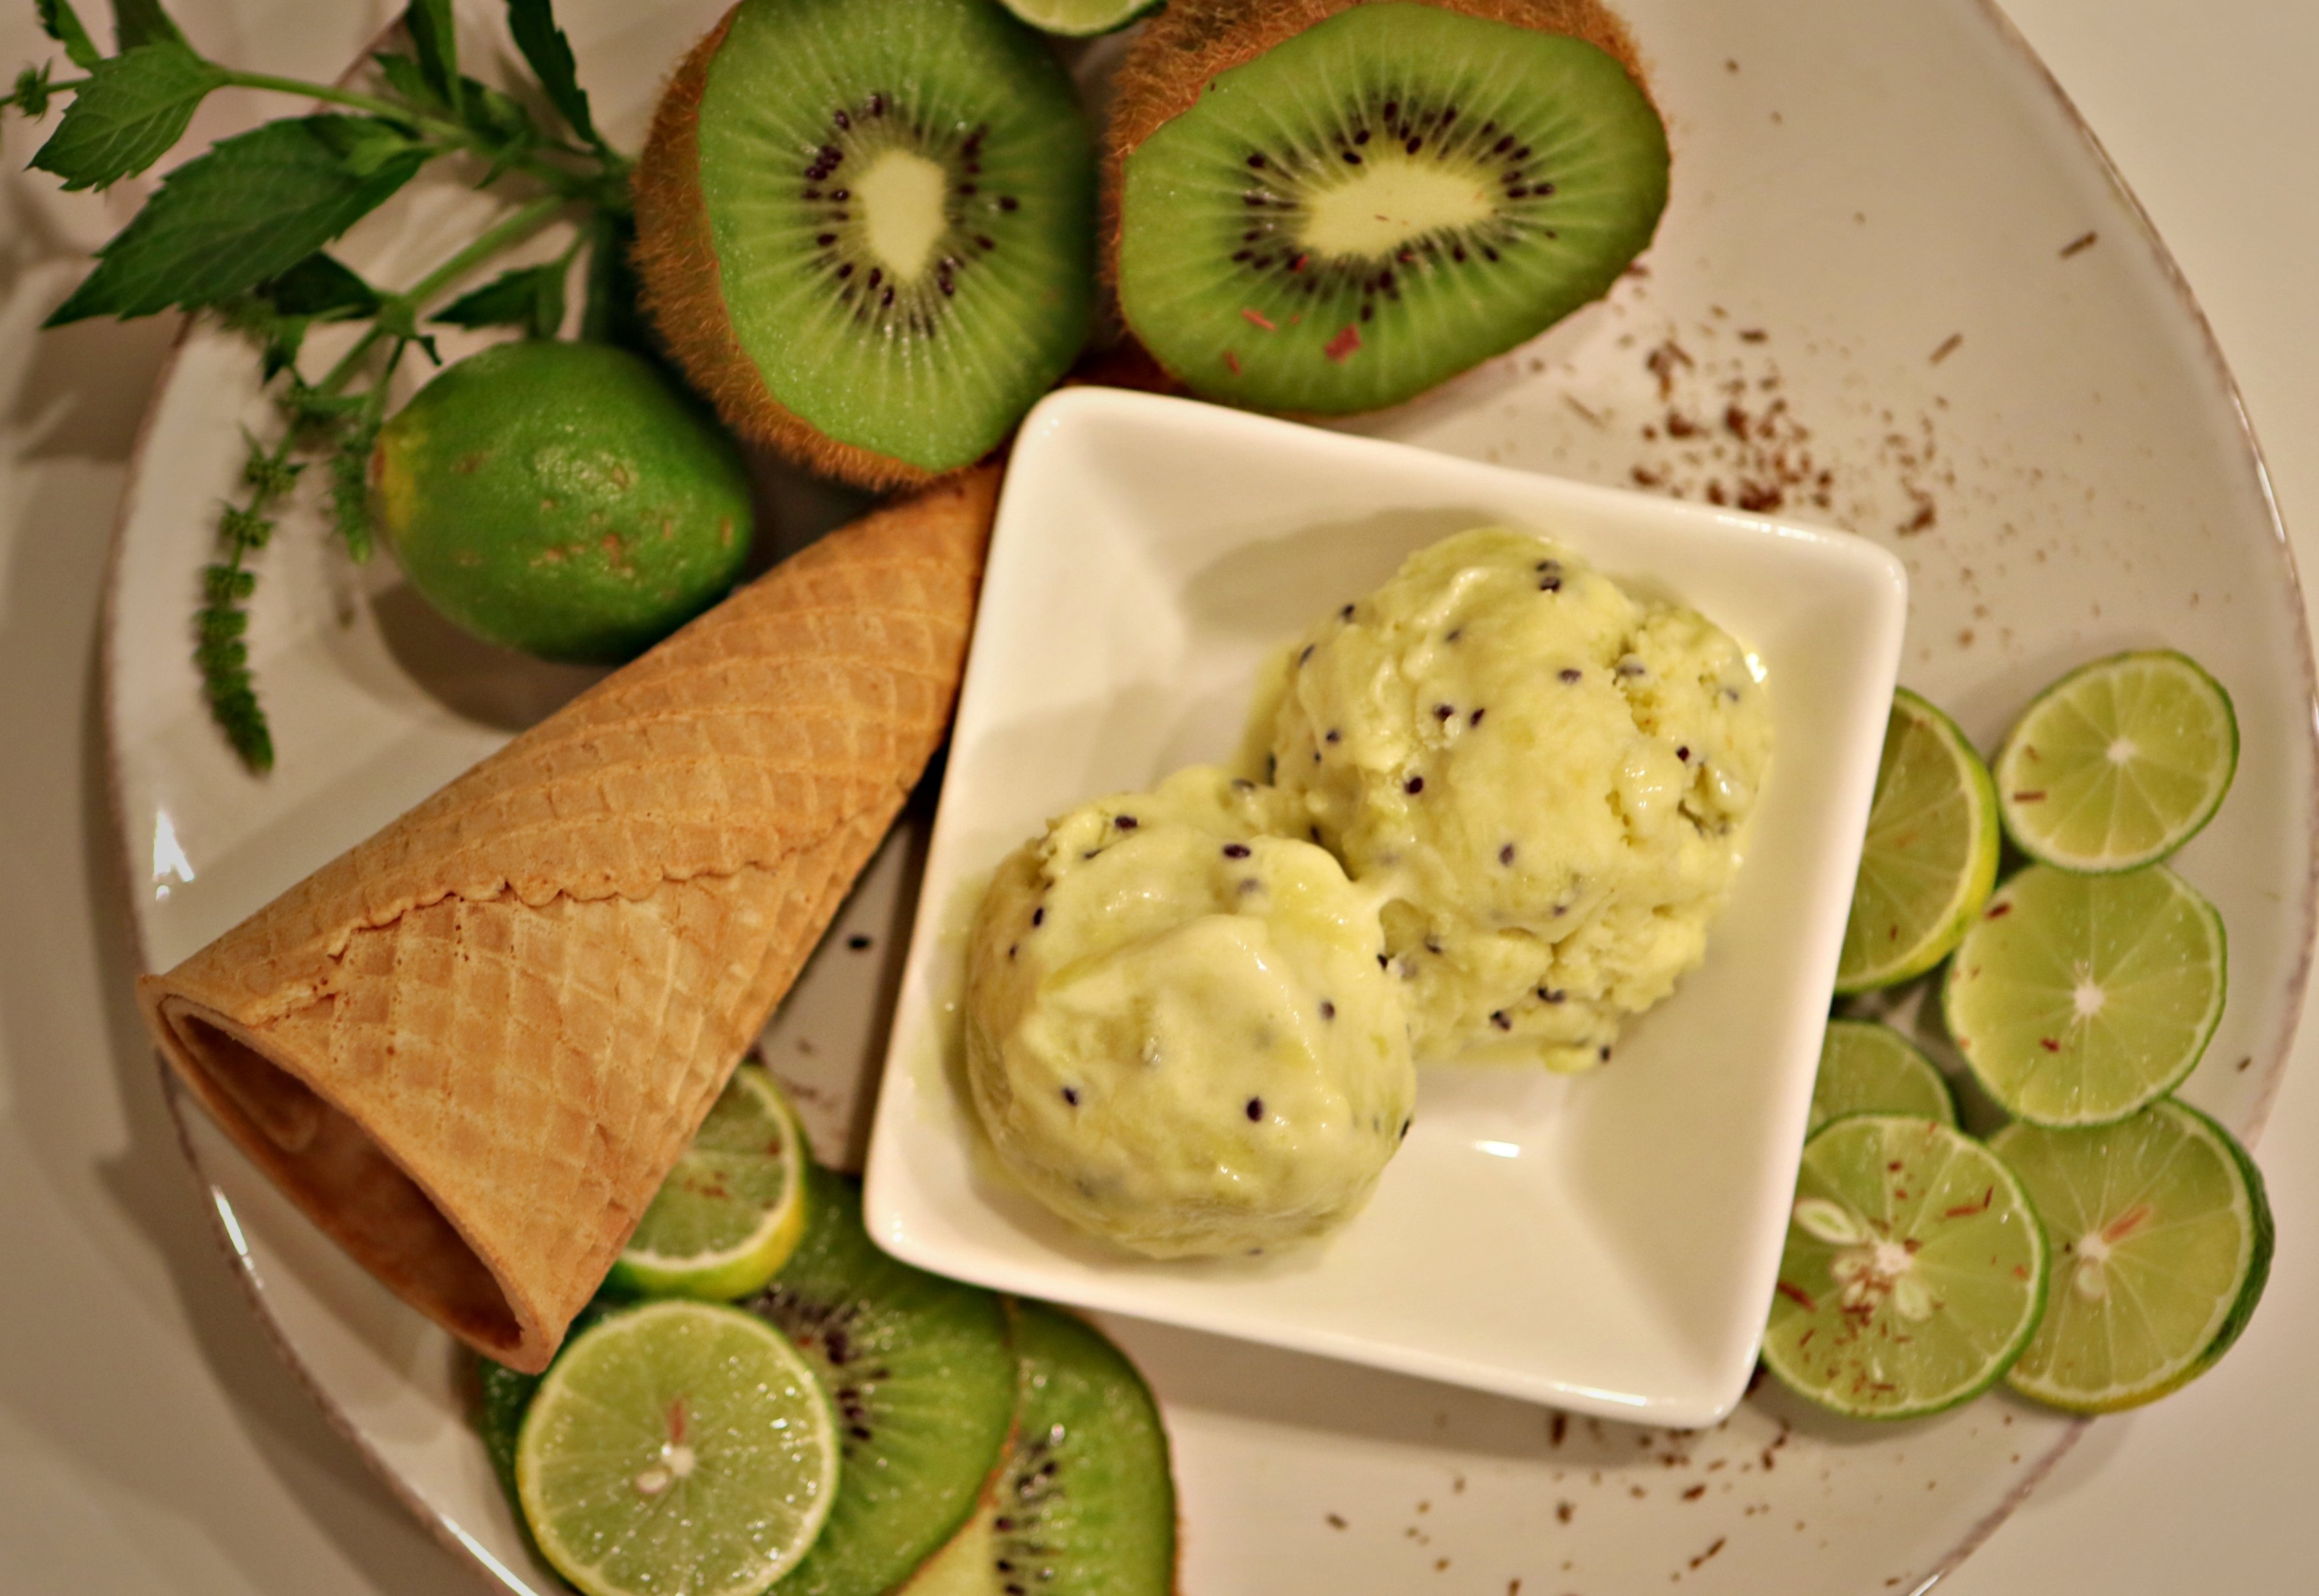
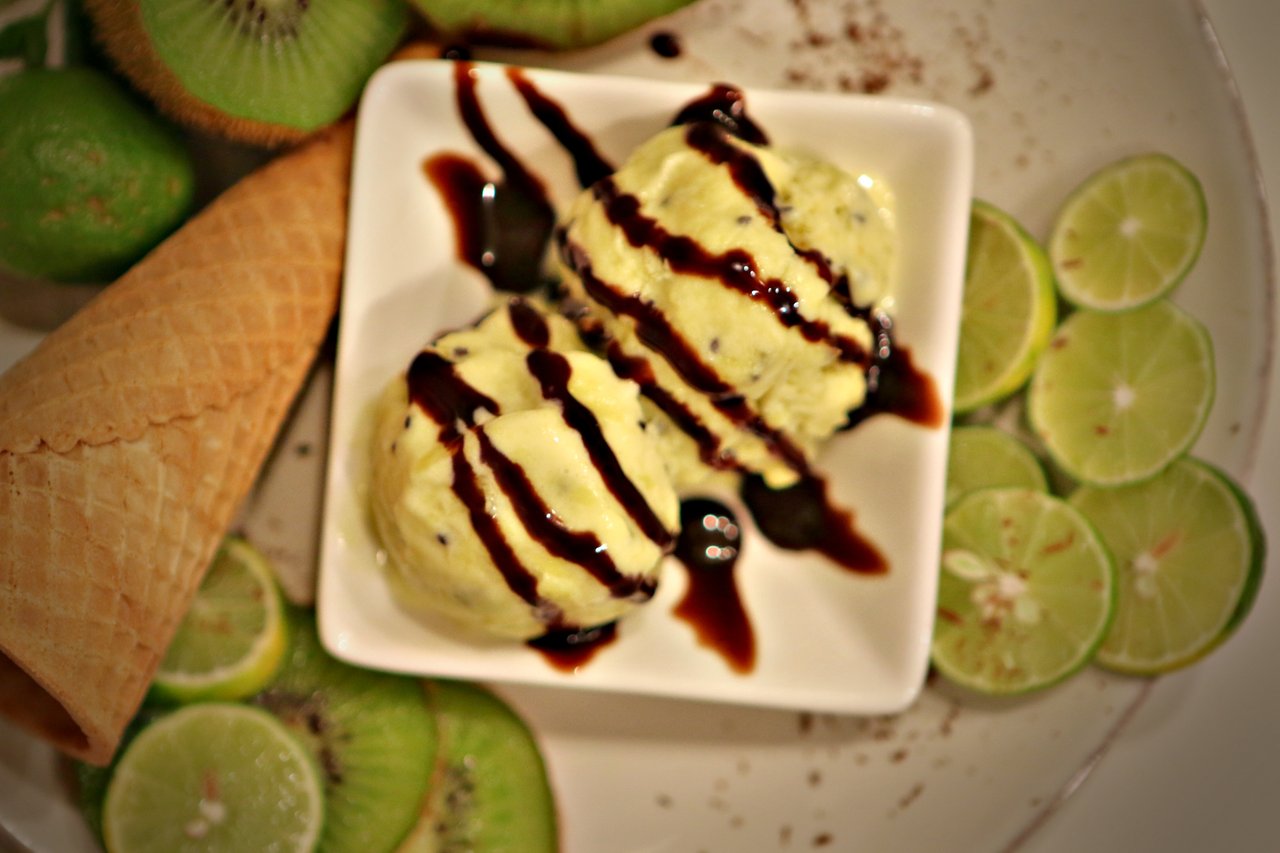
Allow the custard to firm up in the freezer for at least 2 hours before serving. If you're feeling saucy, we loved this with a drizzle of chocolate syrup. This might be the most refreshing ice cream I've ever had. The creamy custard base and tart fruity kiwis and limes are a perfect balance. I hope you agree!
Thanks for reading! If you enjoyed this post, check out my other food and recipe posts:
- Real Sourdough Baguette and Walnut Garden Pesto - Recipes and Food Photos
- Miso Ramen with Chicken and Recovered Veggies - Recipe and Food Photos
- Steemit Culinary Challenge #33 - Wild Mulberry and Backyard Black Raspberry Shortbread Bars
- Whole food energy bars - My favorite flavor combinations and a tutorial
All content and photos by @jaymorebeet, taken on 7/5 and 7/6/2017 using a Canon EOS 7D MarkII.