This is my unofficial entry for the Meadows & Makers Challenge No.2 - Update: Maker Challenge No.2 - Aqua / Hydroponic Garden Maker Challenge - 45 STEEM in Rewards.
Nutrient Film Hydroponic Garden System
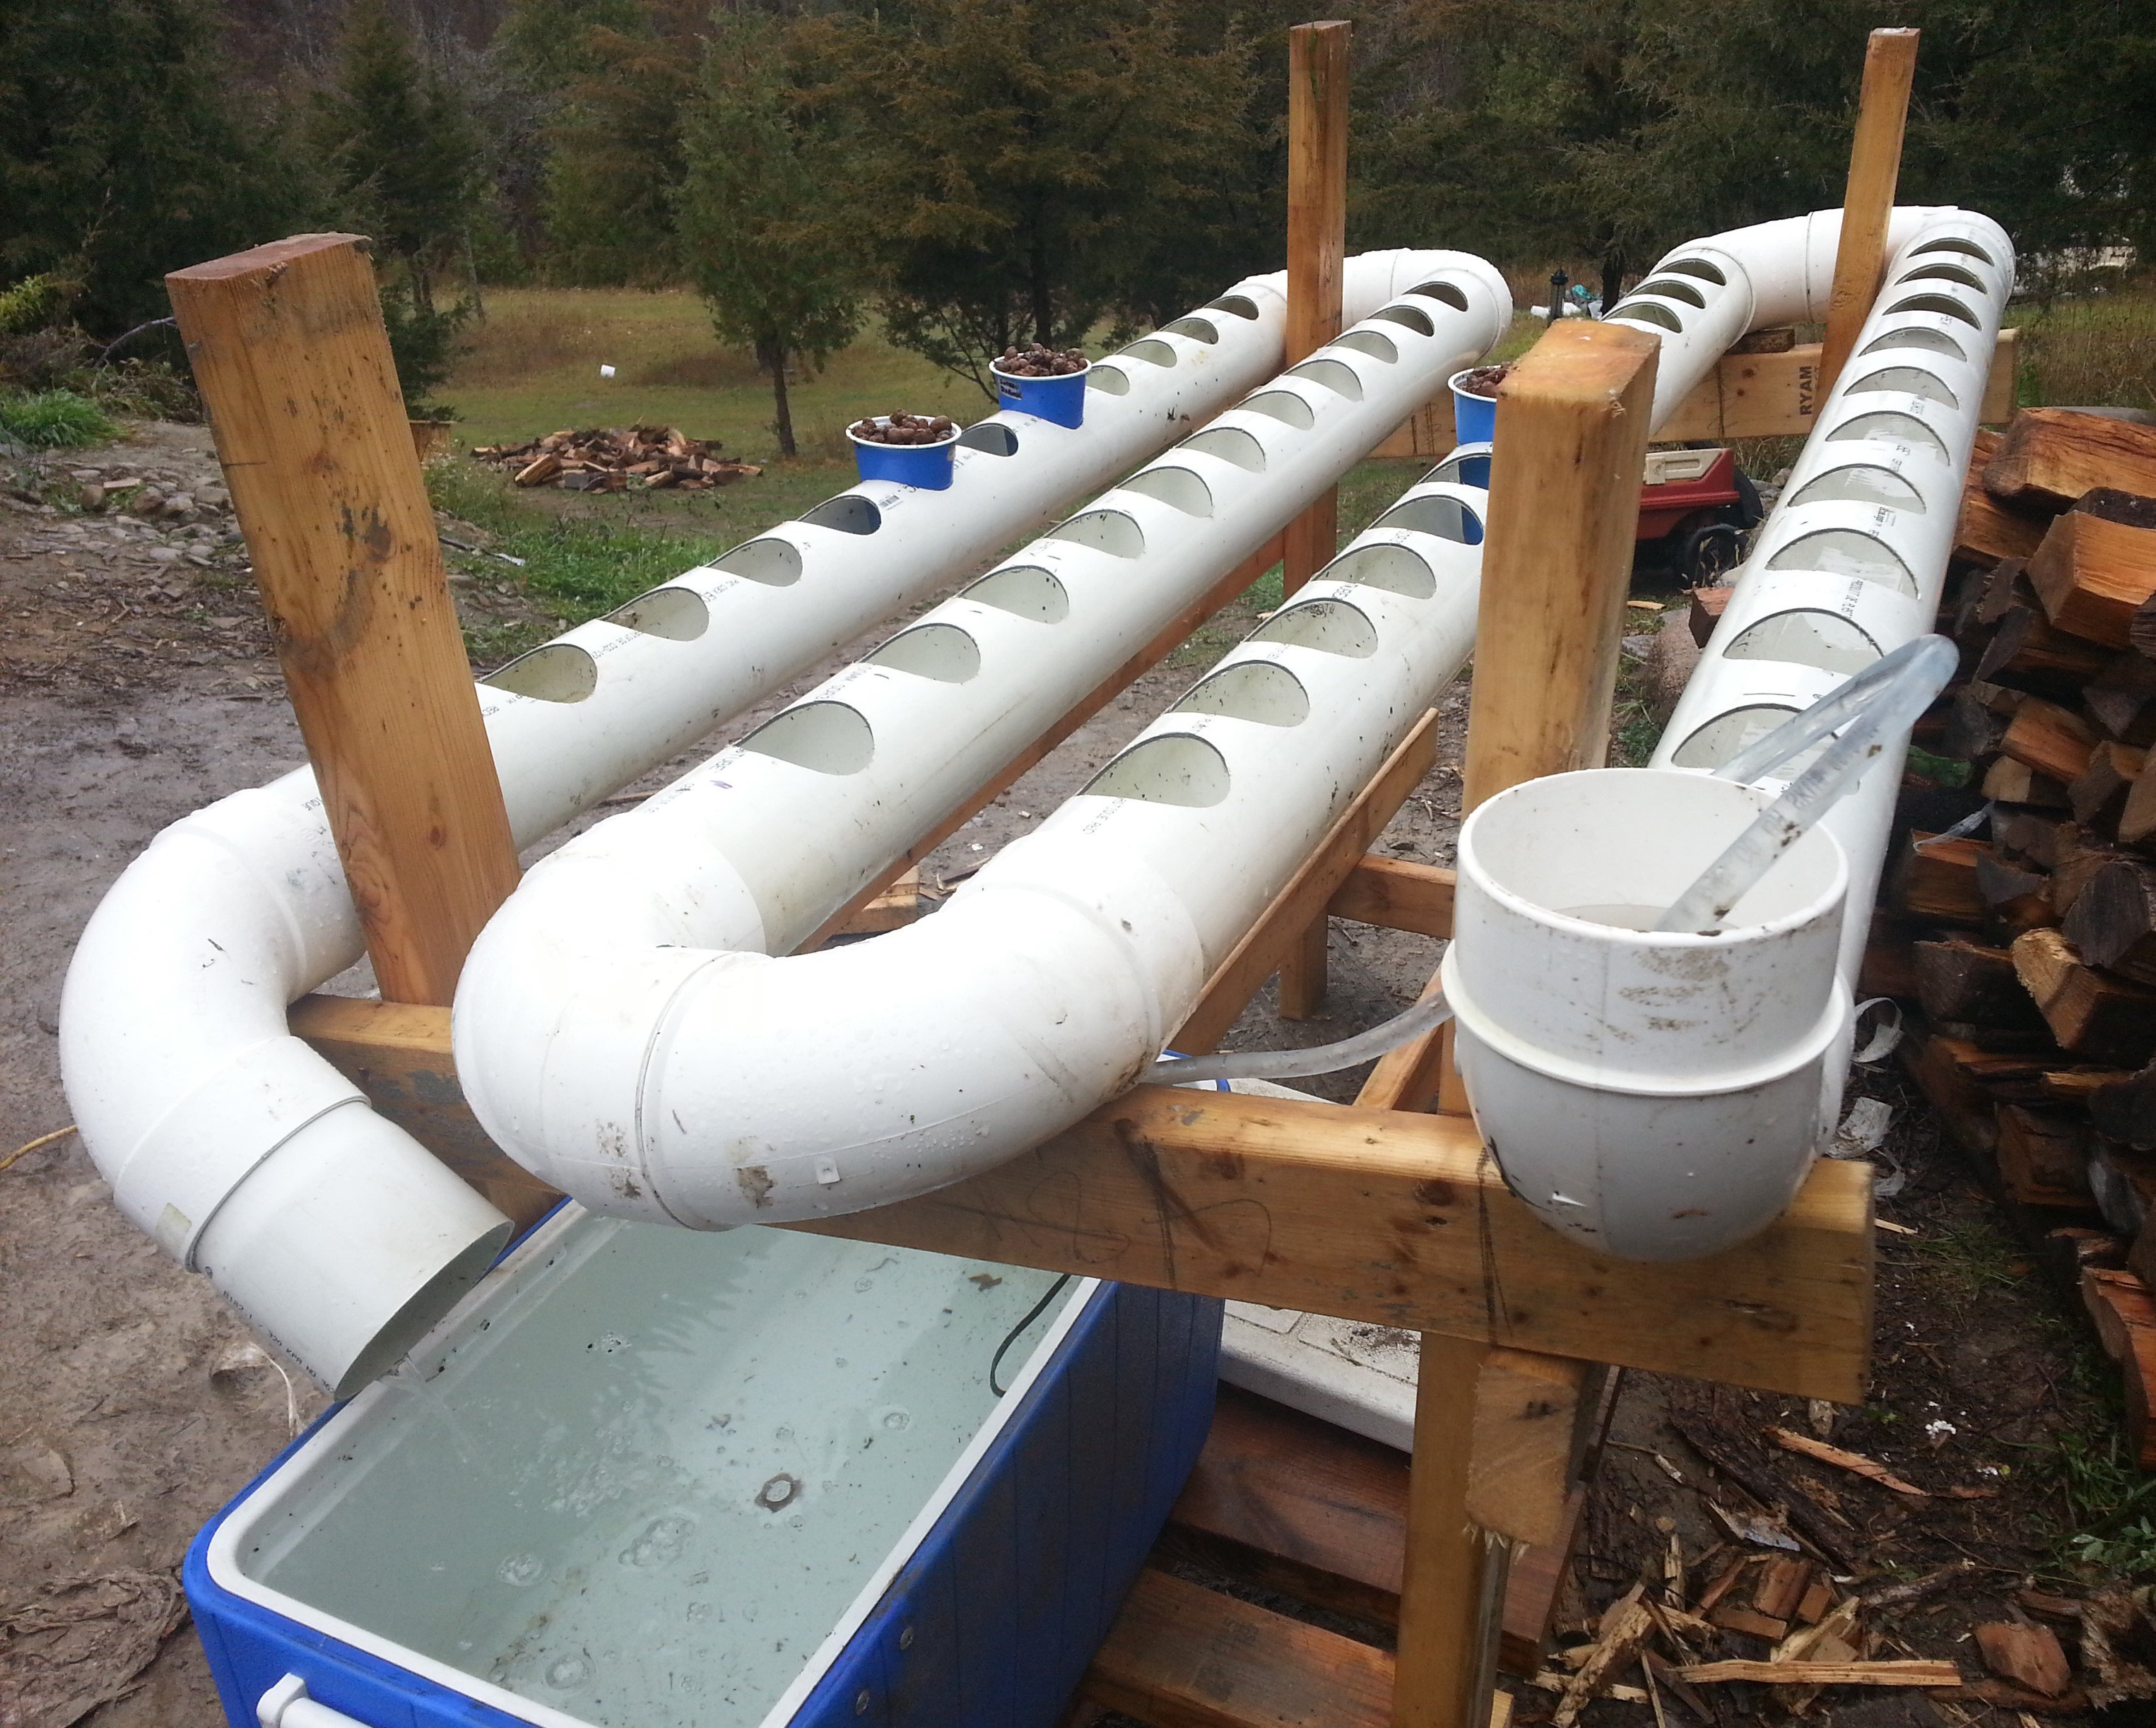
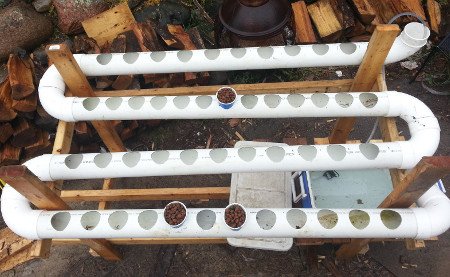
A few years ago I built a Nutrient Film Hydroponic garden system for growing lettuce heads - this post is a rebuild of that system. Instead of the lettuce growing on dirt, it is grown on baked clay pellets that are held in cups - with holes for the roots. Water rushes along the bottoms of the cups, the roots grow down into the water for hydration and nutrients. You can see in the picture below that the plant cups sit in 3" holes drilled into 20 feet of 4" drain pipe. A small pump continuously pumps the water from the reservoir to the top of the drain pipe that snakes downward back down to the water reservoir.
With a constant supply of nutrients, plant growth is largely increased with a hydroponic growing system. Nutrients for the plants can be added to the water reservoir, or a larger reservoir with fish could make the system aquaponic - the fish would provide the nutrients for the plants.
Building the Nutrient Film Hydroponic System
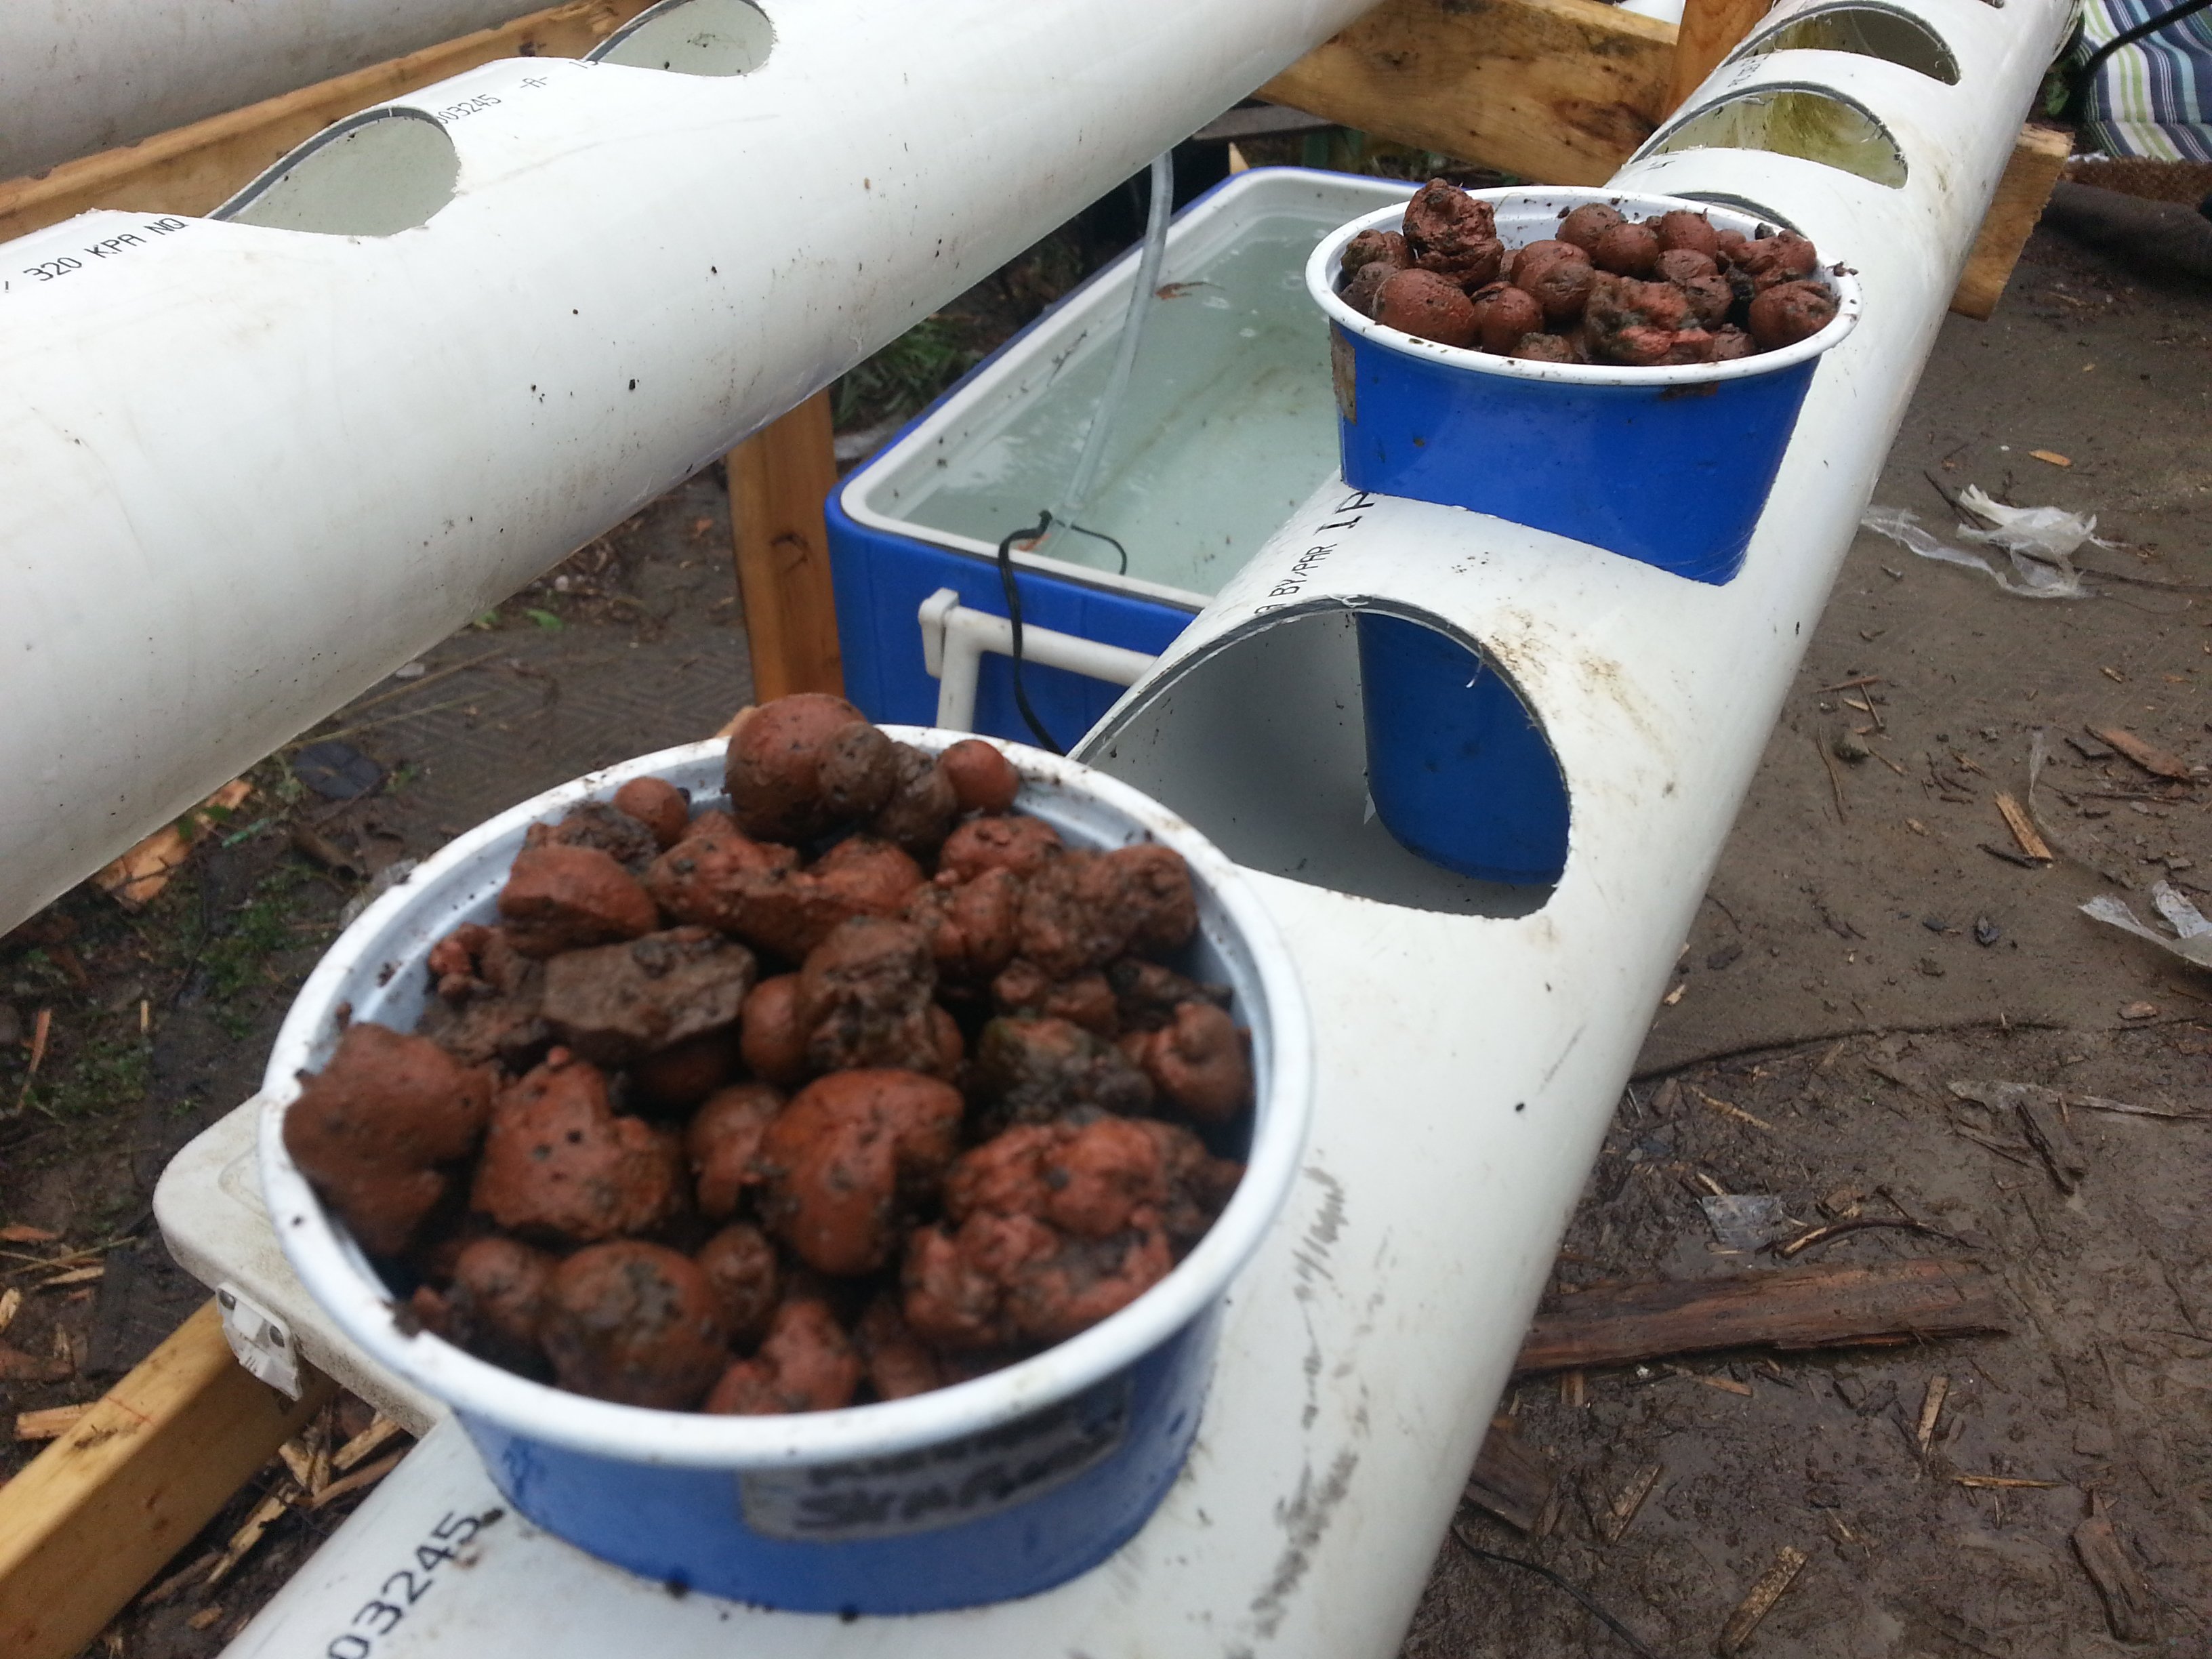
In the picture below you can see the 4" PVC drain pipes reclaimed from my hydroponic setup. Each section of pipe is a little under 5 ft long. Each pipe has 13 x 3" wide cup holes drilled along the top. 8 x 4" PVC 90 degree elbows were used to complete the snaking pipe setup.

Making the Drain Pipe Stand
Materials:
- 8 x 8ft x 2x4s
- 50 x 3" decking screws
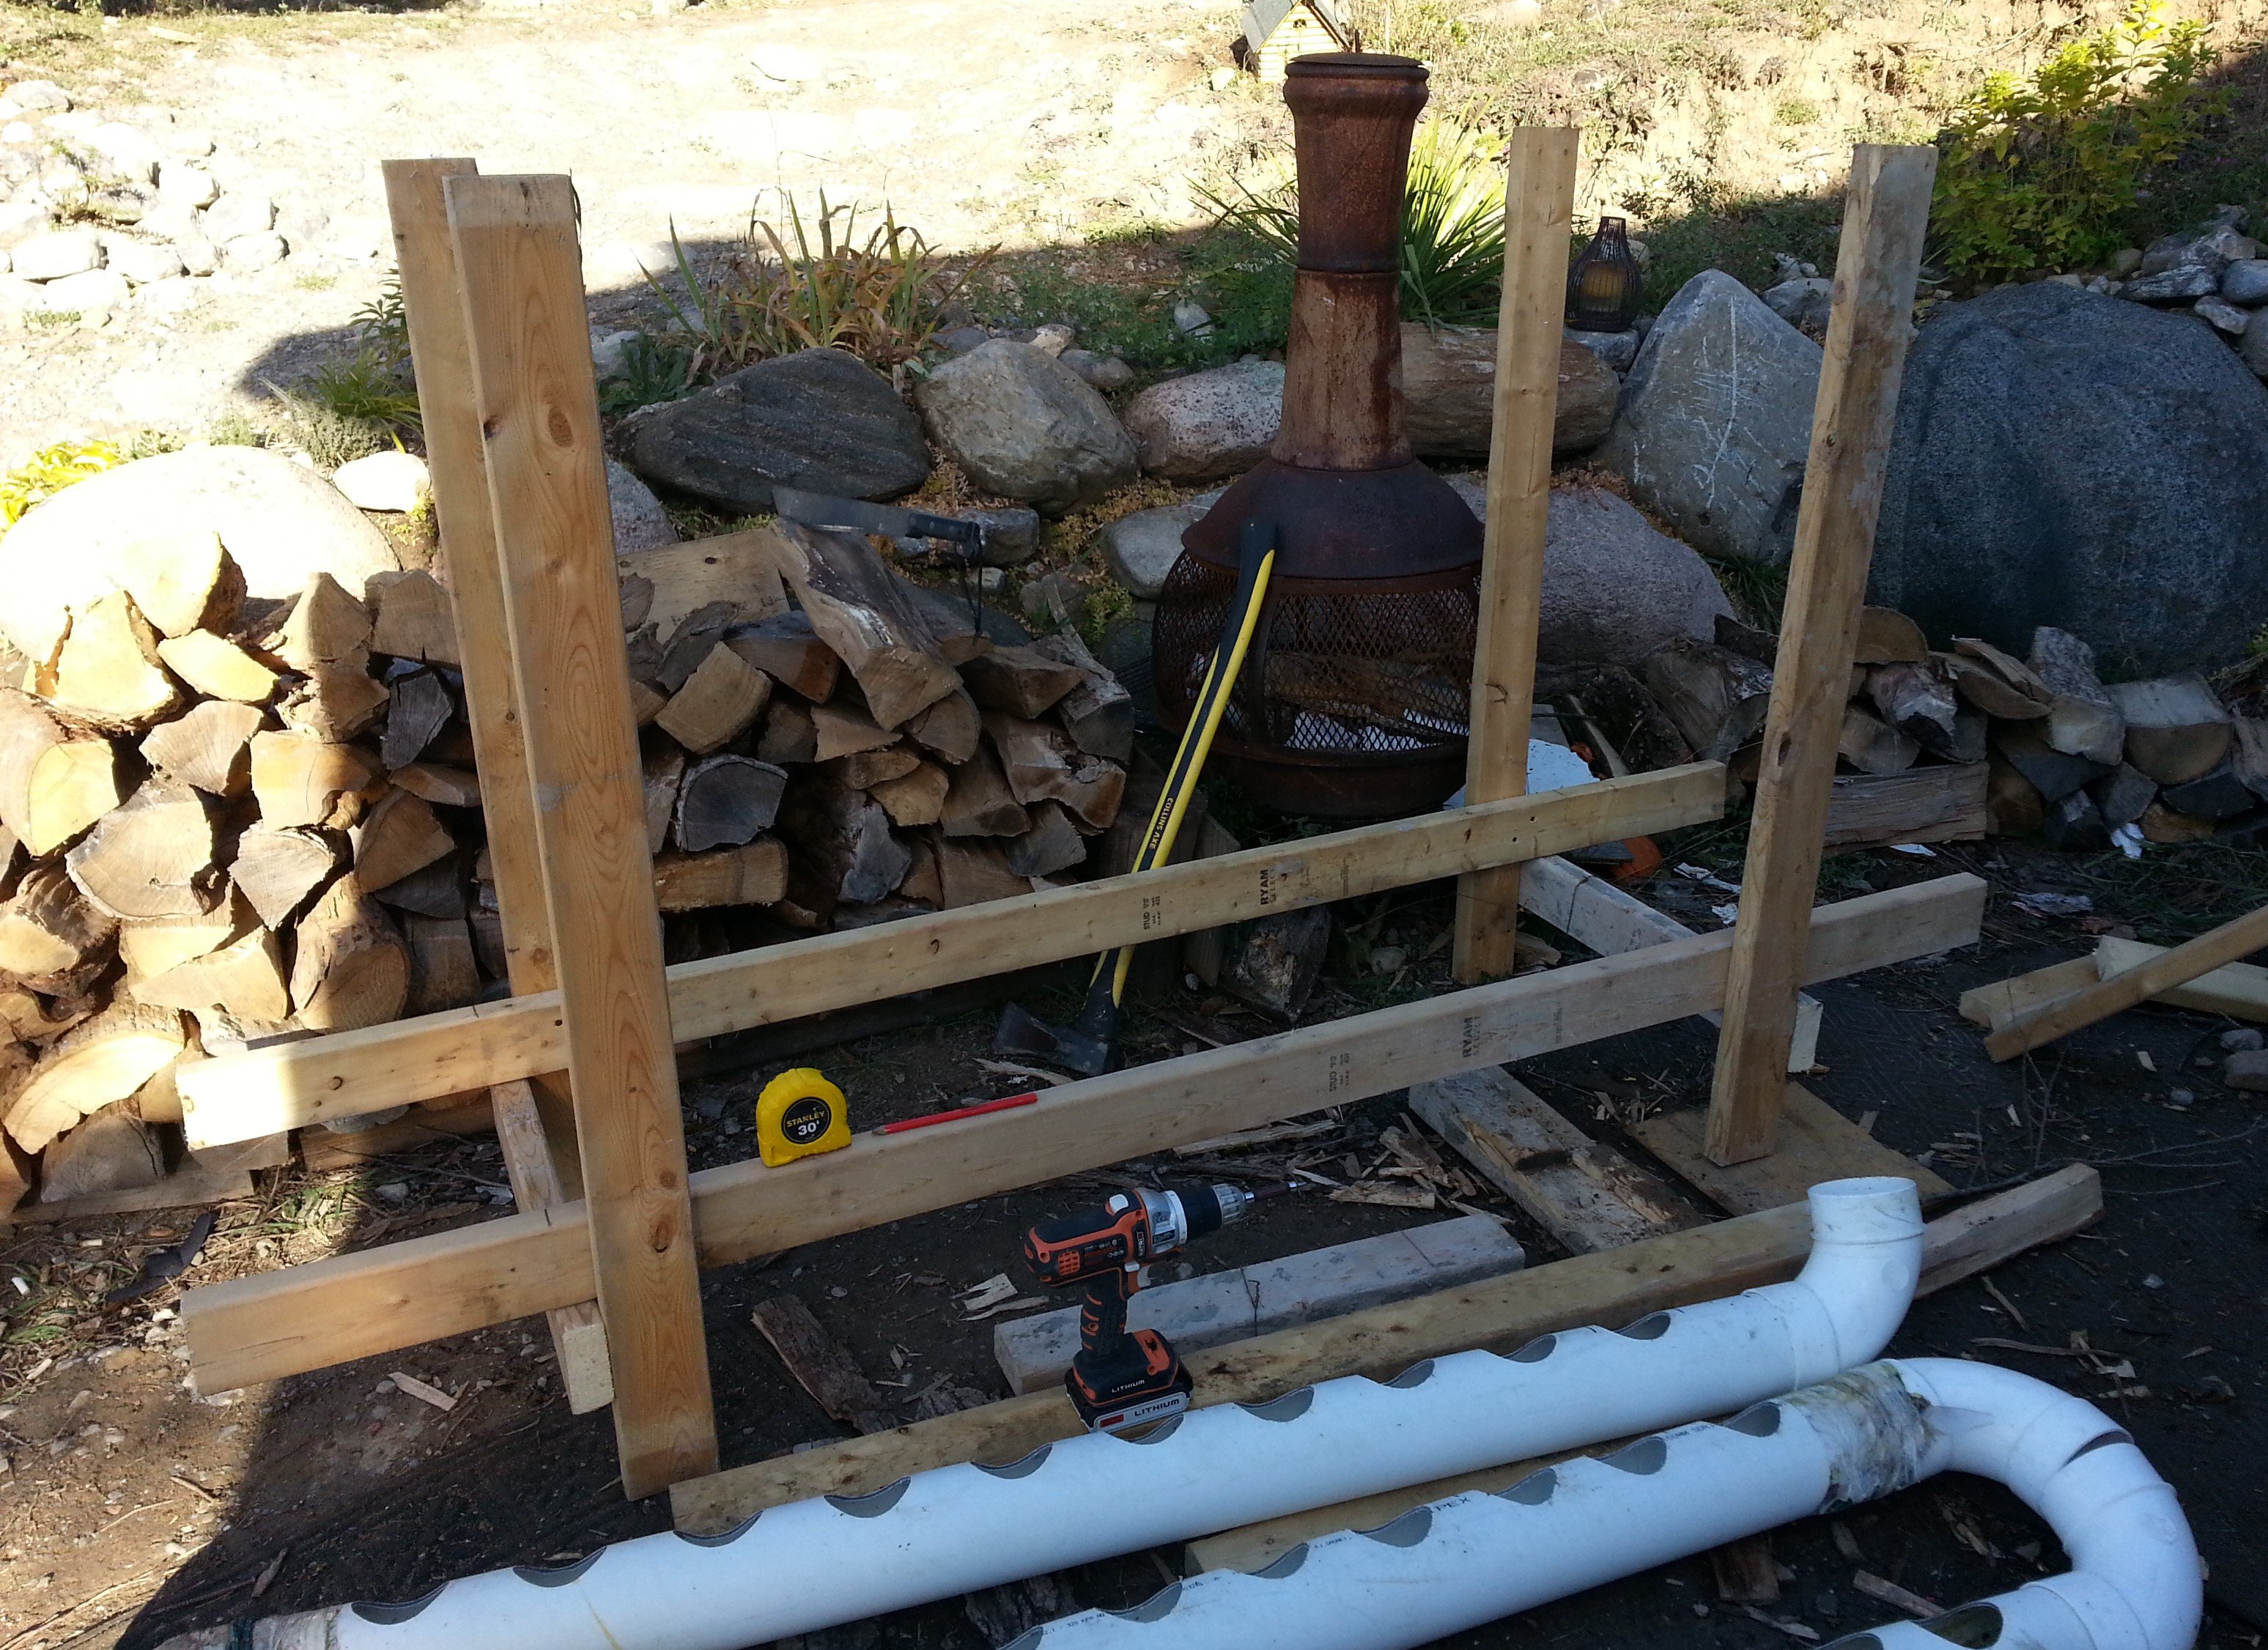
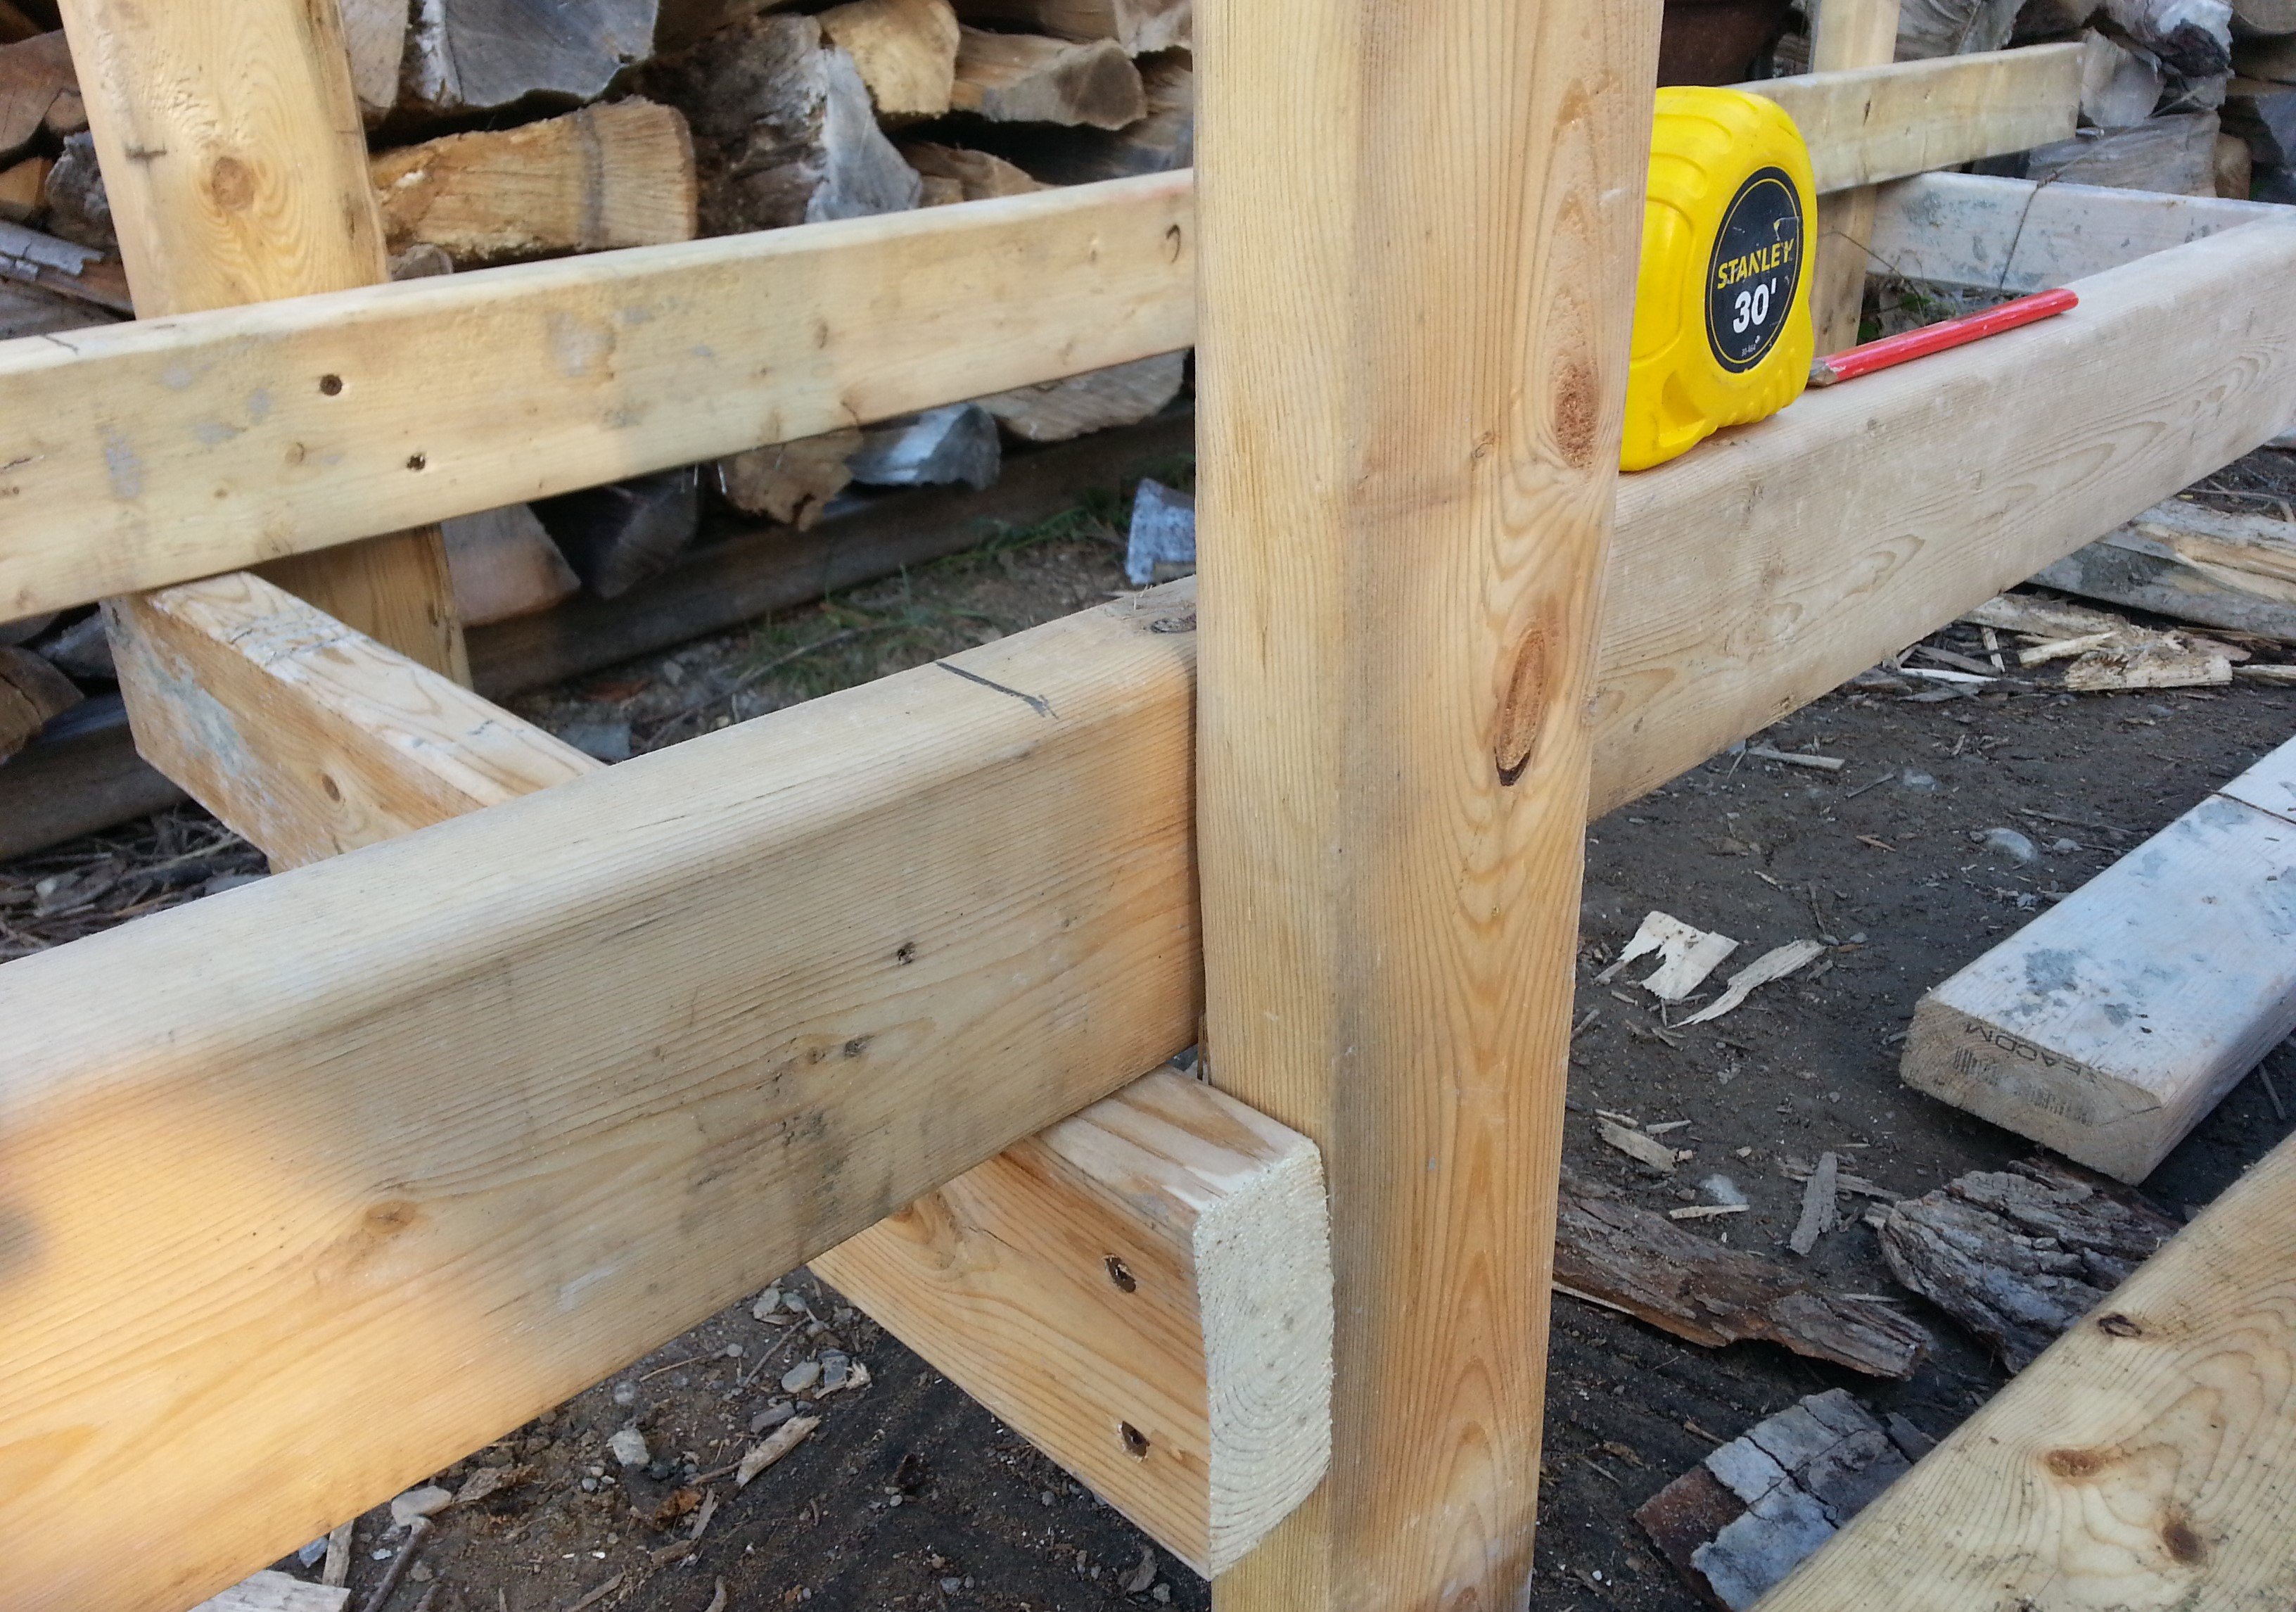
In the picture below you can see the frame was started with the 4 x 4ft tall 2x4 posts. The lower short 2x4 spans are 2ft, the 2x4s used for the lower wide spans were 7ft long - see the pictures below.
|
|
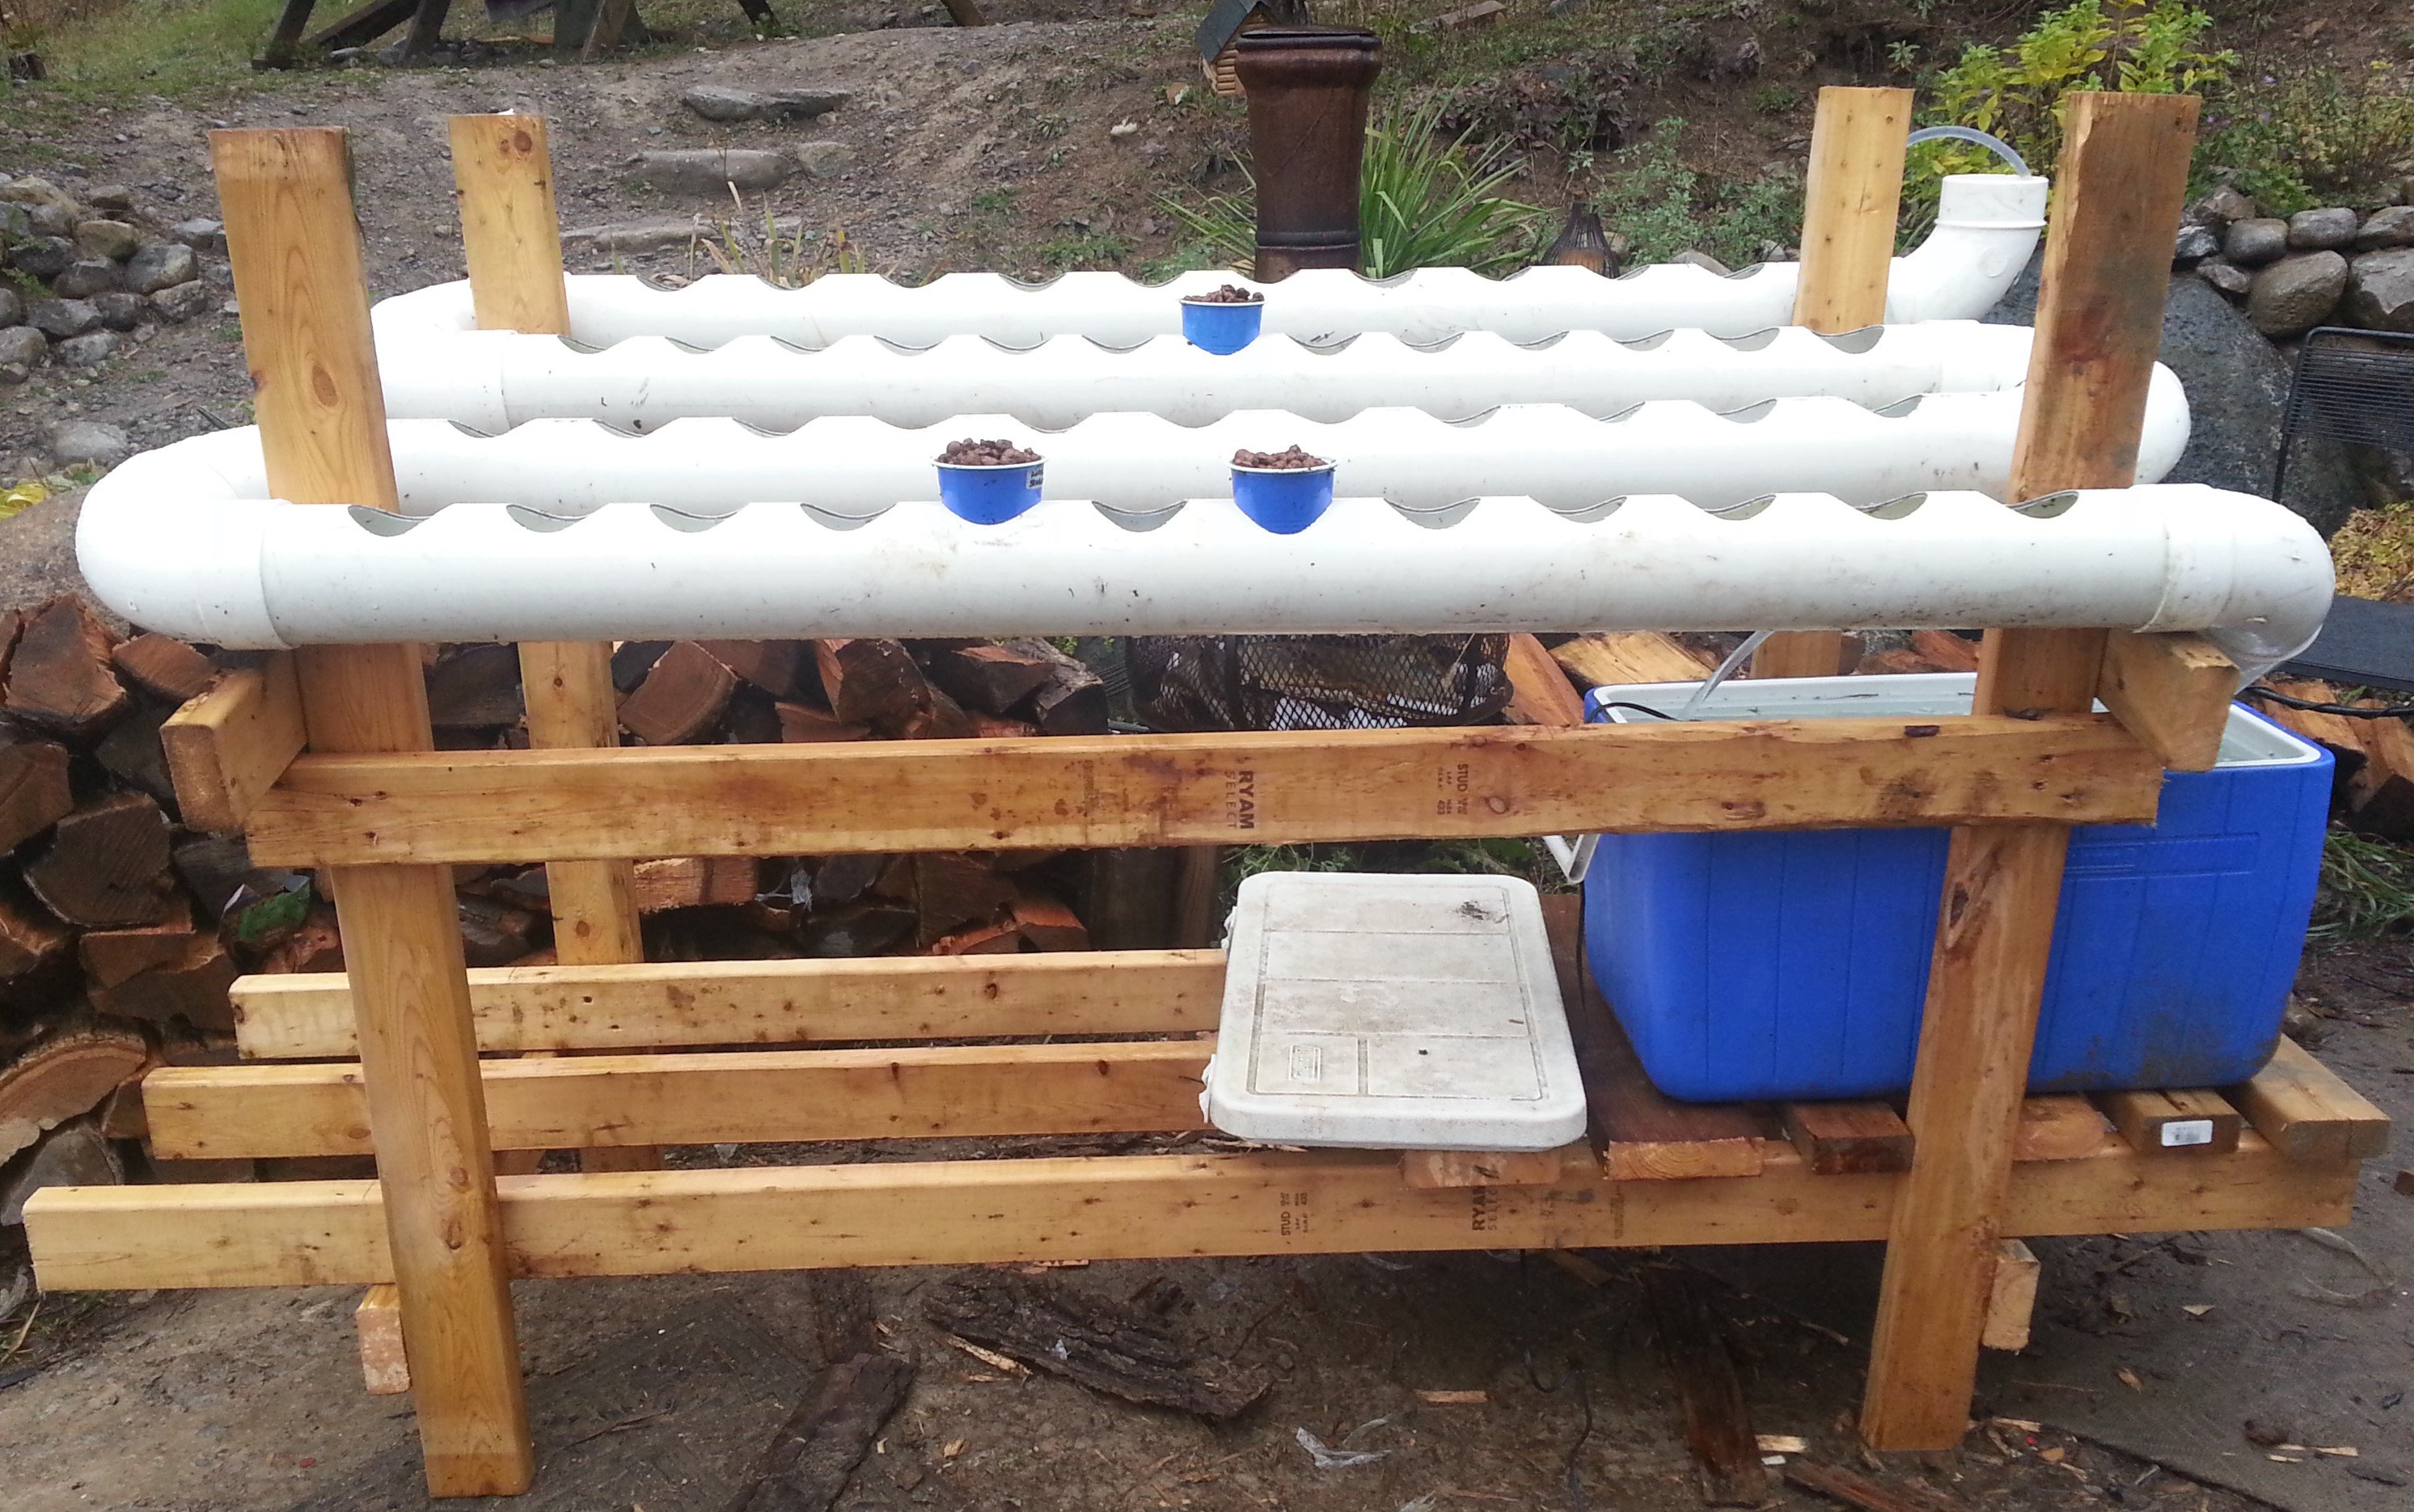
I used 2 x 3 ft long 2x4s for the upper short spans, installing them 1 ft below the top of the post 2x4s with the front of the short spas slightly lower so there is a small downhill for the pipes to sit on. The long upper span 2x4s are 5ft long each. One more 7ft long 2x4 was added to the lower span as an extra shelf joist, then 2ft long 2x4s were added to the top of the lower shelf joists for the water reservoir to sit on.
|
|
|
|
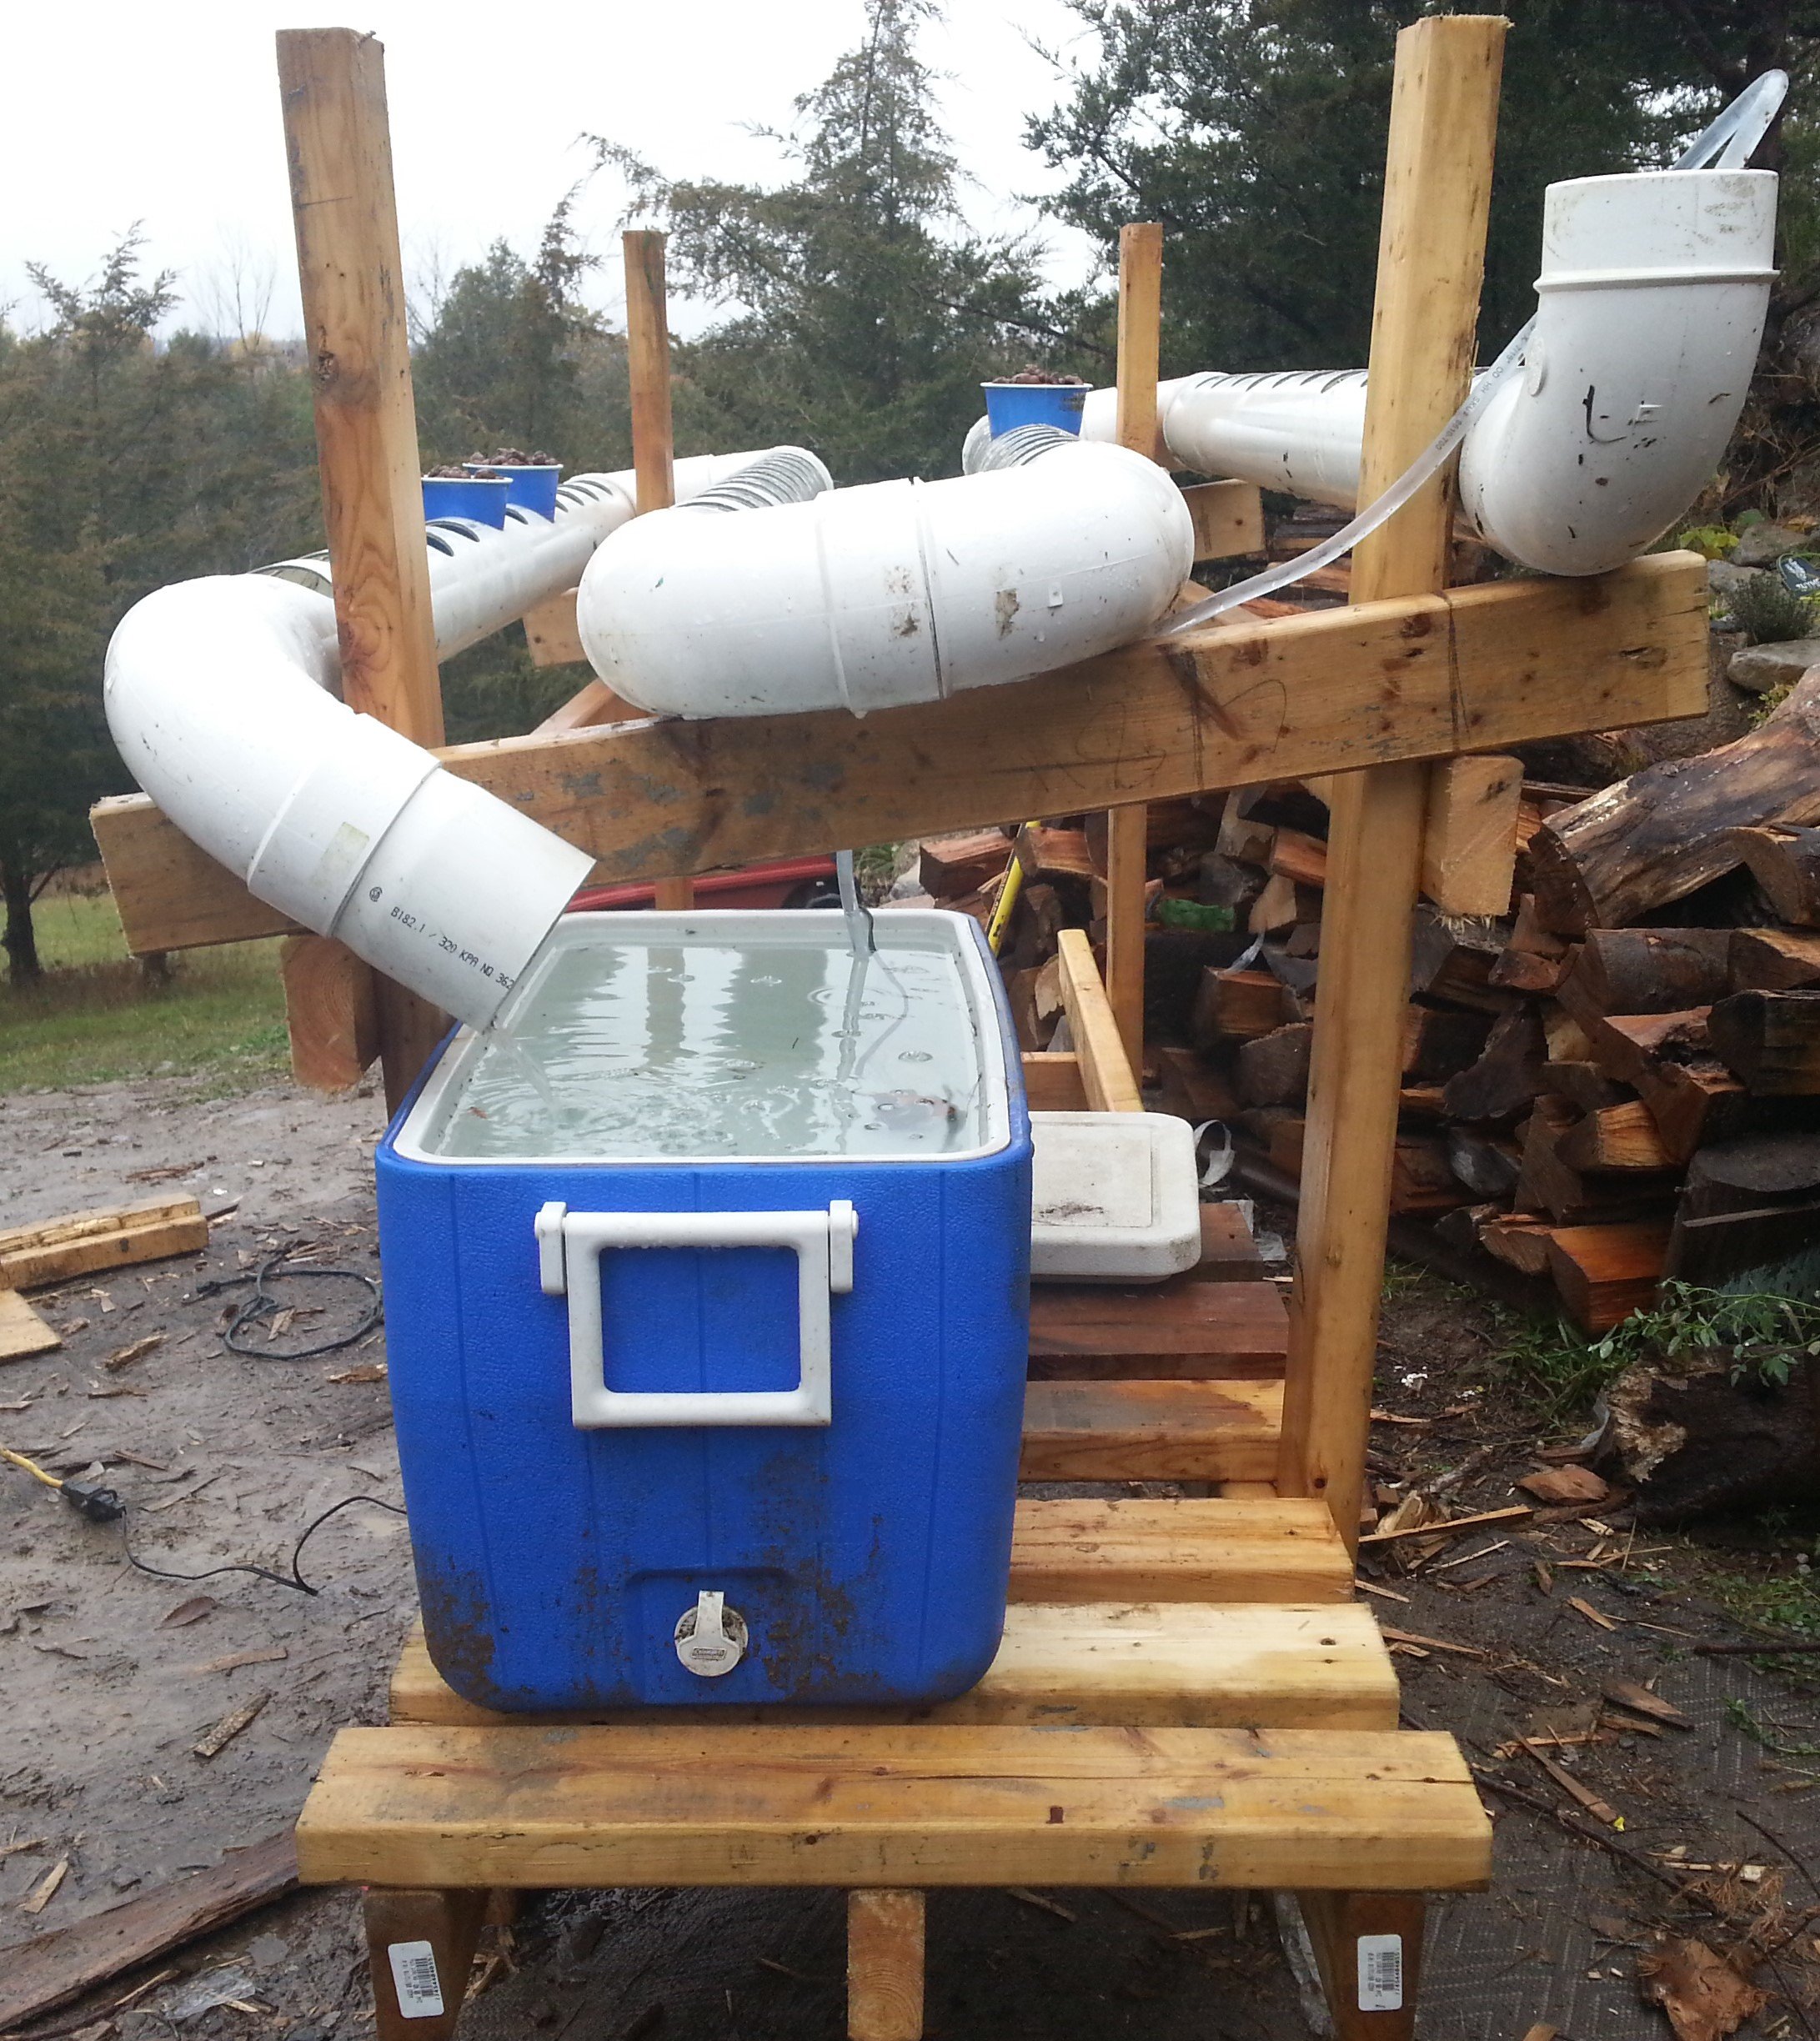
Water Reservoir & Pump
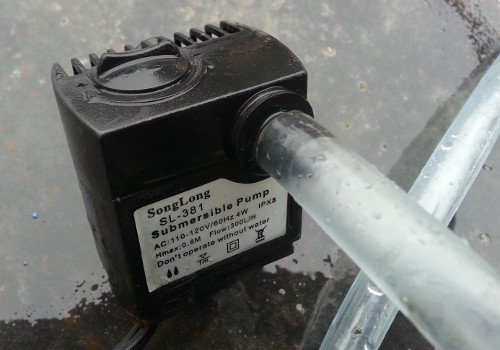
In the water reservoir is a small submersible water pump. It runs continuously, but only uses 4 watts. It is rated to lift water up to 0.8 meters, and have a flow of 300 Liters per hour. The higher the water has to be lifted, the lower the actual flow rate will be. I am using a clear tube to pump the water up to the top of the start of the drain pipe, but black tubes would be better to prevent algae growth inside the tubes.
|
|
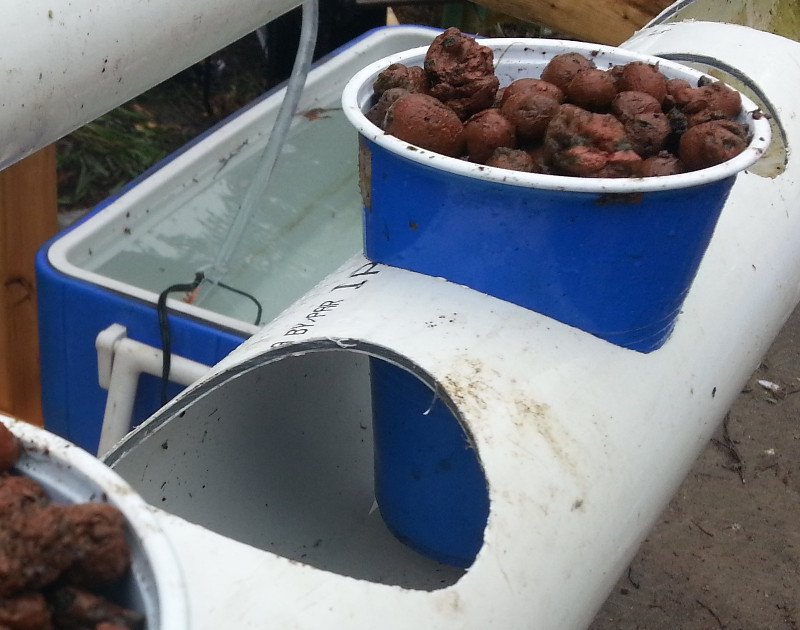
In the pictures below you can see where the pump tube enters the top of the drain pipes. The pump tube is pushed into the top of the drain pipe, up to the first cup hole. If the hose fell out and was not noticed it would pump the water reservoir empty. The depth of the water in the drain pipe can be controlled by adding small dams at the end of each length of drain pipe.
|
|
Baked Clay Pellets and Plastic Cups
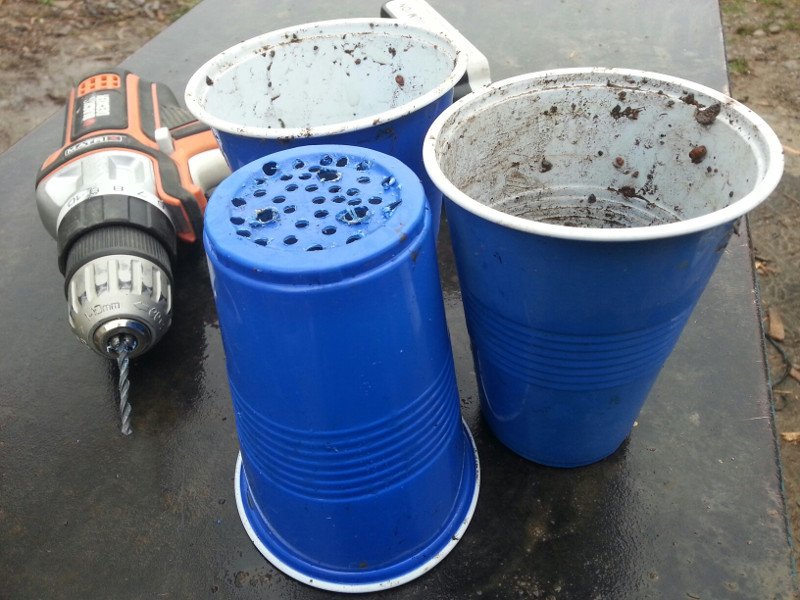
In the first picture below you can see the plastic cups with many holes drilled into the bottom. They do sell proper basket cups for hydroponic systems, but these cups were easily available to me and worked well enough for my lettuce growing purposes. In the second picture below you can see the baked clay pellets in the cups that the plants will be grown on. The clay pellets don't turn to mush when wet, they stay hard and have many pores to retain water.
Other Growing Mediums
Other hydroponic growing mediums include Rockwool, Coco Fiber, Coco Chips, Perlite, Vermiculite, Rice Hull, Pine Shaving, River Rock, and more. Visit Growing Medium for Hydroponic for more information on hydroponic growing mediums.
|
|
Starting Seedlings from Seeds
When starting a seedling I fold the seed in a small and damp piece of paper towel and place it top of the damp growing medium in the cup. I'll place a re-usable plastic sandwich bag over the top of the cup to help retain moisture - each day the bag is removed and put back on to exchange the air. Shortly after the seed has sprouted the bag is removed. The seedlings enjoy indirect light, then slowly given stronger and stronger light as they take root. I'll spray the medium with water as needed until the plant cup is moved to the hydroponic system.
Remaining Details before Spring
This hydroponic garden system I will put to use this upcoming spring. Will be adding a small greenhouse to the south side of the cabin for the setup. I will most likely purchase a 25 watt 5 gallon submersible heater to condition the temperature of the water in the reservoir. I will be increasing the size of the water reservoir and adding goldfish to provide nutrients to the plants. They will eat mosquito larvae and fish food. I want to look into growing duckweed on top of the water to further reduce the amount of fish food required.

Food Potential
I'll be growing lettuce heads in this hydroponic system. Cherry tomatoes, cucumbers, basil, and other annual herbs and vegetables would grow well with hydroponic systems. Hydroponic systems are very water conservative. The pump and water heater will be powered with solar power from the cabin. Winter is almost starting here, i'm already looking forward to spring to fully test the new setup.
Have a great day!