Grow Food Not Lawns
I wanted to grow my own food, and I didn't want to spend any money doing it. So, here's how I did it!
This is where at all began!
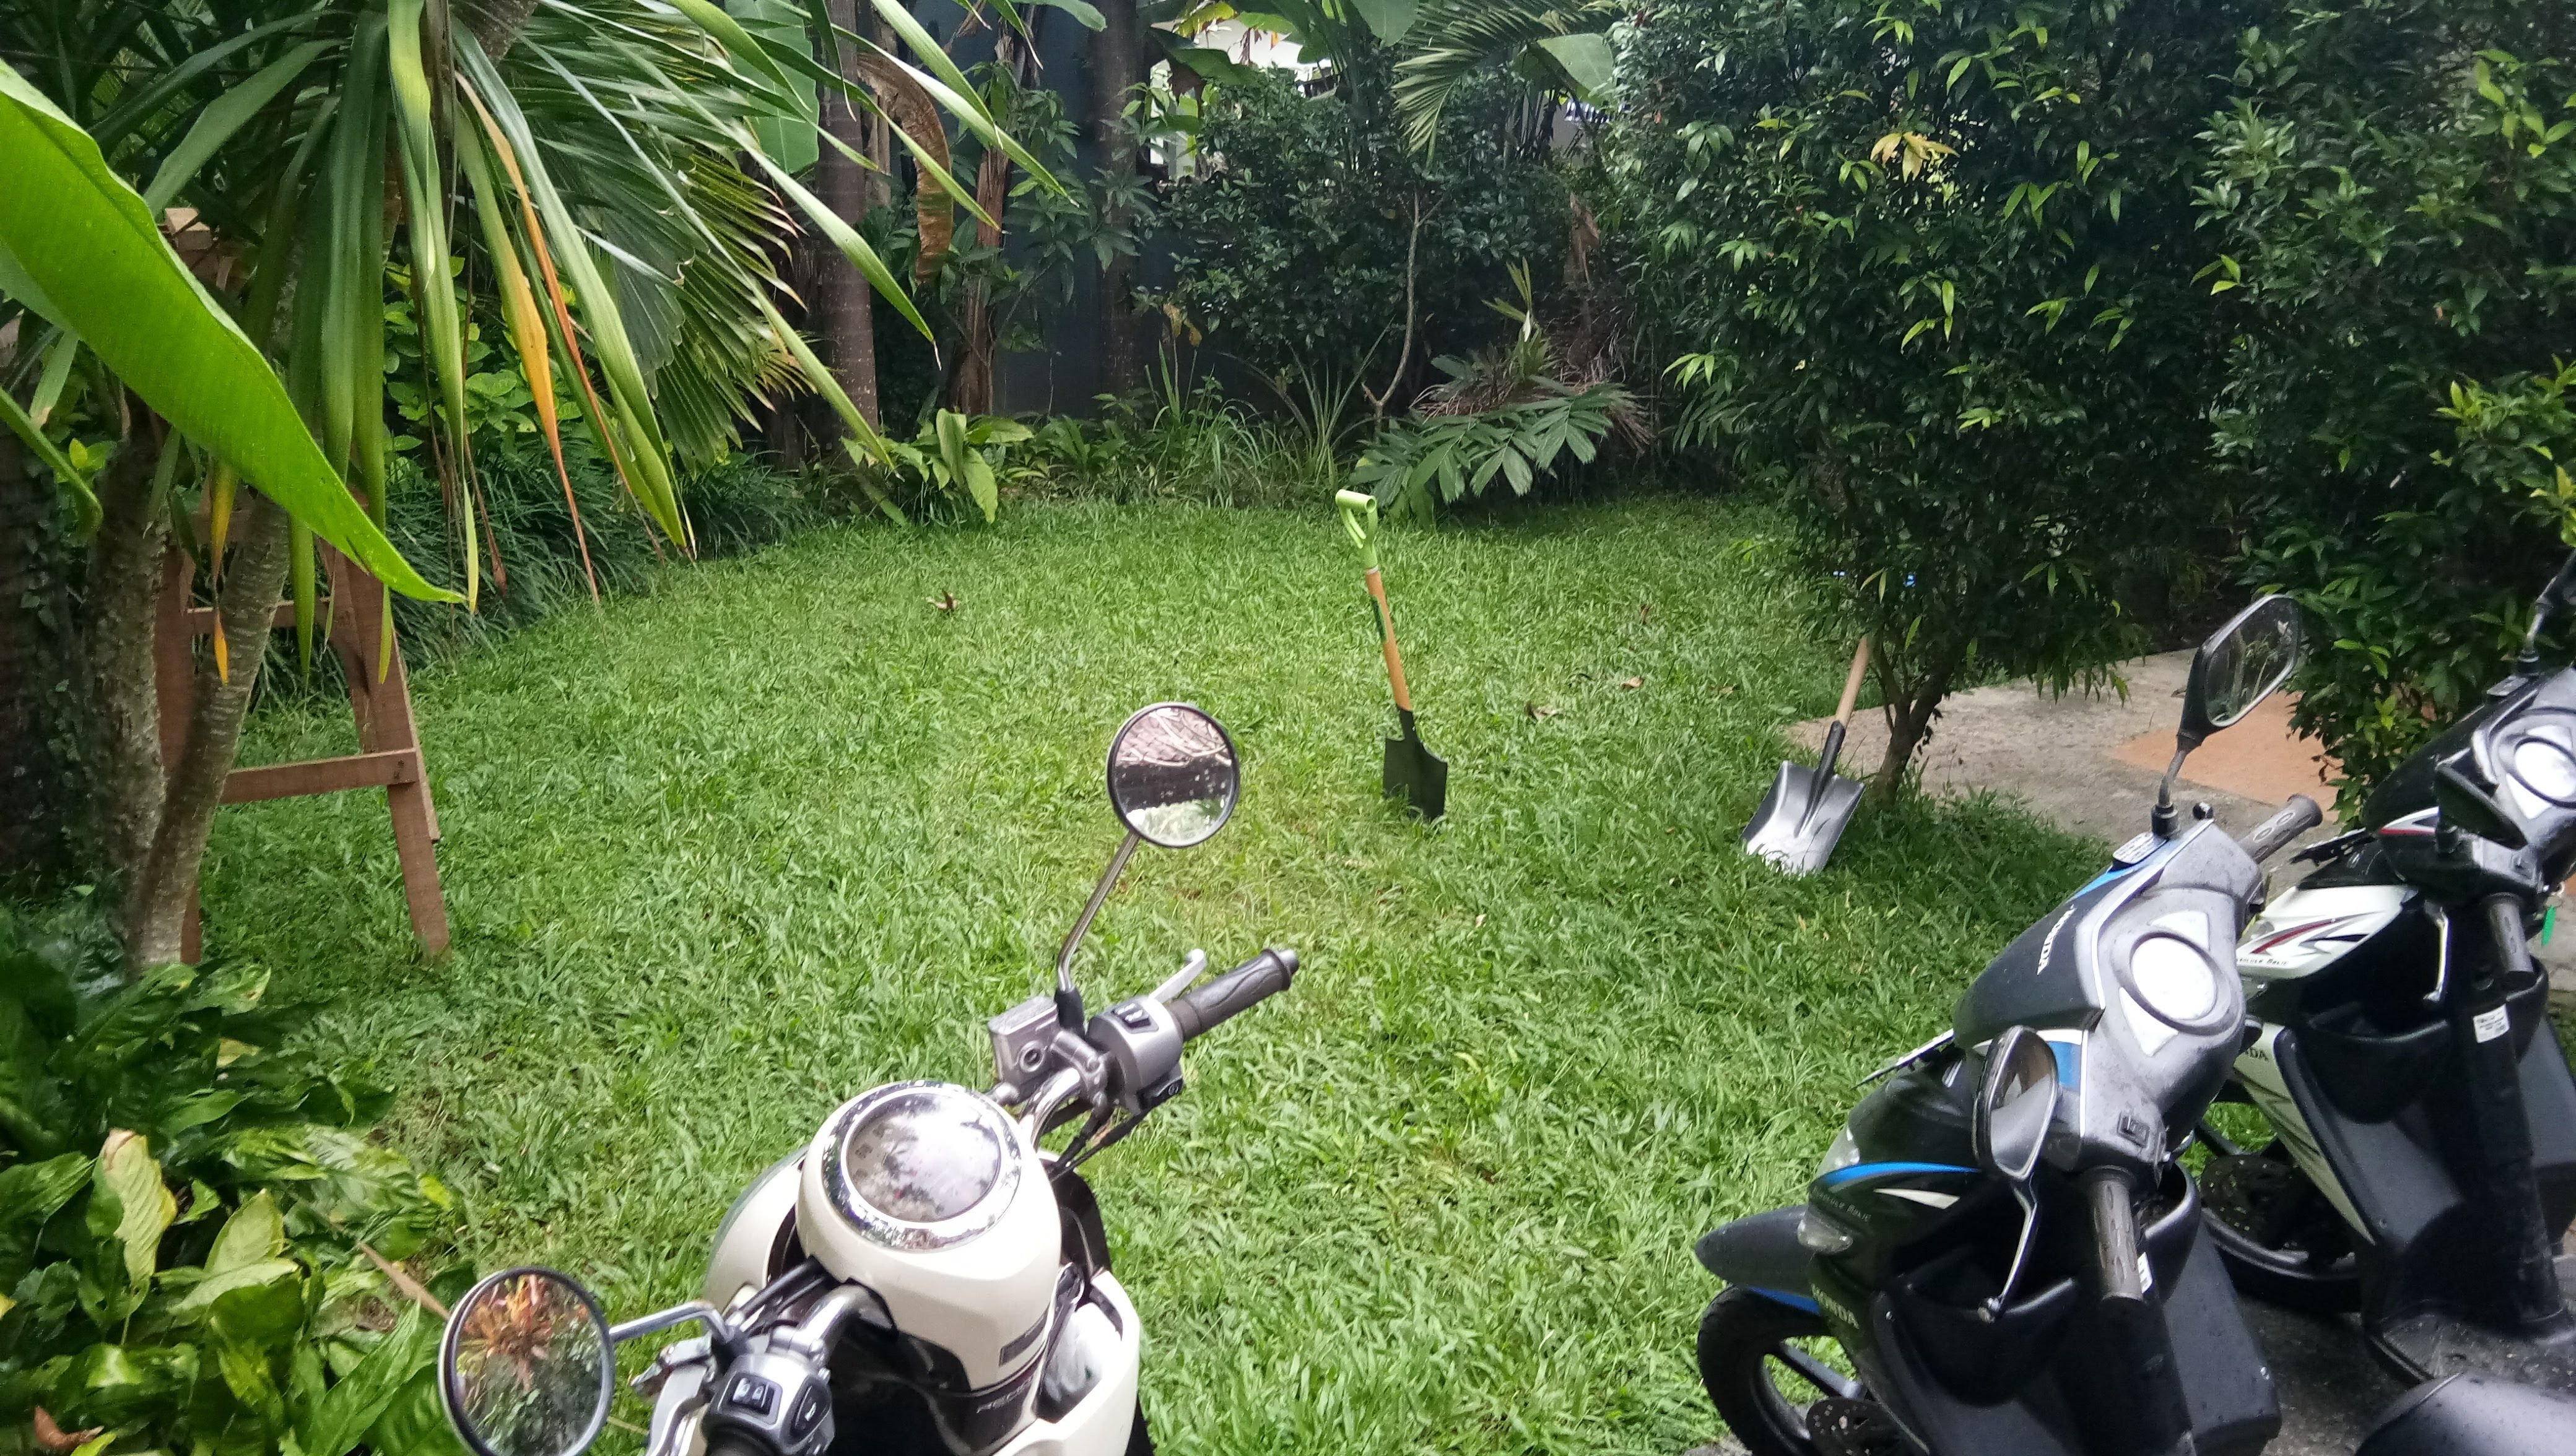
A huge patch of boring grass!
Growing food is a pretty simple process (as long as we take some notes from nature her-self)
Step 1 Grow/Prepare Healthy Soil
The most important aspect of any produce is the soil in which it is grown.
A few key benefits of healthy soil:
*Medicine for plants (healthier plants)
*Microbial life converting soil into vitamins and minerals (healthier food, robust plants)
*Diversity of life, preventing any 1 pest to get out of control (less pests) (noting that "pests" are only when 1 particular species population is unchecked. In a diverse garden this problem is less common.)
As an organic gardener, healthy soil is my top priority. Do I have to go and buy a big bag of fertilizer and compost to achieve this? No! Here's how I am building healthy soil in place with what I have.
So, I like to think of myself as a 'lazy gardener' I try to do the least amount of effort for the most gain. This is because I have a lot of other passions I pursue in my day. I believe I would only grow my own food if it was easy, so I had to make it so. This is possible with recognizing natures habits and patterns and putting our effort to emulate her to let her do most of the work.
Dig and Fill: Doesn't Get More Simple Than This
Hugelkultur meets sheet-mulching meets me.
Dig: Doubles As a Workout!
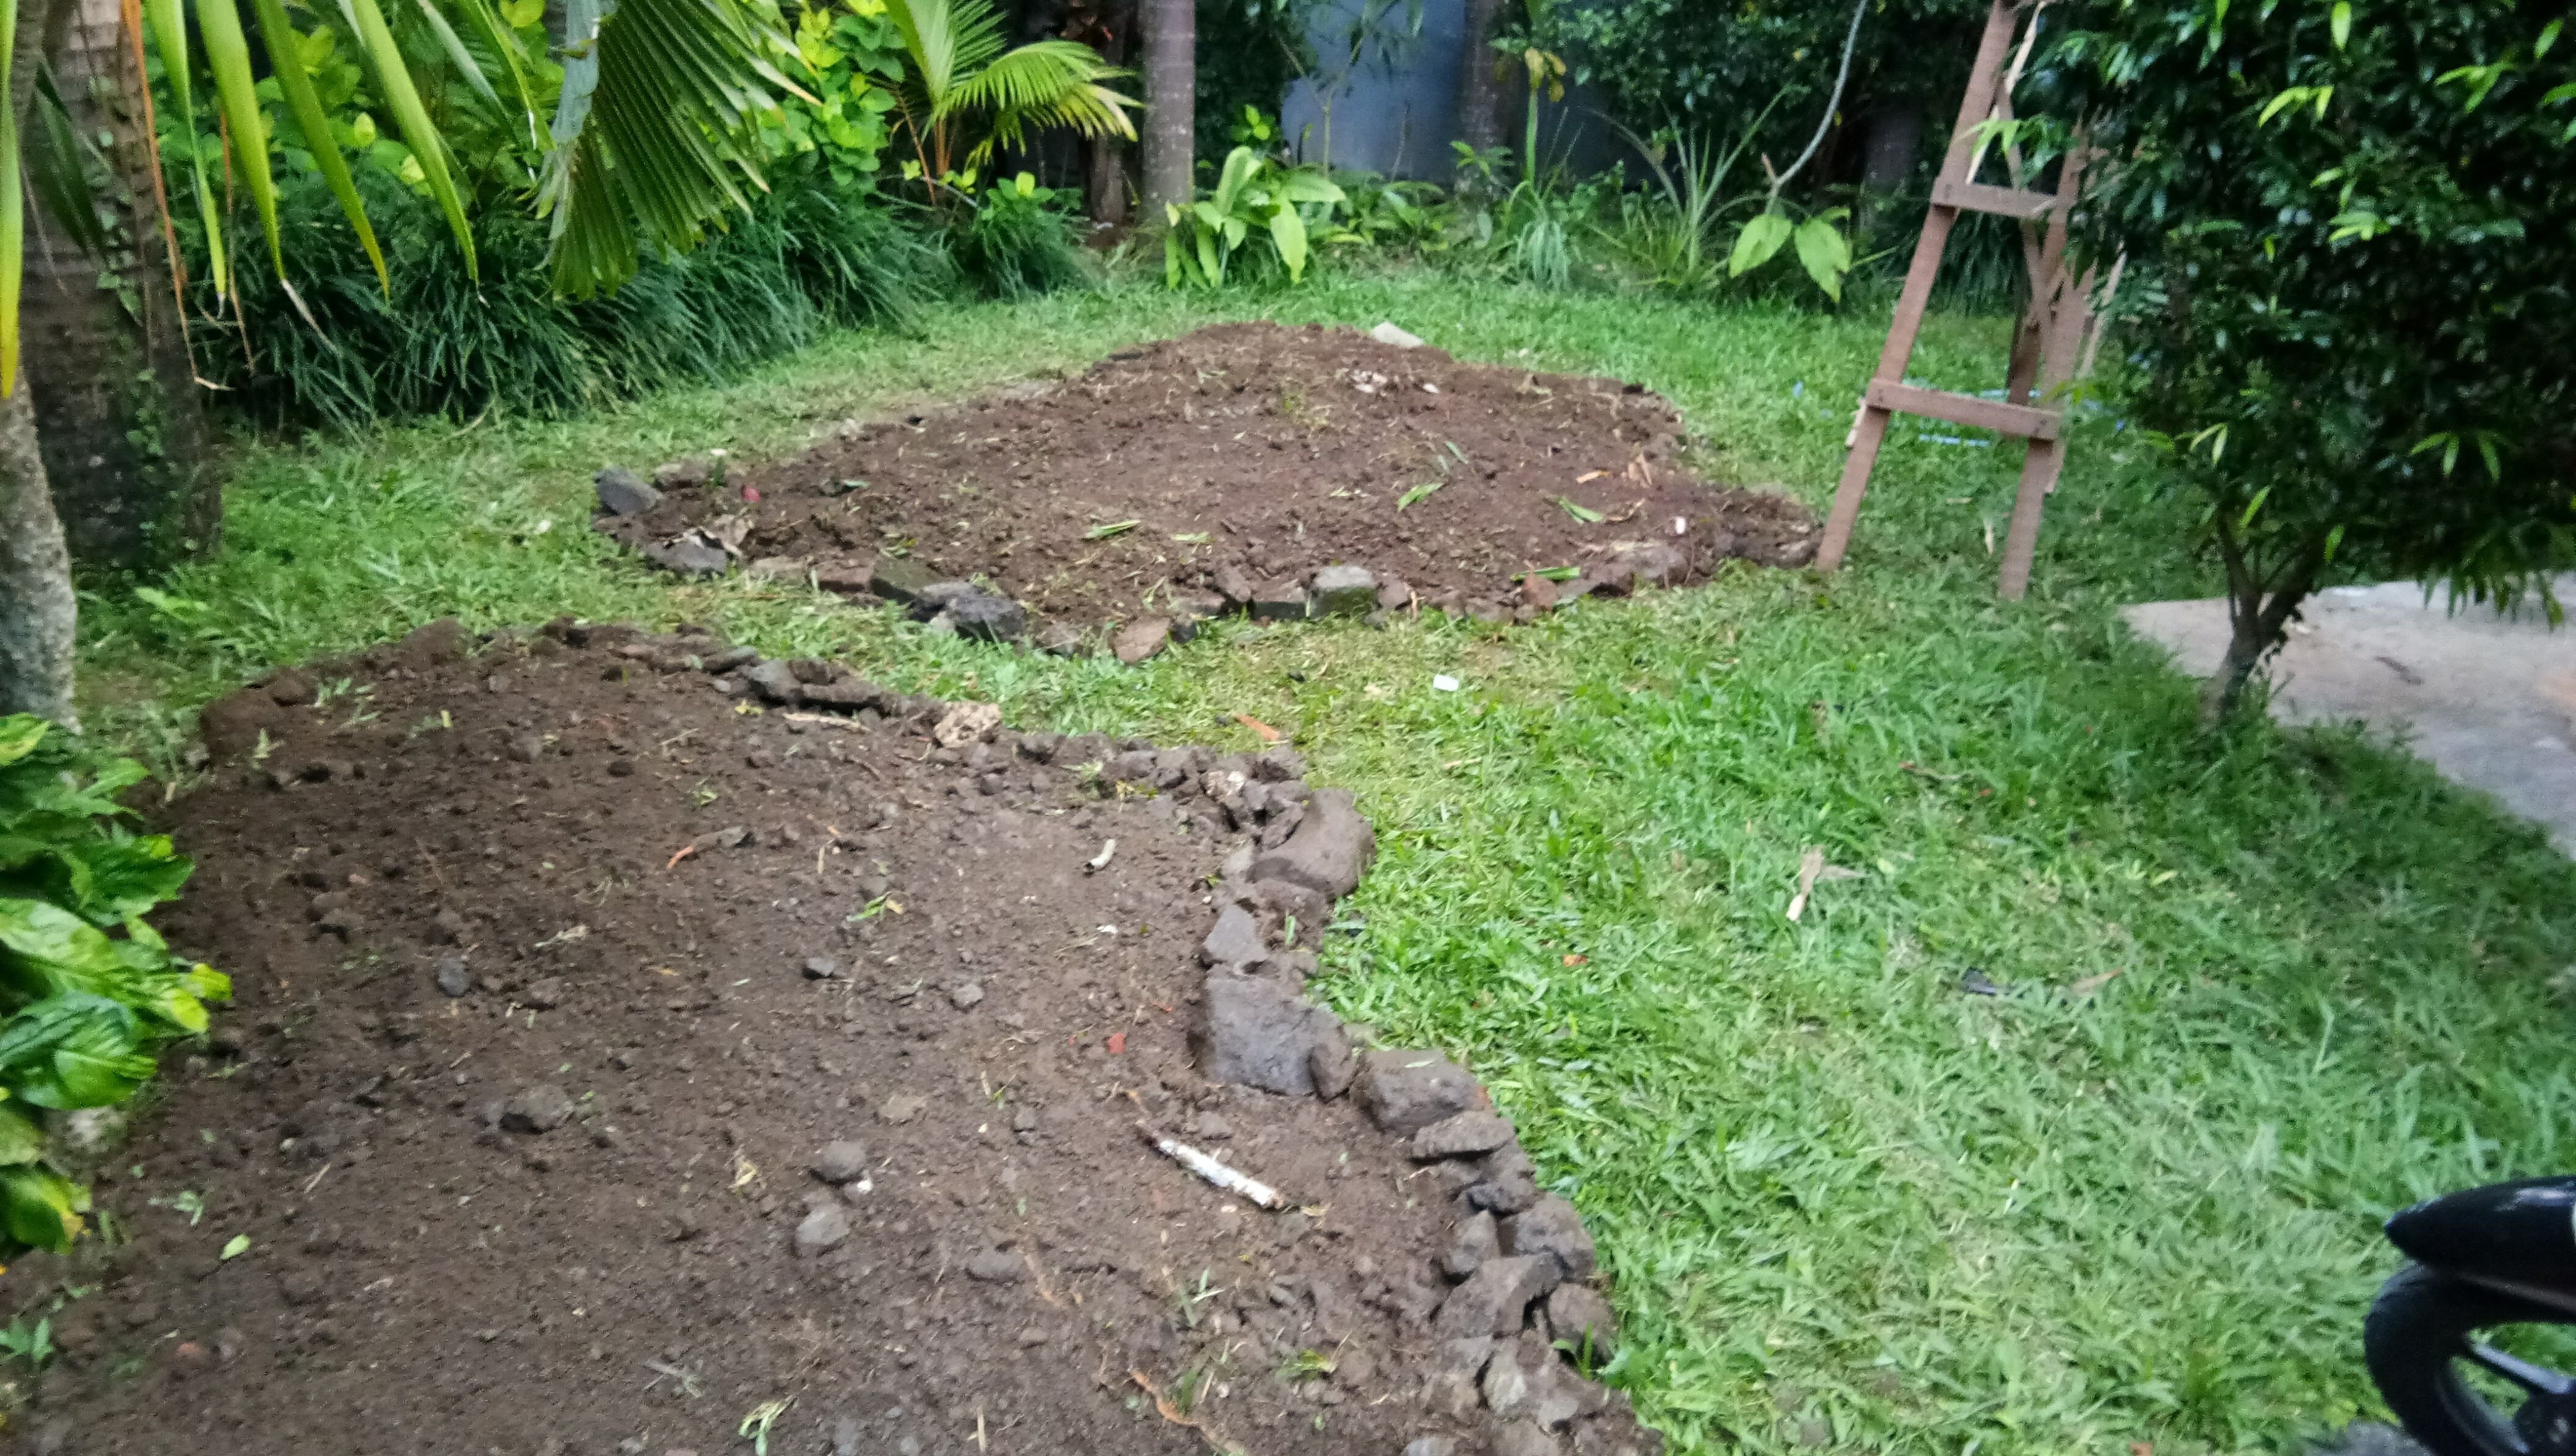
First, I wanted to make my beds attractive, so instead of boring straight beds and straight lines (straight lines are rare in nature) I made a wavy edge pattern for the beds. I did this by using the hose and making an edge to trace.
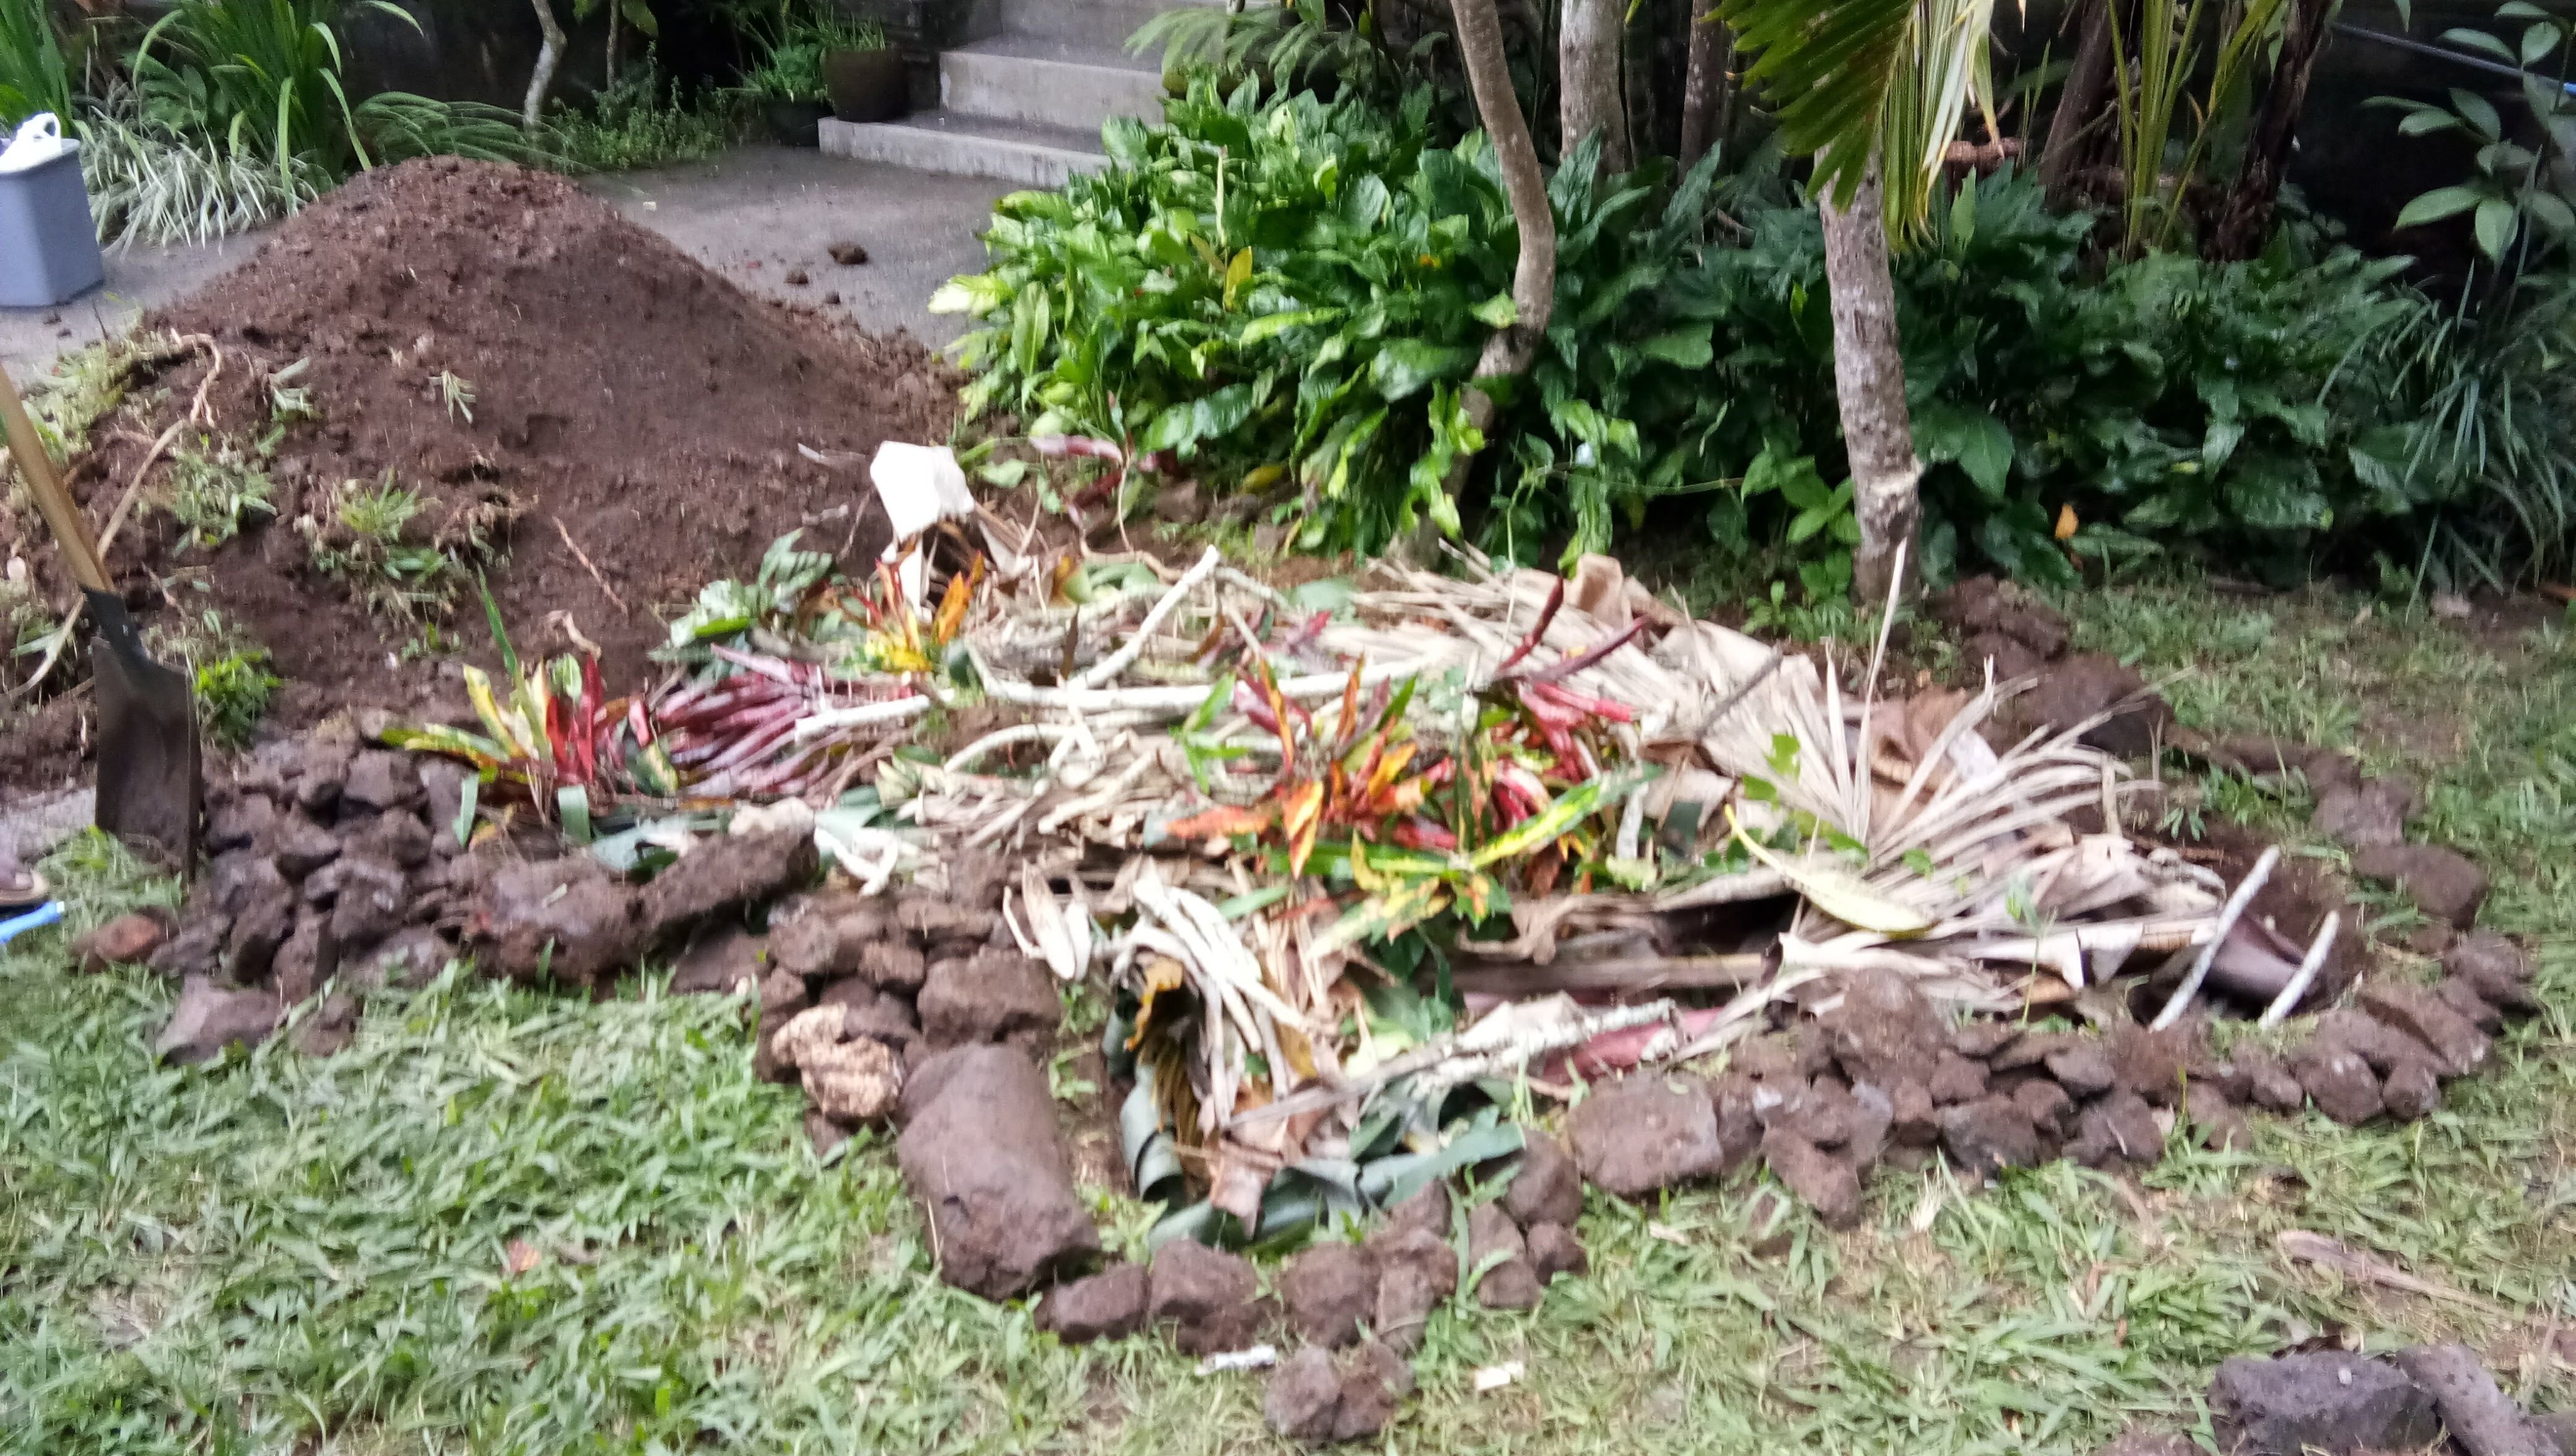
Start digging! Next step is pretty simple, I dug out my edge. I took the top layer sod pieces and placed them in pile (I piled up my sod on the driveway (you can use a tarp so it doesn't ruin your remaining grass). Then once the sod layer was removed I dug down 4-6 more inches of soil and placed it into a new pile. I collected all the larger rocks and stones that I dug out to create a boarder around my beds.
Fill: There Is No Such Thing As Waste!
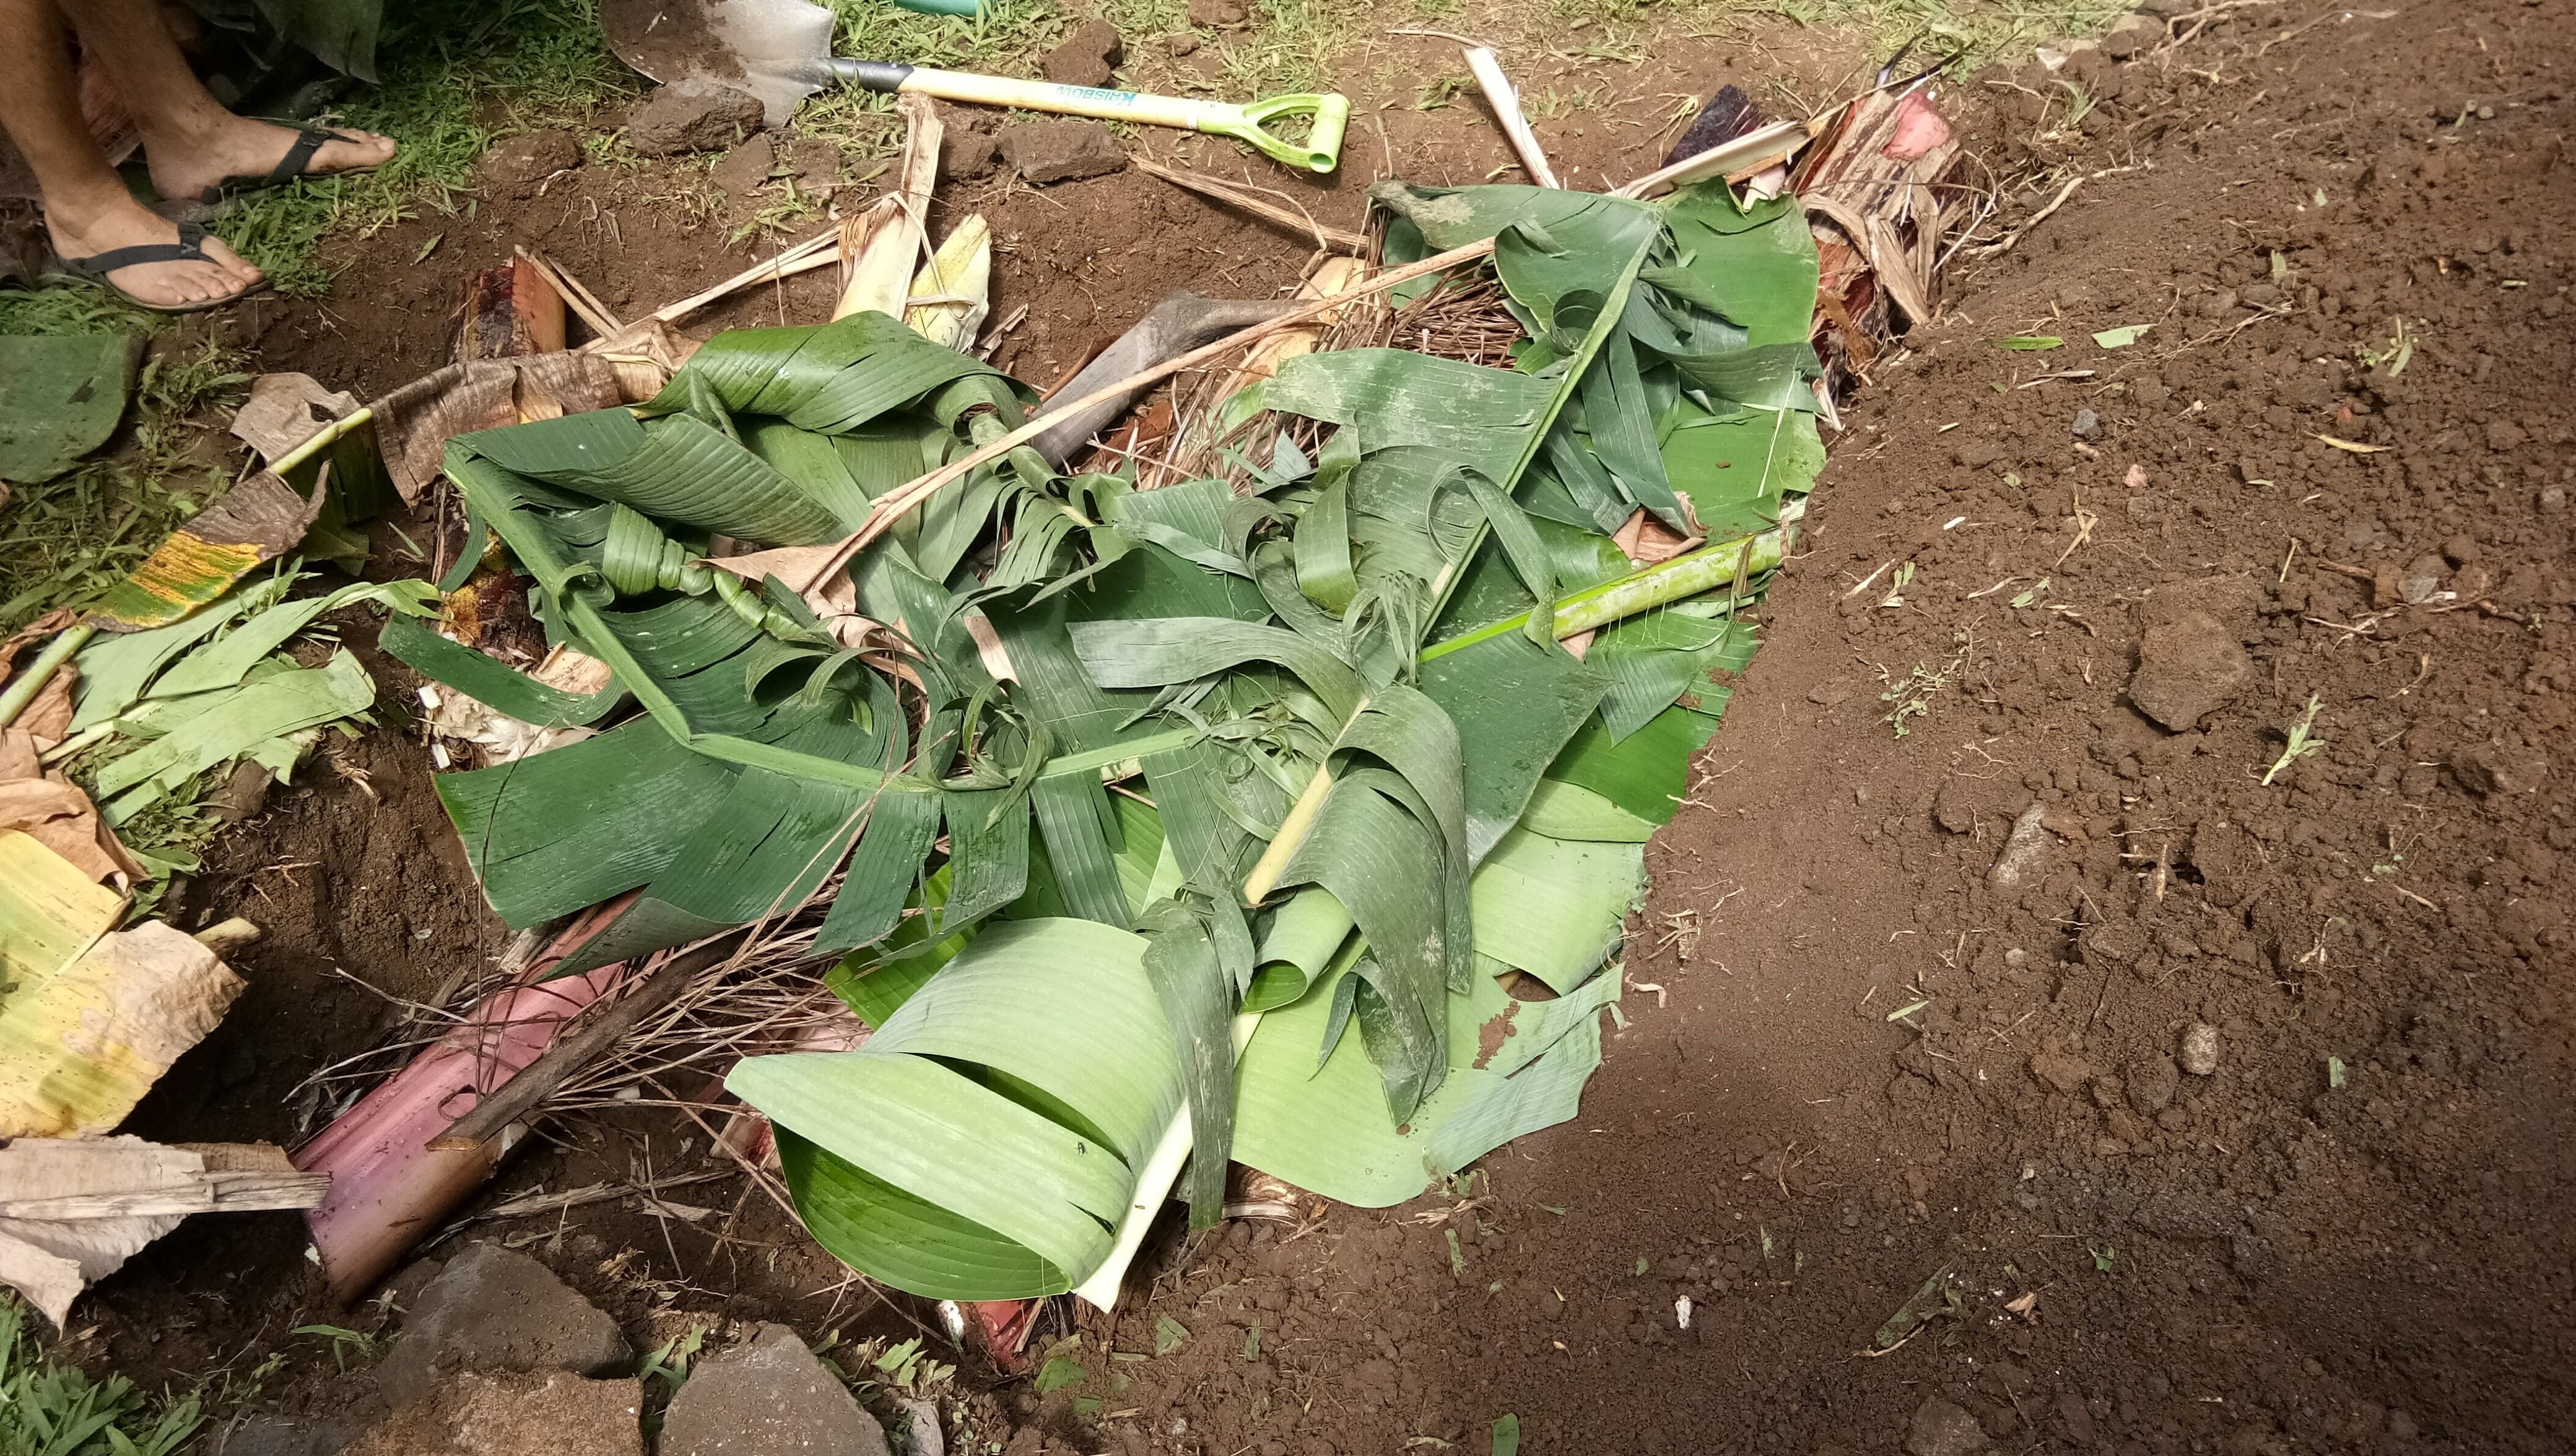
Once I had it dug out, I wanted to fill it with a ton of organic matter. I had been collecting kitchen compost scraps for the previous weeks, so they were first to go in the hole. Then I went around my yard and collected dead and decaying wood. I have a bunch of banana trees that had fruited, so I cut down the trees and cut them into size to fill the whole.(Banana tree is a huge water storage, this will leach water into the soil bed limiting the need for me to water) In this stage I wanted to put as much organic, living, decaying matter as possible to feed my soil, create a home for bacteria and fungi, and give me a healthy bed. I simply used what I had available. Plus, this double as a way to 'get rid' of my kitchen and yard scraps.
Bed 1 (partial fill)
Bed 2 (filled)
Next step I filled in the hole using the sod pieces first. The sod grass acts as extra organic matter and by placing the sod face down first this will ensure the grass dies instead of overtaking the garden bed. Then I fill in the remainder of the pile with the extra earth I had removed making a nice, clean bed! This brings us to the first picture of 2 beautiful beds ready to sow! In my next post (tomorrow) I will tell you how I sowed my garden for free and various techniques for propagating plants quickly!
Now, grow out there and create your own abundance :)
Rieki
In Case You Missed Them:
Grow Food Not Lawns! Simple Hacks To a No-Cost Organic Food Paradise! Hack 2: Free Plants
