Garden Magic: How to Exponentially Multiply Plants That You Already Have and Love.
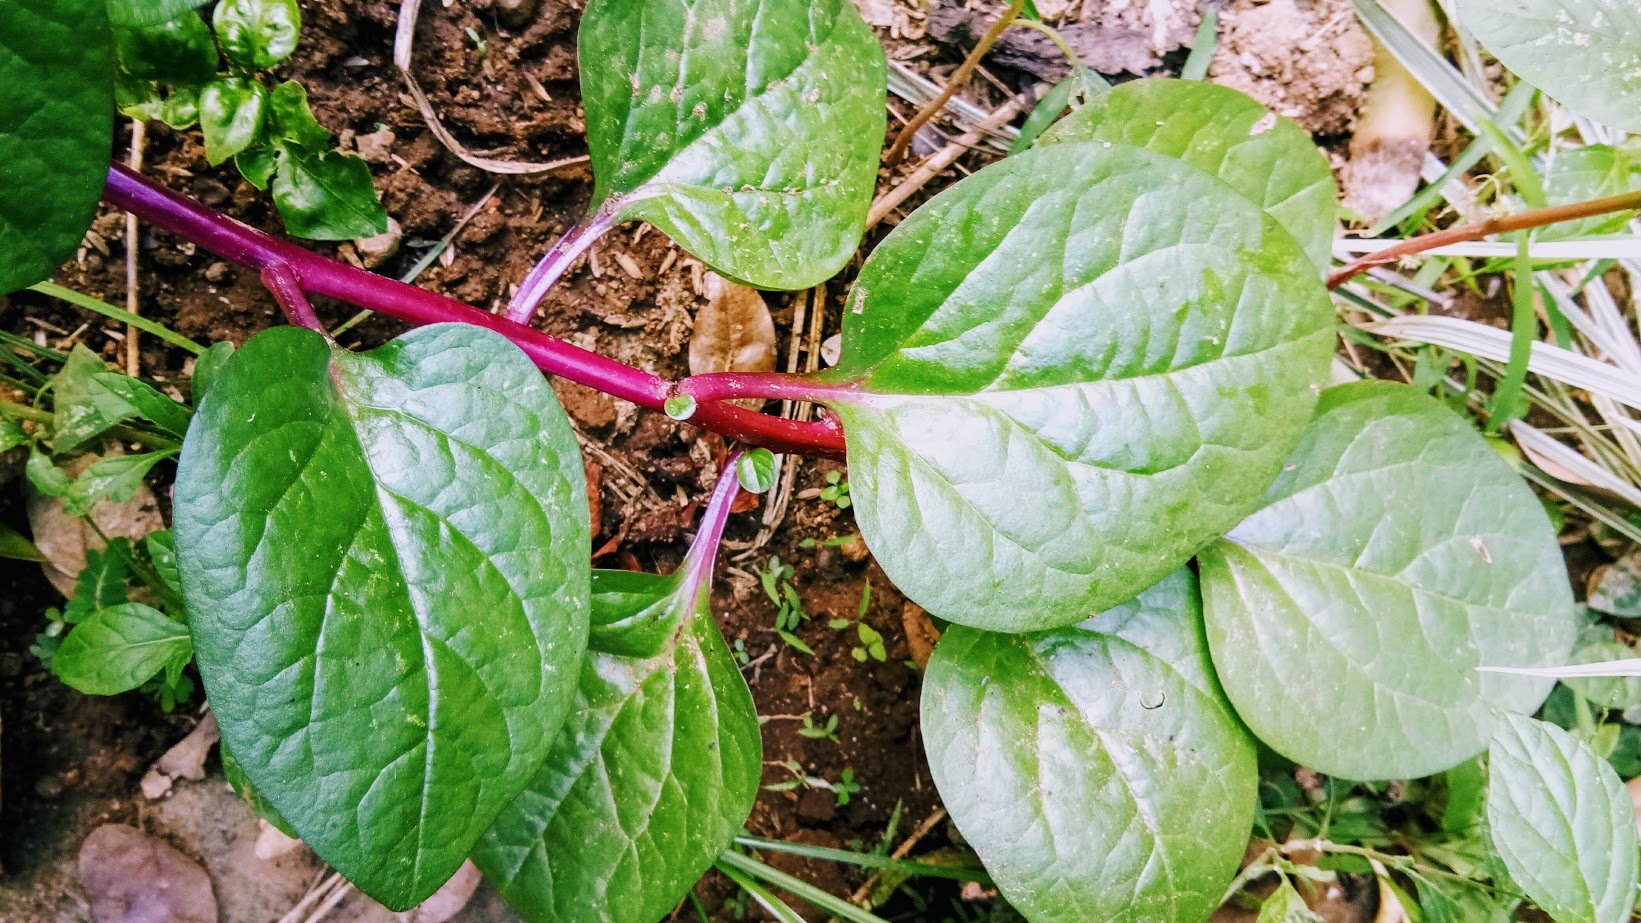
(Malabar Spinach)
I love this plant! It's:
- Quick growing
- Super resilient
- A vine (so I can trellis it and maximize space)
- Delicious
- Nutritious
What's not to love. So, naturally I wanted more of it.
How to Take Any Vine Plant and Exponentially Multiply It
This is dealing with the cutting propagation technique (as discussed in Hack 2).
I'll be doing this with Malabar spinach, but this technique works with any plant that vines or grows as this one does. Also, I am a big fan of sweet potatoes and use this method often with them!
I just moved into this new house about 2 months ago, so everything I'm sharing with you is taking a basic yard and transforming it into a dense and diverse food paradise, for free (just for fun, to see how much I could do). I was fortunate to find this Malabar spinach vine here (I had never had it until I moved here, a gift from previous tenants) So, I found this overgrown vine and I wanted to propagate it some more.
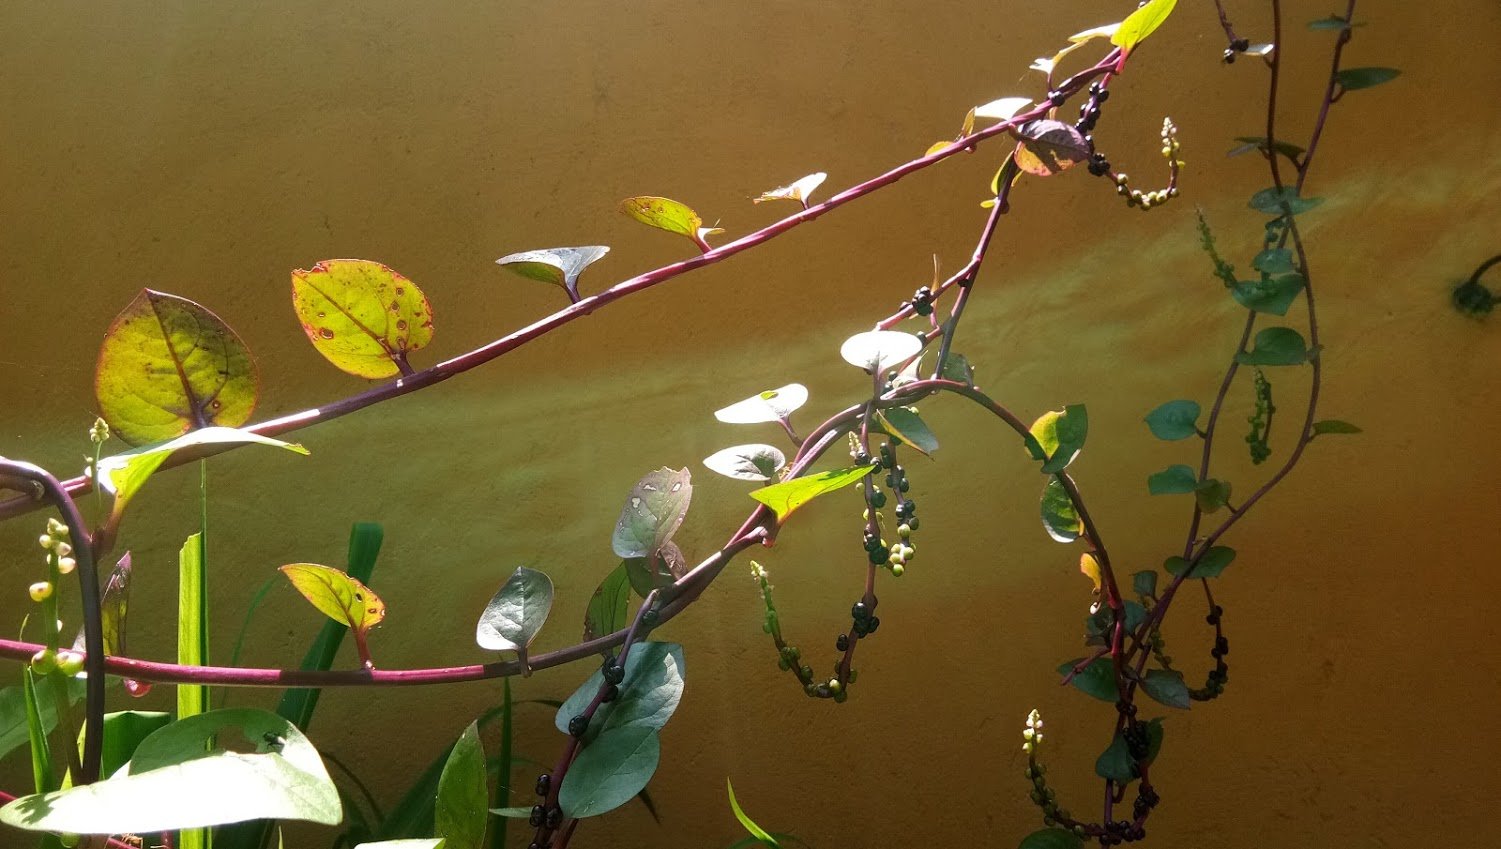
Step 1: Grab Your Weapon and Find Your Victim
I Grabbed some shears (or scissors, I'm not that fancy) and went out to the plant. First, I wanted to reassure her that everything was going to be okay. So, I analyzed her to find new areas of growth to make sure I removed them (rather than cutting the more established areas).
I found a new runner that was off from the main plant. I made sure I was able to see the end of the vine I was cutting, so I didn't accidentally kill/remove more than I intended to. Also, I find the new growth tends to take to this propagation technique a bit quicker.
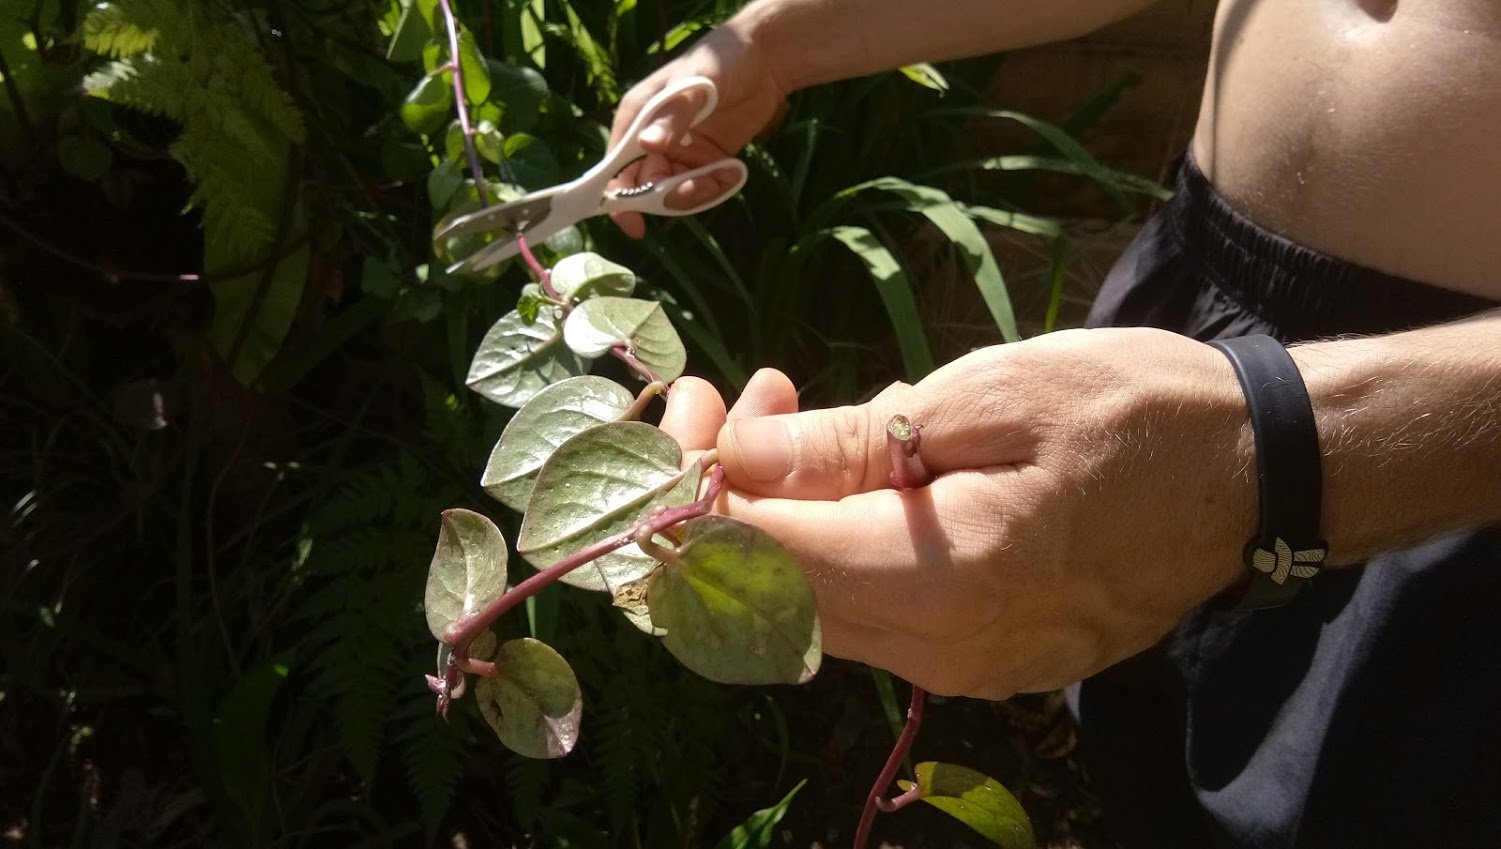
I found my runner and I am removing it from the main vine, cutting right at the node.
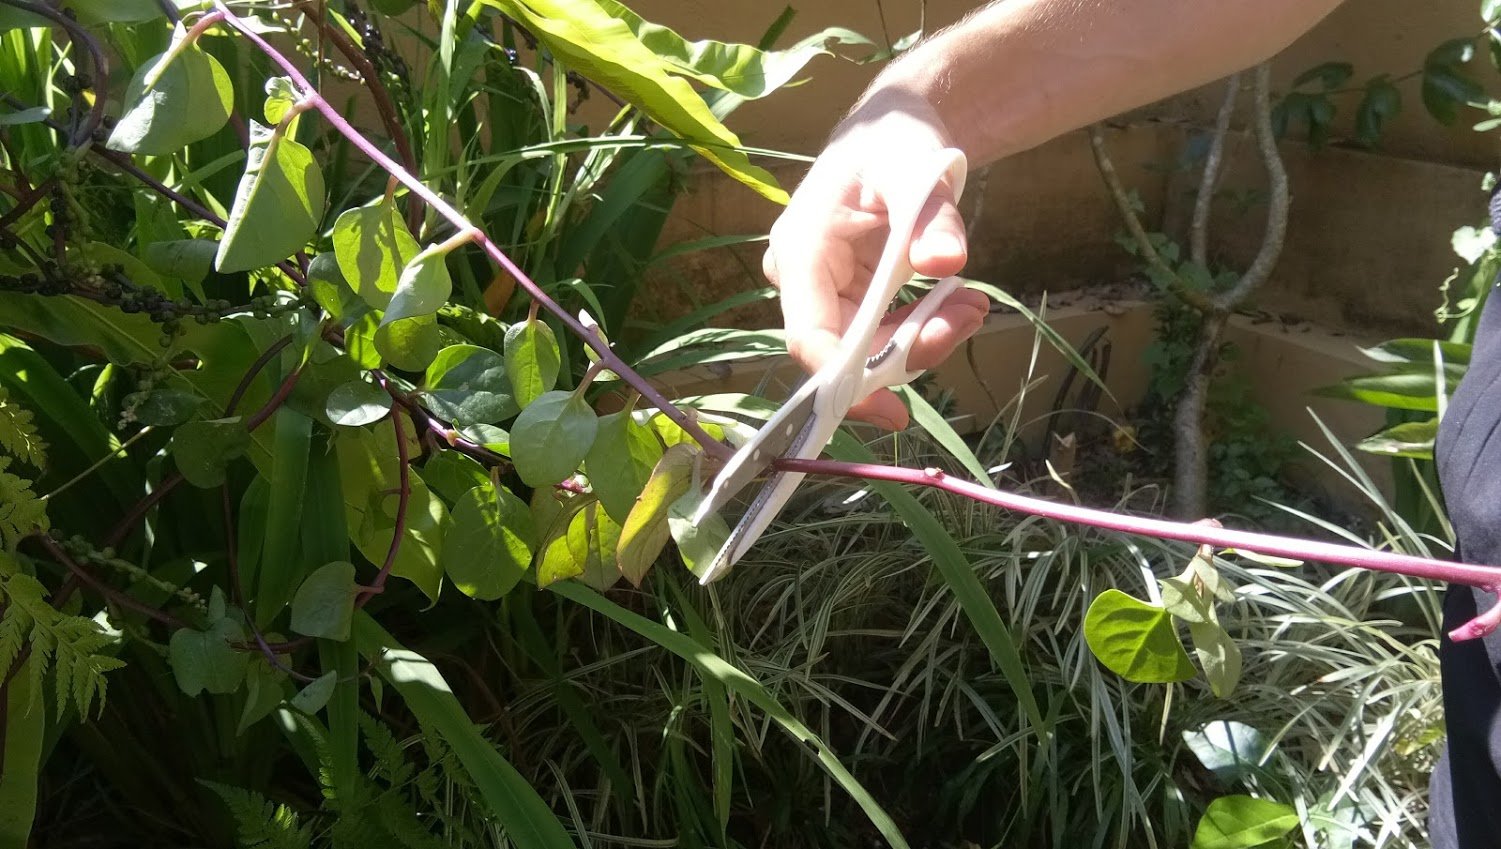
I love this spinach so I took 4 reasonably long vines off the main vine. When I collect this way I try not to take more that 75% of the total plant, this way I avoid the risk of shocking and killing the rest of the plant. (I'm not greedy)
Step 2: Strip Naked
I removed everything from the vine. In this case the leaf is edible! (so is the rest of the plant) So, I get the added bonus of considering this a harvest. I took off the leaves (as they will die and drain energy from the stem, hindering root growth). Further, I took off the seeds and set them aside, I will be planting them as well.
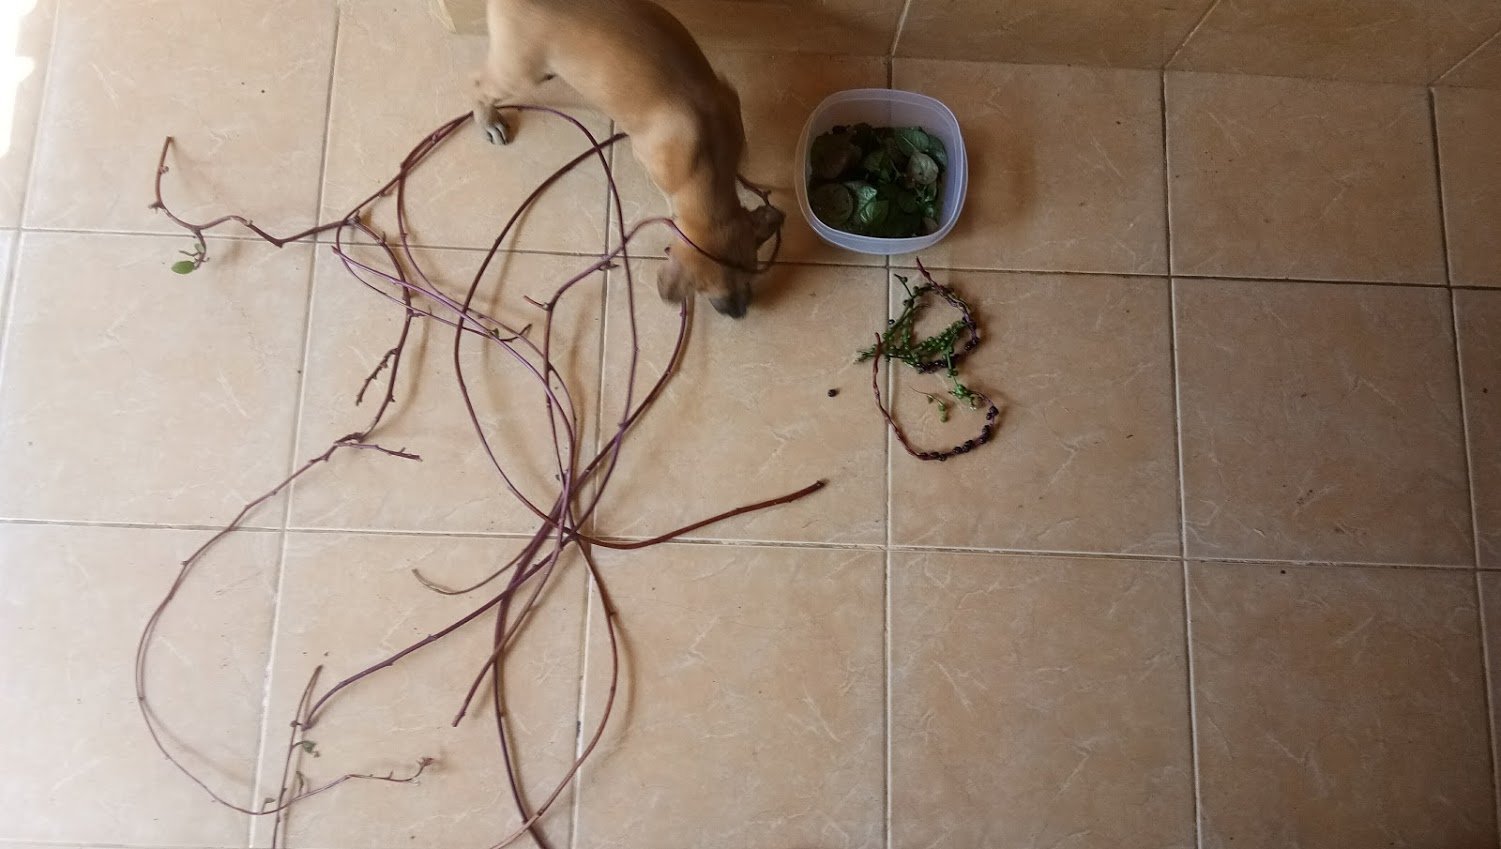
Step 3: Making Magic
I want my transplants to have the best rate of survival. So, I make sure I have 5 nodes per segment.
Node:
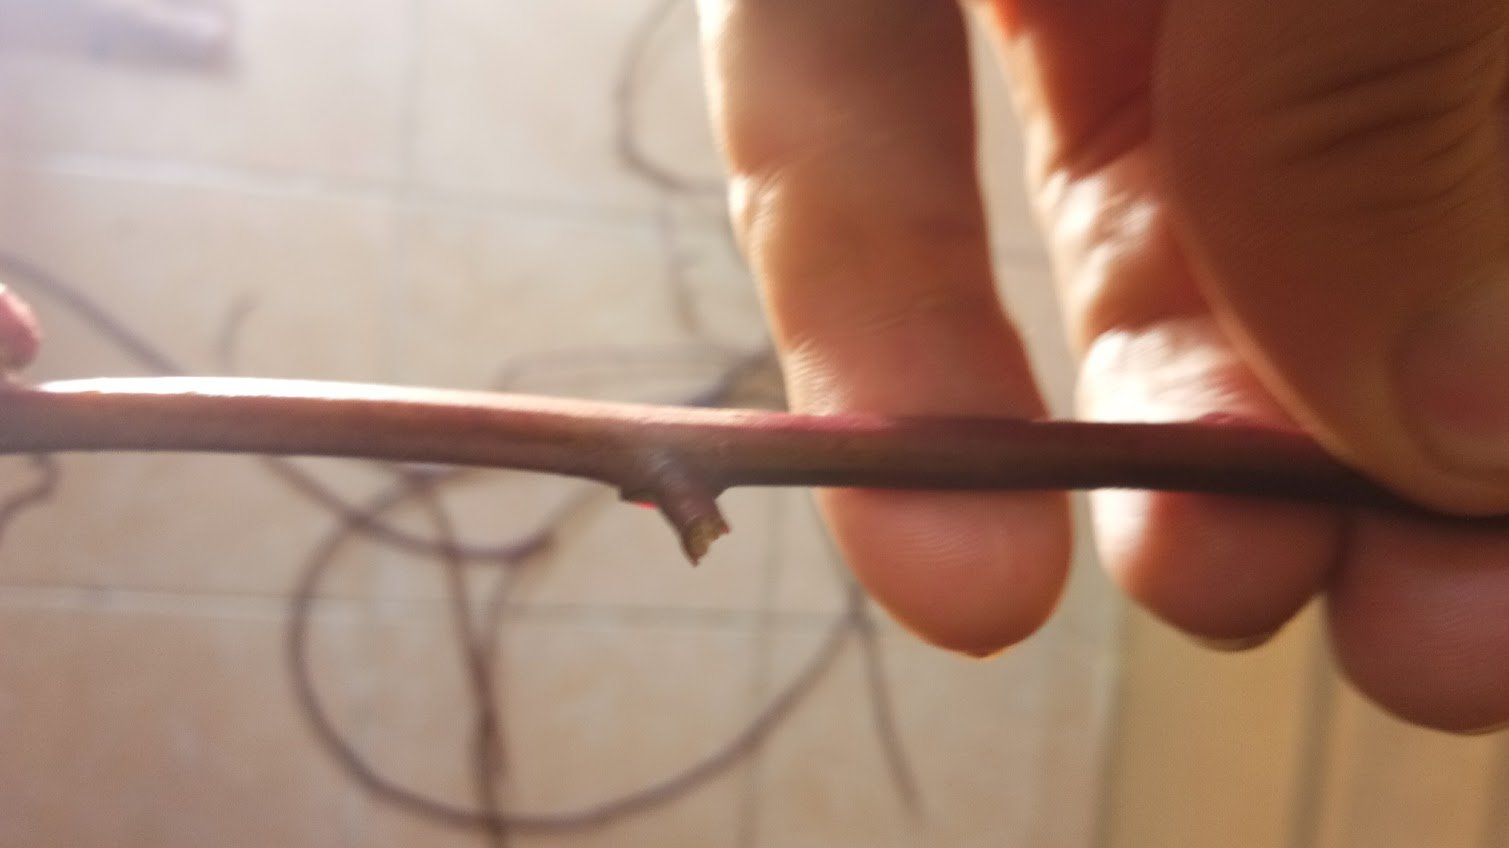
I started from the base (fatter) end of the vine and counted up 5 nodes and cut between the 5th and 6th nodes. I started from the fat end so that if I got near the small end I would make sure I round up over 5 nodes (giving the smaller end extra nodes opposed to the thicker end). I did this until I had cut all the vines I had collected. Nodes vary in density, some some vines were much longer than others.
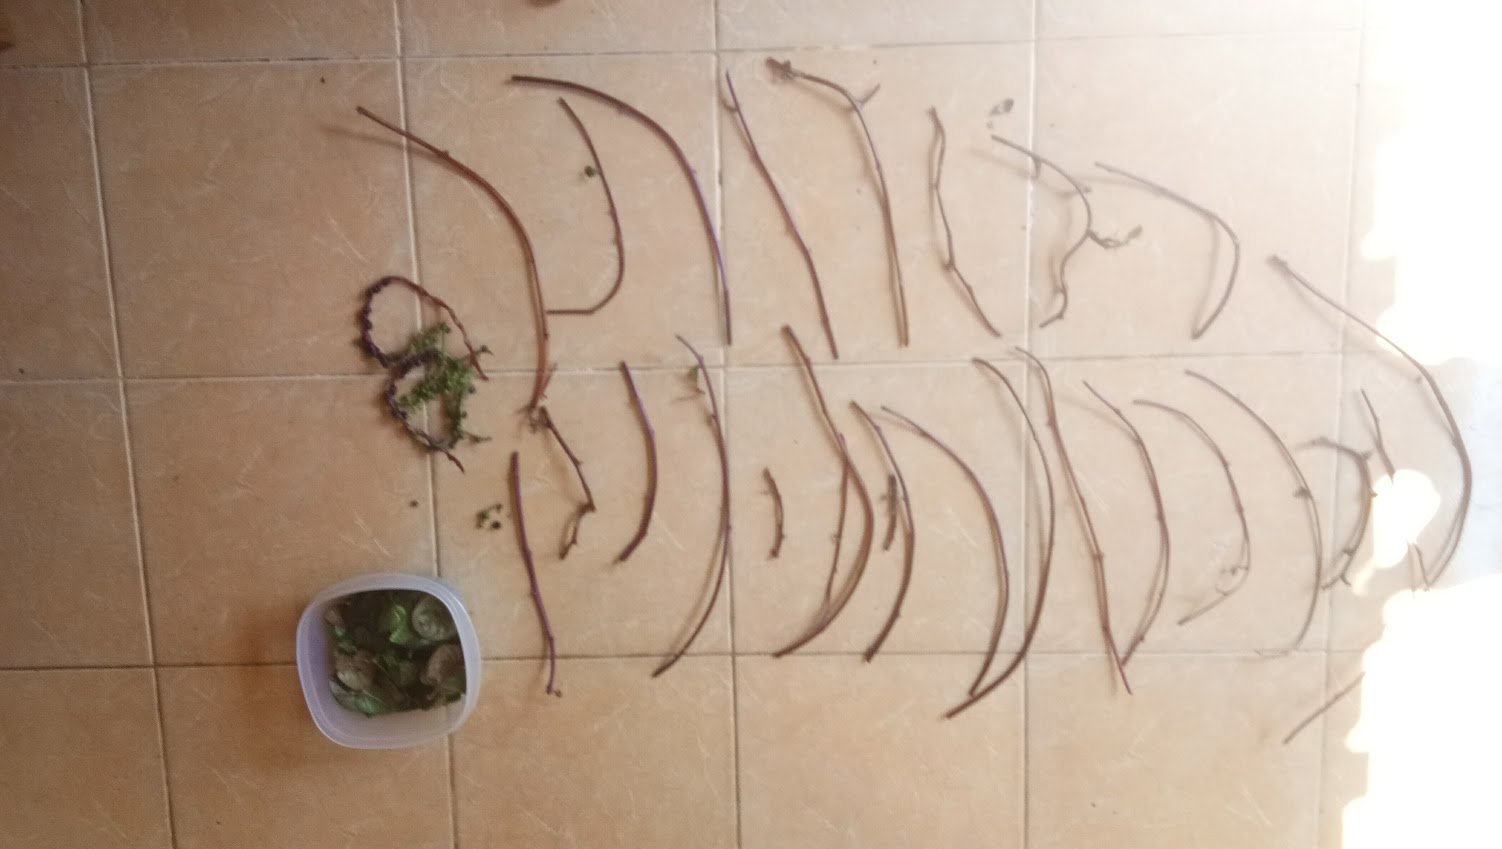
(1-24+)
Step 4: It's Grow Time!
Now it come time to plant them. Some people advocate for soaking, generally I don't do this as I'm lazy. But, I had a lot of segments so I decided to take half and soak them and the other half and plant them directly. This way I could experiment and see which ones are more prolific and take root quicker!
4a: Drop the Vase
I took half that were roughly the same length and put them in nodes up (up is the direction the leaf or vine would grow) into a vase. I filled it up until 3 of the nodes were underwater. I'm going to wait a day or so and watch to see if roots start to develop out of the nodes before I plant. Some people add rooting mixers into their water when they do this. However, Malabar spinach is extremely hardy and I doubt it would need any special help. But, honey is a great way to encourage root growth and discourage disease in any of your cuttings, if you aren't lazy like me to go and do it ;)
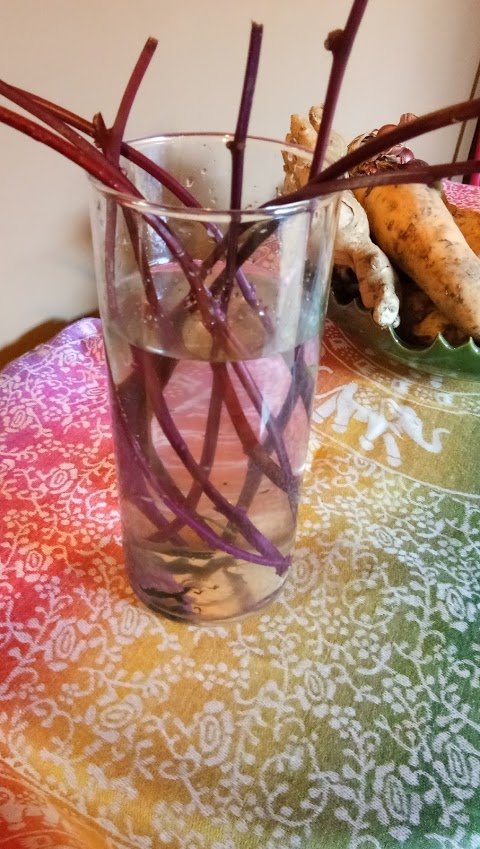
4b: Hide the Body
As with the vase I want all my vines to be face up when we plant them and 3 nodes into the ground to give me the greatest odds of one of them taking root. So, I went around my yard and planted where I believed would be a good place for vines (base of trees, near my fencing and walls! Process is fairly simple, make a whole or a trench, put 3 nodes in and bury. Add water if you aren't expecting rain!
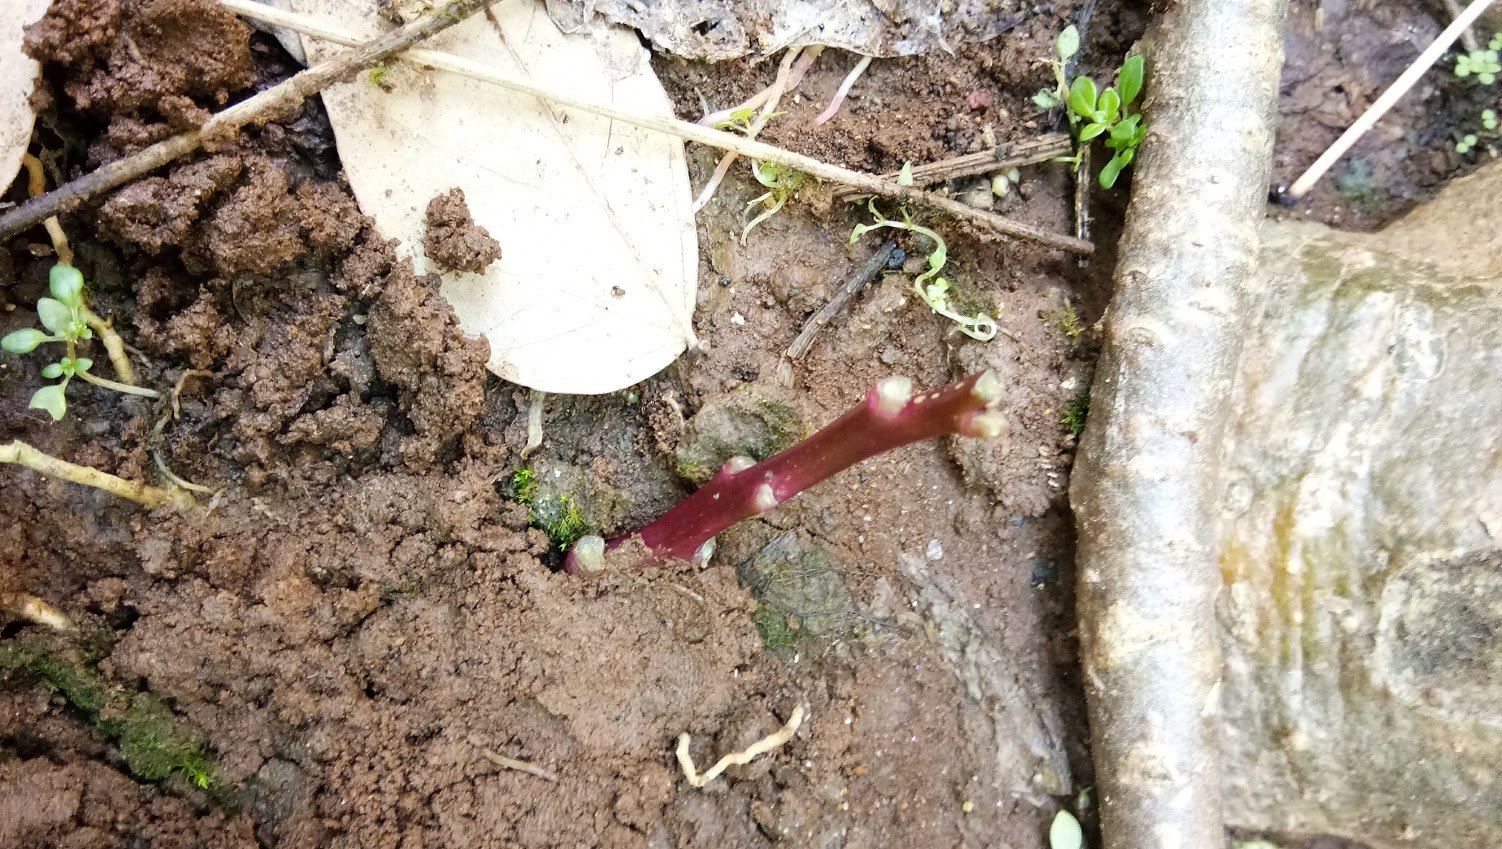

(Dug a trench to bury)
Step 5: Spread My Seed
I'm lazy, so I didn't put too much effort here. I took the seeds and arbitrarily thew them into areas of my yard I have yet to work on.
Lazy Logic: How Doing Less Creates More
Planting plants is like raising kids (so I've been told). I don't want to coddle them but I also don't want to abandon them. Fortunately for me, plants are a bit more intelligent on how to survive and thrive than babies are! So, they even require less care. I have found that the more I 'coddle' a plant the less it thrives. So, when I arbitrarily toss seeds and rarely water my plants, I'm ensuring the ones that survive are hardy. When I collect the seeds from the plants that live I'm creating more resilient seeds that are adapted to my environment and lazy gardening habits. This way I can continue to be lazy :) If I coddle my plants, they will become dependent on me and be less prolific. This works well for me because I am not spending any money on seeds or plants, so I can certainly 'afford' for some to "fail" :)
I will update you as soon as these guys are rooting, and sharing with you my next project! :)
In case you missed them:
Hack 1: From Grass to Mass-terpiece
Until next time, let's continue to grow abundance!
Rieki
- Dedicated to creating high-quality, detailed, original content!

