This little garden planted a seed in me and helped me start to establish my roots in sustainability and organic food. I've come a long way since then and learned so much, but it's so rewarding to look back and see where I came from and how it started!
If you are new to gardening and don't have time to read a winded post about my garden, I recommend skipping to the bottom for lessons learned for some useful info.
Firstly, to catch you up, here are the first parts in this series:
Part 1 - Garden Tour: My First Suburban Garden
Part 2 - Garden Tour: My First Suburban Garden
Last time I left off talking about how I was getting into native plants.
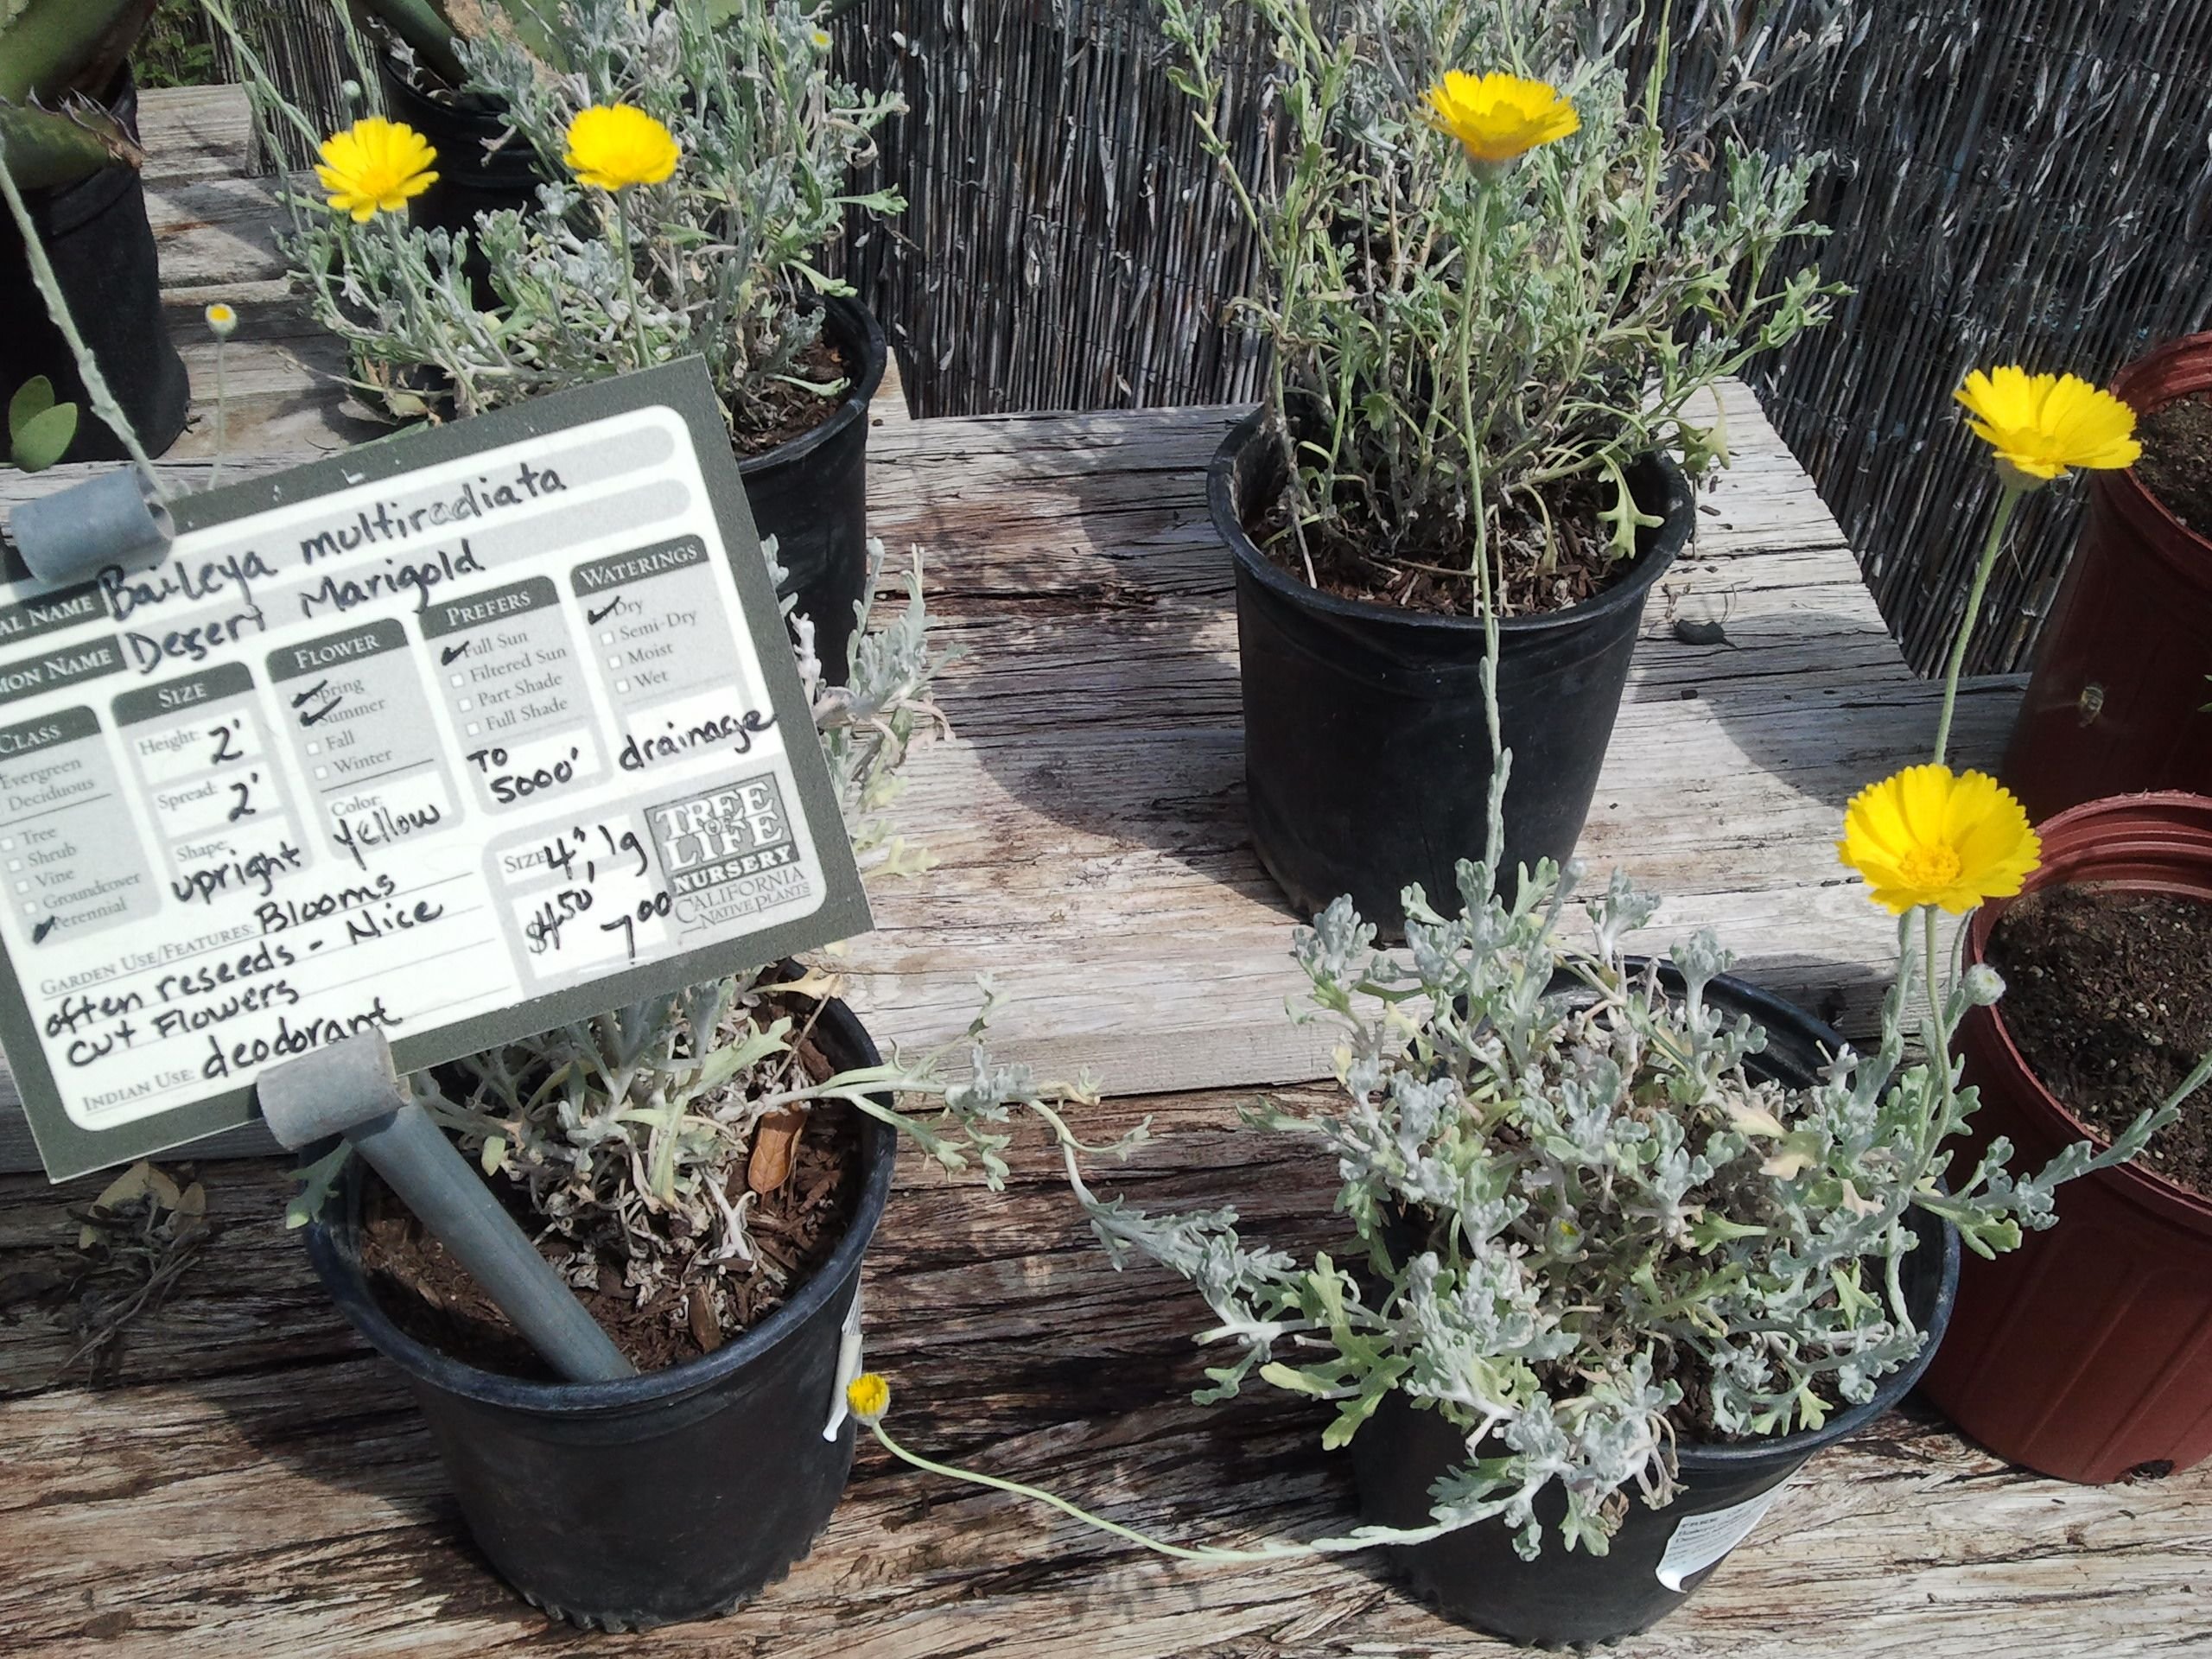
I had discovered a local native plant nursery and fell in love. If you are into ornamental gardens I really recommend native plants. They are great options to consider for a more sustainable ornamental garden because there are plant options that will allow you to grow a drought tolerant garden. With some plant choices you could xeriscape (zero scaping) your garden, meaning that it would need no water (or fertility) inputs once it is established!
I've learned that native nurseries typically offer a wealth of information.
The staff working there are often extremely knowledgeable, have a solid knowledge of botany and can help you pick the right plant palette for your new landscaping project.
Native plant gardens can be extremely beautiful and give you a greater sense of place
because the plants come from the natural environments near and around you. In a suburban environment this can be especially gratifying because we have lost a lot of that natural sense of place in the city and suburbs.
Your native garden design can be as wild or as groomed as you want.
Again, this is why it's important to consult with the native nursery staff. Often they would have an in-house landscape designer that will help you choose your plants and even design your new landscape for little or no cost. This could be incredibly helpful as it can be overwhelming to figure out the correct plant spacing, texture balance, color balance, height balance of the plants you are choosing from if they are all new to you or if you have limited landscape design experience.
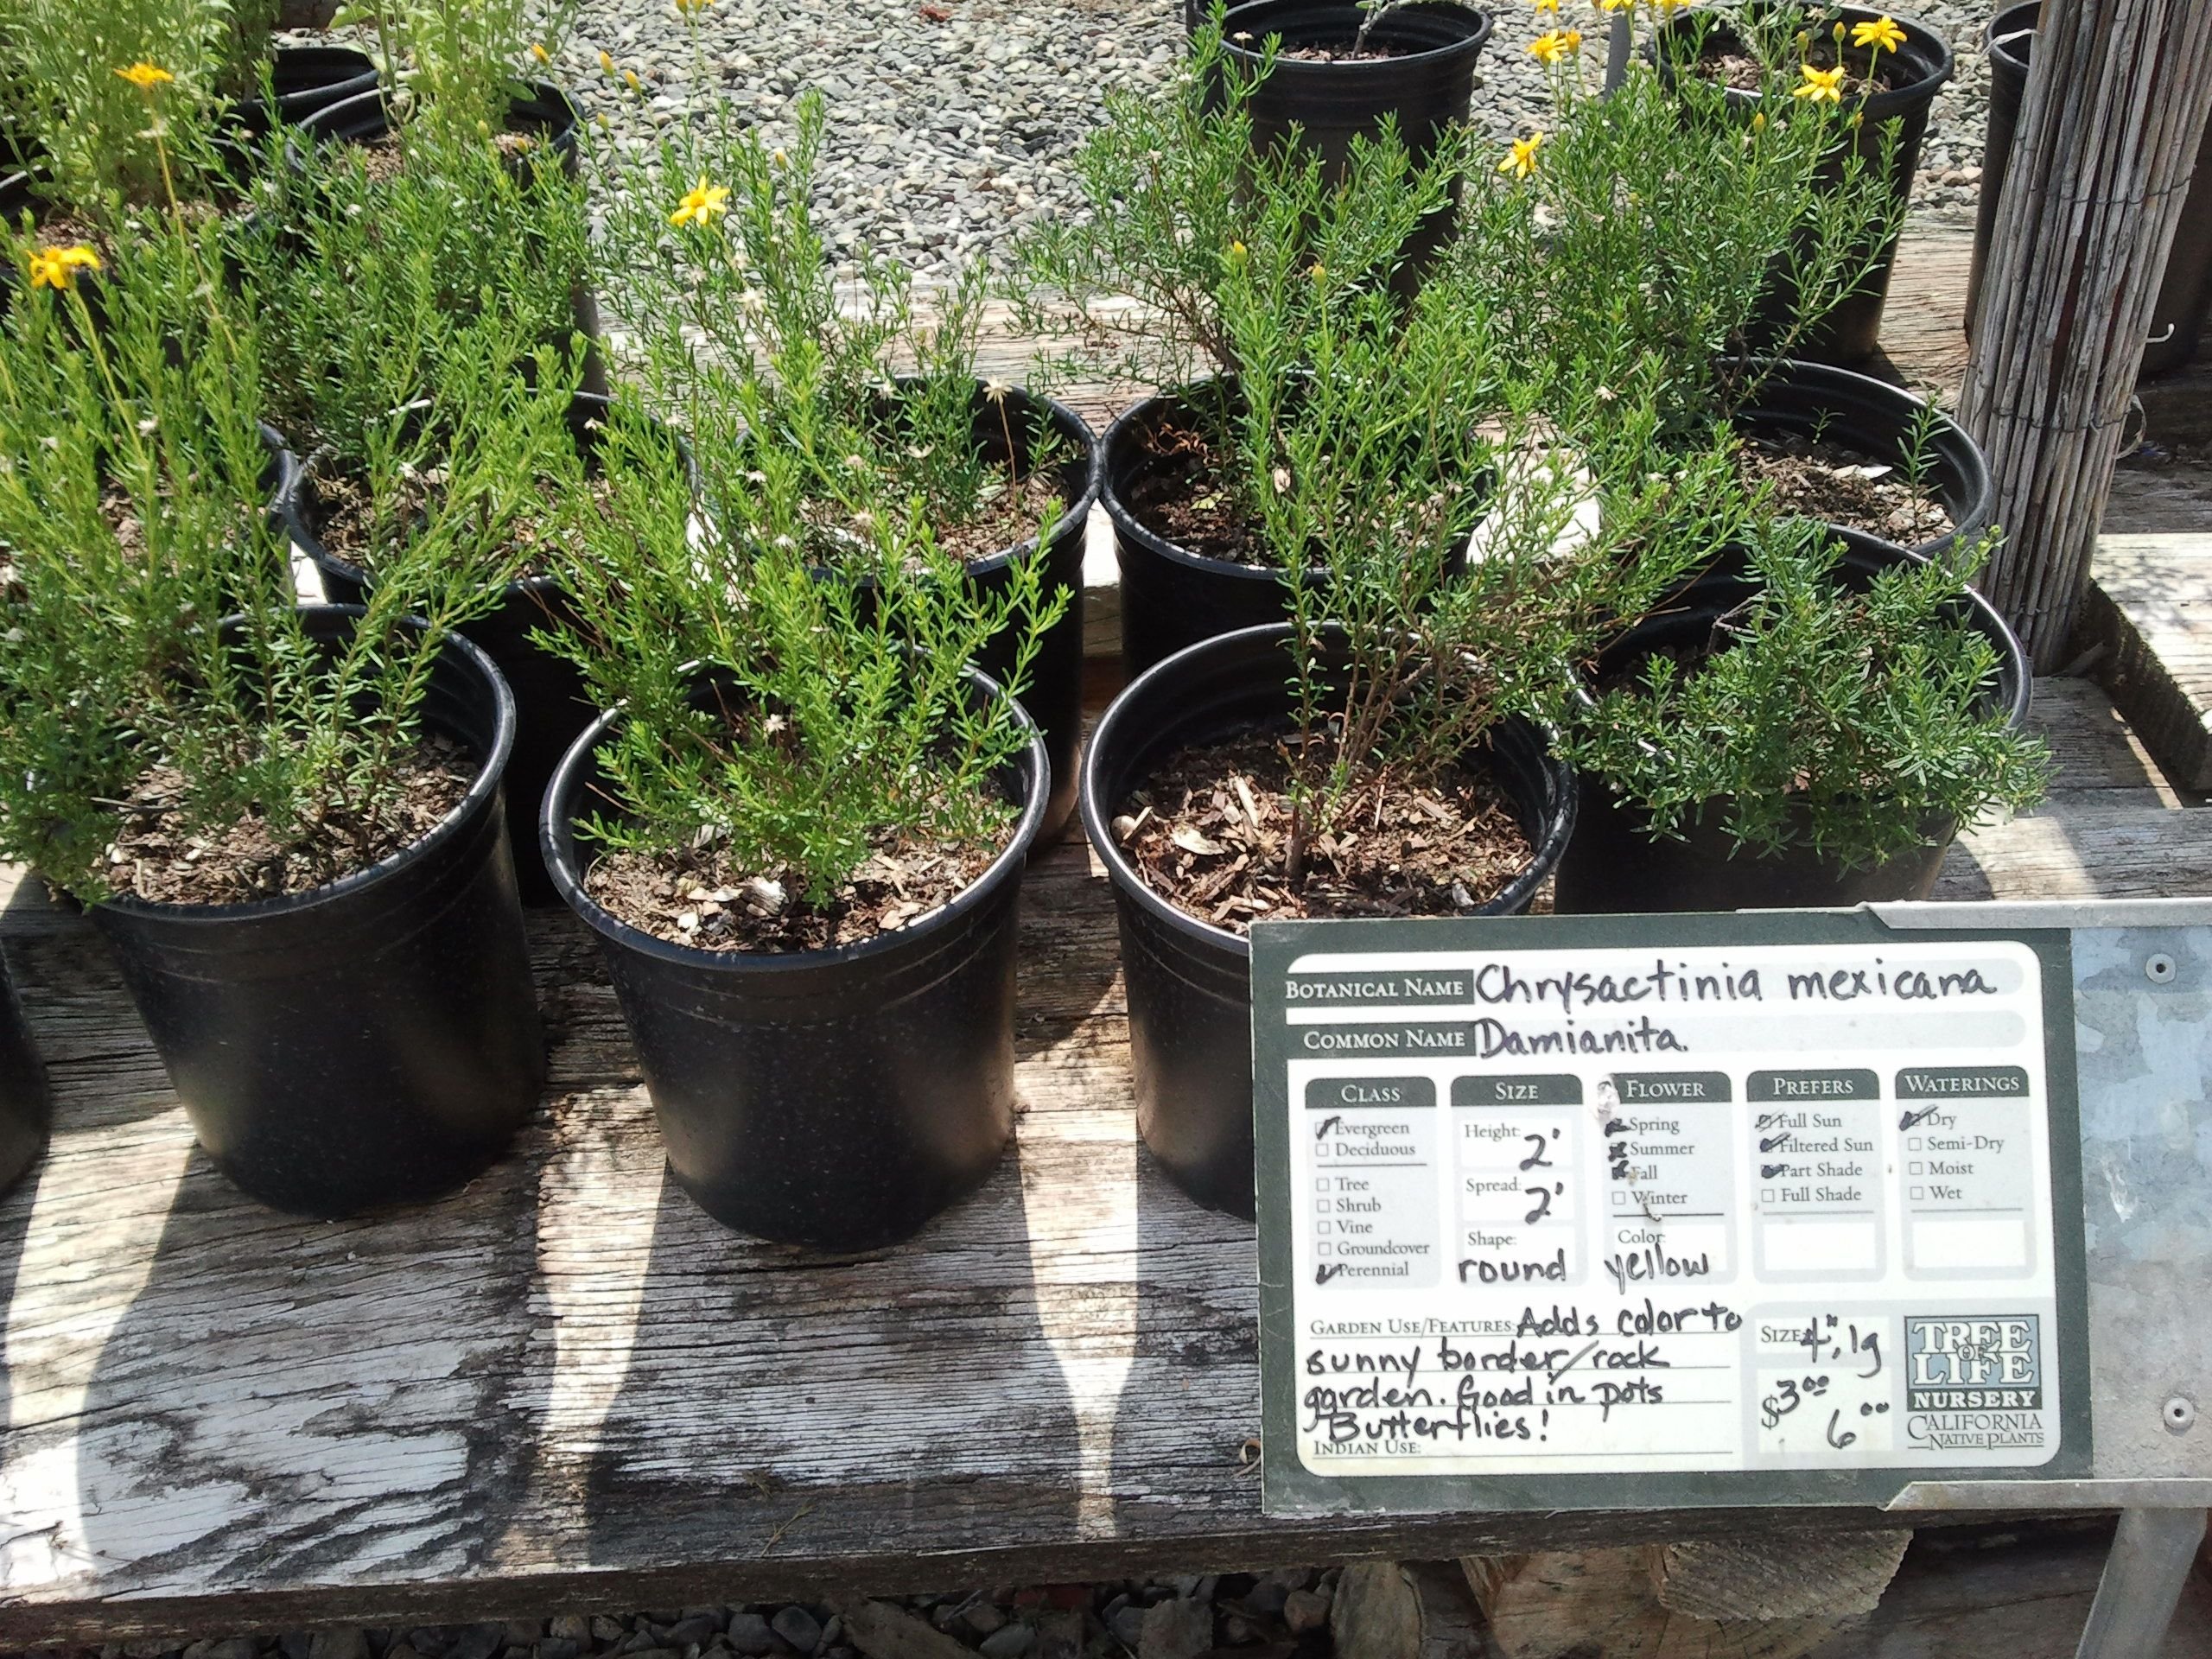
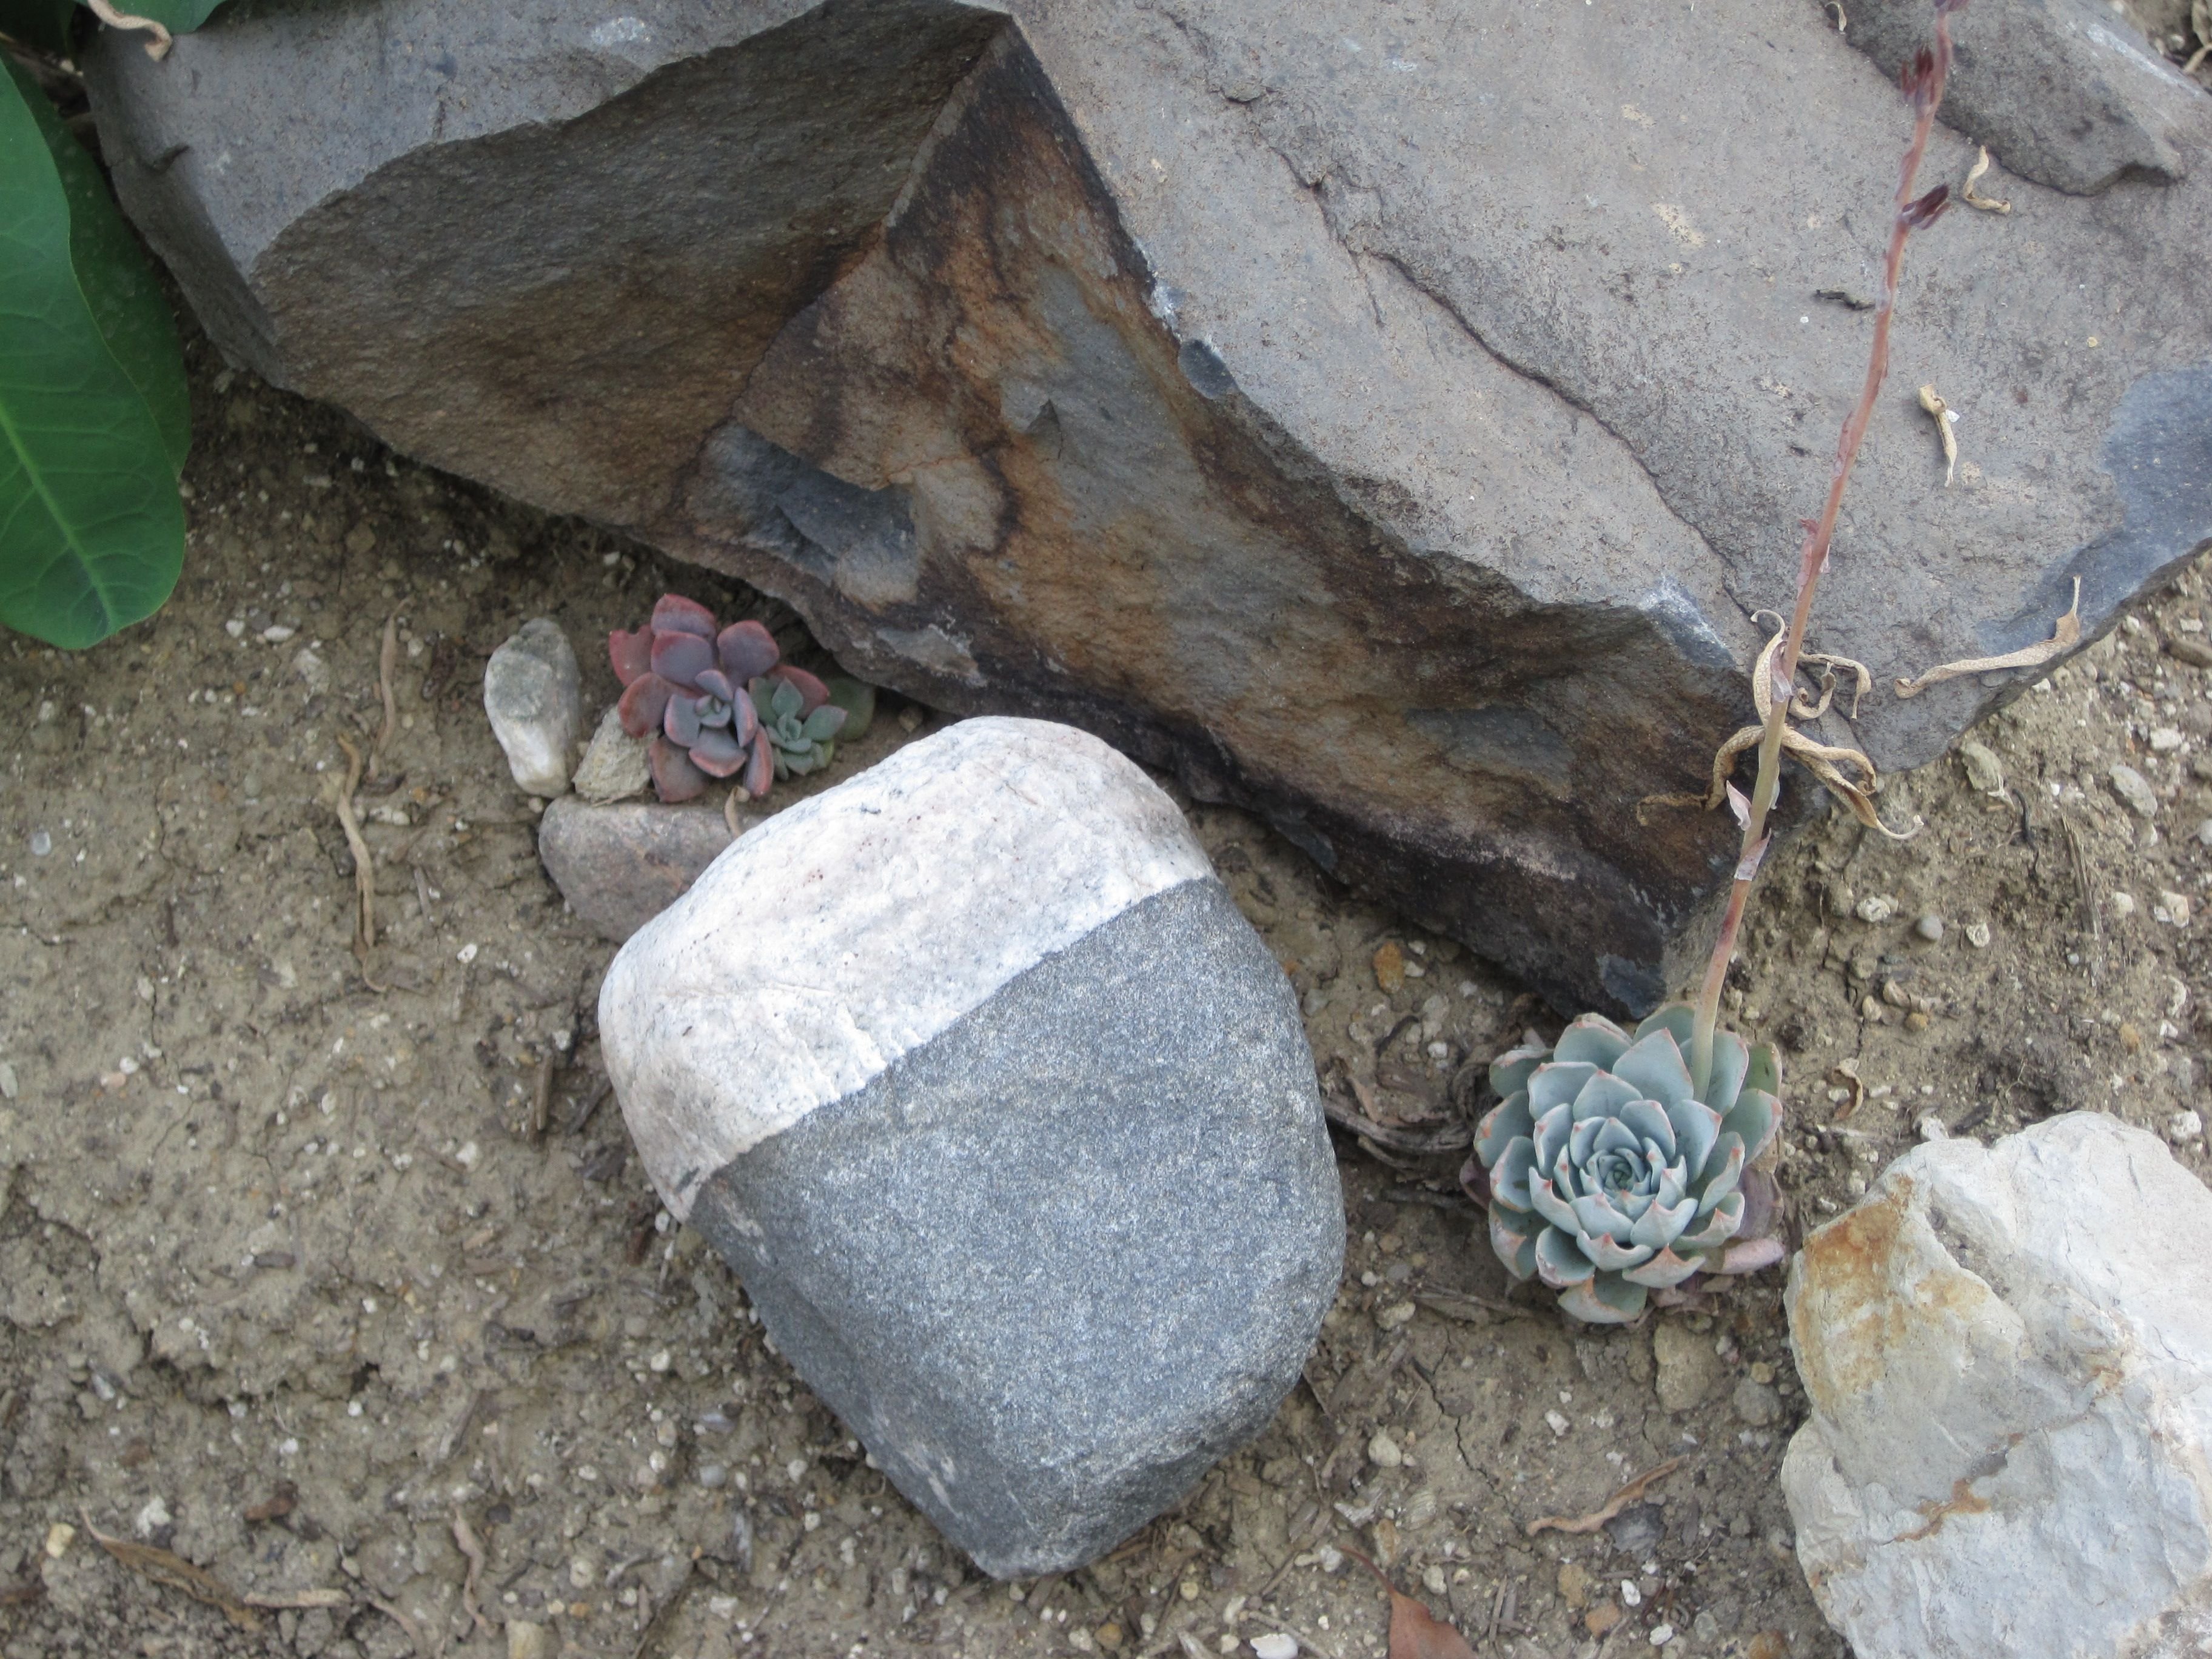
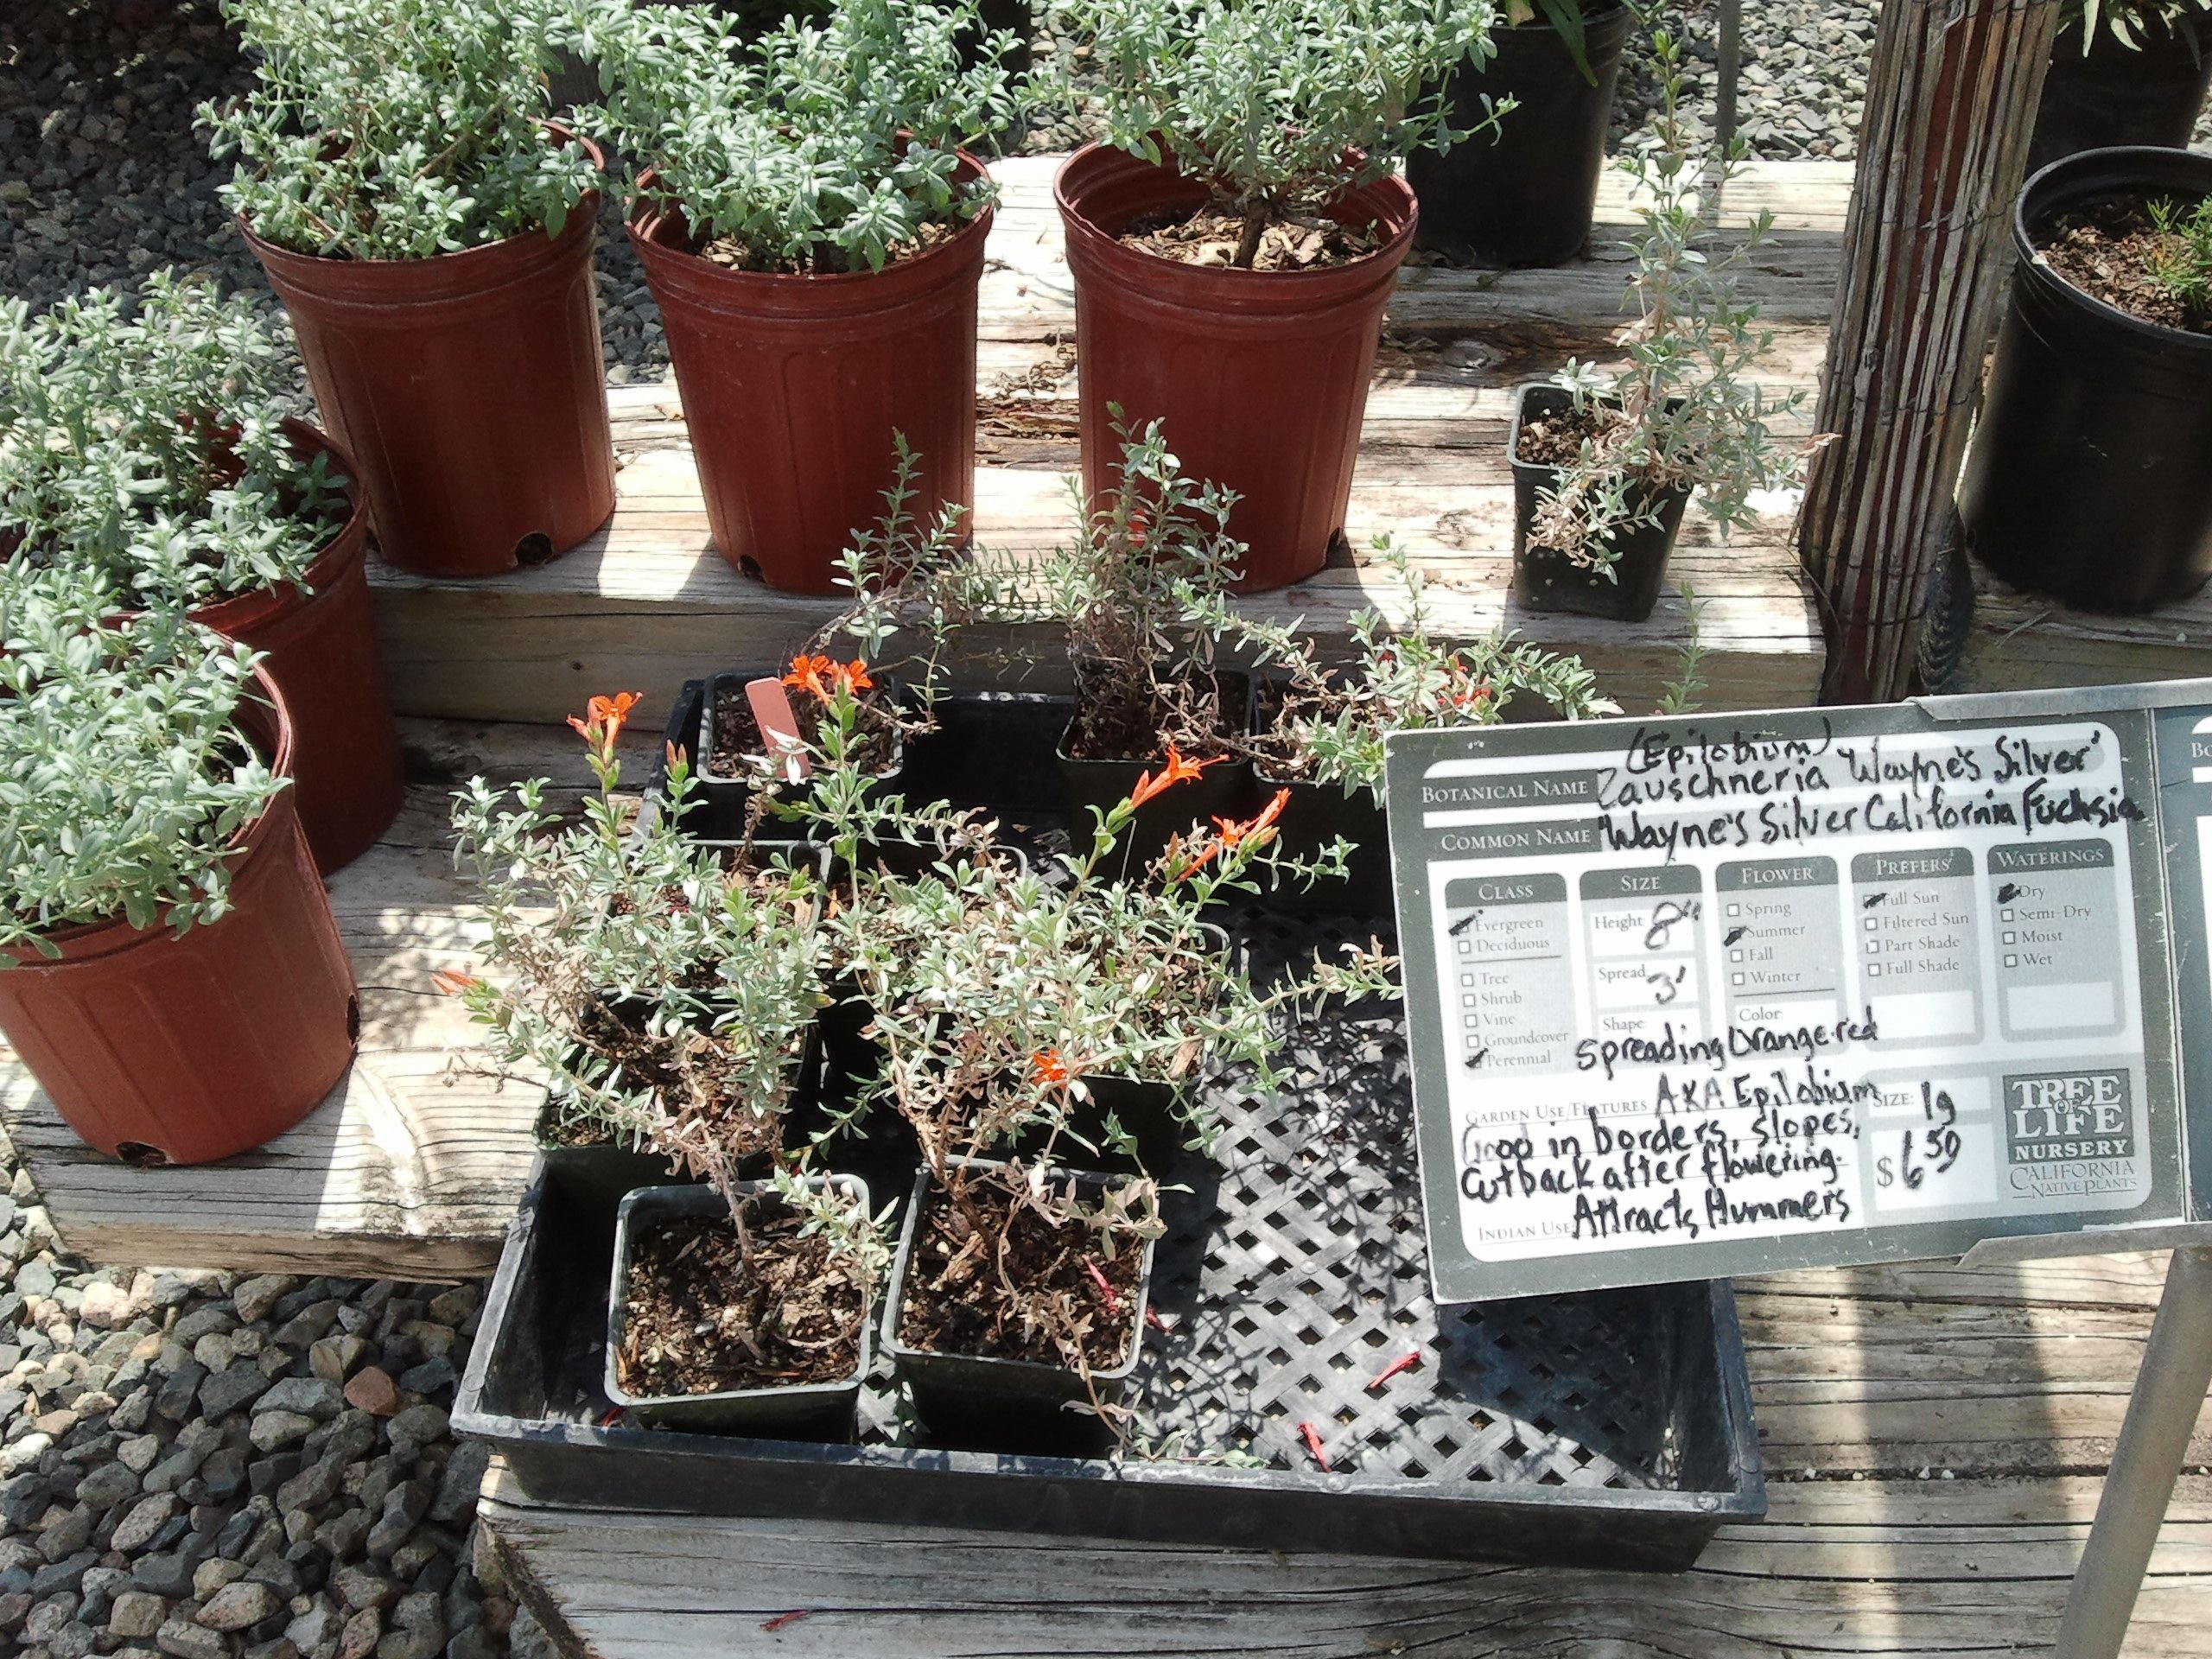
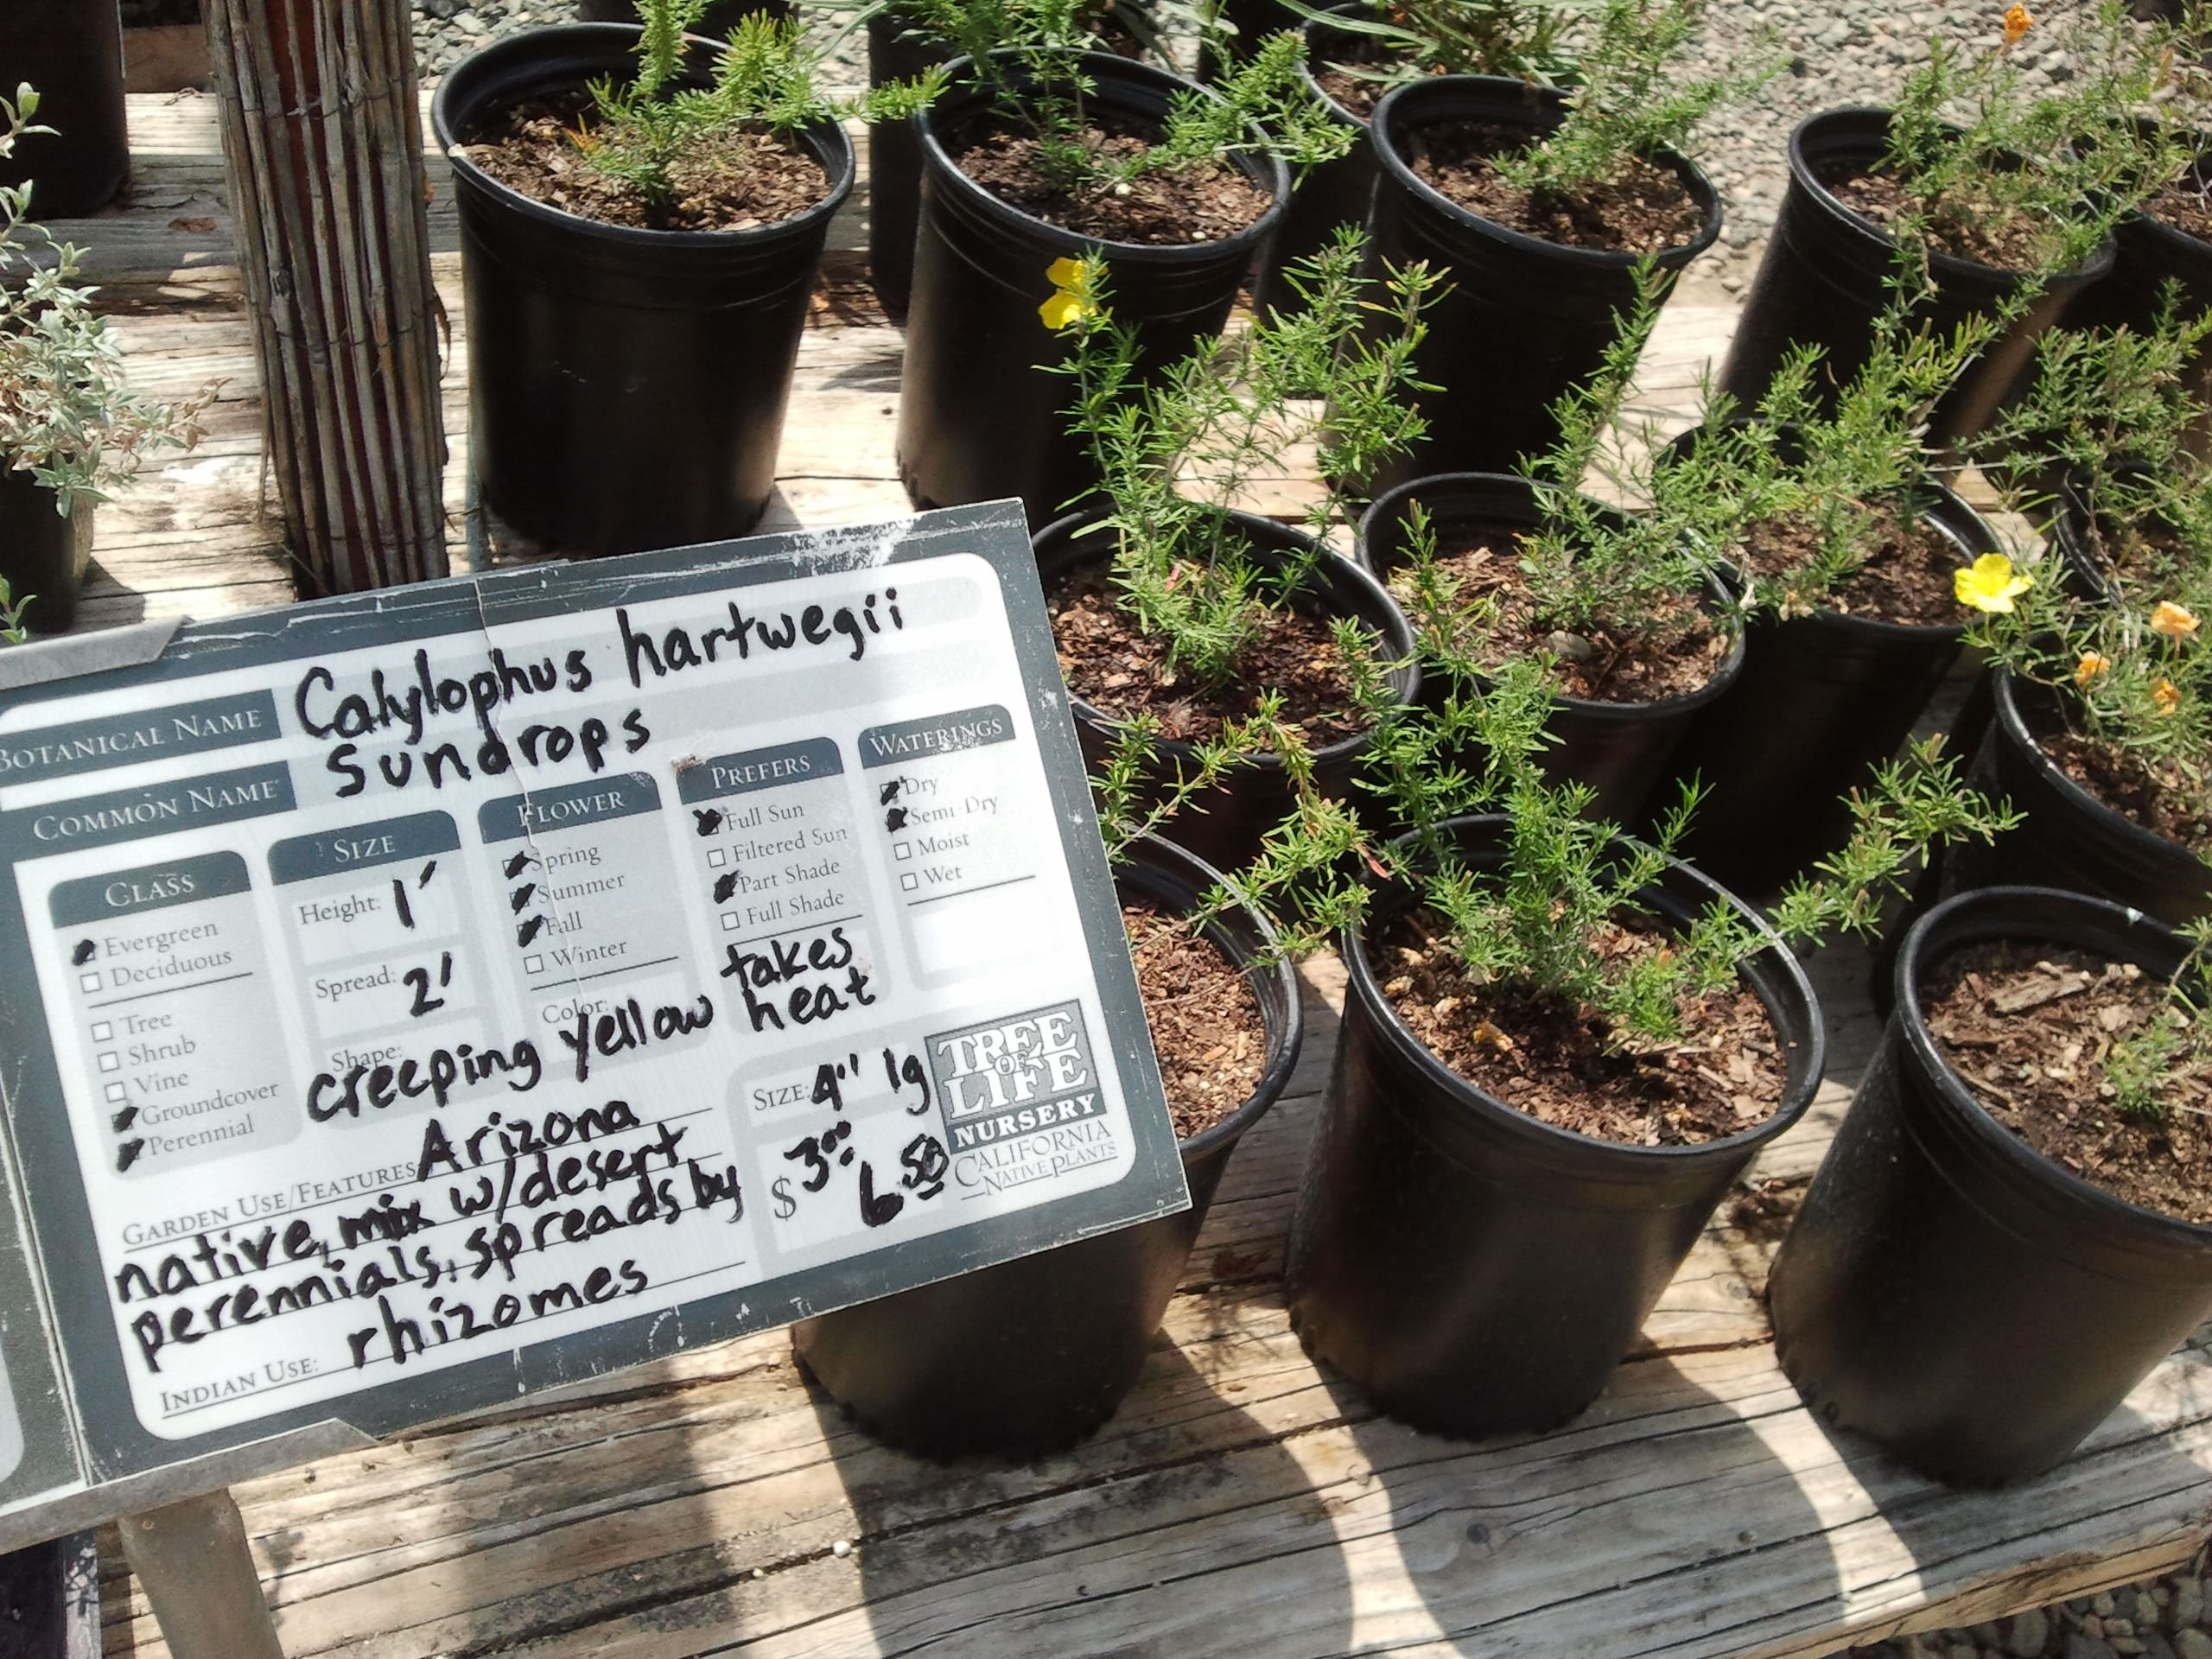
Anyway, I digress... but you can see how excited I got about native plants! These photos are some of the plants I was considering as I perused the nursery. Many of them made it home with me.
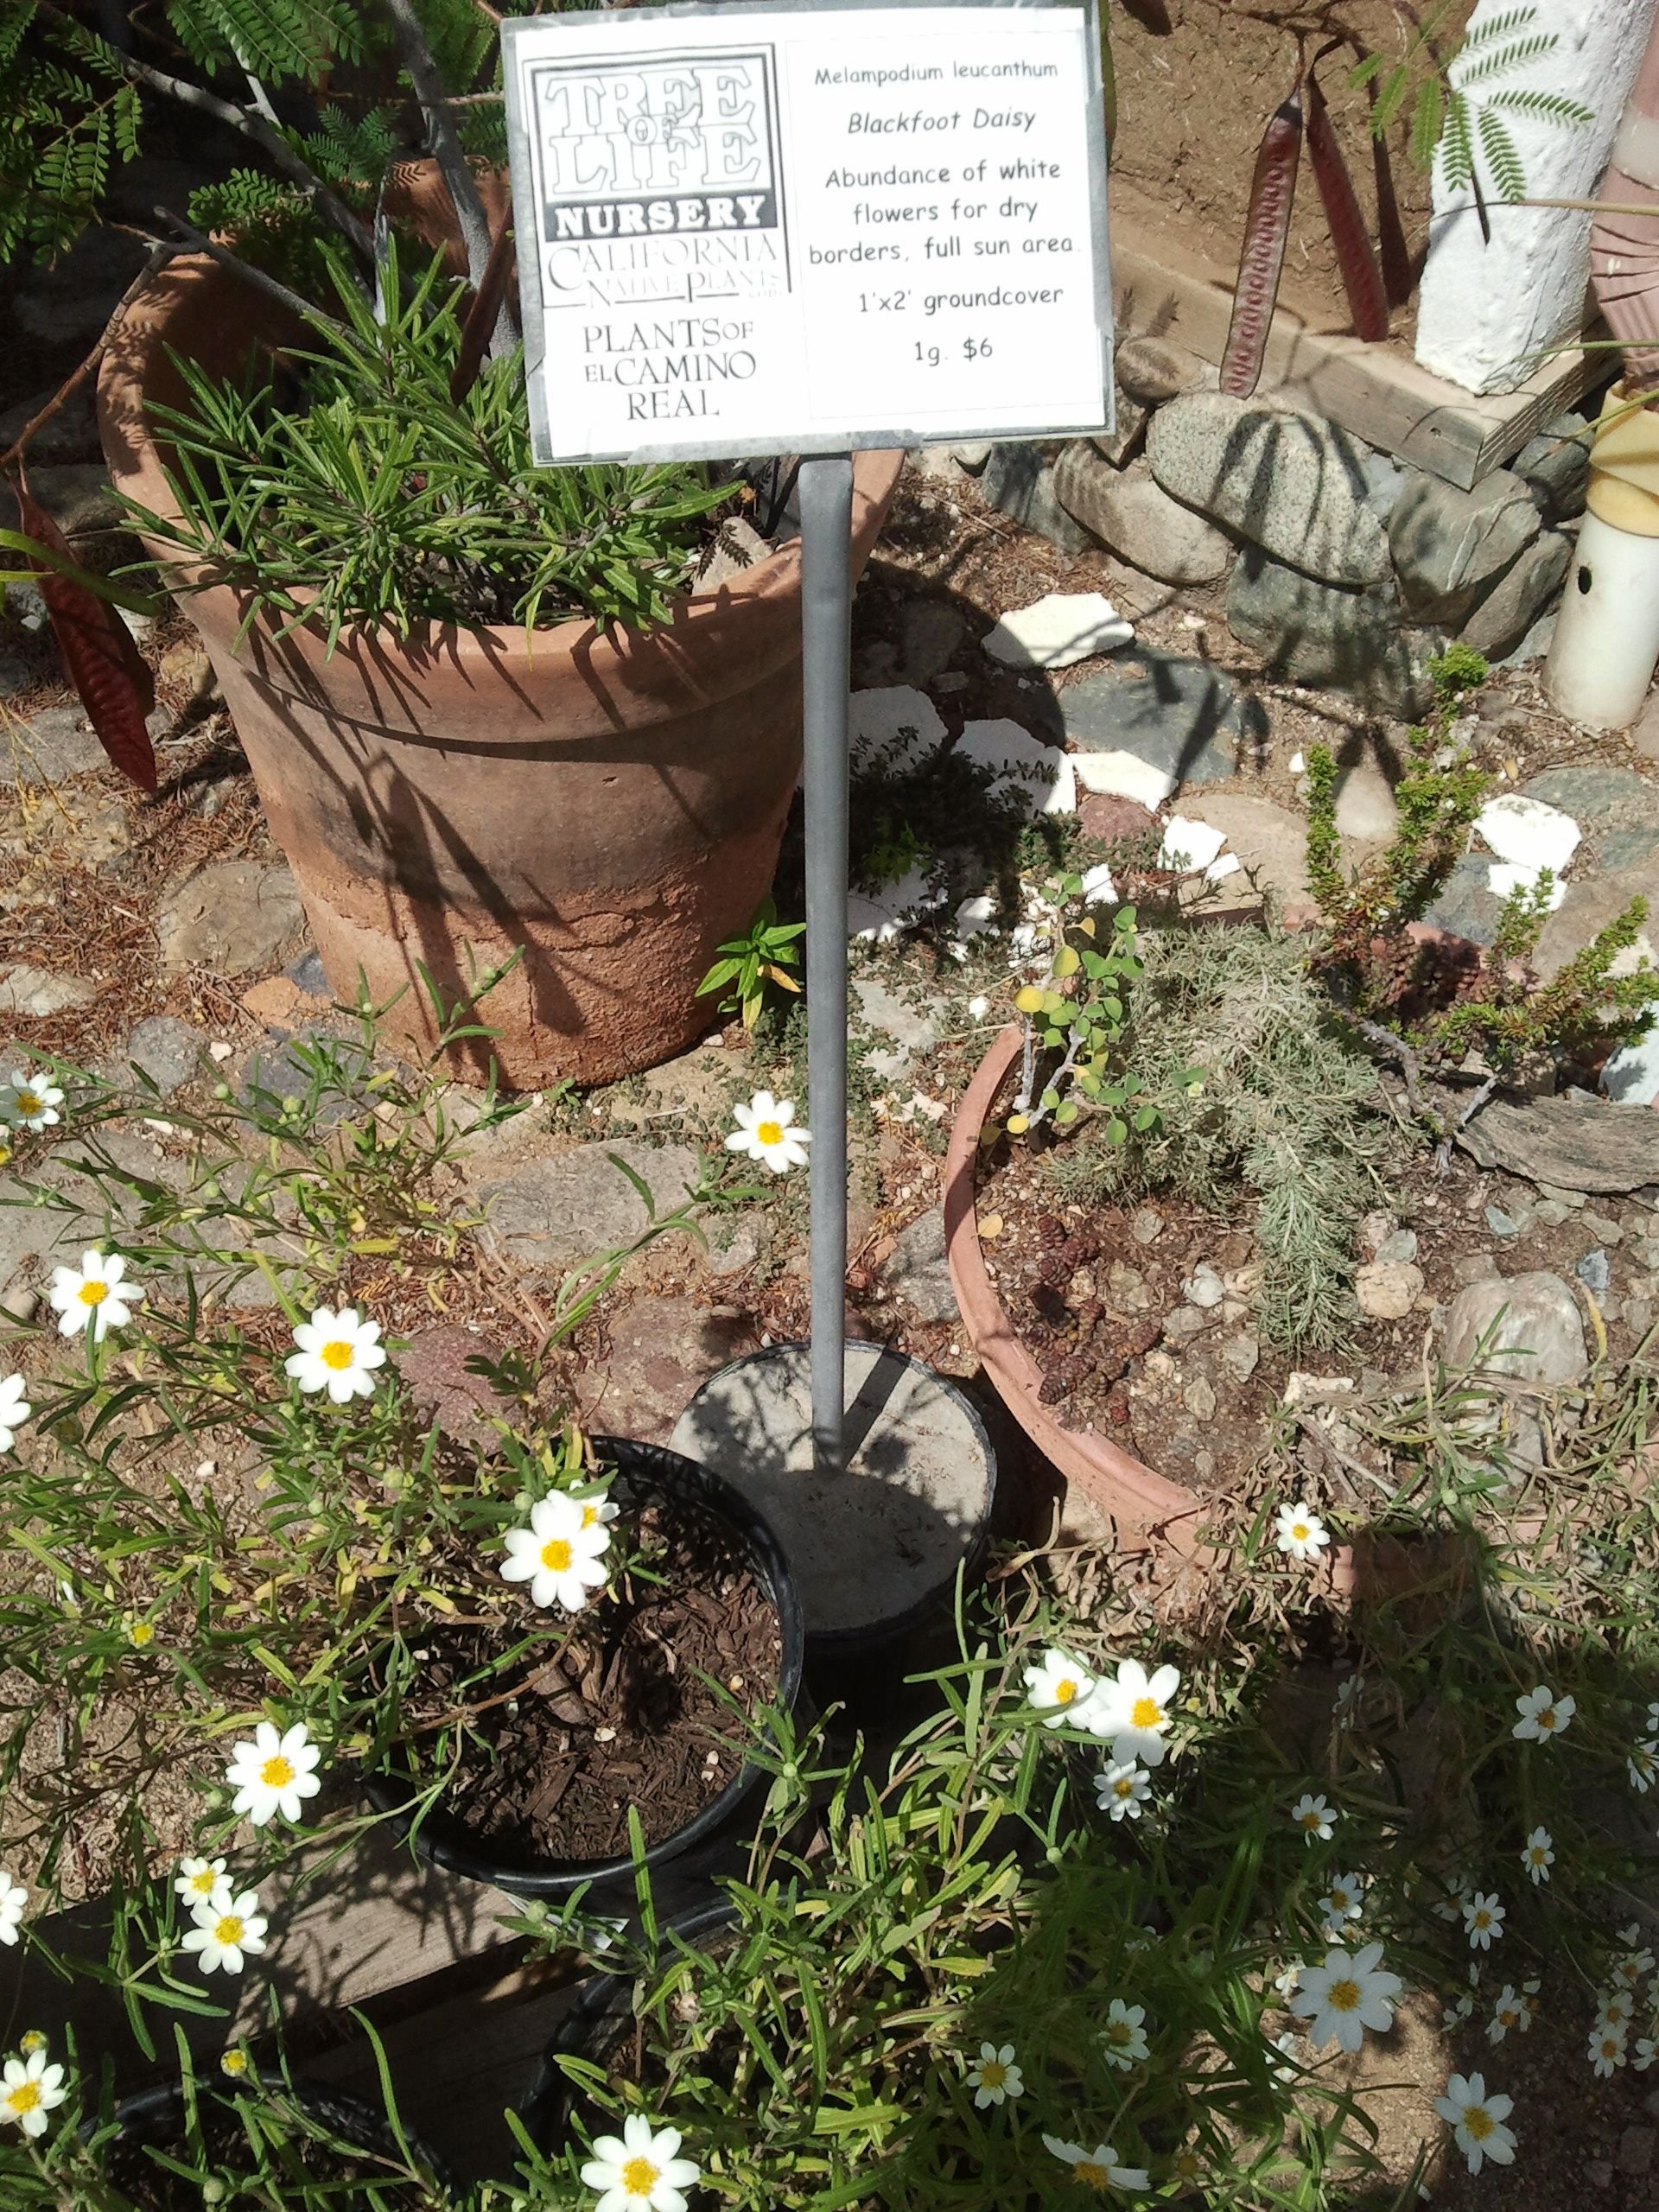
Since my garden space dedicated for native plants was so small (about 100 sq ft) I didn't want anything that would get quite huge. I stuck to ground cover type plants, smaller perennials and reseeding annuals as well as small shrubs. This seemed to work well for my requirements.
I didn't follow that advice I just gave you about working with a nursery landscape designer.
I didn't know at the time it was an option. And I was also in total play mode, with such a small growing space and having had just ripped out my grass and clover field, I wanted to get this drought tolerant garden going so that I didn't have to water the ornamental portion of my garden as much, and save the water for the veggies!
This is what it looked like with some of the drought tolerant plants in place and starting to establish. I totally embraced the low watering zone and used wood chips as pathways in between the native plants as they got established and take their time to spread out. You will also notice the California Poppies that sprouted up because I threw seeds all over the garden. Once they got started they were quite vigorous with just a little water and reseeded themselves easily!
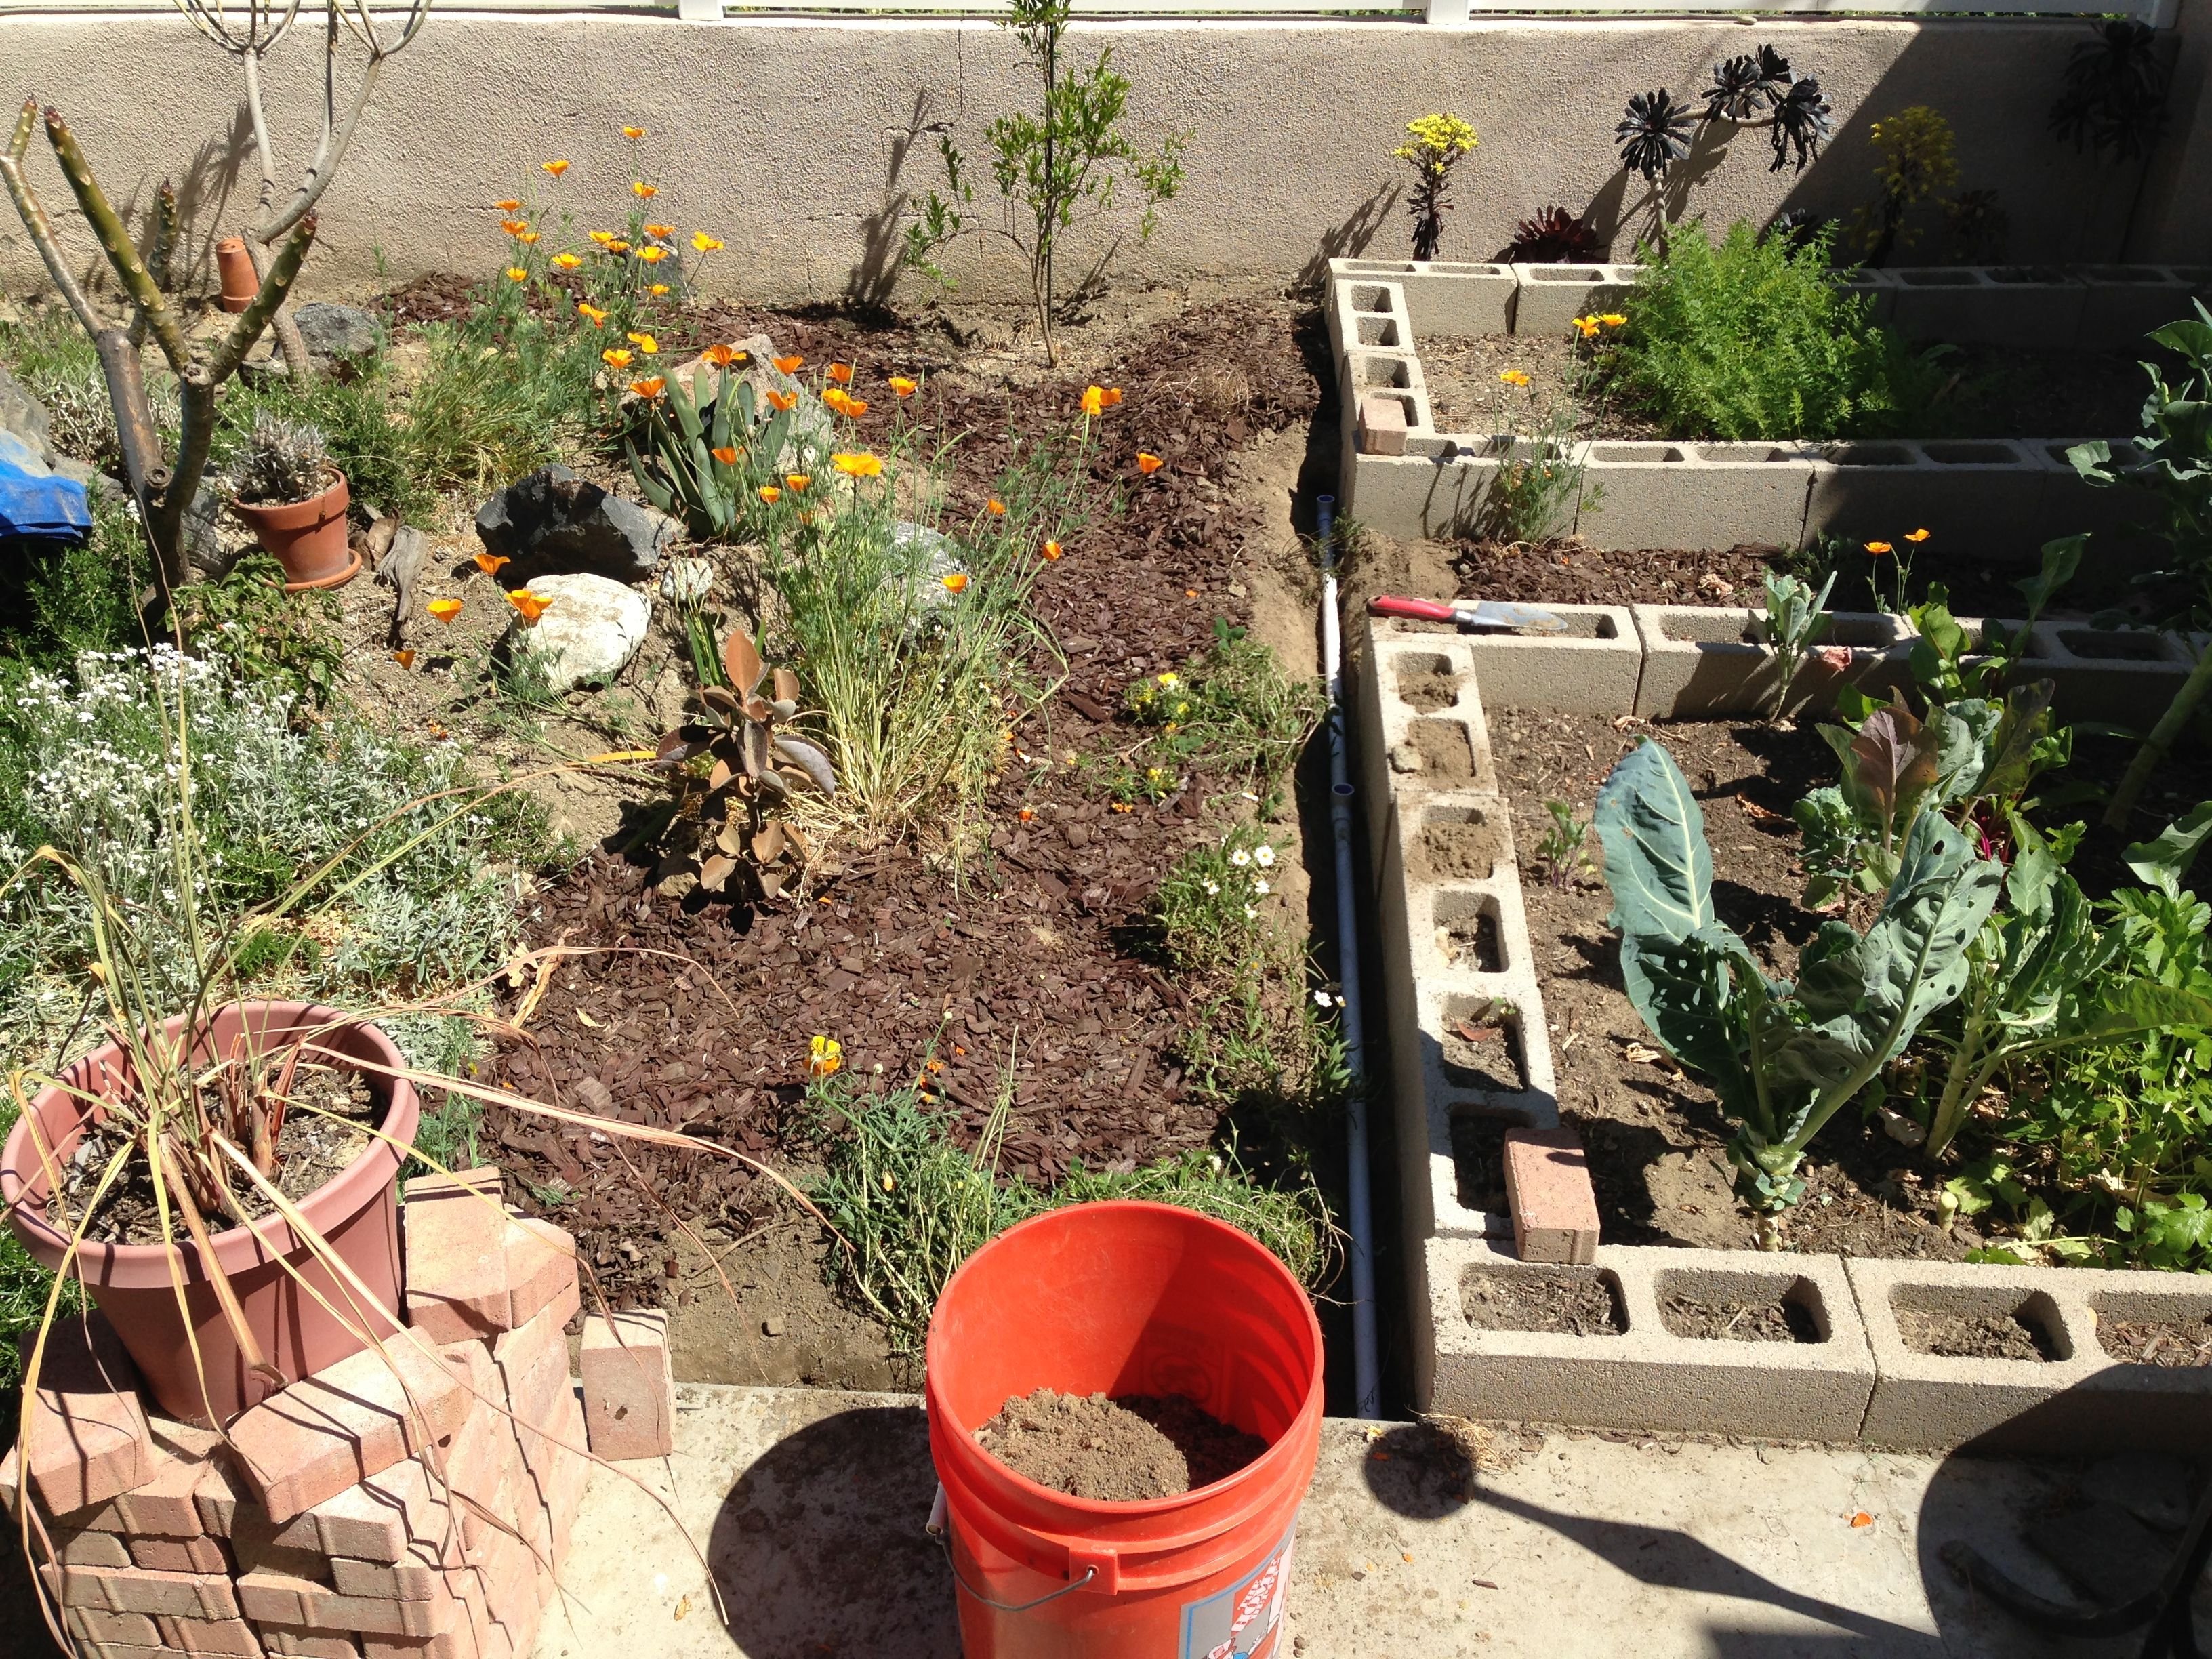
As you can see in the above photo I also had some veggie beds in place. If you've been following along in the previous garden tour posts, these veggie beds took the place of a succulent garden.
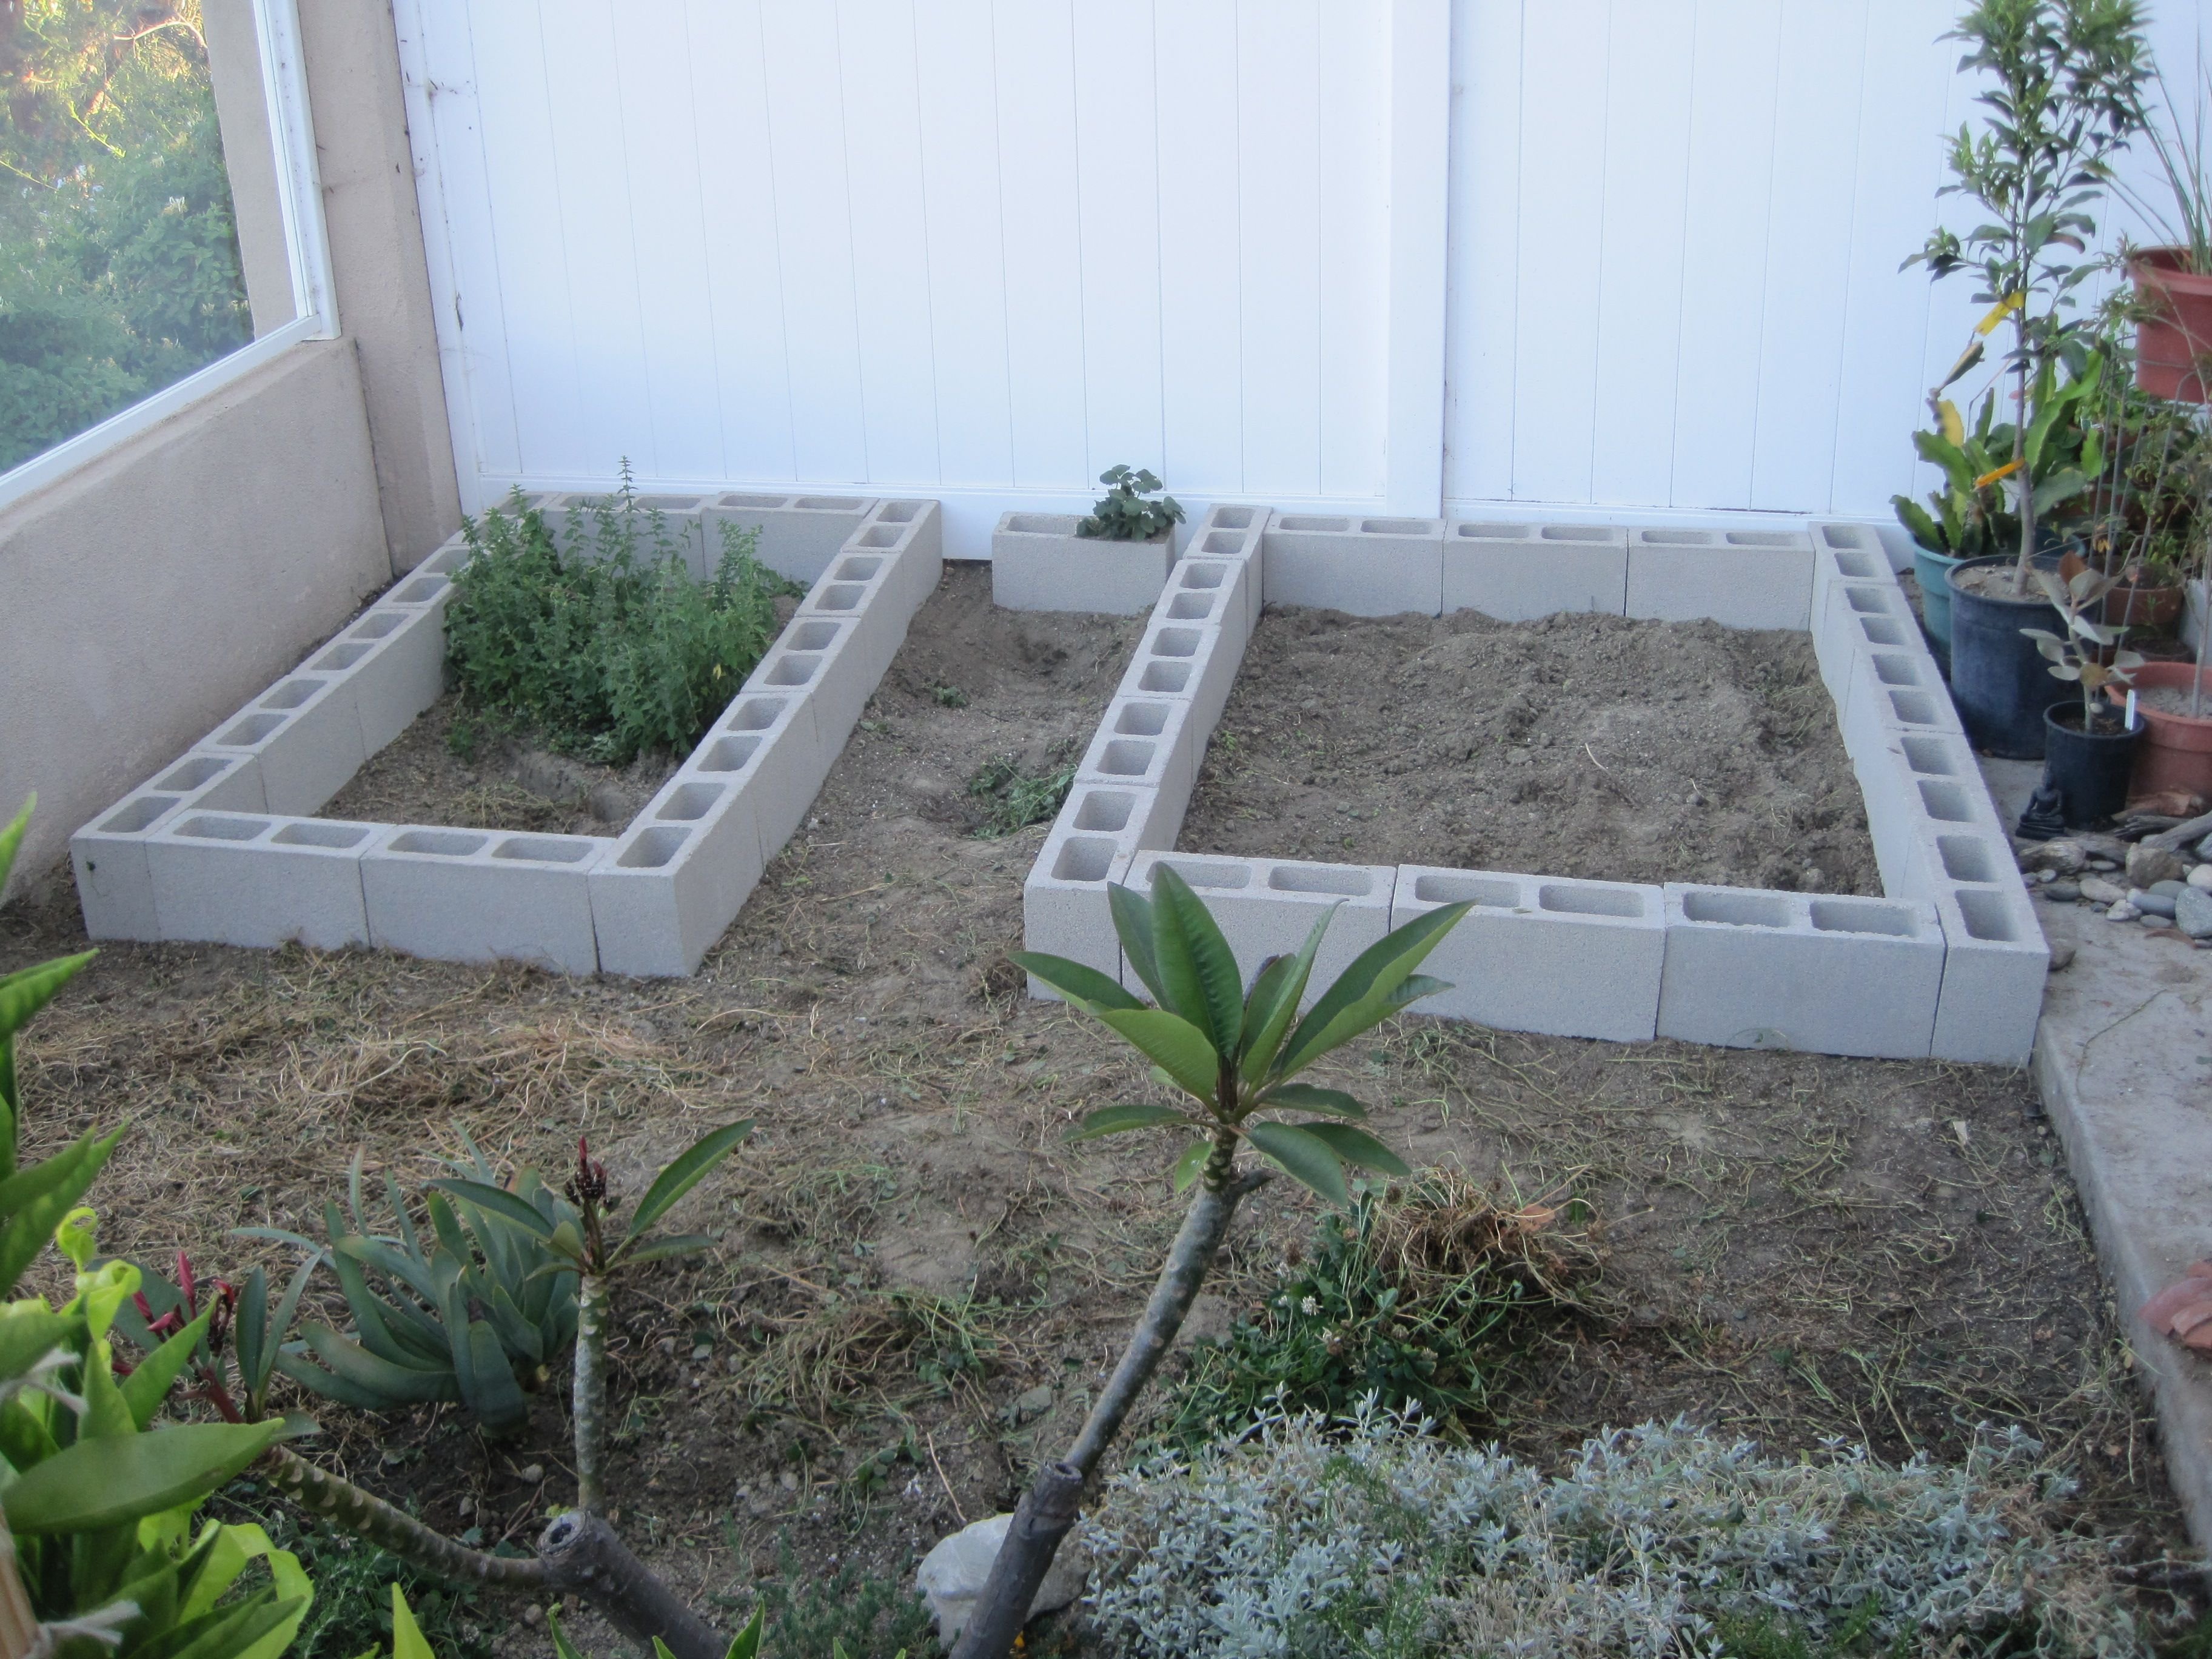
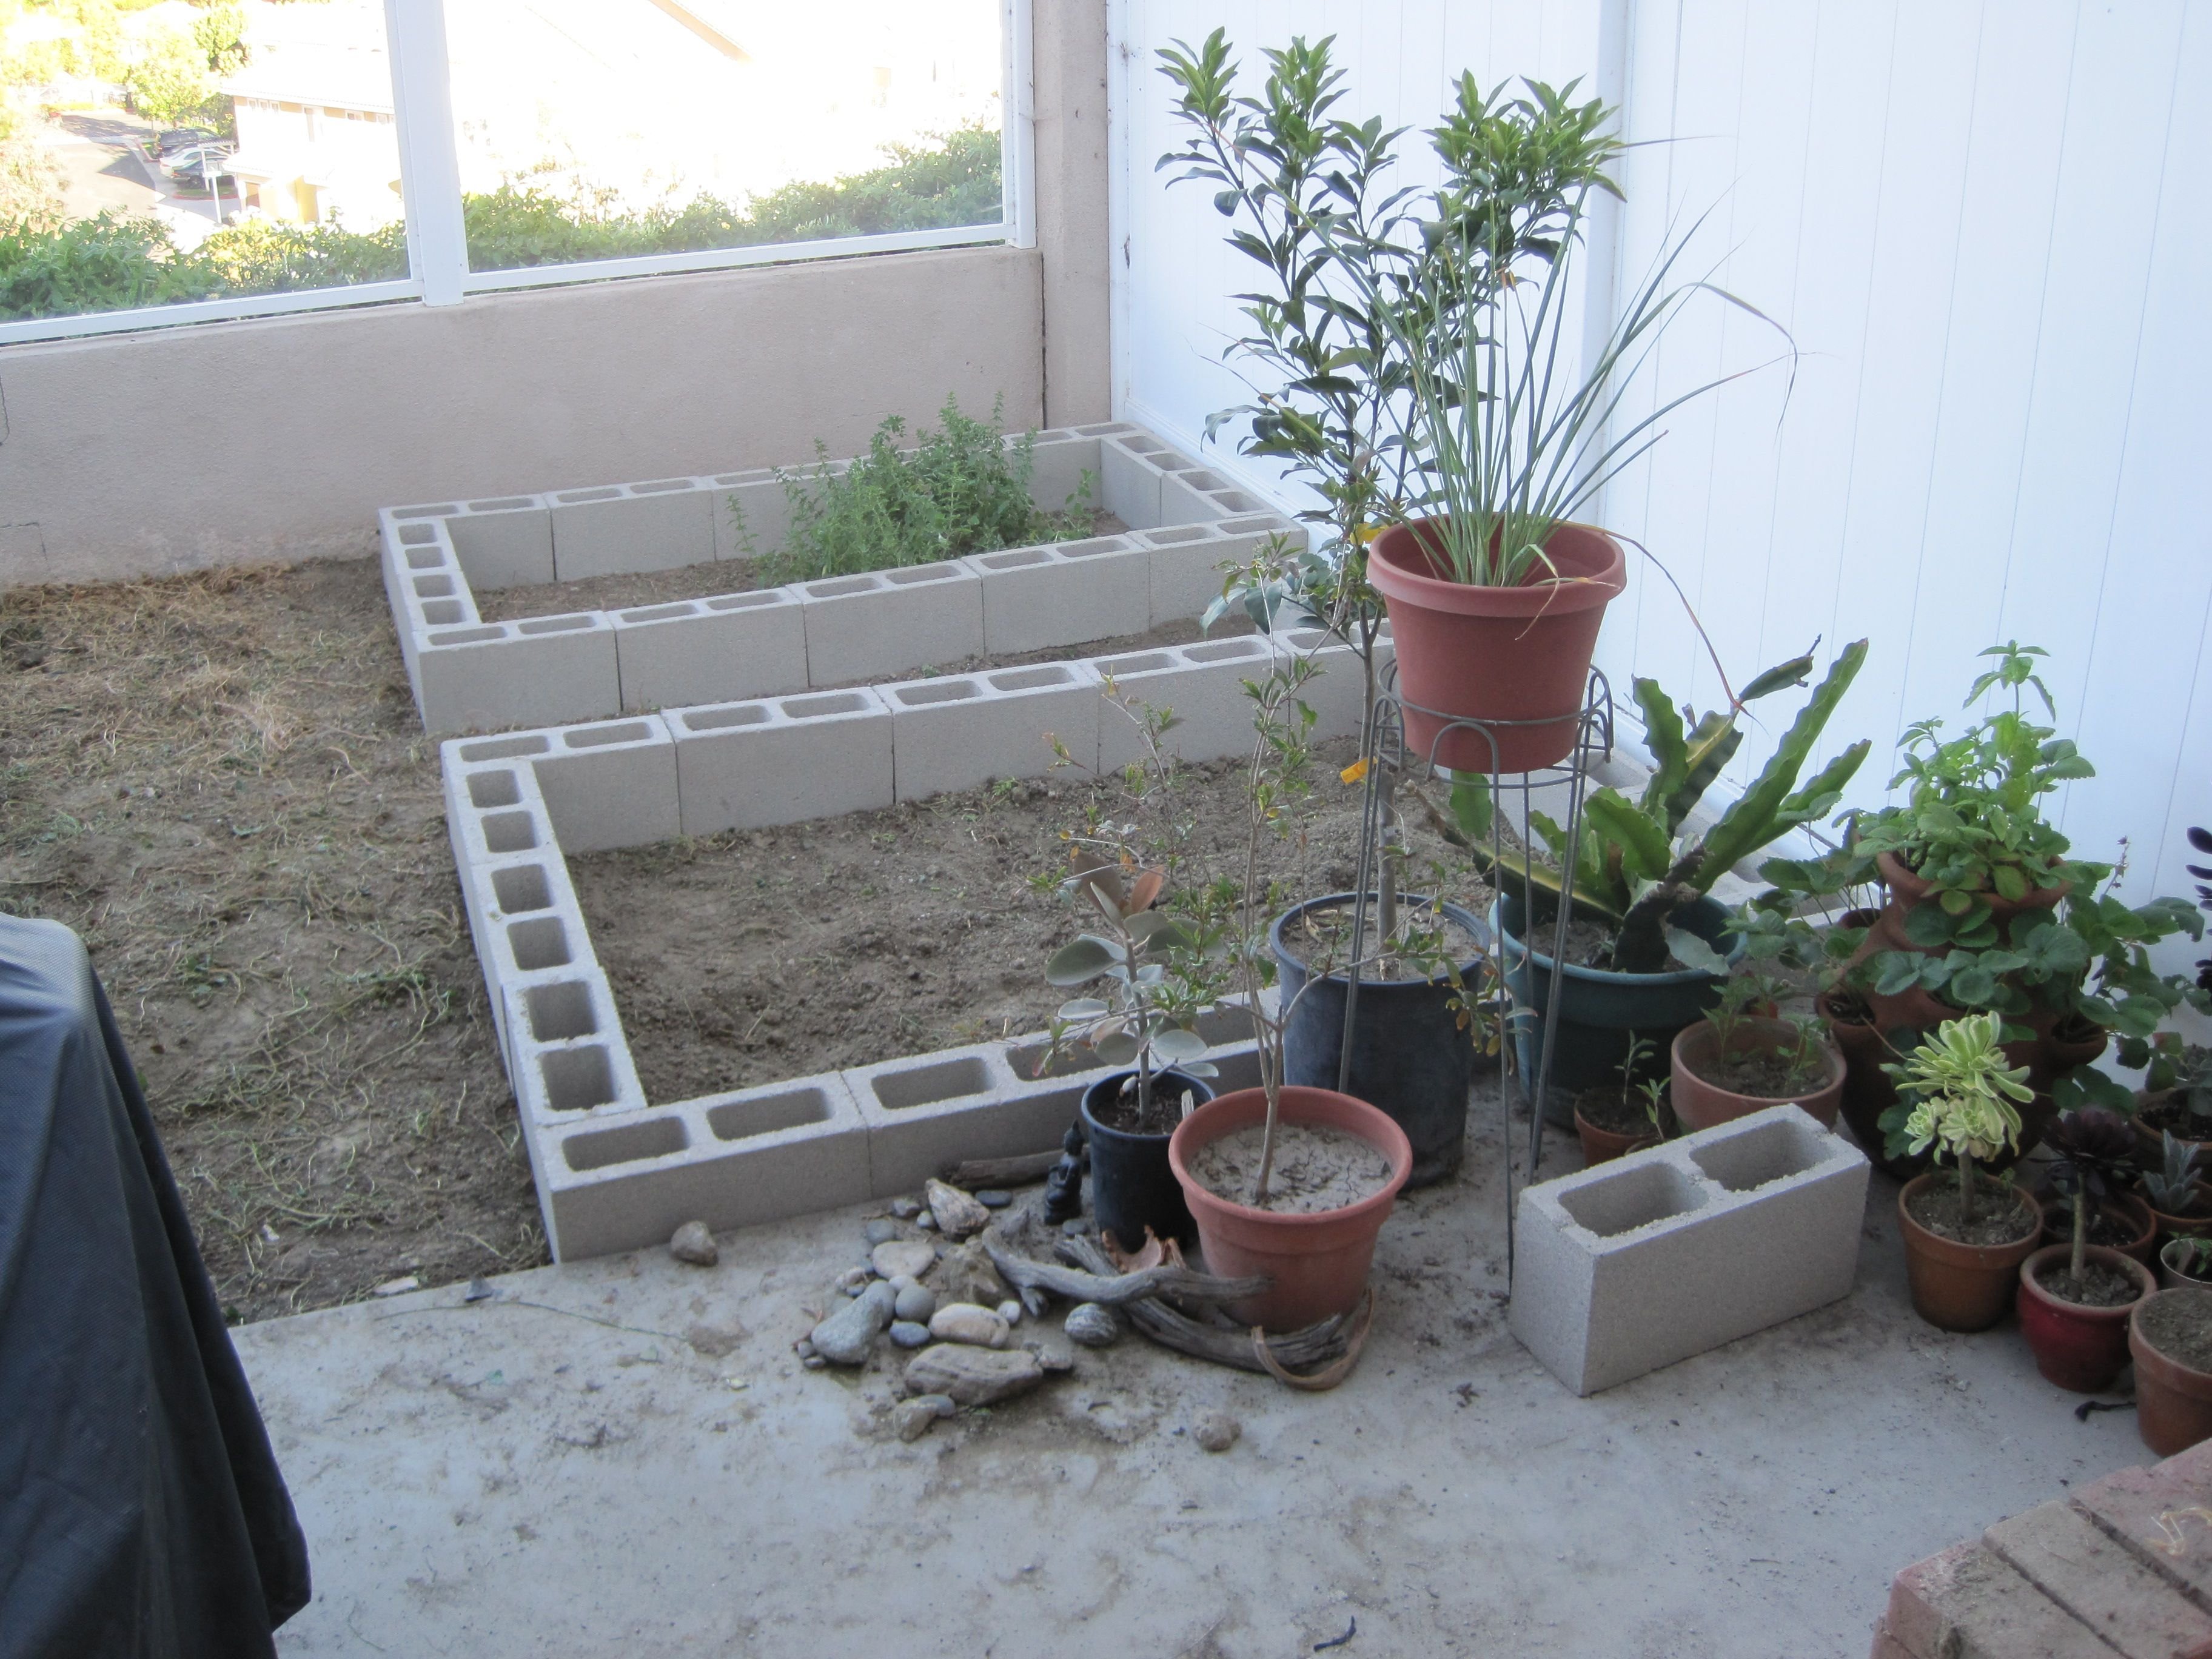
In my original garden design I allocated one 4'x10' or so space for veggies. As my passion for gardening grew, so did my interest in growing good food. I added two more veggie beds on the opposite side of my garden from the first veggie bed which were about 4'x5 1/2' each. I effectively doubled my veggie growing area.
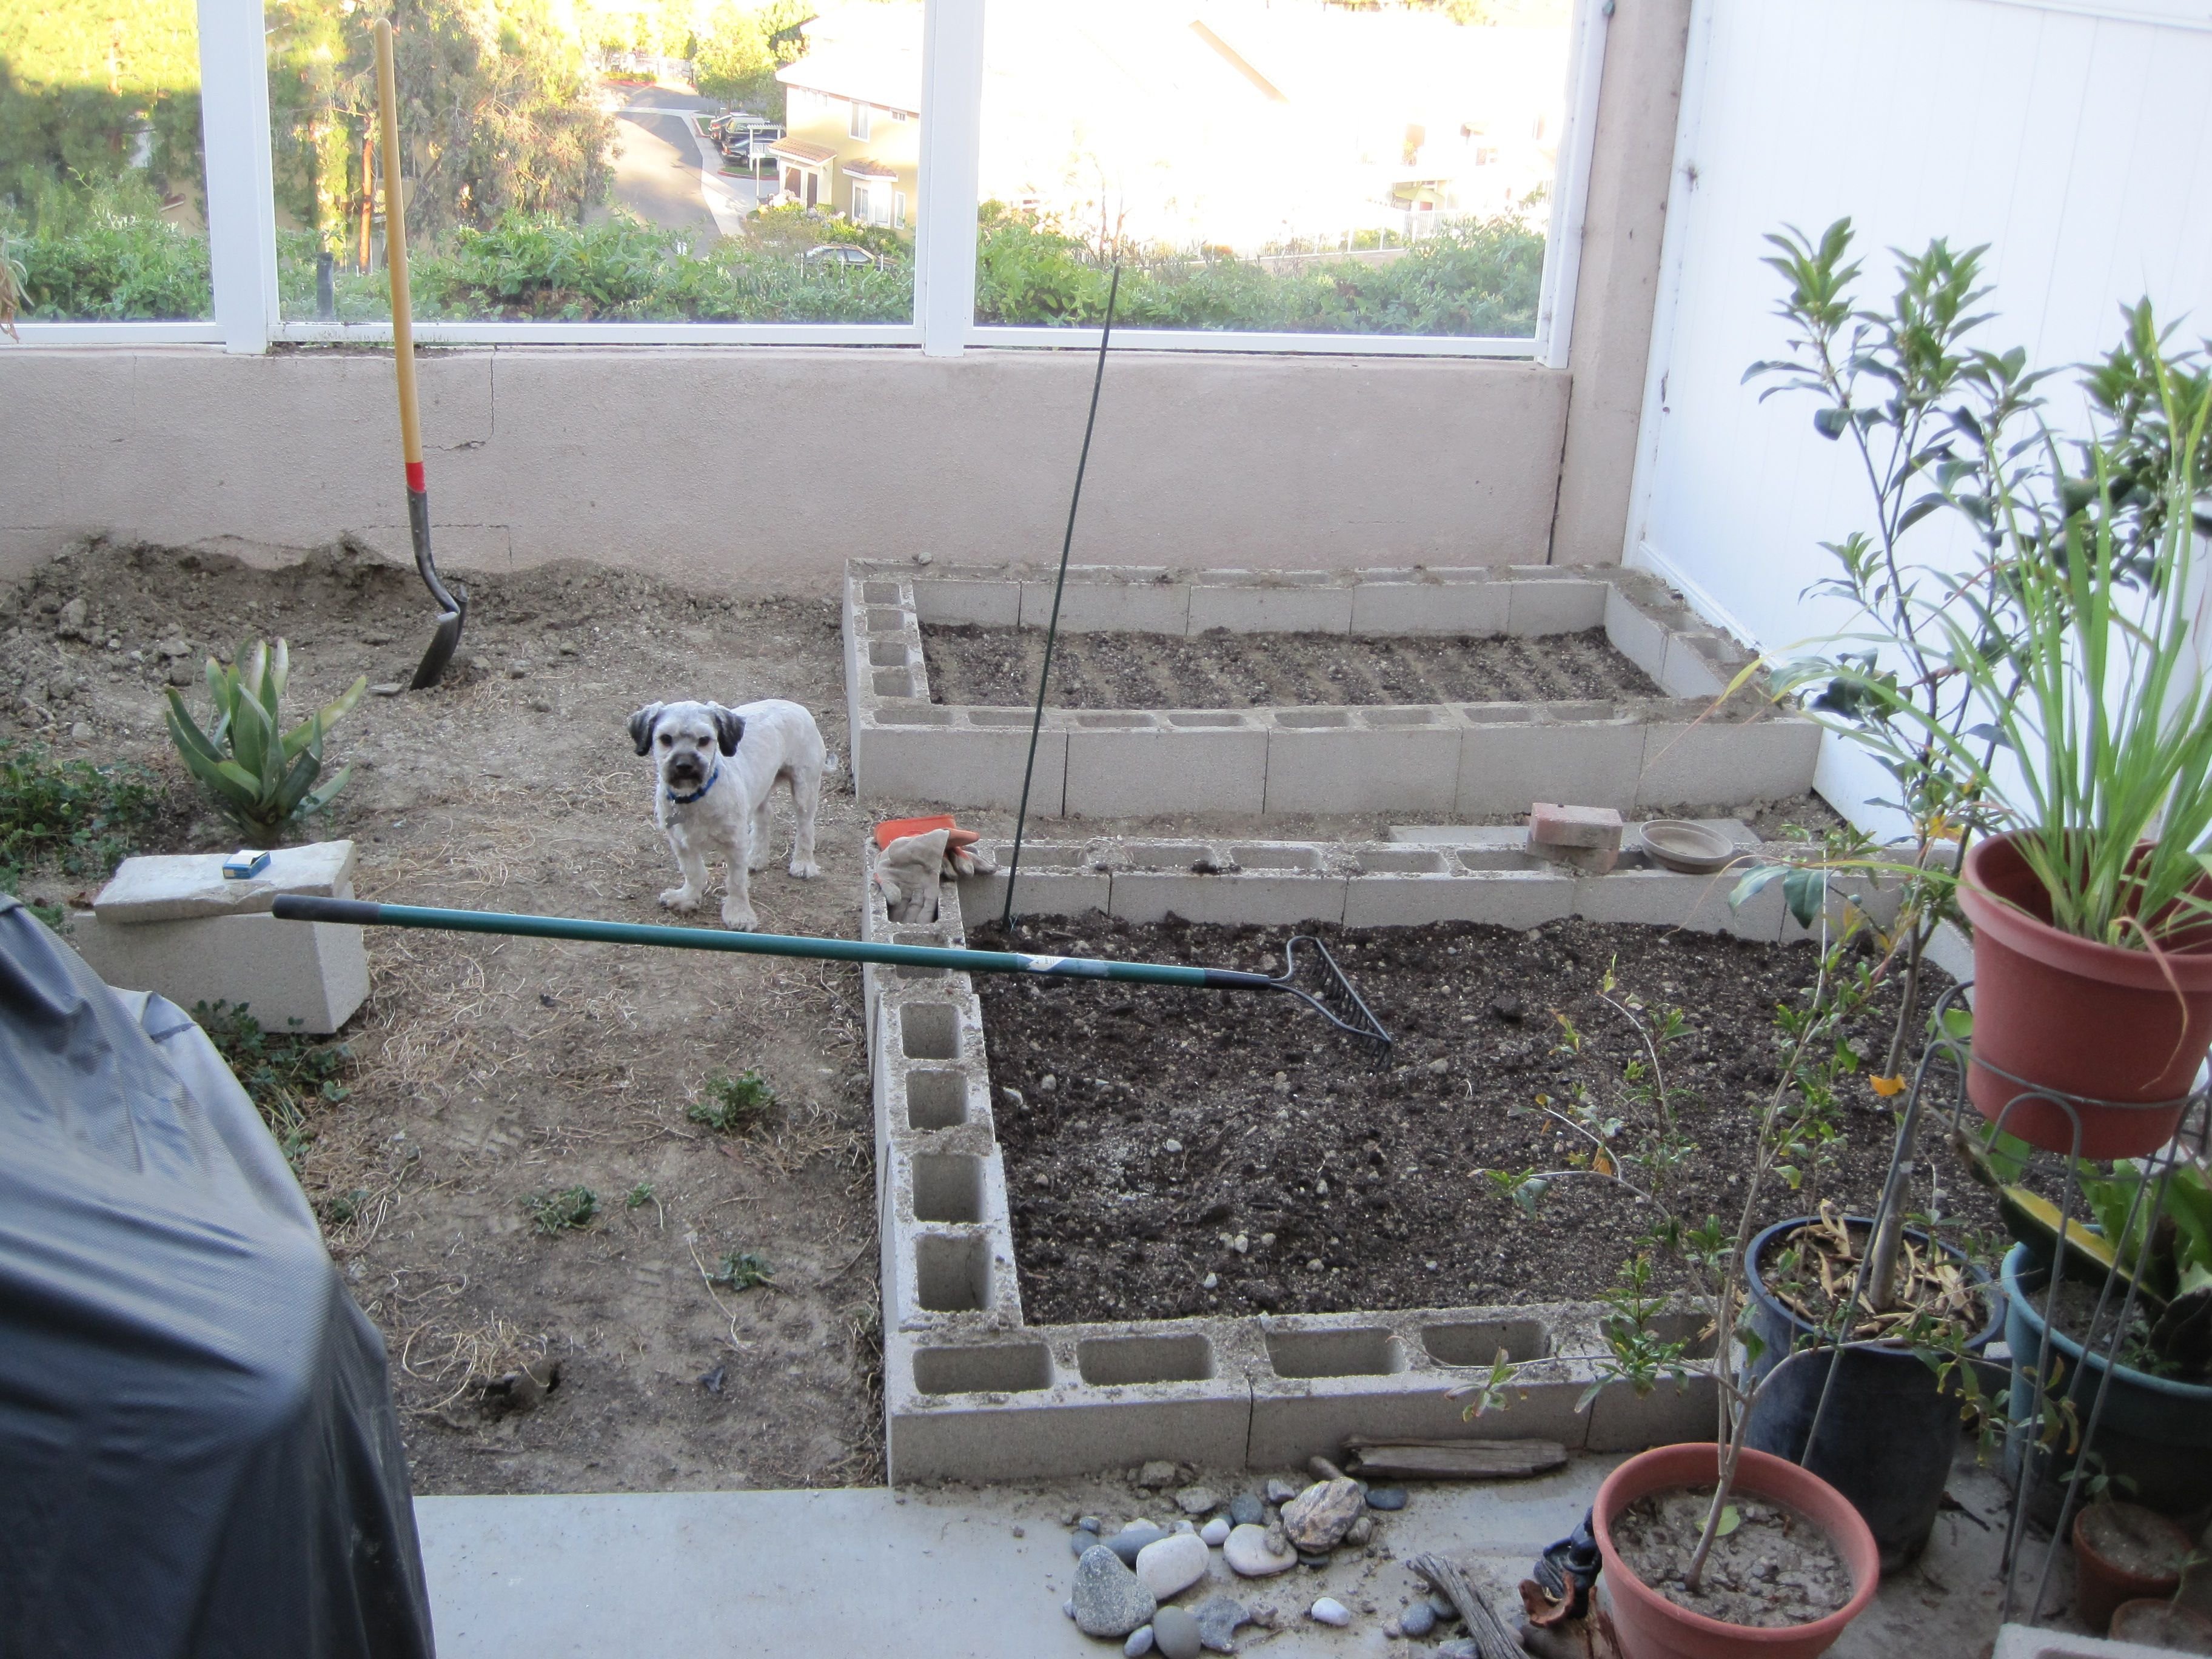
My first veggie bed was planted directly into the existing soil. But I had run into soil fertility issues and decided to build up the soil in a raised bed. Going online I found some plans to build a raised bed out of wood that wouldn't take much effort with my extremely limited carpenter skills.

I was doing lots of online research at the time and I remember agonizing about how long the wood would last as a garden bed. I wanted something to last a relatively long time but I didn't want to spend so much money on cedar wood and I didn't want to buy chemically treated wood because I learned that would be toxic.
I finally told myself. Stop worrying about it!
The wood will eventually break down and add into the soil, that's the organic process you want to embrace, not fight! It worked out pretty well.
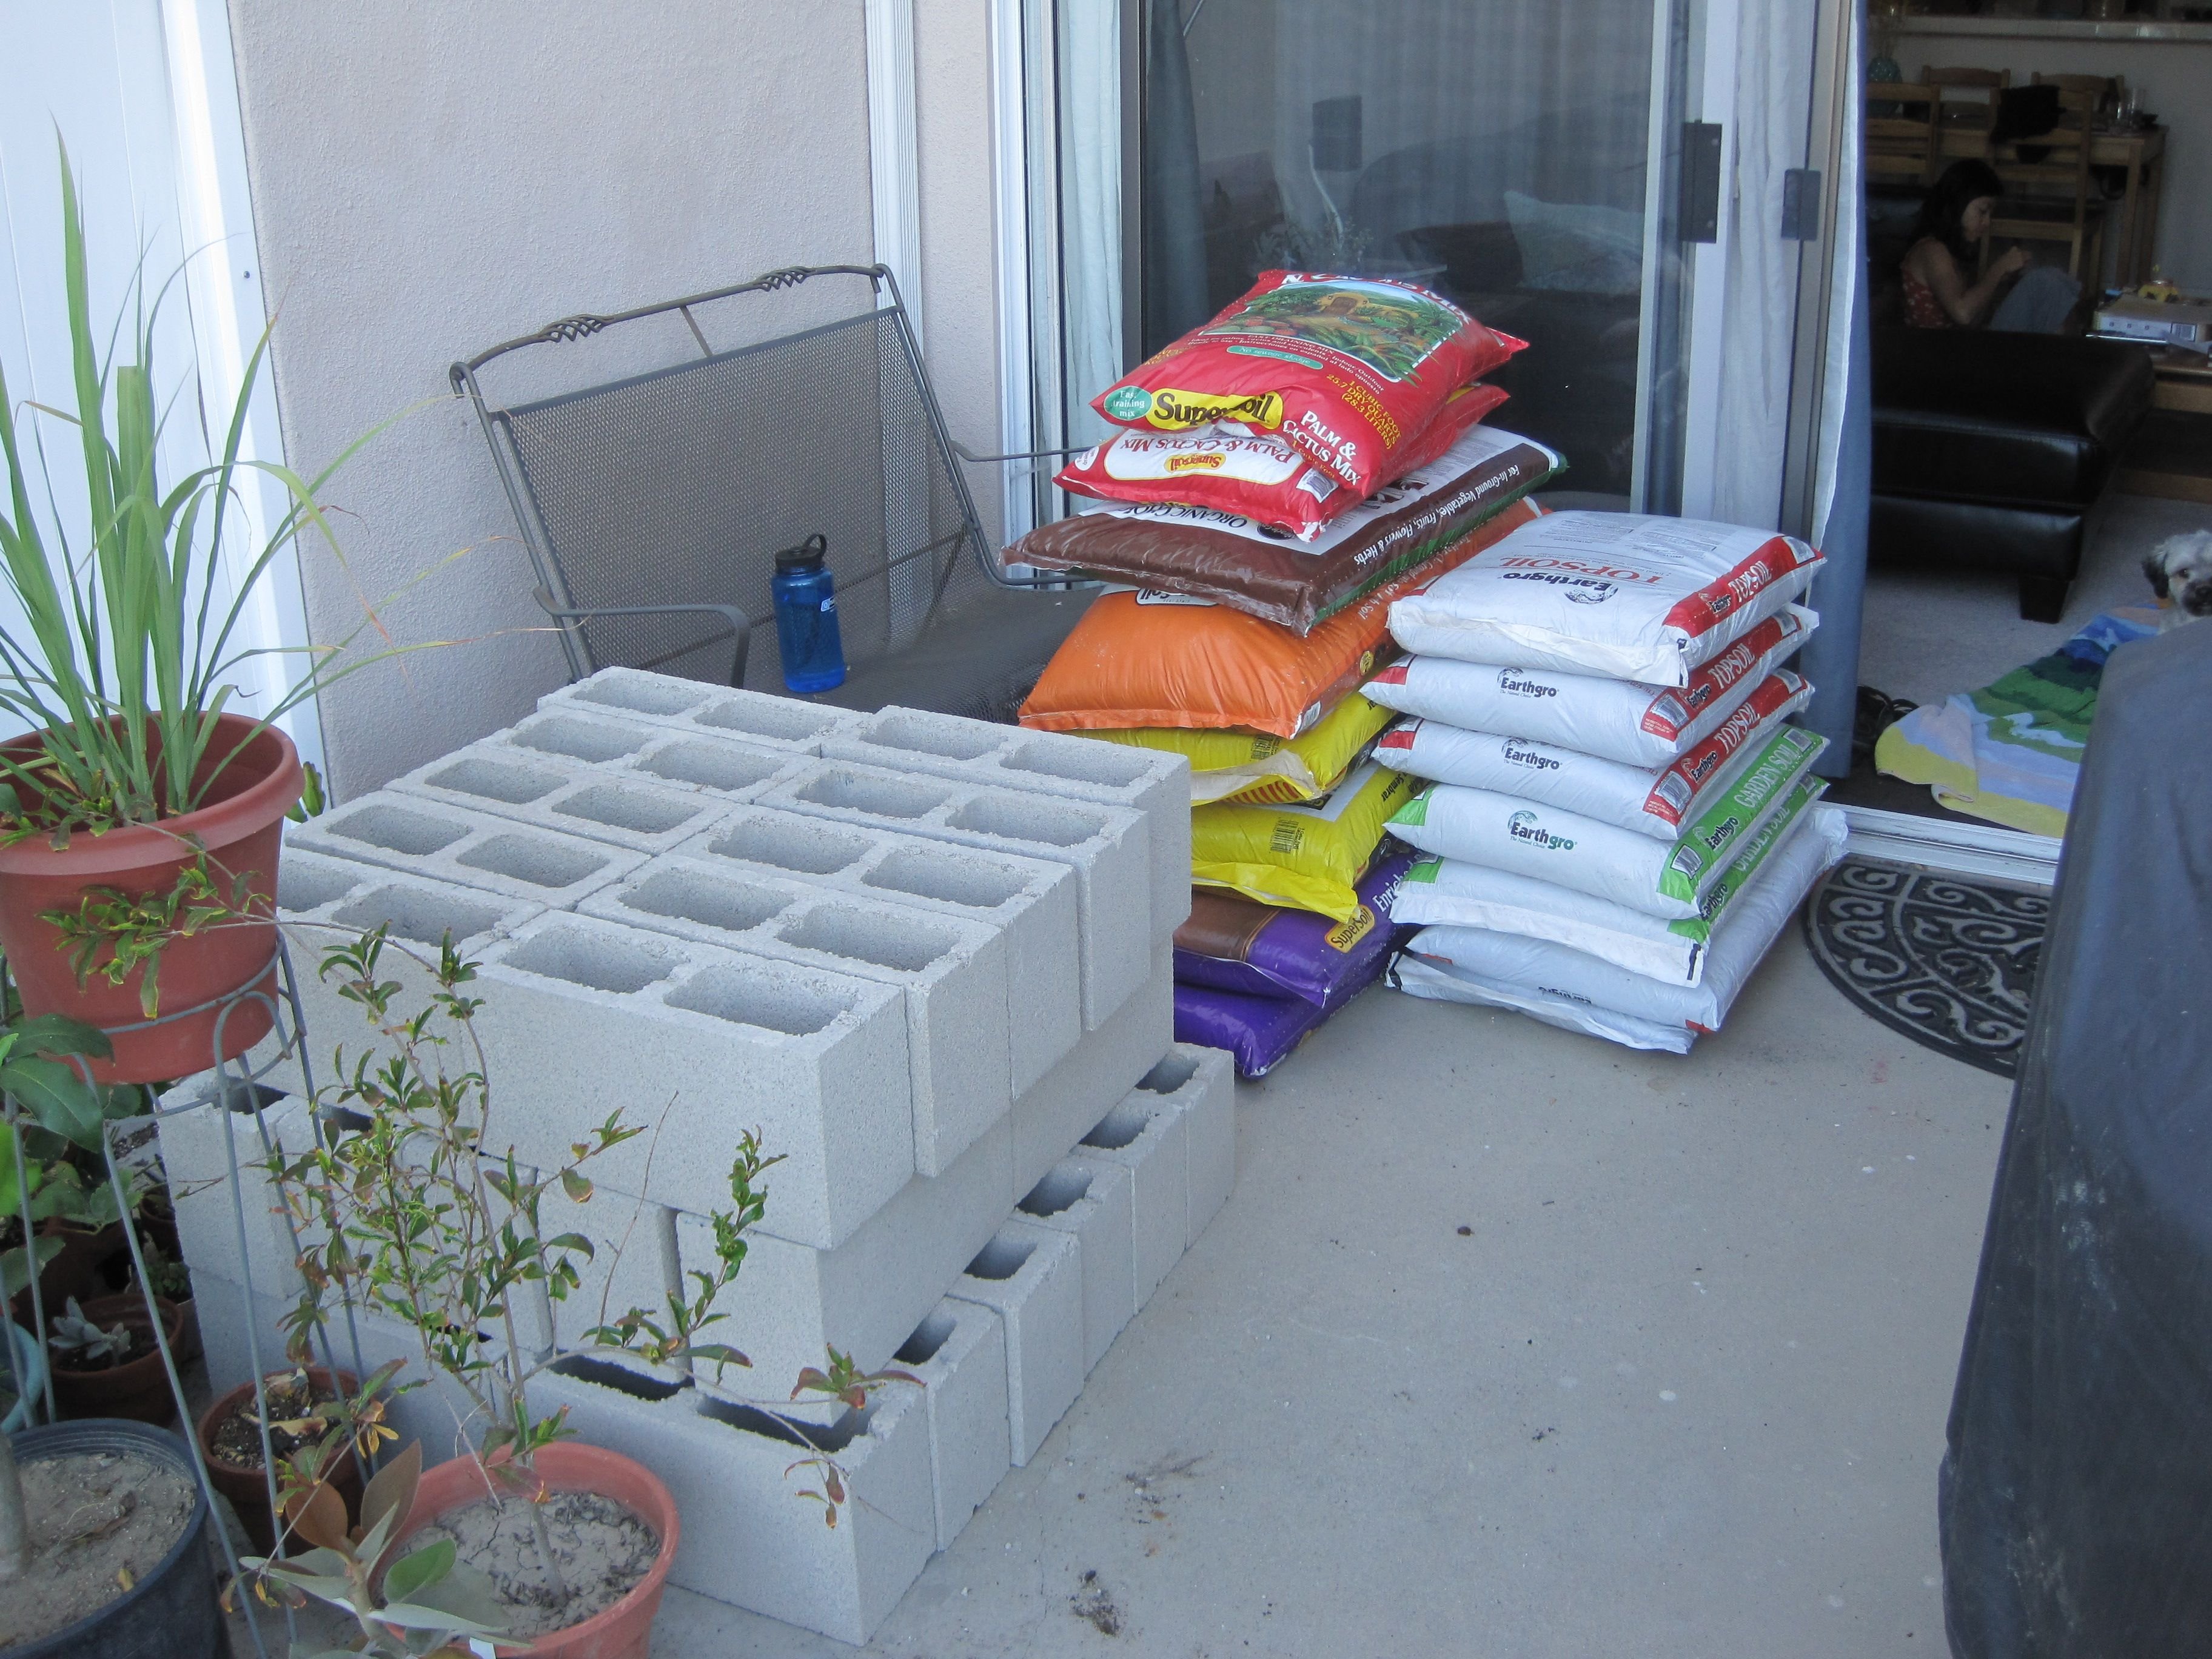
I ended up making the new raised beds out of cinder blocks because I had seen a friend do it and liked the idea.
I also invested in a BUNCH of over the counter compost from the local box store.
In retrospect I would never do that again, but at the time it made perfect sense and worked fairly well (more on that later).
I was reading Square Foot Gardening by Mel Bartholomew and the book had a lot of influence over my choices to grow in raised beds, use of industrial compost and space intensive veggie gardening as you will see momentarily.
Its a good book for beginning gardeners and helped me understand a lot about what is possible with growing a lot of veggies in small spaces. The fact that companion gardening is encouraged was also very helpful going forward. An easy read.
However I did not follow the rigid instructions for subdividing raised beds by square feet for planting and planning. While I am a planner I also like creativity, going with the flow, and natural aspect of gardening. For me both play AND function are important. The spacing rules set out in Square Foot Gardening helped me understand how different veggies have different space requirements both horizontally and vertically. This is key. And I kept that in the back of my head while I planted more free-form.
I am really glad I took this approach. Over the years I've tried a lot of strategies from totally random planting to rigid patterns and measurements. Having tried both approaches really helped me understand how plants respond to different spacing. A lot of it comes down to access to light and soil fertility.
At the end of the day I now follow a wise mantra that is borrowed from a friend:
Don't Panic, Its Organic!
This is now my only rule to planting. Stick it in the ground and nature takes care of the rest. Sure I have guidelines from experience, but that's the only rigid rule I follow :)
My initial approach was direct sowing seeds in very tightly spaced rows. As the plants grew I would thin them to the desired spacing.
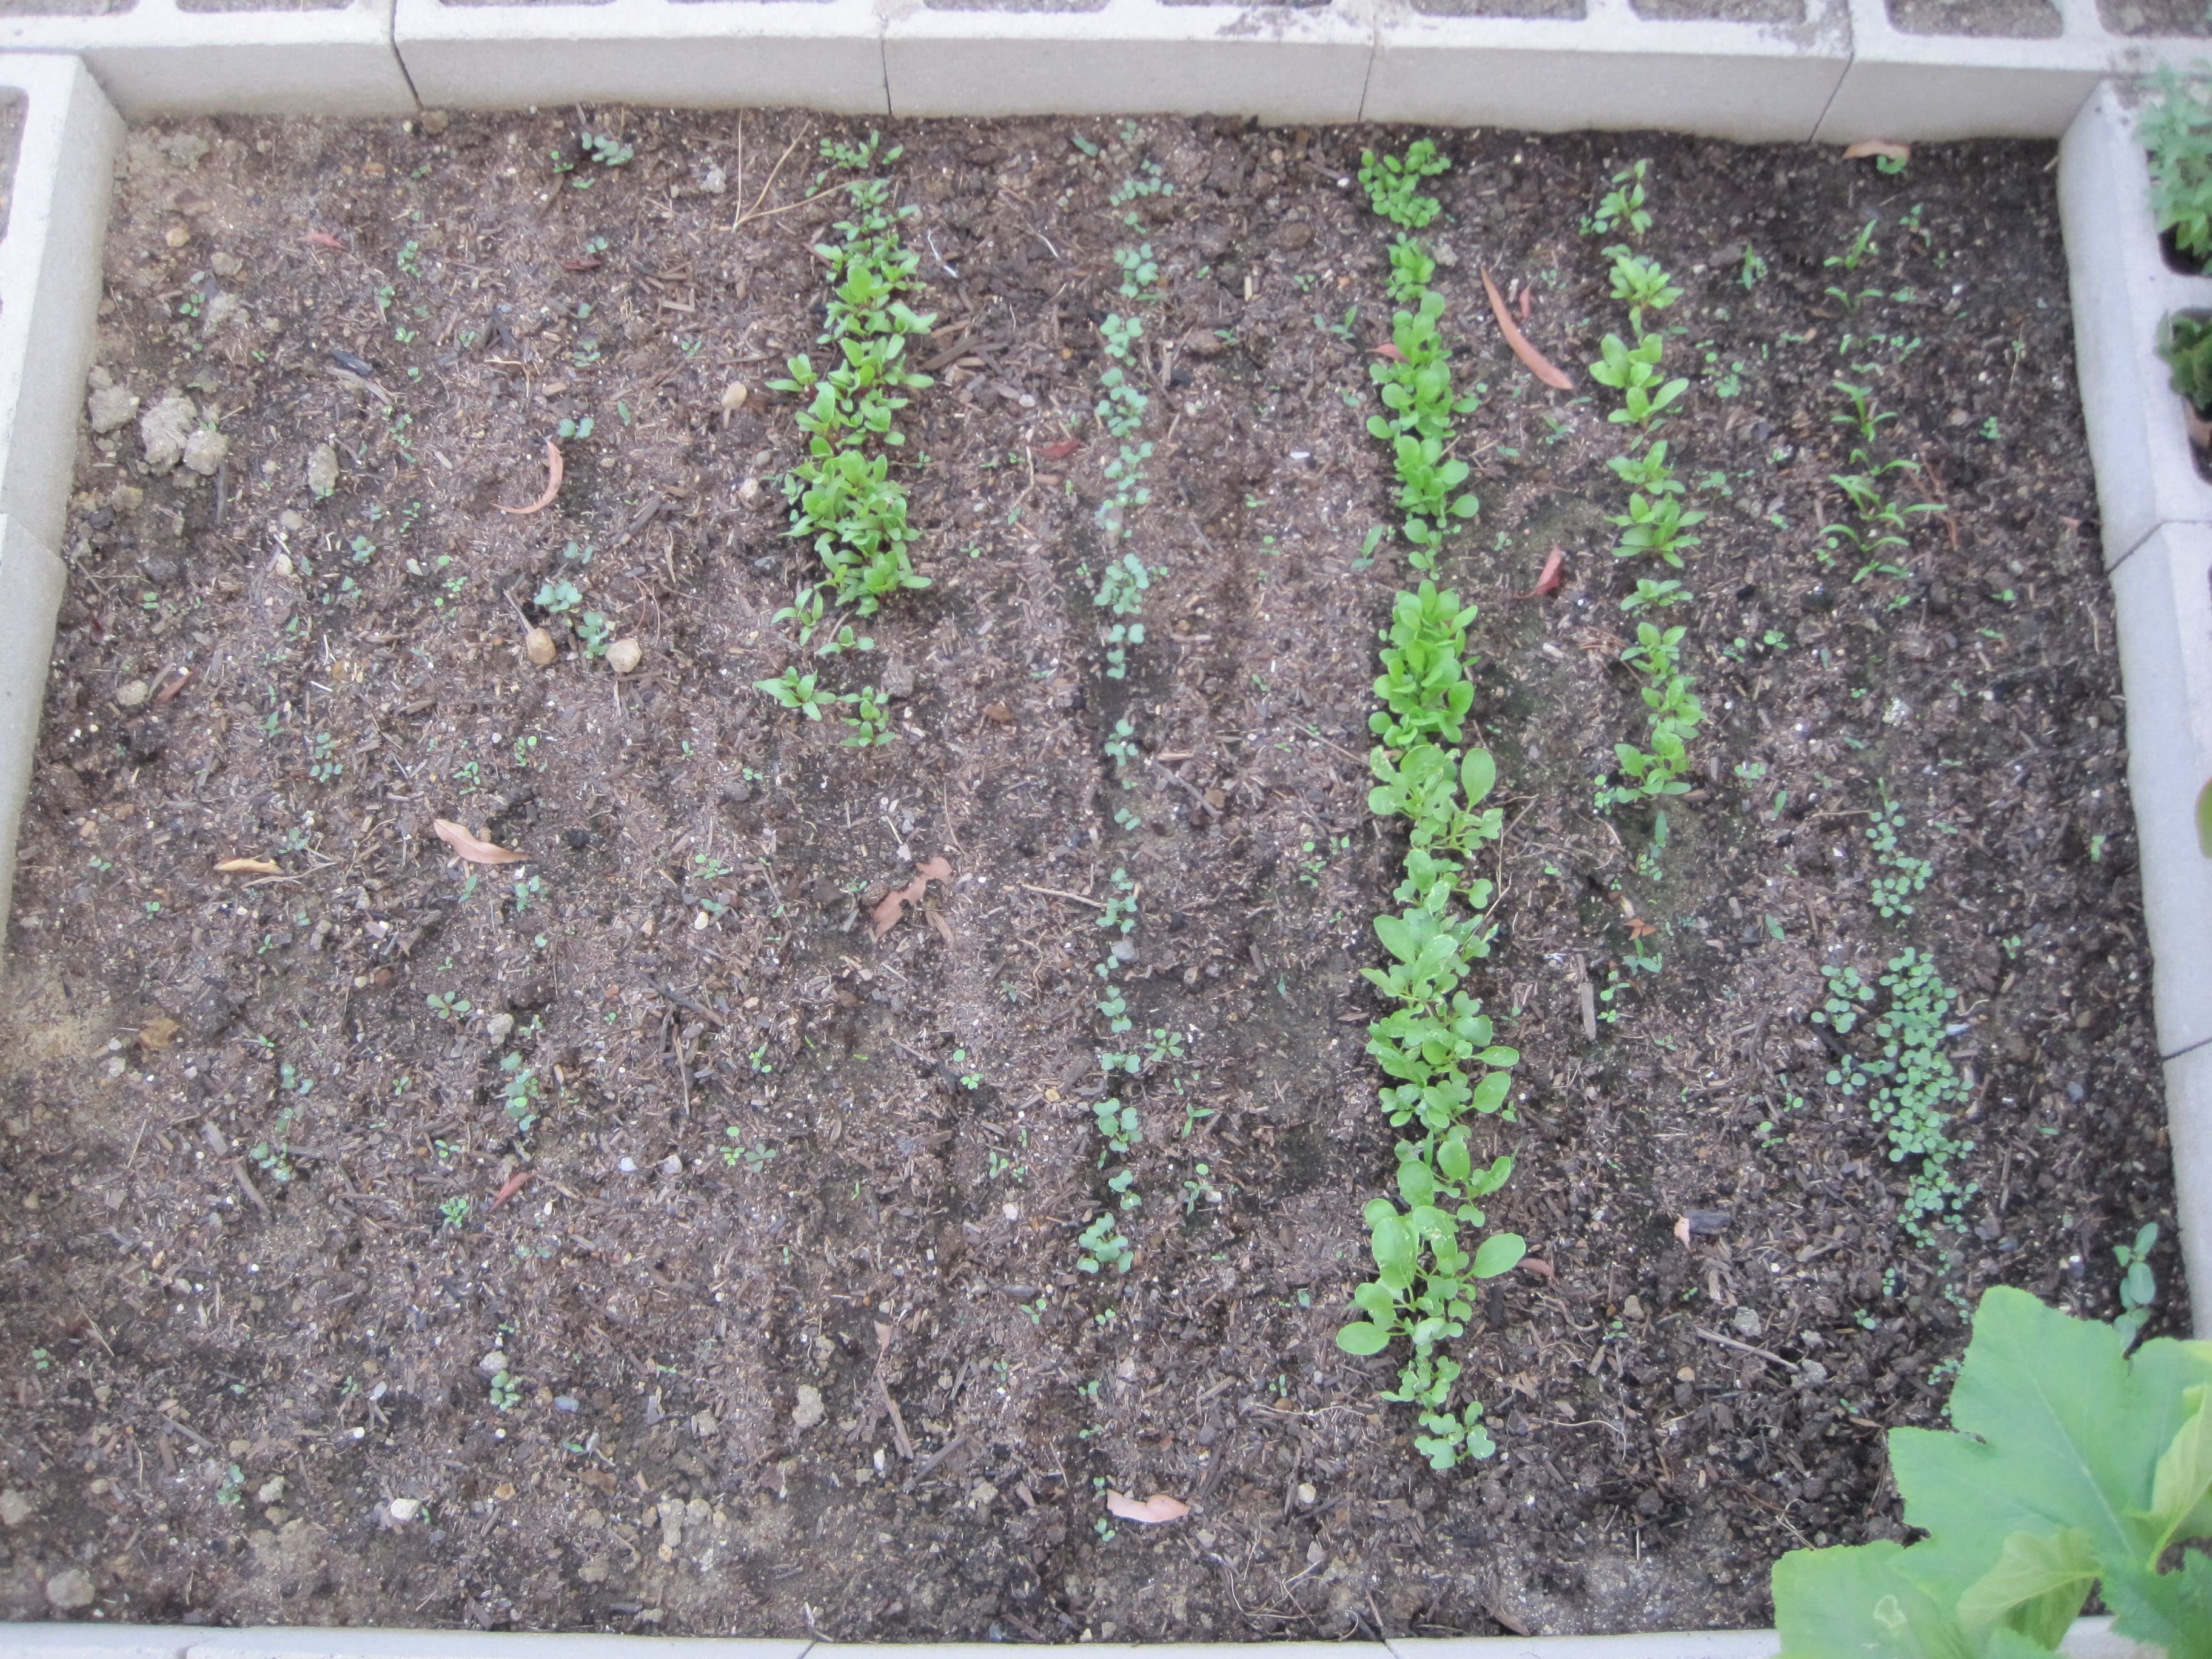
I was also learning the time to germination for different seeds, and how some seeds are pickier than others when it comes to sprouting!
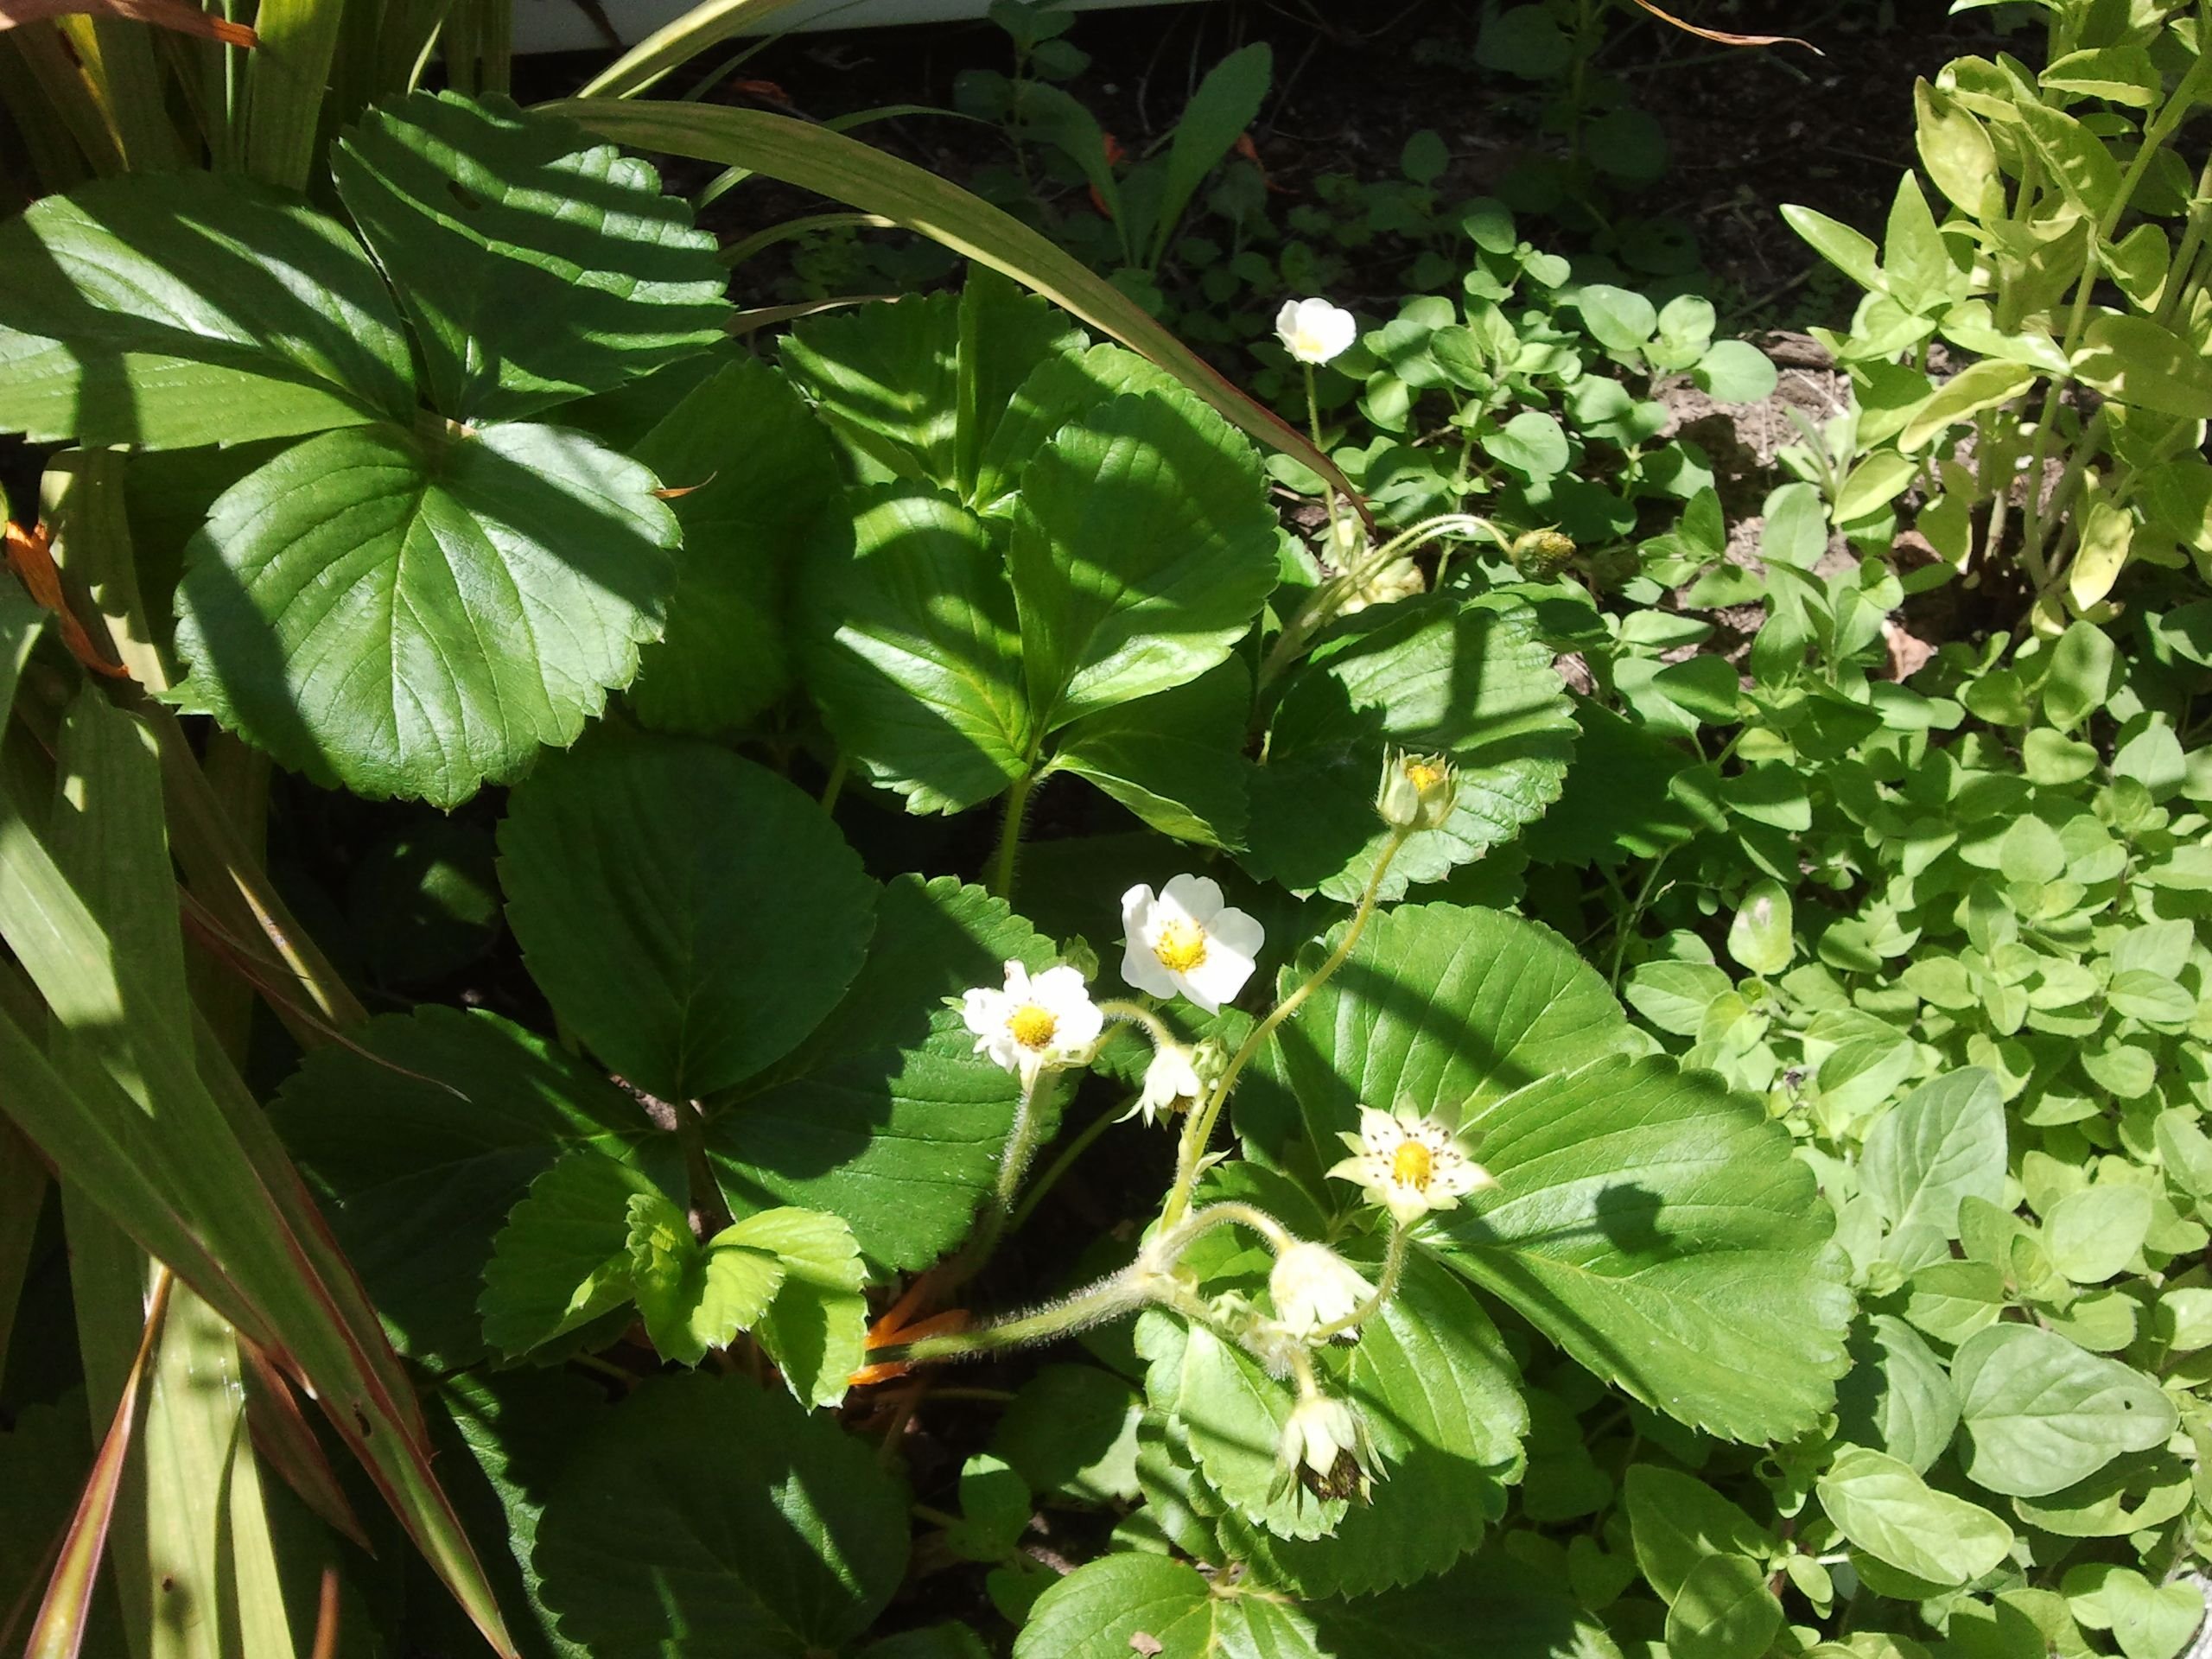
This is what it was looking like with some new green sprouts and the native plants starting to establish.
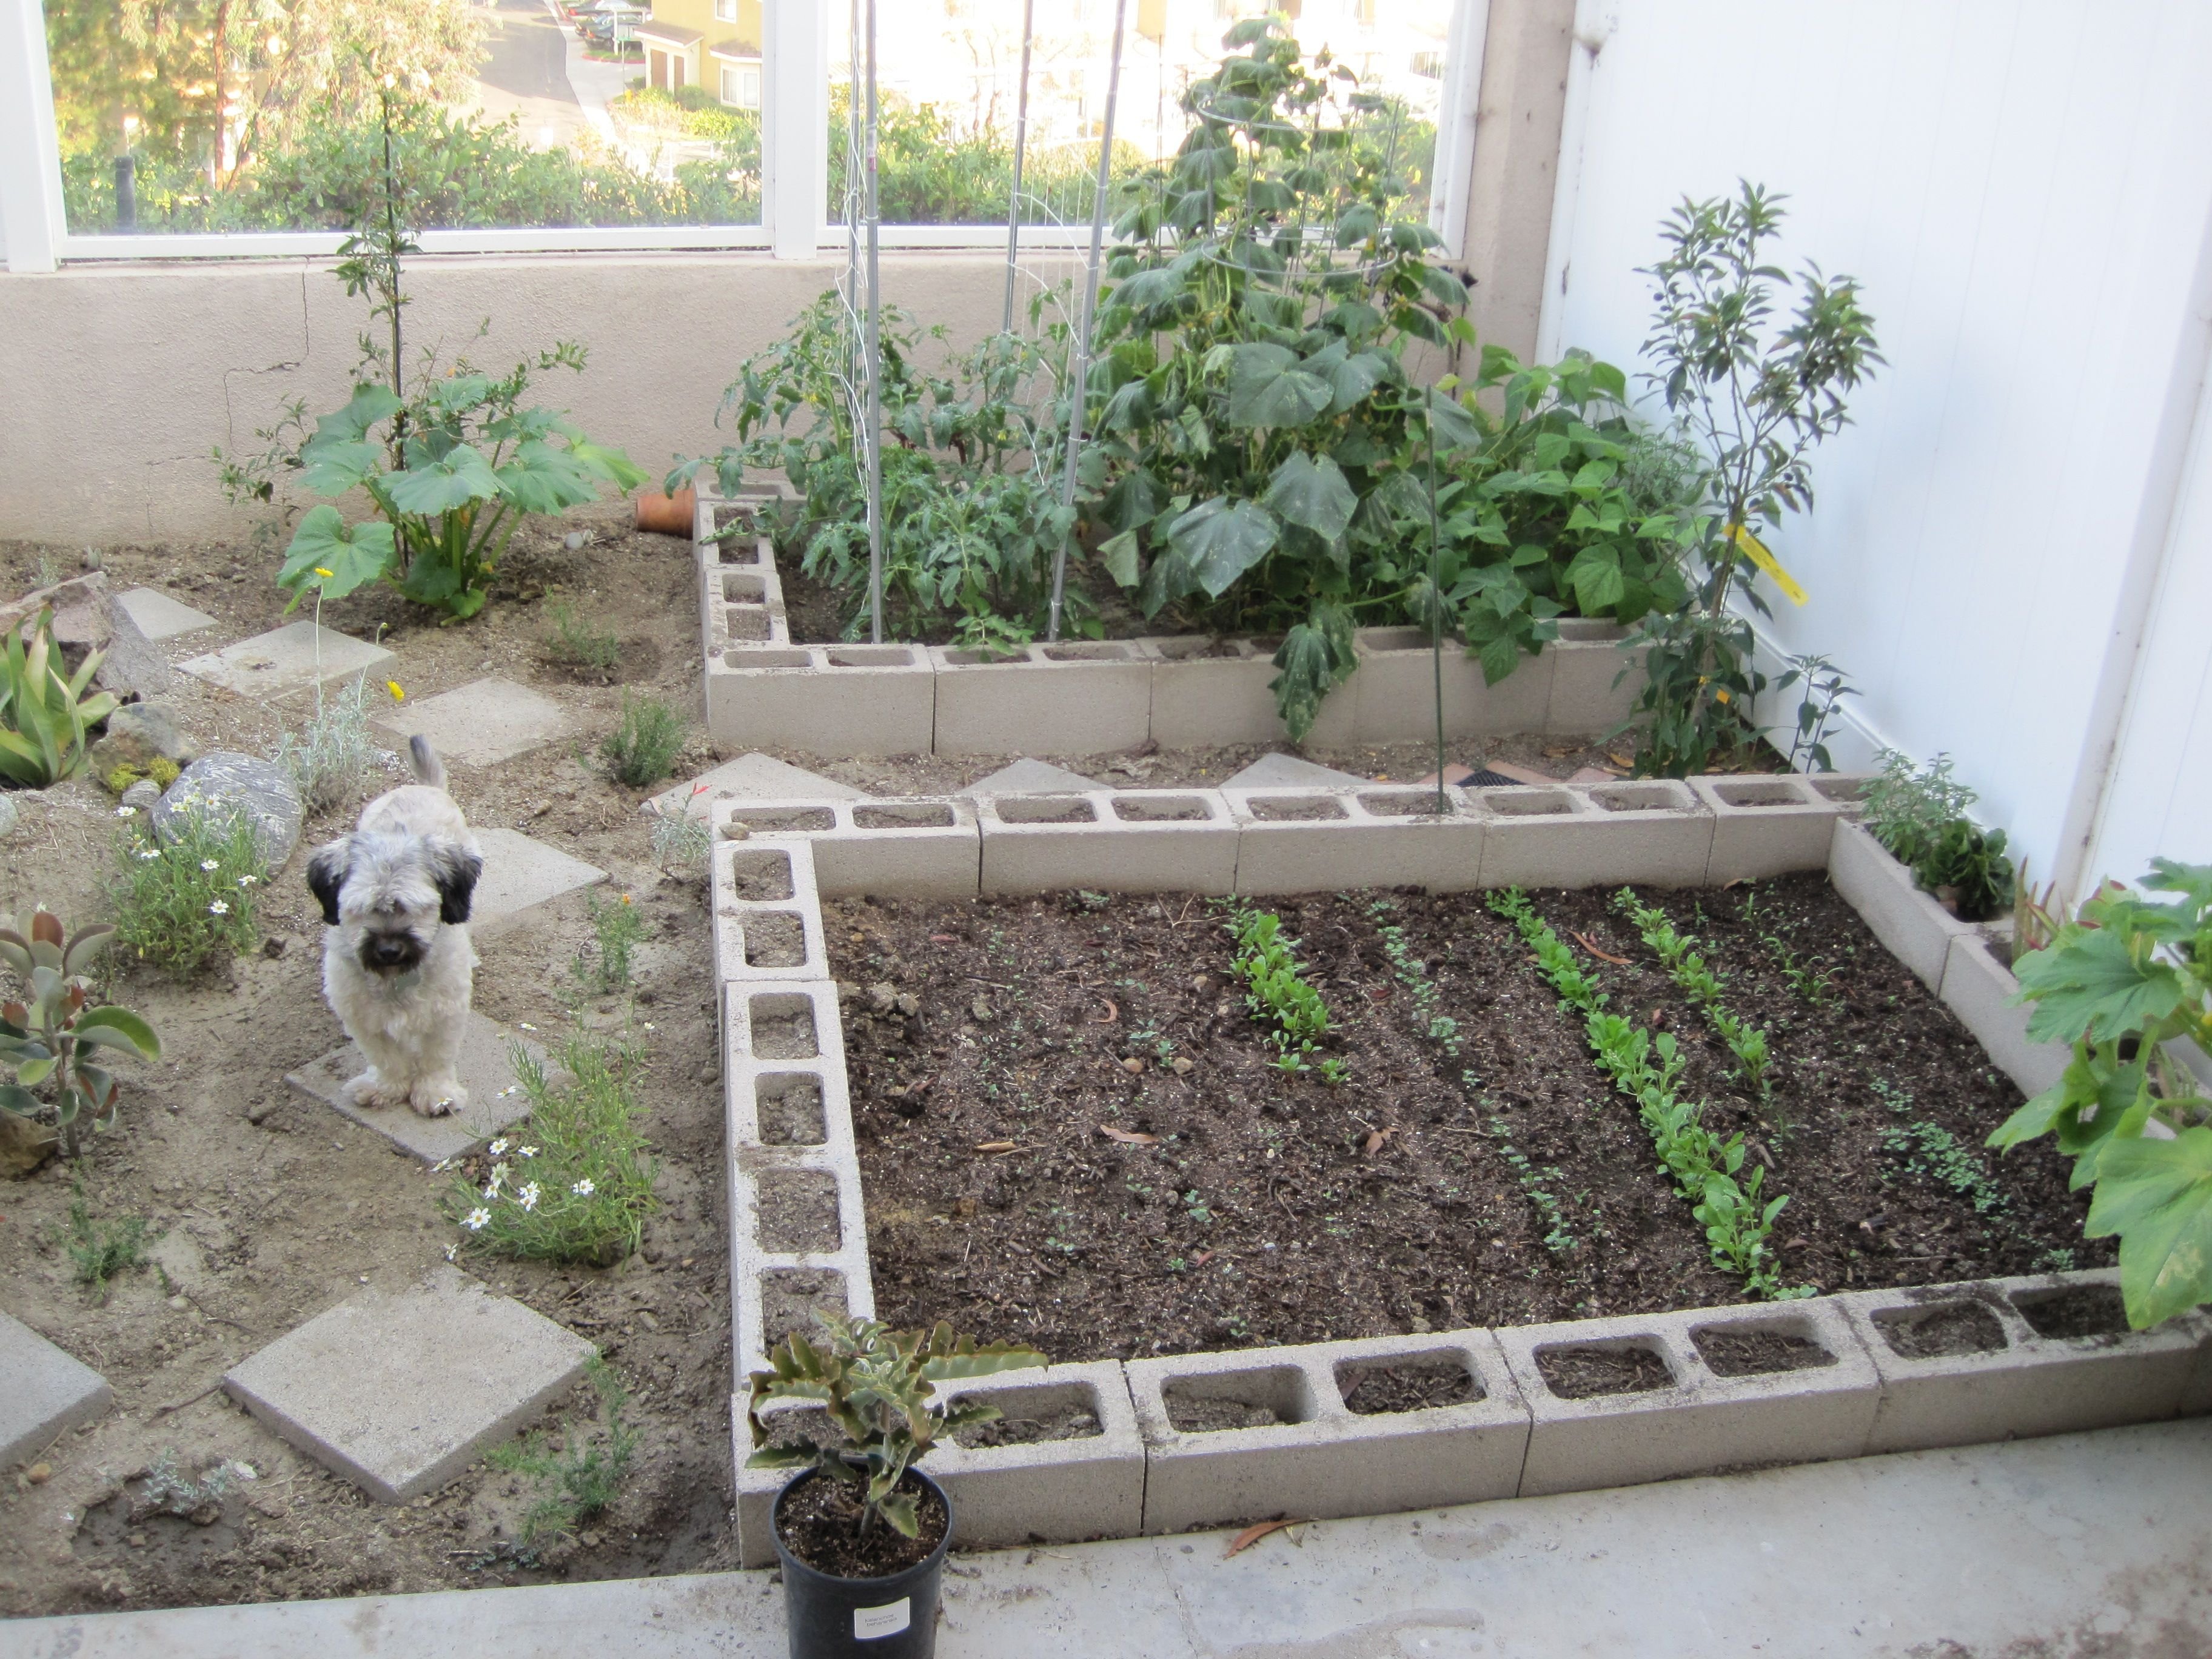
This approach worked pretty well! You can see that I have since thinned out quite a few of those initial sprouts which ended up being salads and stir fries.
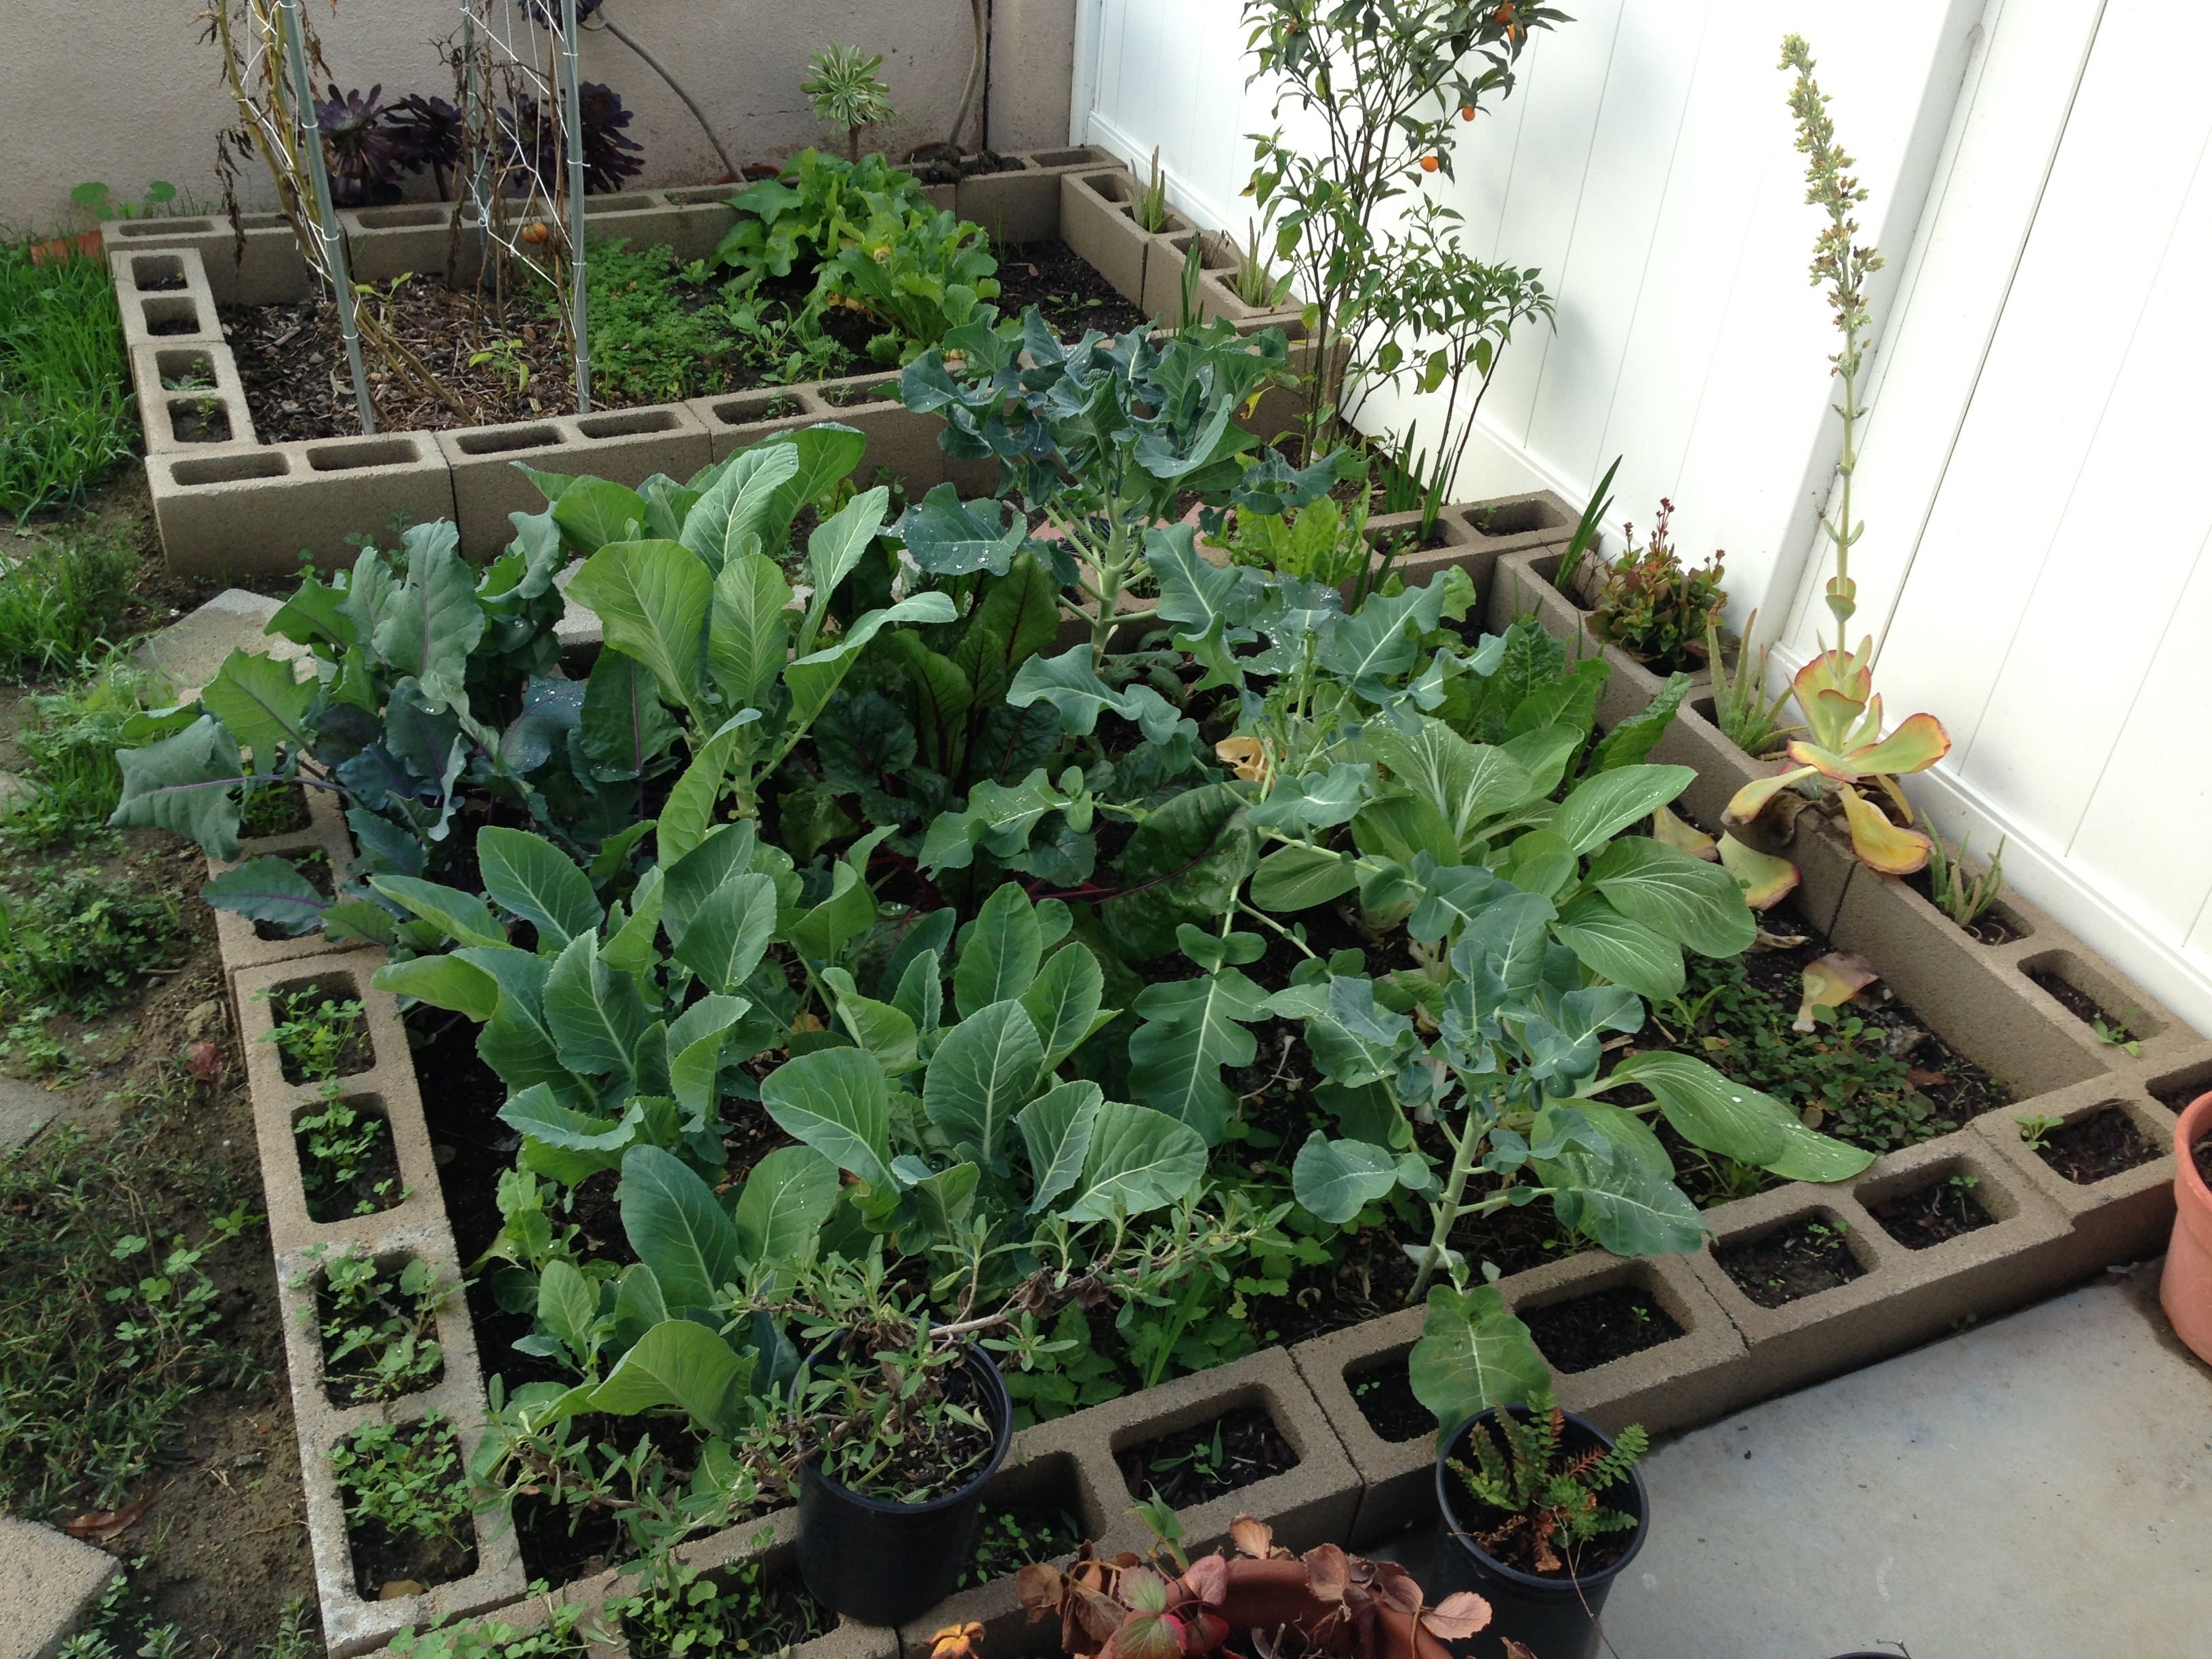
The greens grew really well and I ate greens like a king.
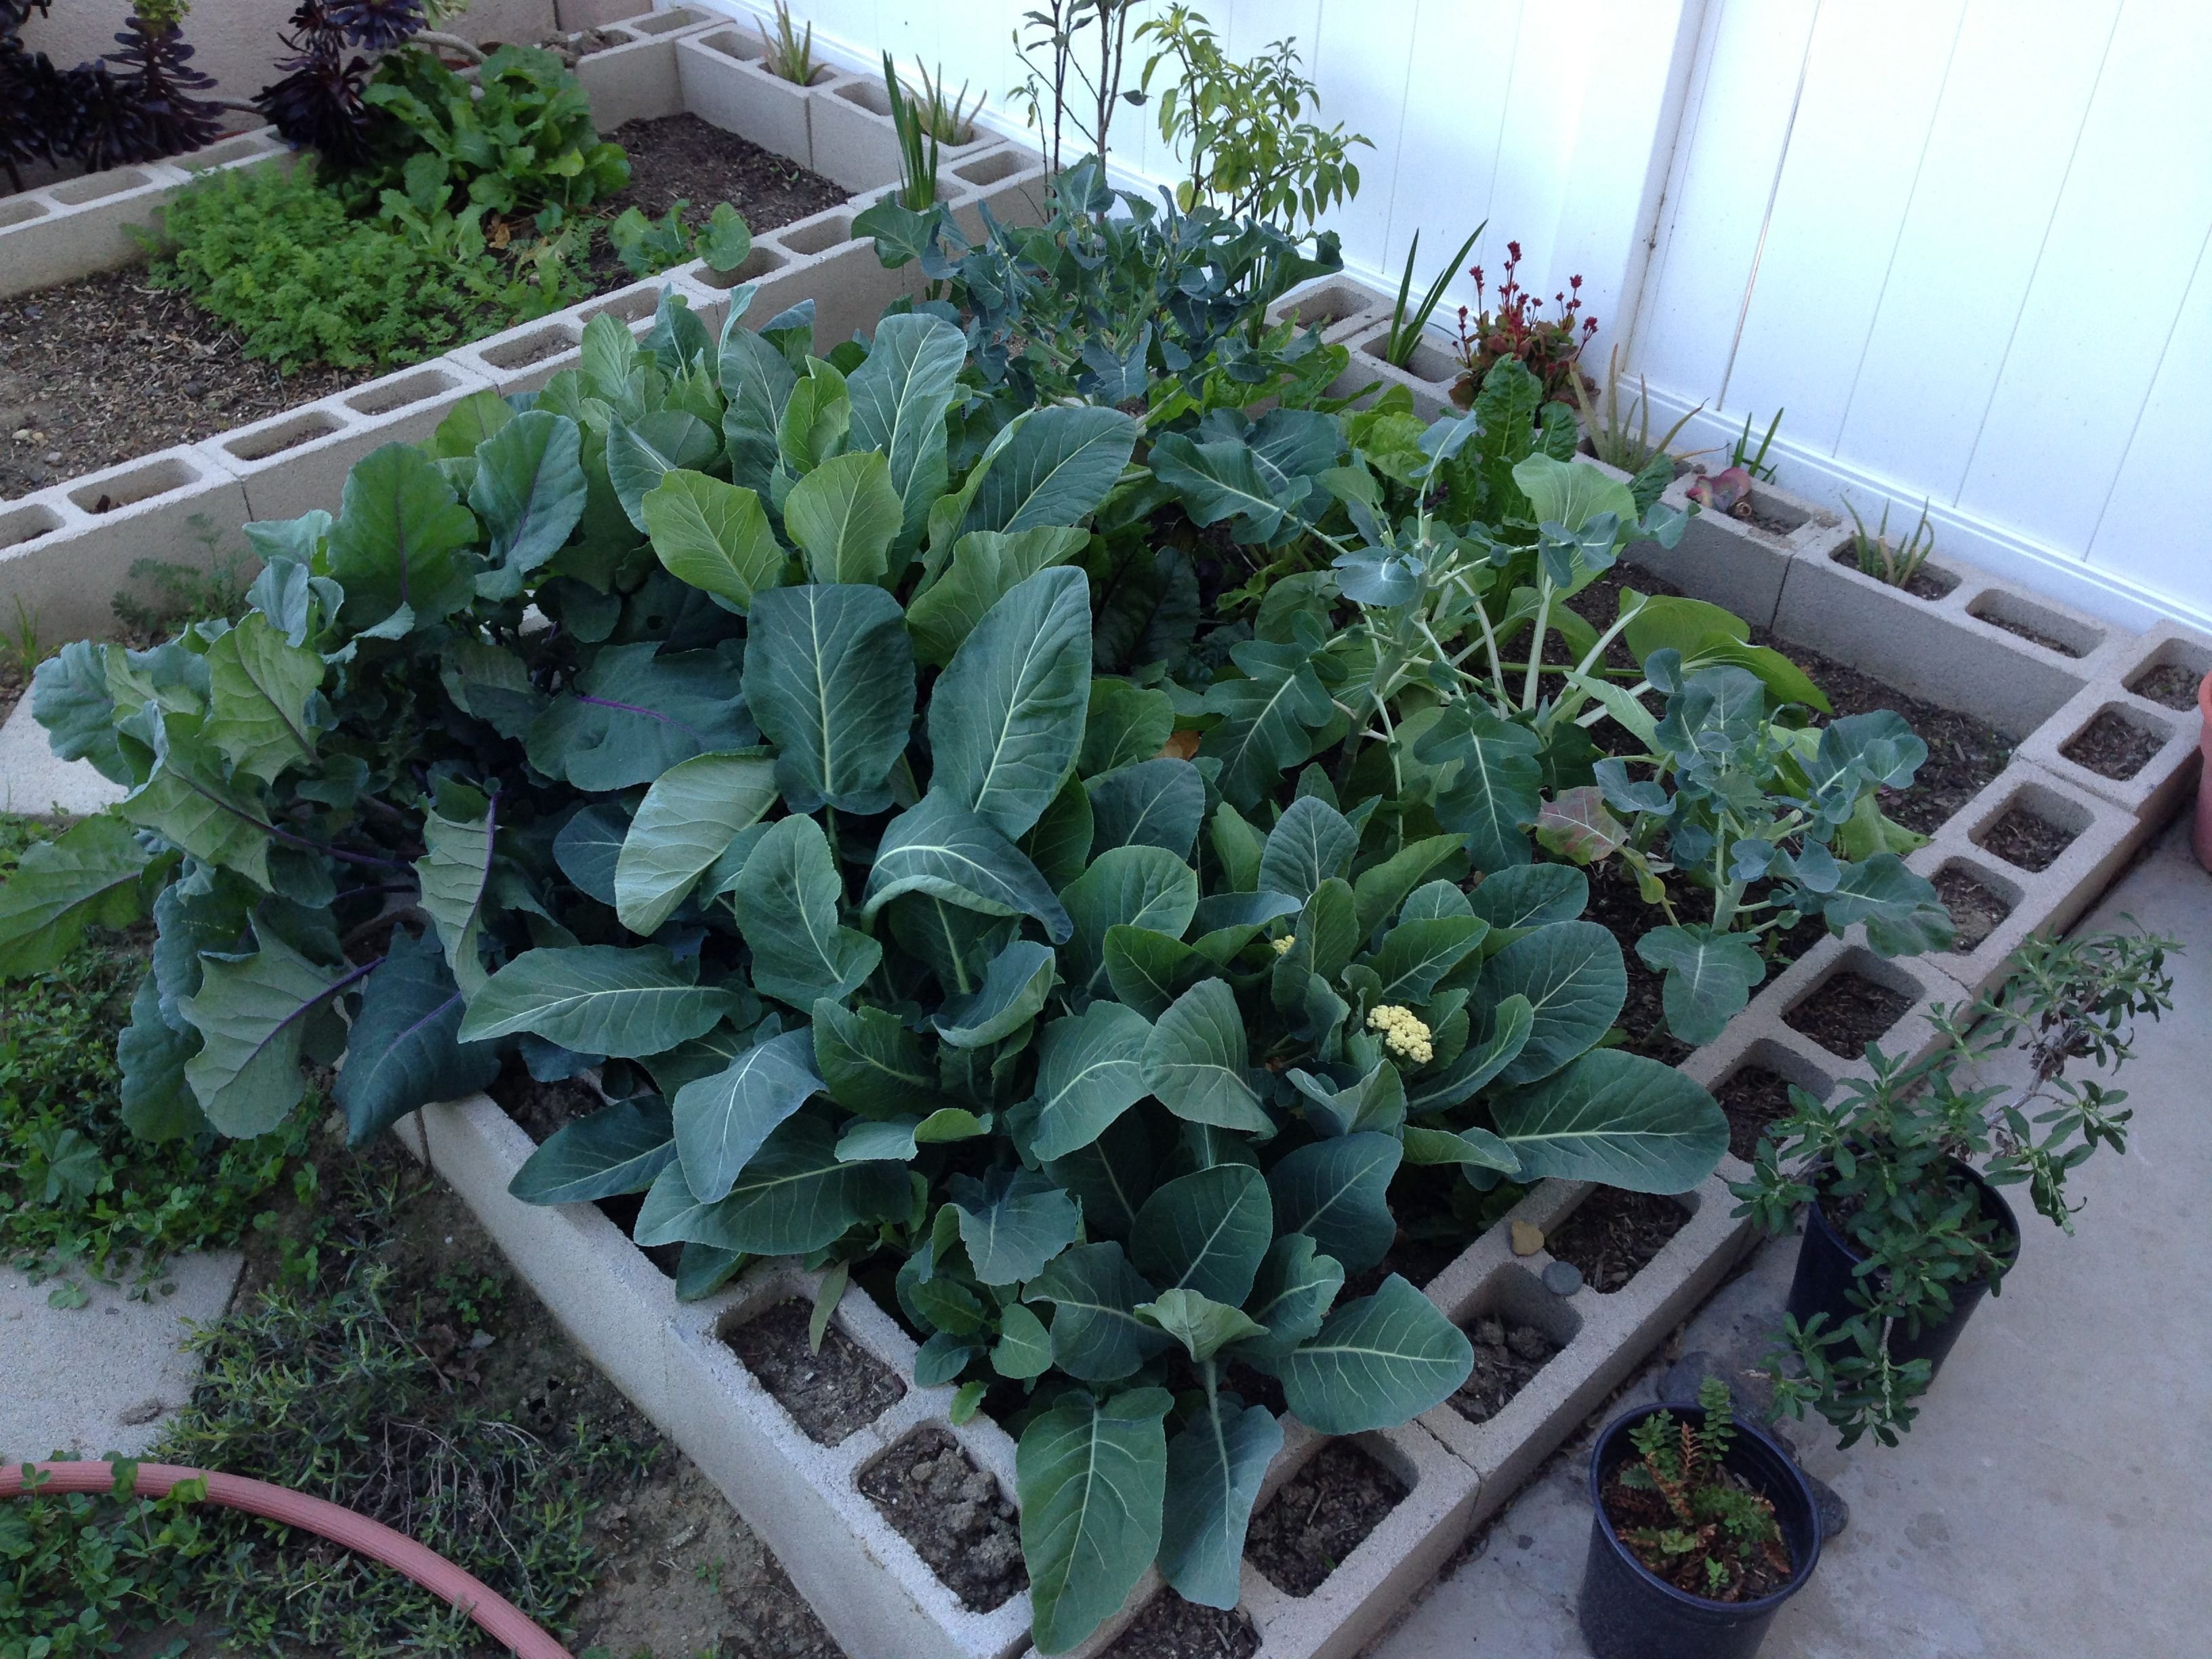
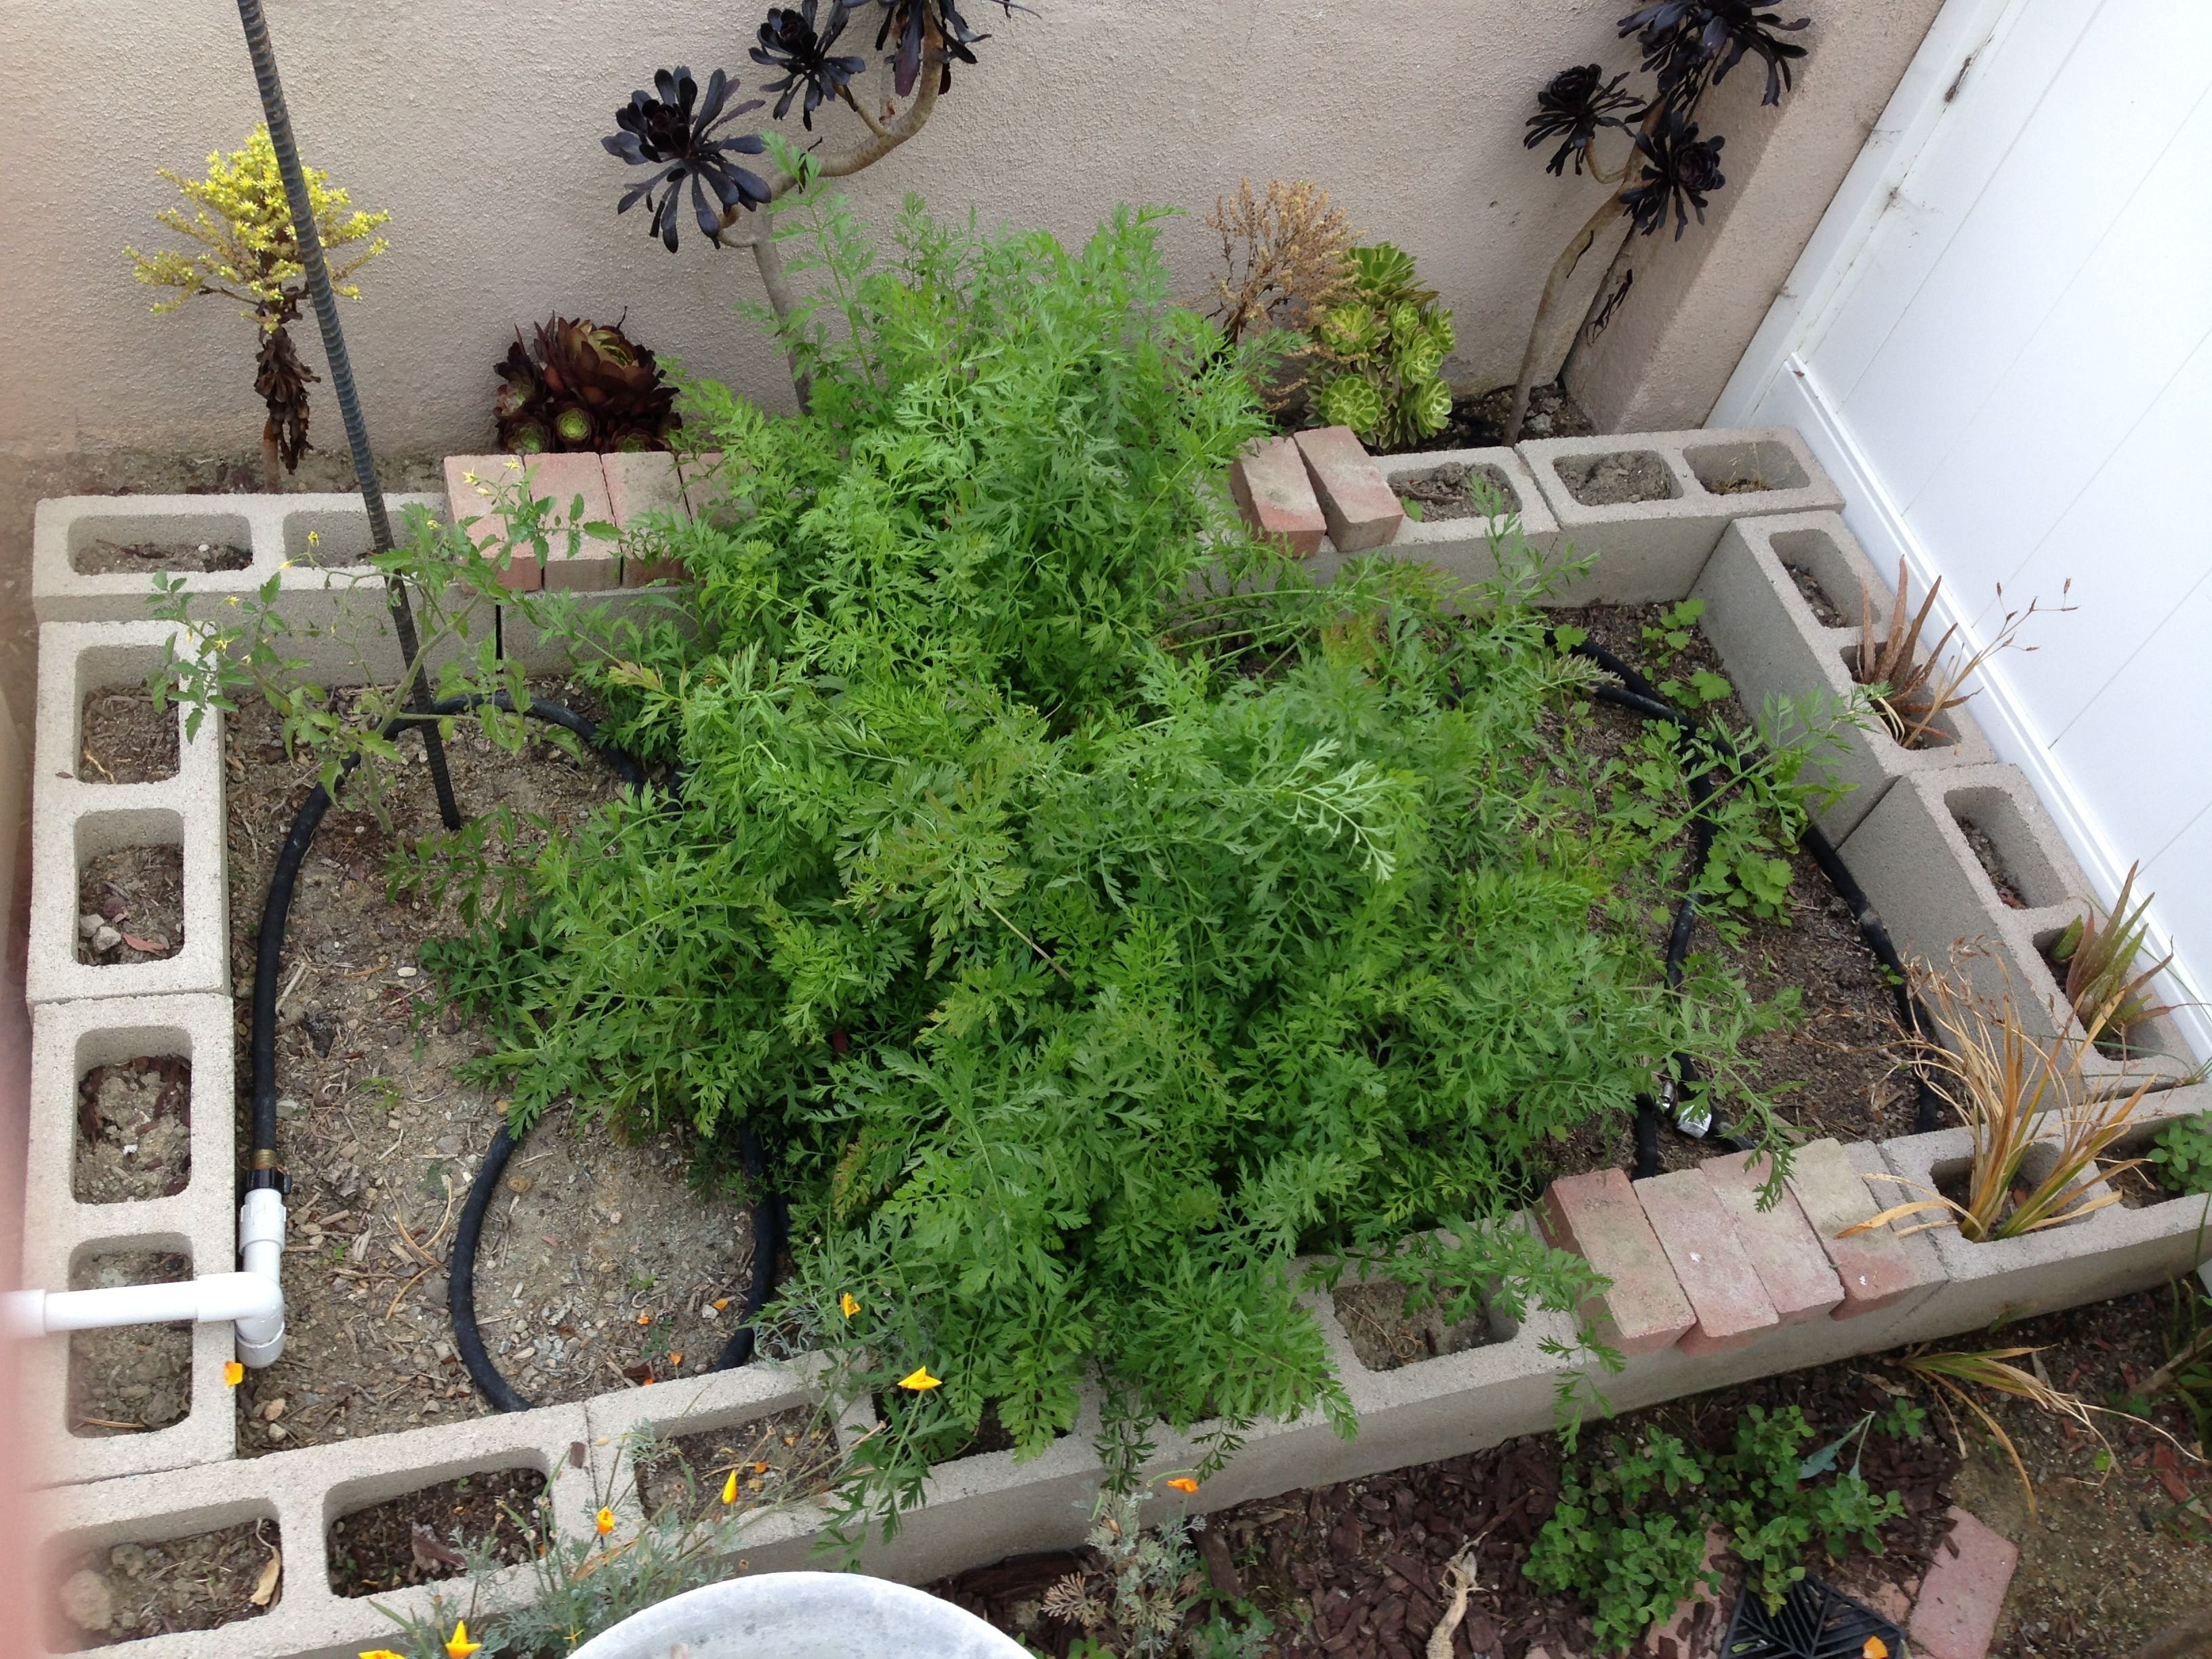
Carrots grew really well too.
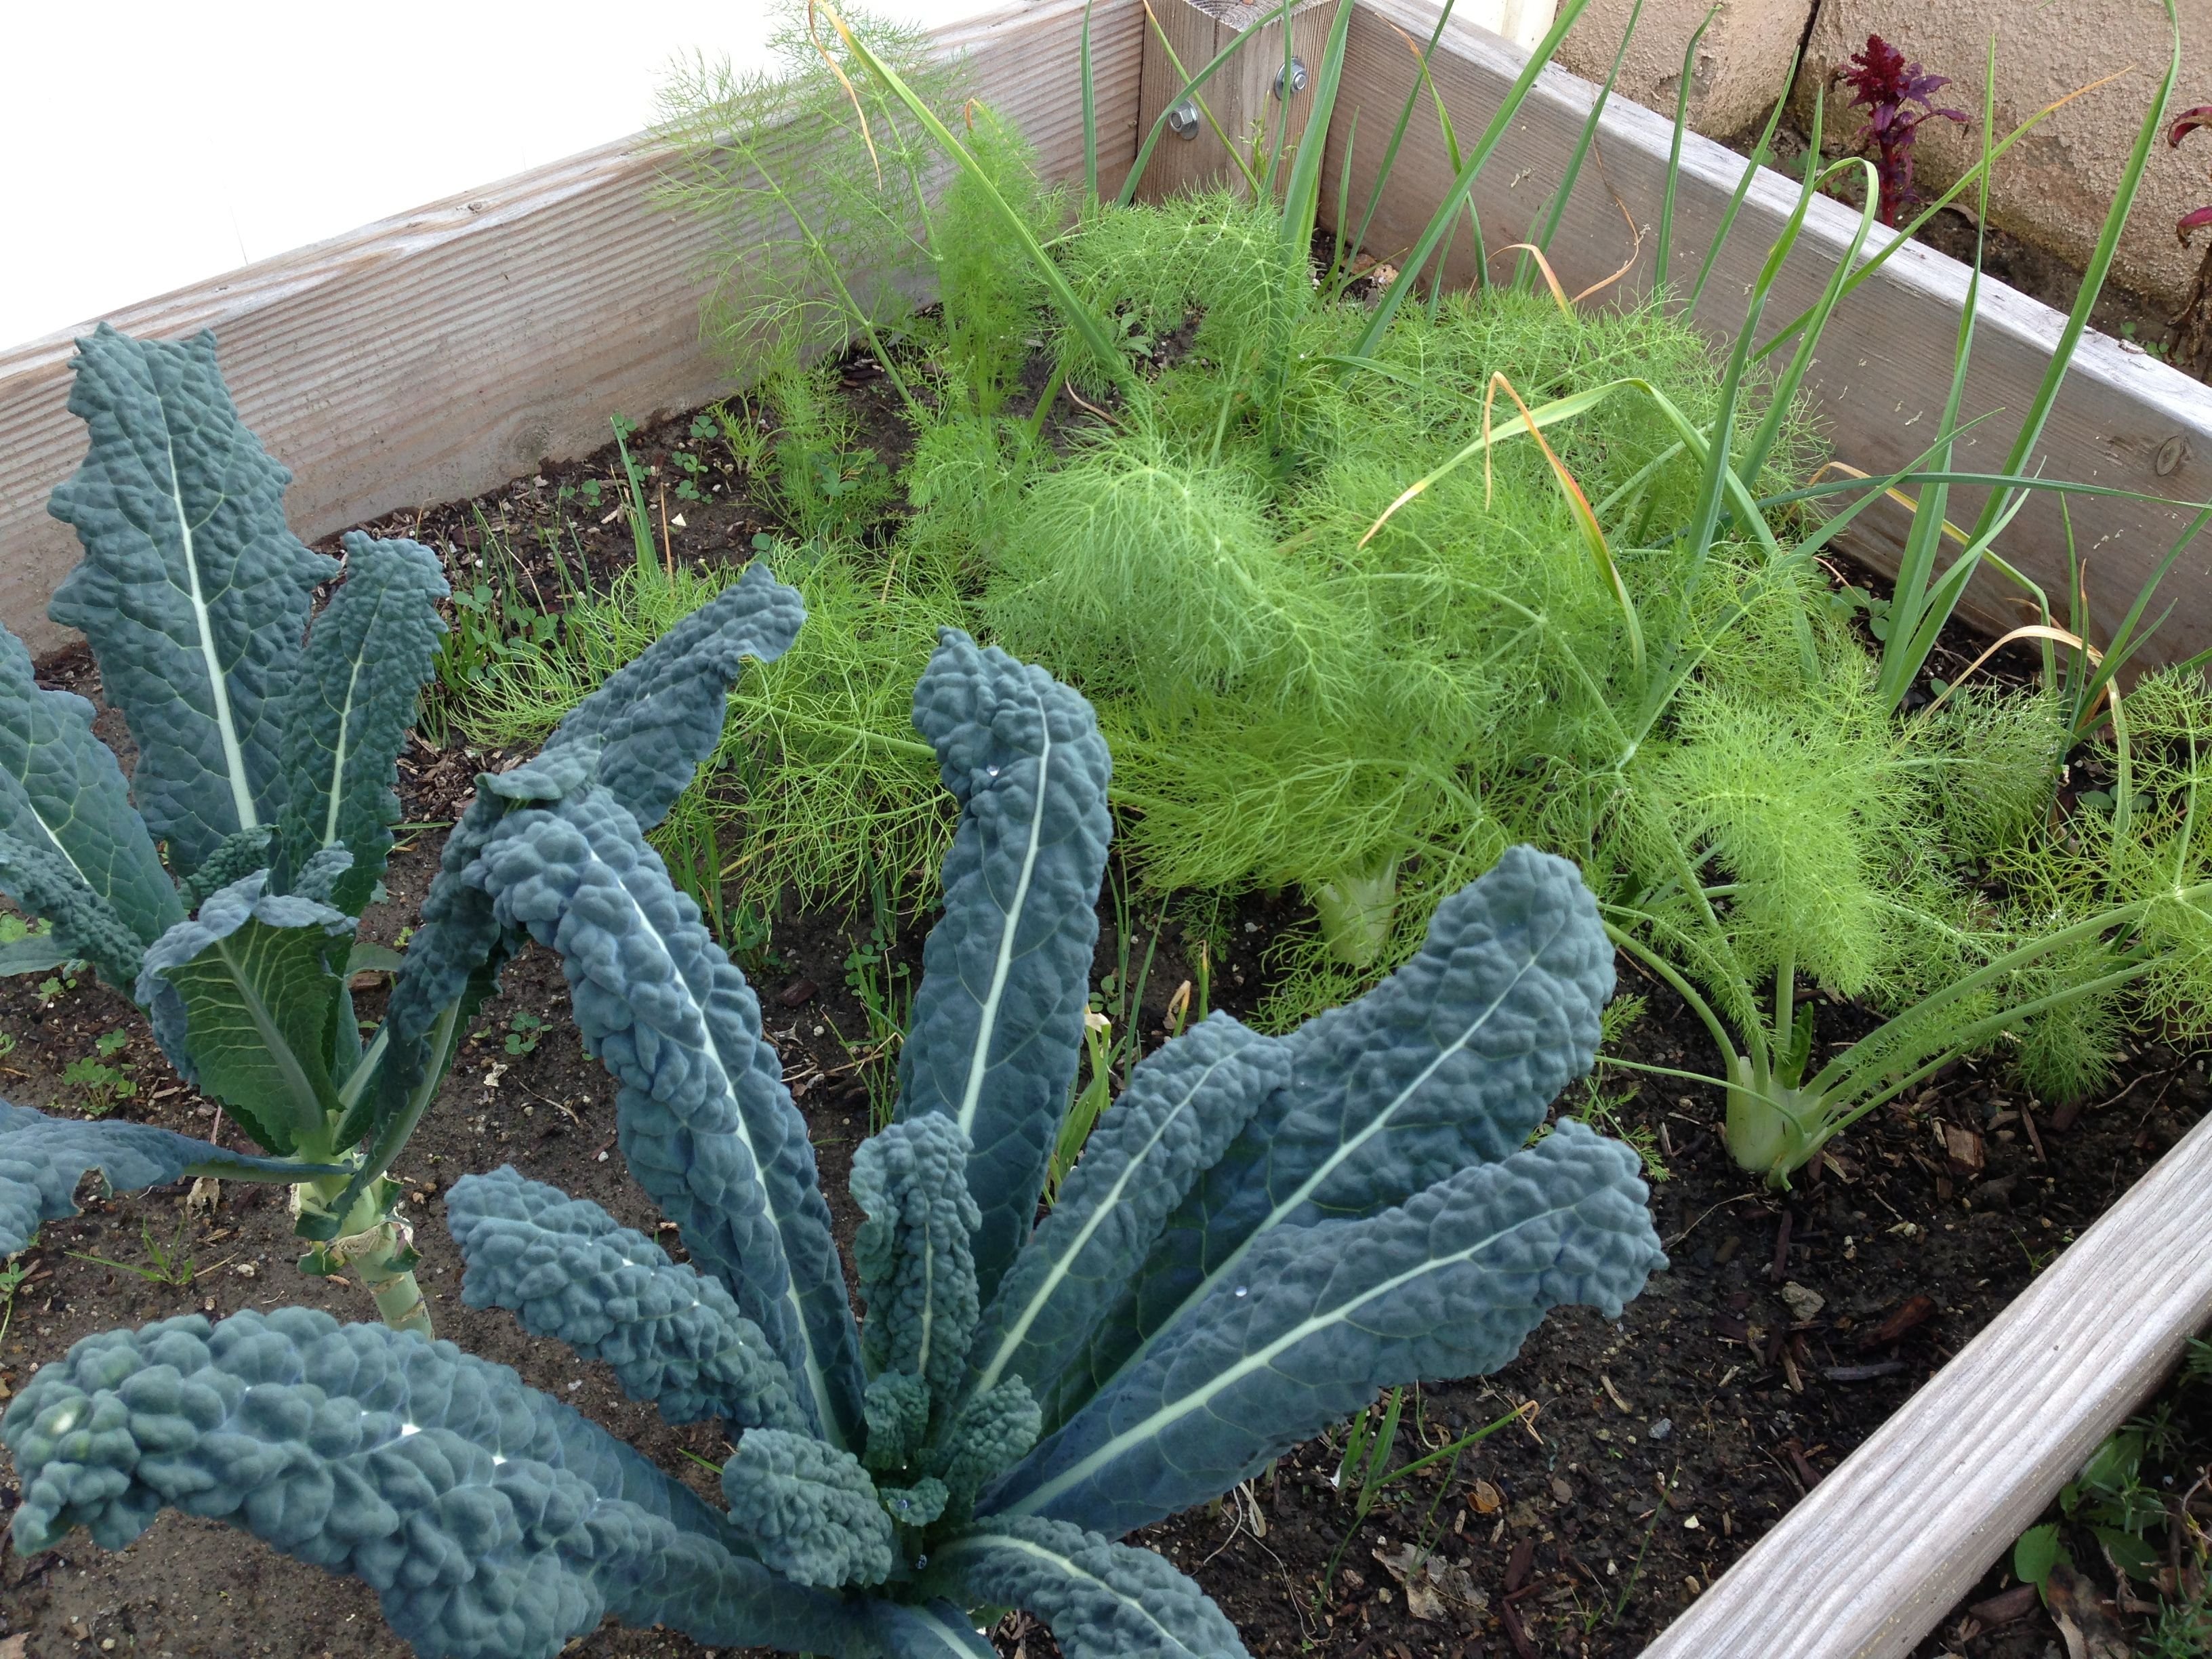
Kale and fennel were busting!
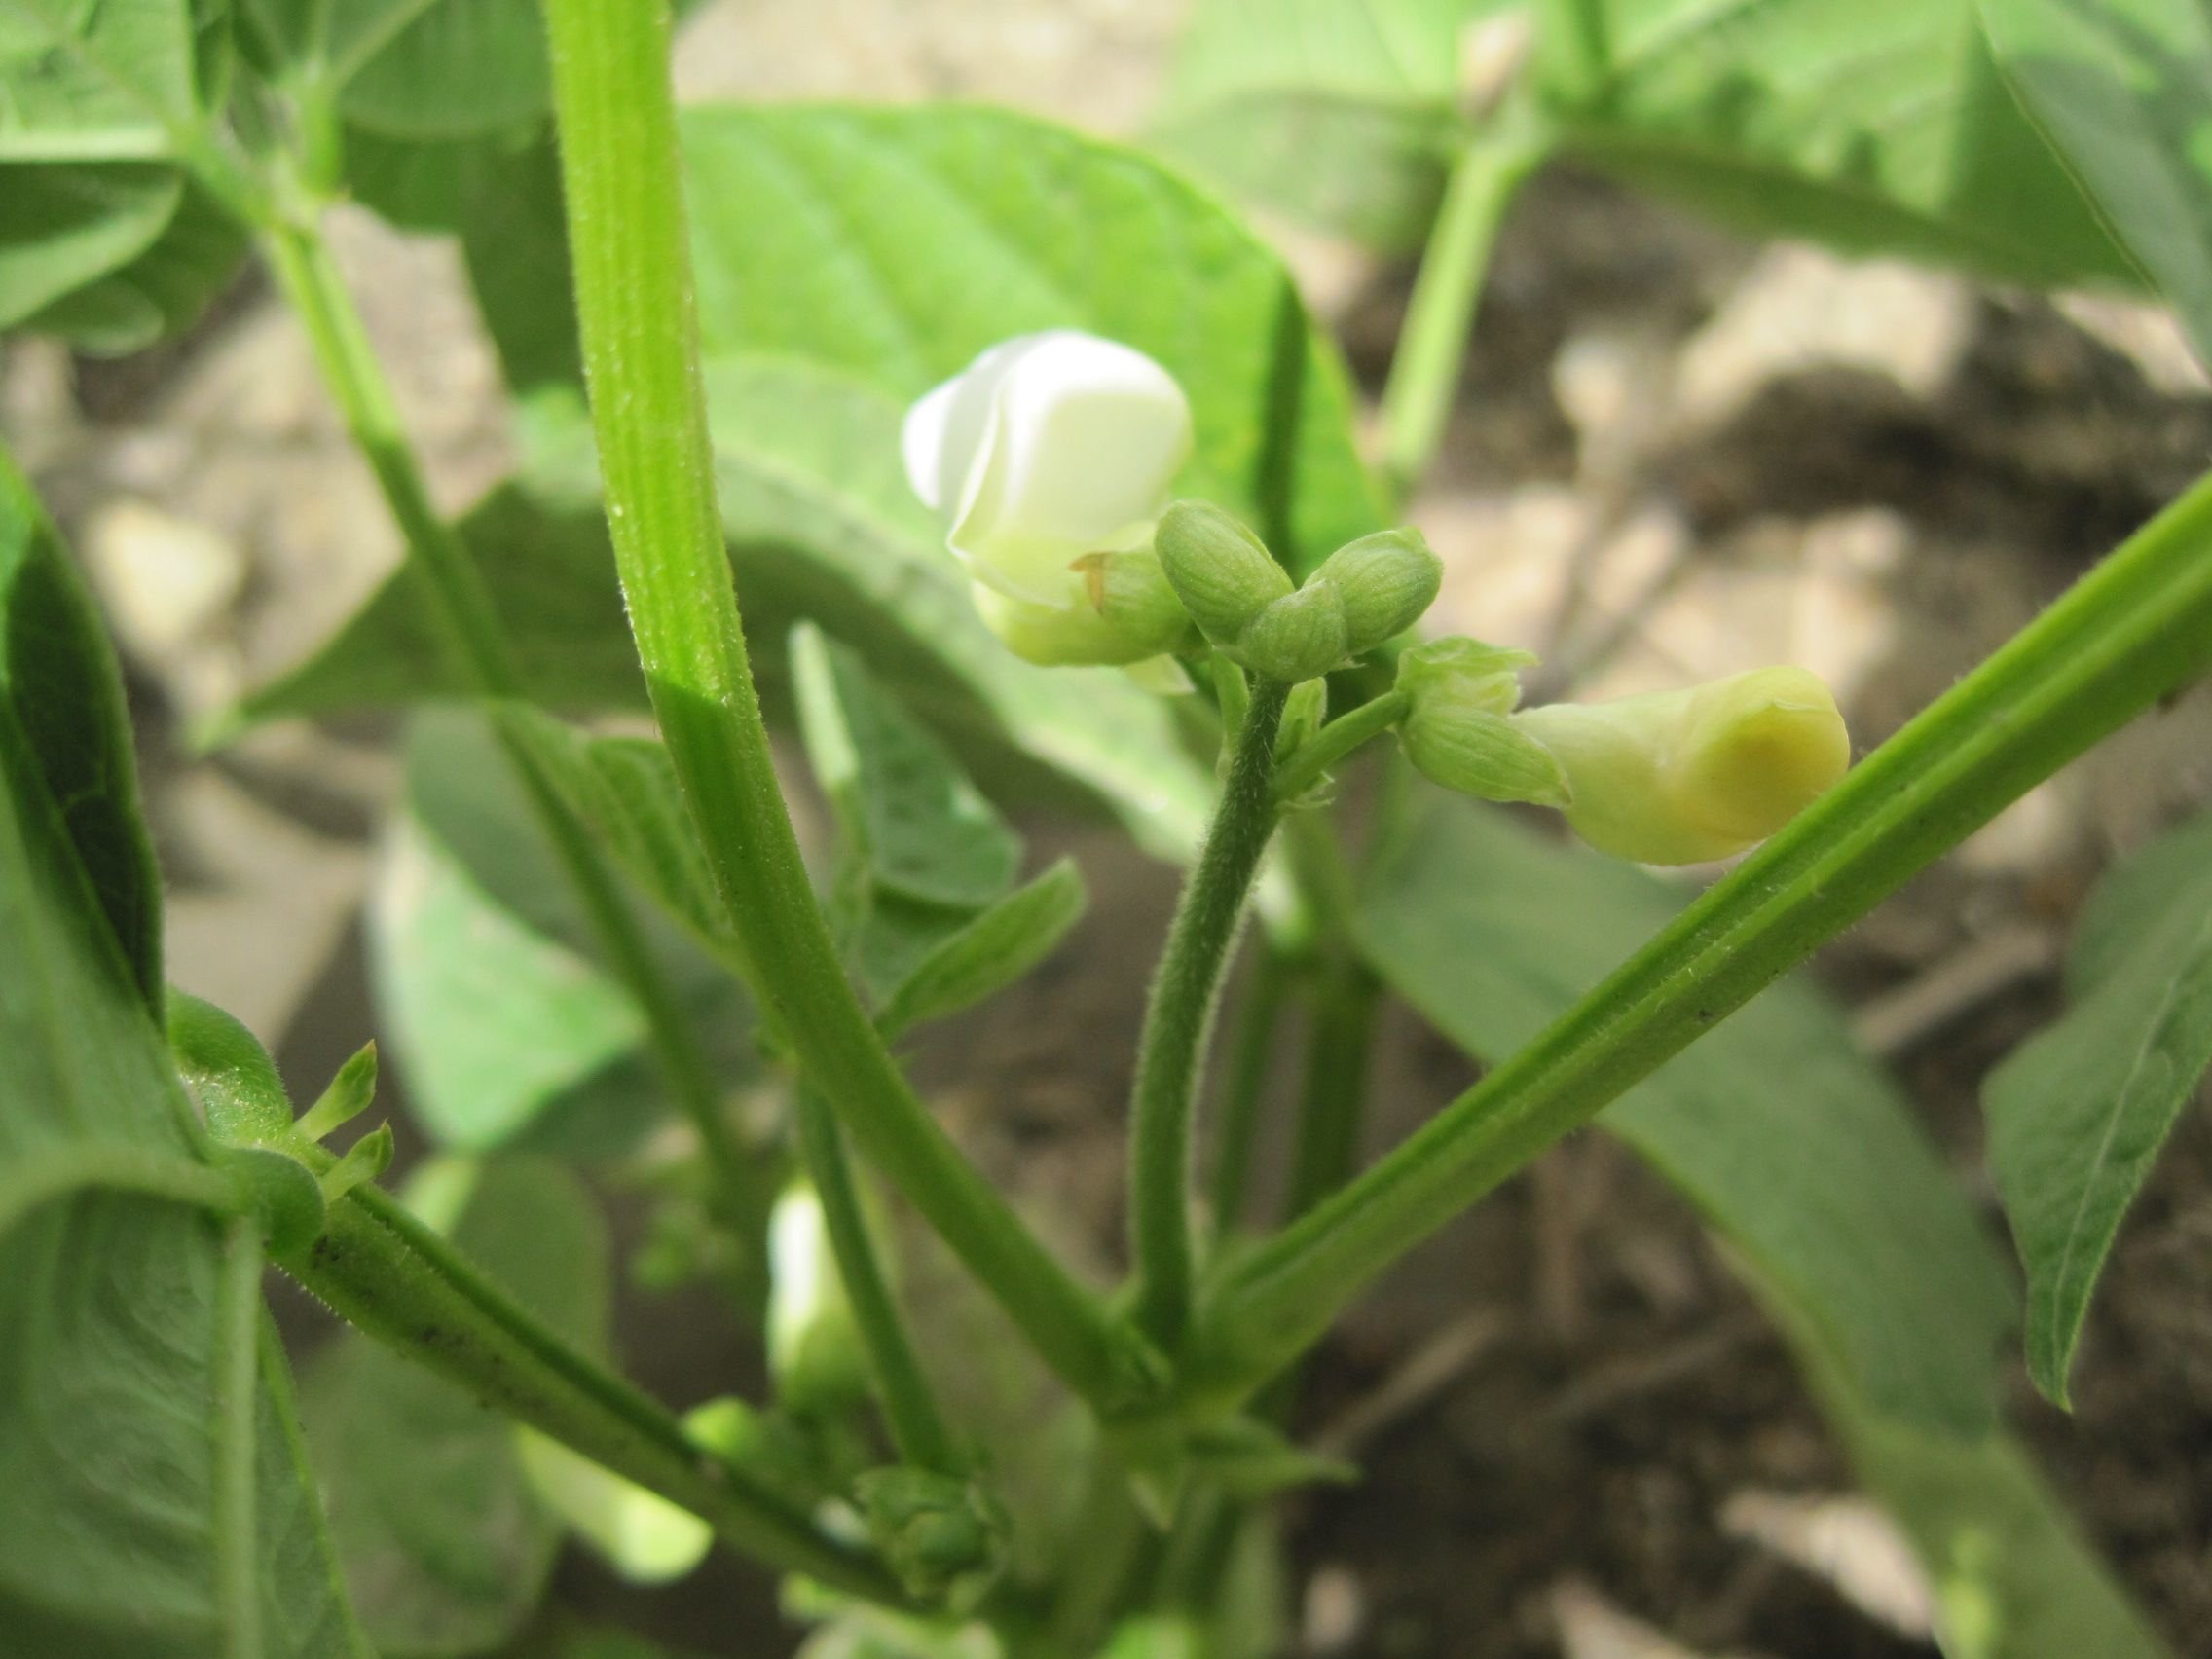
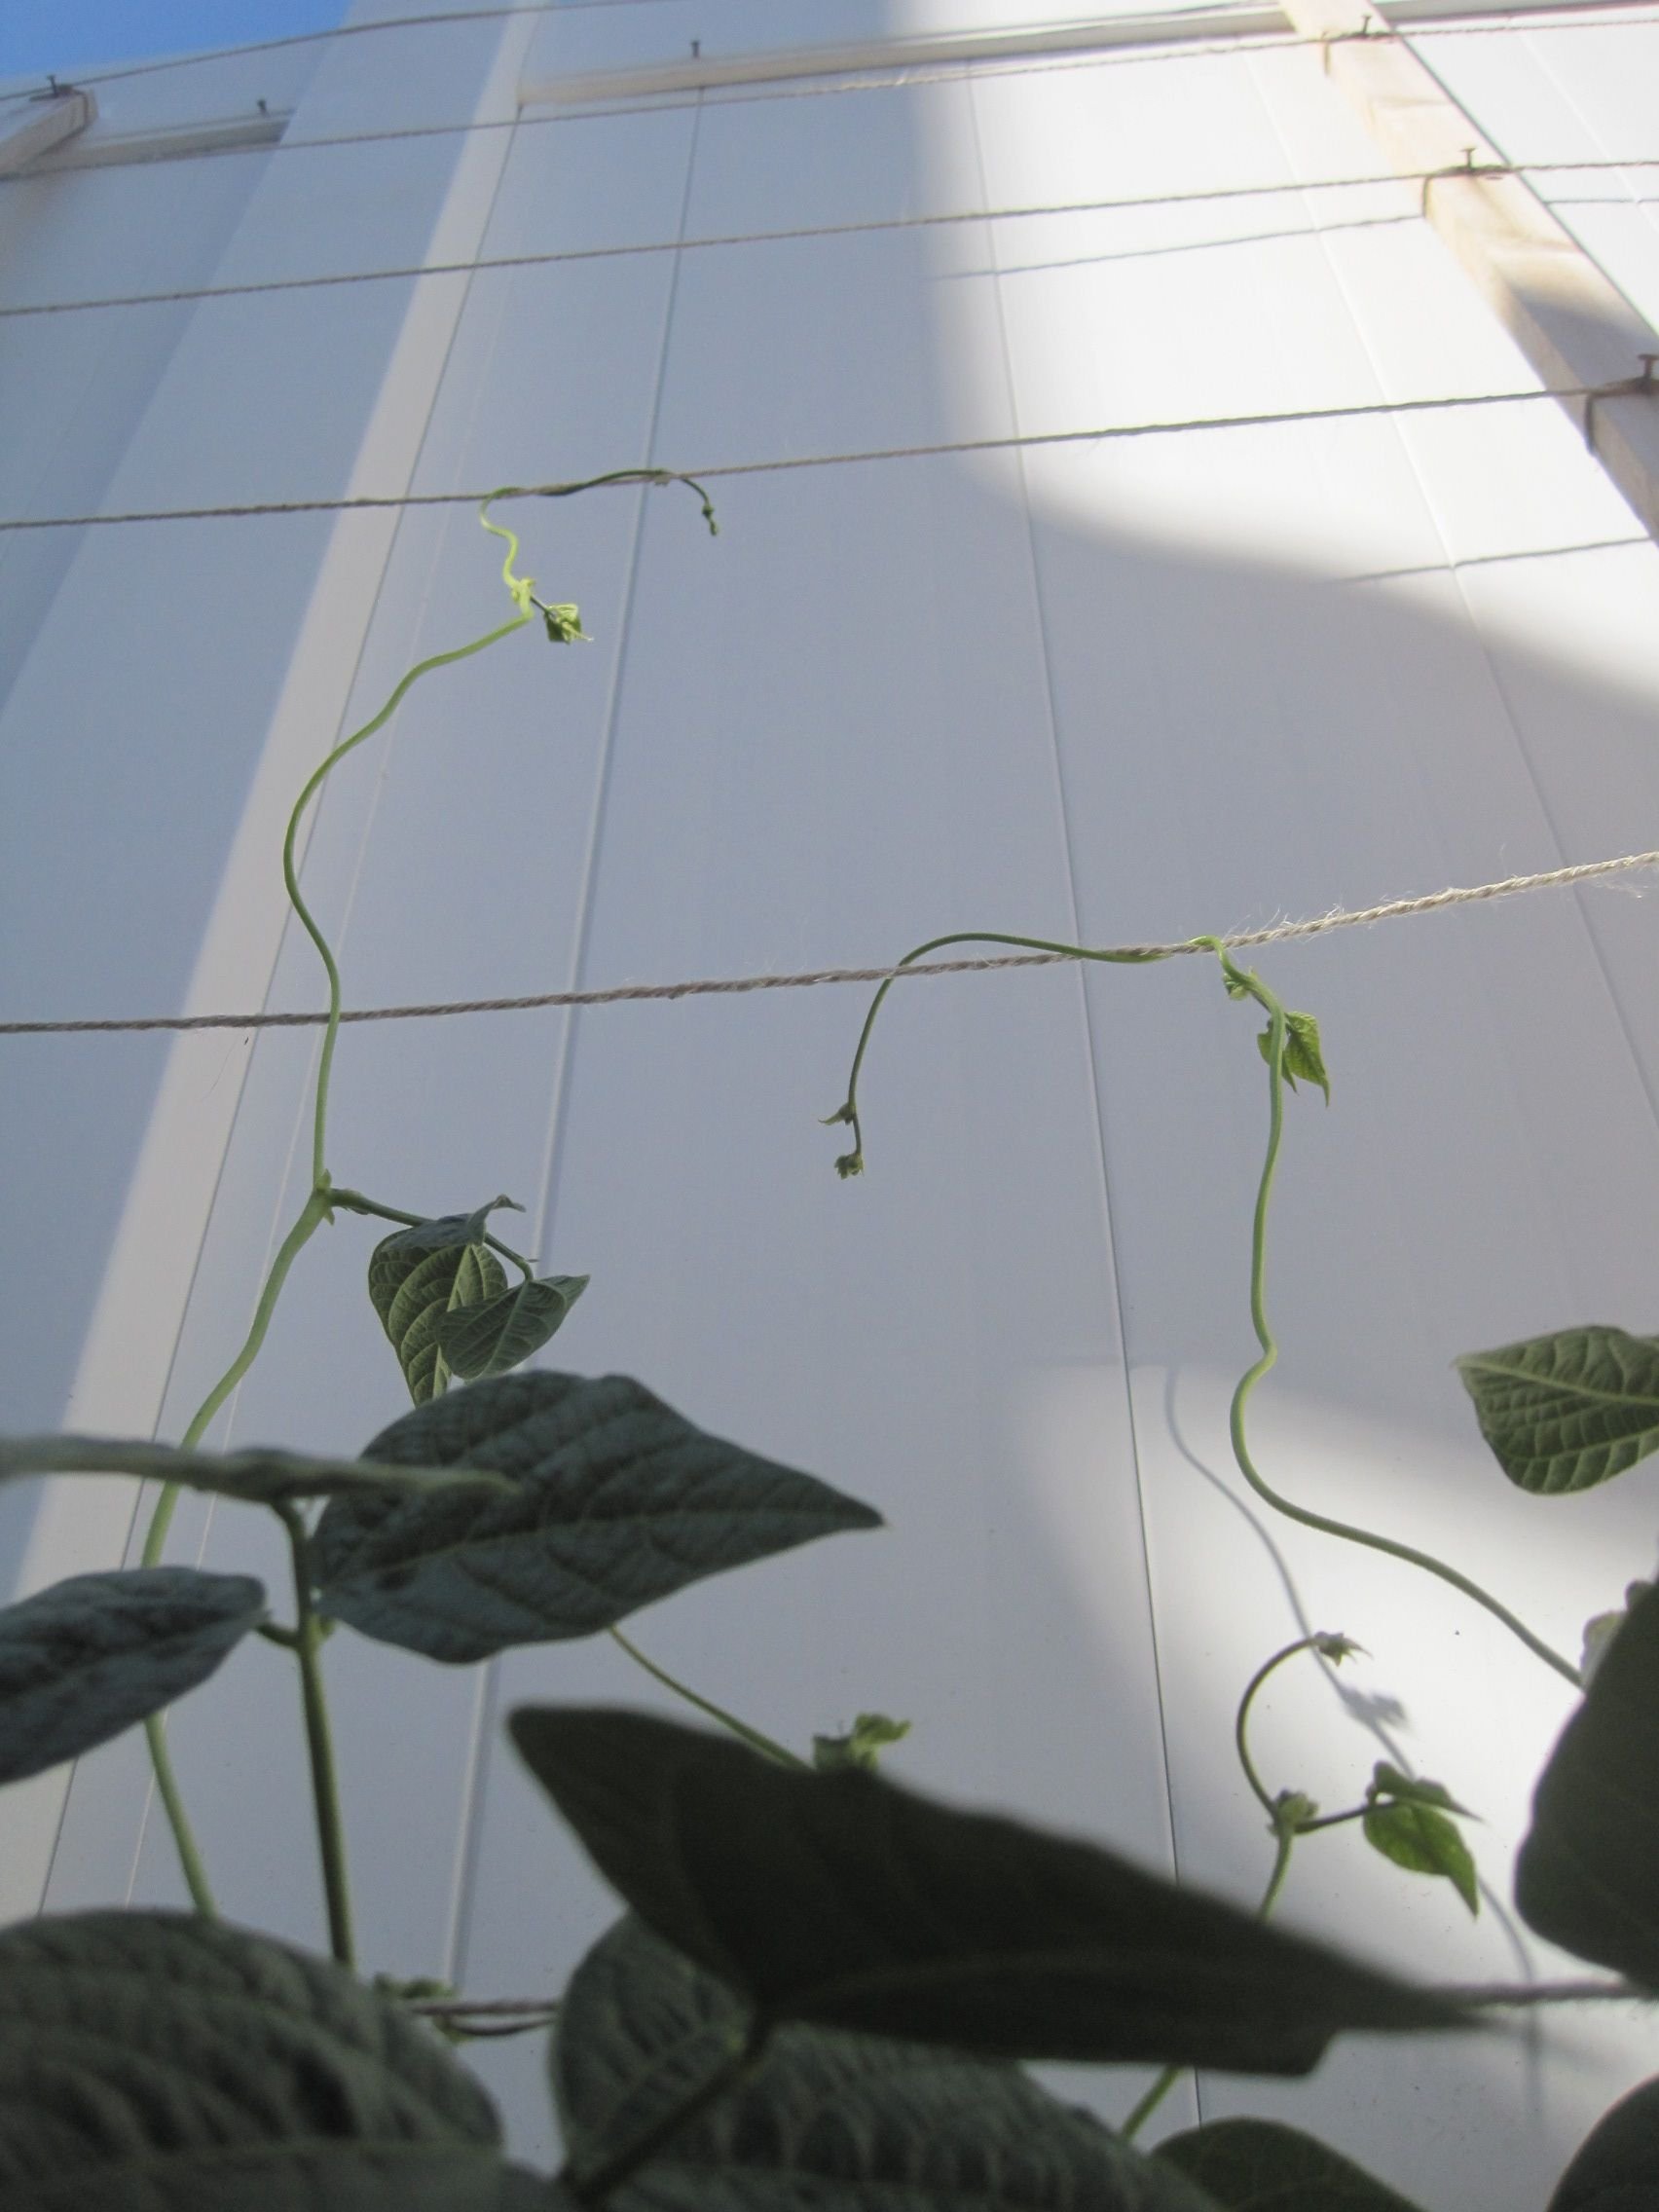
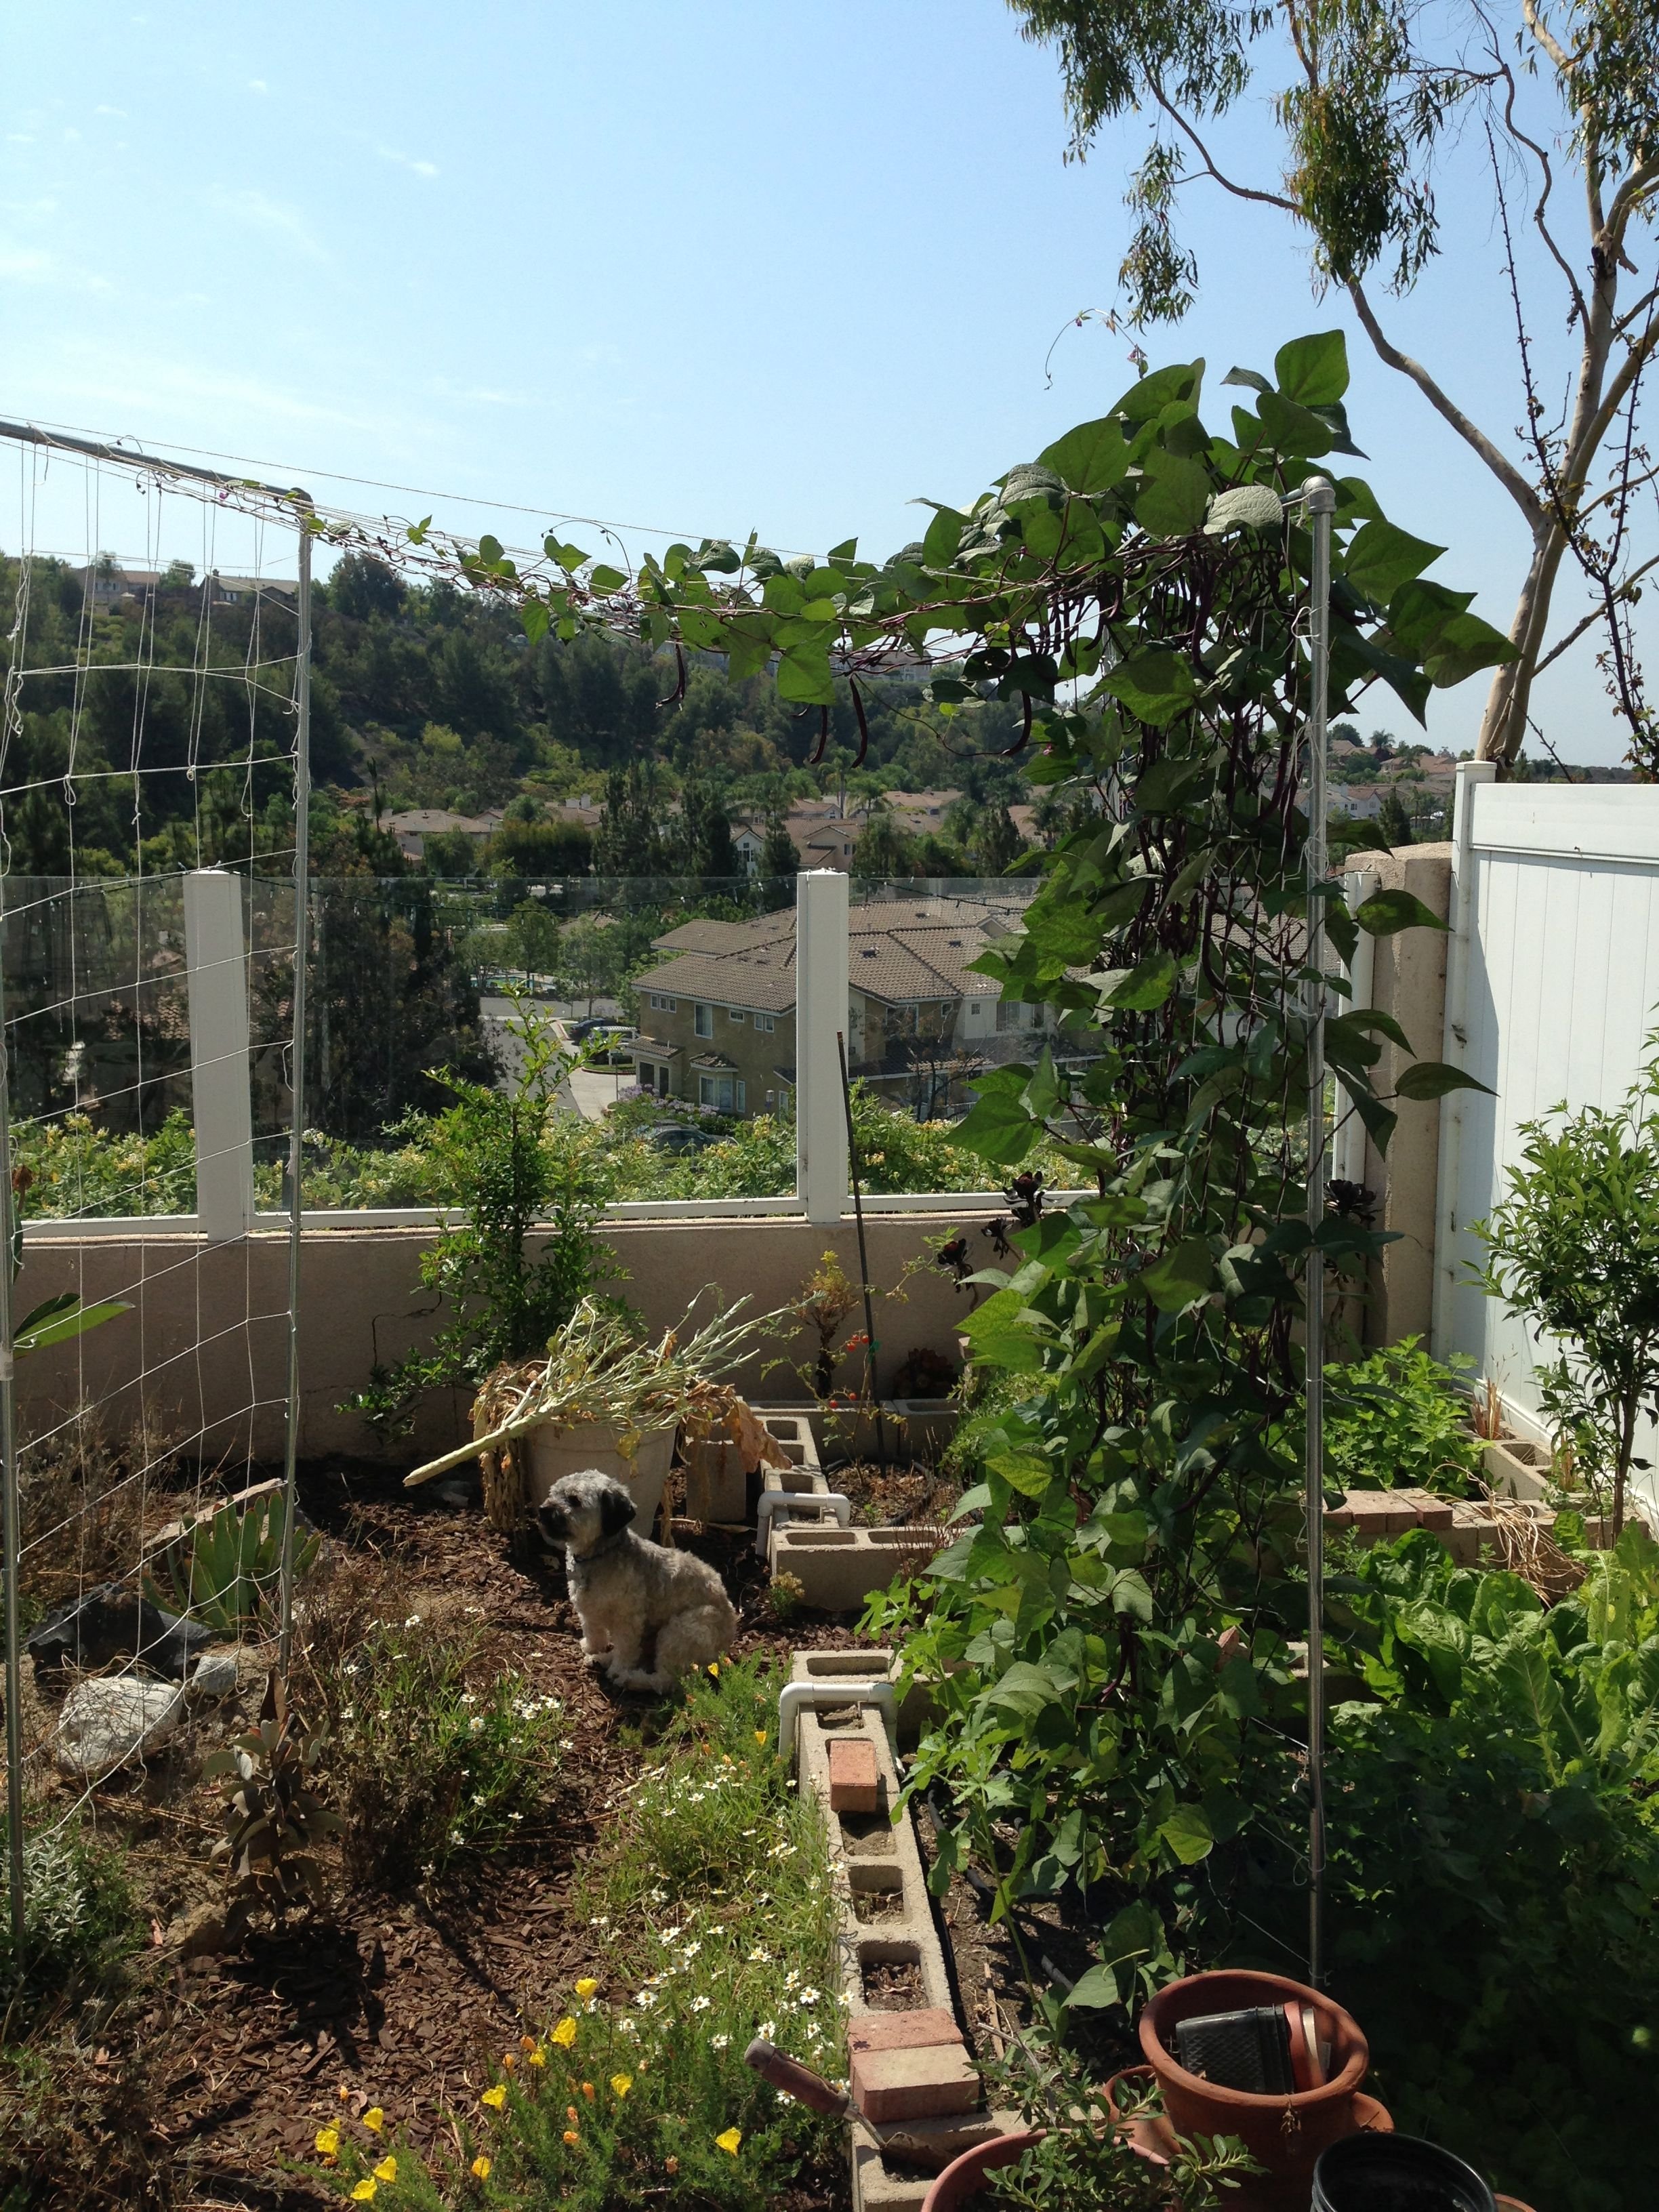
The purple pole beans really took off!
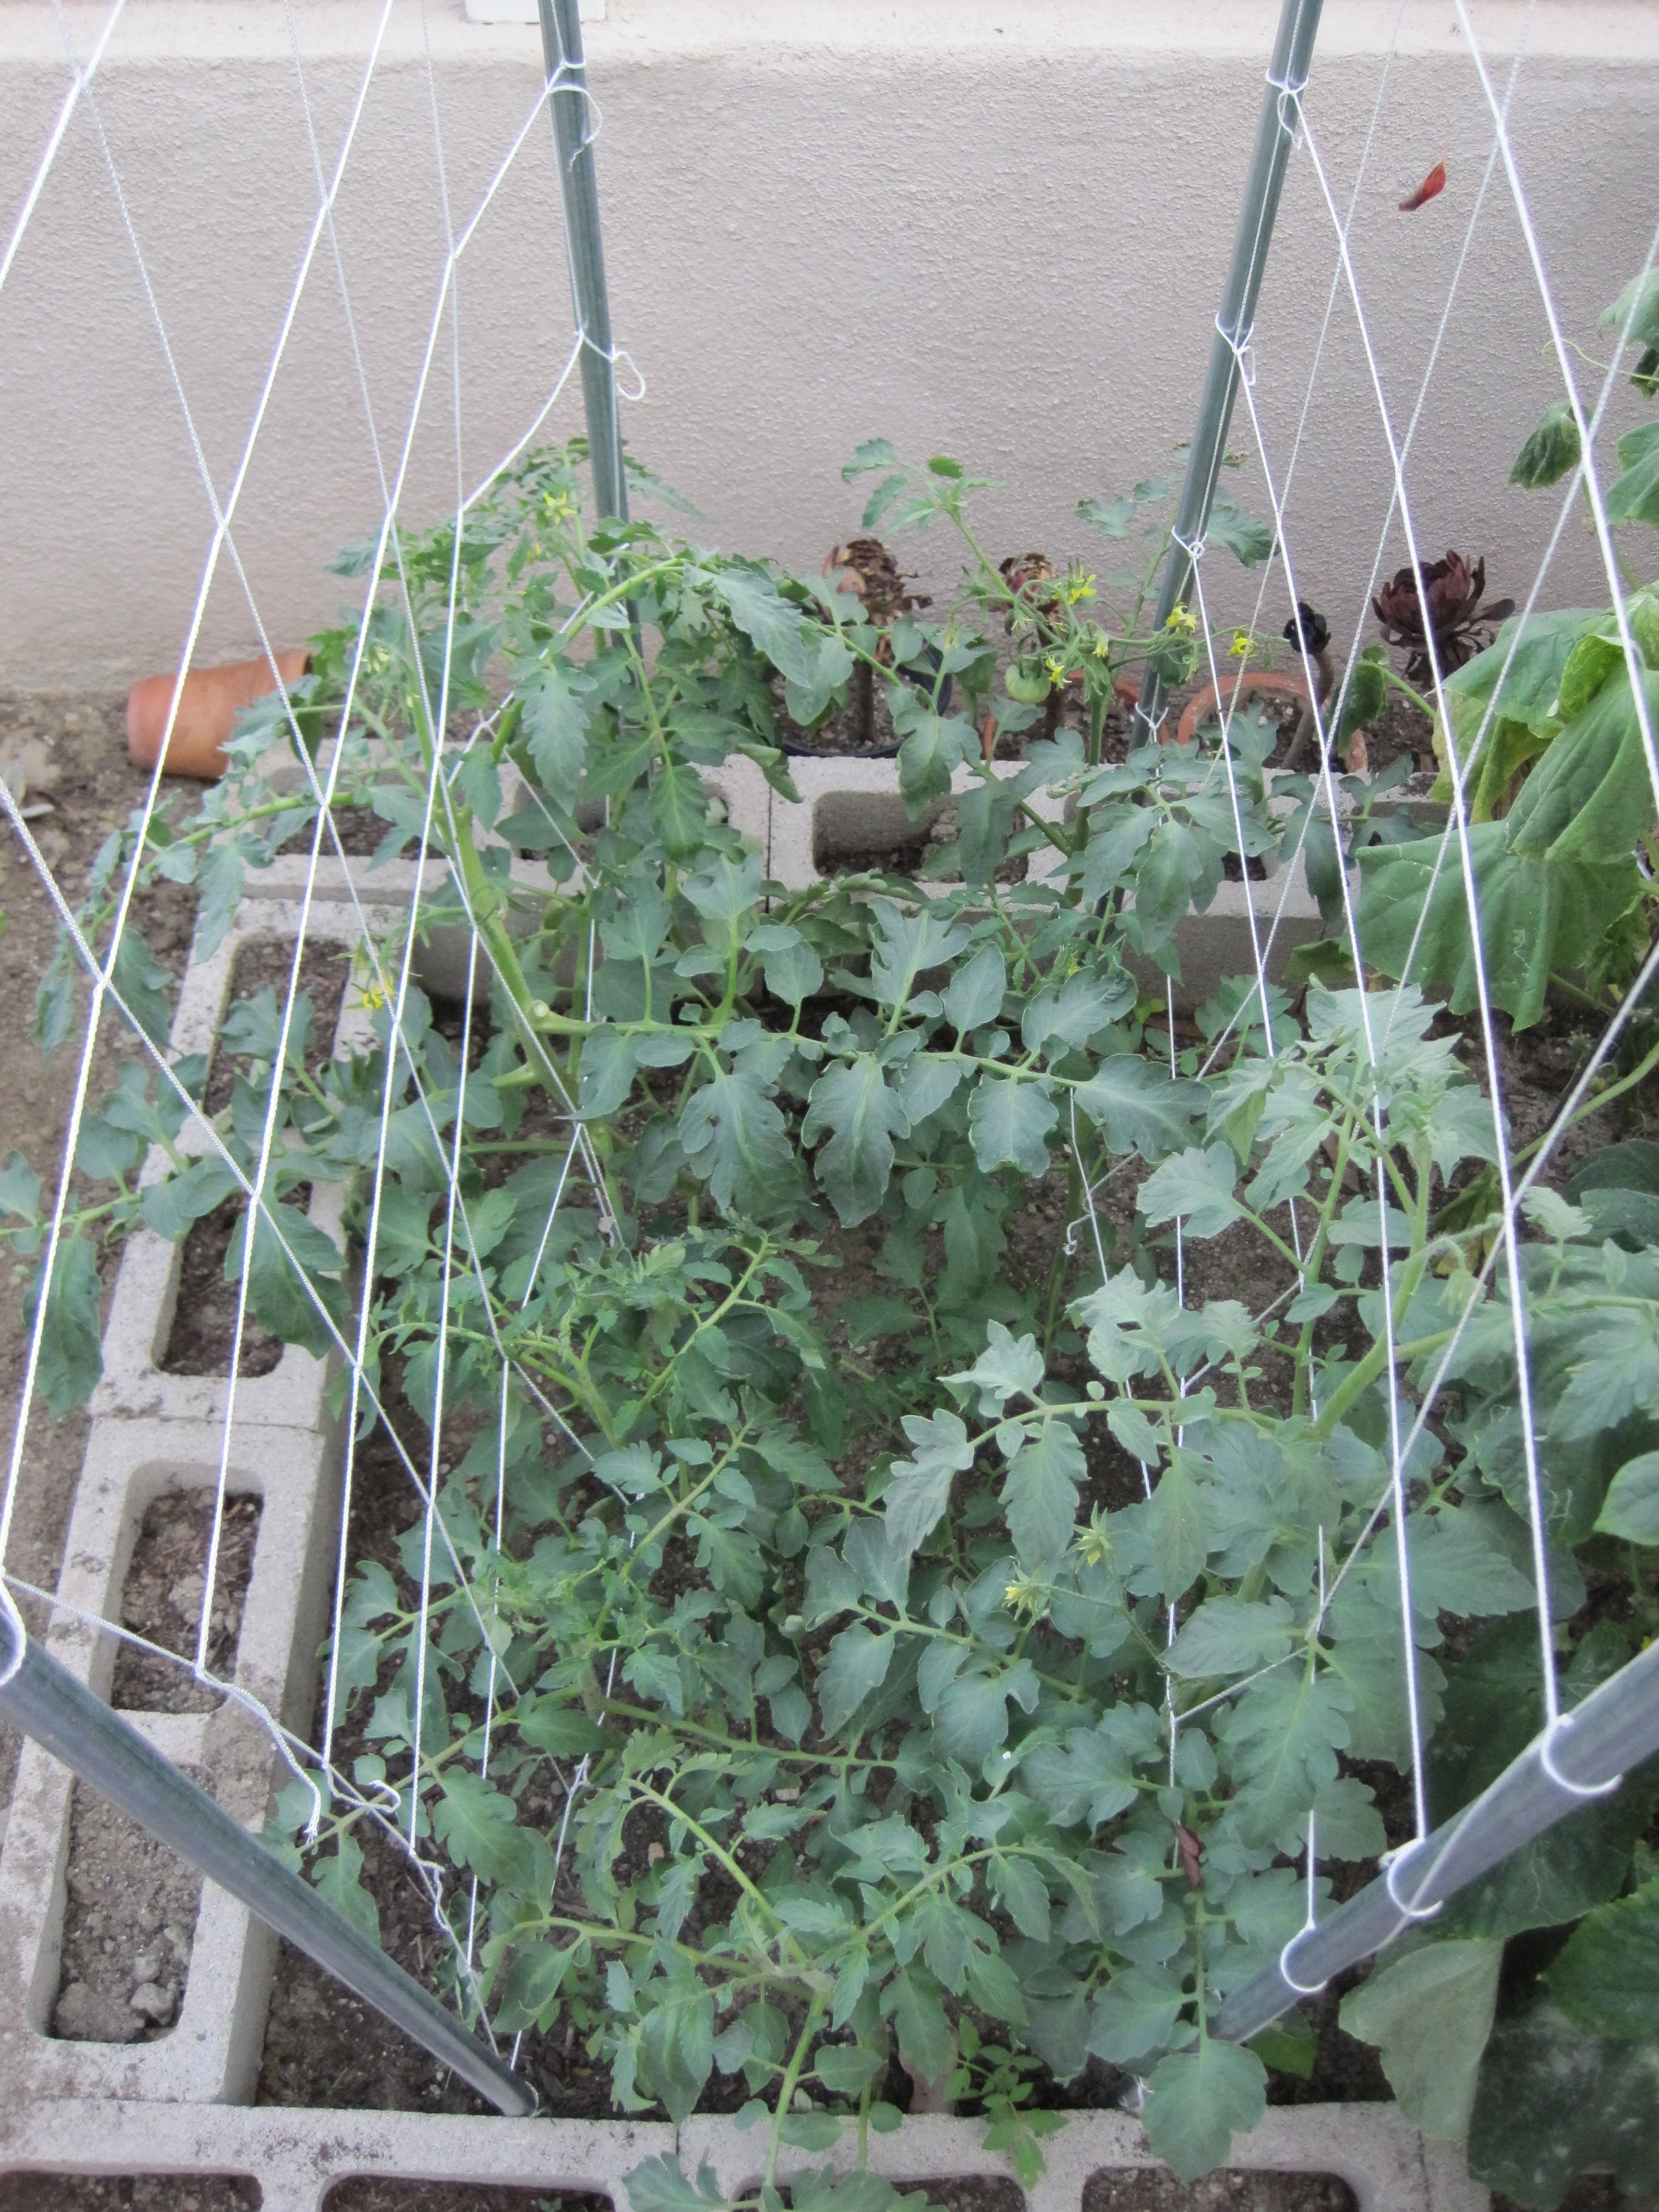
Tomatoes were climbing and setting fruit.
Lessons Learned
In retrospect there are some pretty good discoveries I made along the way.
Raised beds are nice for organizing a garden into separate units, but they ended up causing problems for me that I didn't even know about at the time. Halfway into executing the raised bed projects I realized that the soil would dry out MUCH faster than if it was in the ground since the sides are exposed to heat. In the Southern California climate and in the major heat sink of a garden space that I had to work with, this caused problems for me.
A better idea would have been work in the compost at the soil level rather than building it up. Taking it a step further I could have experimented with sunken beds to retain even more moisture. Either of those methods combined with deep mulching would have helped me with more water retention.
Both of my neighbors heavily over watered their gardens, especially on one side. I learned to plant water loving plants & trees next to the fence so that their roots can benefit from the moister zones. Another way of looking at it is that I didn't have to water those areas as heavily because they stayed more moist. If the neighbor moved or adjusted their habits I would have to change mine as well.
Over the counter compost from the box store or garden center is not the solution to good, fertile, healthy soil. It did help improve my fertility and I got better growth from my plants, but in my opinion the fertility was mediocre at best. I'll followup with a post about soil fertility soon. For now know that manure and/or homemade compost mixed directly into your soil + patience are the most tried and true ways to get fertility in your garden.
Native plants are a great drought tolerant, infertile soil tolerant option for low maintenance landscaping. However they need plenty of water to get established. You can't plunk them in the ground and expect them to be drought hardy after a few weeks or even months. They need at least a good season, if not a year or two to be gradually weaned off substantial waterings. For this reason planting them, or any perennial in the beginning of fall is a fantastic time for them to have half to three quarters of a year to establish before they get summer heat. That is true for any perennial tree or shrub and some reseeding annuals. The next best time to plant them is early spring.
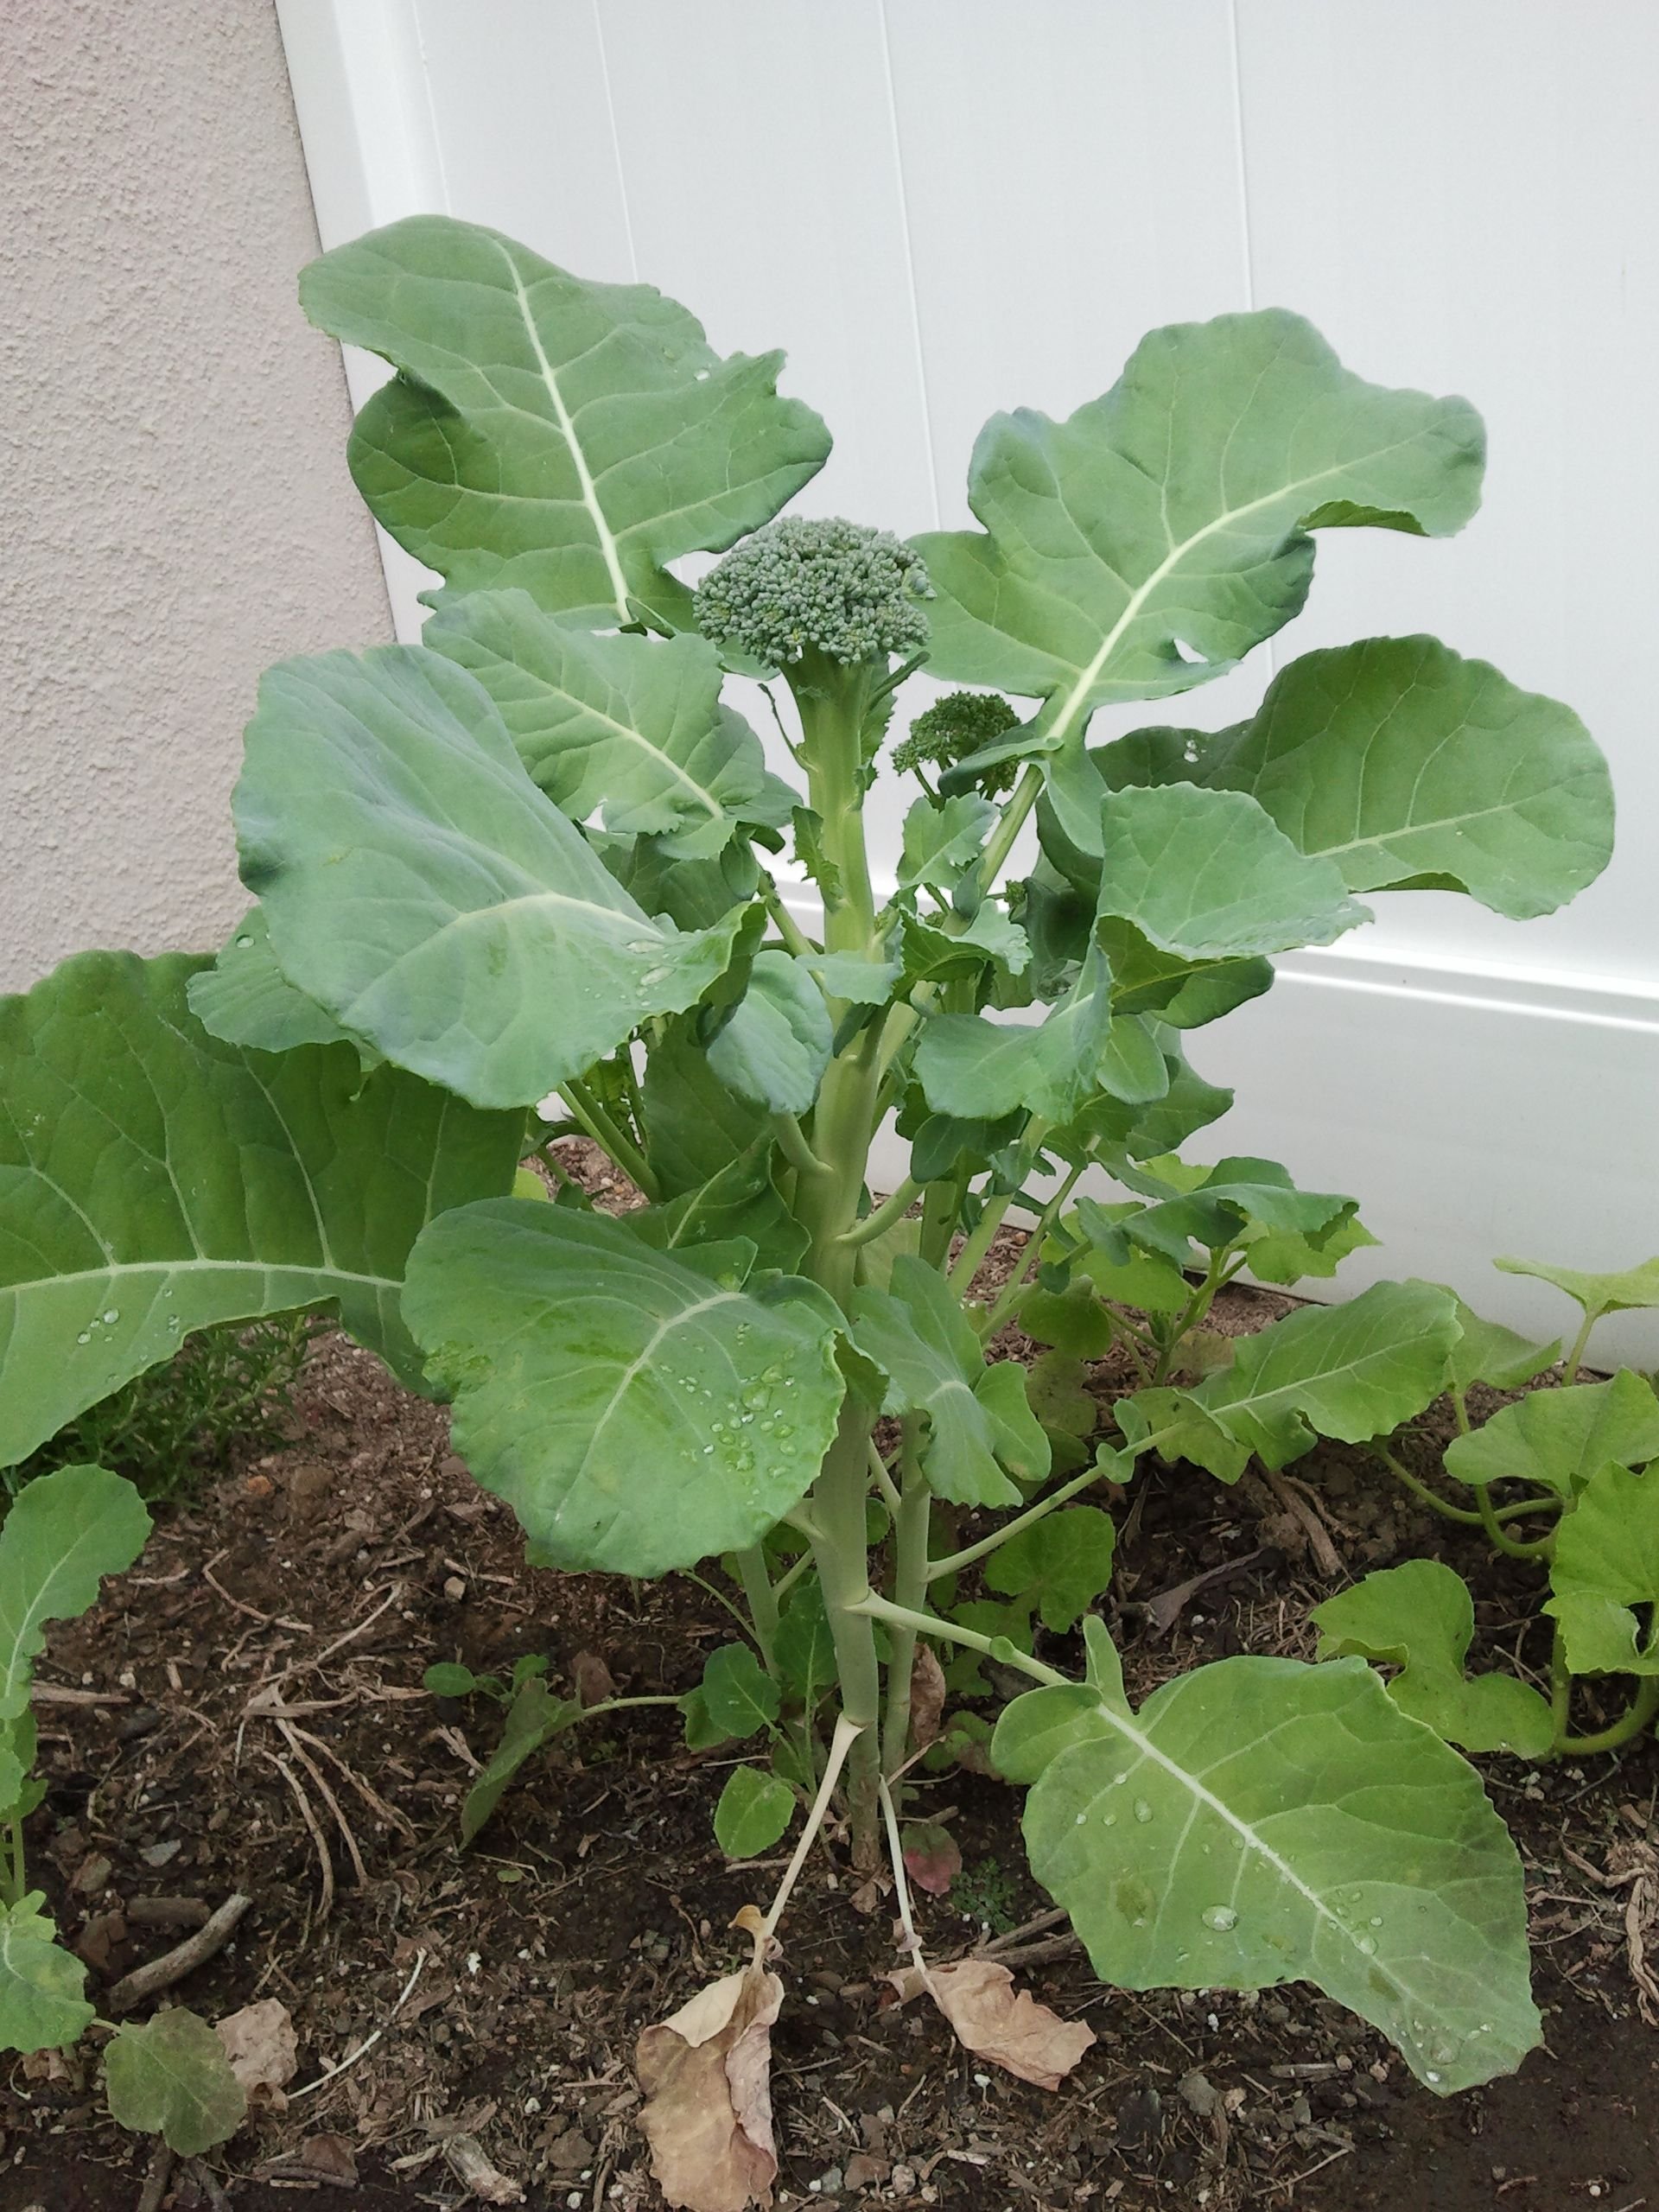
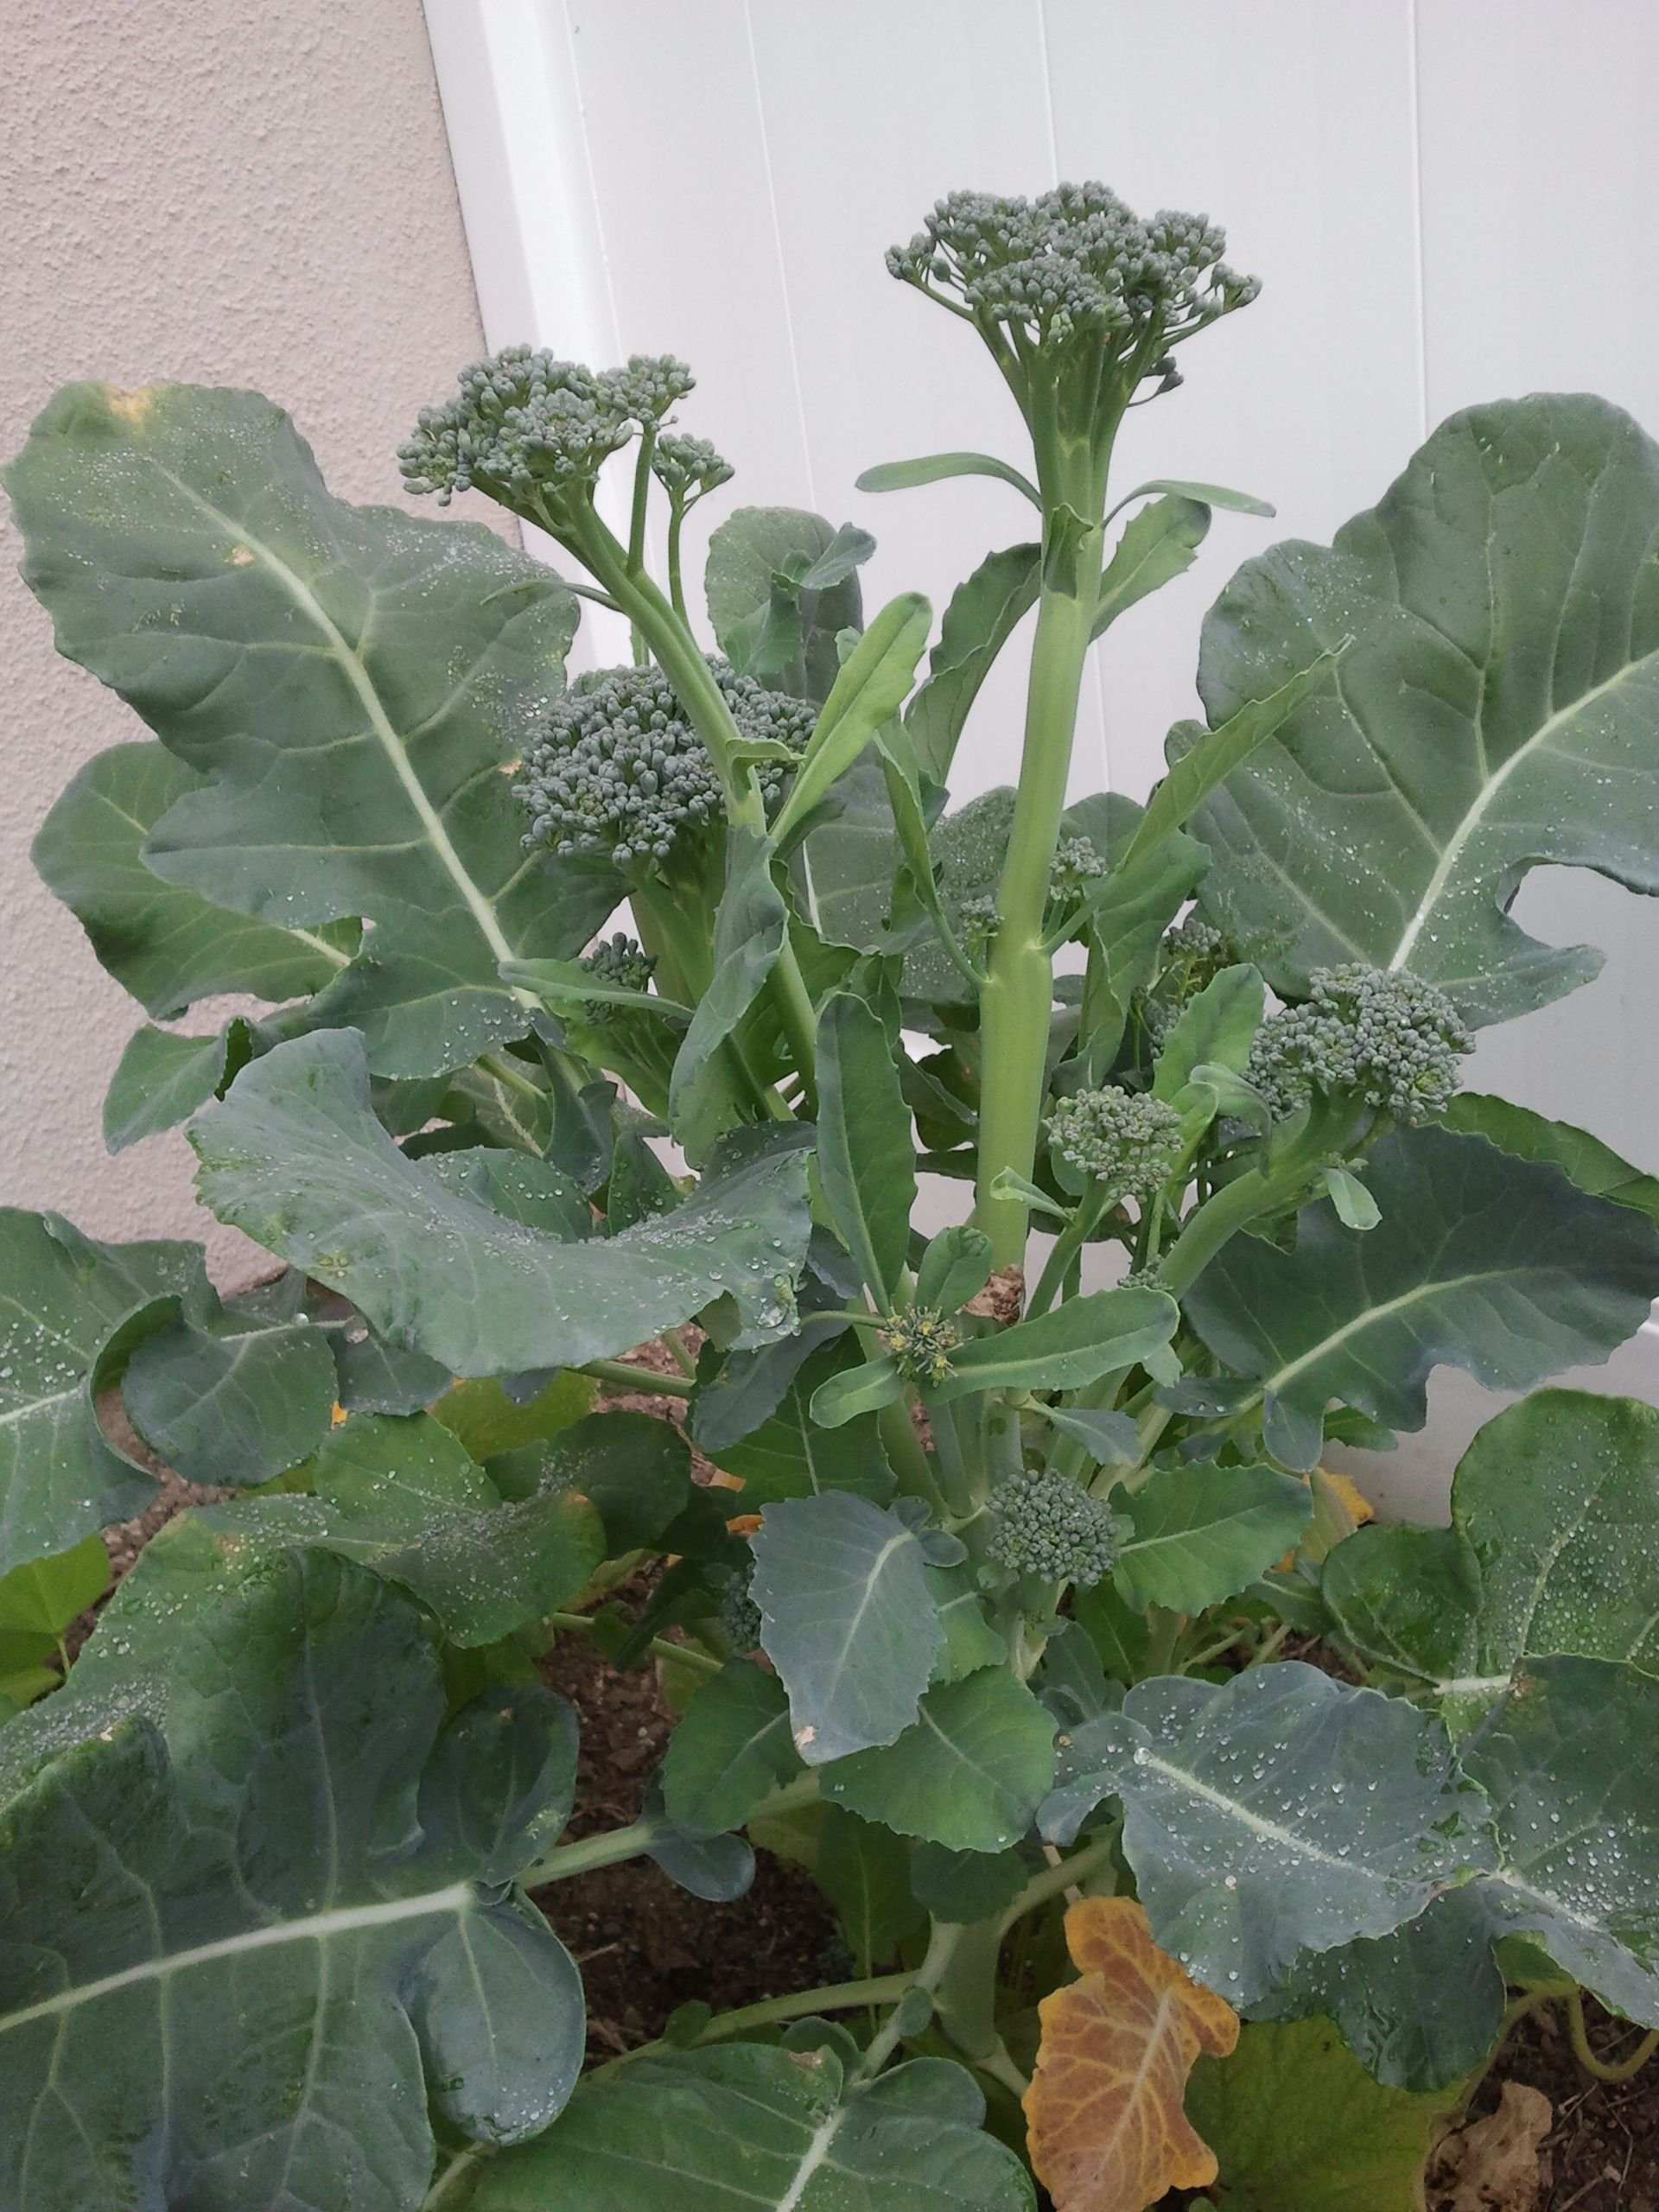
Planting for diversity is a good approach because if you plant 20 types of veggies and only 10 survive or thrive, you still have 10 amazing types of veggies!
Greens are really, really hands down the easiest veggie to grow in most soil conditions as long as it has some minimal fertility, in my opinion. If you can grow tomatoes, peppers and eggplants no problem- congratulations you have amazing soil already! If not, greens are something you can enjoy a lot of while you are building your soil fertility. Try some variety of greens like: kale, bok choy, mustard, dandelion, collards and many more. See what you like!
Roots like carrots are my second favorite easy veggies to grow in most soil conditions with at least minimal fertility. Roots like carrots, parsnips, radishes including daikon radish, beets are excellent choices to try. Try them all and see what works best in your soil!
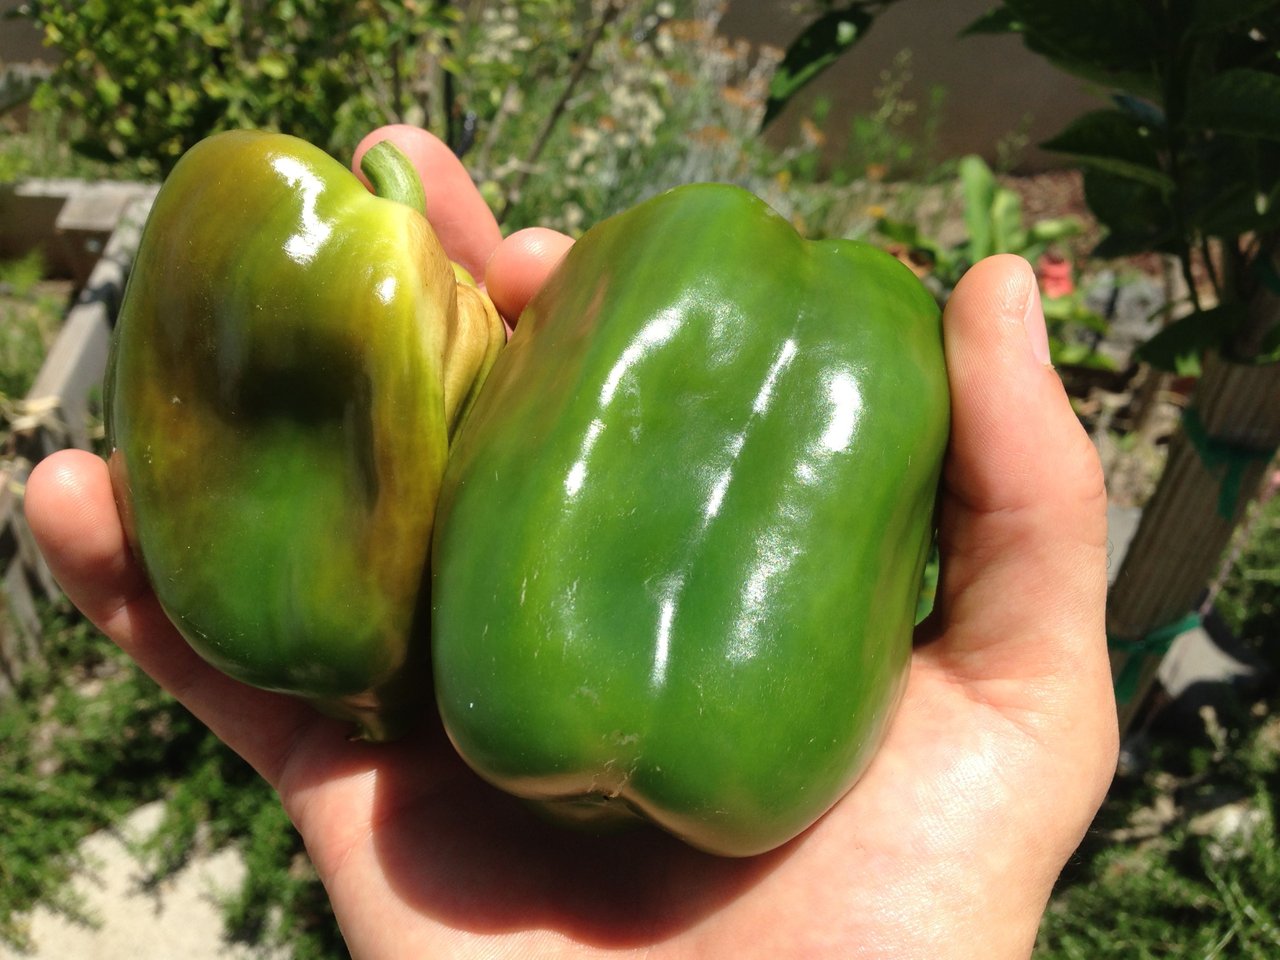
Peppers work really well in hot environments and I have found peppers that are small bodied like Thai peppers for example are less picky about soil fertility and watering consistency. Big bodied peppers like bell peppers are a lot more picky about soil fertility and regular waterings.
Beans are a little harder to grow than greens and some roots with low soil fertility, but they are worth trying. Some varieties of beans are much more versatile than others. Do you remember the photo above with bean vines growing up a netted trellis? I'm not 100% sure because I can't find my invoice but I think those are purple podded pole beans. In this garden I tried 4-5 different varieties of beans and while most of them meager at best, the purple runner beans took off and fruited heavily for many successive harvests. The lesson here is try several varieties of the type of veggie you want to grow until you find something that works well in your soil and for your taste buds. And then use that as your mainstay while you experiment with other varieties in future seasons.
Anything with big fruiting bodies like tomatoes, big peppers, eggplants and corn are much more picky of soil than the aforementioned type of veggies. Yes these veggies are all technically fruits. They are the swollen ovaries of the fertilized flower, just like fruits on trees. A plant needs a ton of energy to develop fruits, especially big fruits so this takes good soil fertility to do successfully.
Thanks for reading this far :)
If you enjoyed reading my garden experiments and lessons learned, please follow me to subscribe! I'll be following up this post soon with some more info about Soil Fertility and Irrigation in a suburban garden.
Learn more about me and my journey in my welcome post
Part 1 of this garden tour
Part 2 of this garden tour