I'd like to share my trials with soil fertility and simple automatic garden irrigation. This is a throwback to my first suburban garden in Southern California - Part 4 in a series.
I was just getting started in gardening and I learned a lot the hard way. I had this garden for about 5 years before moving. I'm sharing some lessons learned here.
In case you missed the first three posts, you can get caught up here:
Part 1 - Intro, Grass, Succulents, Veggies & Flowers
Part 2 - Frustrated By Drought
Part 3 - Drought Tolerance, Raised Veggie Beds & Lots of Garden Tips
To be honest, it took me a while to understand soil fertility from a high level. My work in this garden was my first course in this education.
To cut to the chase, the soil I started with in this garden was what my horticulture professor liked to call Industrial Grade Soil. This is a fancy way of saying that the soil is prepped for a building site. Before a modern suburban condominium or housing tract is put in place there is usually a lot of grading that happens. The top soil is scraped off, probably sold for a small profit, and a lot of big machinery comes in and moves soil around and compacts it. Don't ask me the technical terms.
From our perspective as the gardener we are left with sub soil that has been brought to the surface and in my case there is no top soil - no organic matter for our plants to draw from. This is not to say that the soil is devoid of nutrients. Actually there would be a lot of minerals in the soil, but in this case they are not available to the plants because there is significantly little life in the soil.
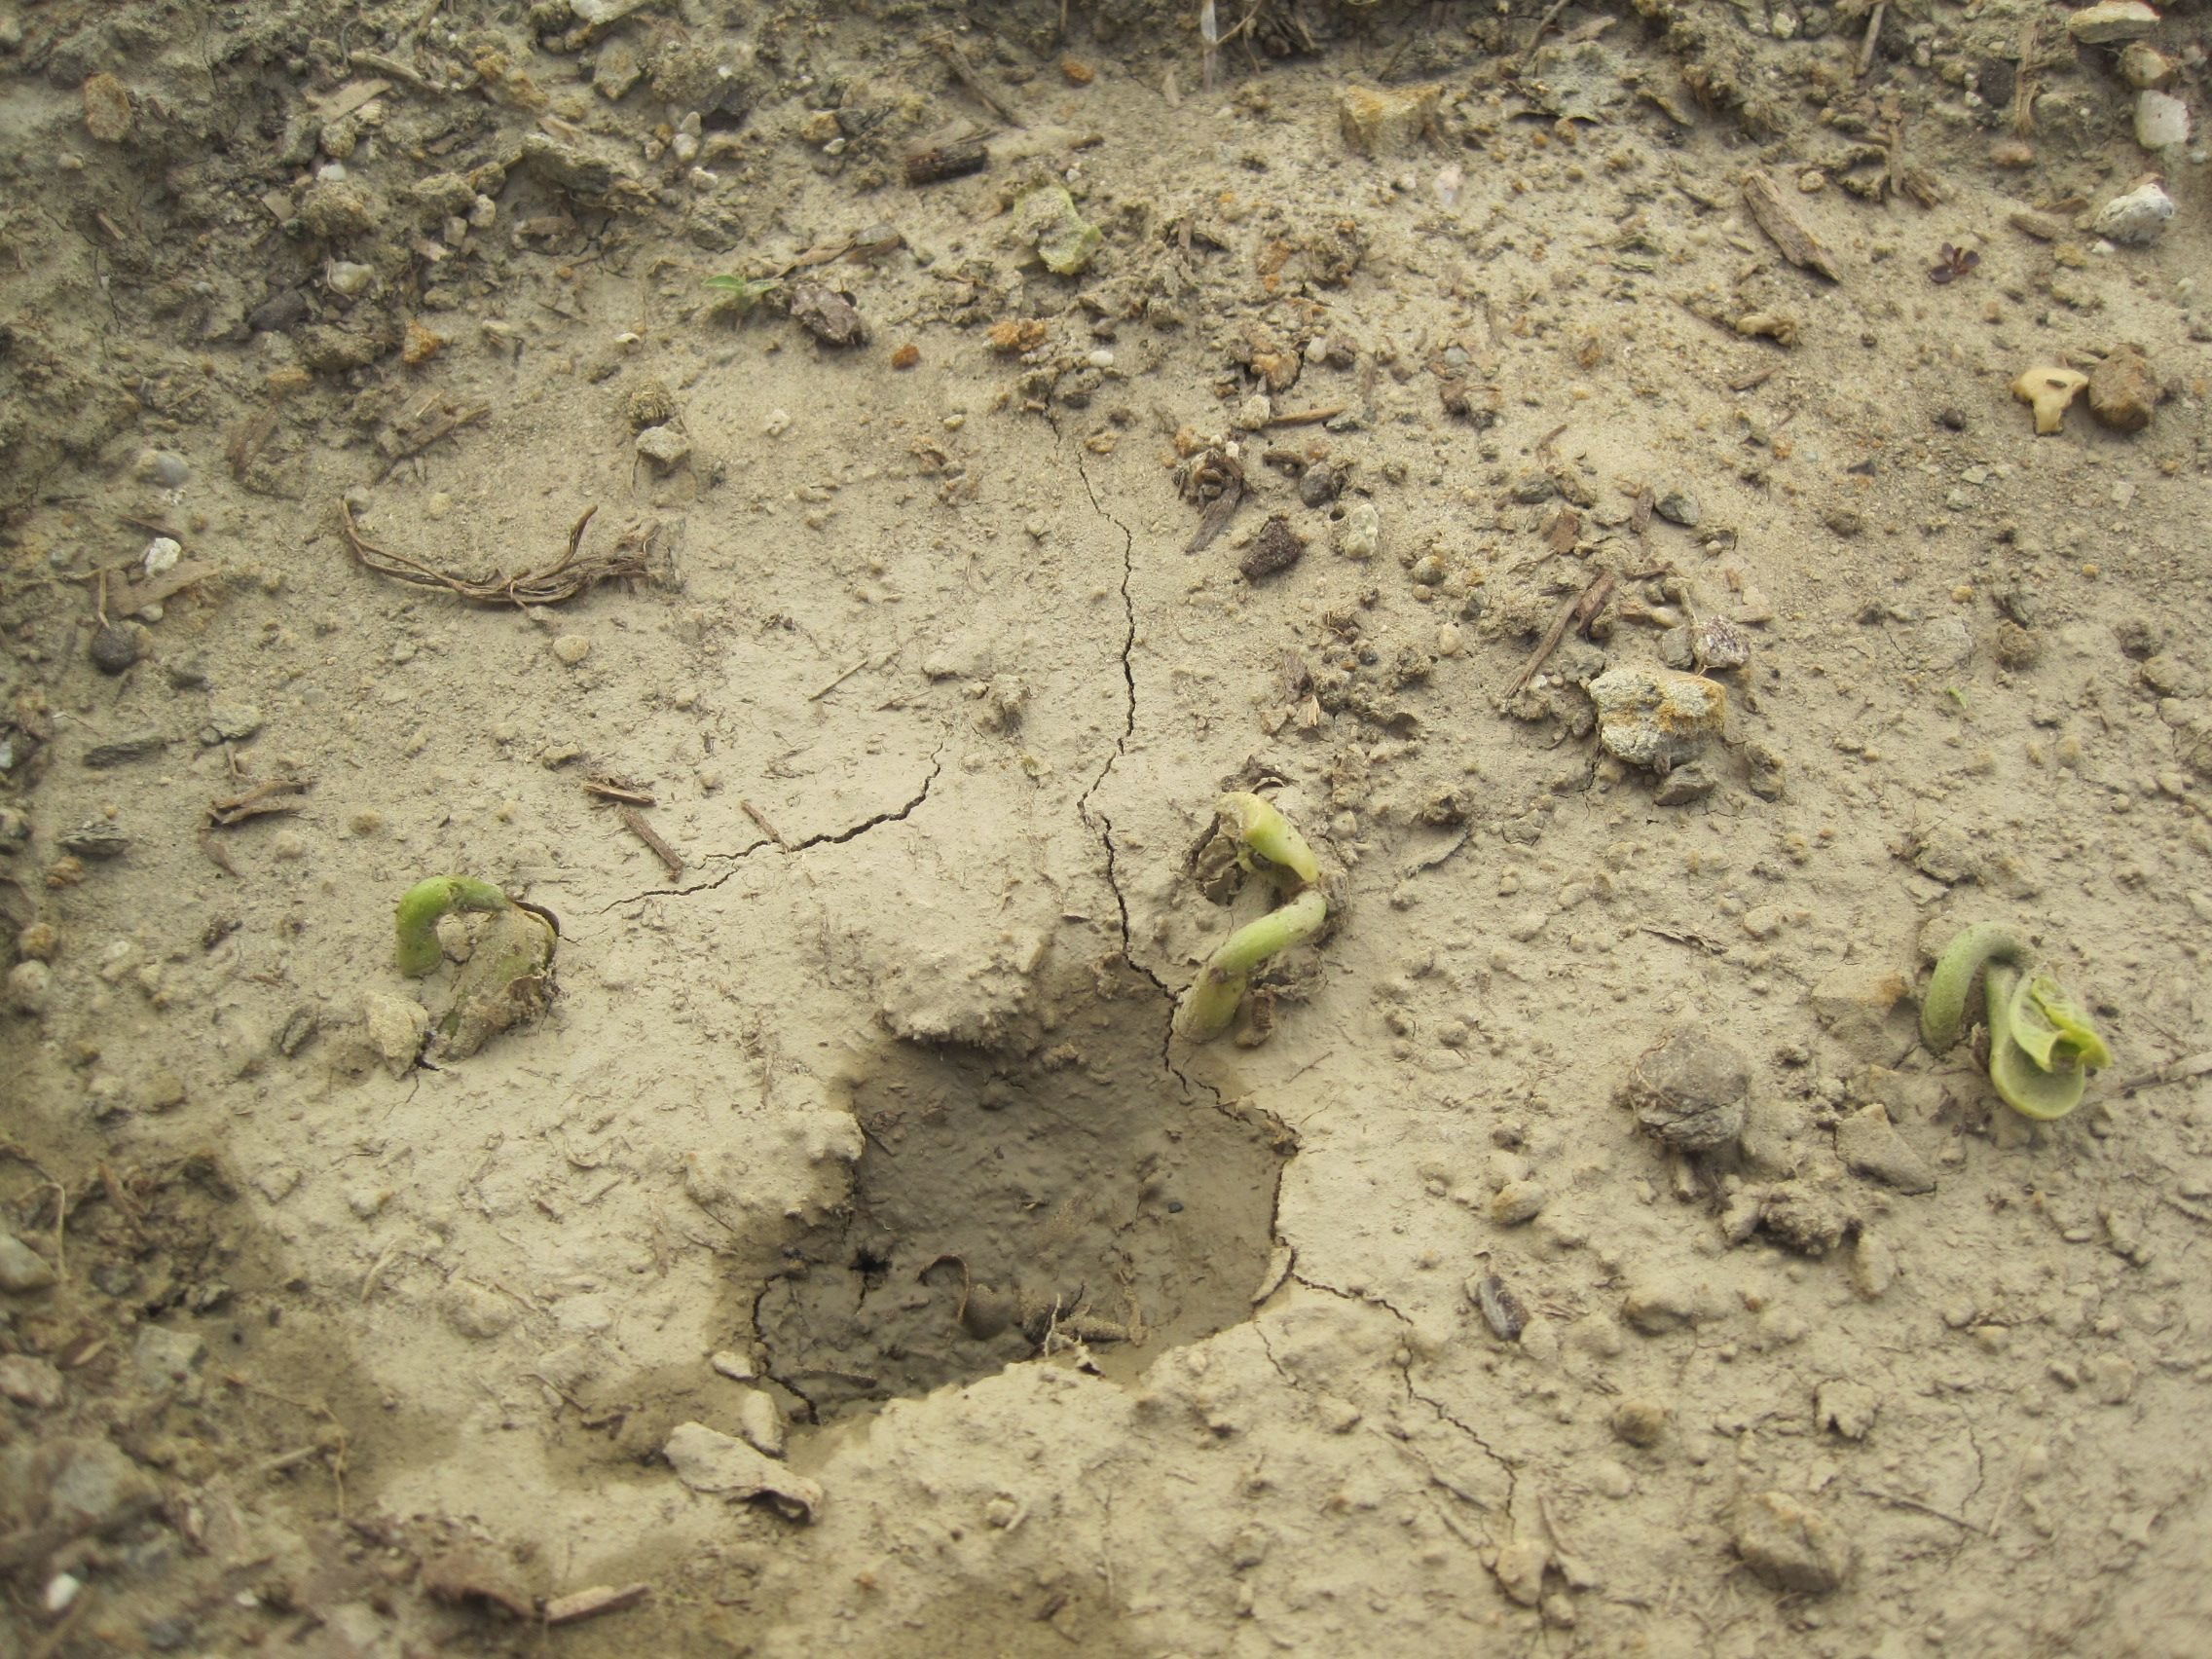
This is an example of the soil I was working with. It was mostly clay soil. In the photo you can see there is a little bit of organic matter, but not much. I moved in 20 years after the condo was built and it was basically a patch of dry weeds. So nature had been at work building top soil for me. I naively sent those weeds to the curb rather than composting them.
As you can see in the photo the clay cracks when it dries and becomes harder. But that didn't stop these seeds from sprouting! Seeds and sprouts are very resilient I have learned. All seeds have a reserve of nutrients and starch that they can draw from to sprout up and root down for some days or weeks before it is depleted. At which point they begin relying more and more from the soil for nutrition.
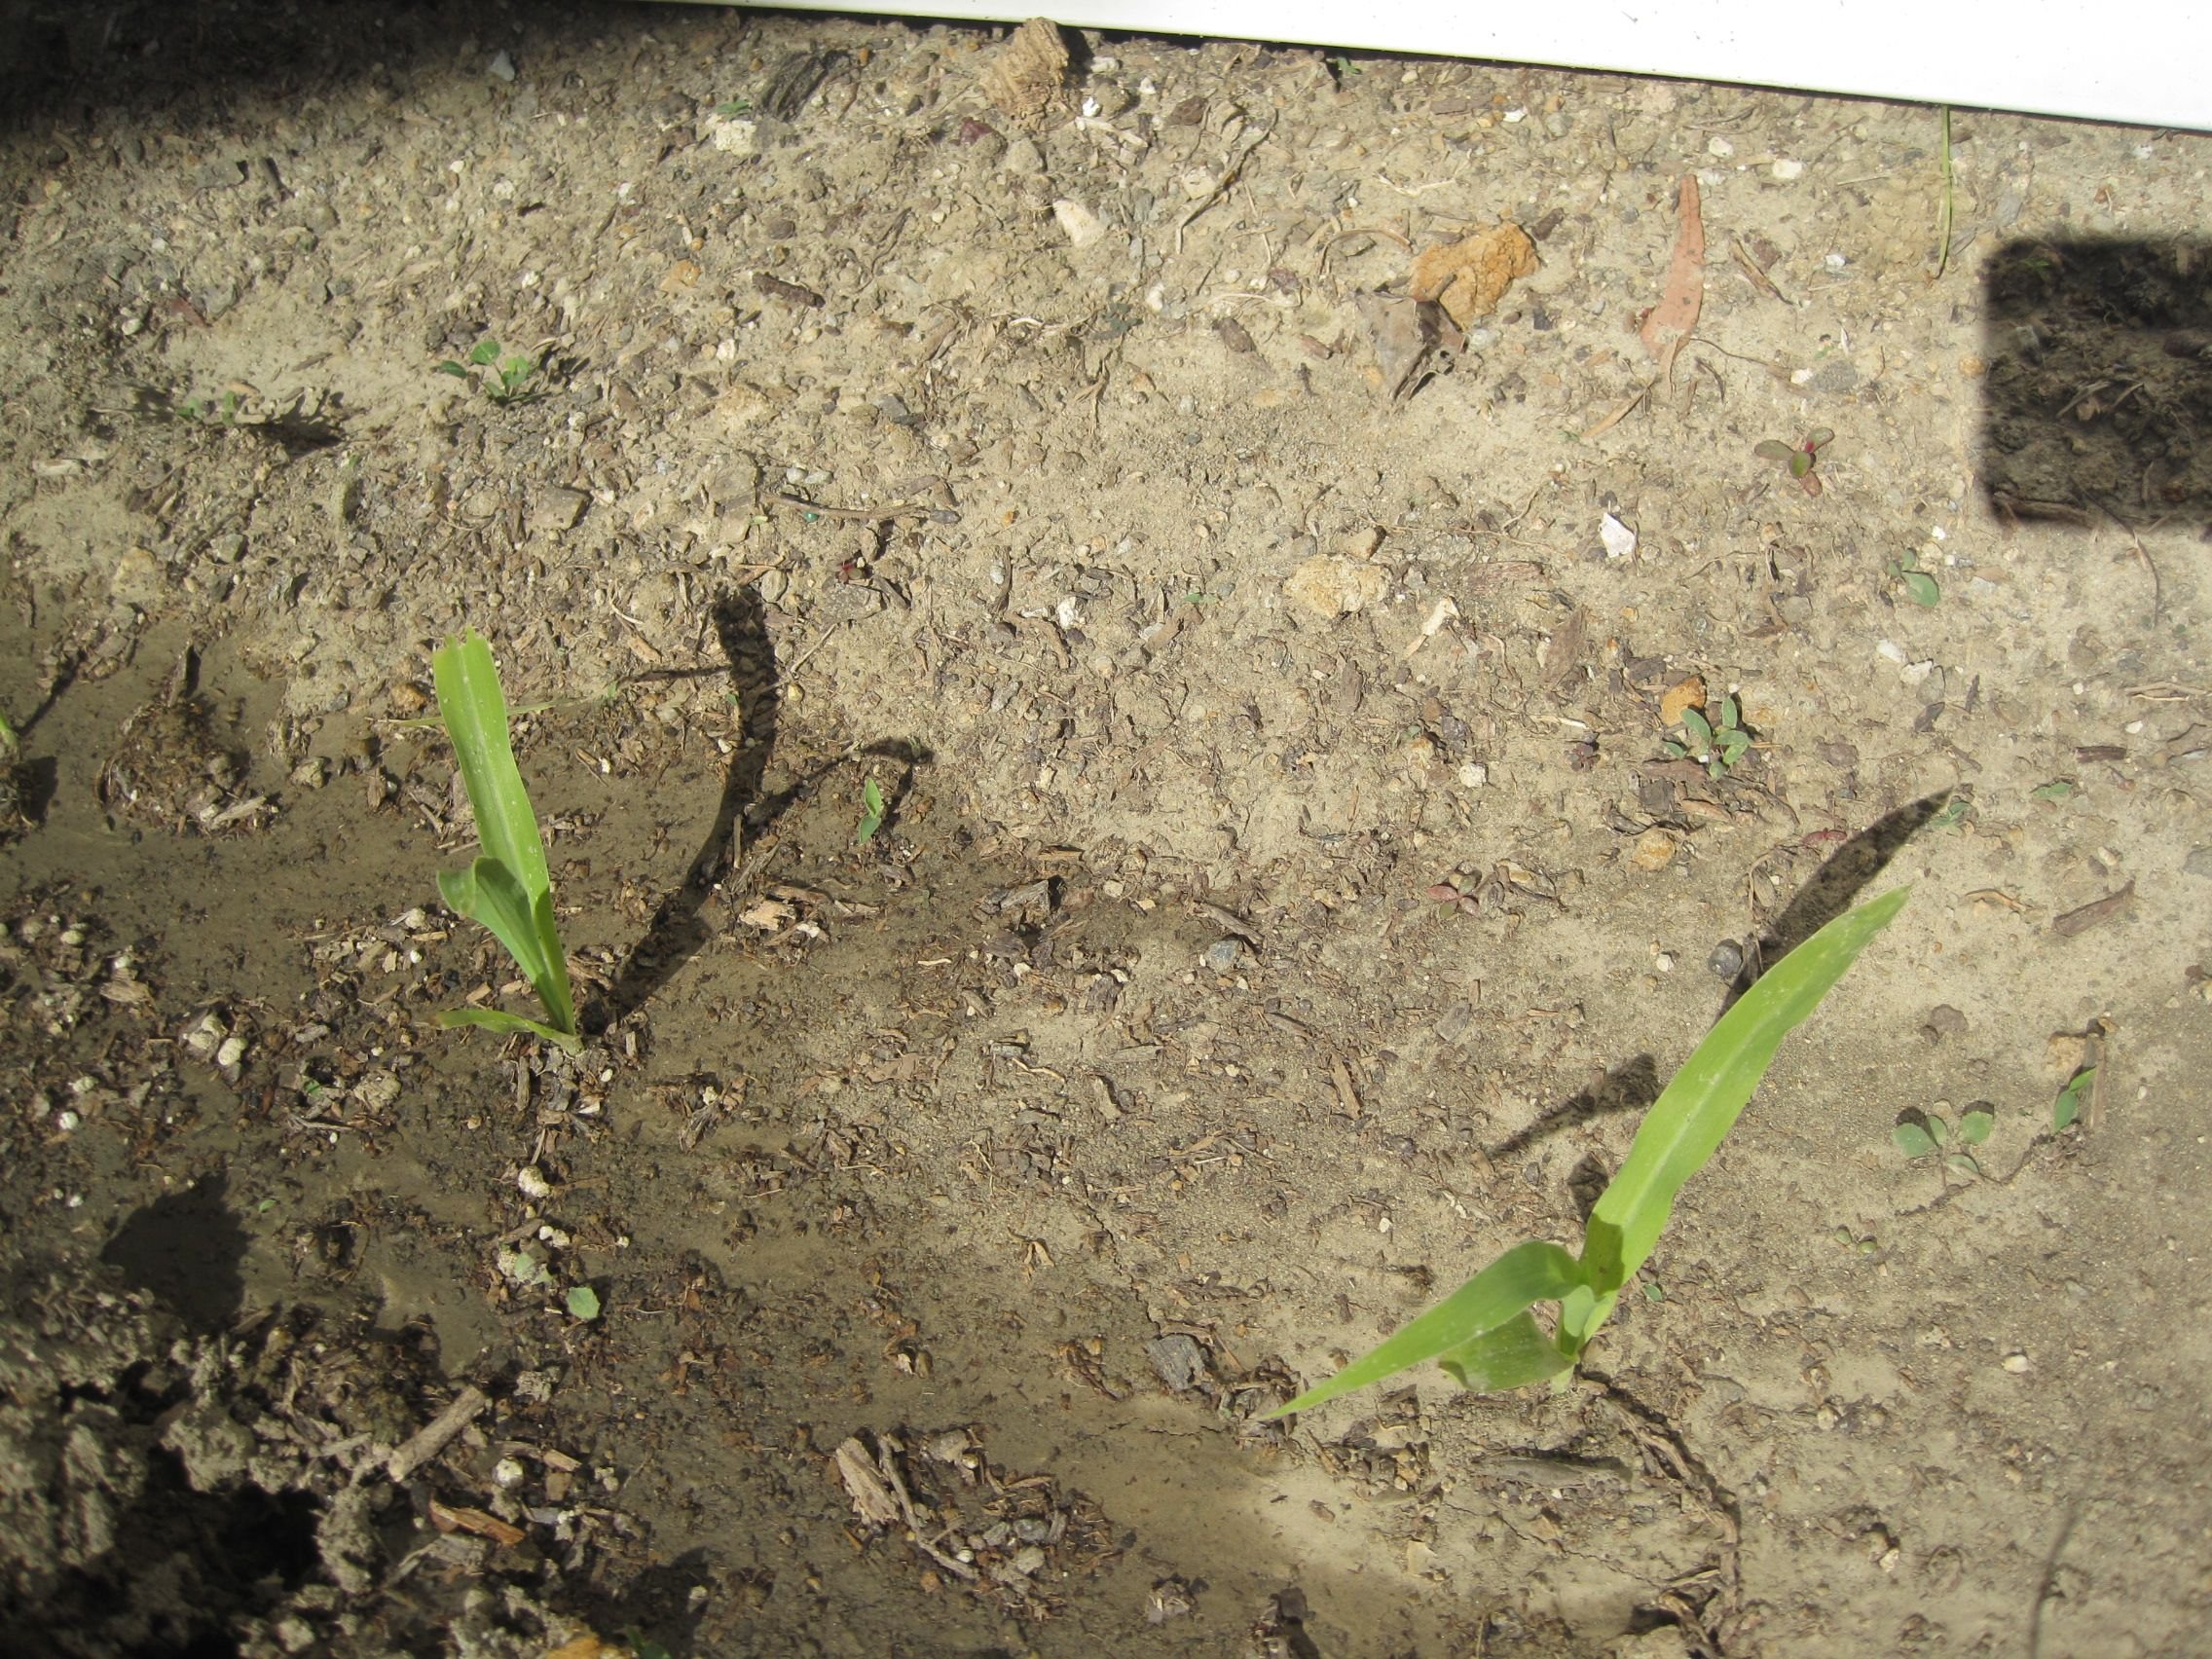
So I just plunked some beans, corn and tomato seeds in the ground after I had weeded it. I didn't add anything because I didn't know any better. I just watered it every day and the seeds sprouted!
Actually this is a great way to start gardening. Start simple! You don't need to buy a lot of stuff! Just buy some seeds or better yet ask your friends or neighbors for some seeds and plunk them in the ground.
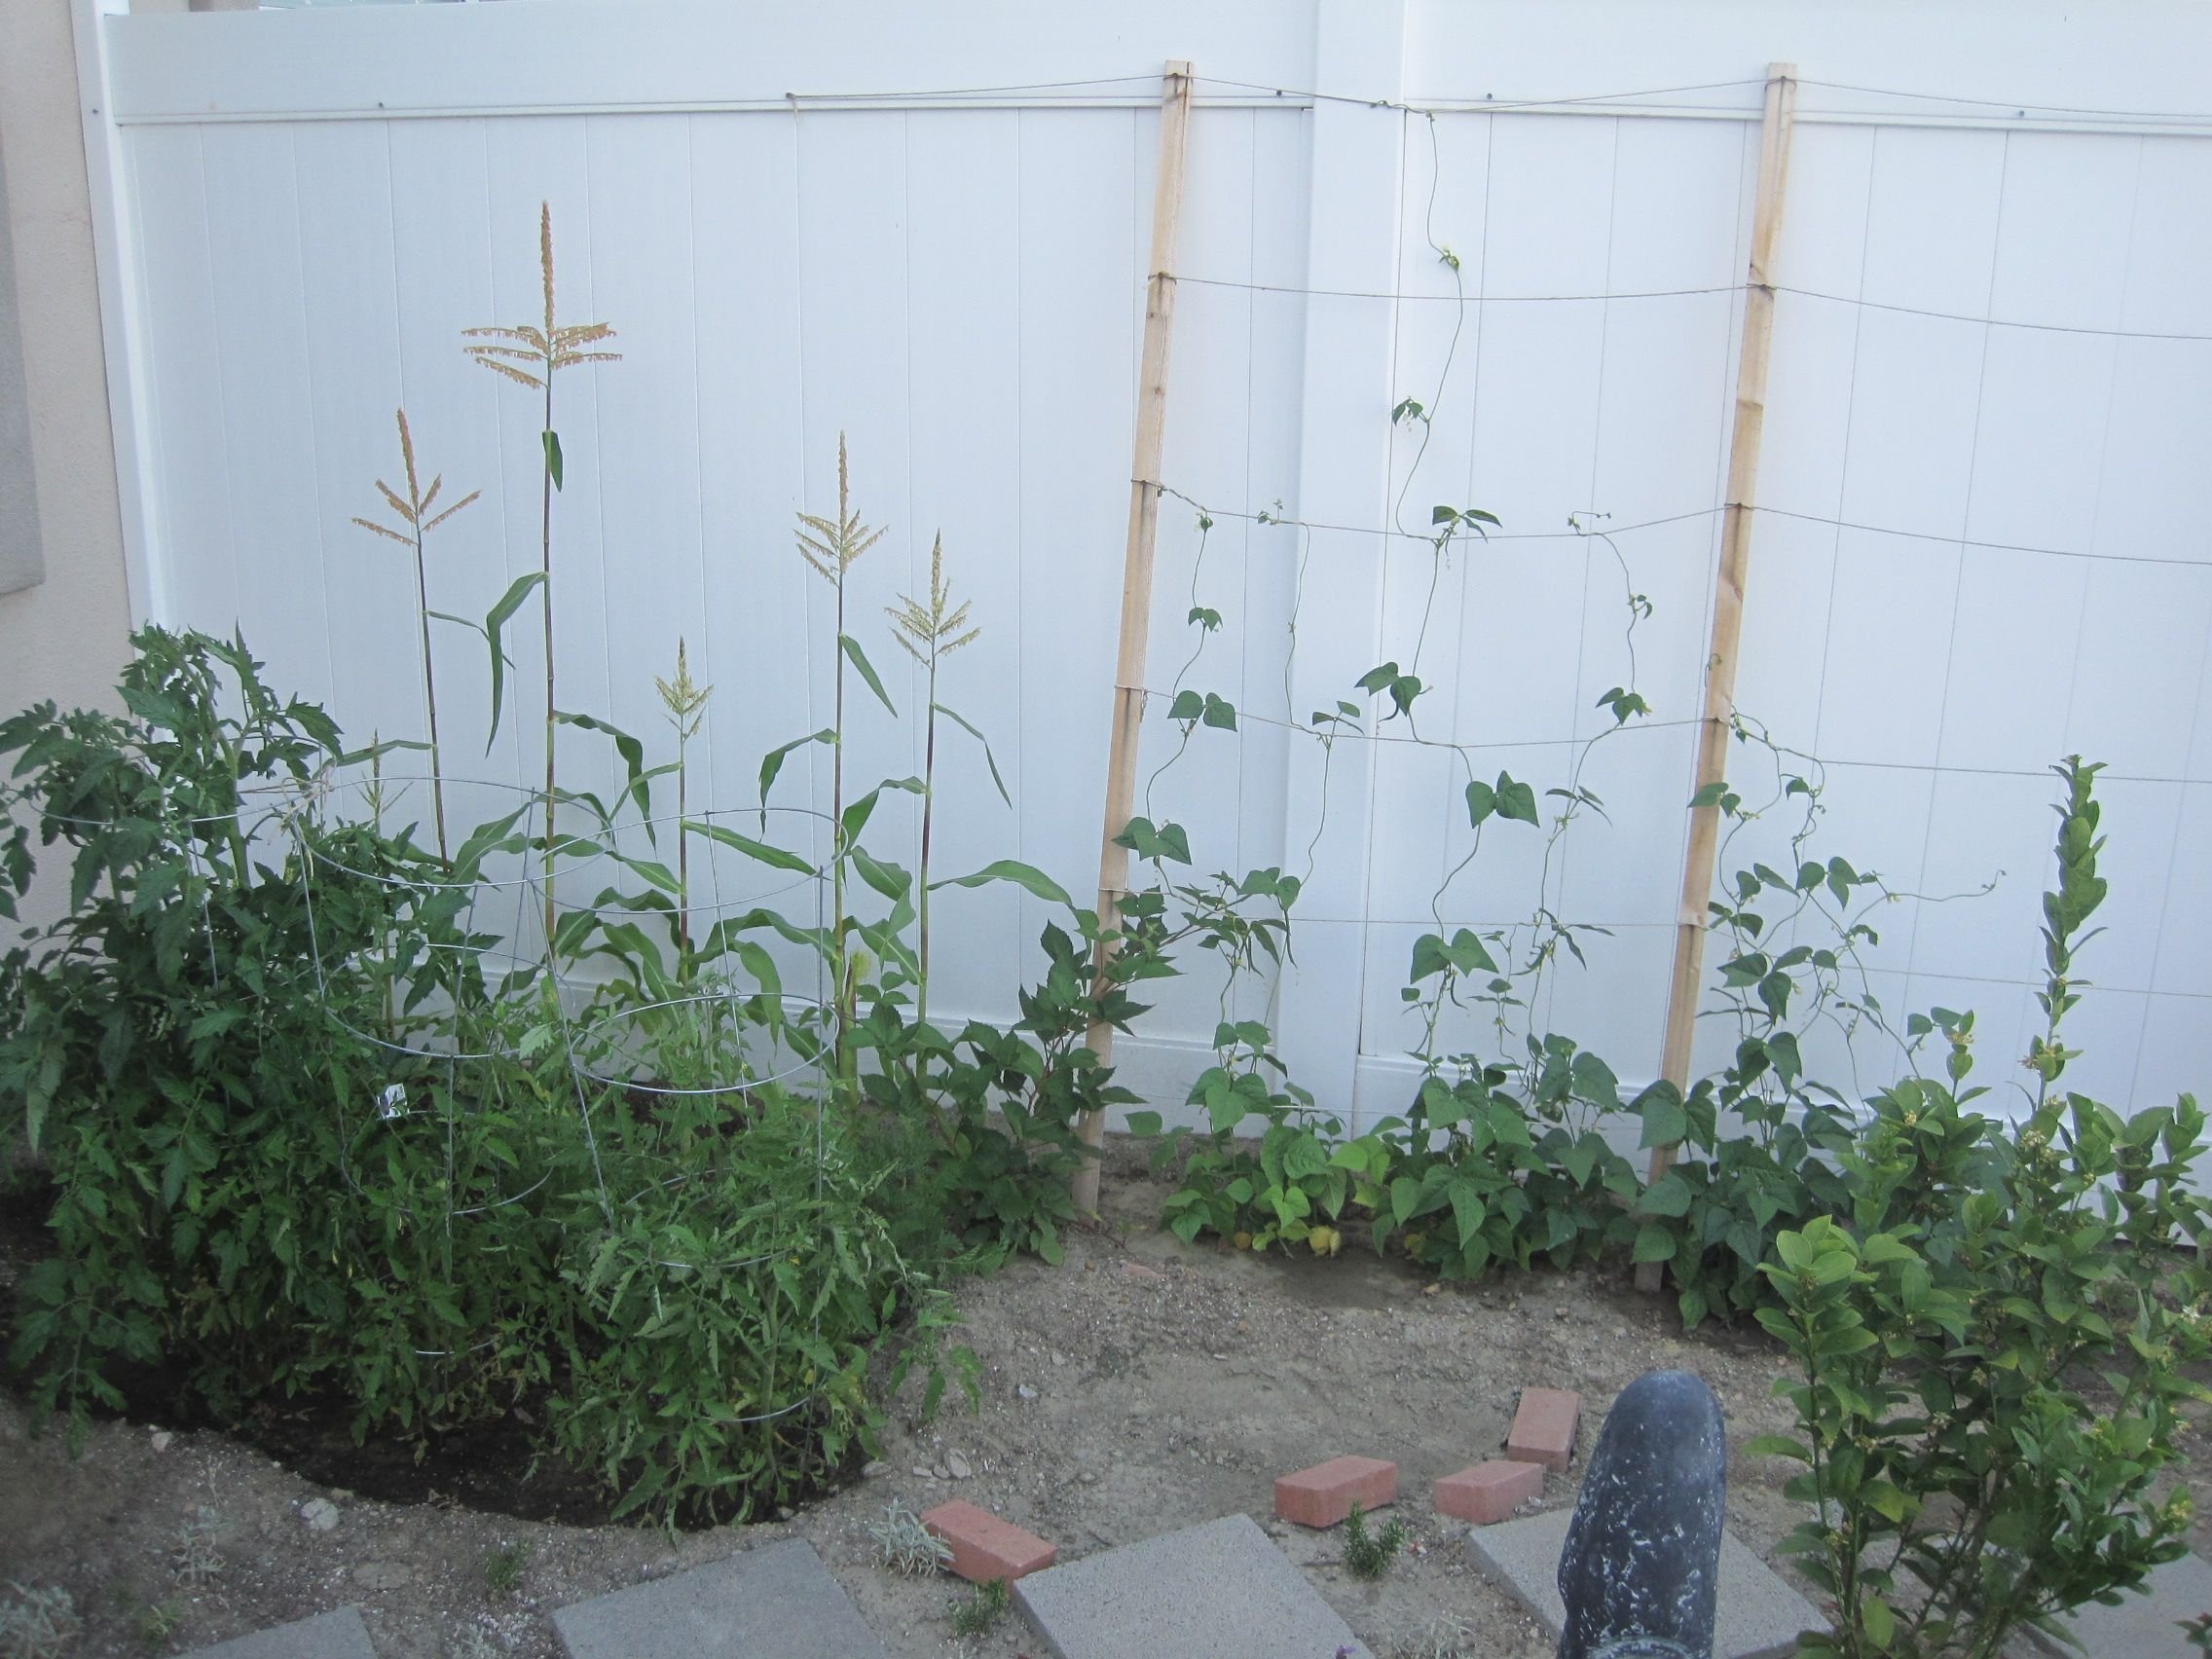
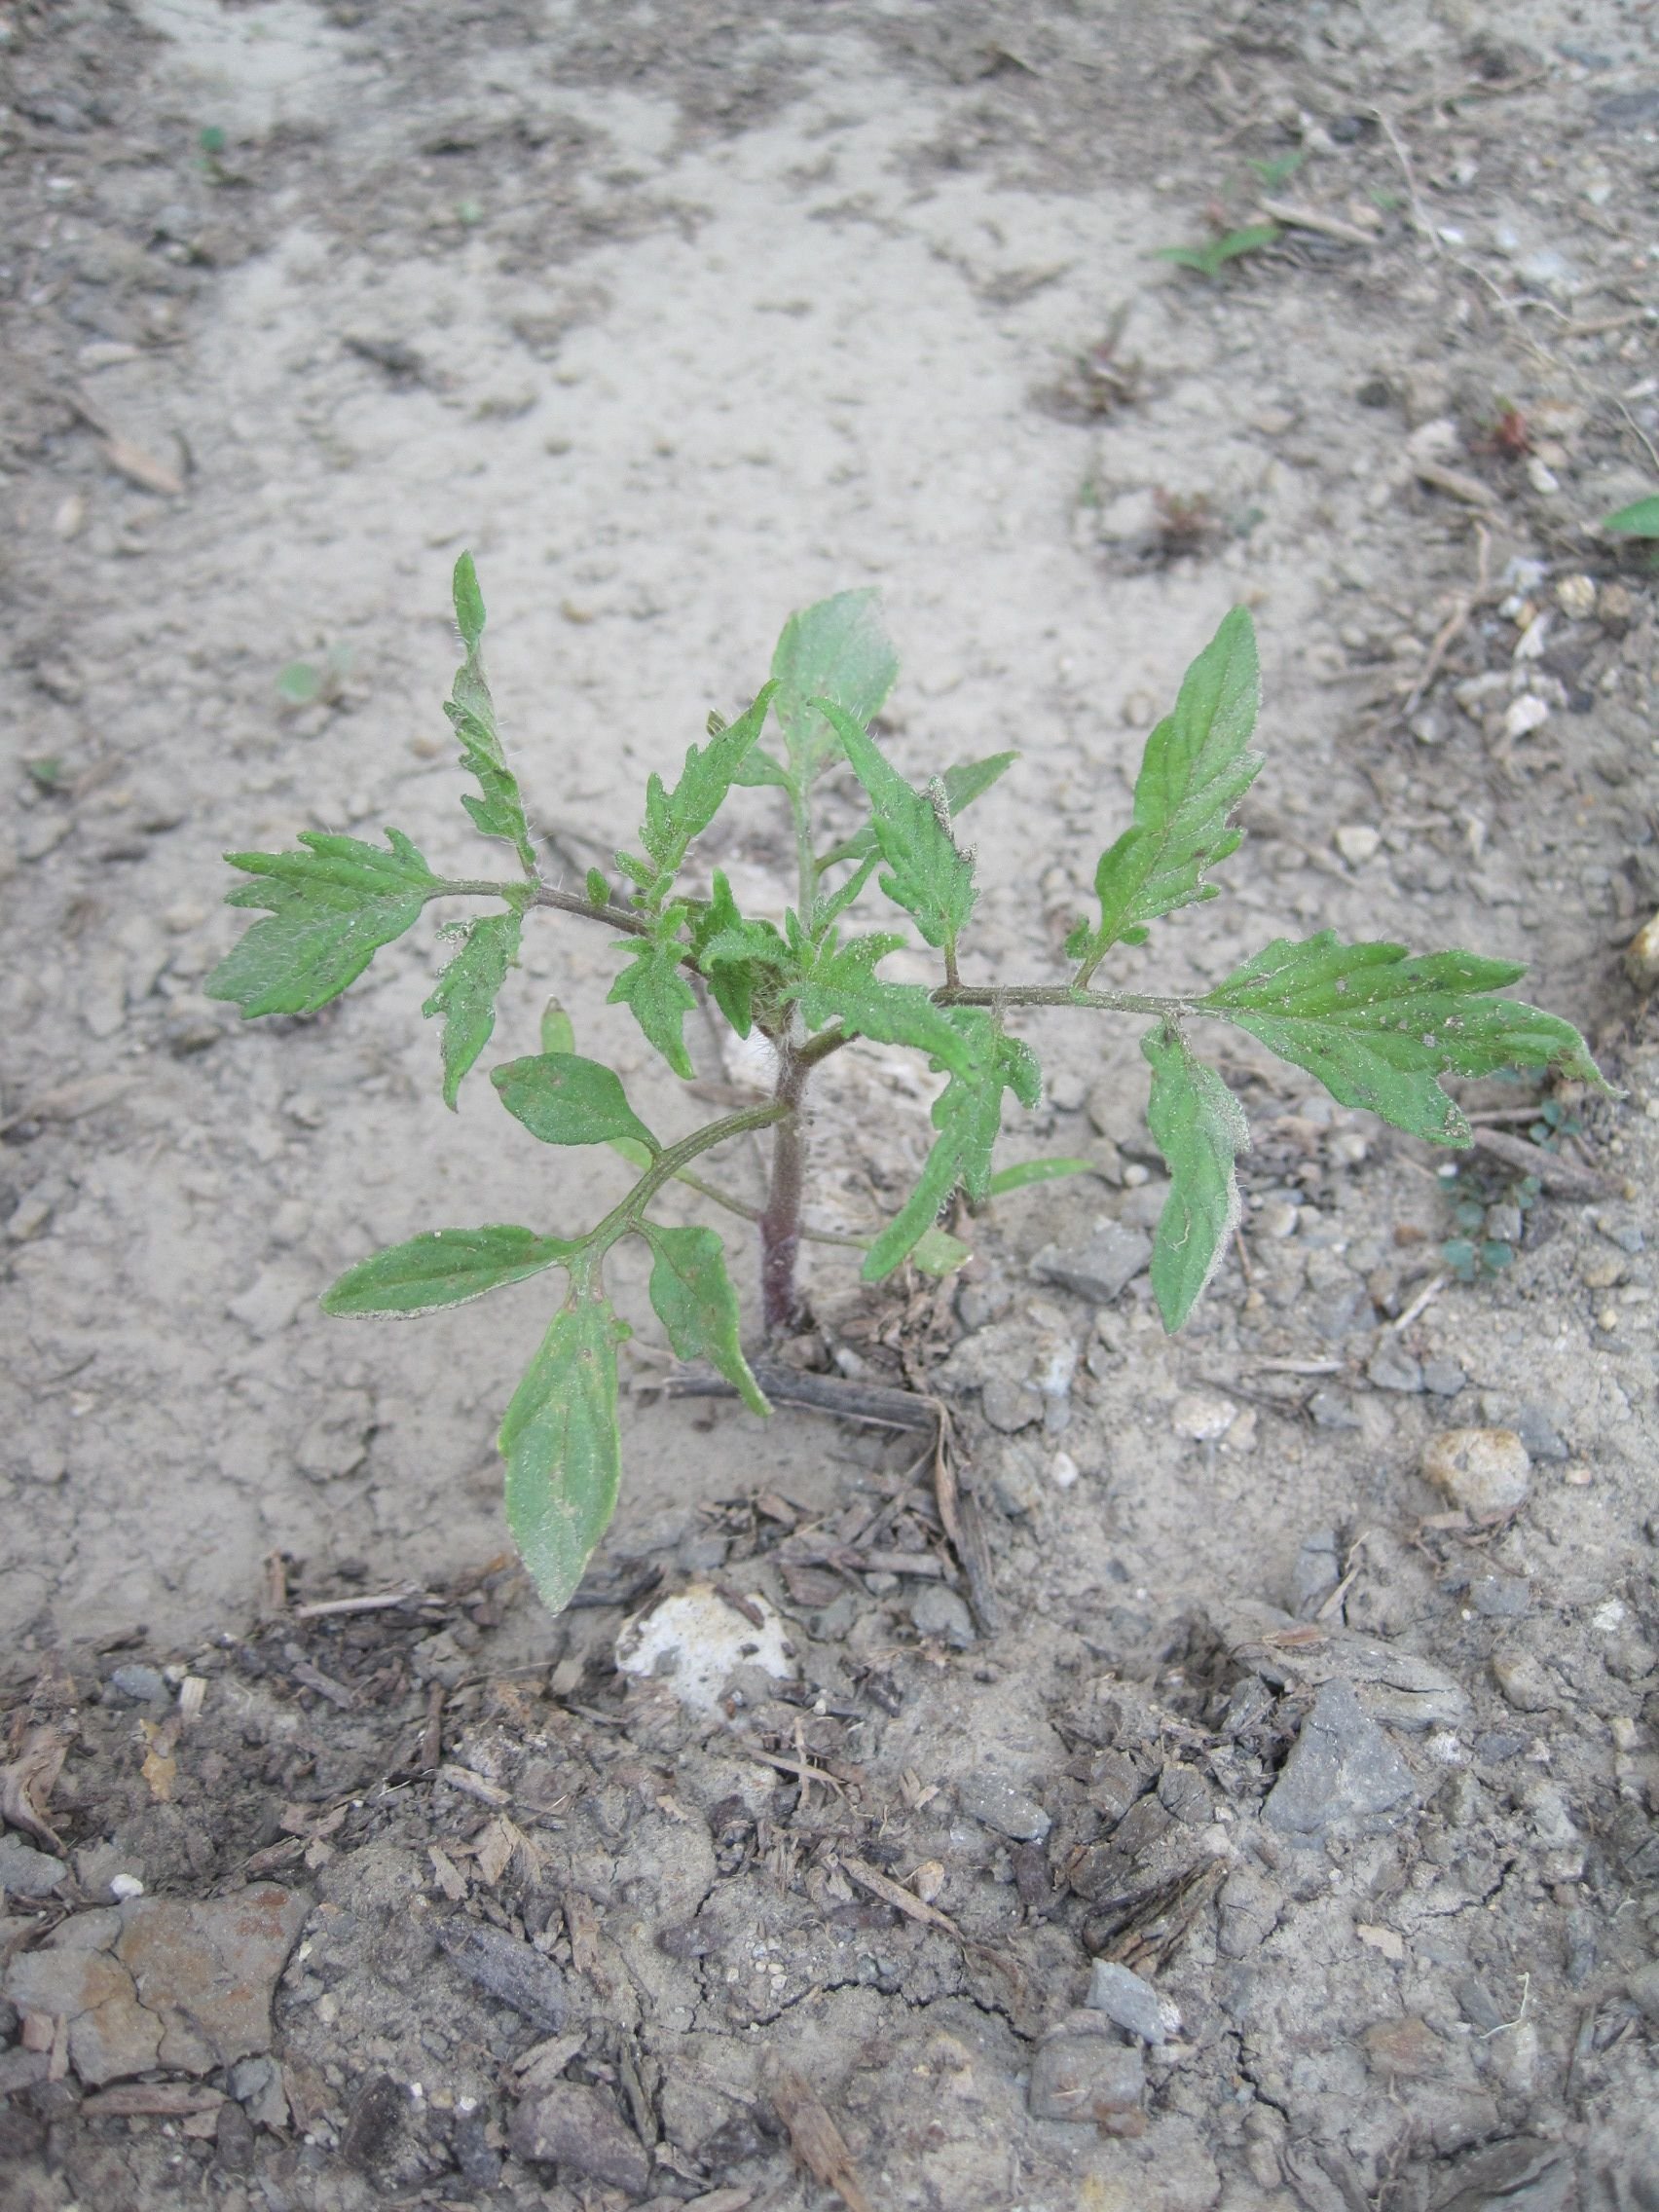
This is what the tomatoes, corn and beans looked like 3 months later! Another month or two later and the tomatoes on the left got over six feet tall, taller than me!! They totally outgrow these supports. That was exciting!!
But the tomato plants never grew tomatoes. The height of the corn never got much bigger and the stalks were weak and thin. The beans didn't take over the whole support like I envisioned. I learned the hard way that my soil was needing more organic matter, more compost and mulch. Those answers started coming to me in books and from friends.
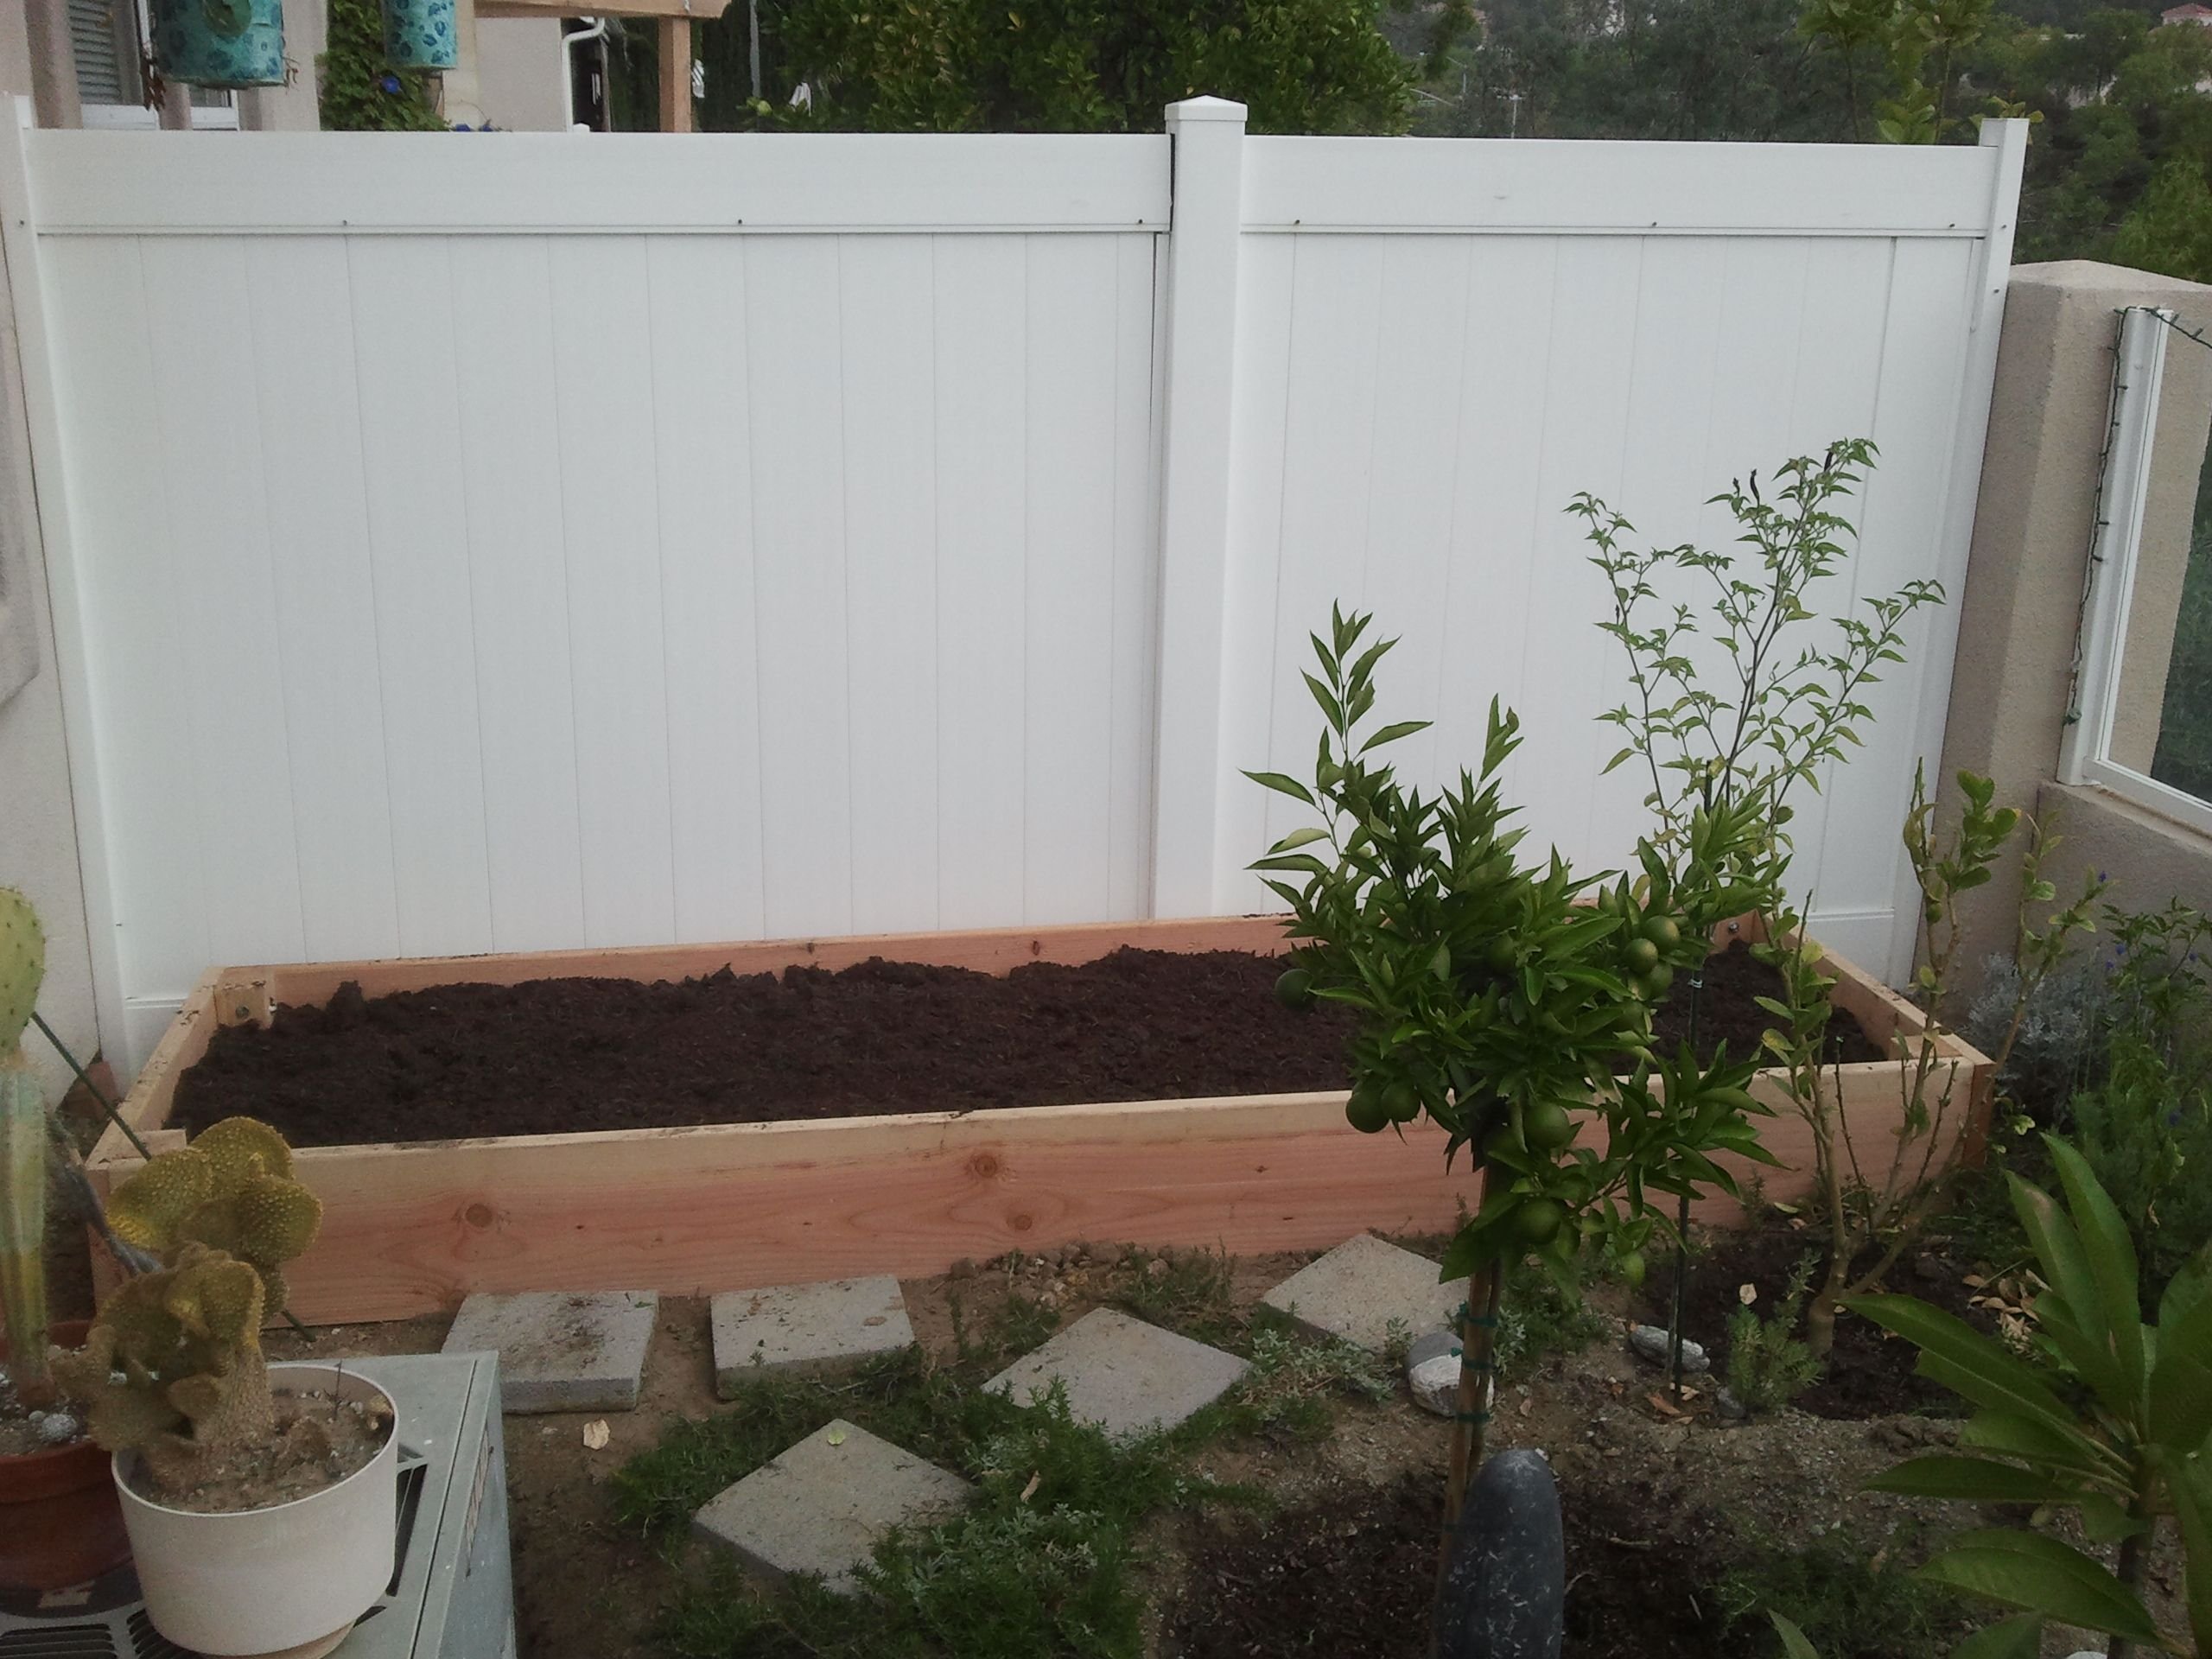
I started building raised beds and buying compost from the hardware box store's garden center.
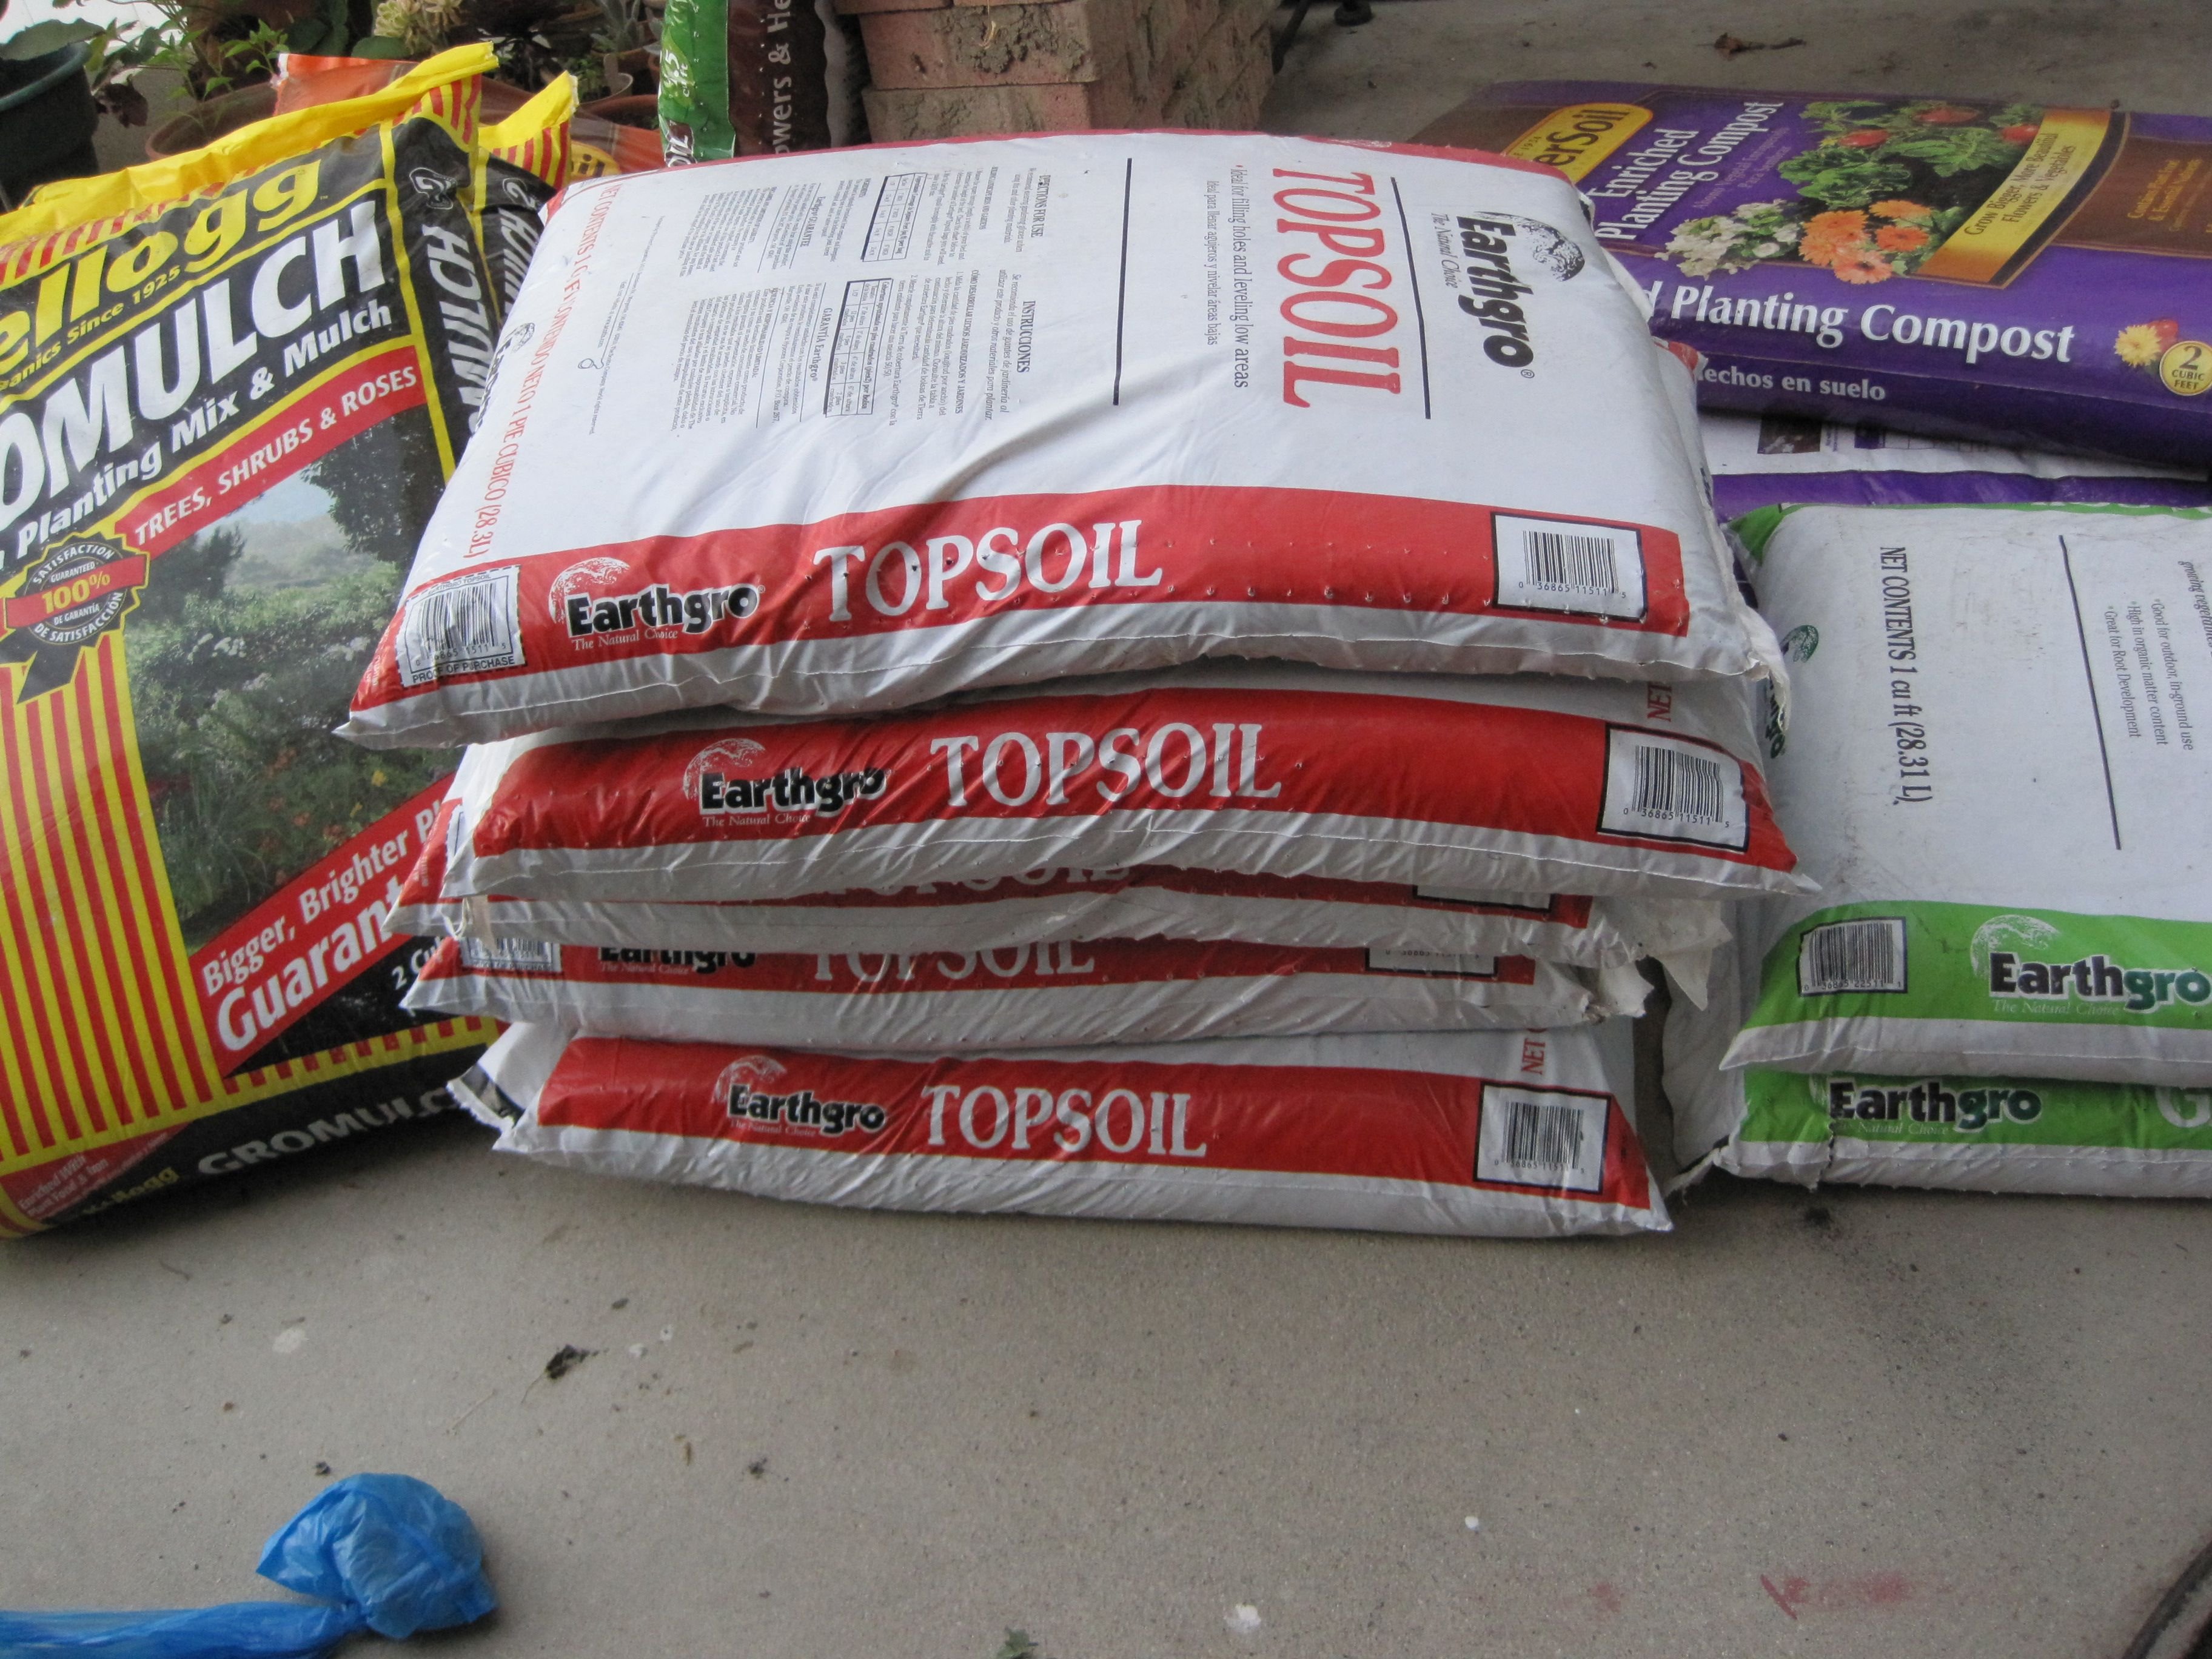
I thought this was what I wanted but it turns out it wasn't. It's industrial compost which in most cases is not made with care of quality ingredients. And it certainly doesn't have much chance of being alive with soil life. But this compost did add a lot of organic matter to my soil and it gave me a lot better results than what I was working with as you can see.
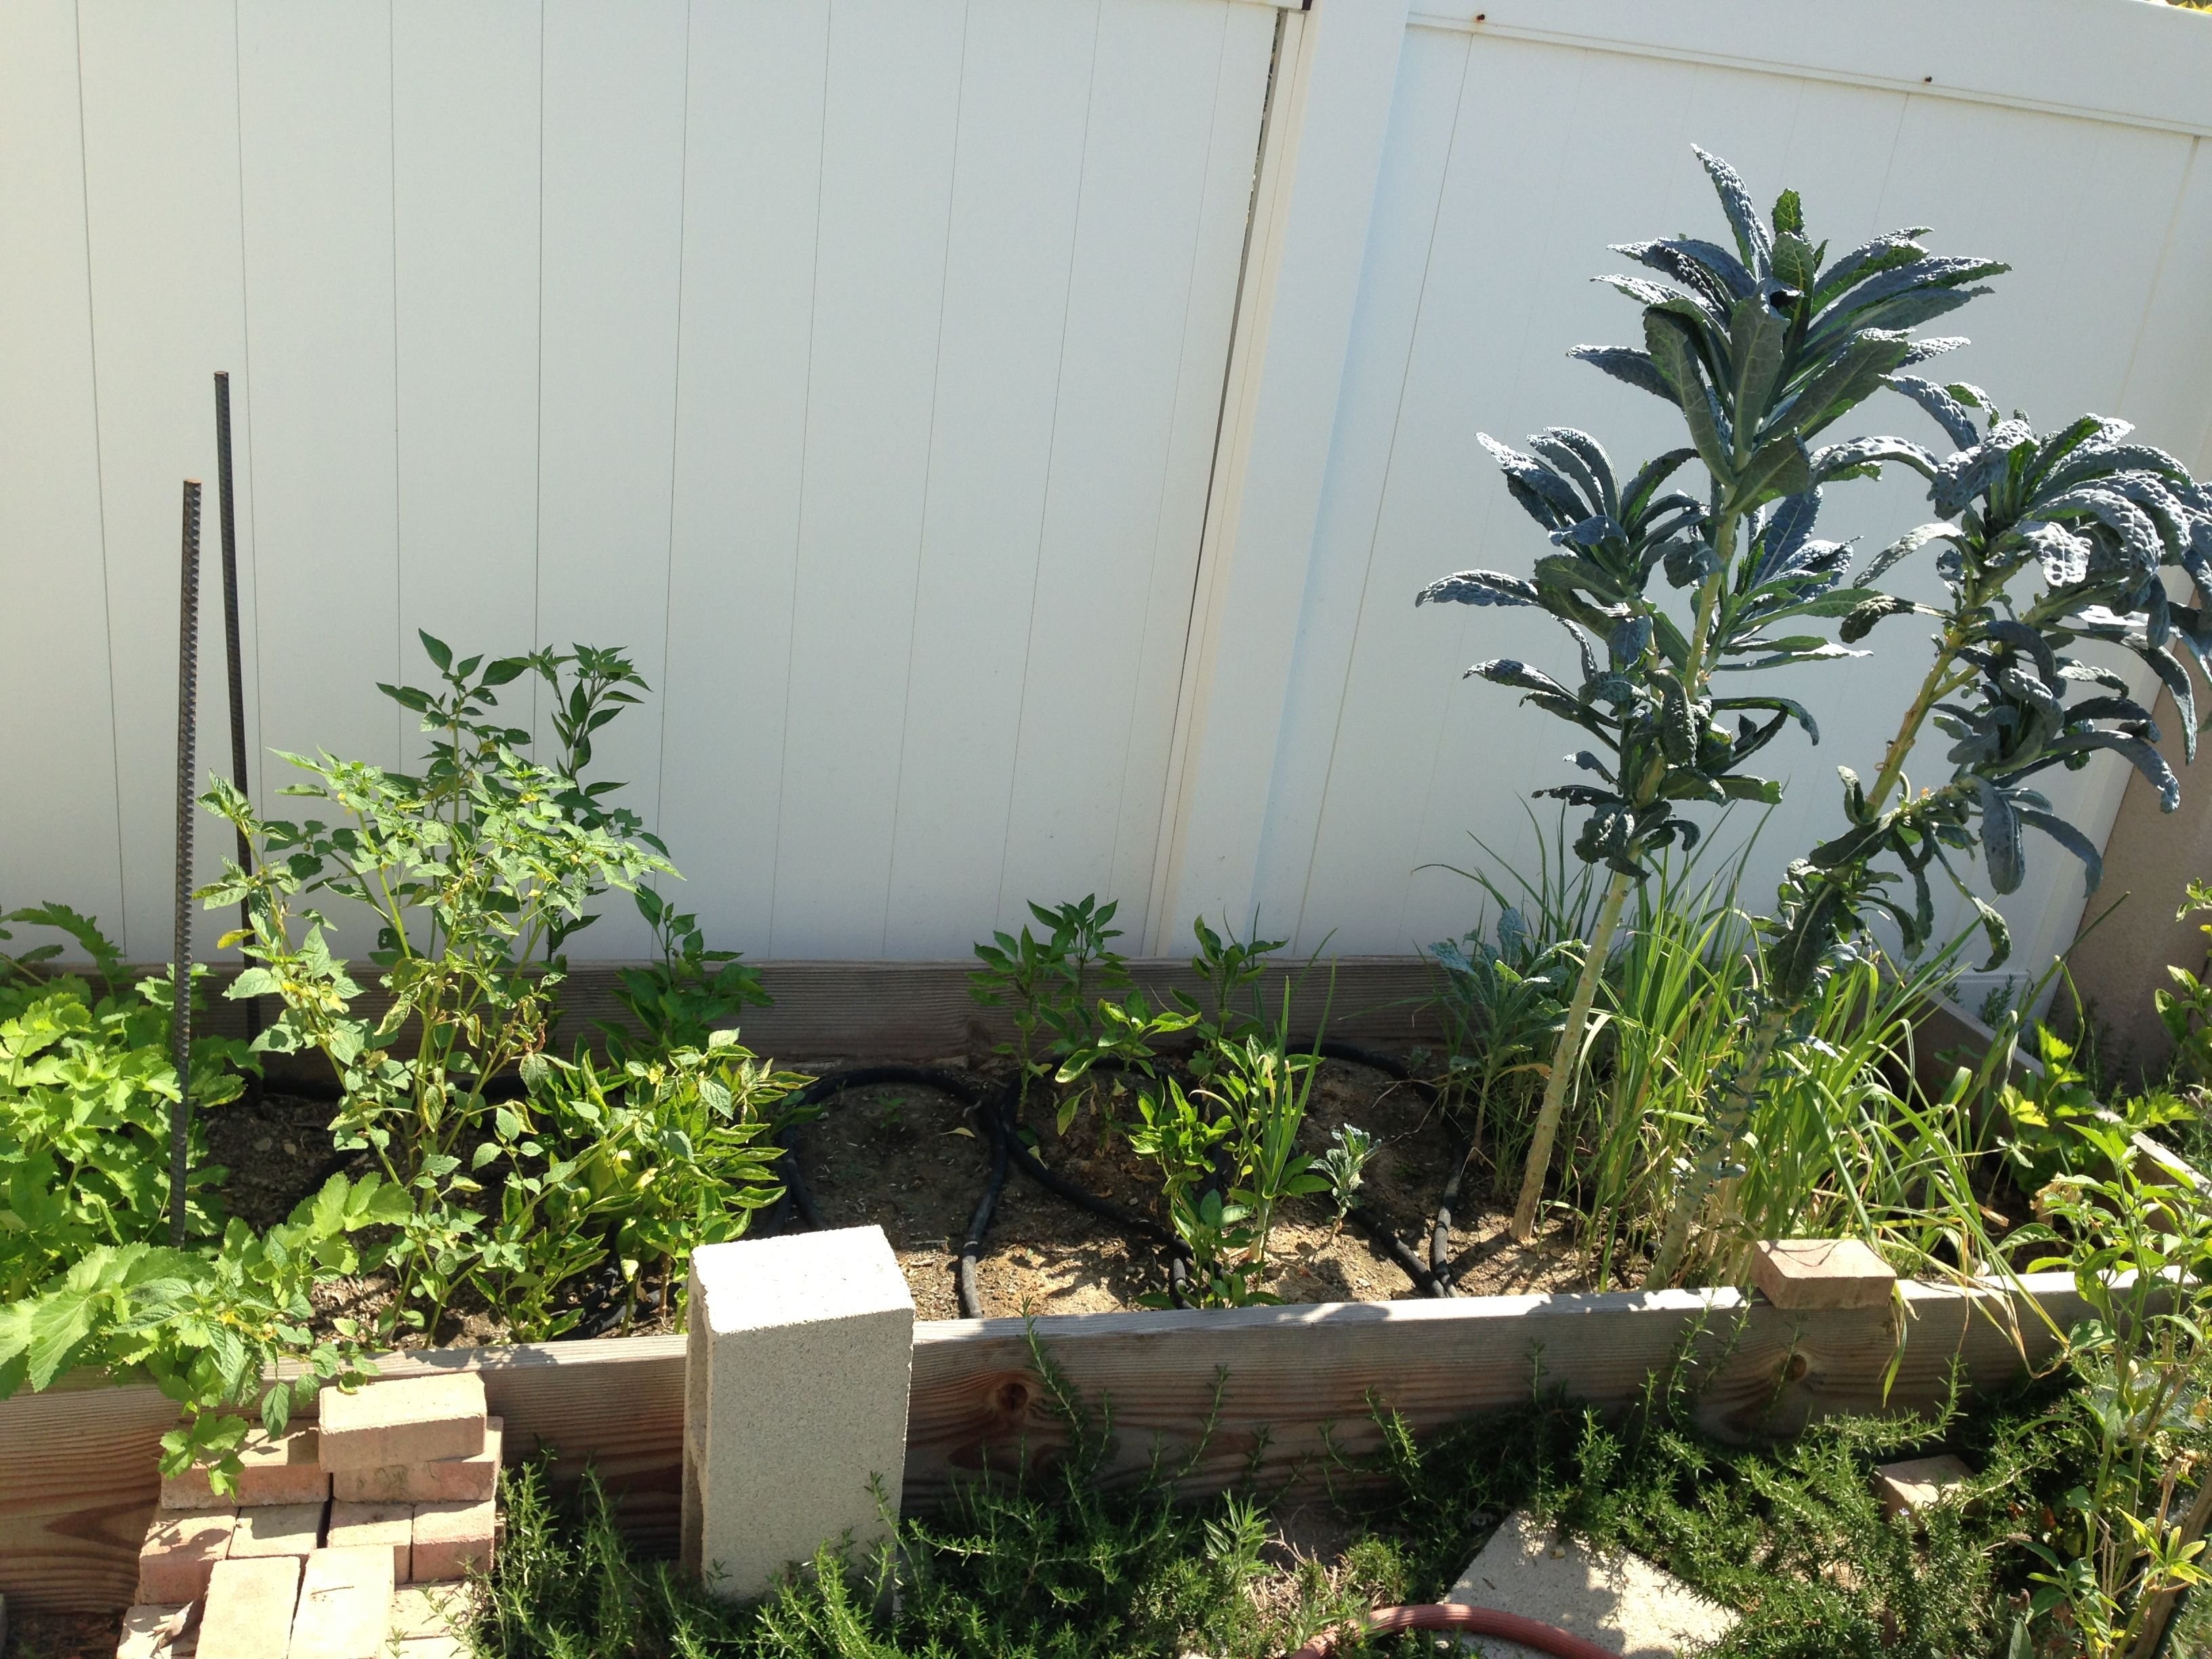
By far the best thing you can add into your soil to build your organic matter AND your soil life is home made compost or home made vermi-compost. I would recommend to anyone starting a new garden to start making their own compost ASAP and making as much of it as possible throughout the year. Get addicted to making compost!
In addition to compost, adding just about any kind of aged or composted manure, whether it be fish, mammal or bird manure... it's going to make your garden awesome!!
Here is a link with a brief overview of different types of materials you should consider adding to your garden soil for good fertility and soil life. You can then research them further own your own. I'd recommend trying them all - but starting with compost is a good place.
When I worked at an urban community farm a few years ago
we would add over the counter products that included chicken manure, rabbit pellets (alfalfa), vermicompost, and foxx farm compost and mix them directly into the soil. This is not a bad combo. That urban farm site also had some industrial grade soil to start with. They were adding these products to get the soil organic matter up to par while they worked on establishing their soil life and starting their own compost operations. The basic idea is adding organic matter + manure. And diversity of materials is better than a lack of diversity. But anything you add will help.
When you don't have enough resources to make enough compost to enrich your whole garden area it could make sense to start out buying some products to get a baseline of organic matter going. It's not ideal, but can be useful. That can be the problem in the urban environment that there is not a lot of available leaves and dung for you to harvest for making your amazing compost. But if you are on good enough terms with your neighbors you can convince a few of them to save their veggie scraps for you and you can rake their leaves for them, take their lawn clippings off their hands for them before it's picked up by the city (if they dont spray their lawn with pesticides) and before you know it you'll have SO MUCH amazing compost to put in your garden!
I was making my own compost in this garden.
I didn't have a lot of space for it. I tried two methods:
I first dug a pit next to my air conditioner and out of view. I tossed kitchen scraps into that pit and covered it with a small tarp and some bricks. The tarp kept it from drying out too fast. From time to time I added some water to keep it moist and mixed it up with a shovel. This method worked amazingly well and it wasn't long before I had a bunch of worms and other decomposing insects and grubs breaking down the scraps into compost for me. Being in a pit also helped keep it moist with the thermal buffer around the compost, which was quite helpful in my climate. It was about 3 feet wide and 1 1/2 feet deep. I'd mound it up 1 1/2 feet above the soil level and it would shrink down back into the pit as material decomposed.
The second method was with a compost tumbler. I got it because I could put it on my patio saving valuable garden space and it would be easy to turn. Turns out I had a heck of a time getting good consistent results in the tumbler. It might be the size of the container or the fact that it wasn't in contact with the soil. A few years later when I had a bigger garden space I ended up just making compost on the ground in piles the more "traditional" way. Then I let the compost in the tumbler sit to cold compost it rather than trying to make hot compost and it worked a lot better that way for me. Finally my compost tumbler ended up becoming a worm bin and I regularly harvested amazing vermicompost from the bottom! Go figure!
I just want to conclude that if you are starting a new garden and you have an older home or the soil wasn't graded before the home was built, you might just have some amazing top soil and you don't have to start from scratch like I did. But you'll still want to get some compost going ASAP so that you can maintain and improve the soil fertility and the soil life!
Coming soon in the final installment of this garden tour, I will share with you the abundance that I was able to produce with little experience and effort! Stay tuned :)
Part 1 - Intro, Grass, Succulents, Veggies & Flowers
Part 2 - Frustrated By Drought
Part 3 - Drought Tolerance, Raised Veggie Beds & Lots of Garden Tips