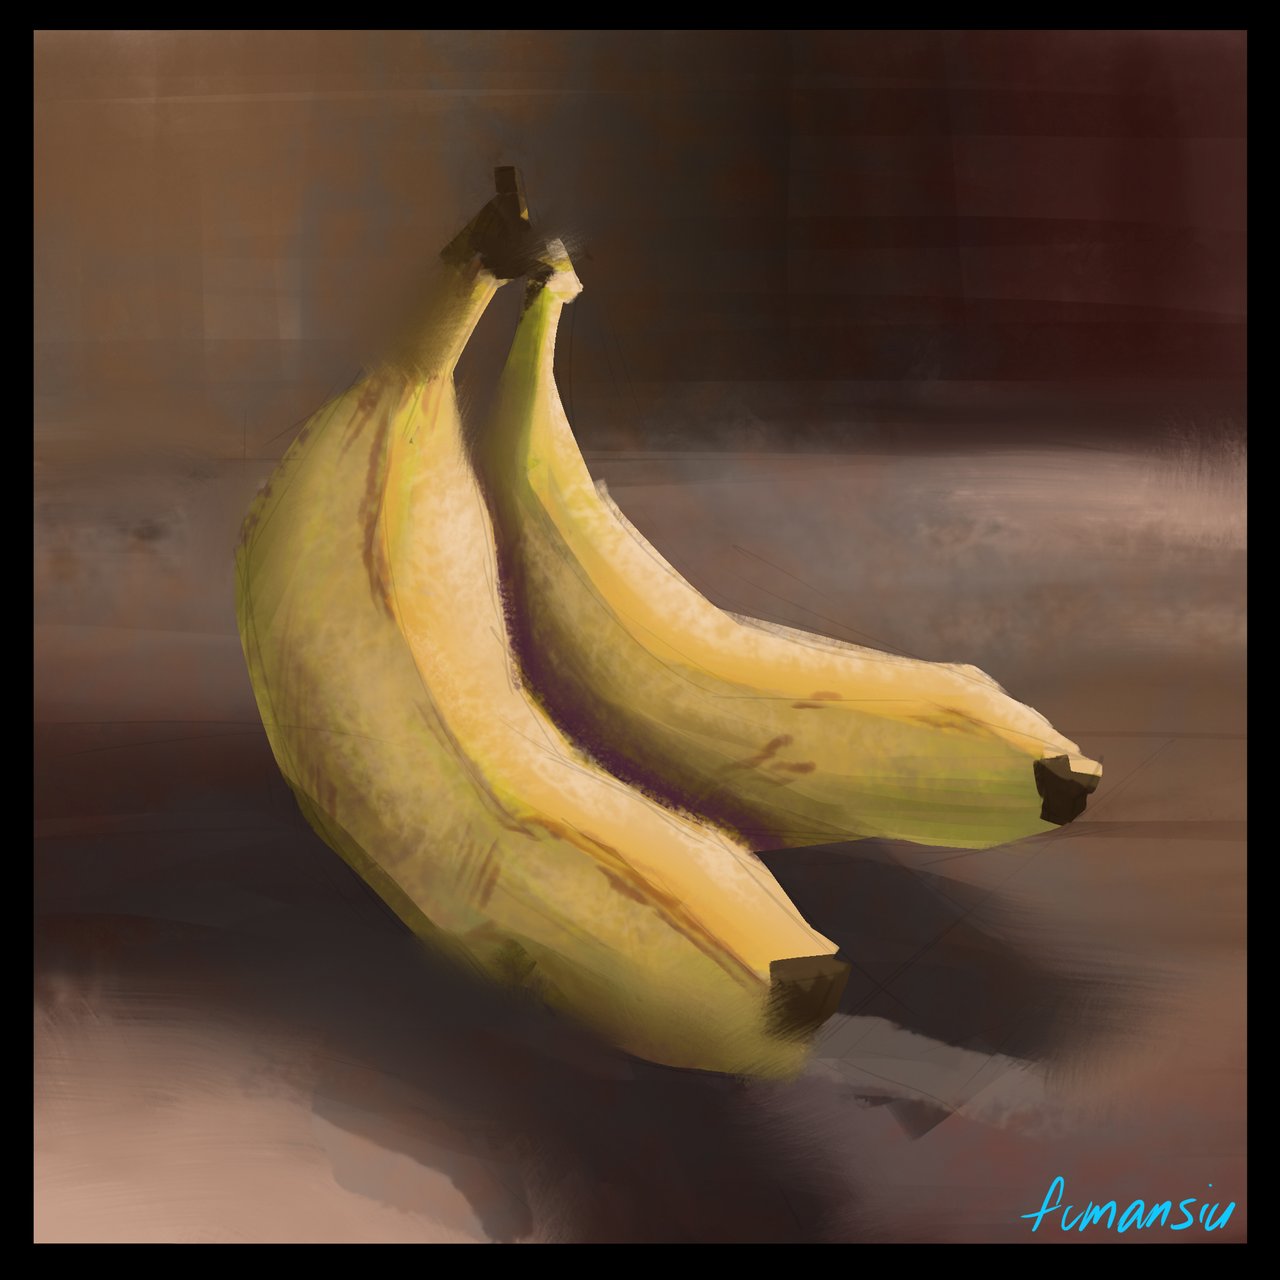
Welcome back! If you tried out the color work from our first part you'll already be ahead of the game for this first practice session.
I won't be going over drawing fundamentals but if you need help in developing a good eye for perspective and basic drawing skills I highly recommend you head over to @jorgevandeperre's page. @jorgevandeperre is putting together a very well thought out approach to handling drawing basics, practice, perspective as well as shadow and light and how to express form. Making things look 3D is a difficult subject already so if you're just starting out I suggest you start there!
Today we're going to explore yellow! To do this I'm going to use some bananas I happen to have in the house. If you don't have your own bananas you can probably find a picture with a quick search. It's very important to have a reference for any new subject. I'm sure you can probably picture what a banana looks like but having something to refer to will go a long way in helping you stay on track and will make the difficult decisions easier to make.
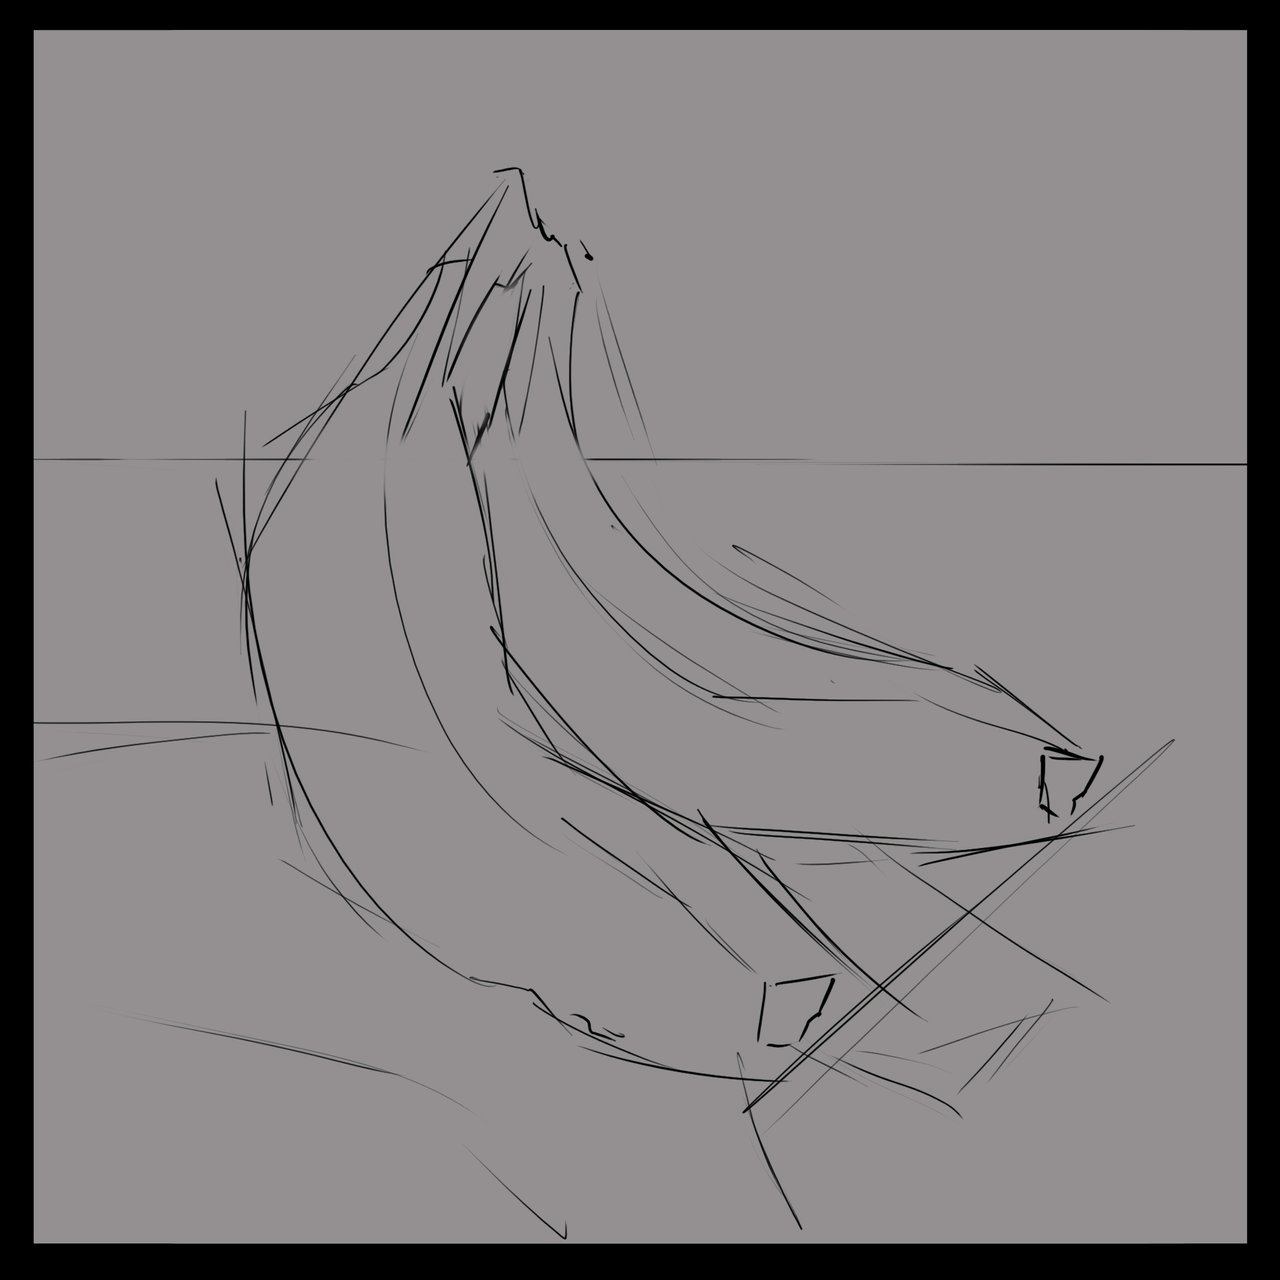
Lets sketch it out!
At this stage it's great to be messy. You are giving yourself the guidelines for the painting and using broad sweeping lines will help you deal with the curves of the subject.
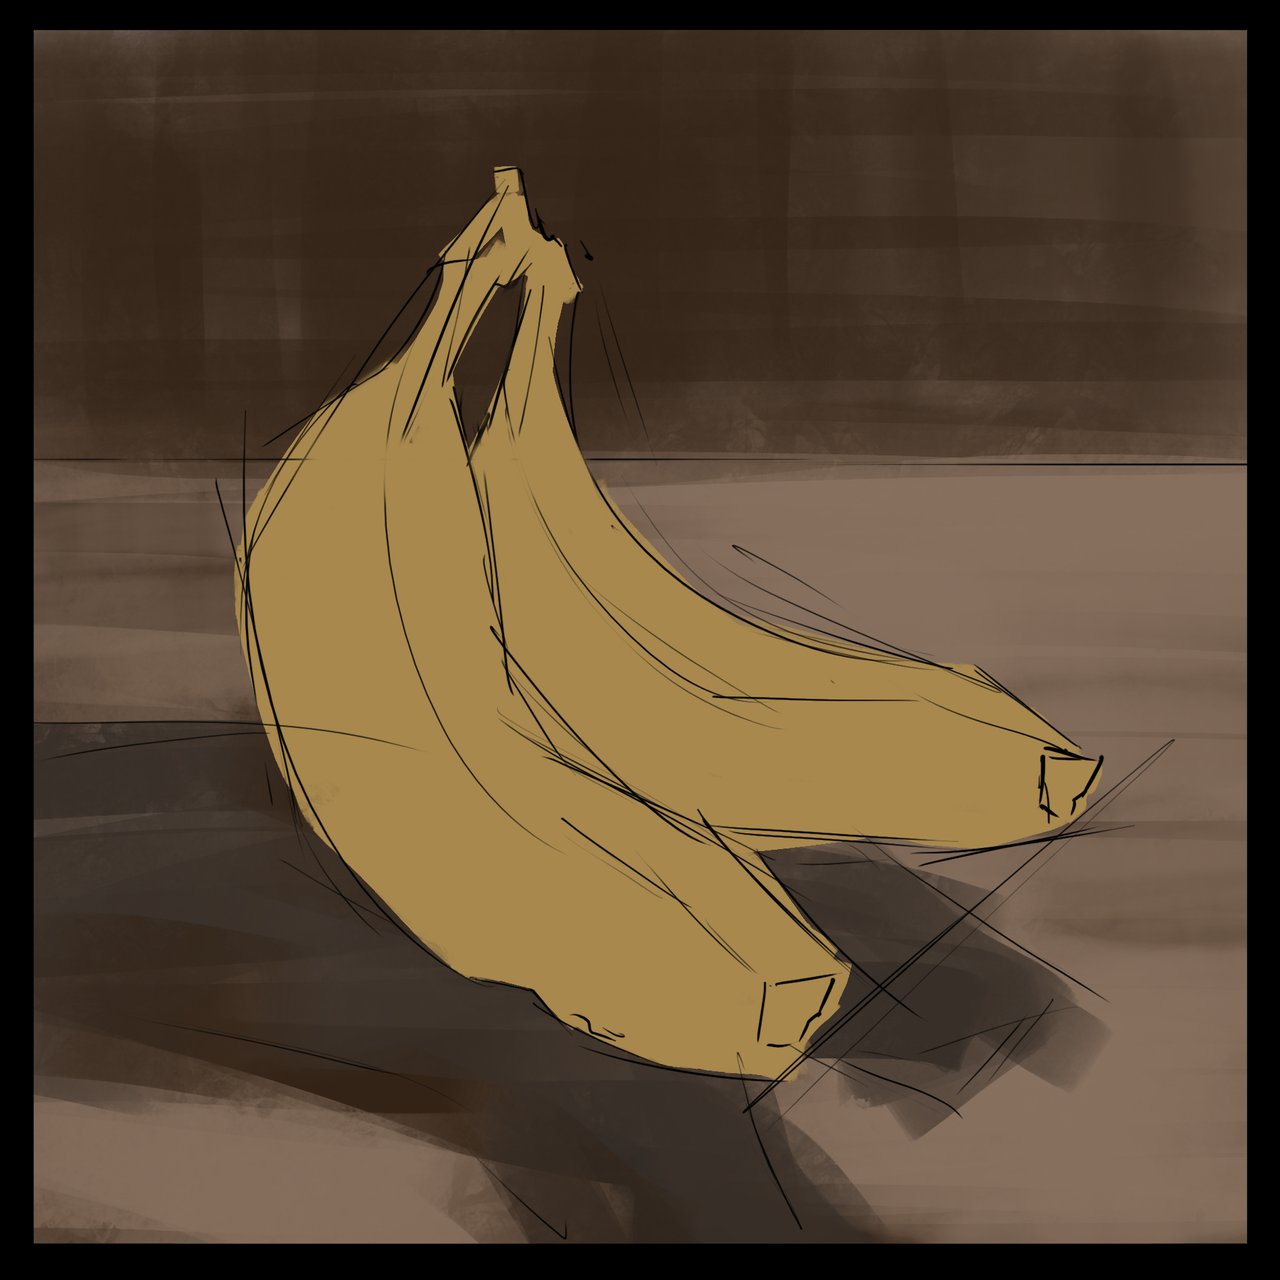
Next up I've laid in my flat colors. On 2 separate layers, I've put in a basic background and then on a new layer carved out my banana(s) shape.
Next up for me, on a new layer, was to add in some of that variety you'll get on a banana. Some of the green from the less ripe parts and some of the brown stripes and dots that form as the banana ripens. We're trying to build up a good base to apply our shadow and light to and it's ok to be kind of messy and imperfect. We'll clean things up or smudge them around later.
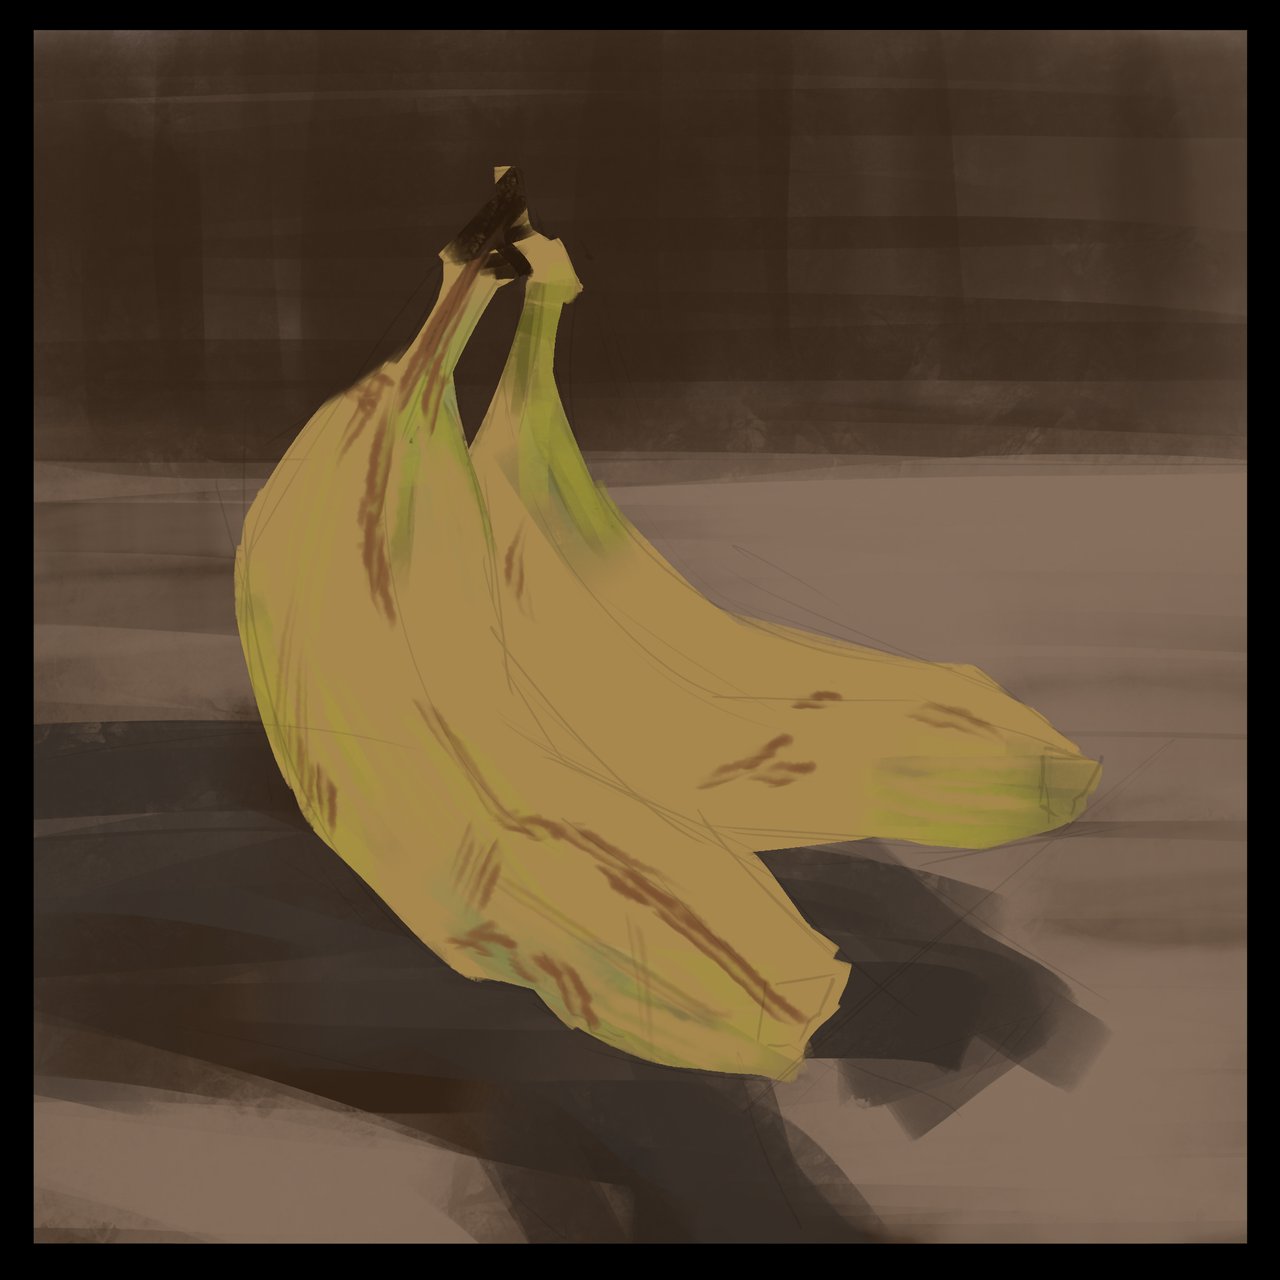
Now if you remember from our first color exploration this banana is kind of a mixture of the cube and the cone shape. That means there will be some soft lighting because the banana is not completely flat. But at the creases of the banana it will act more like a cube for the shadows and the shadow shape will come right up to the edge.
Again, we are not aiming for perfect at this stage, we are just trying to get the jist in there so that we can refine it more as we go.
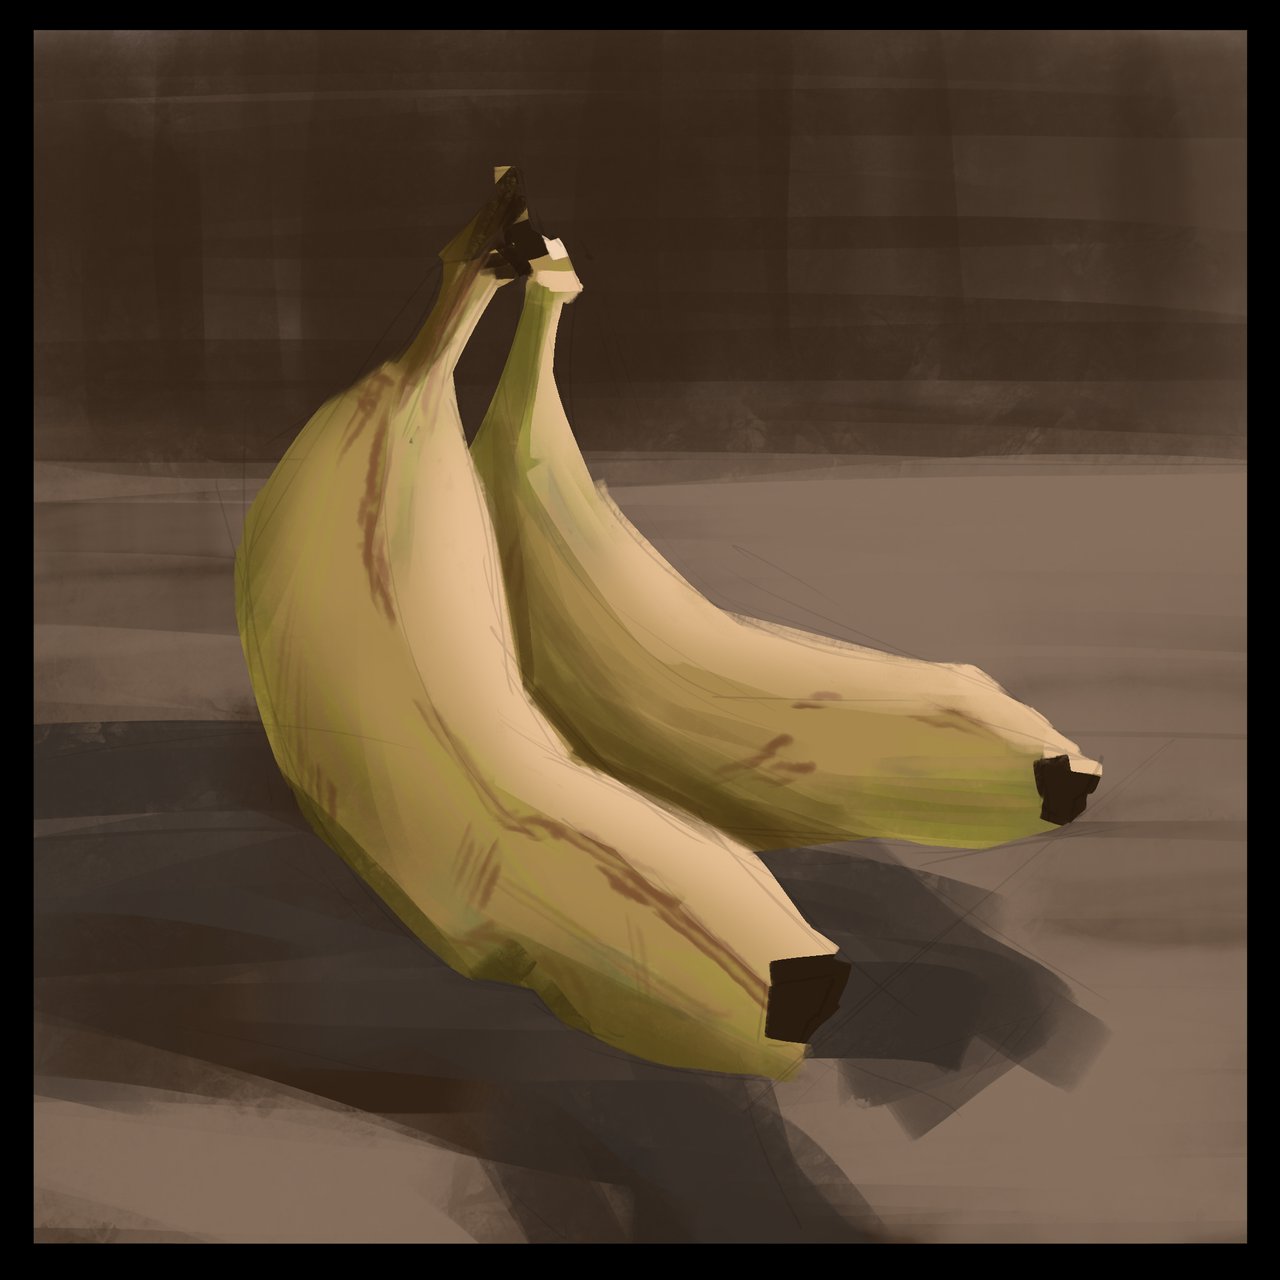
I noticed that the saturation of the banana was kind of lacking so I used a color balance effect to juice up the saturation a bit. As well I have opted to go a bit orangey as we get close to the shadow side of the banana and on the "shadow side" I noticed a bit of sky light coming from the left. So, I've very lightly added some cool light on the left side of the banana. I also pumped up the contrast of the background a bit because I really want that banana to be the most impactful bright thing on the page.
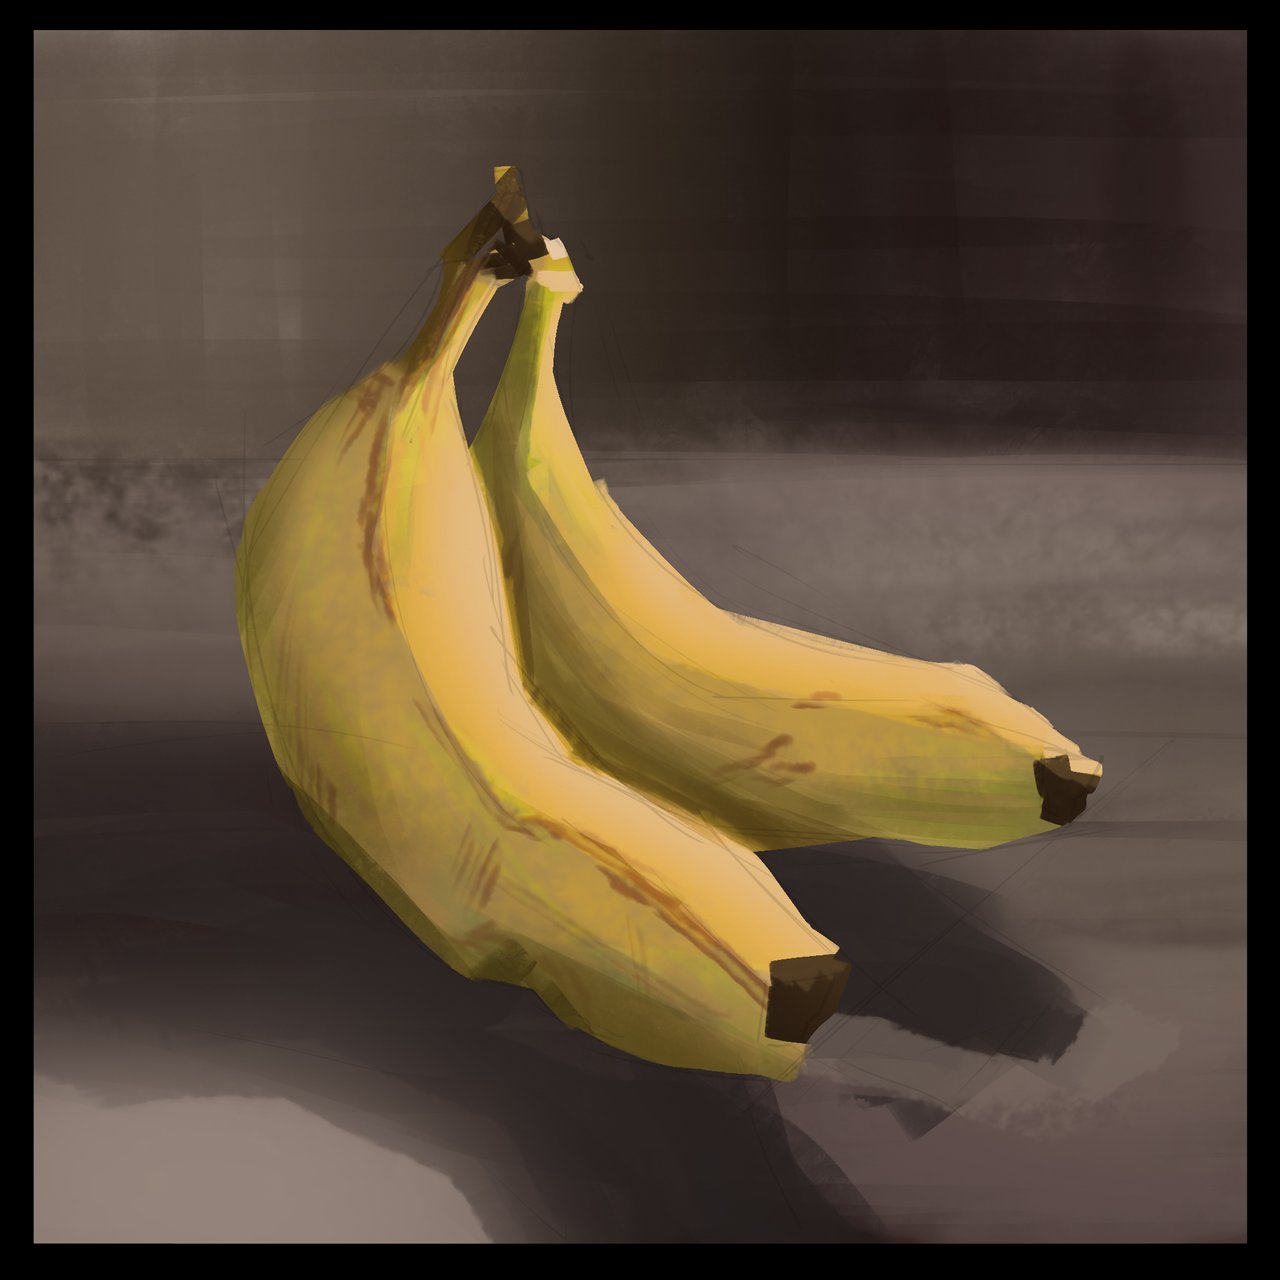
To further push this concept home I've pushed the background into more reddish purpley tones to make the yellow more powerful. When I feel pretty happy with what I've got I will flatten everything down into one layer and then take a blending brush to areas that have similar values. In this one when I squint I noticed that some areas look VERY similar in color and value and I want to blend those a bit so that I can soften some edges that I don't want to steal from the attention.
It's at this stage we can decide where we want the viewer to look. I decided that I really want the light on the banana to be the main point so I blurred away at the edges in shadow and in some other places where I wanted to blend the colors a bit more.

And that's that! If this was your first study, congratulations! You are well one your way to learning how to work with color. Don't be too worried if your study isn't a perfect painting, that's not really the point. The whole point of this exercise is to gradually train your eye to see the nuance of light and color on an object in the real world and replicate to the best of your ability in a painting. Over time your understanding of the subject will improve and your ability to make choices about a given subject will become faster and more second nature.
That being said, we are going to do bananas a couple more times so we can really understand what it's doing and cement the knowledge in our brain.
I you want to go over how I made some of these color choices in this study you'll find a basic primer here.
If you need help getting started drawing, I highly recommend you head over to @jorgevandeperre's blog and start following along his lesson plans. @jorgevandeperre has over 20+ exercises to get started and is even giving out rewards to students who complete homework!
