Welcome back to Part 3 of our Outdoor Kitchen Build! In case you missed them, Part 1 & Part 2 are here for you to catch up.

Batching it Out
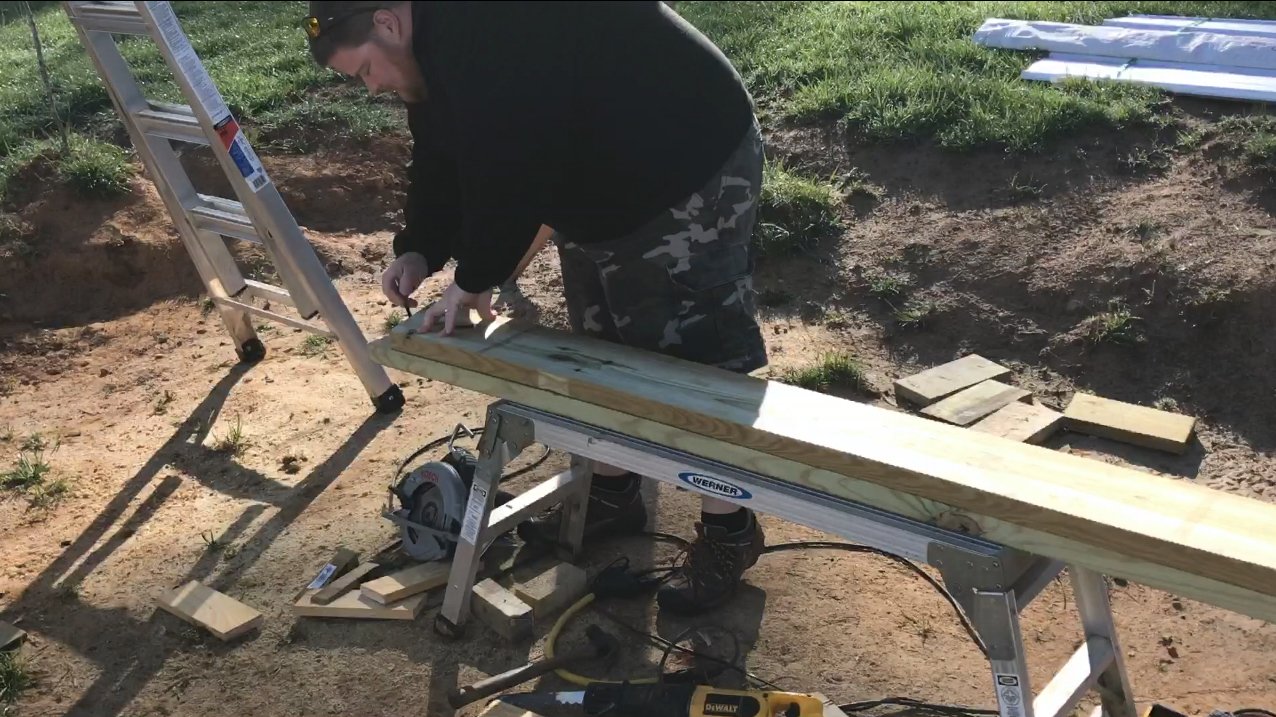
I used the plans for the Outdoor Kitchen, found the angle to cut the rafters to, and cut the first board.
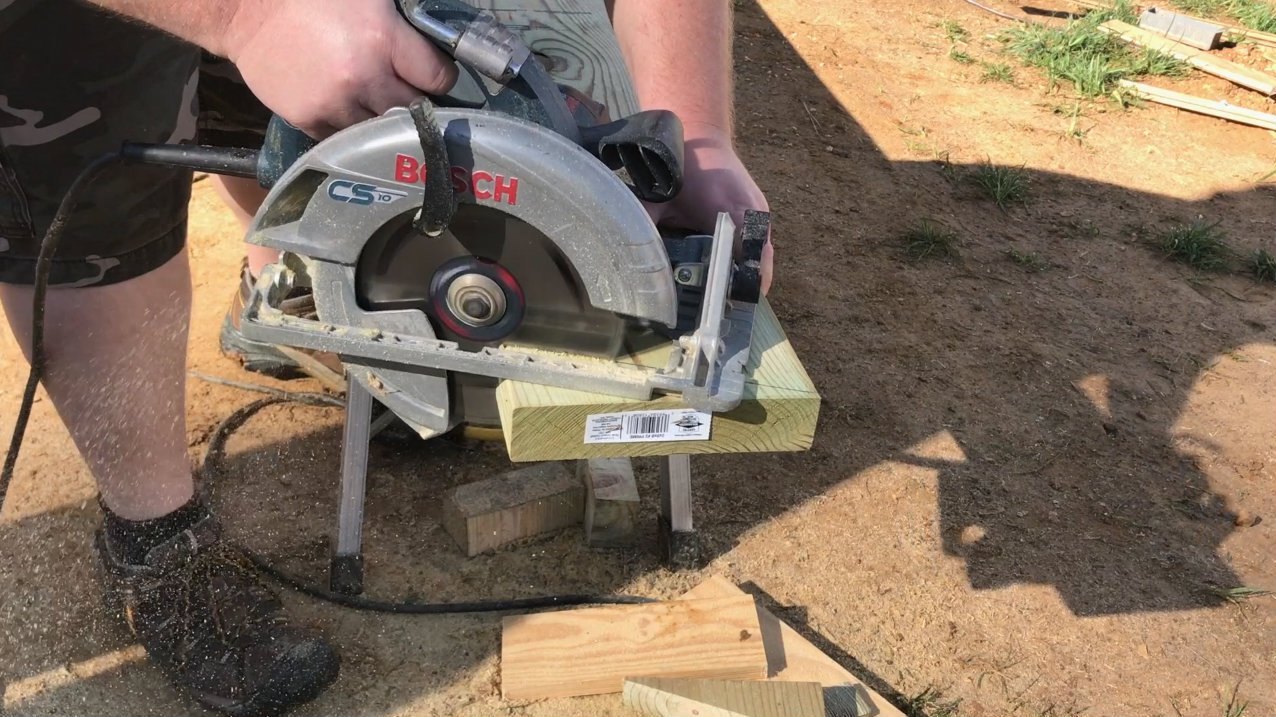
I then laid this cut board on top of each other one, and traced the angle and cut them to match. I find that using a physical item to measure with is easier and keeps me from messing up on repeating cuts.
Can't Be Perfect
Try as hard as I did, I didn't get the six posts lined up and spaced apart from each other perfectly. The variances were in the width and a total of 3" over all. The spacing went from 0", to 1.5", to 3" in difference from one end to another, so my string lines weren't exactly parallel. This created a problem when it came time to place the rafters.
The Problem
Since the widths of the three truss assemblies (as I call them) were different, if I used the posts themselves to line up the rafters, I would end up with three different roof pitches!
The Solution
Knowing my kingposts to be dead-center between the posts of each truss assembly, I decided to create a reference point that I could replicate.
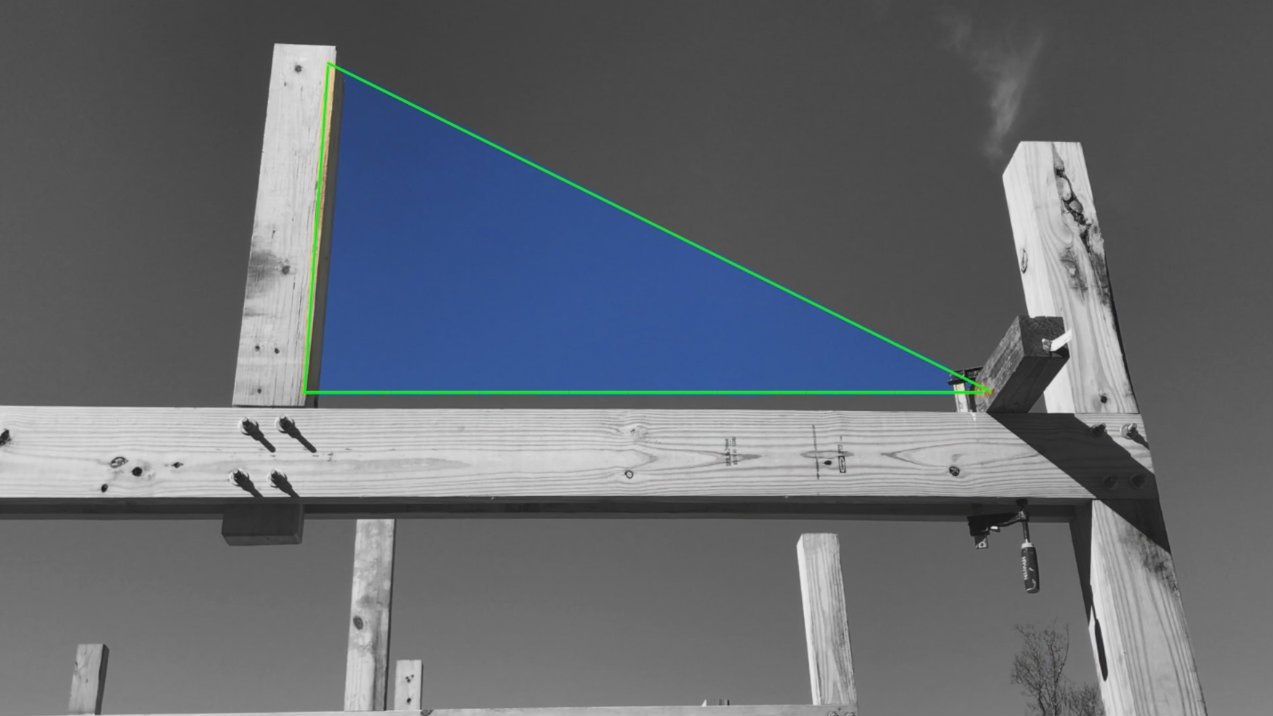
I did this by measuring out from the center post a set distance and clamping a board in place. This allowed me to replicate the measurements everywhere, and not rely on the posts to dictate the distances!
Attaching the Rafters
I marked a center line on all the kingposts and used this as the indicator for attaching the rafter to the kingposts. I raised or lowered the rafter until it lined up, then nailed it into place with a 3.5" Galvanized nail. I also nailed the rafter to the outside posts to hold it in place. This was temporary, until all rafters were in place on the truss.
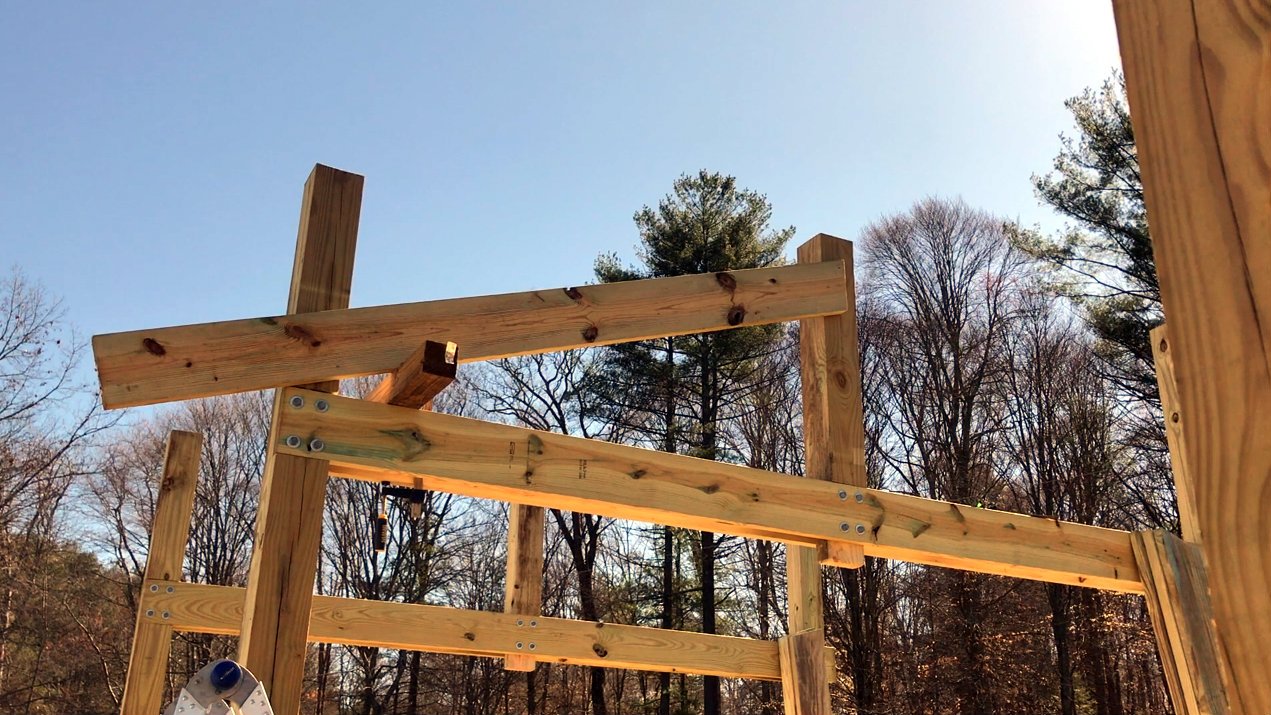
Bolted Together
Once all the rafters were nailed in place (or pinned, as I called it), I could go back and drill the 1/2" holes for the bolts to go through and hold everything together securely.

It's amazing how strong these made the truss assemblies! I also really liked the look of the wood and a "few" bolts as far as construction materials. It has a more simple look.
The Video
And as always (usually), here is the video covering this part of the Outdoor Kitchen build!

Well that's it for this part, be sure to hit those upvote and resteem buttons to help spread the word if you liked this post! We really, really appreciate it!
Until next time,
@greenacrehome
proof-of-veloci-rafters