Yesterday, I posted about the 14-28 day cycle DIY urban composter/digester. Today, I’ll show you how to fill it and set it up for composting. I’m very excited to see where this bad boy is in a week!
So...if you’re not familiar with the general purpose of composting, here it is according to The Encyclopedia of Organic Gardening:
The Purpose of Composting: Composting in heaps is an extension of a process that is going on almost everywhere in nature. When a lawn is mowed and the clippings are left on the ground, they compost. The straw that is left on fields by the combine decays into humus. Leaves that fall turn the fires floor into a compost area. The retailing of all the soils of he earth has been achieved and maintained principally by the decay of vegetable matter.
Gardening and farming disrupt the natural pattern of the return of plant matter to the earth. Compost is the link between Odeon agriculture and nature’s own method of building soil fertility.
When one composts in a pile, typically it can take a bit longer for the compost to “take off” as it is exposed to the elements, and does require a decent amount of turning to make sure one is getting the most out of the decomposition process.
That said, composting in bins has become very popular over the years for homesteaders and other organic gardeners and farmers. The city I live in will not legally allow compost bins (and even the rules on rotators are sketchy), so the options for composting without literally breaking the law in my city is tricky.
However, this contained 5-gallon bucket method not only works quickly to efficiently maximize the decomposition of the vegetable matter into humus, but also is contained...and because of the quicker-turnaround, also does not smell as compost piles (which aren’t turned often enough), are notorious for (and really have a bad rap, imo).
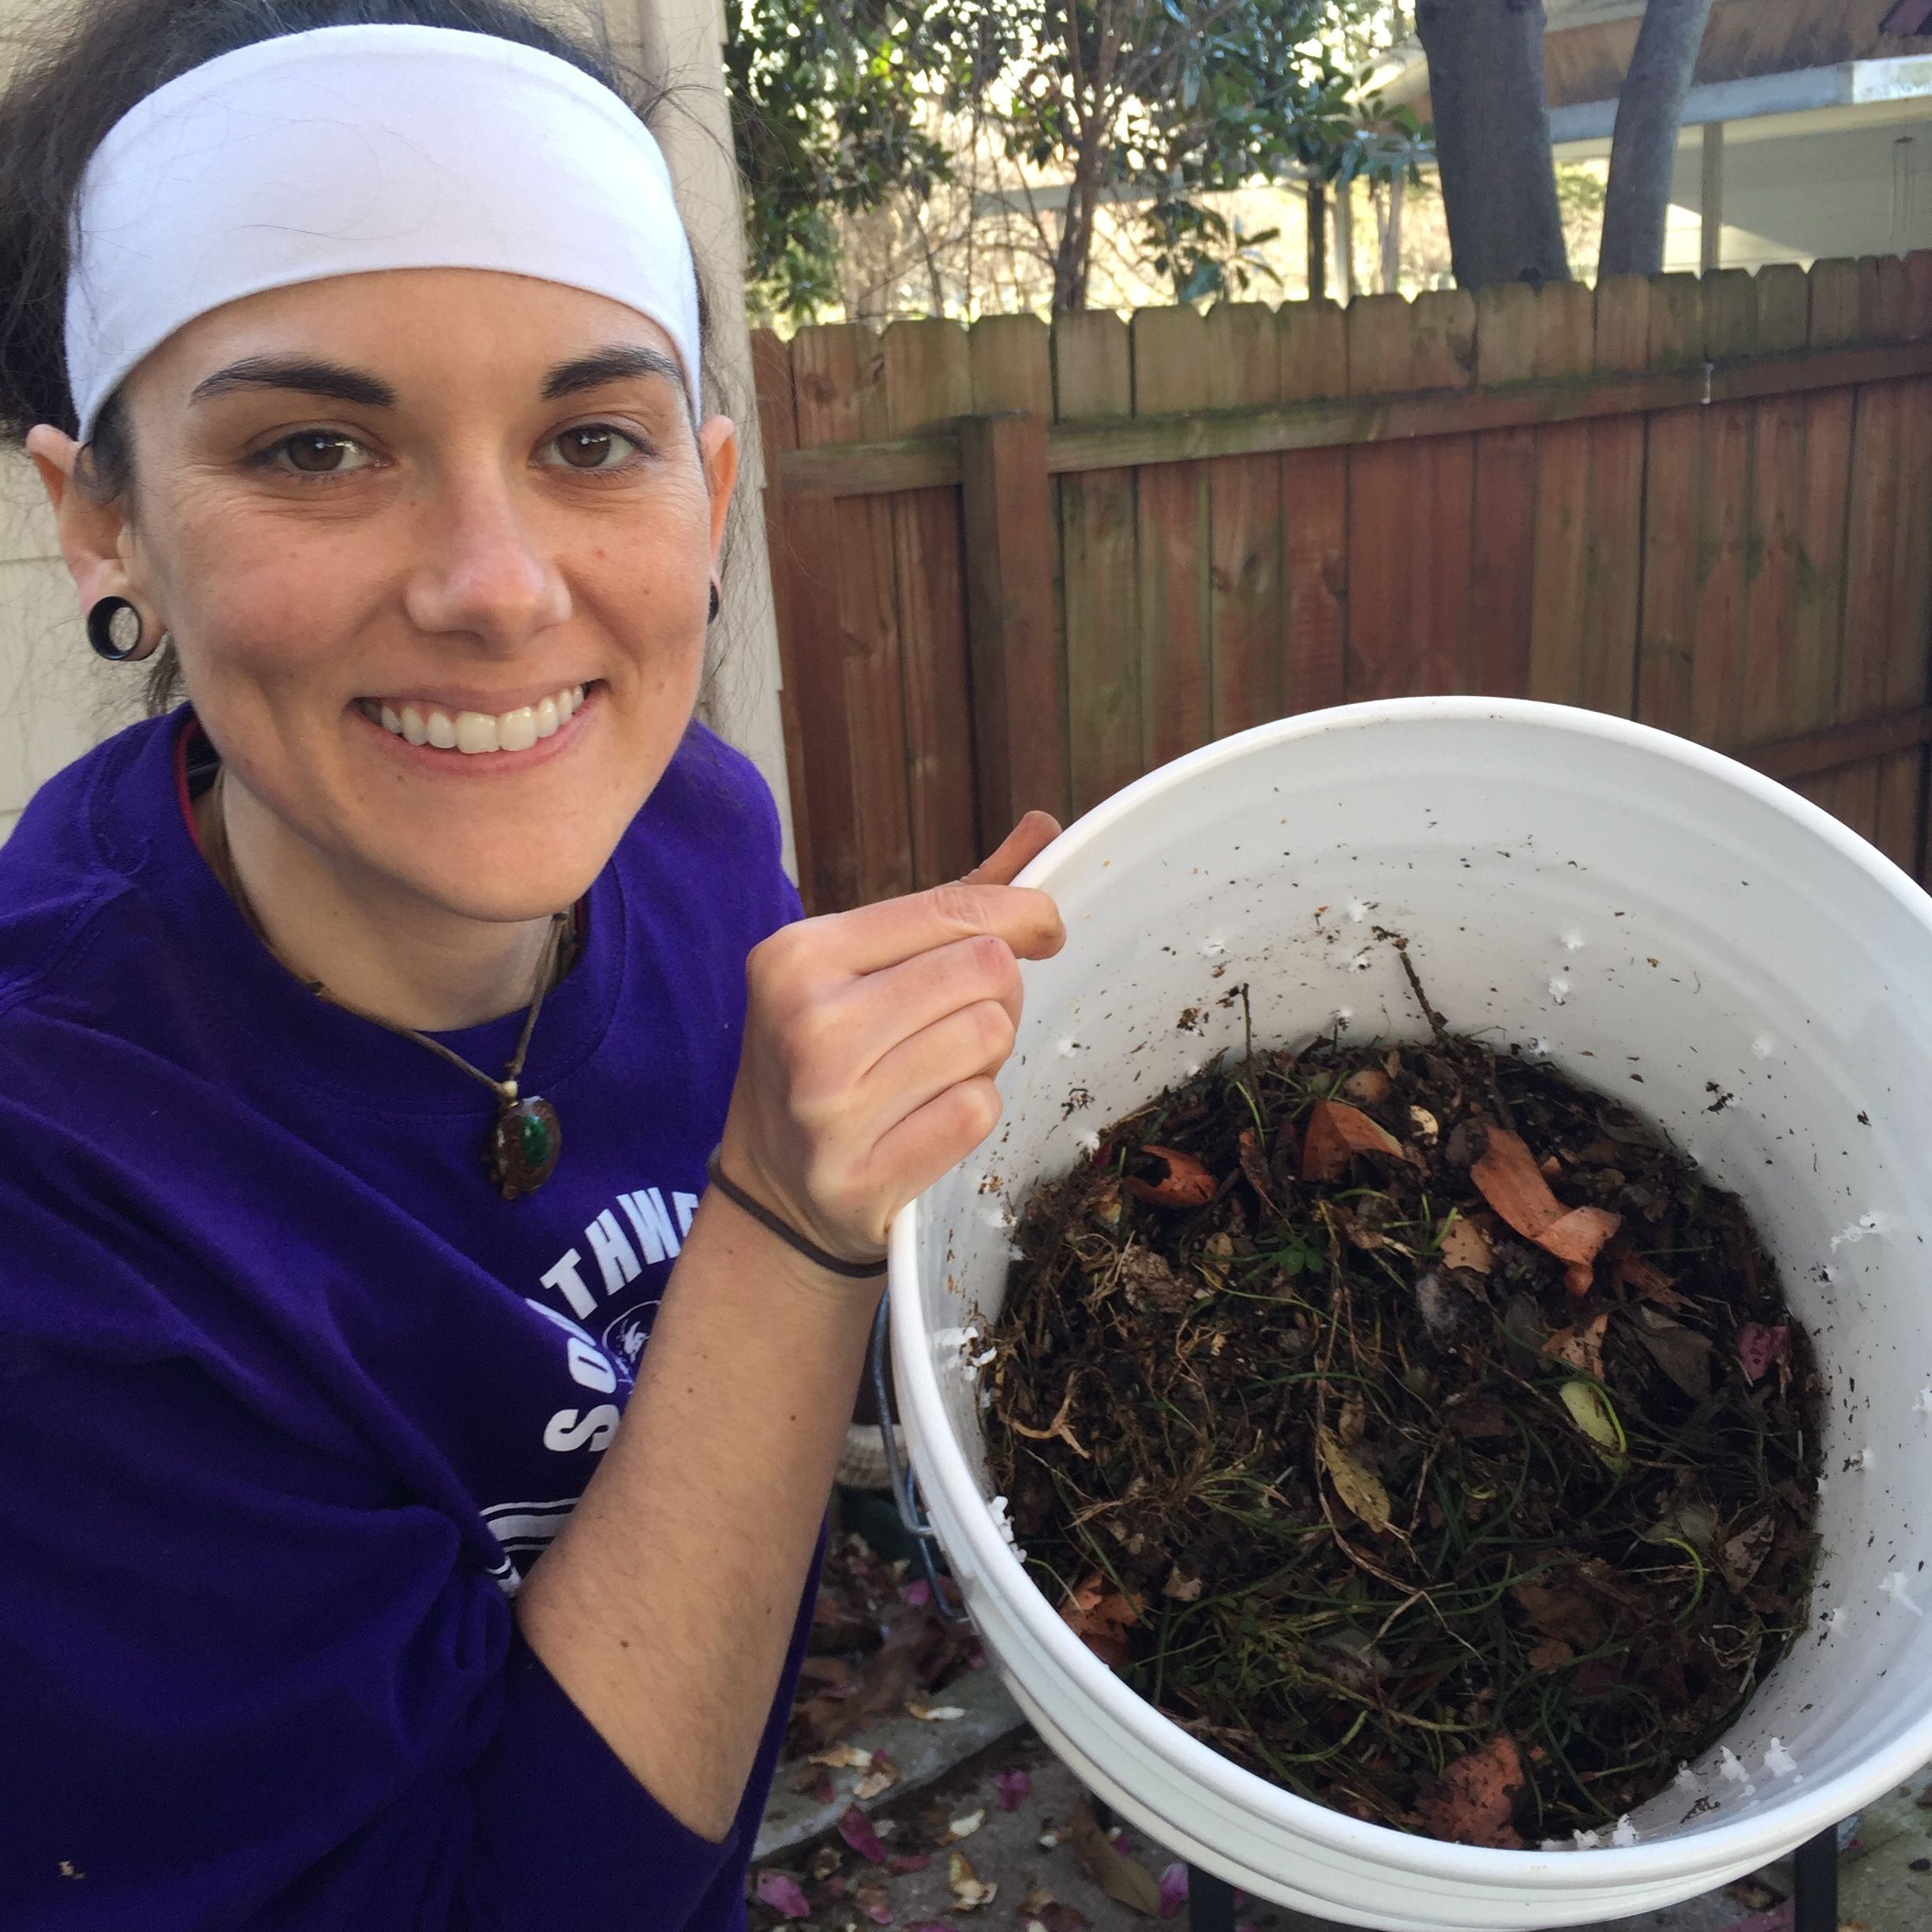
So...to make your own urban composter, make sure to check out the article I posted yesterday. Today, I’m going to fill it with goodies and show you that process.
What you need to fill your DIY 5 gallon bucket composter:
1 ) vegetable matter/food “scraps” (non animal products preferably), grass clippings, or other “greens”
2 ) dried leaves, dried sticks, as unprocessed cardboard as you might have around the house (I decided to try recycling my paper towel rolls as some of my “browns”)
3 ) 3 cups-ish of soil (to help get the process started)
4 ) water mister/sprayer (optional but totally handy)
As a general rule, you want to have 3X the amount of browns to greens in your mix.
The Steps
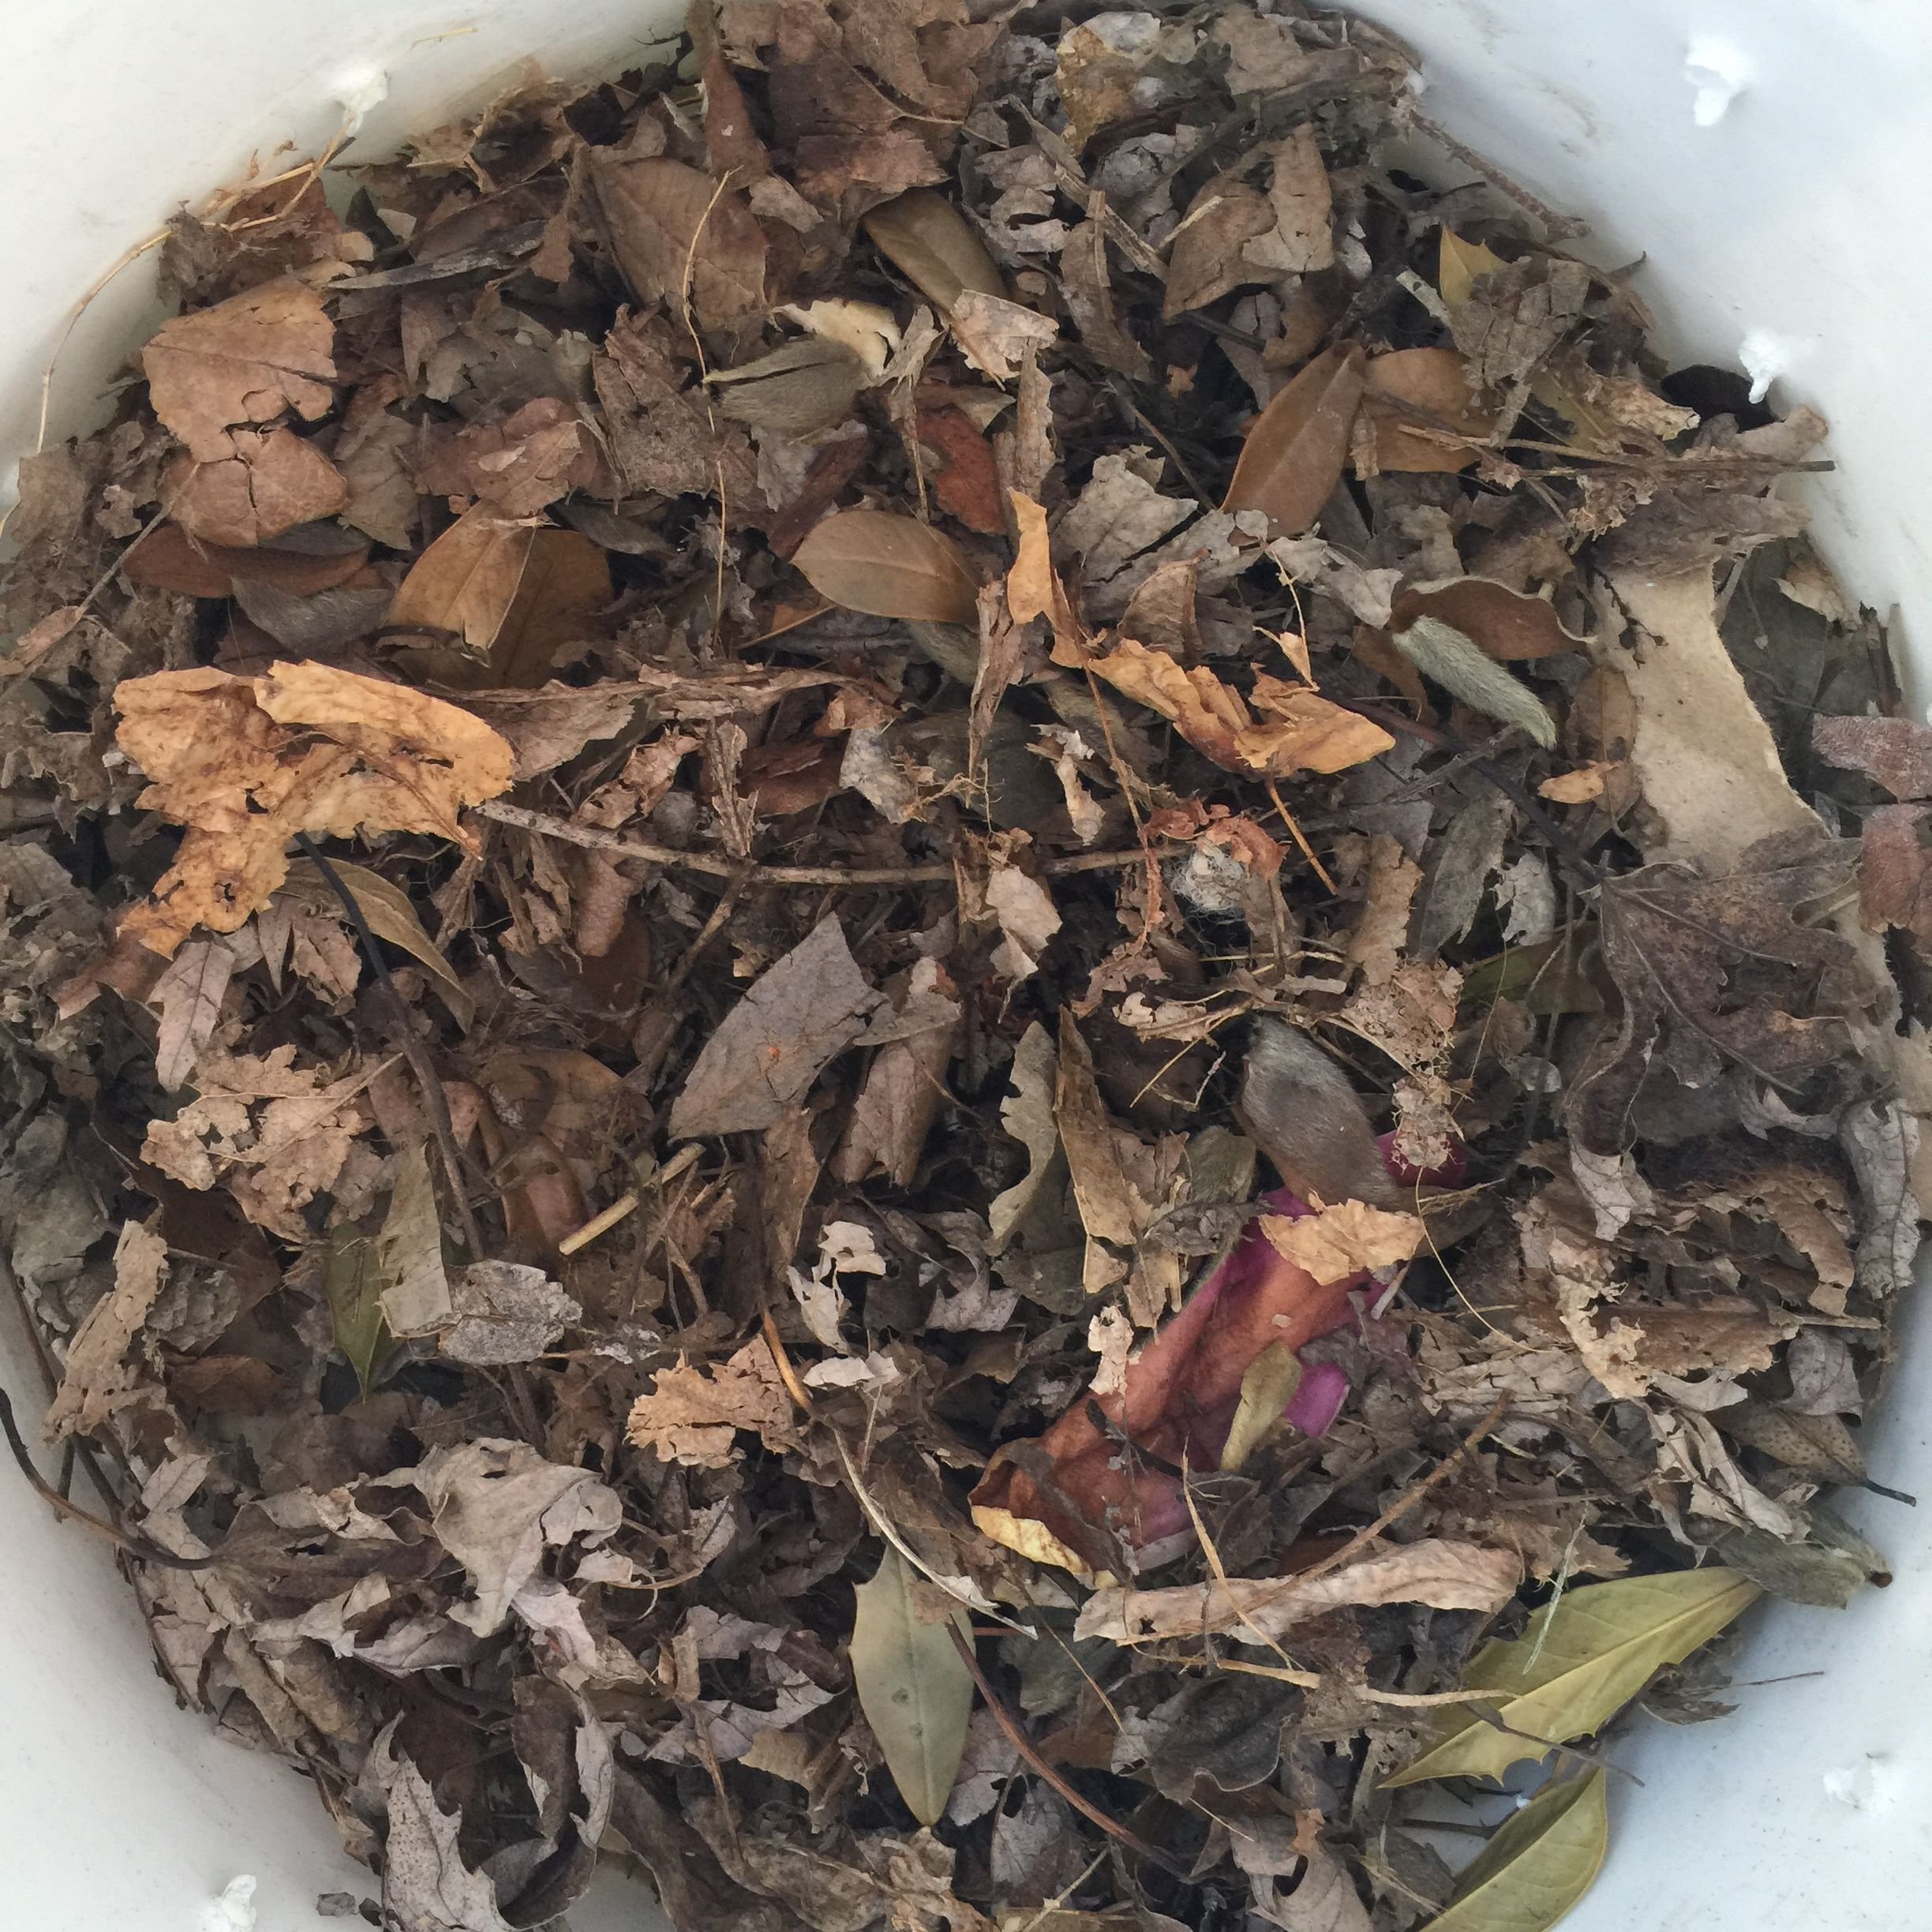
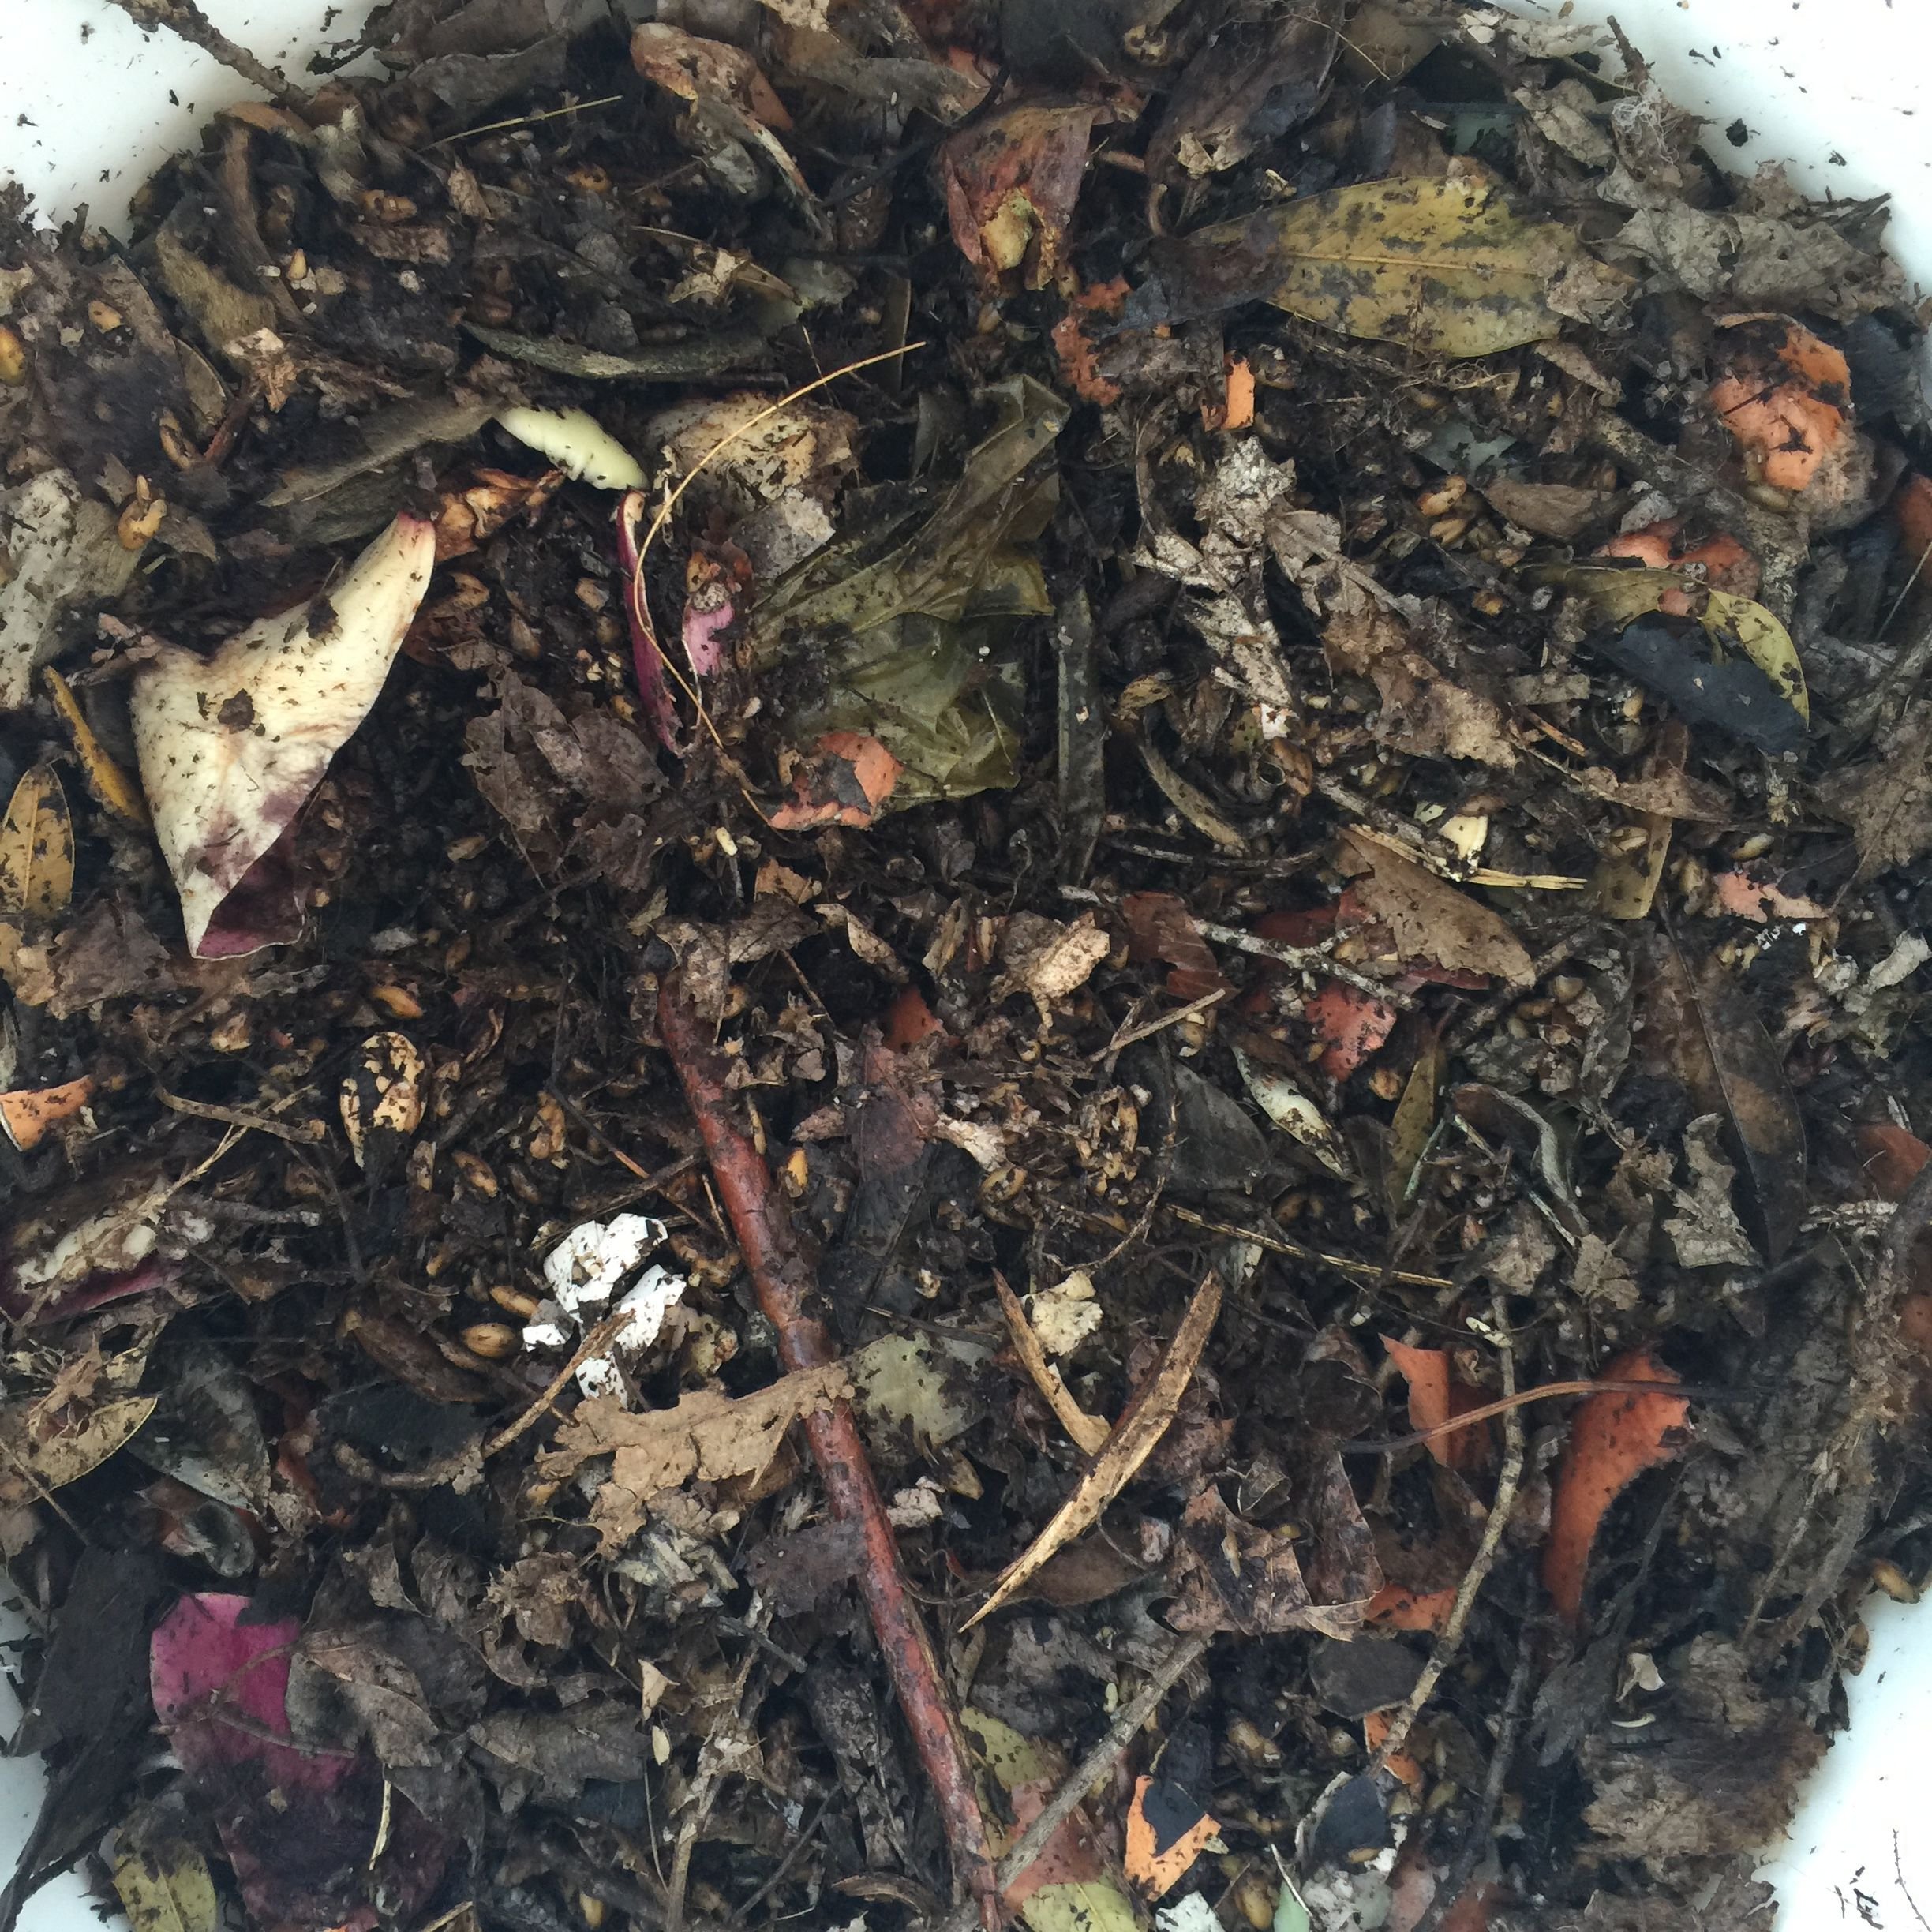
1 ) Layer it up...browns, soil, greens...browns, soil, greens...browns, soil greens (keeping in mind the 3:1 ratio of browns to greens as you layer).
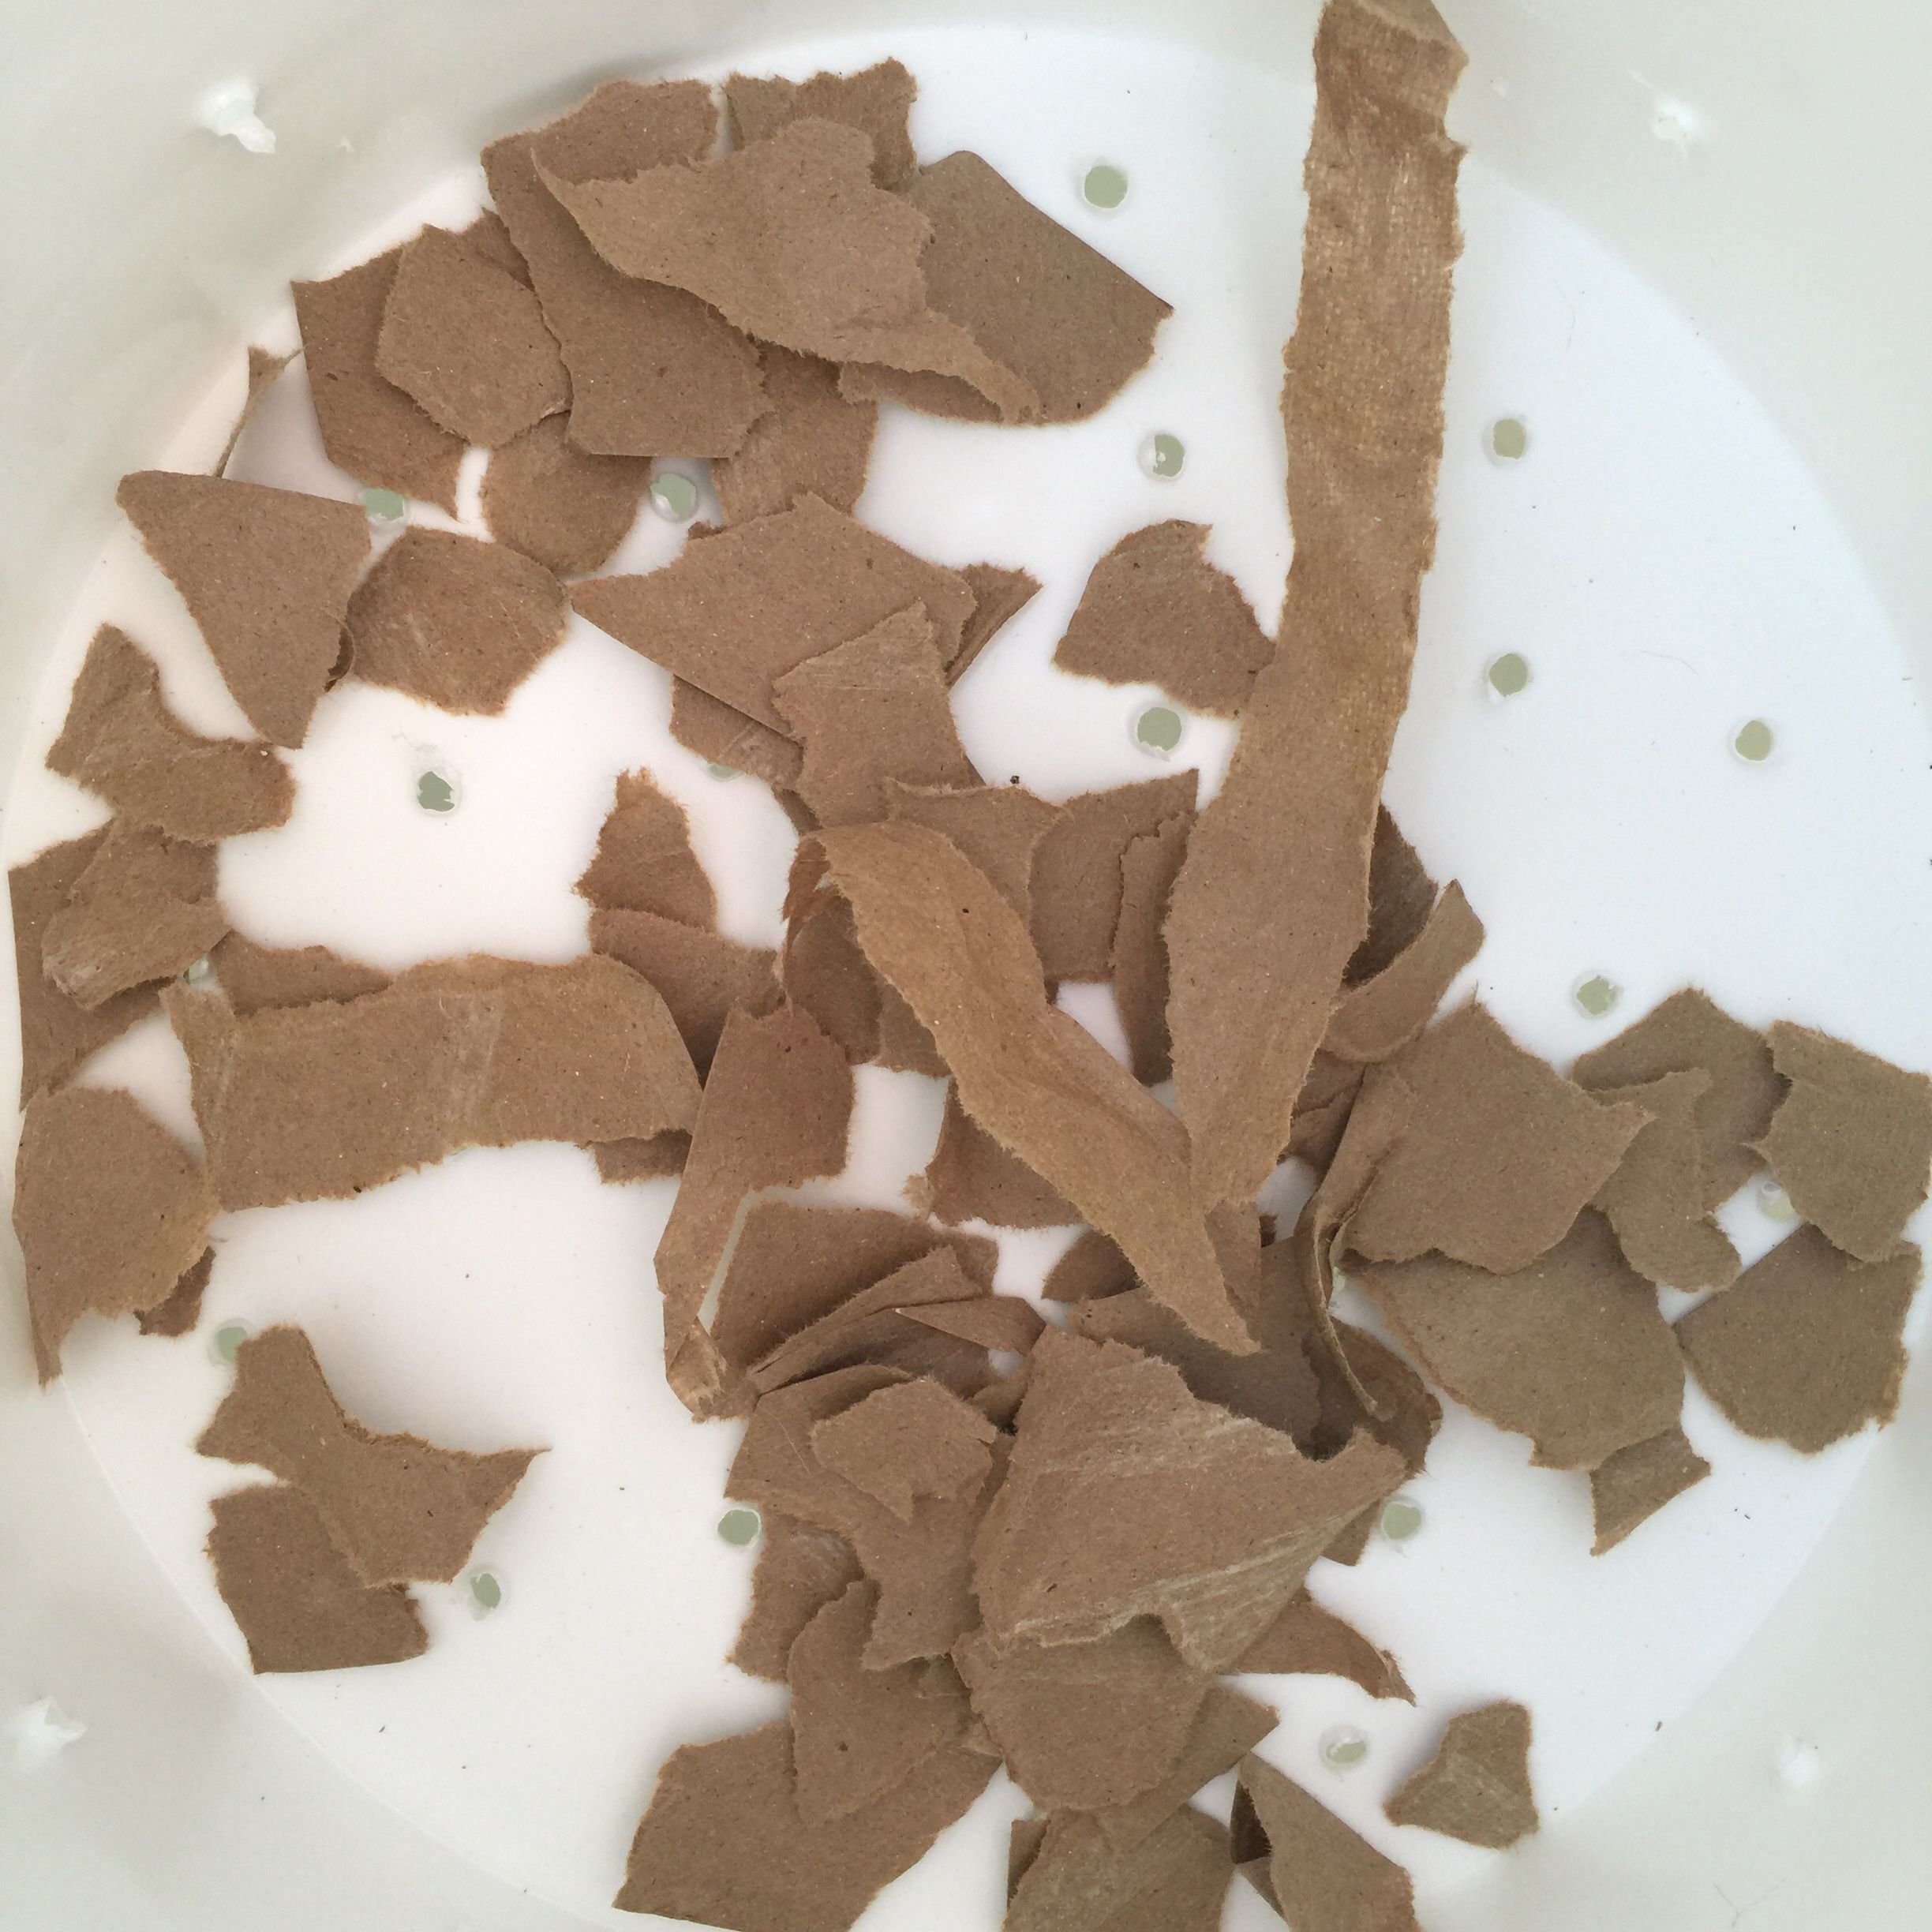
Little bit of torn up paper towel roll on the bottom.
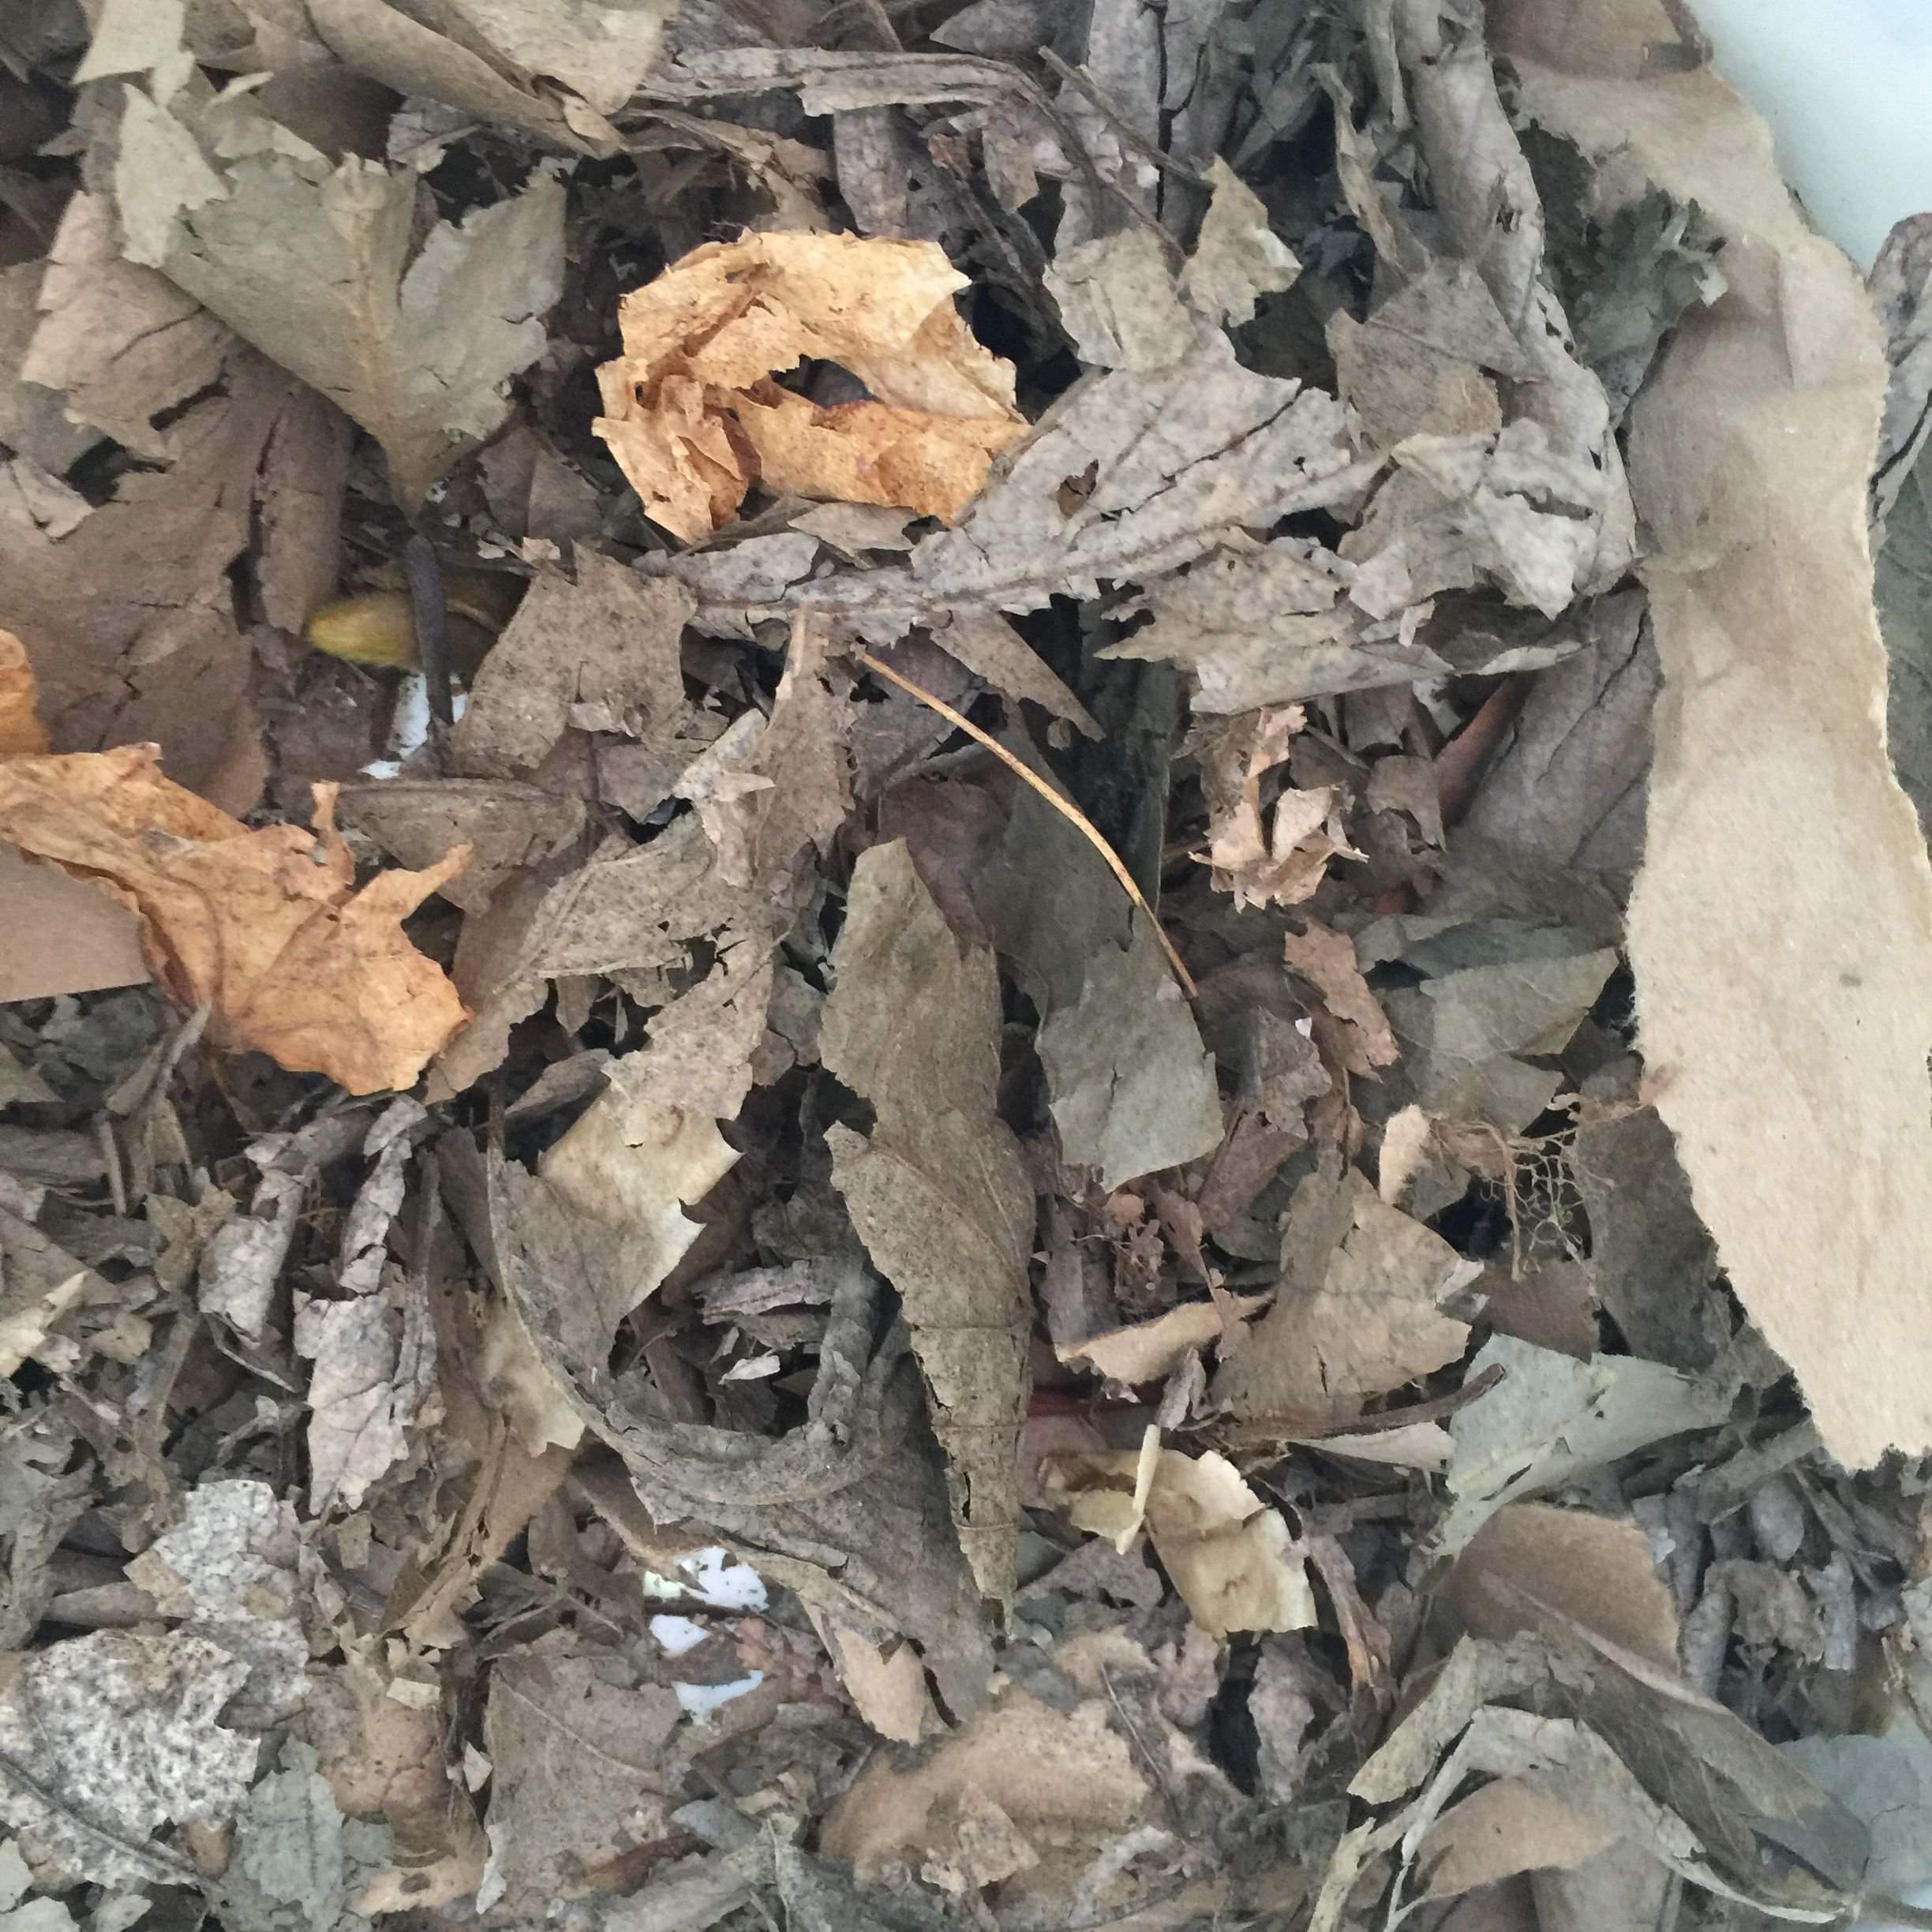
As you add your leaves, make sure to try to crumble them up as much as possible. Not only does this help with aeration, but also helps with faster decomposition.
Some of these twigs are probably not as small as I should have torn them up. I will be working on this as I turn it over the course of the next couple of weeks.
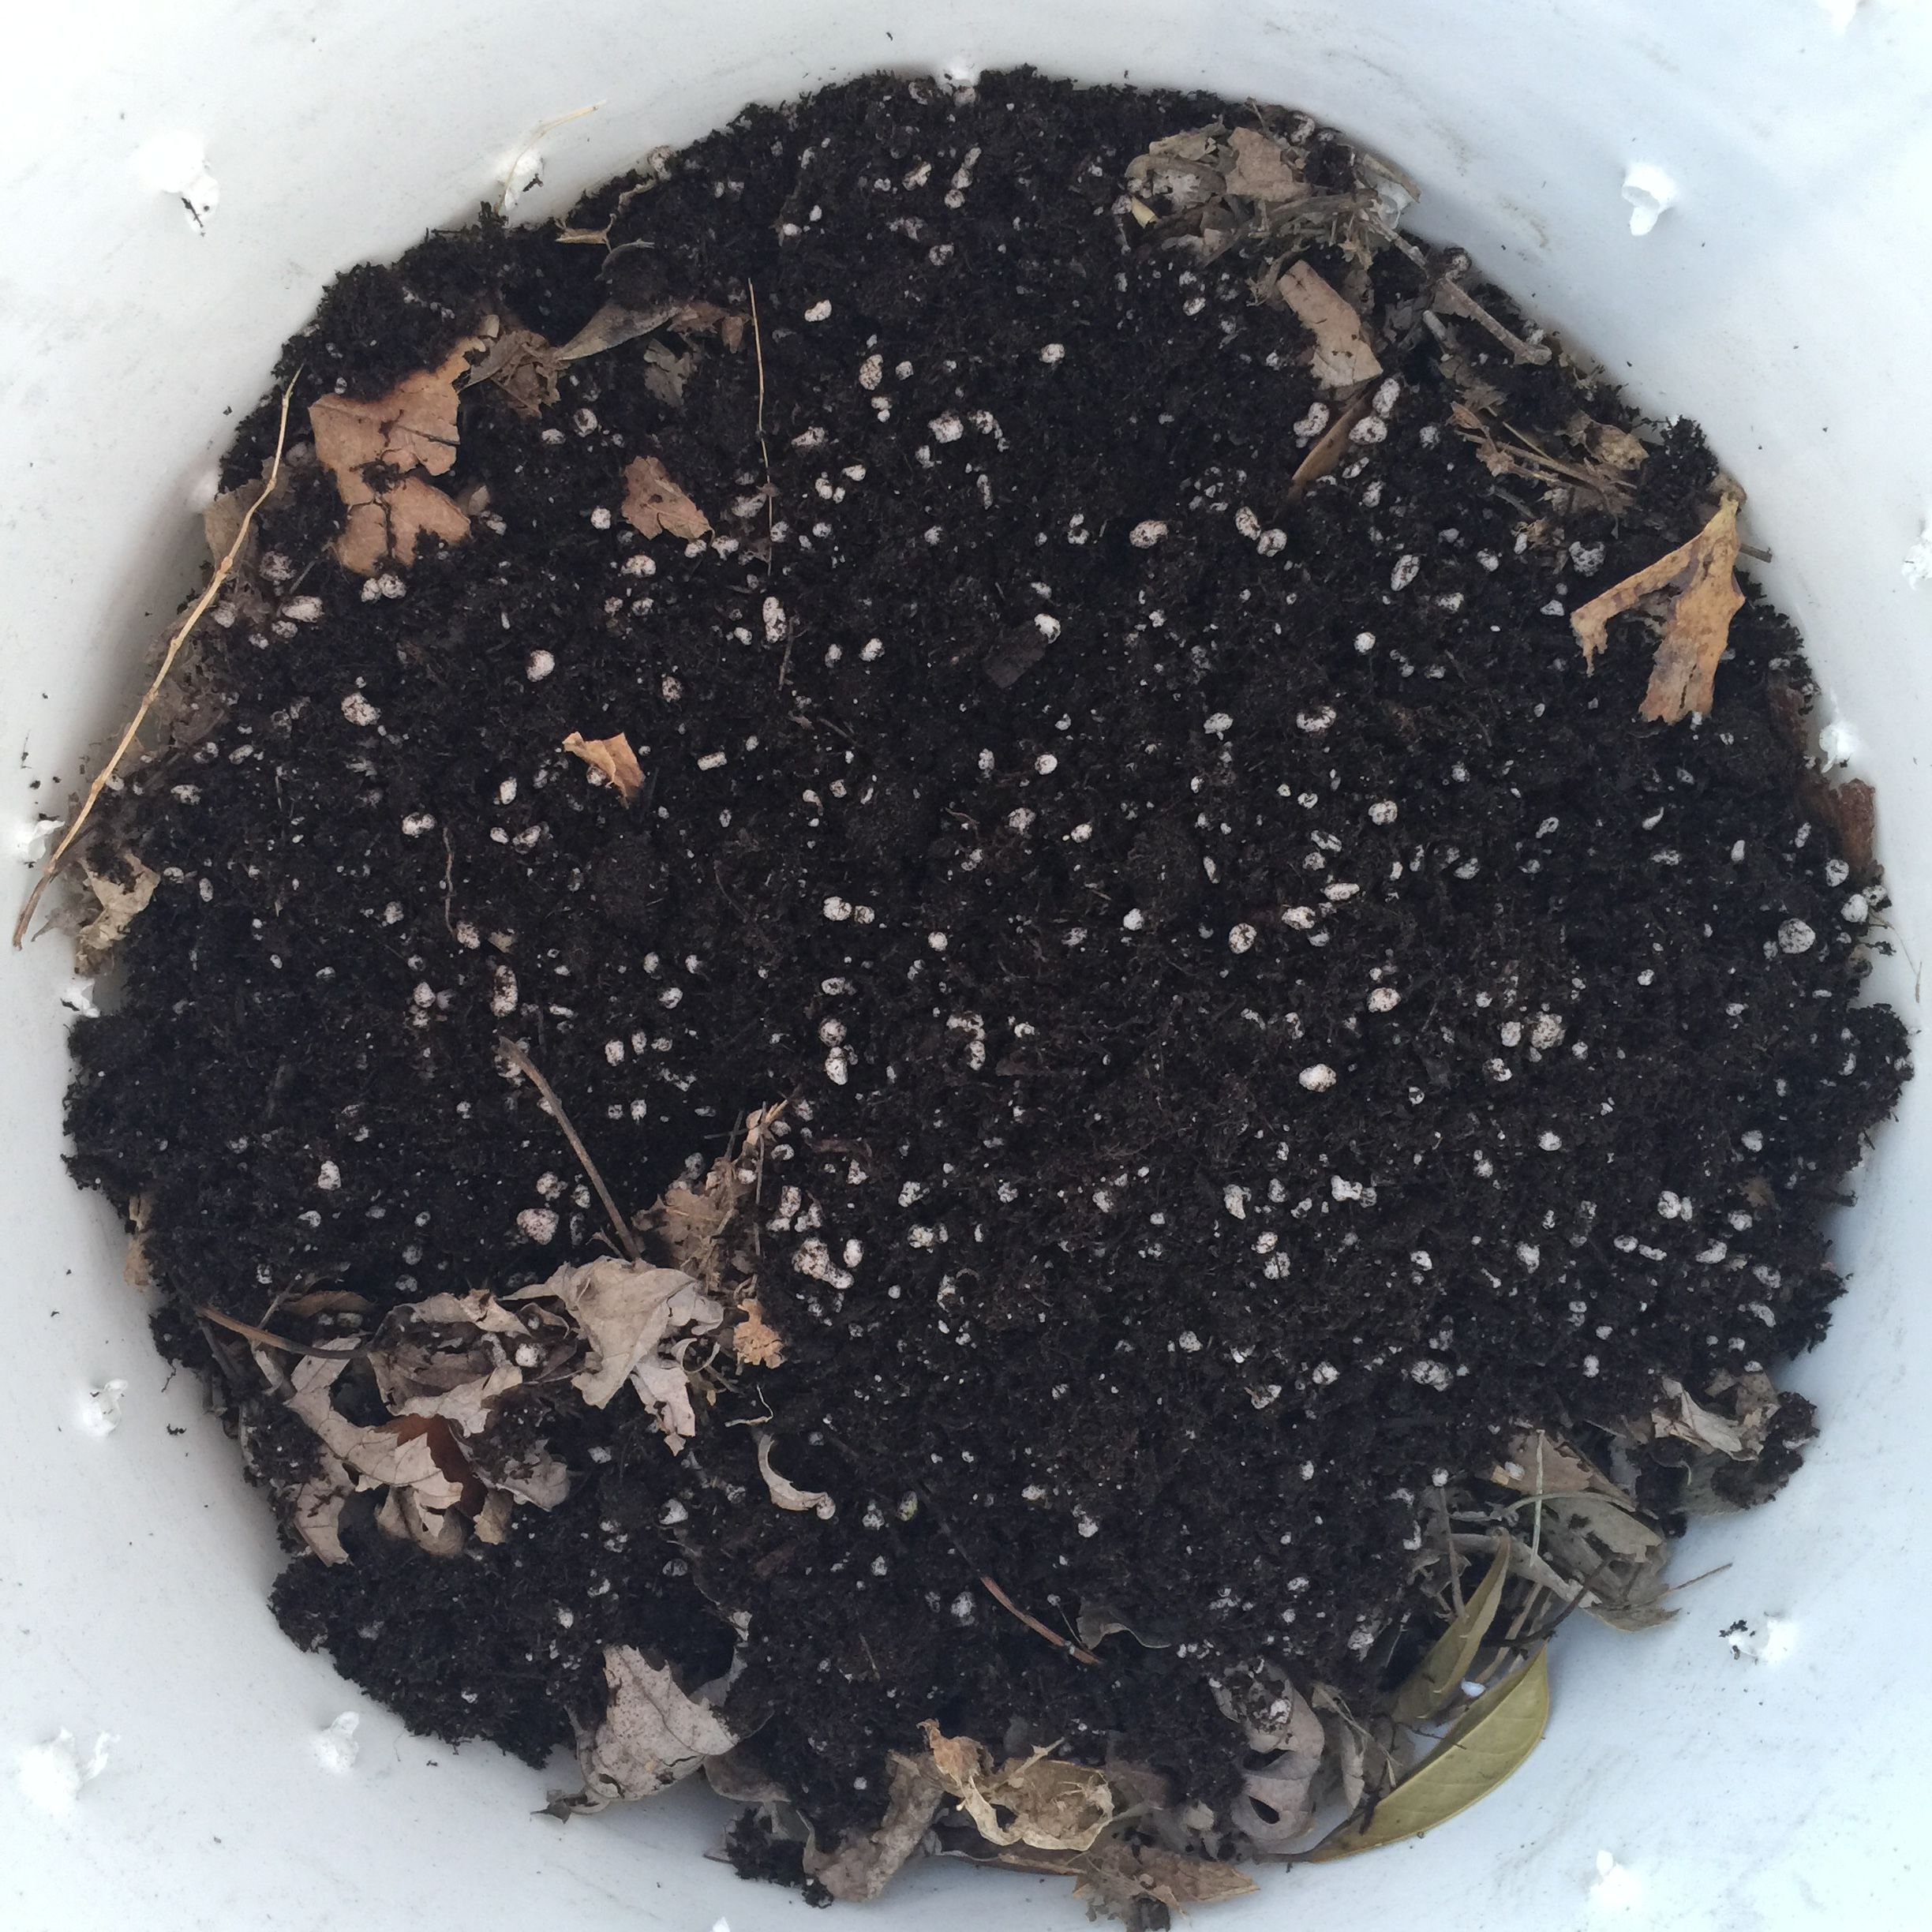
I just tossed about a cup of relatively moist soil onto the top of the browns in each layer. As you can see, I’m using just pretty basic potting soil.
2 ) Stir it up
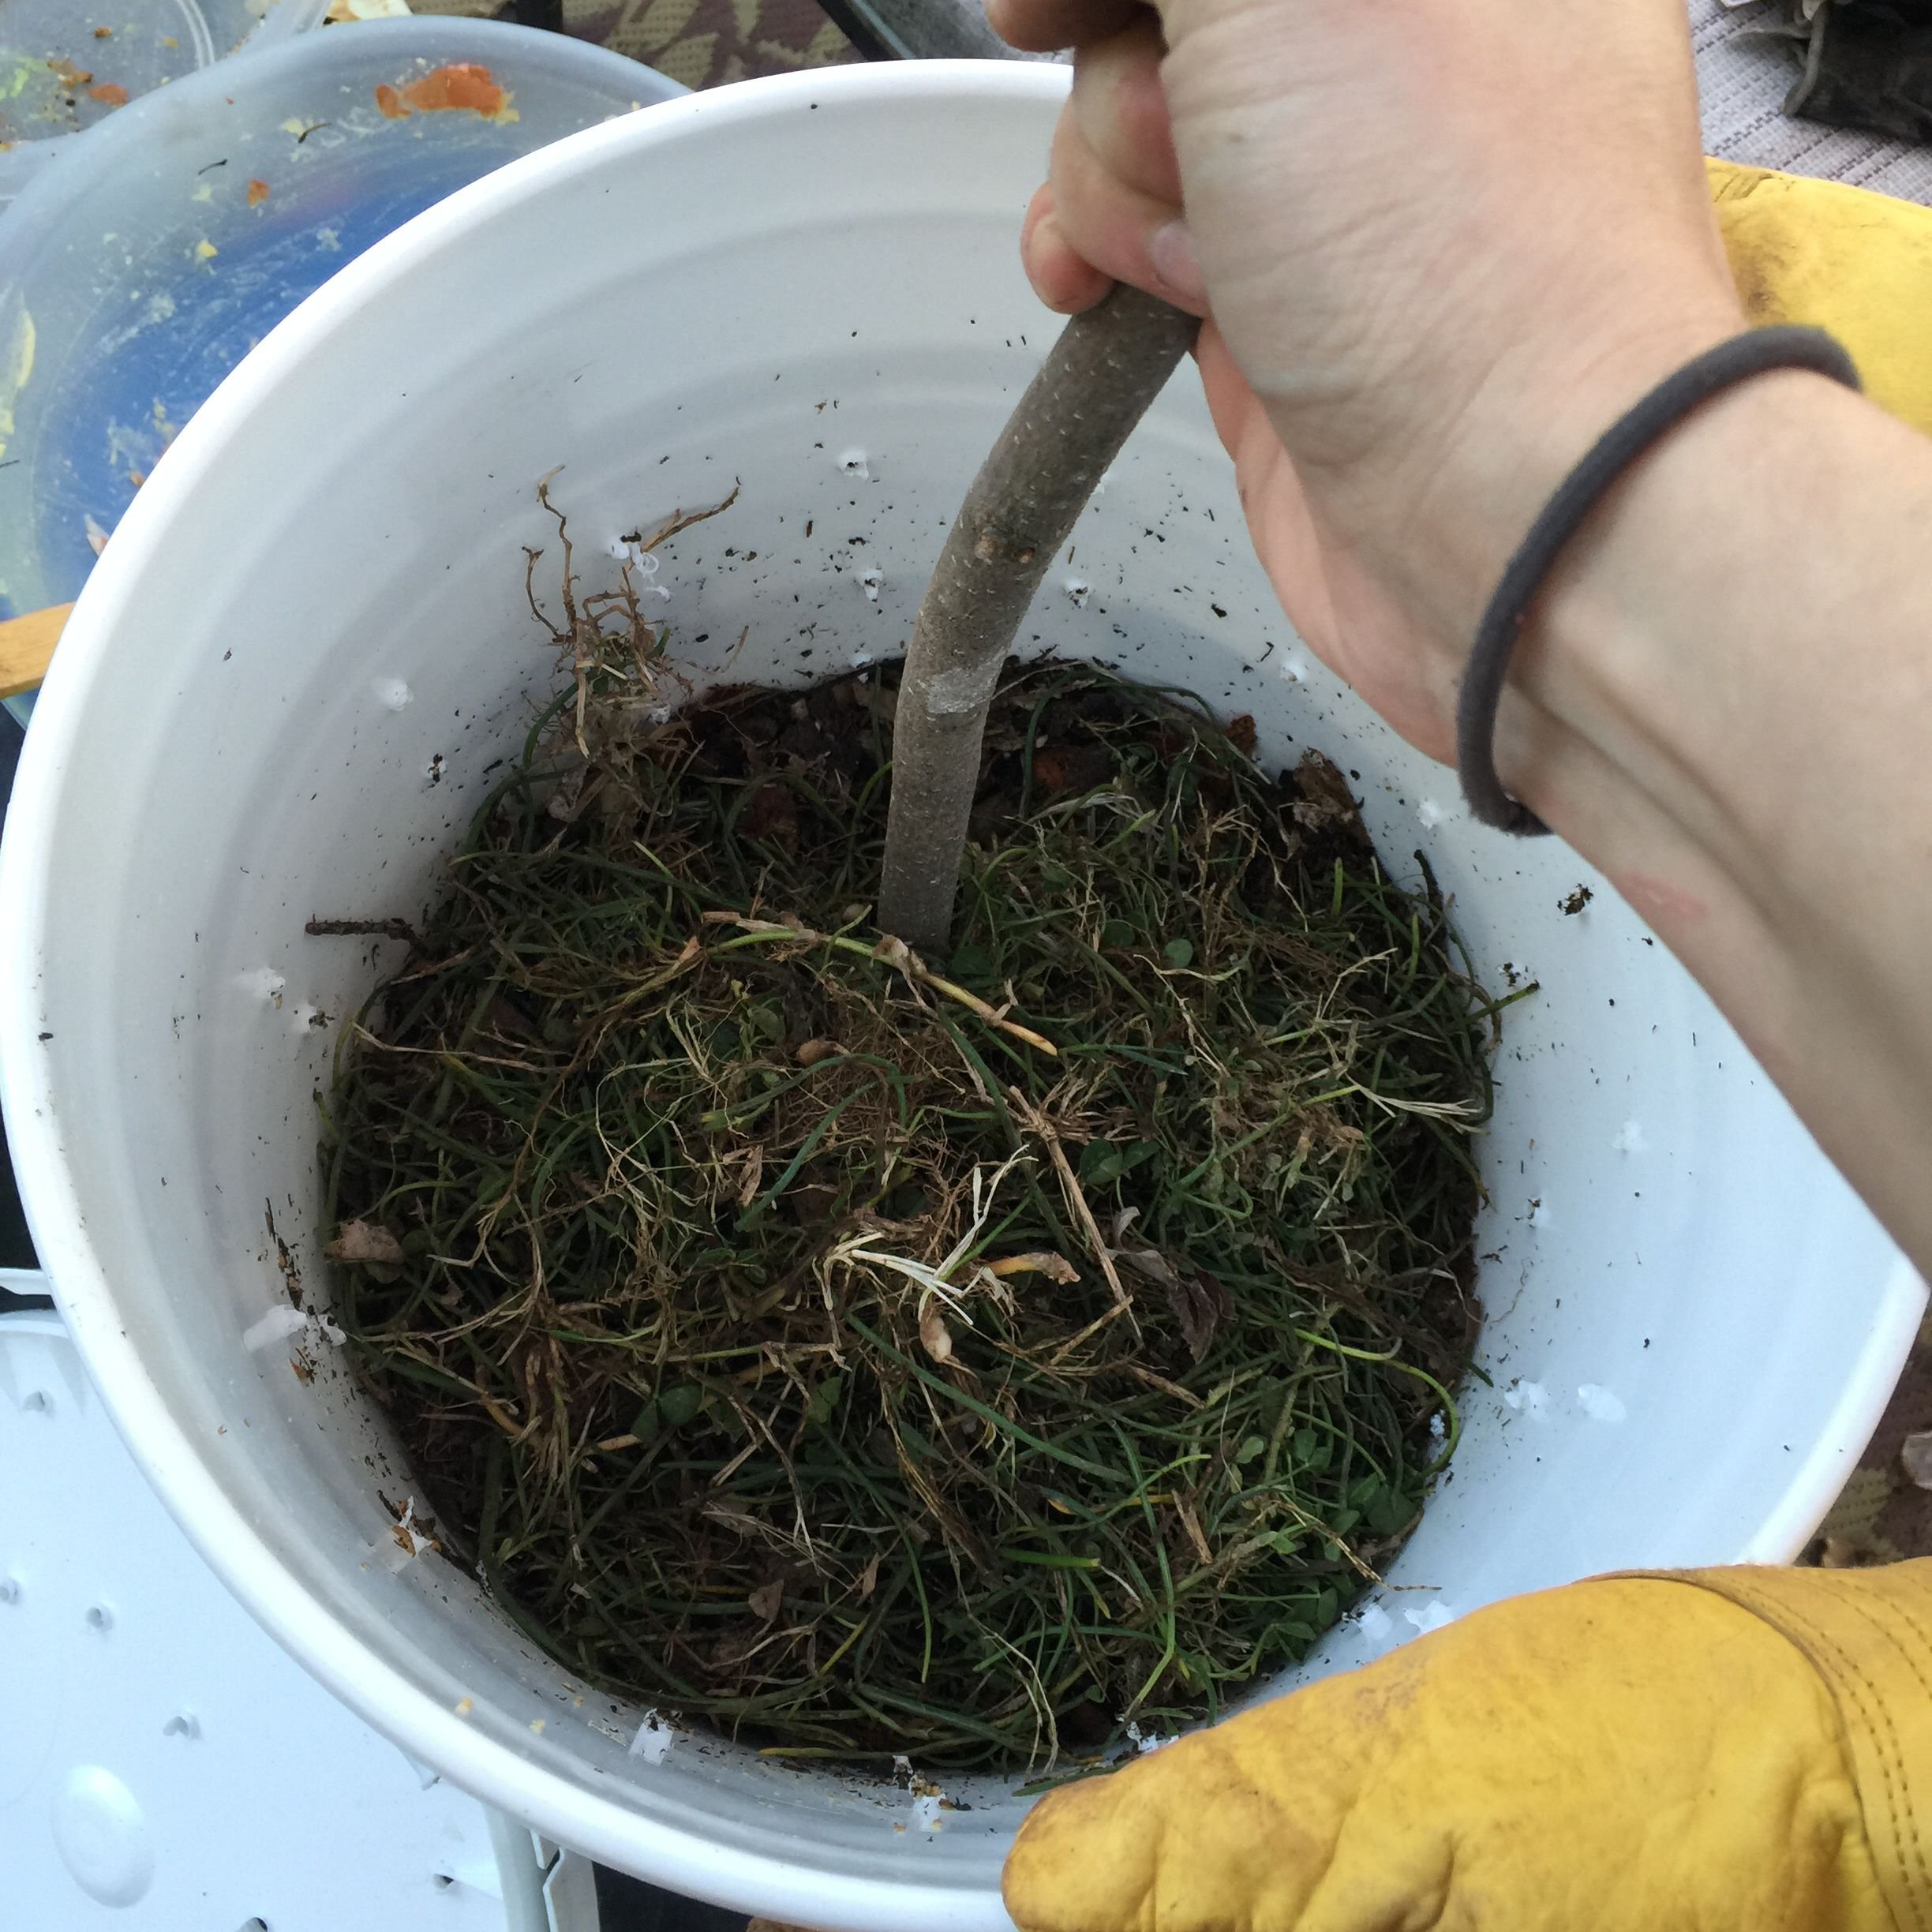
Found a nice little stir stick in the back yard to give it a good stir. The Scientist (featured in the gloves) took a break from weaving together a trellis to hold the bucket while I stirred up the goodies. This is also the phase where if the mix of your vegetation and soil are not moist, based on multiple resources I’ve consulted is that basically of a wrung-out sponge, that you can spritz the mix with your spray bottle and continue to stir until it is moist enough. We had a nice amount of spent grains and coffee grounds to use in our compost this time, and they brought a nice amount of moisture...along with some spaghetti squash.
3 ) Cover it up with your vented lid
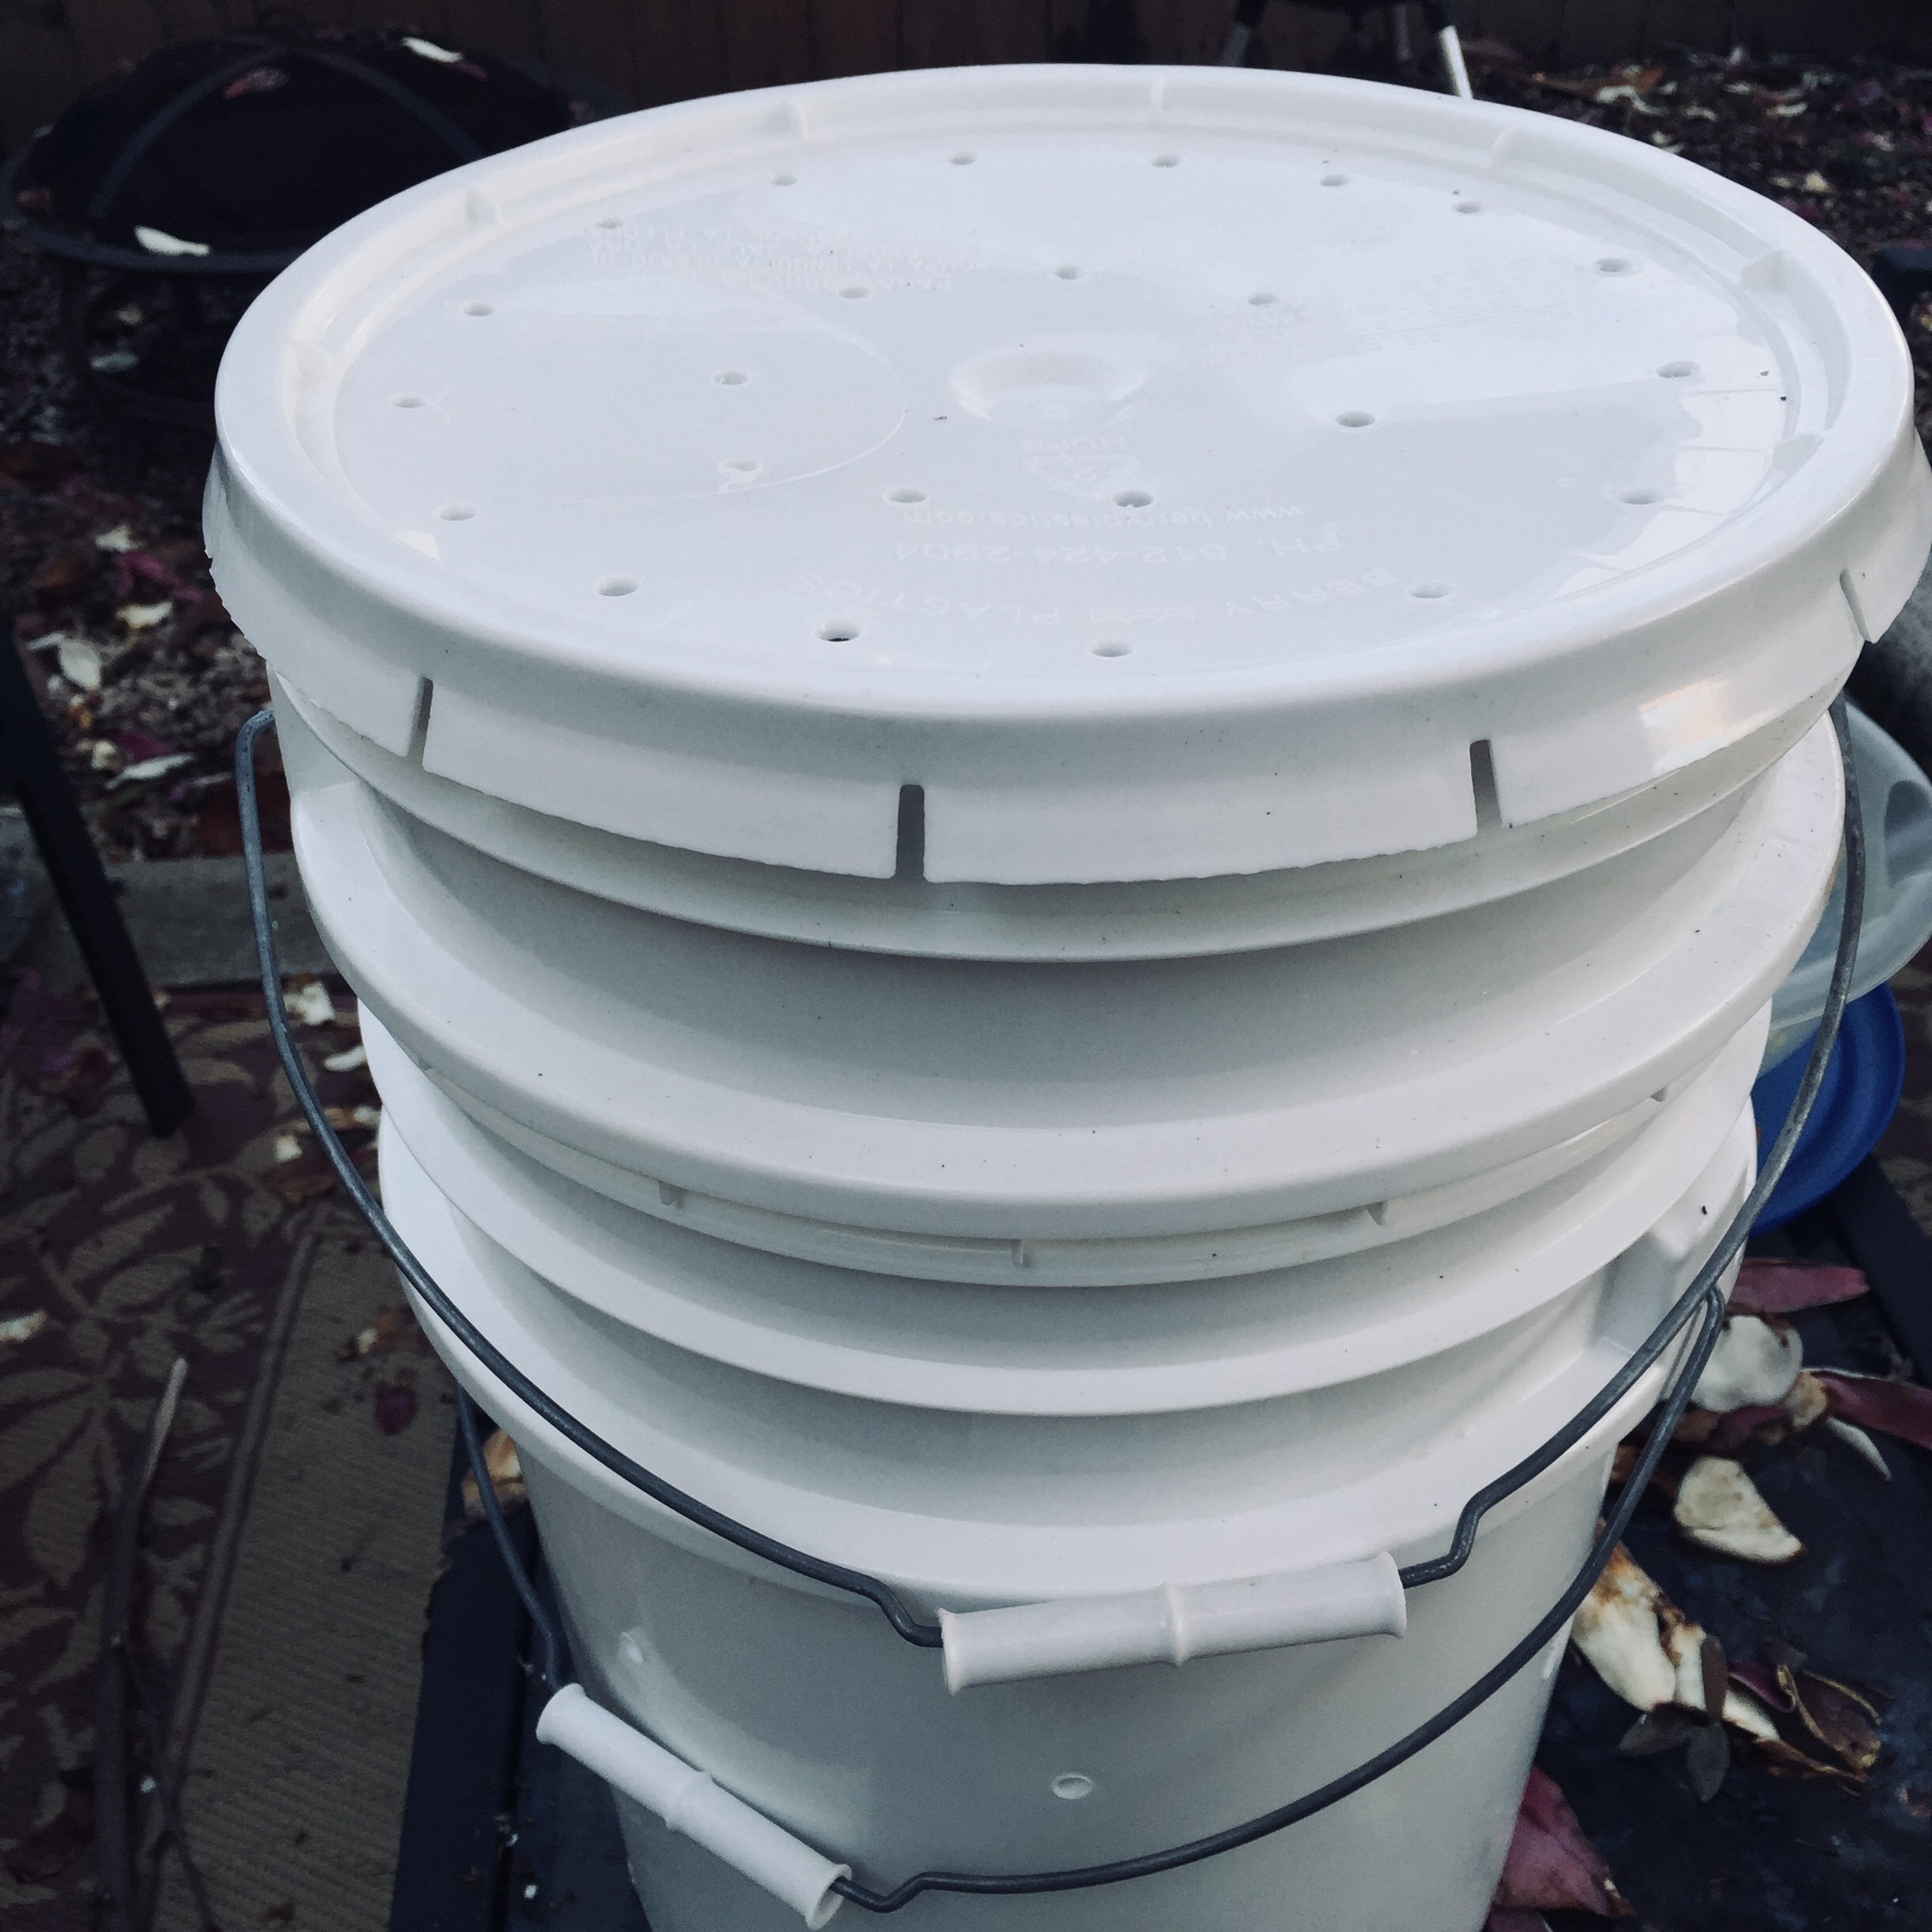
Ideally, heat will be generated (especially at the bottom of the top-inserted bucket), and microorganisms will get to work on their magic in decomposing the goodies for the soil. I’ve read a few different methods concerning how often to turn the compost. I plan to turn this one, either by hand or by stick, every couple of days to give it time to generate the heat before aerating. Also, since Missouri is in the middle of what seems like a third winter, I am keeping it inside...so far no smell.
Tomorrow I’ll have a microgreens update for you!
(They’re looking so good, and I’m putting more out to germinate today!🌱🌱🌱)
I hope this helps some folks make a kickass composter/digester, and if you have any tips/tricks/hacks on making this model better, please let me know! I love hearing expertise and experience from folks who have it!


COMMUNITY IS THE NEW MONEY


