How to make a froe.
For those that may not know what a froe is. A froe is a L shaped bladed tool used to split shingles from blocks or to knock larger branches or logs into turning blanks. The tool is used by placing the blade edge onto a block and then driving it into the wood with a mallet. After the blade has been driven the handle is used as a lever to pry off shingles or staves from the larger block of wood. As I have a lot of cedars on my property I thought it would be cool to be able to make my own cedar shingles to build a round log outbuilding. I am going to cover the making in this tutorial and then post a video of use at a later time.
Thanks in advance for reading. If you notice I am currently working towards more power to upvote other good diy posts. My goal is to be a generous benefactor to those whom are starting out. AKA minnows and plankton.

Step 1 Materials and Tools.
Materials
Cheap drawknife as discussed in my shave horse tutorial.
1” x 4” section of black iron pipe to be used as the handle socket.
Salvage section of 18 inch black iron pipe with a junction.
Welding rods.
Aero Kroil spray
Tools
Arc Welder
Reciprocating Saw
Grinder with Grinding wheels and flapper disk
Bench Vise
File and Sharpening Stone
Personal Protective Equipment*

Beard not required
Step 2 Prep.
If you remember from the shave horse tutorial I mentioned that my draw-knife was unsuitable for use as a draw-knife. @motinkergnome/modern-shave-horse I detest useless tools and decided that I would give it a new lease at life as a froe. After all a fine cutting tool it is not but it should be a decent blunt cutting tool. I hope at least that it has some decent steel being a blade but that has yet to be proven.
Lay out the tool so that you can mark off what needs to be removed. I decided on a rounded tip with a flat for welding the handle socket.

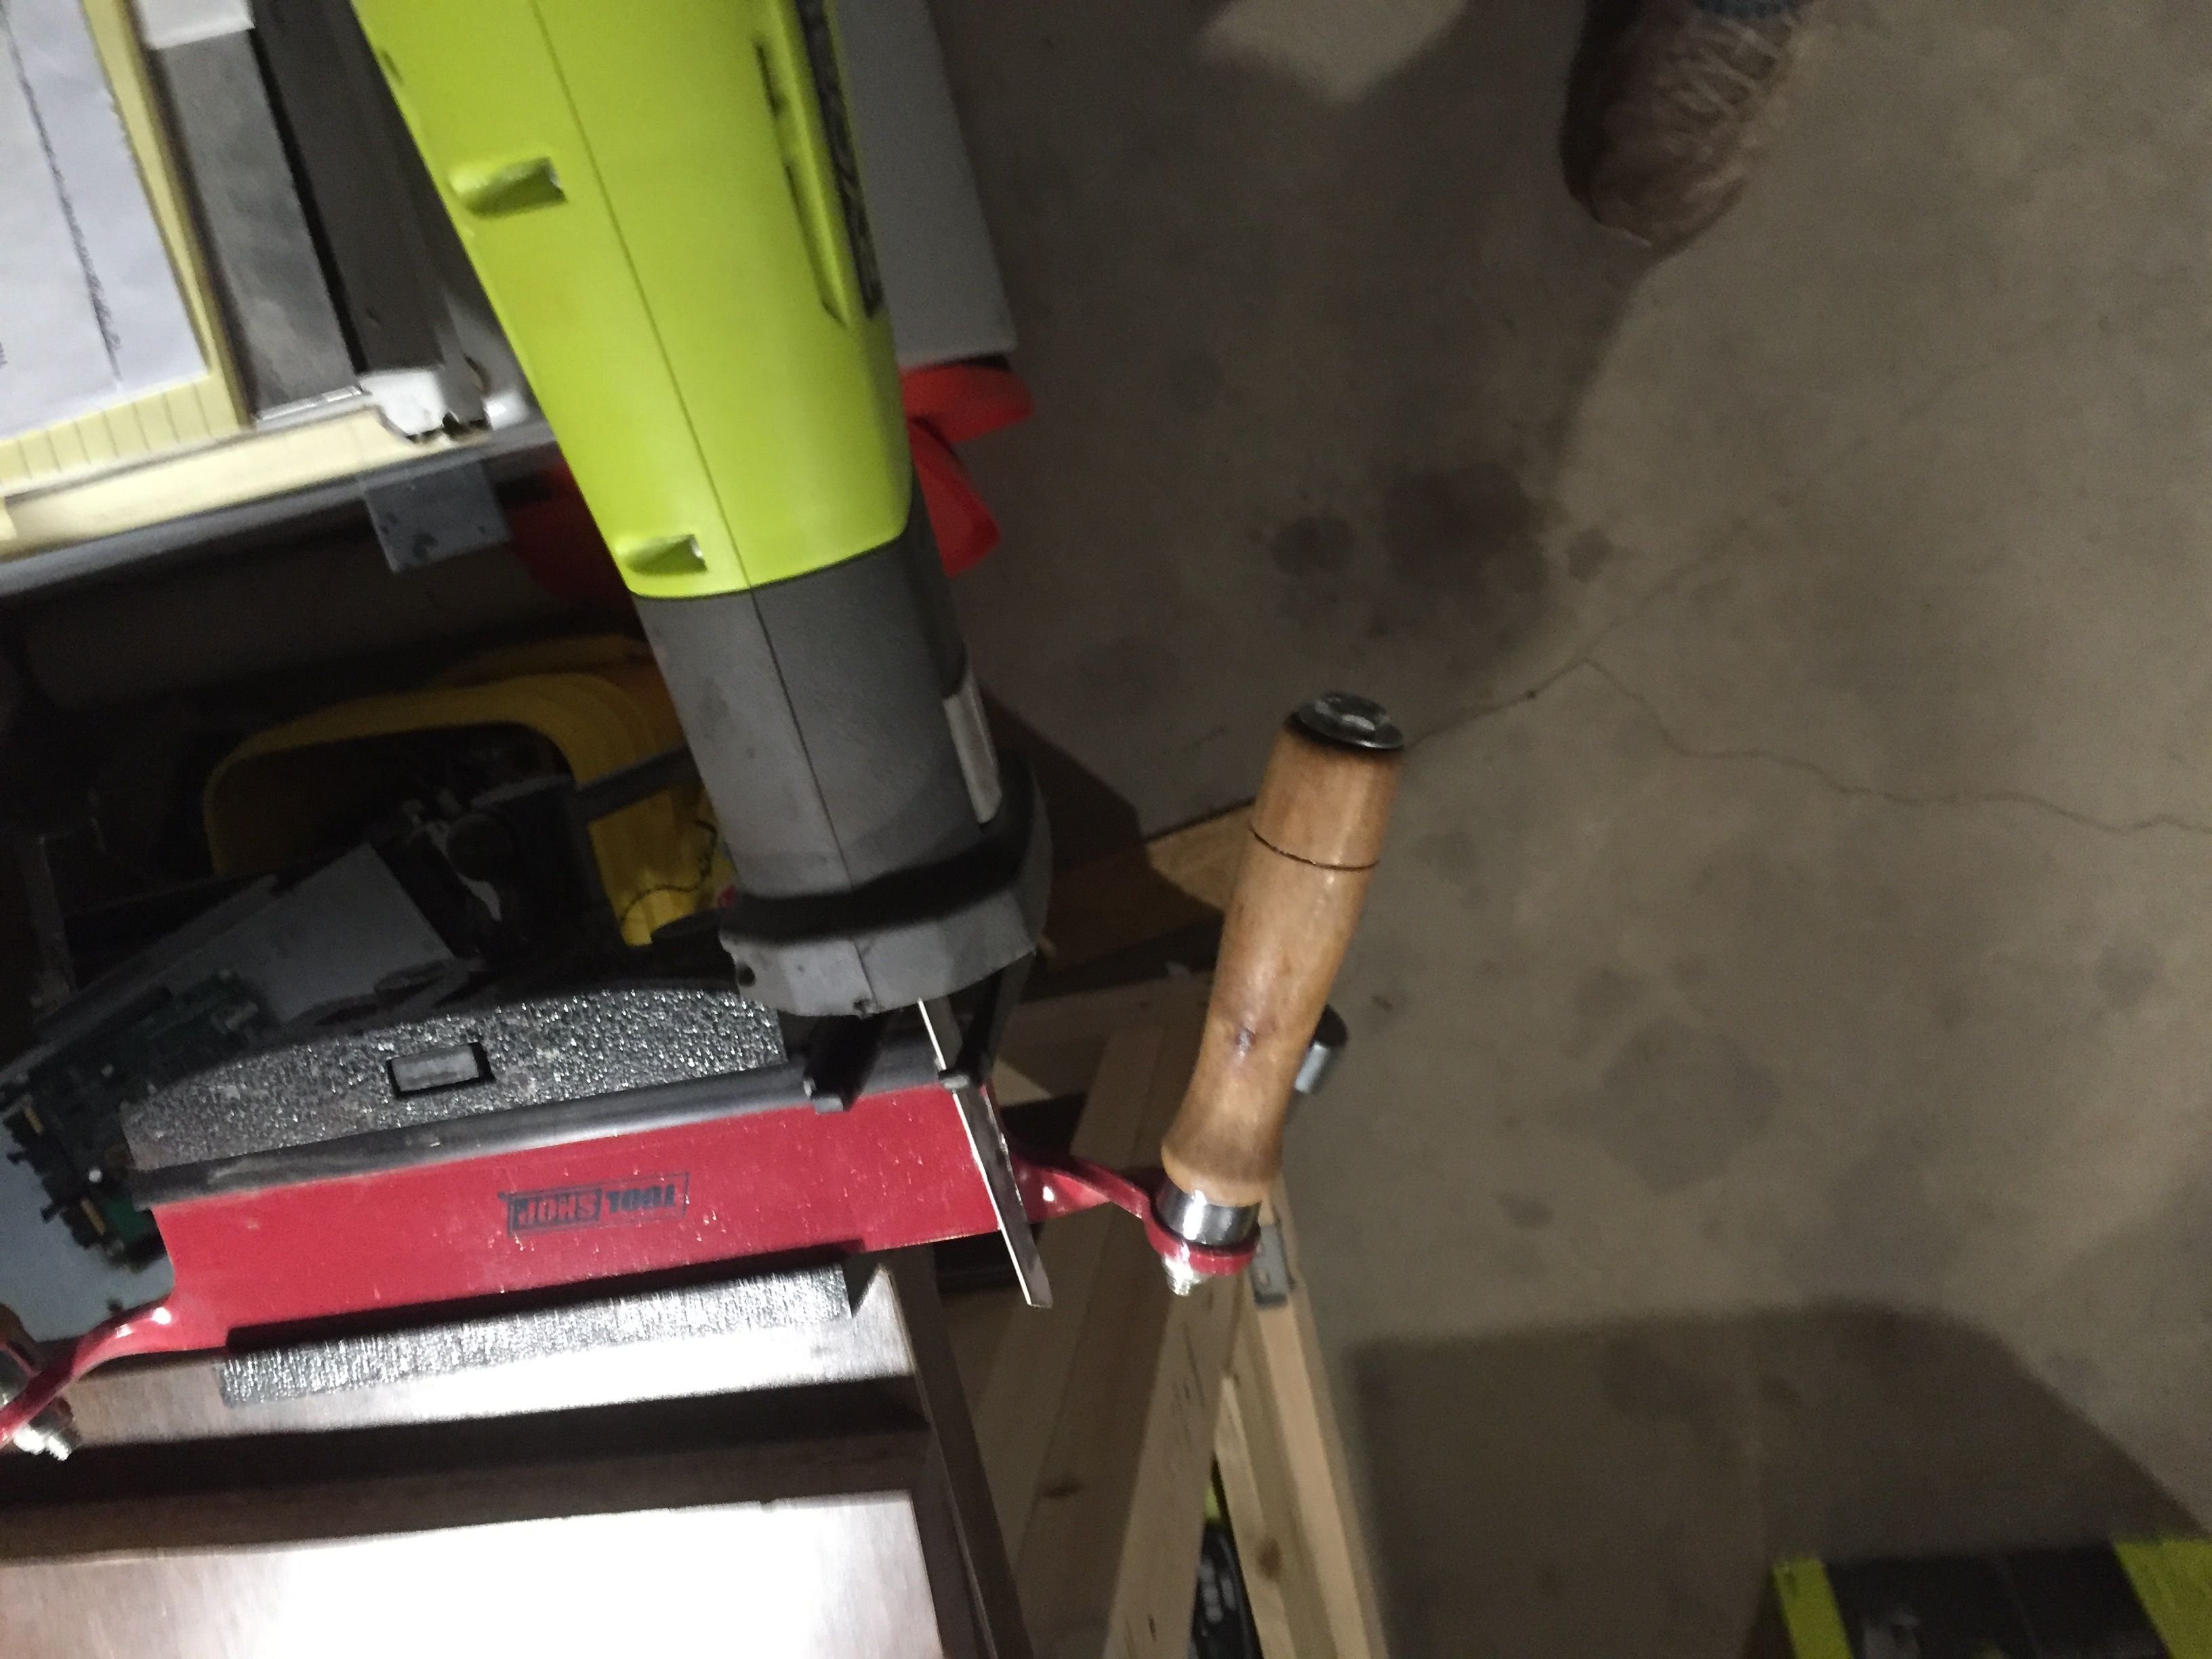
I then used my reciprocating saw to remove the handles marked off in the above picture. This is done to start prepping the flat for welding. Also I rounded off the far end to prevent accidentally stabbing myself while using it. When cutting metal I usually give the piece being cut on a squirt of Kroil as I cut to keep the blade cool.
Step 3 Grinding for welding.
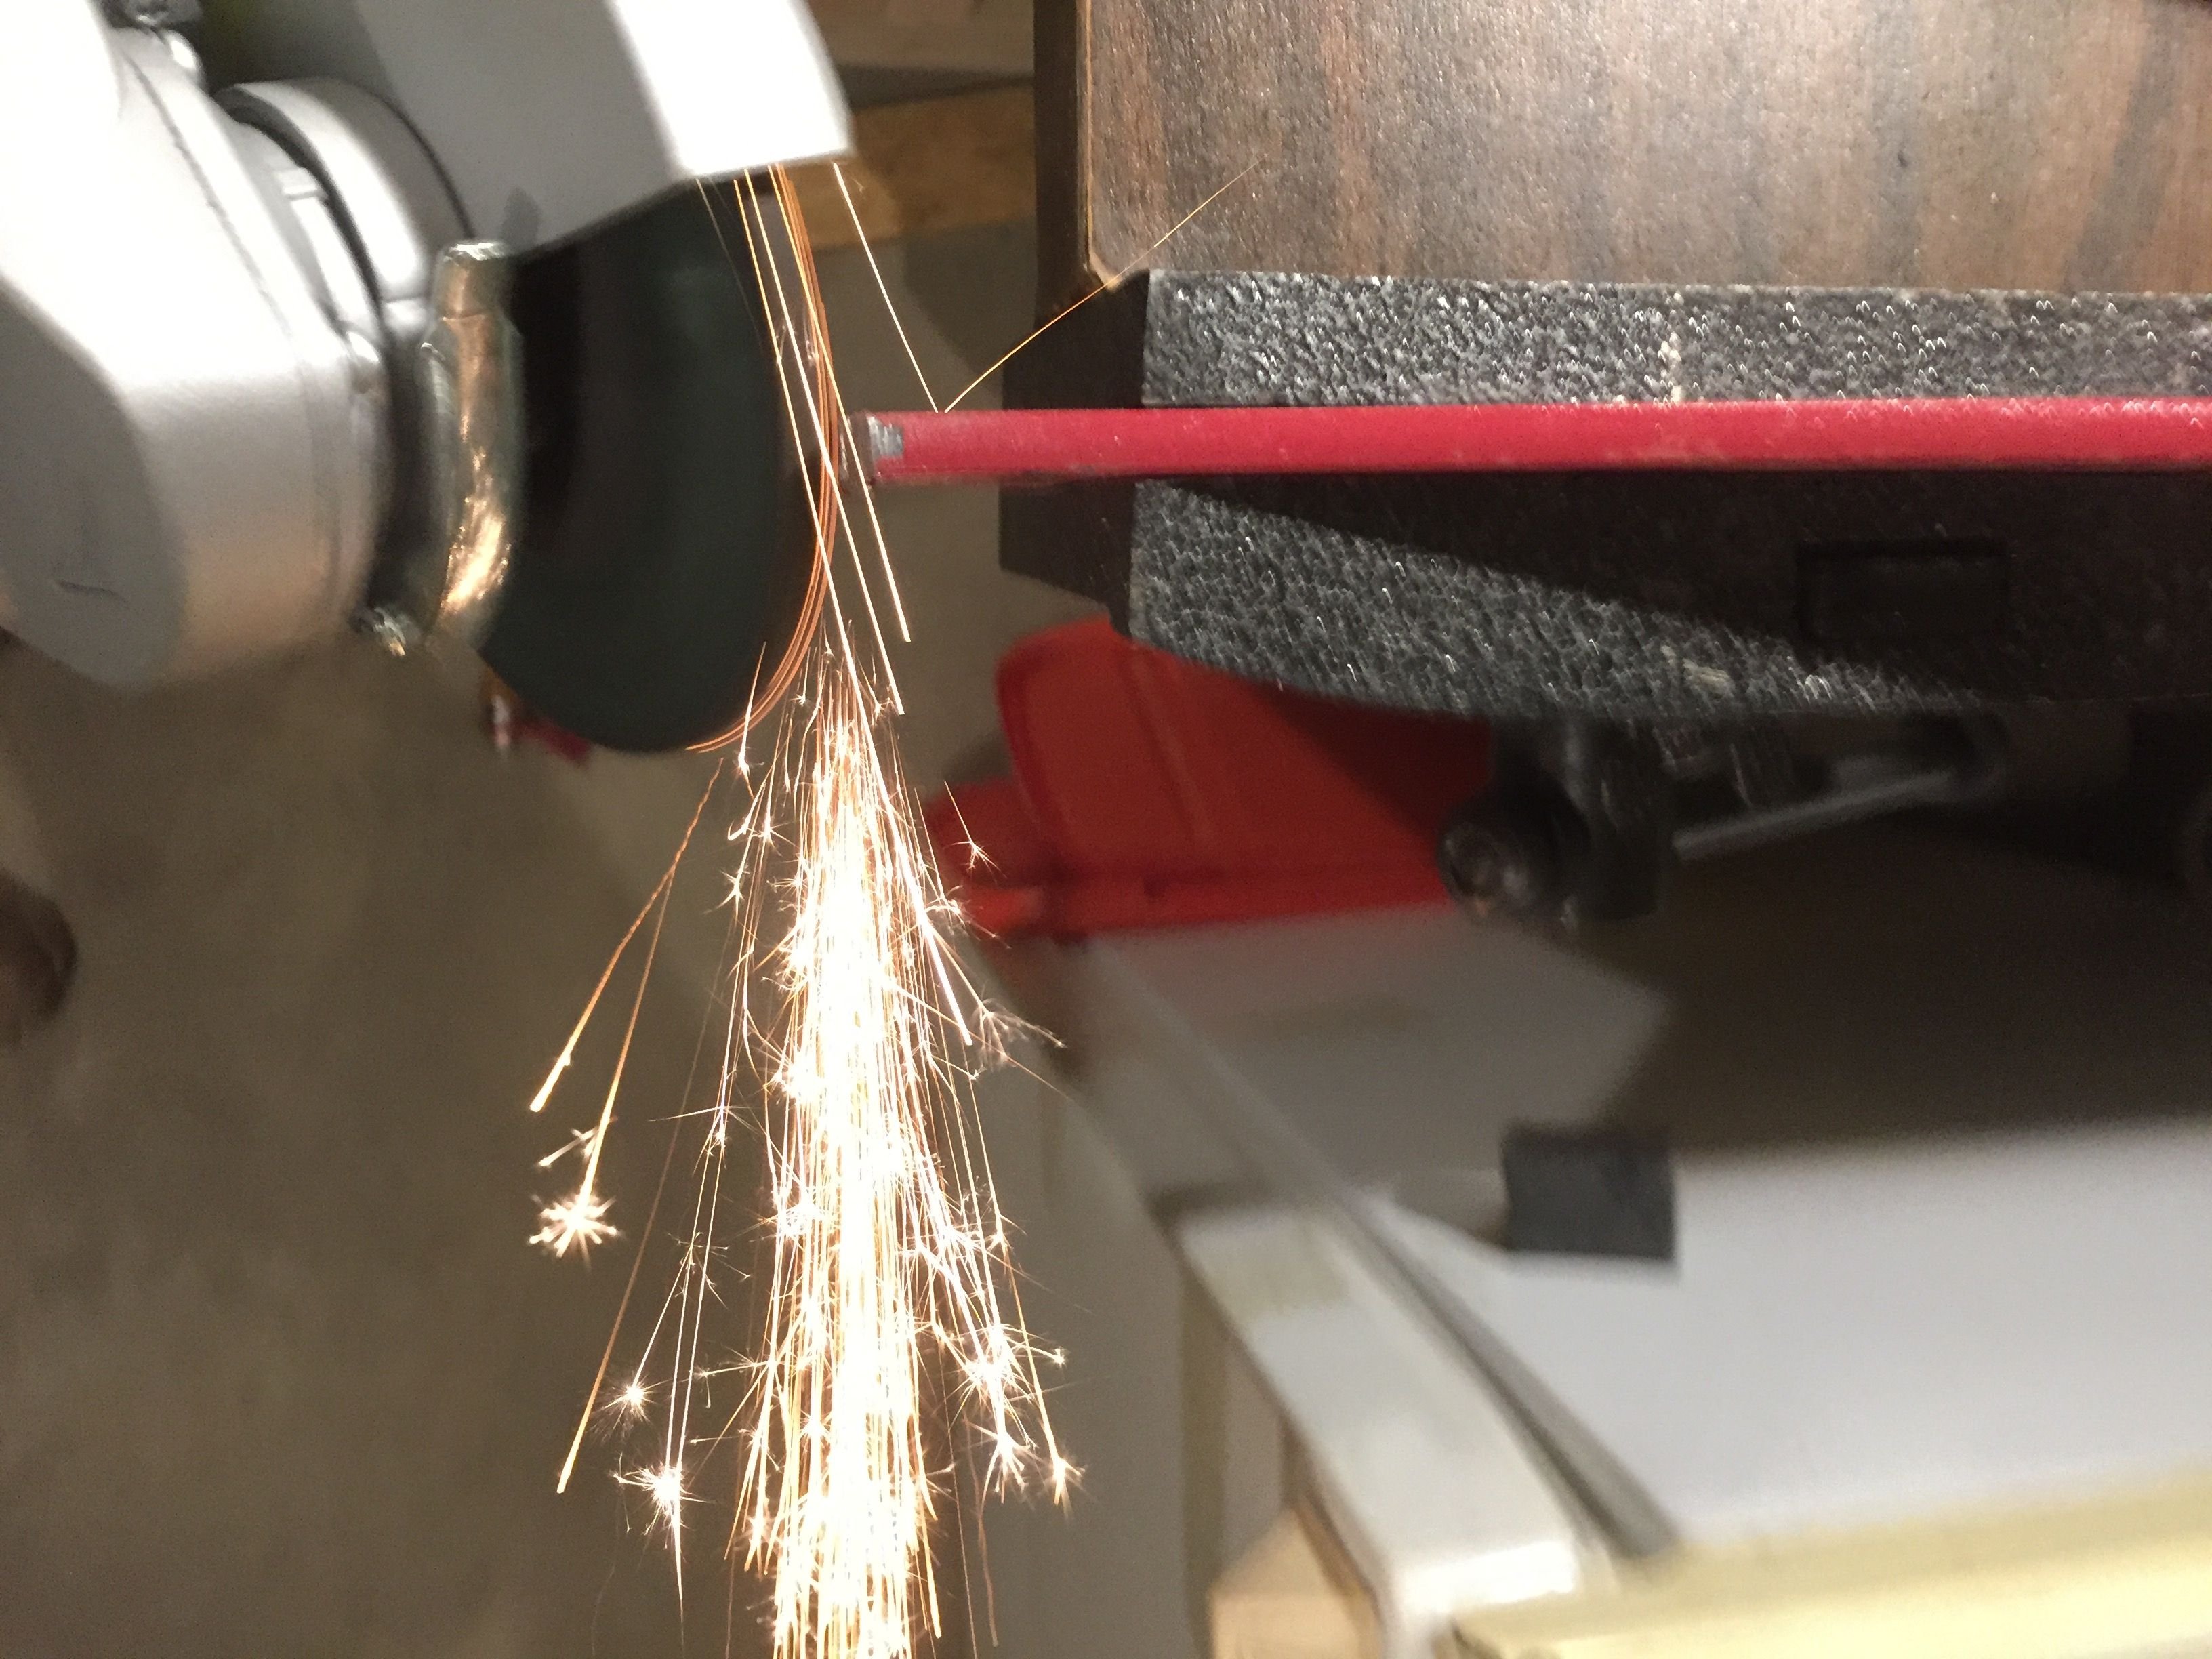
Next mount the blade in to a vise and grind the end to be welded as flat as possible. This will give less surface area to be filled with welding and everyone likes nice clean edges. If you look at the spark pattern with the grinding wheel this particular piece appears to be a high carbon tool steel. YES it should work well!
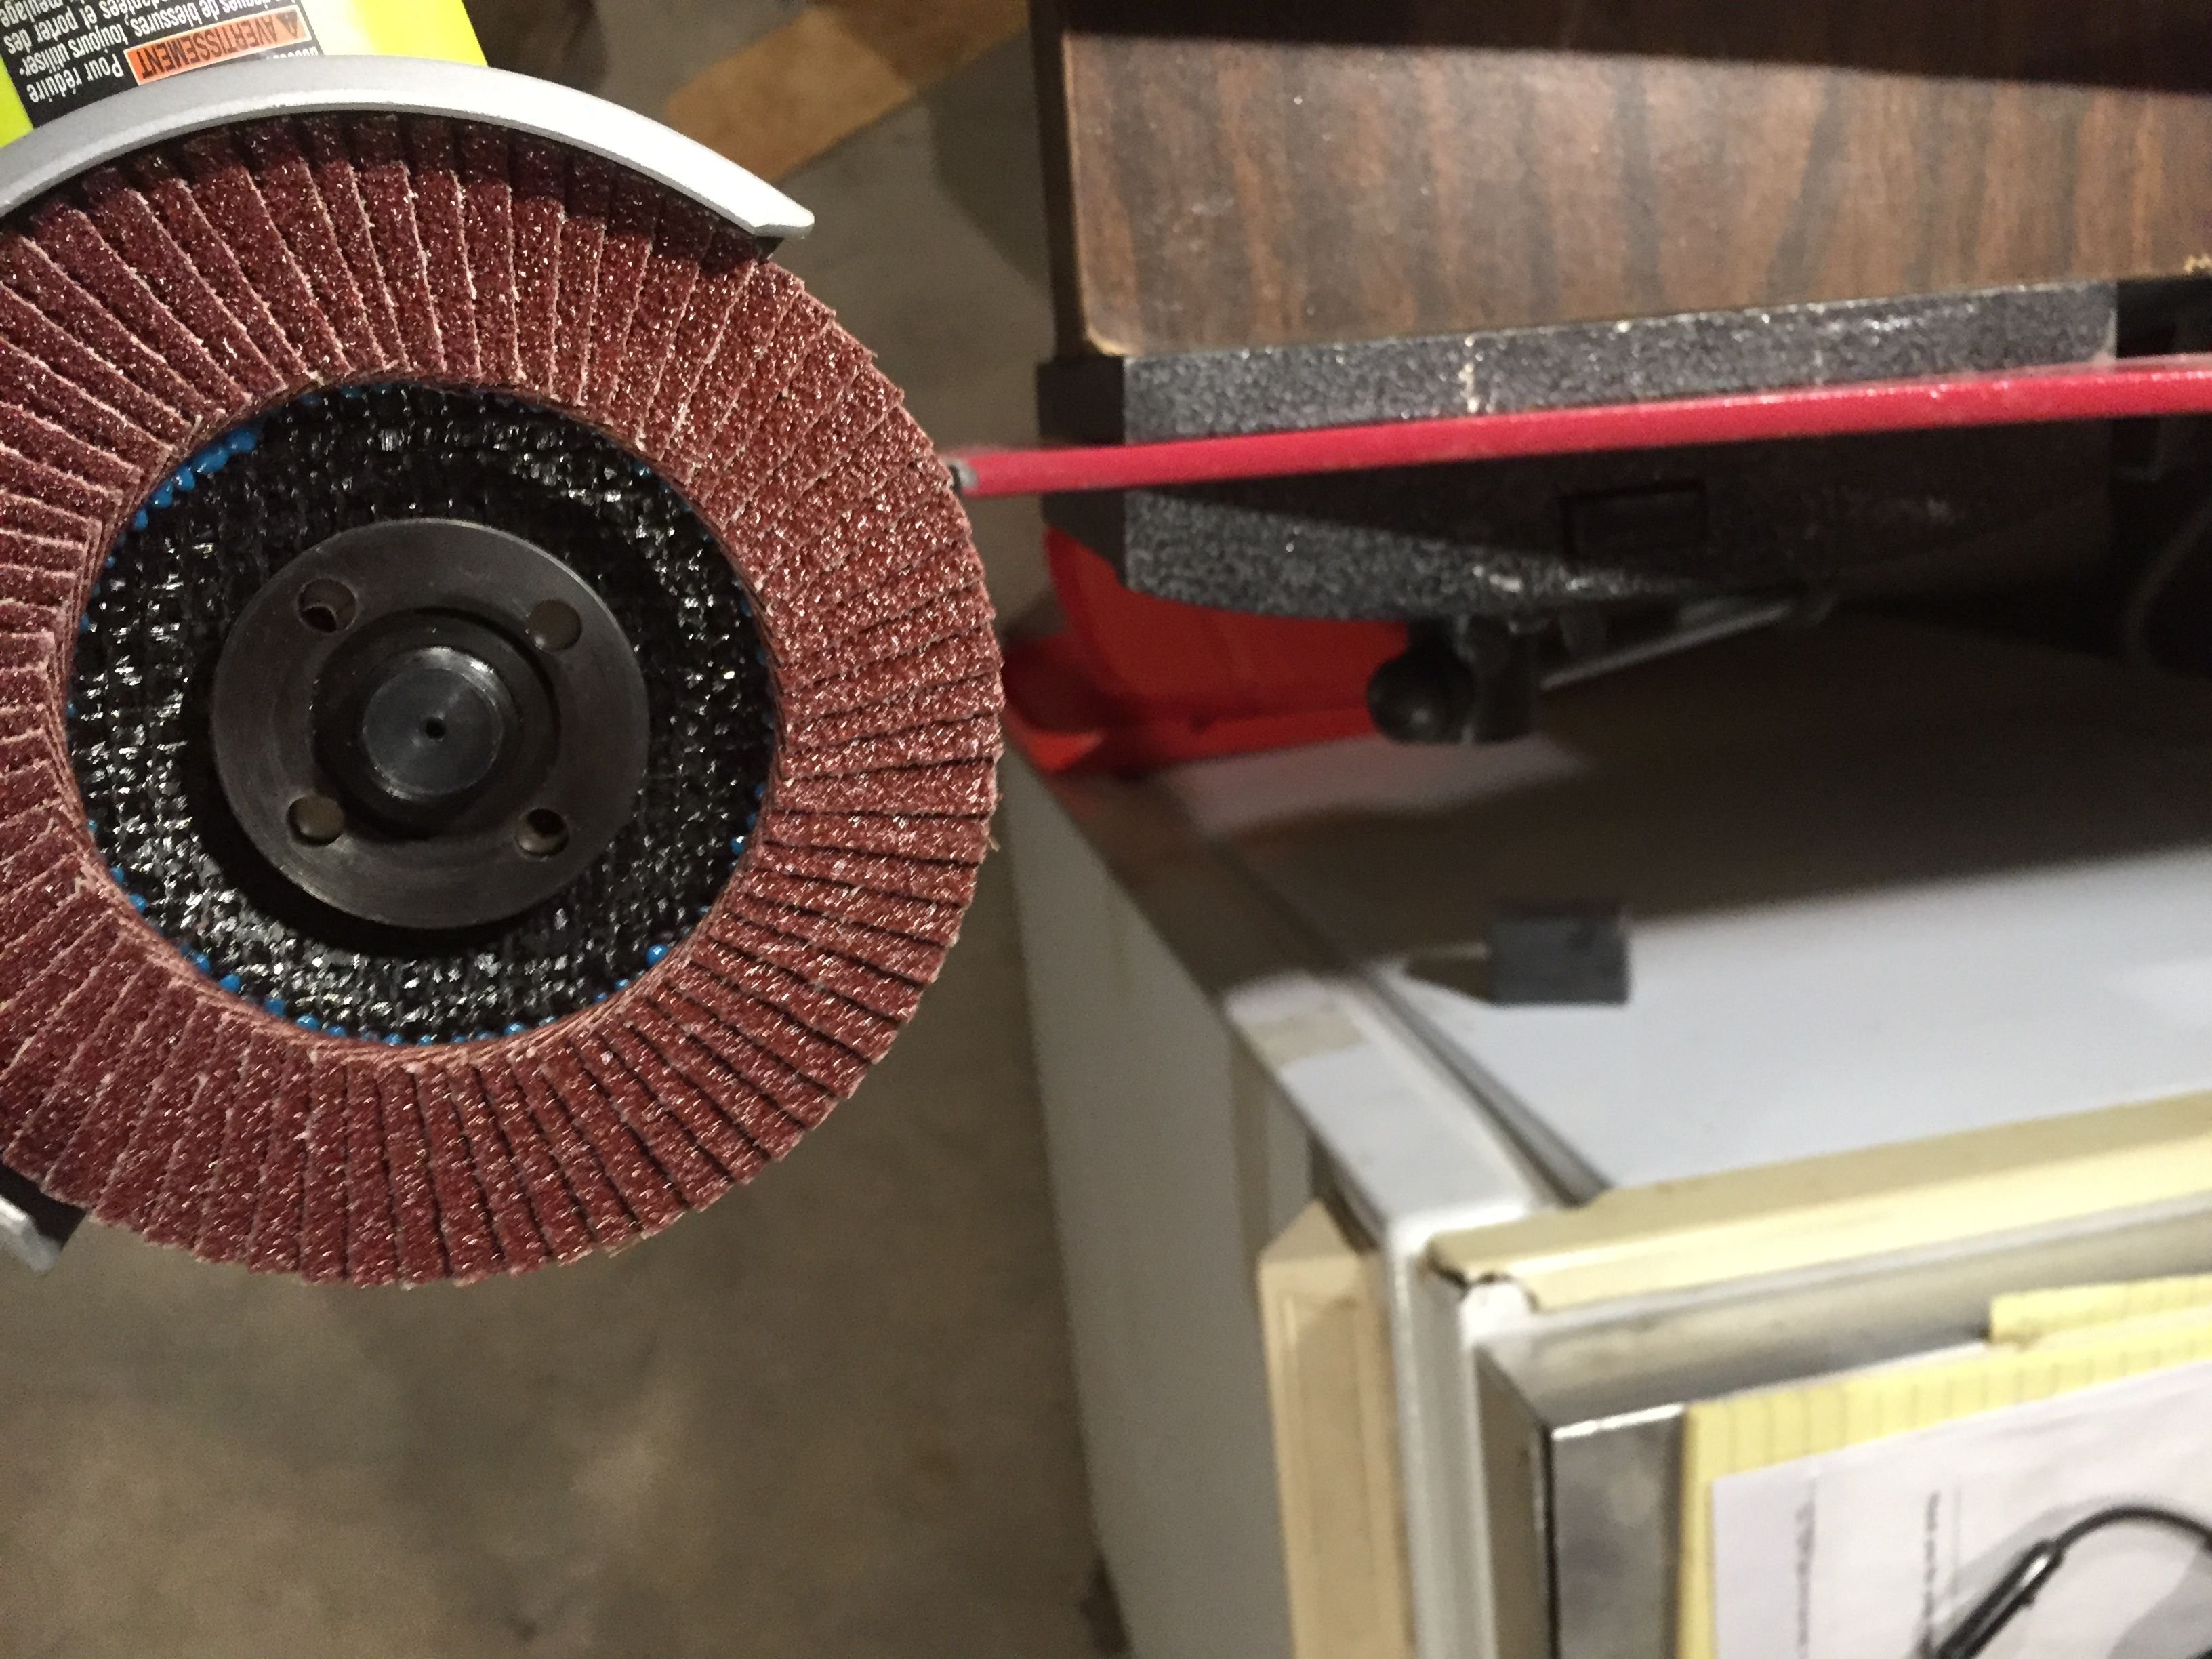
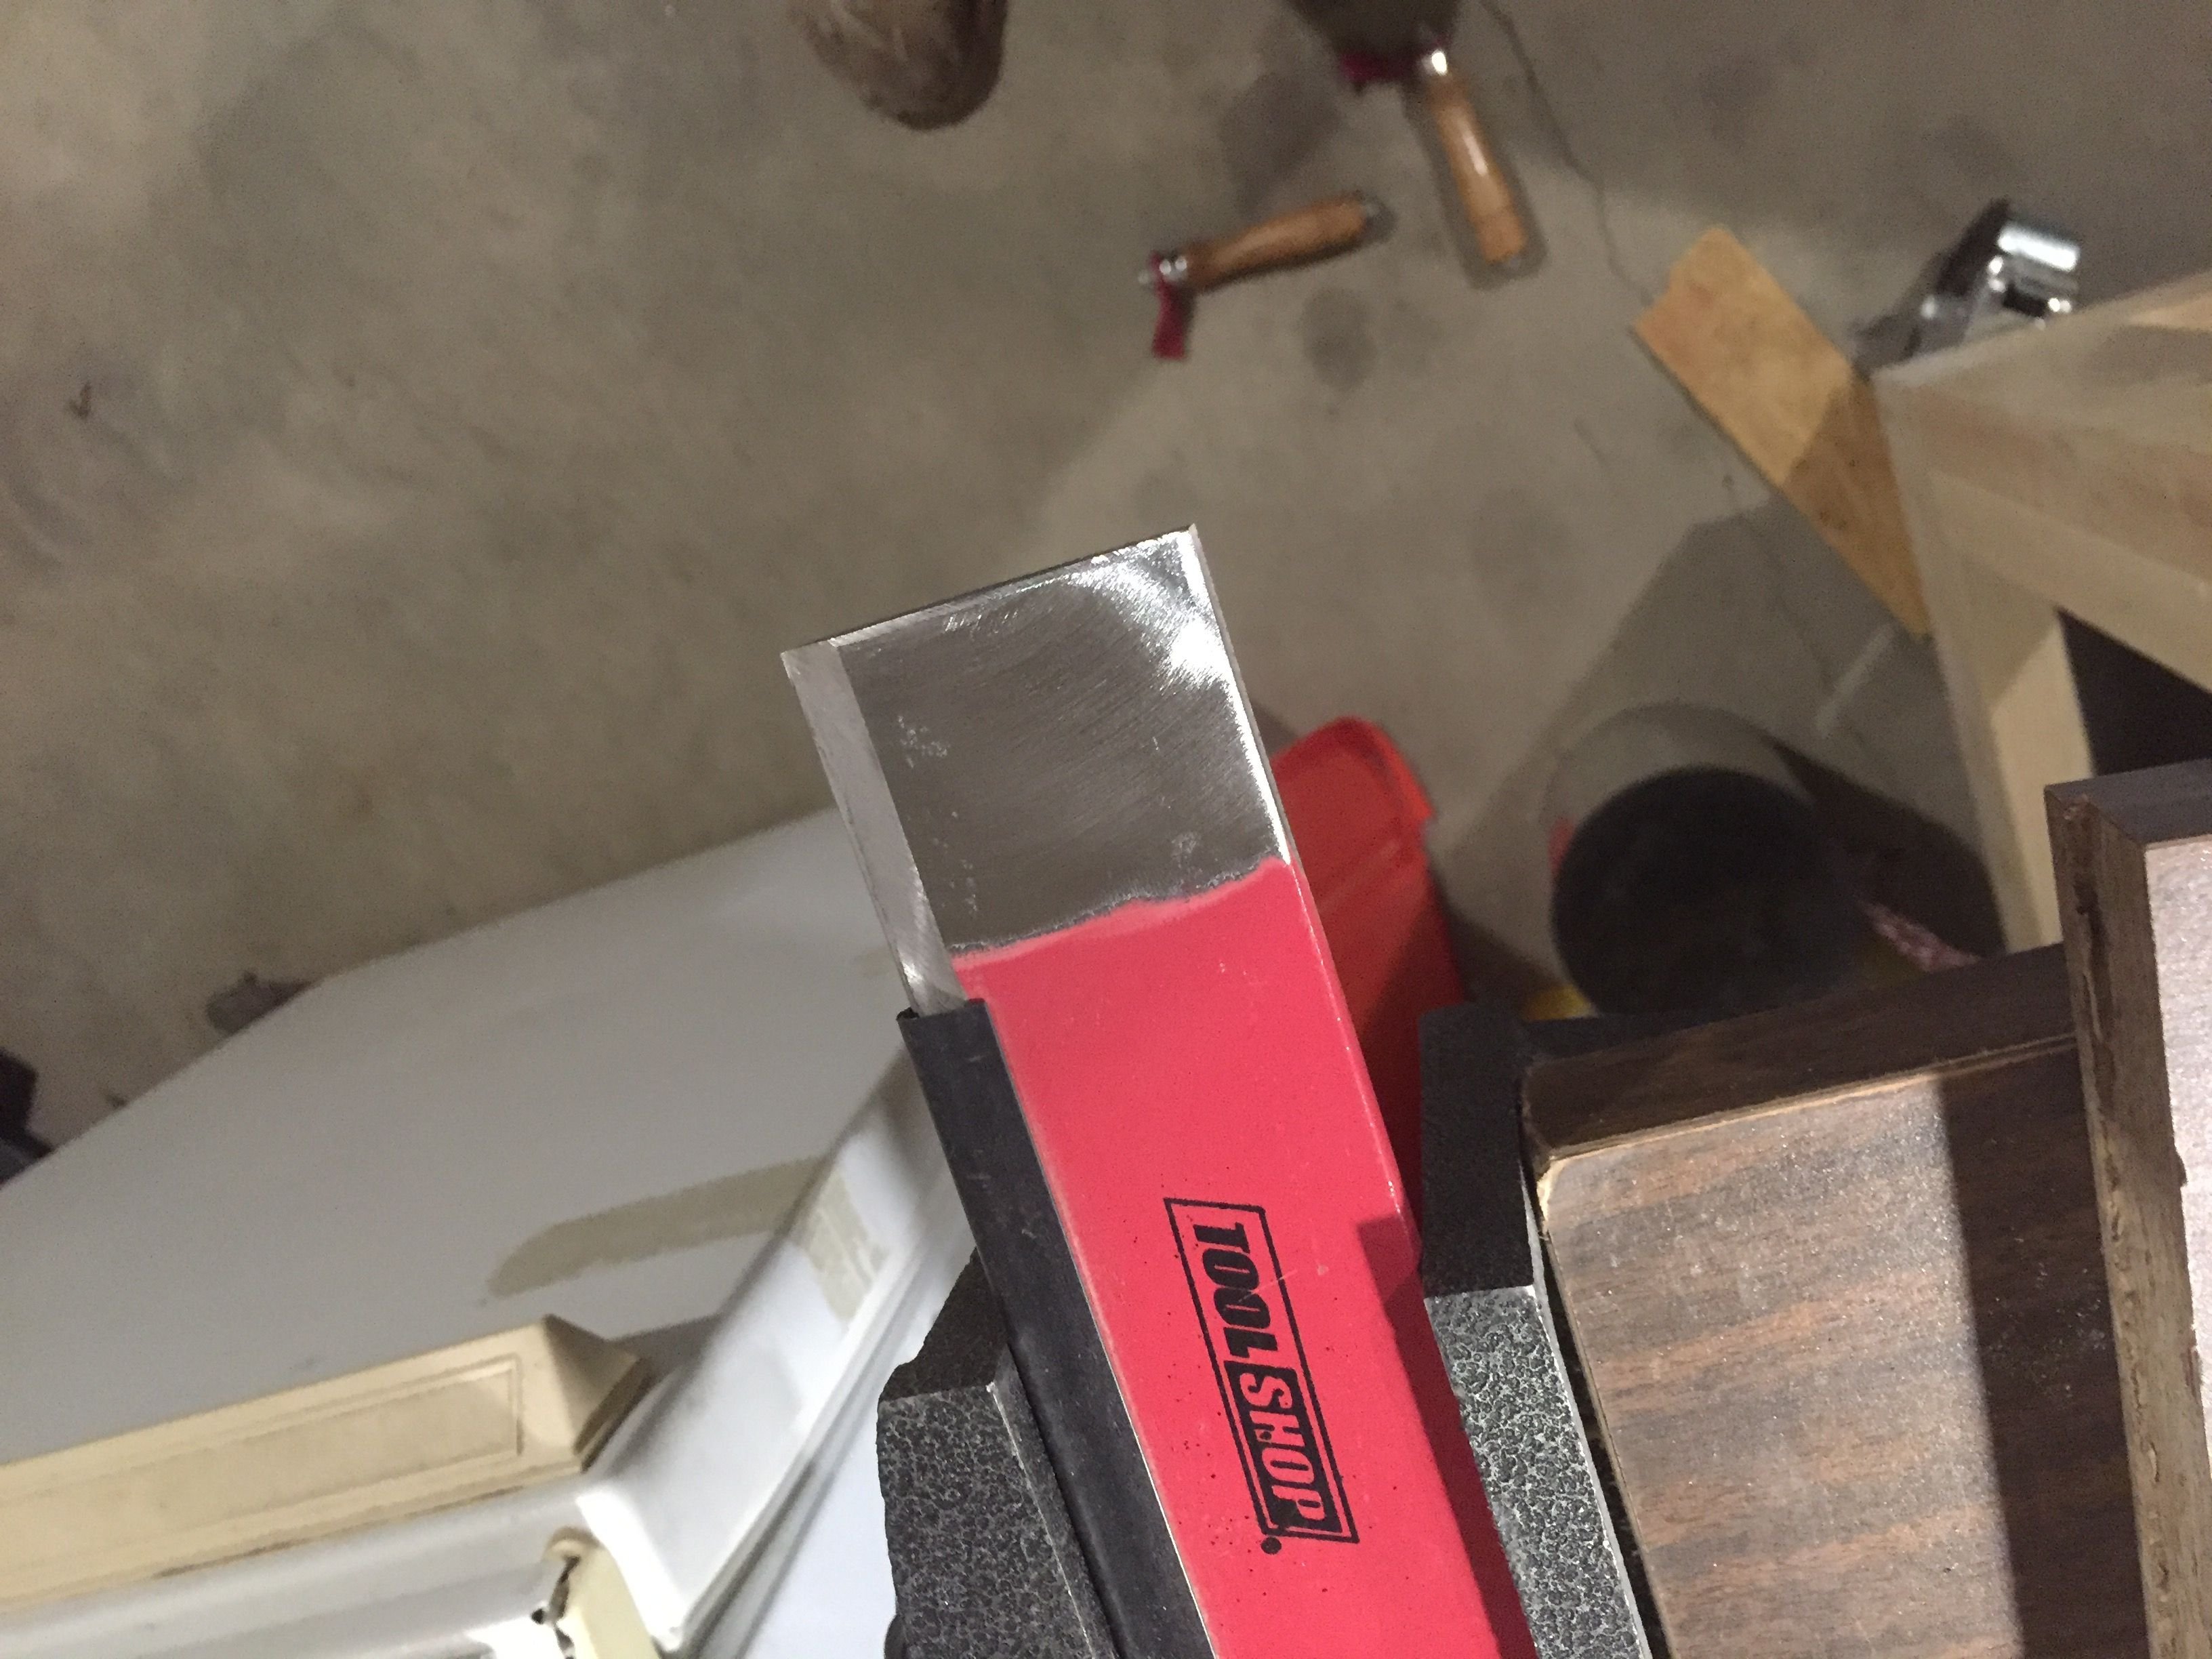
Next remove any paint in the weld zone using a flapper wheel.
I then used a reciprocating saw to cut the threads off one end and ground it flat. 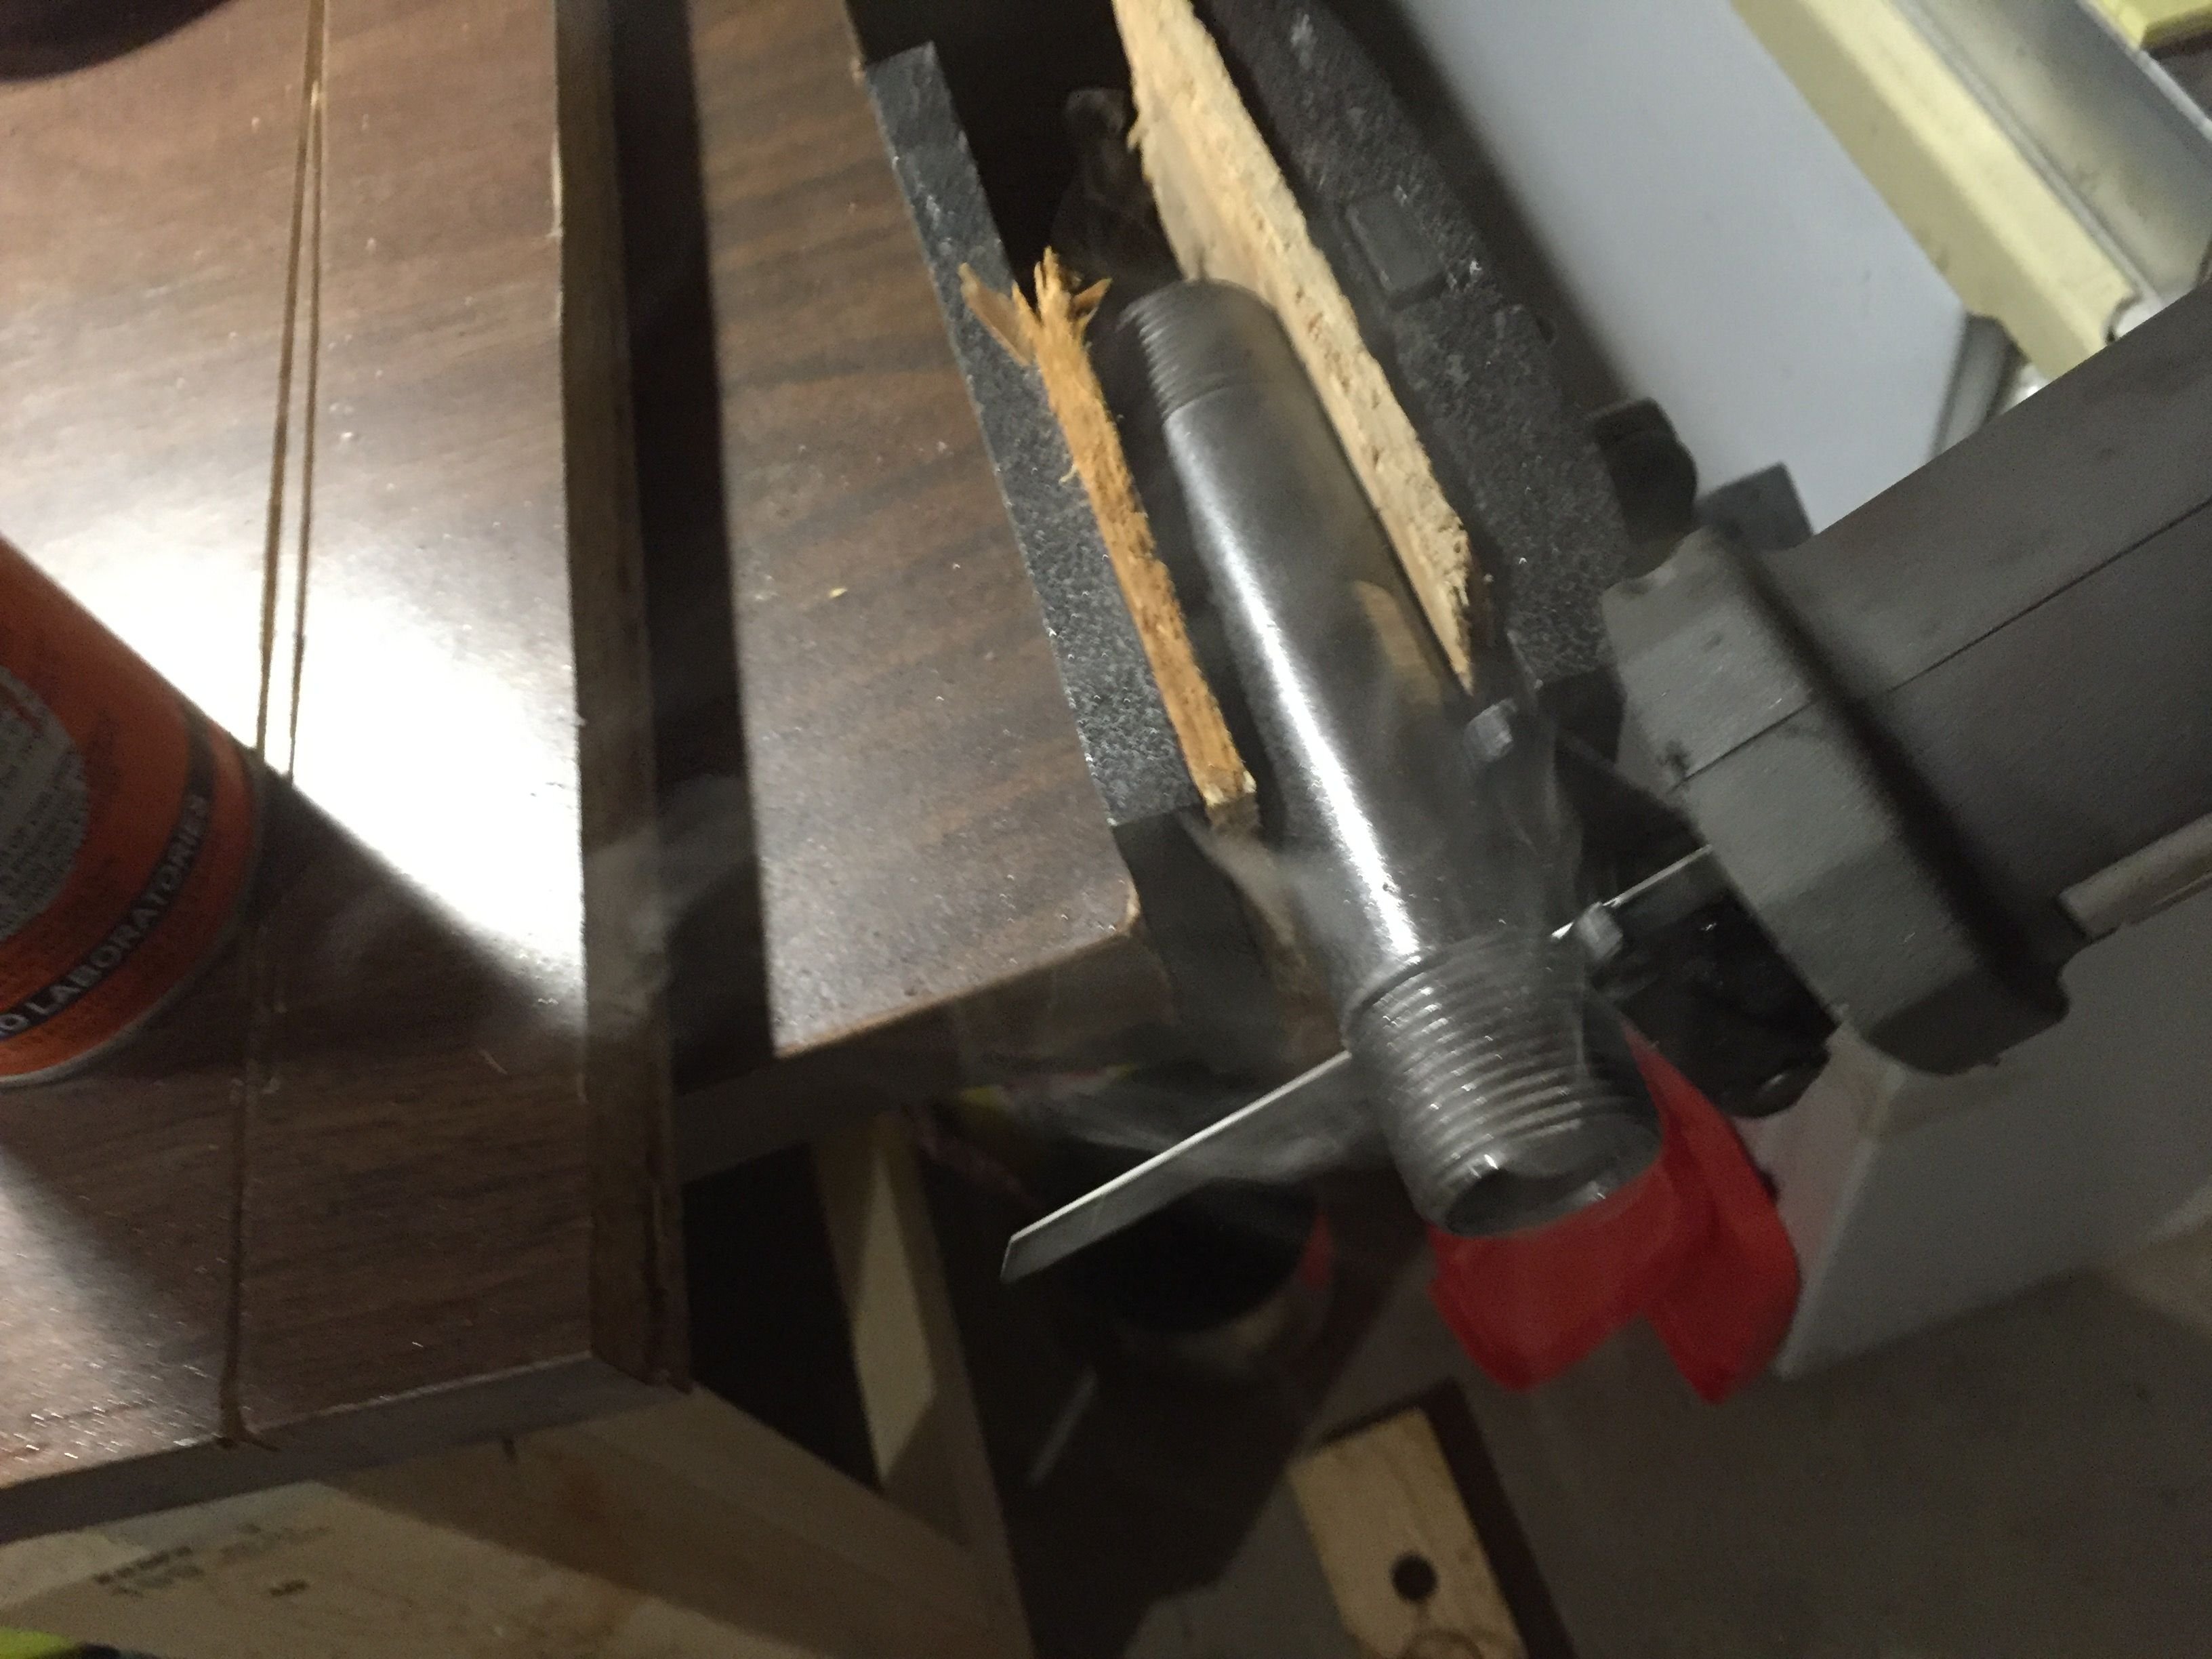
Mount the pipe section in the vise and grind a flat and remove any coating with a flap wheel. 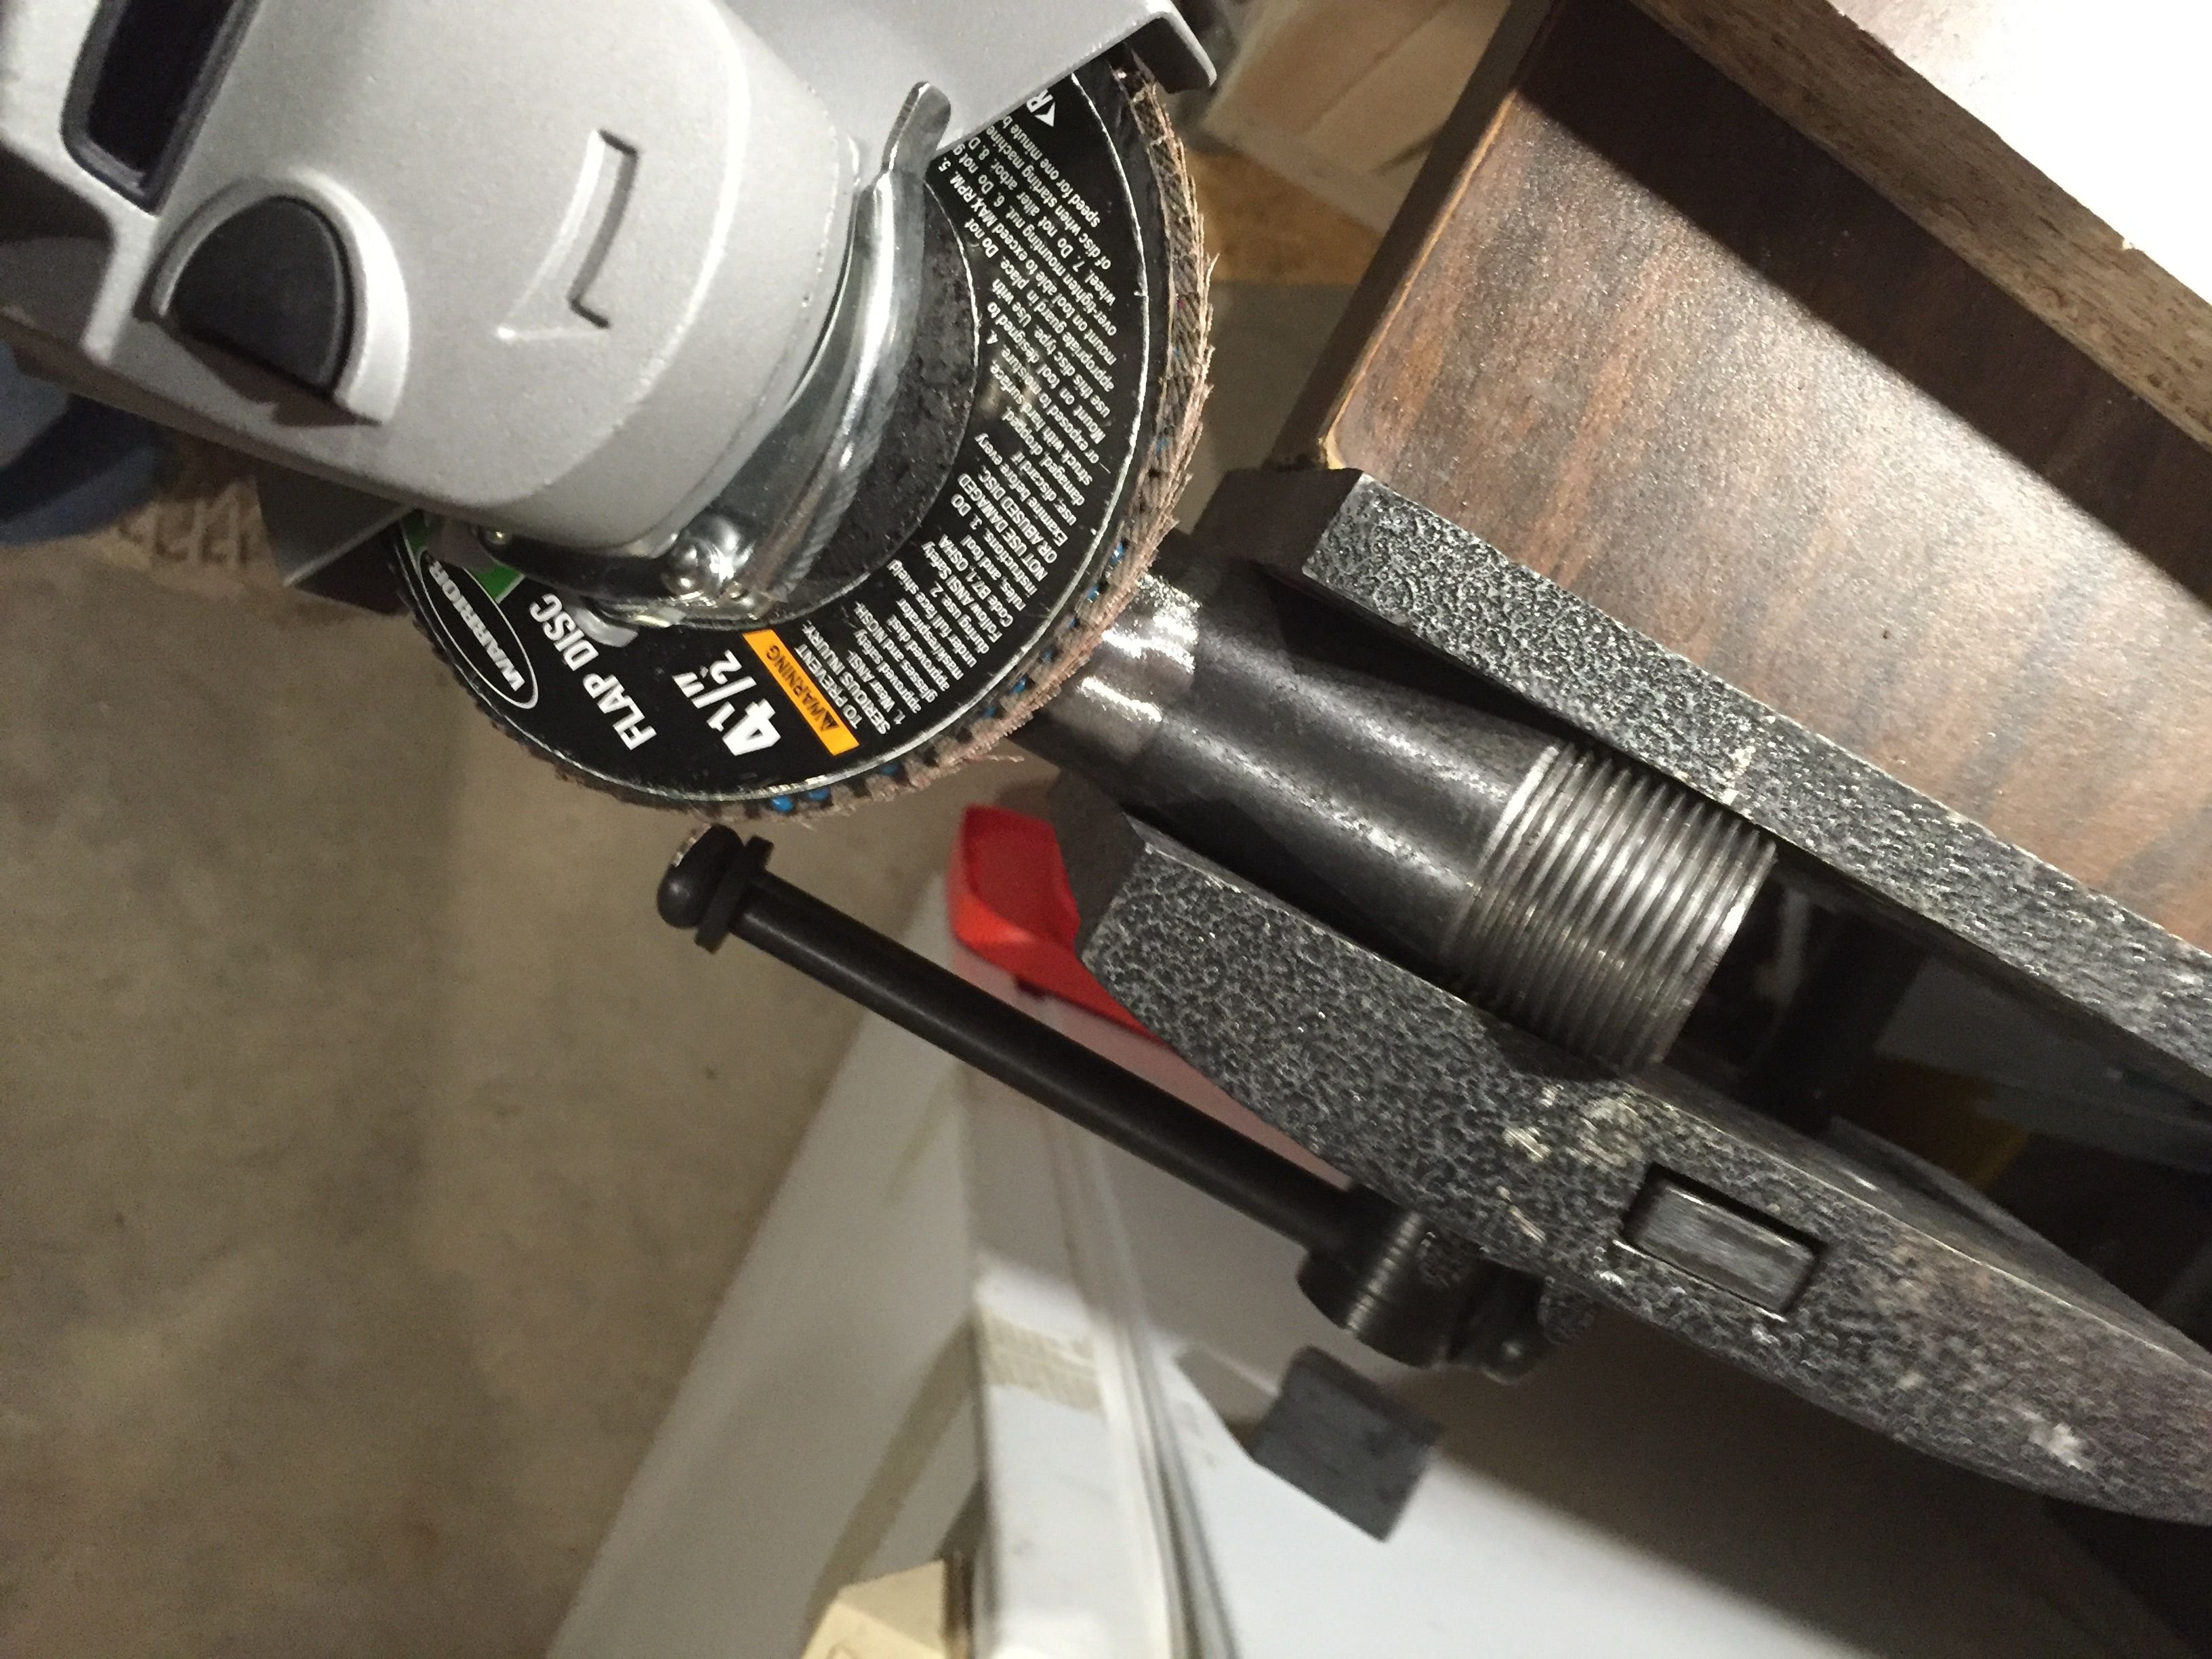
Step 4 Laying out for welding.
I did not get any pictures of actually welding this as I am a poor welder but the weld held strong with a hammer test.
Block the blade so that it is centered on the pipe. Apply the ground clamp to the pipe end and strike your arc. After obtaining a decent bead on one side I flipped the piece over and placed a bead on the obverse. After I was happy with the weld I ground it smooth to remove any slag and clean up my nasty welds.
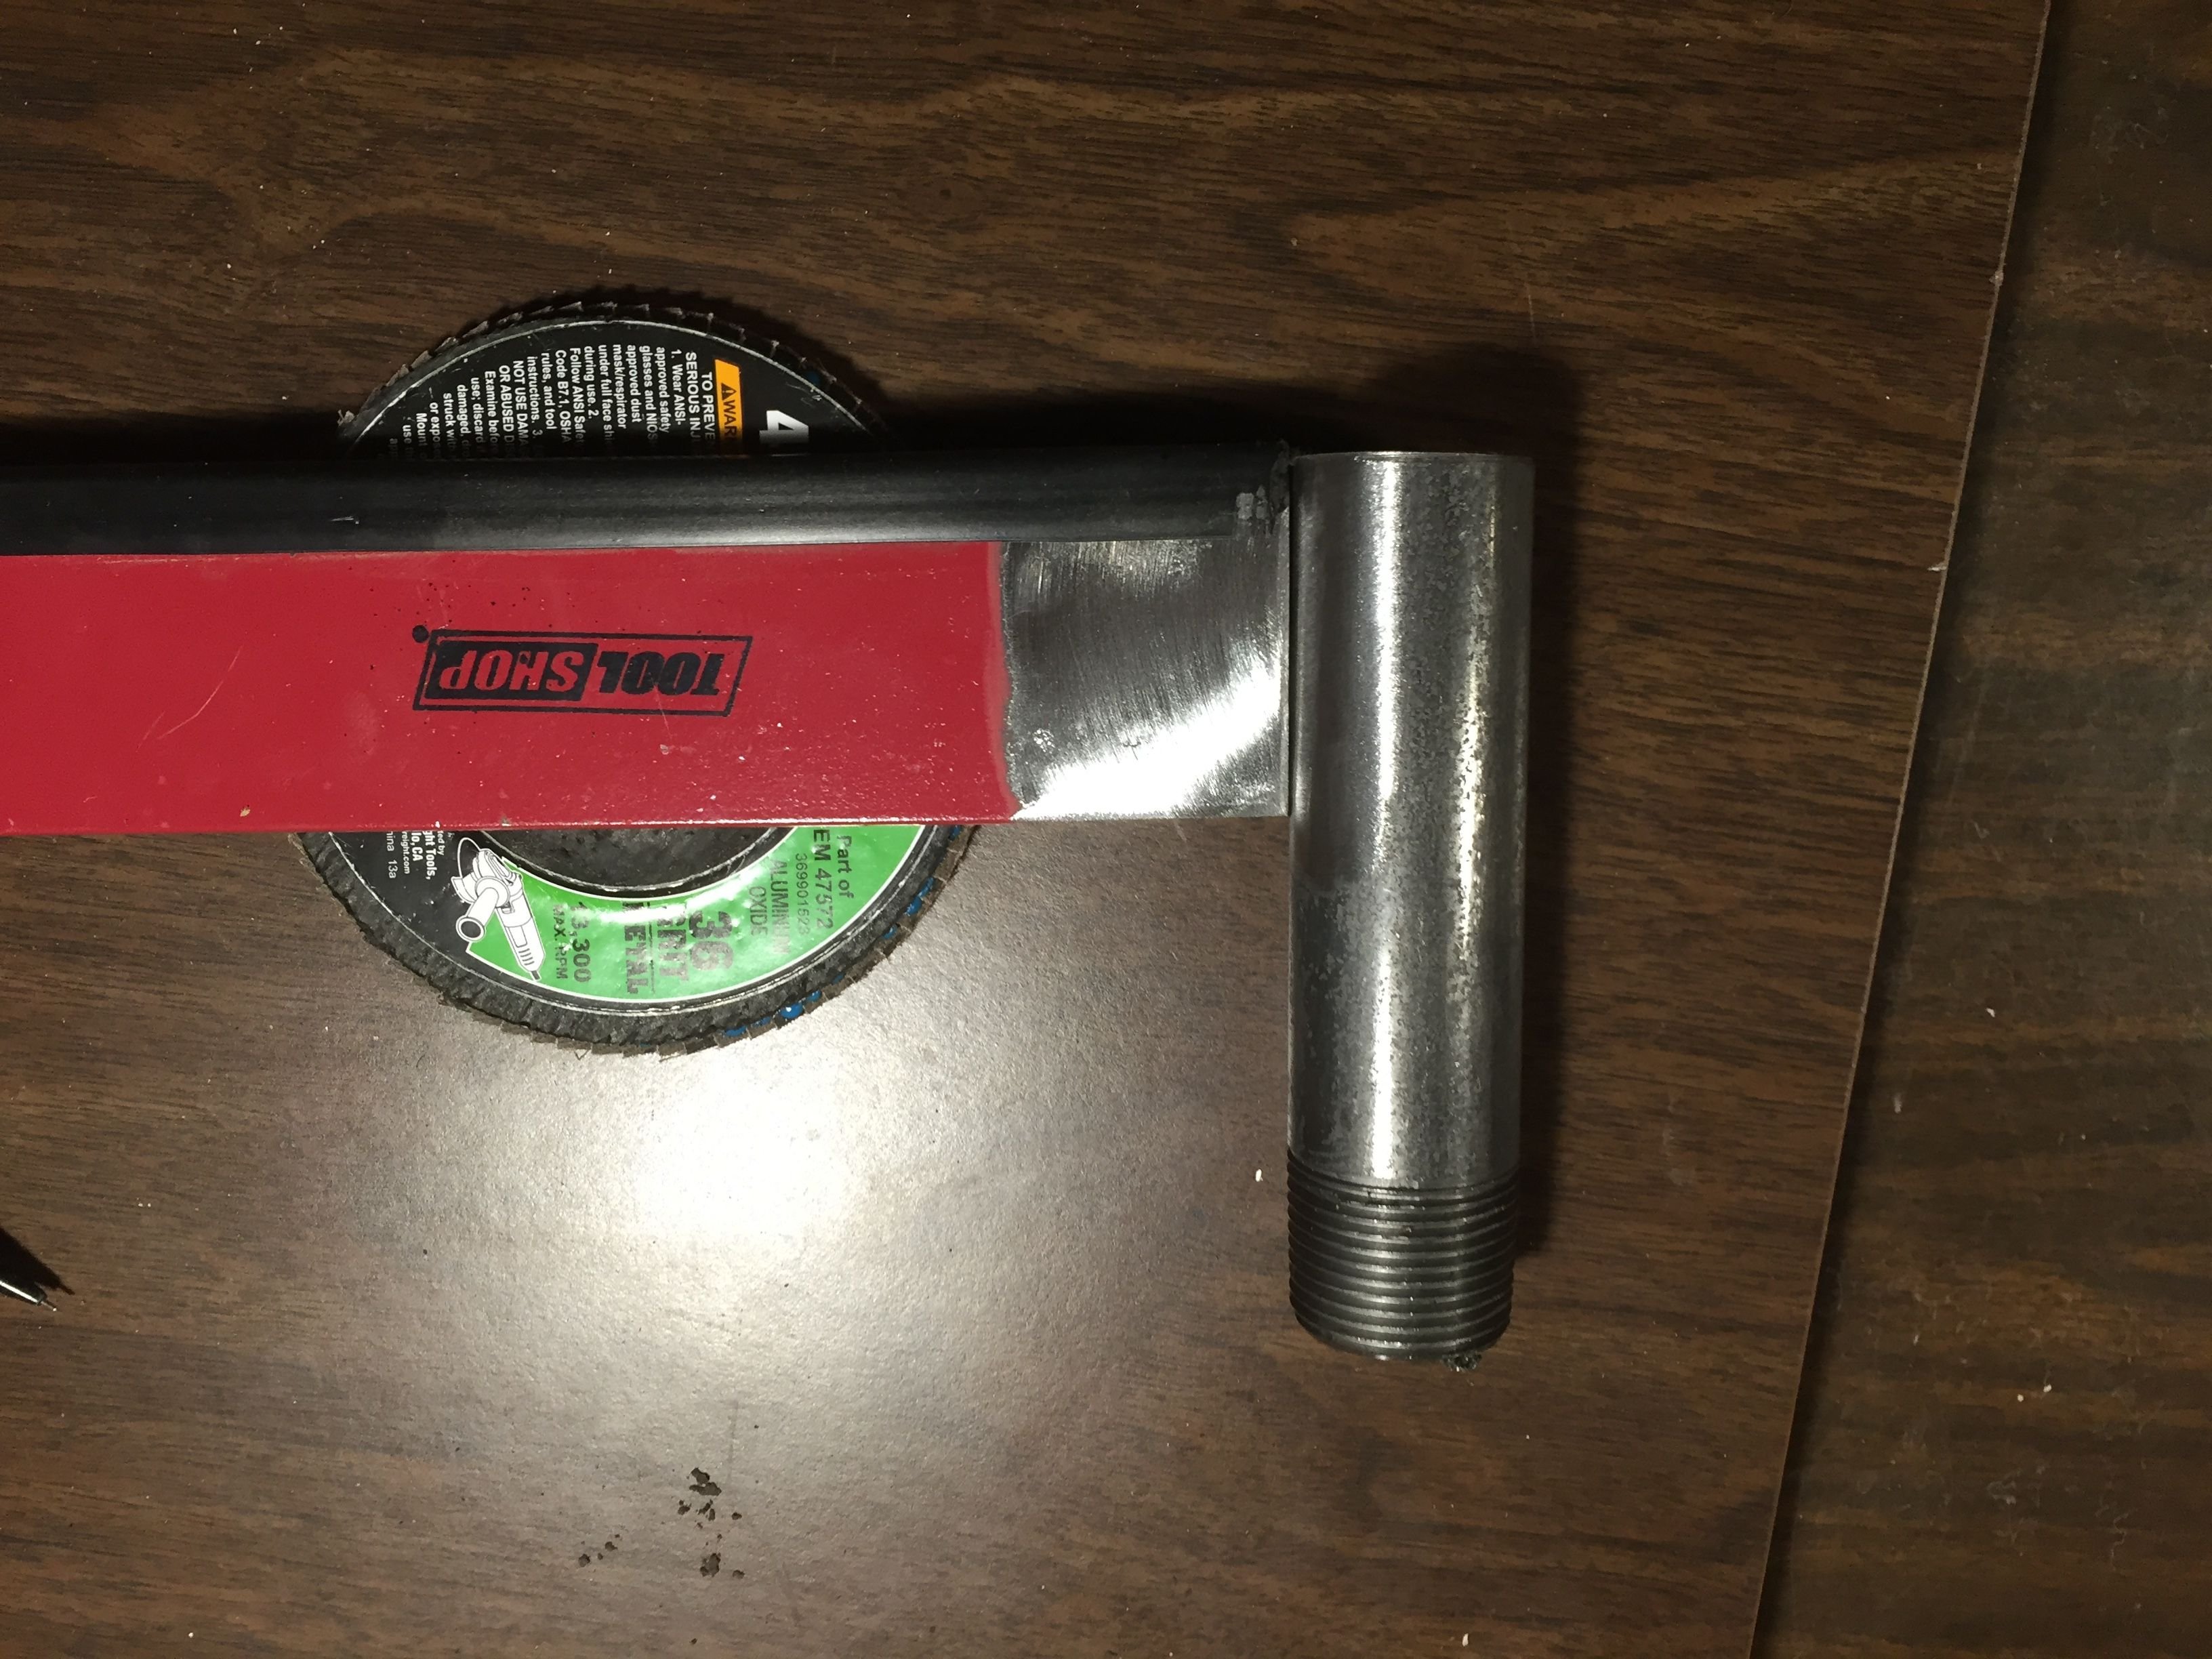
I did not get any pictures of actually welding this as I am a poor welder but the weld held strong with a hammer test.
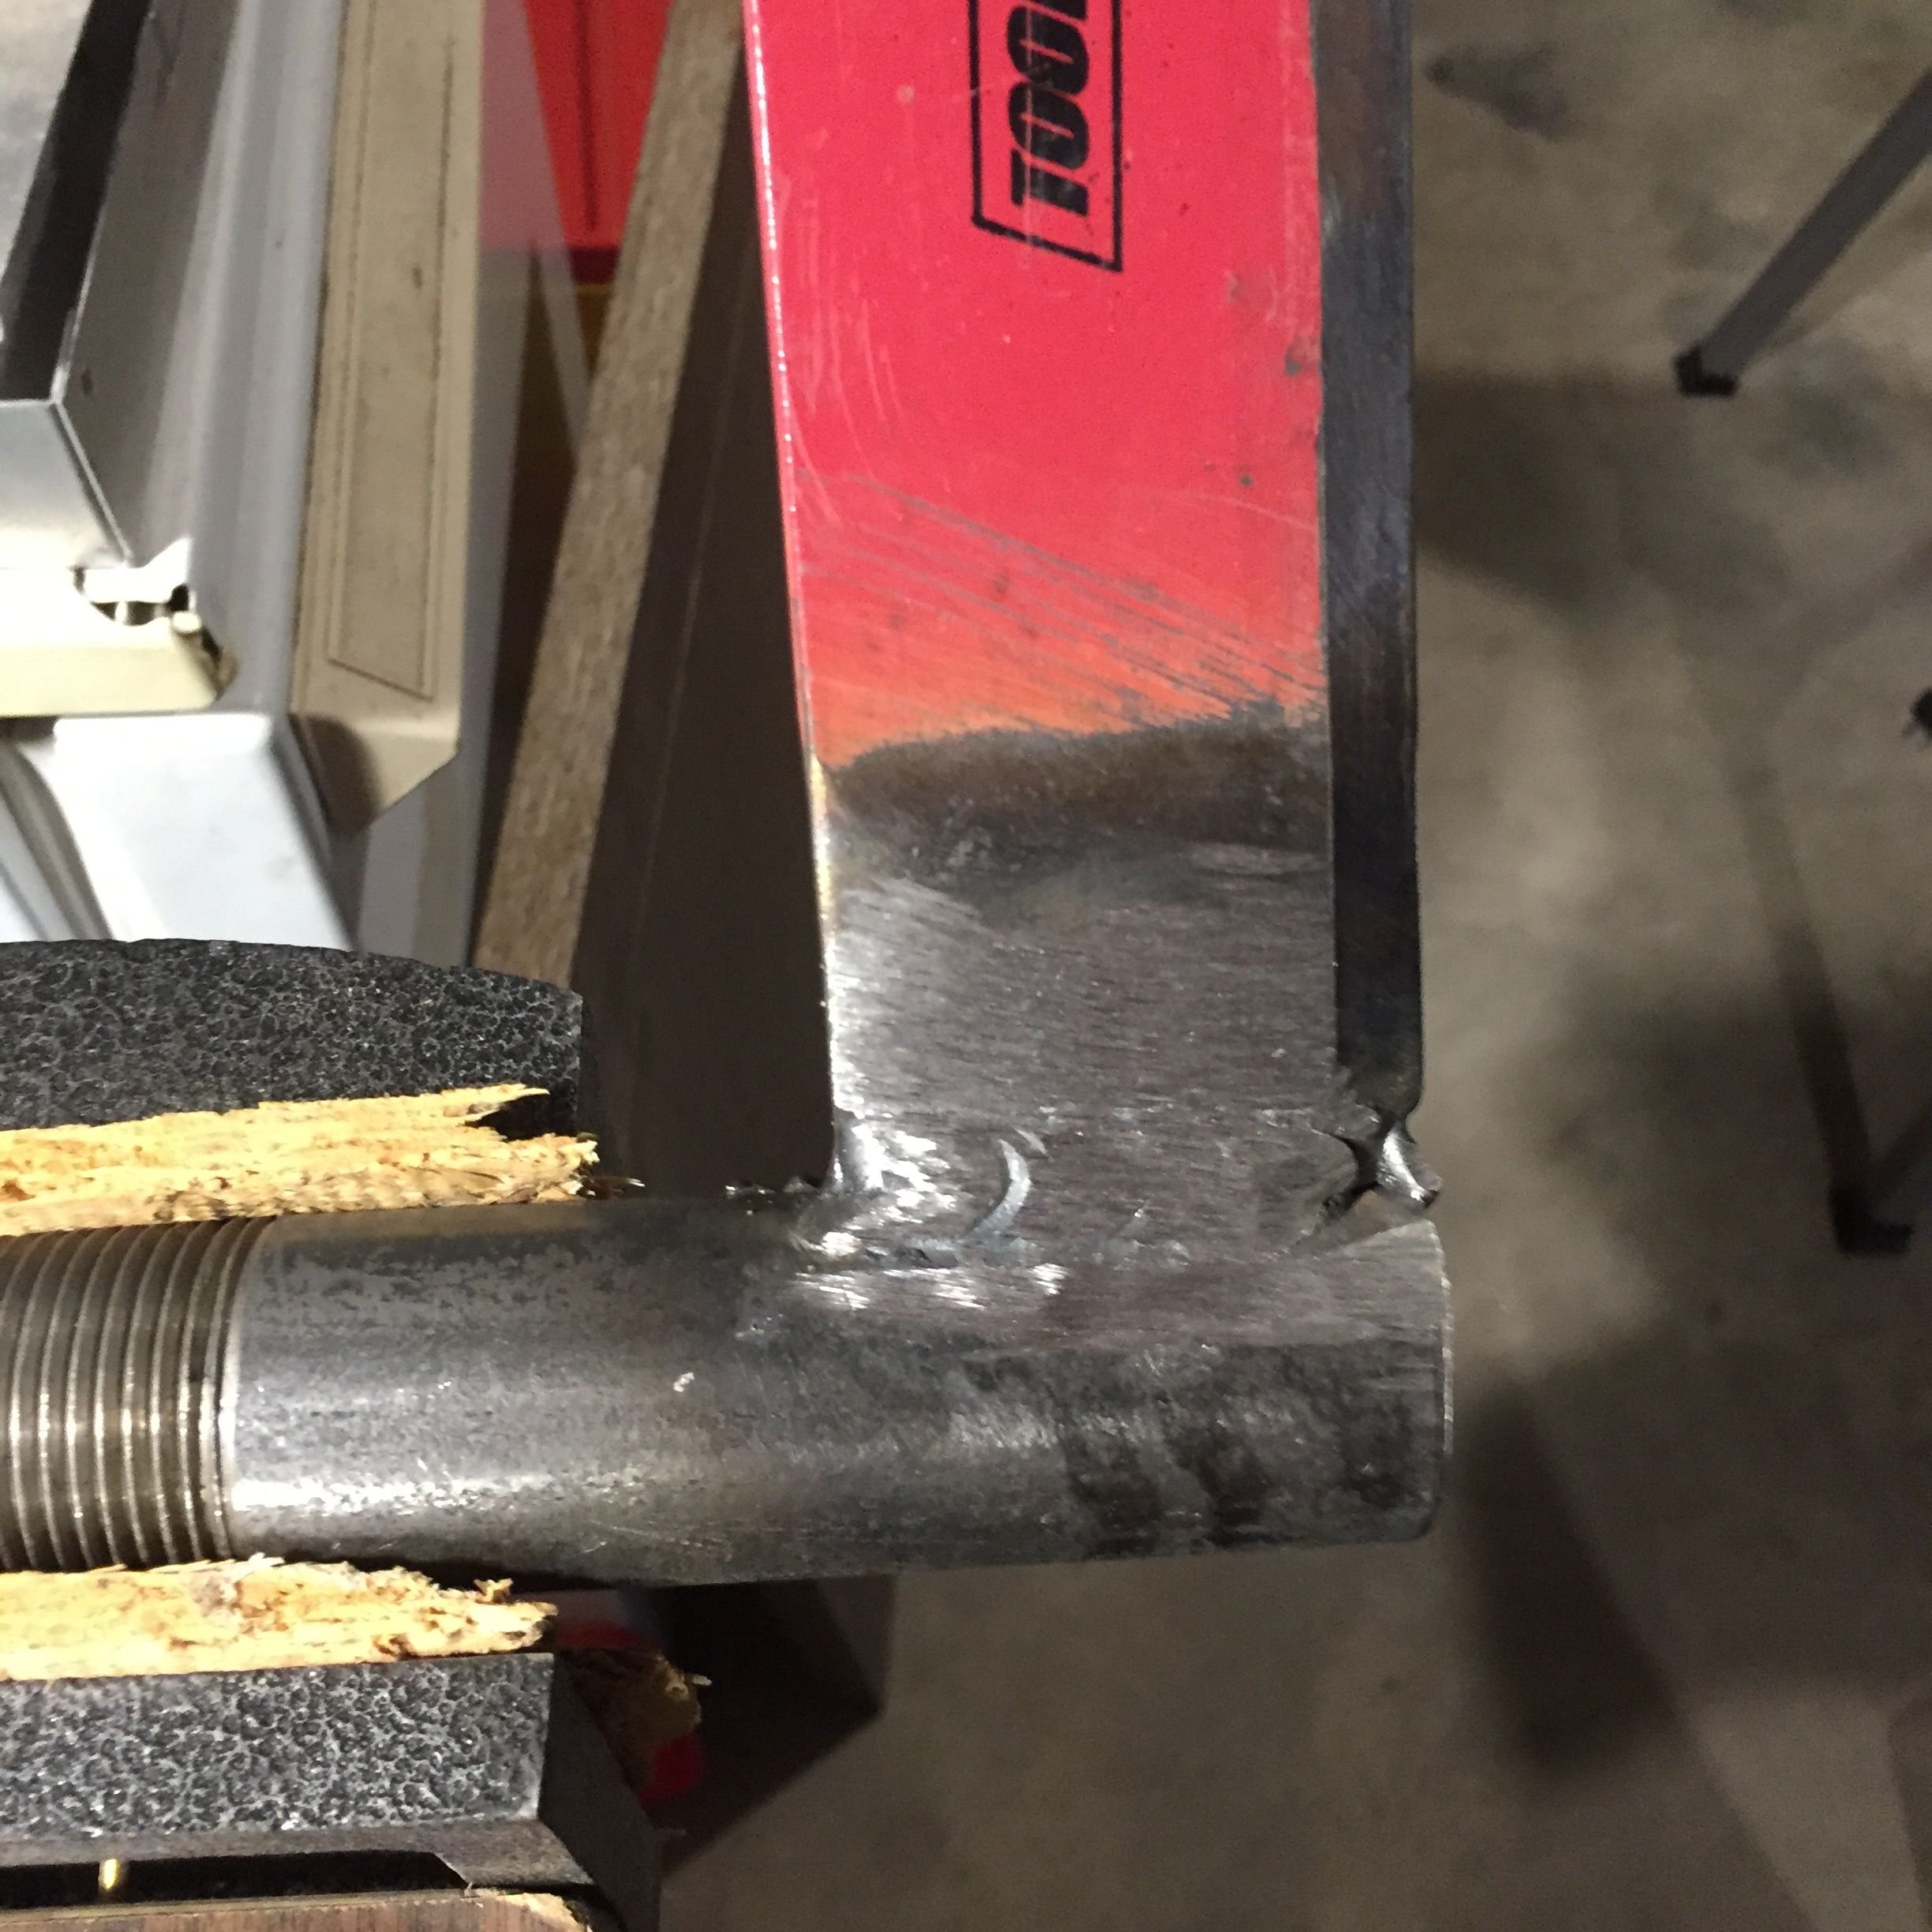
Step 5 Finishing up and Conclusion.
My last couple tasks to finish this froe, was to remove the rest of the red paint using a flapper wheel and sharpen the blade using a utility angle of about 30-40 degrees. 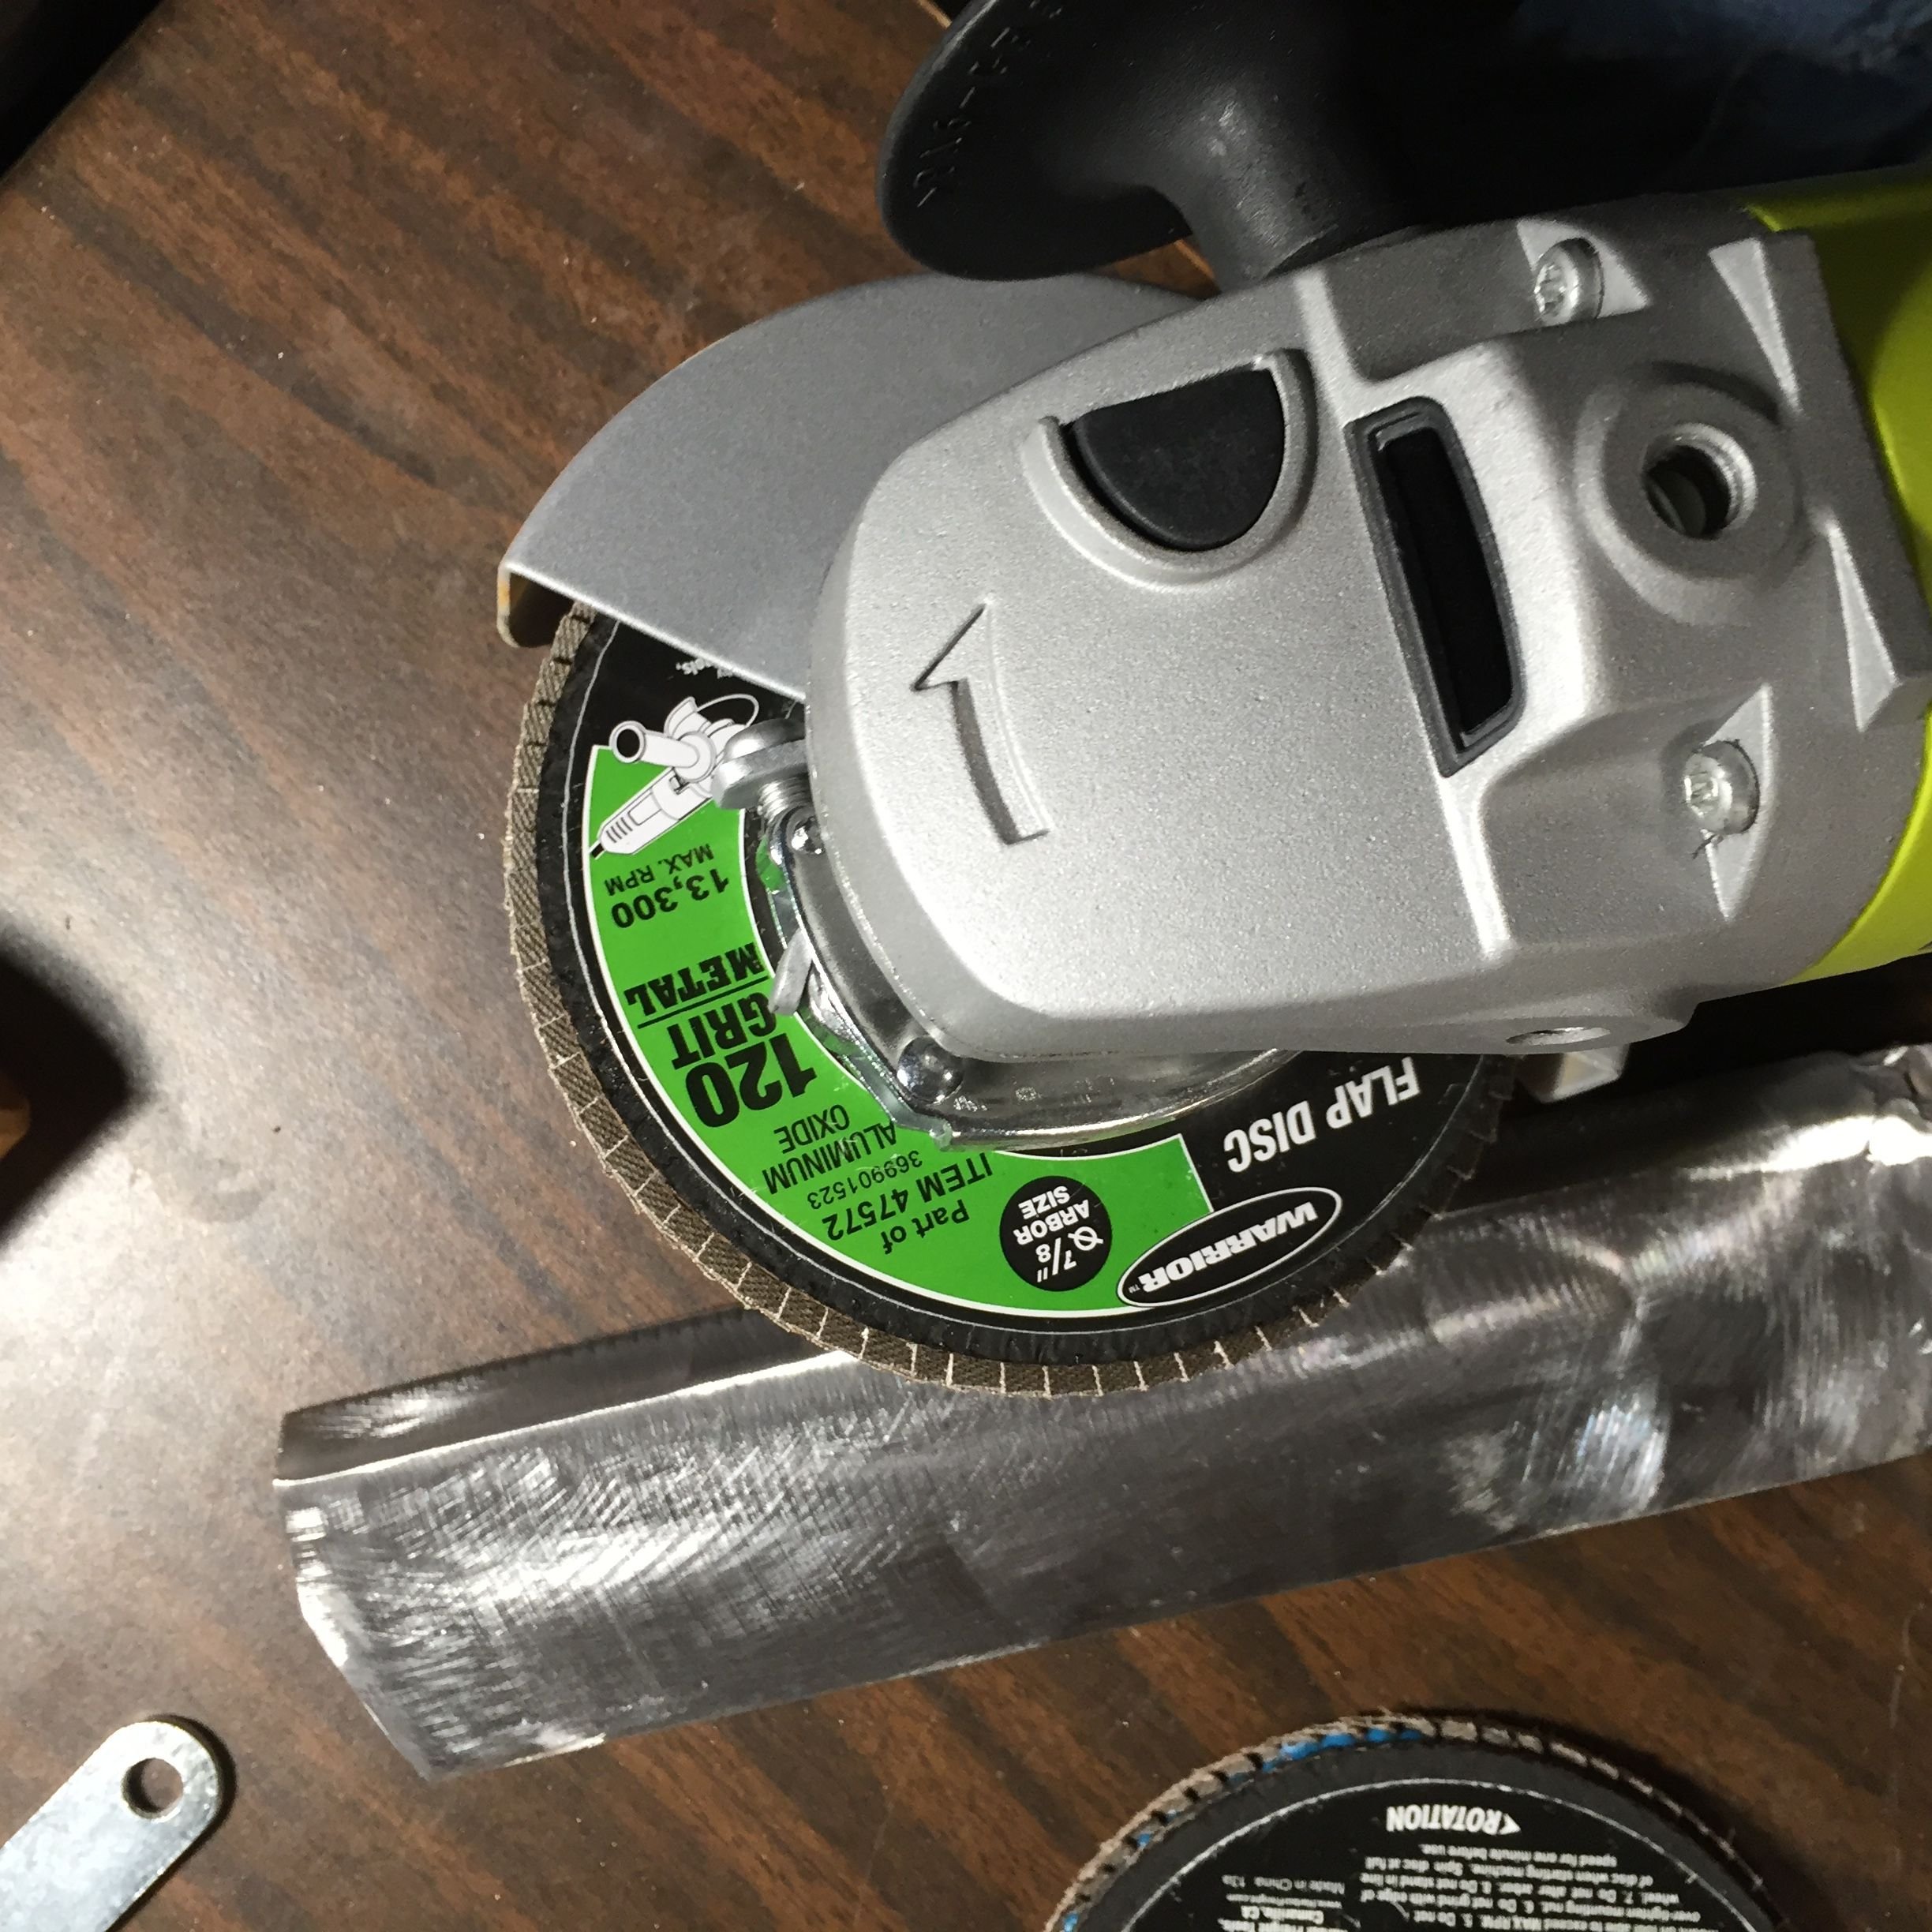
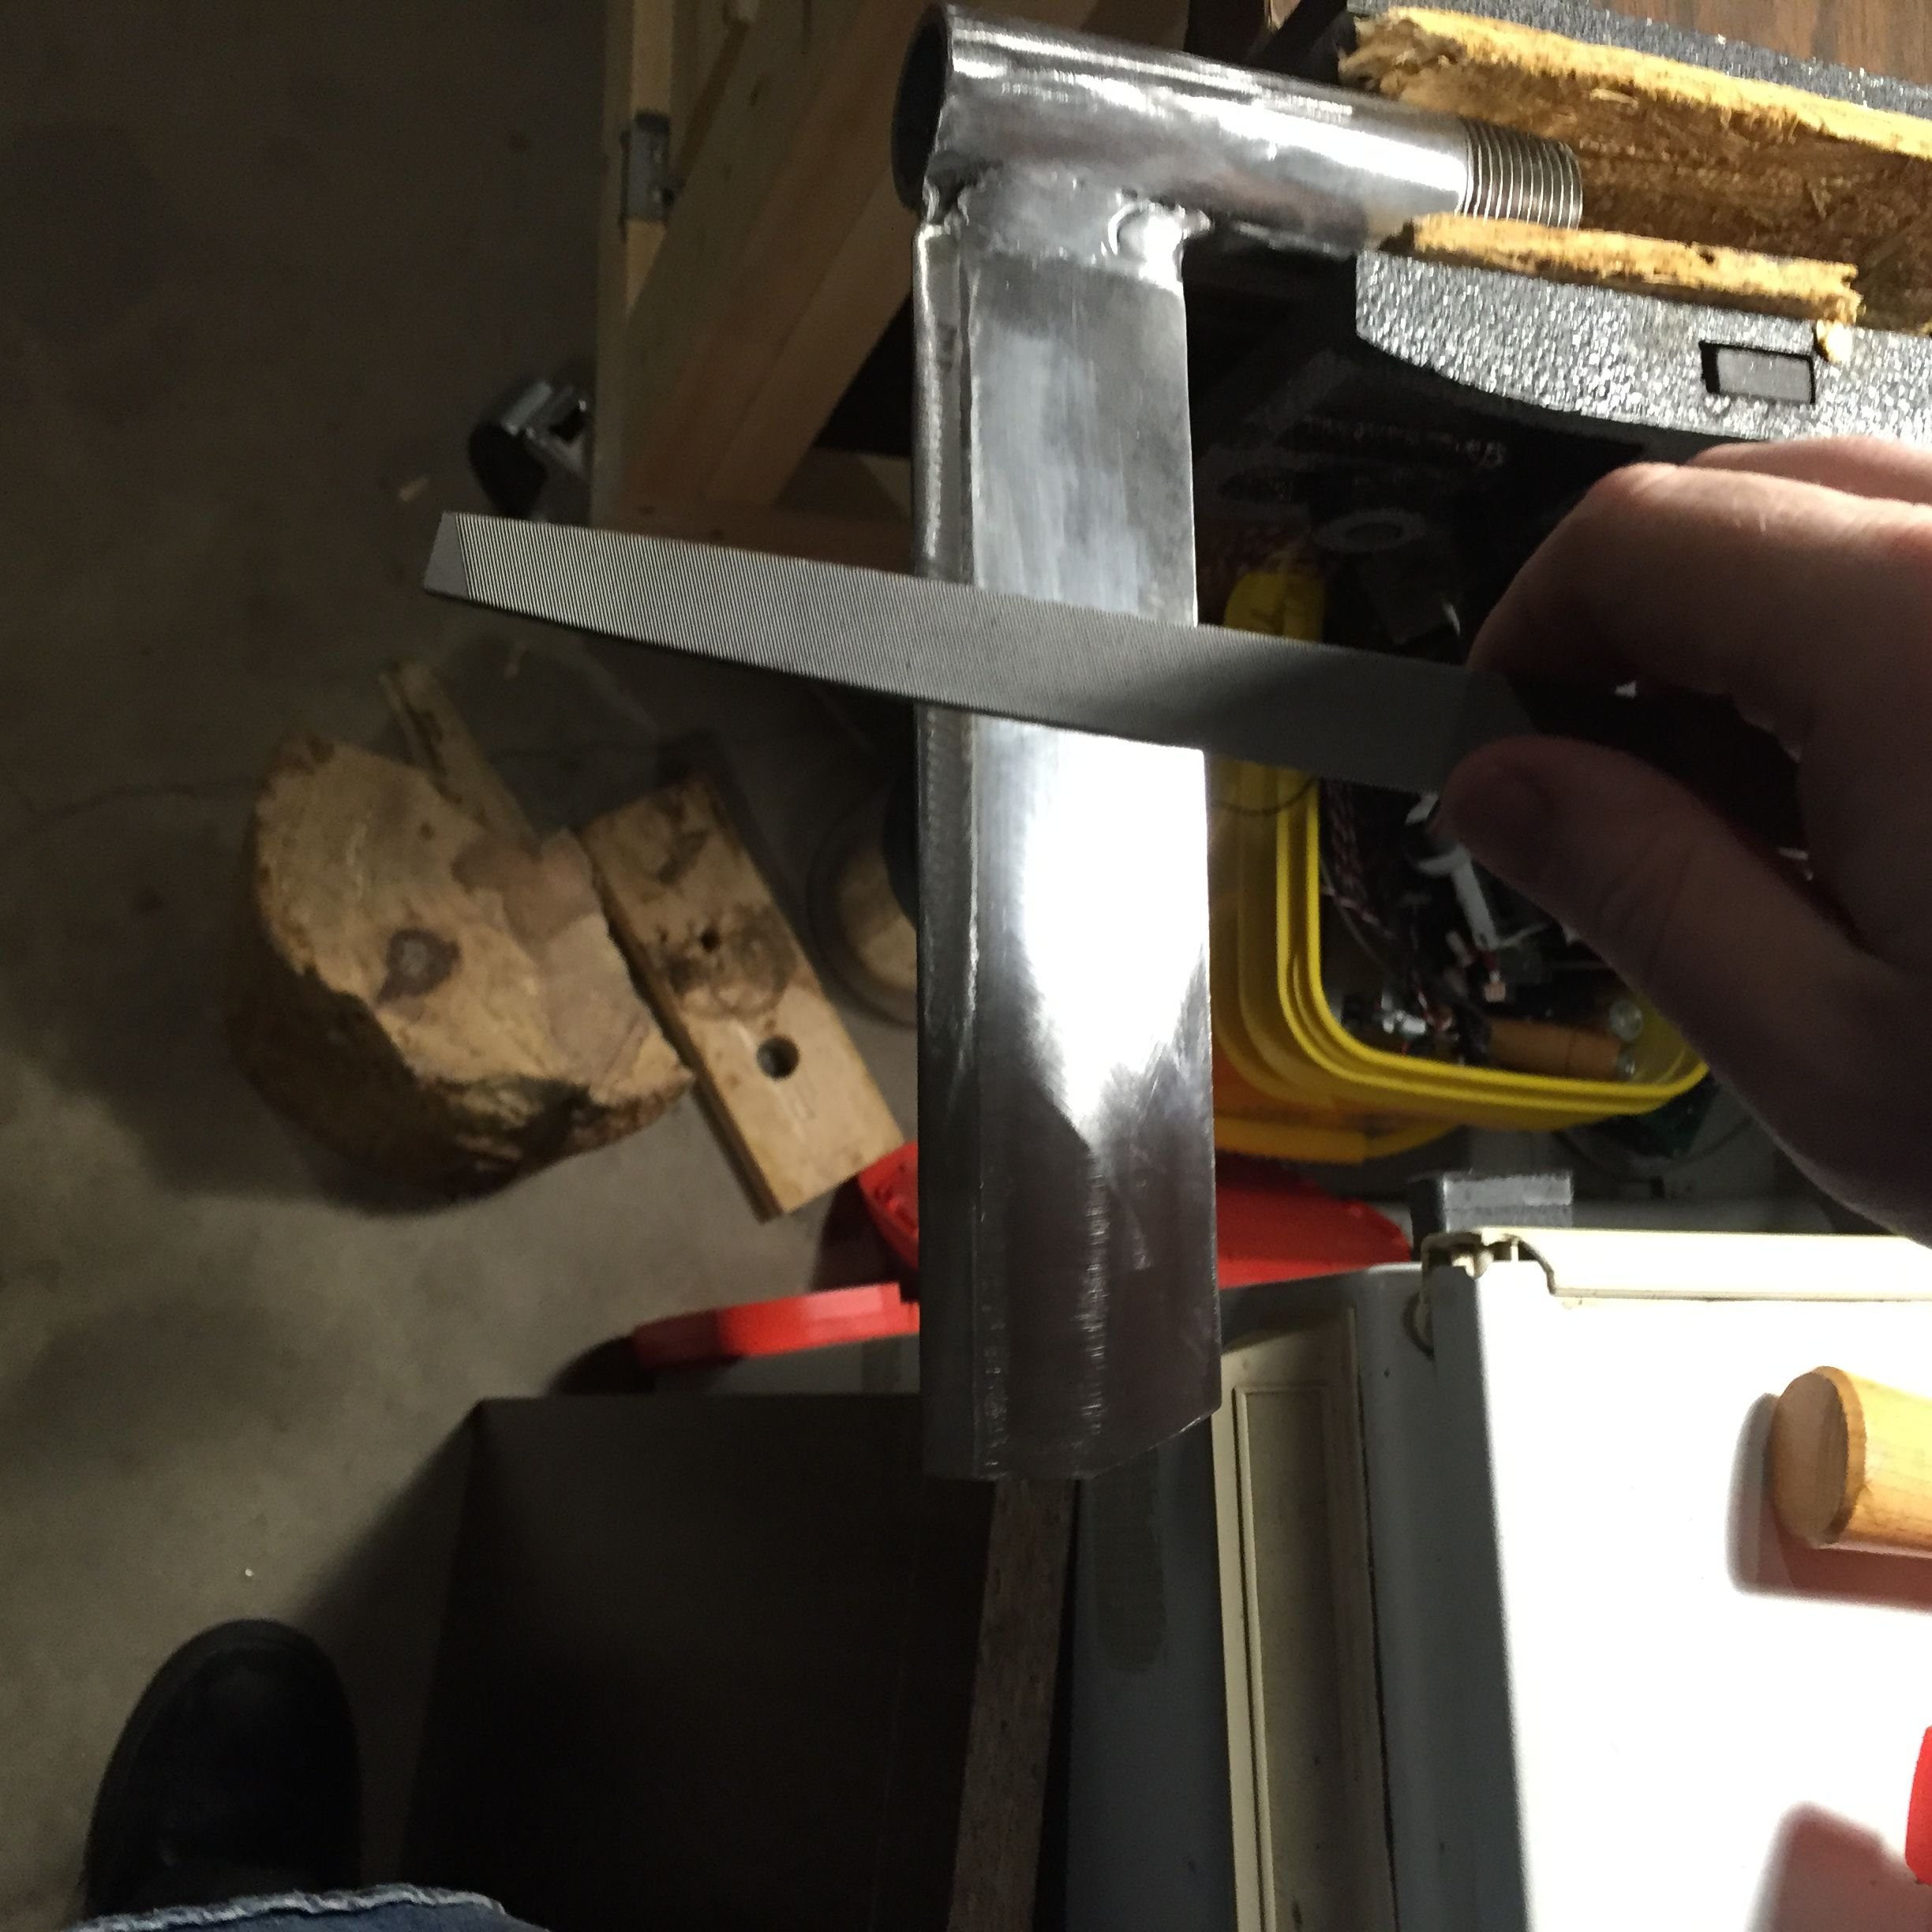
when it was a draw knife it had a single bevel edge, I used the file to put a sort of double bevel to make it more inline with an axe but it is not a full double bevel. This may be advantageous to splitting shingles but I have no way to compare.
I did the rough shaping with a bastard file then I followed up with a "Lansky Puck". The puck is the whetstone that I keep my axes sharp. The puck has a coarse and a medium grit edge for utility blades. A fine stone would next to useless as the edge will be ruined on the first whack. Use water or cutting oil as prescribed by the type of stone used. This one uses water.
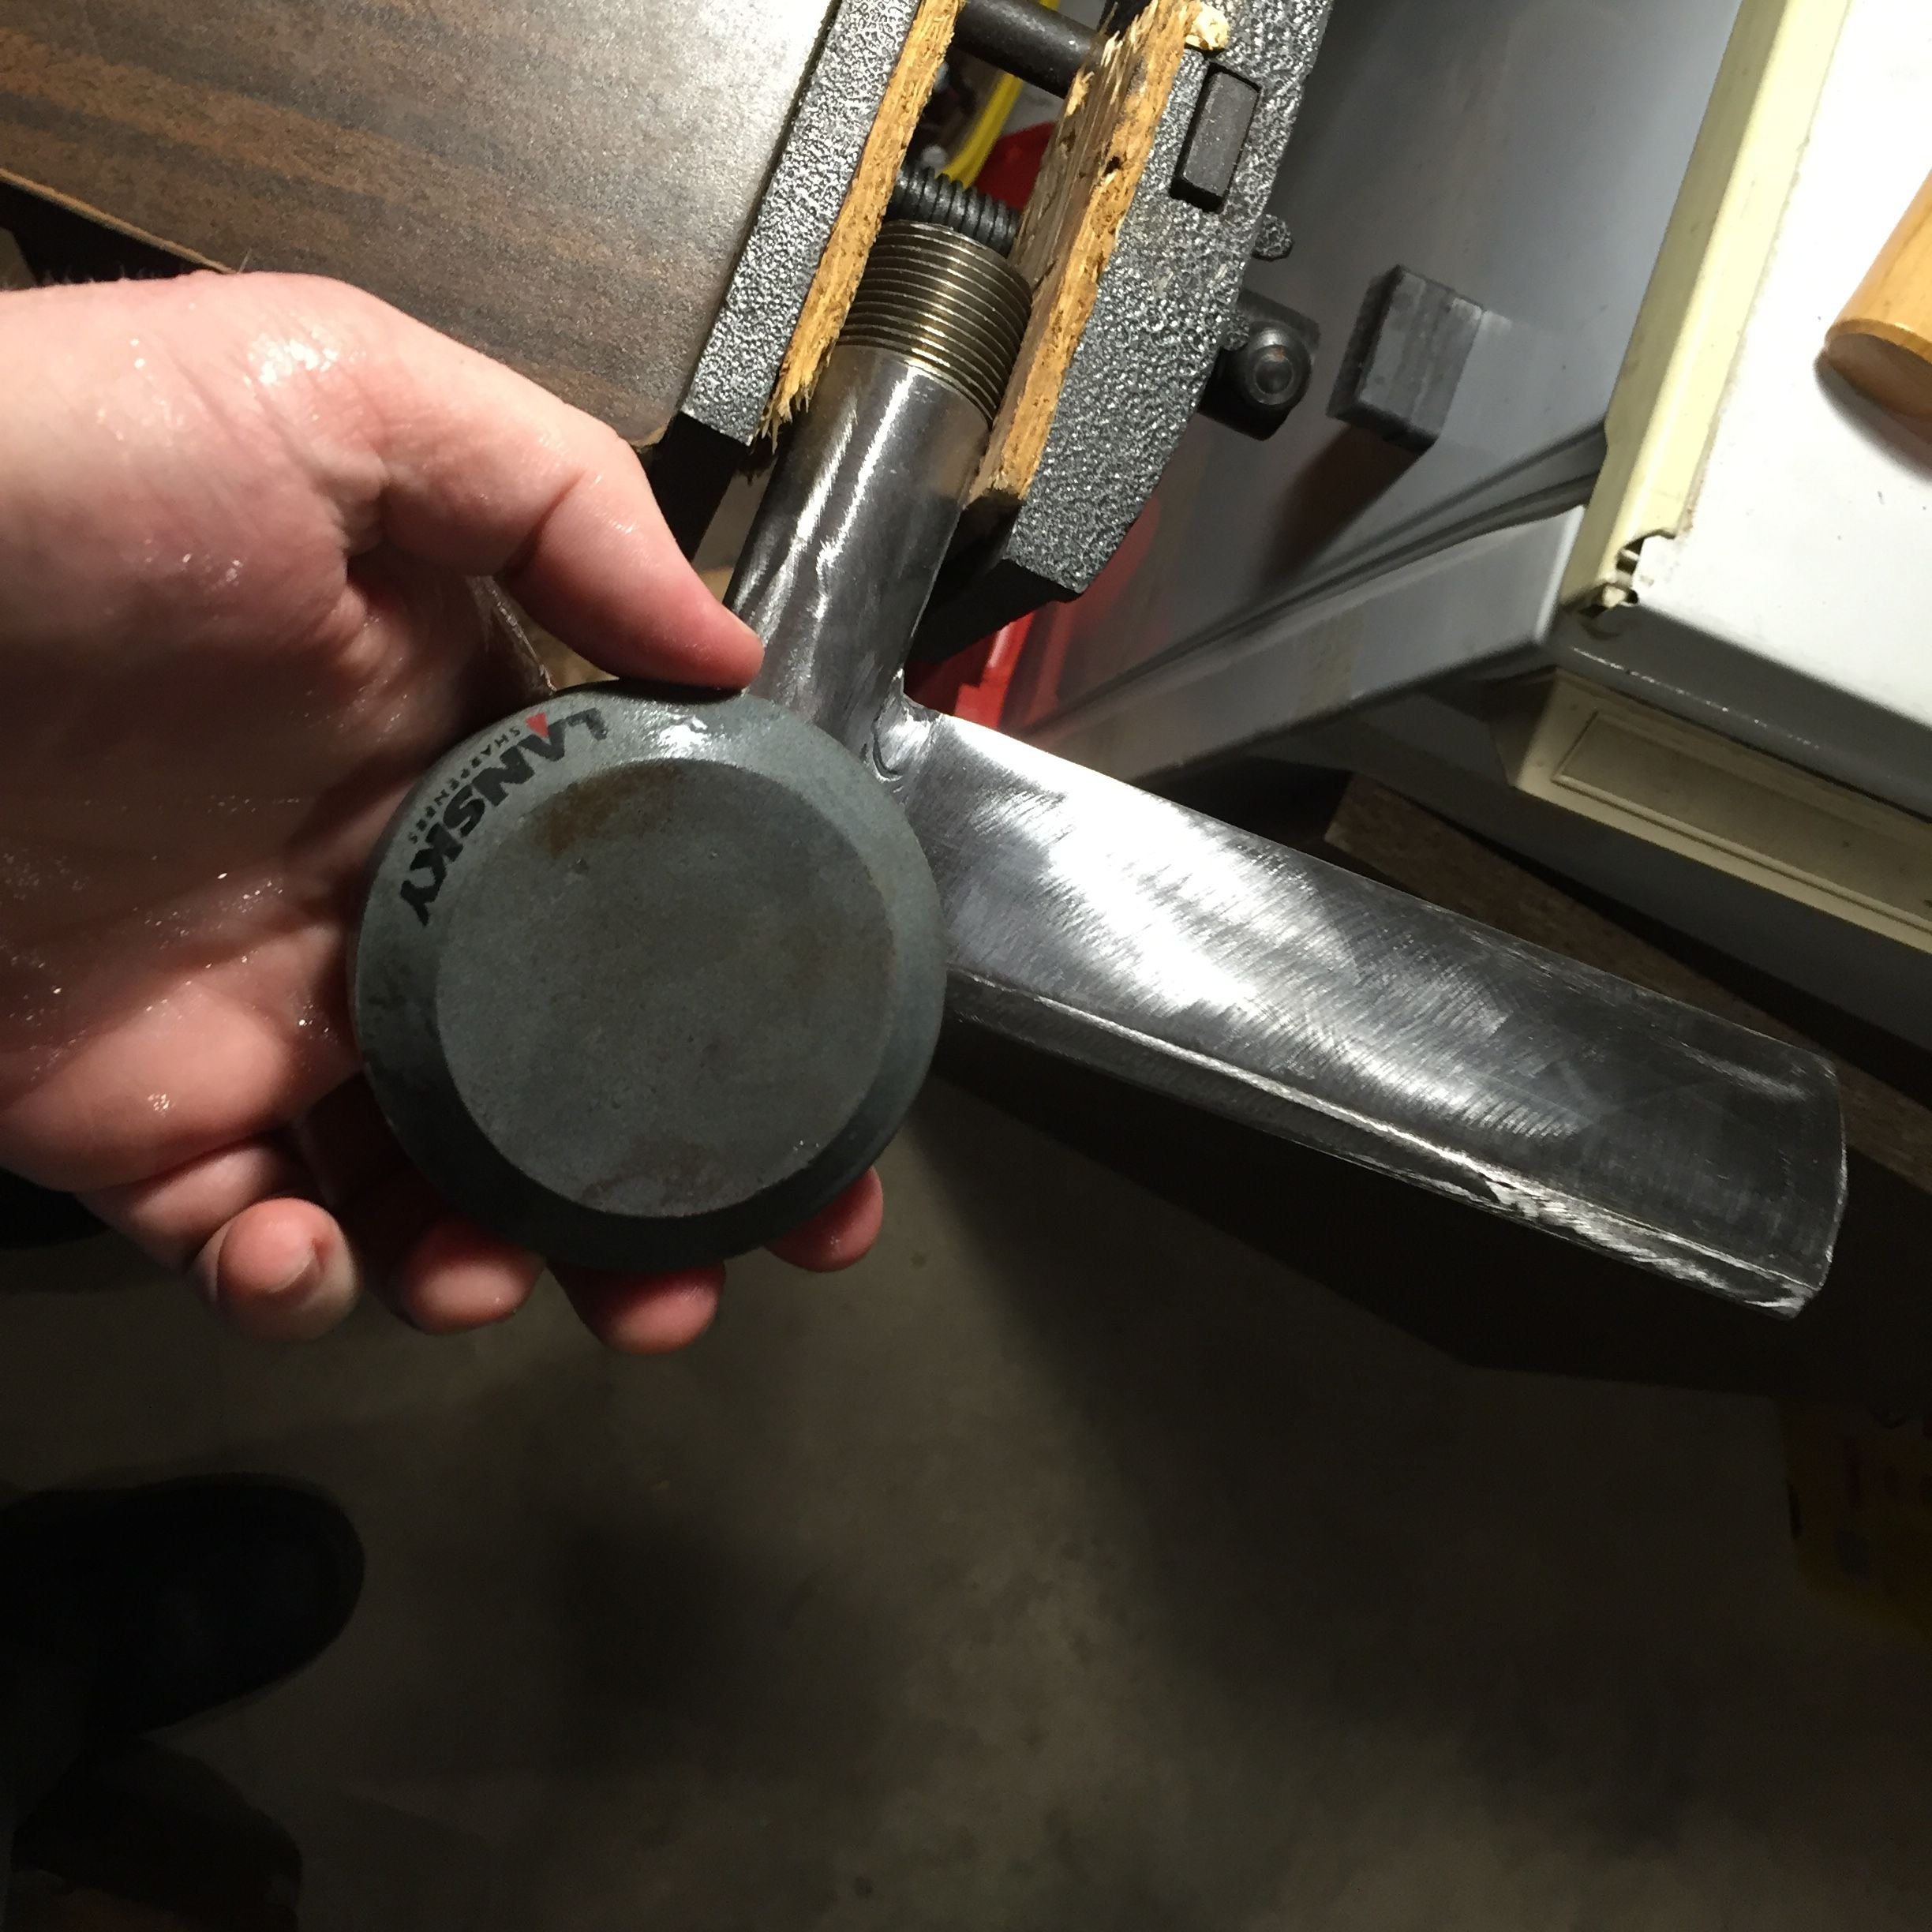
I hope that I wrote this tutorial in a manner that is easy to understand and reading. I apologize for any spelling or grammatical errors. I hope you keep following your passions and as always keep tinkering on. Stay tuned for a video of this thing in action. I have some felled cedar logs that were not turned into fence staves and have yet to try making shingles.
