I was discouraged about starting a new garden because the veggies I had seeded were failing to grow. When I learned about a local Permaculture consultant I ended up hiring her for a brief consultation. A relatively small investment went a long way in kicking off a new leg in my gardening education and journey.
I'd like to share some of the tips and advice I received so that you may benefit.
If you are just getting into #Gardening or #Permaculture it might be worth your while to consult with a local Permaculture designer to get some expert advice. Look for someone that has a good reputation / track record. If you happen to live in Southern California I highly recommend considering hiring Vegetariat for Permaculture/garden design or consultations.
Please keep in mind some of the plants and strategies that are mentioned are suitable for the Southern California climate which in many cases is hot and arid. You would want to research appropriate plants for your own climate.
More posts in this series:
Part 1: From Grass to a Vegetable Polyculture
Part 2: How I Used Pioneer Veggies to Build Healthy Soil
Part 3: A Permaculture Consultation for A New Garden
Part 4: Celebration of Abundance! Epic Garden Harvest
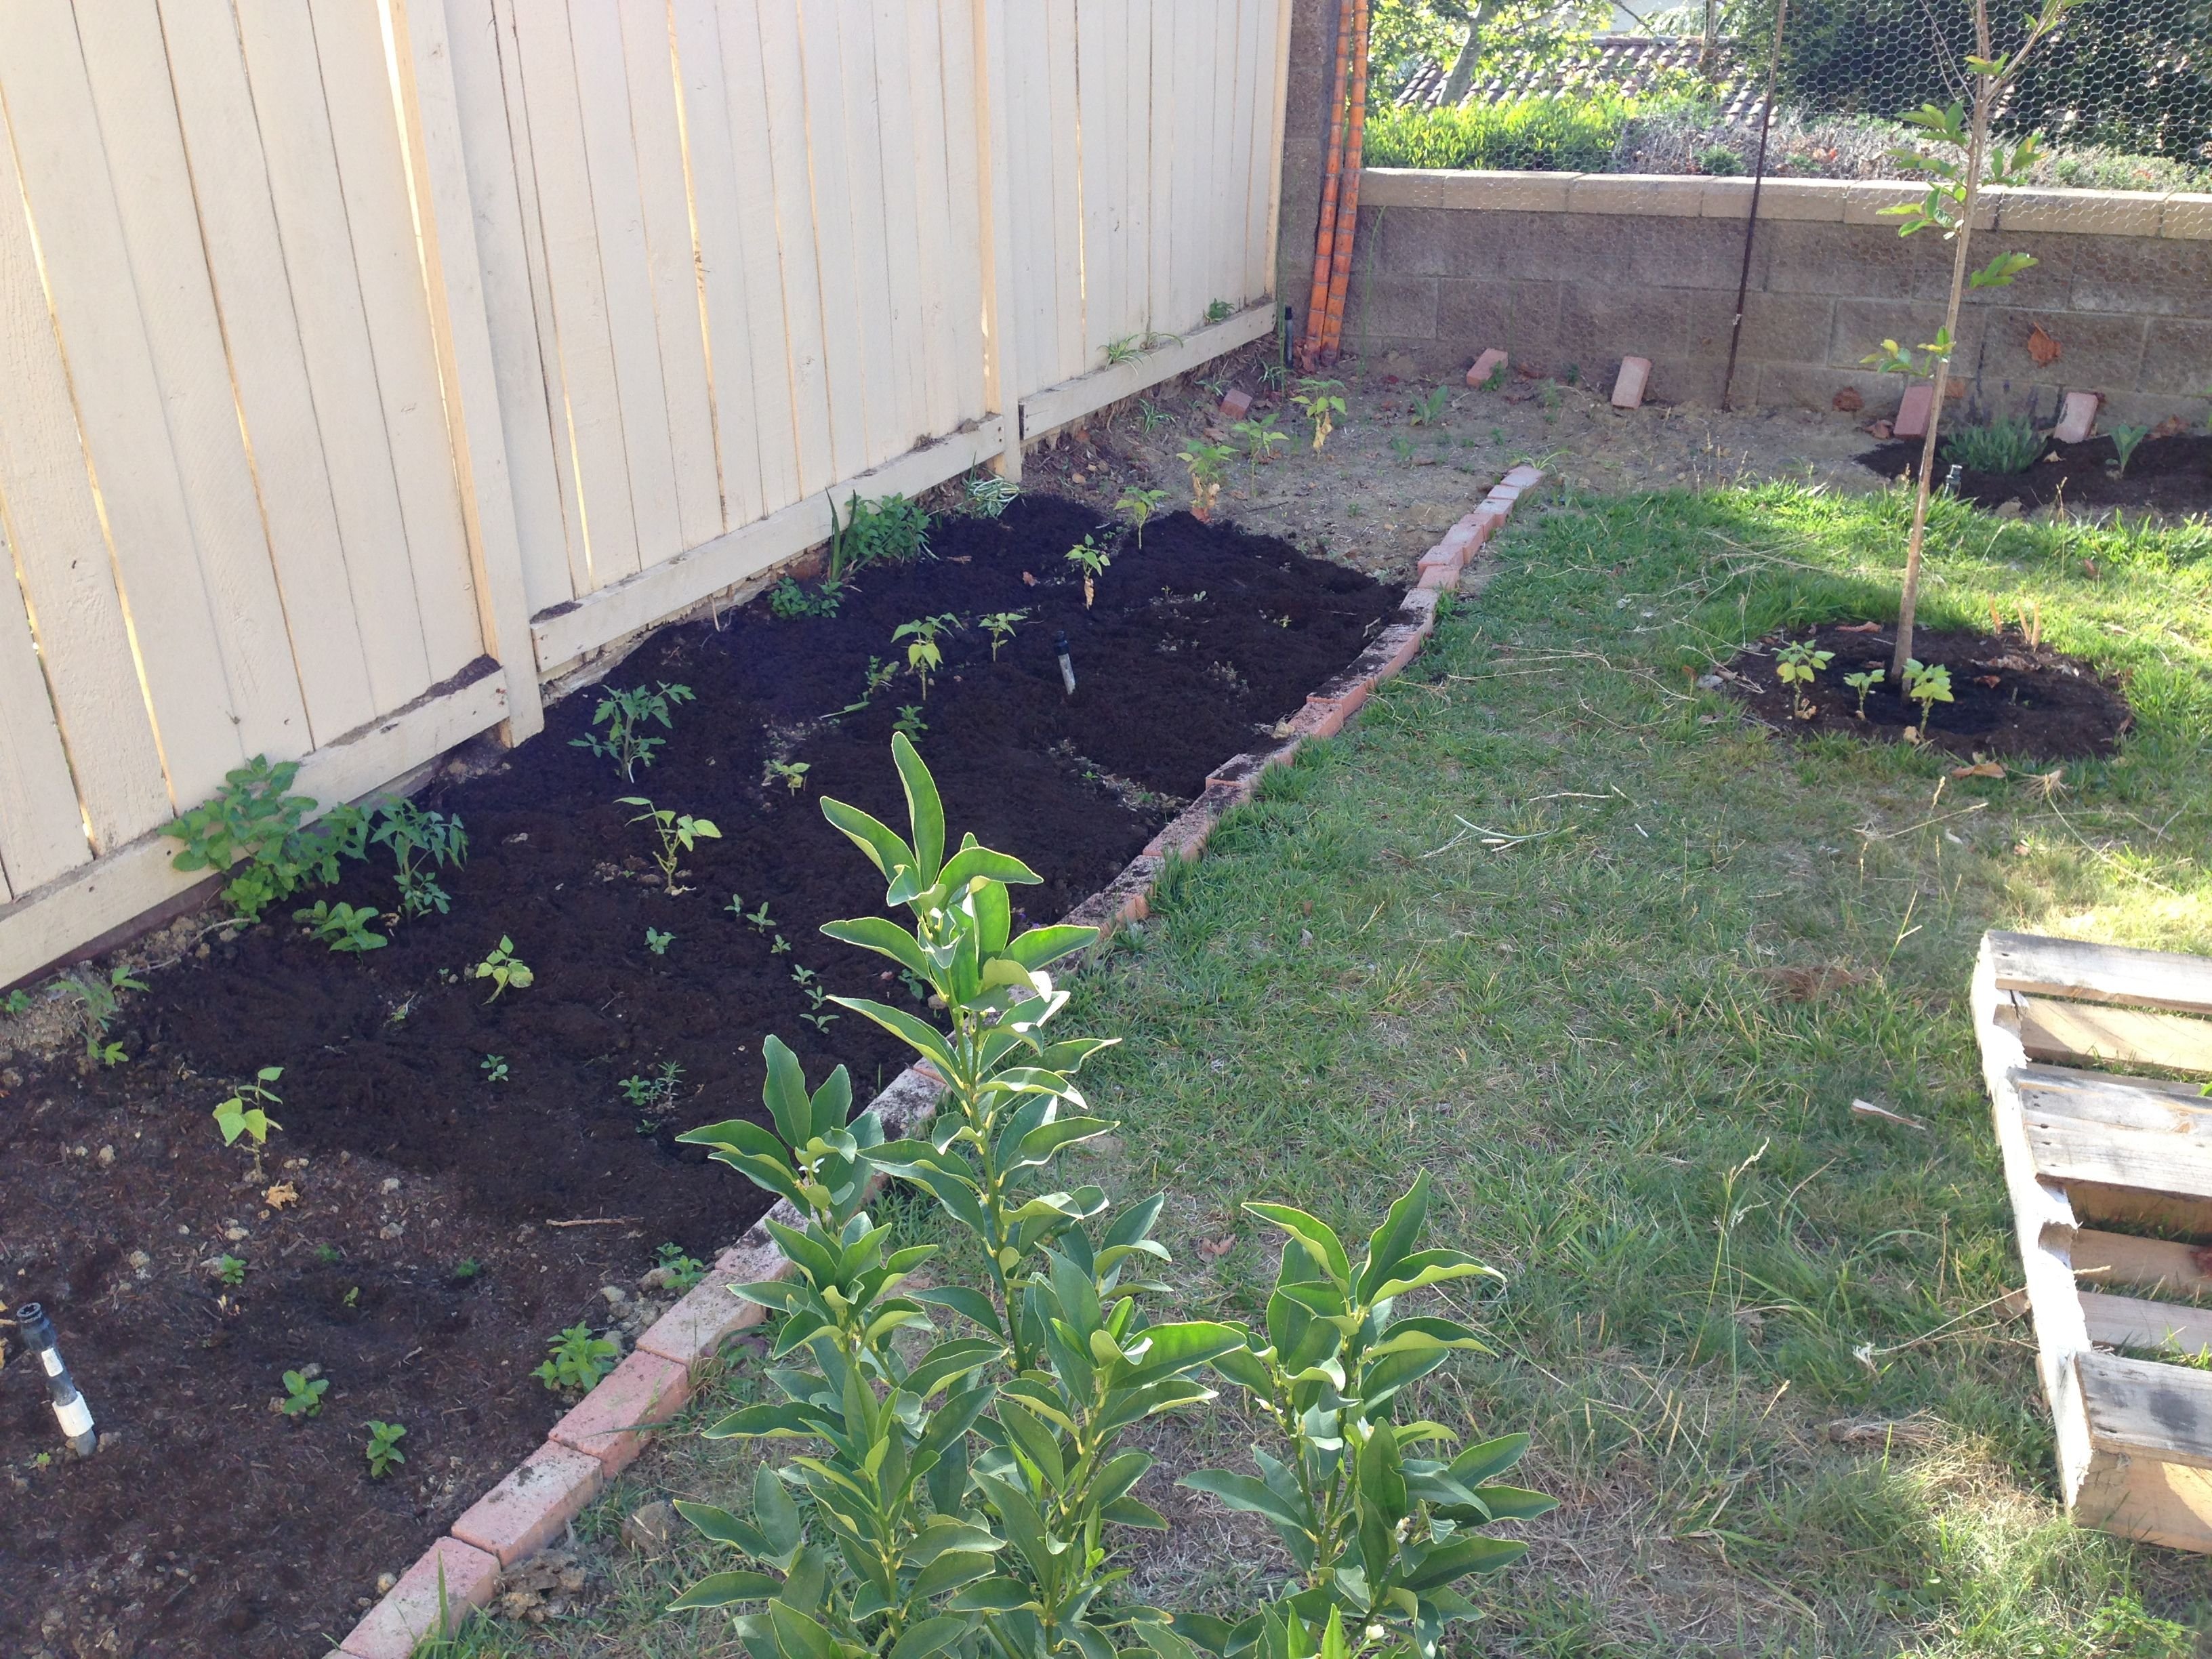
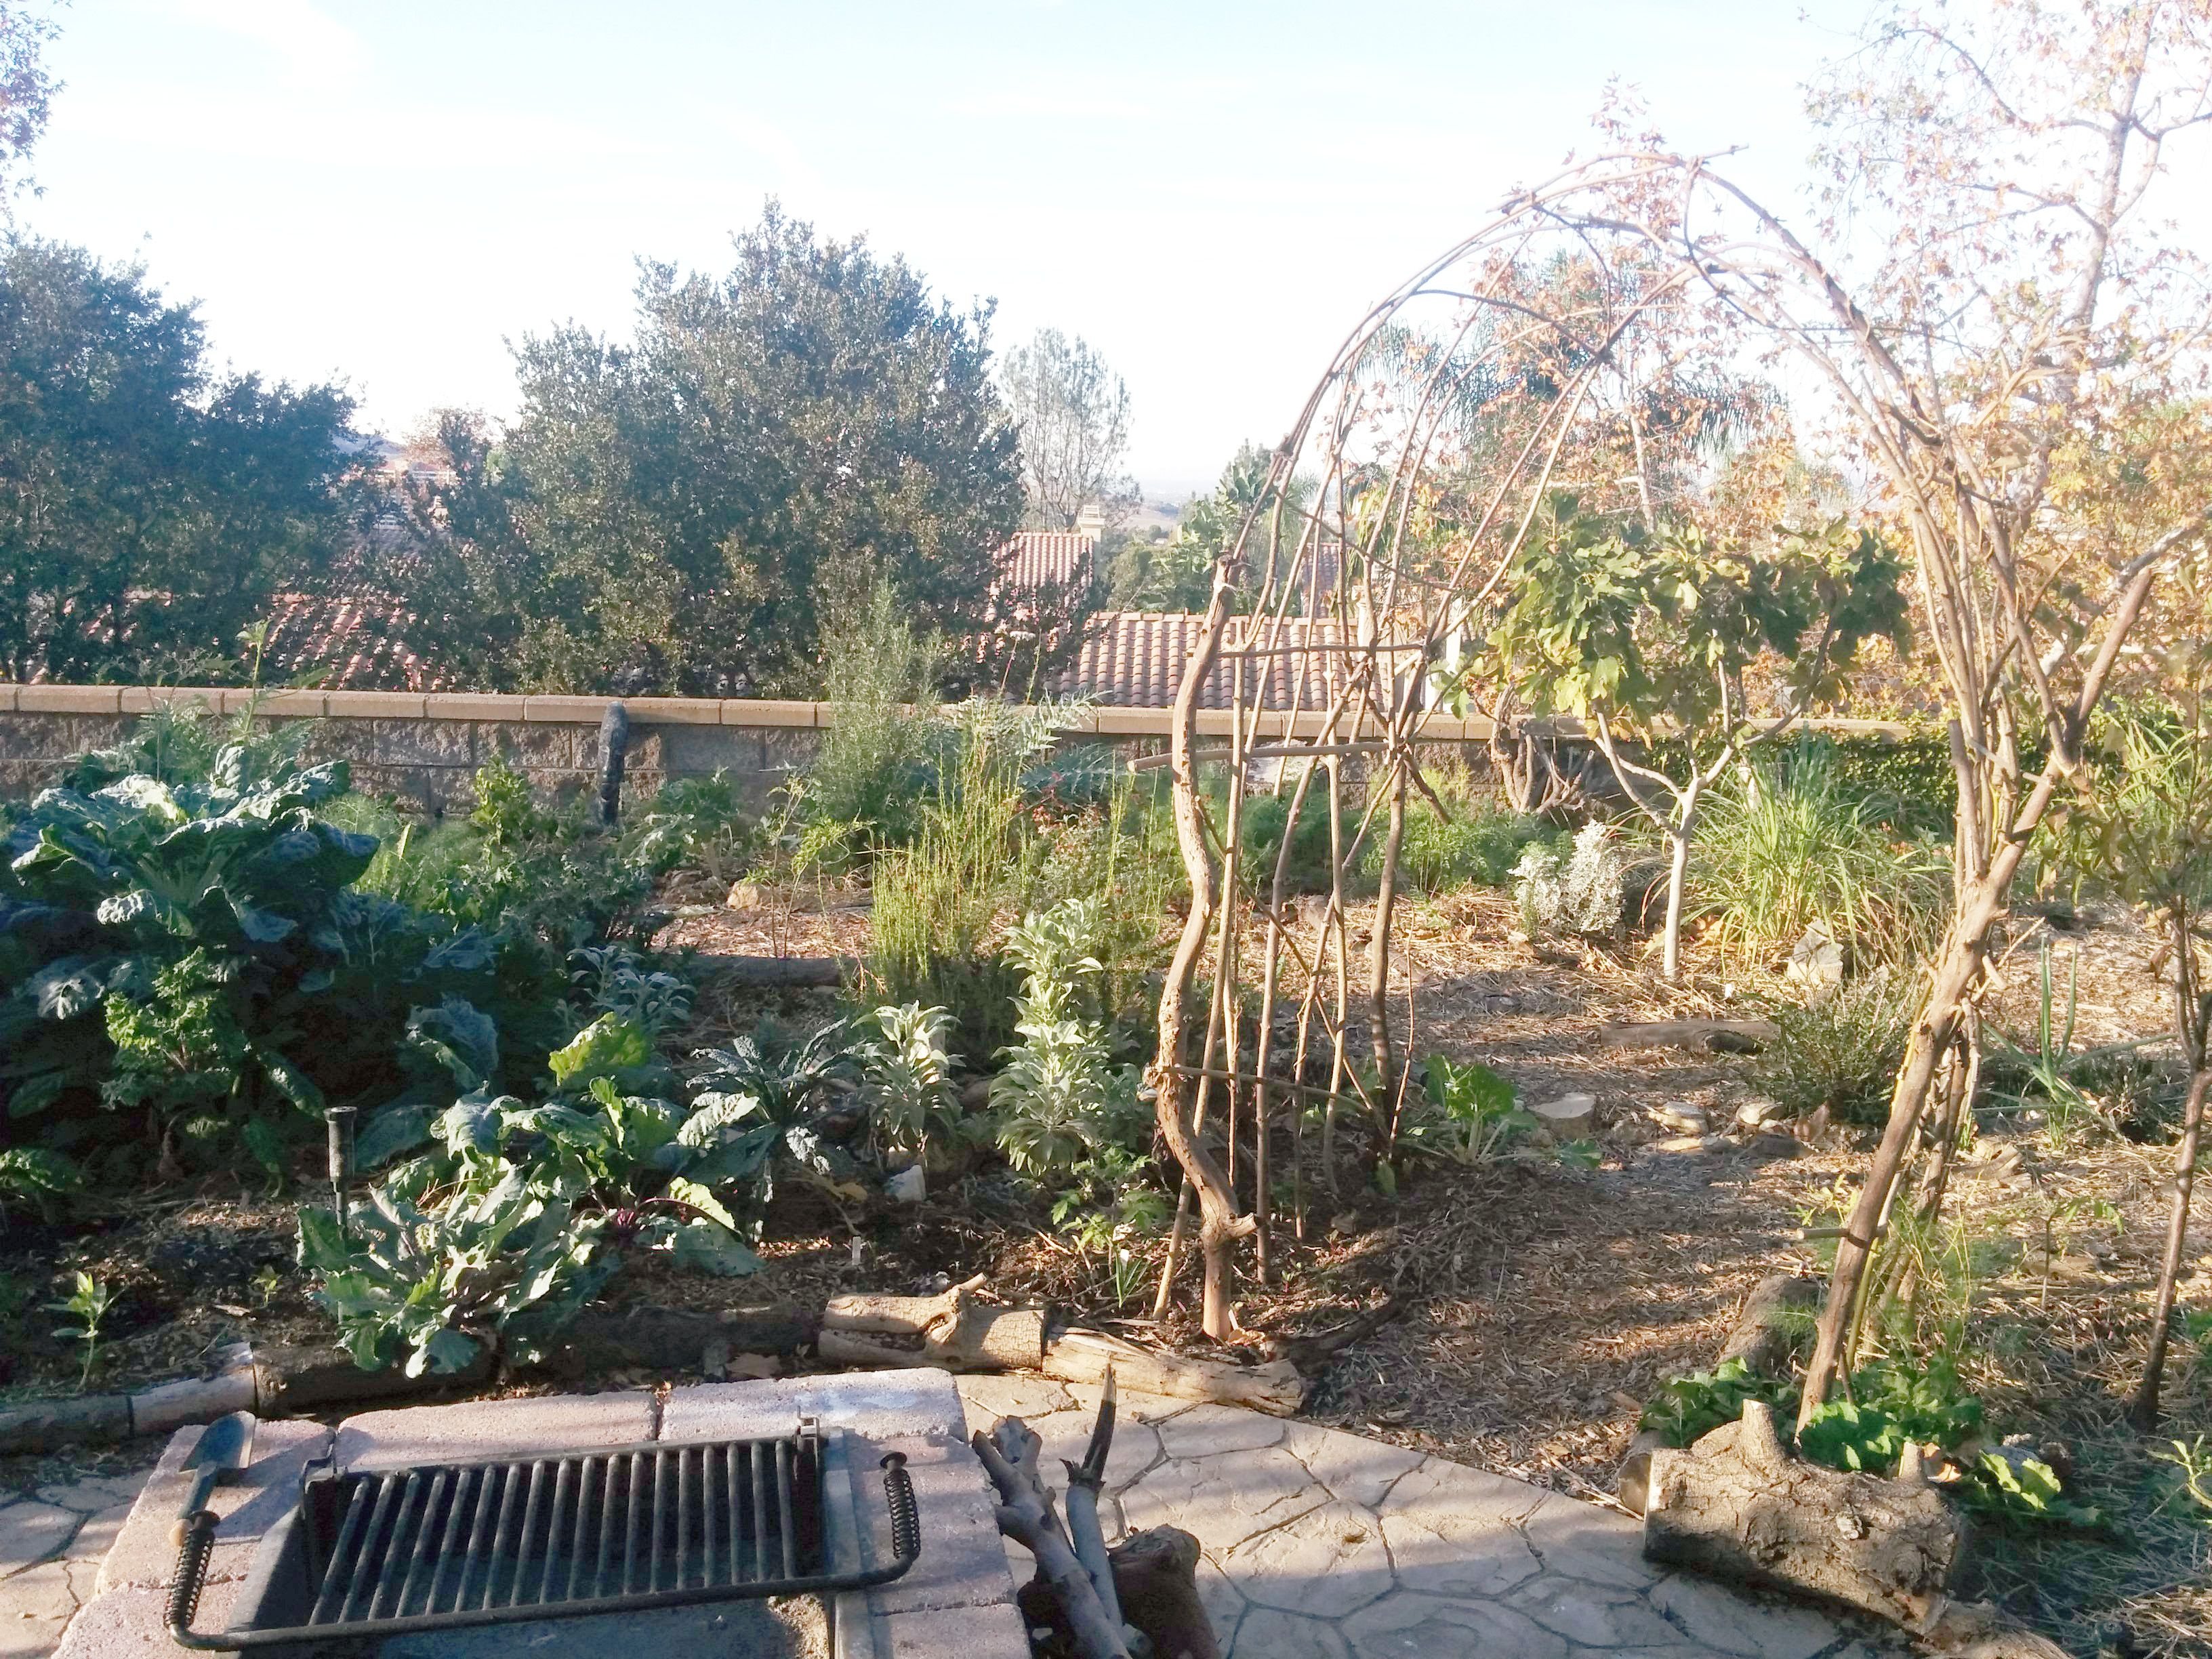
Light Colored Fences Reflect Light
The lighter colored fence reflects light and creates more heat that is shining on the young plants. In the hot & dry climate more heat during the summer was not something that I wanted. Consider growing vegetation along the fence to reduce the reflection of light and heat, such as passion fruit or vining roses.
Clay Soil is Thermal Mass
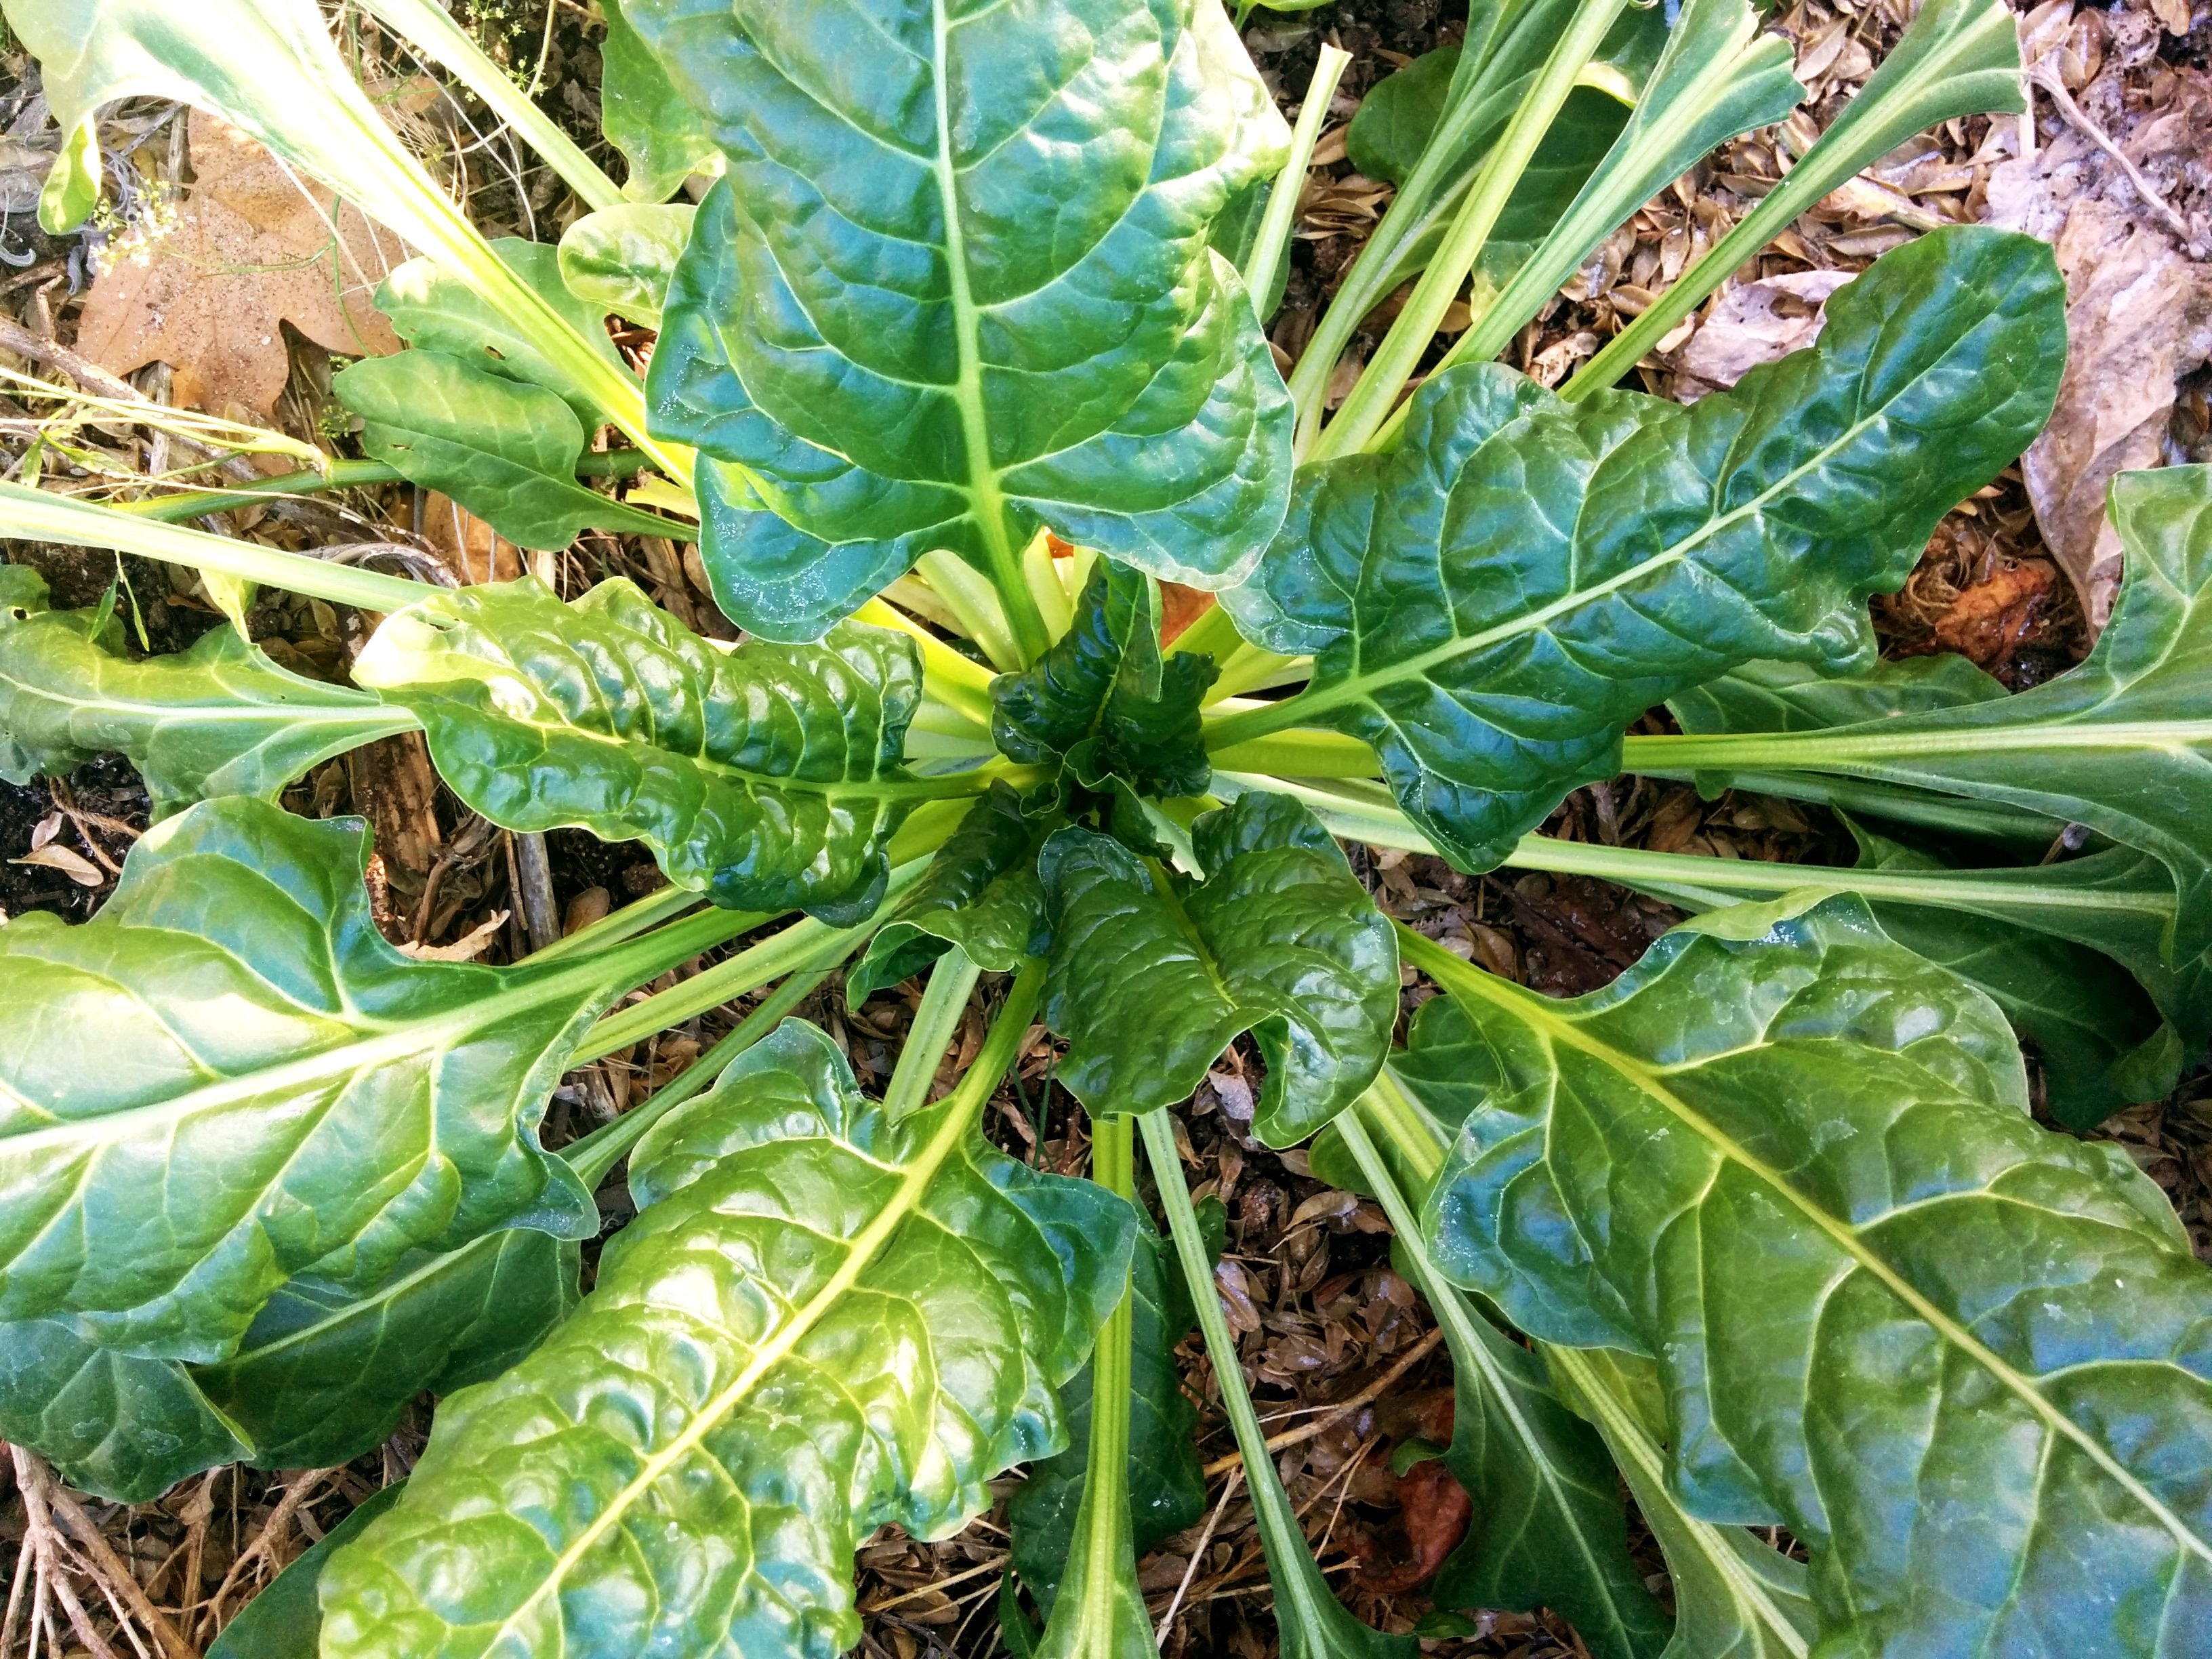
Our heavy clay soil was both holding heat from the sun and reflecting light which create a hotter environment for the young plants around it. Rocks, bricks and other mass-ey objects can hold heat also. While the plants are small and not able to cover the soil with their leaves the clay soil was trapping heat and also reflecting light back toward the young helpless plants. Use a dark mulch on top of the soil to help stop the reflection of light. Also a lightweight mulch/compost would not absorb and store as much solar heat as the clay soil.
However, if your climate is quite cold you may want to try to achieve the opposite effect by promoting heat retention with thermal mass!
Quick Compost
Compost takes time to make and in a new garden this is a challenge because that's when compost is needed the most. While you are getting started you can quick compost right in the ground near the roots of your plants so that they can access nutrients as materials decompose. Bury clumps of food scraps, compost, paper, cardboard and worms (red wigglers). Mark where you last buried material so you know where it was, next to existing plants. On the next day put it in a new spot, down the line of your plants. This helped us reduce our waste into municipal trash and recycling streams.
You can also add "quick compost" inside holes that you dig to plant a new veggie start, plant or tree. Dig the hole a little deeper than you would, then toss your food scraps, paper, cotton cloth or other organic matter down at the bottom of the hole. Then put a little soil or compost on top of it so that your plant's roots aren't directly in contact with the rotting food. As the plants roots grow they will be able to access the decomposing matter as needed.
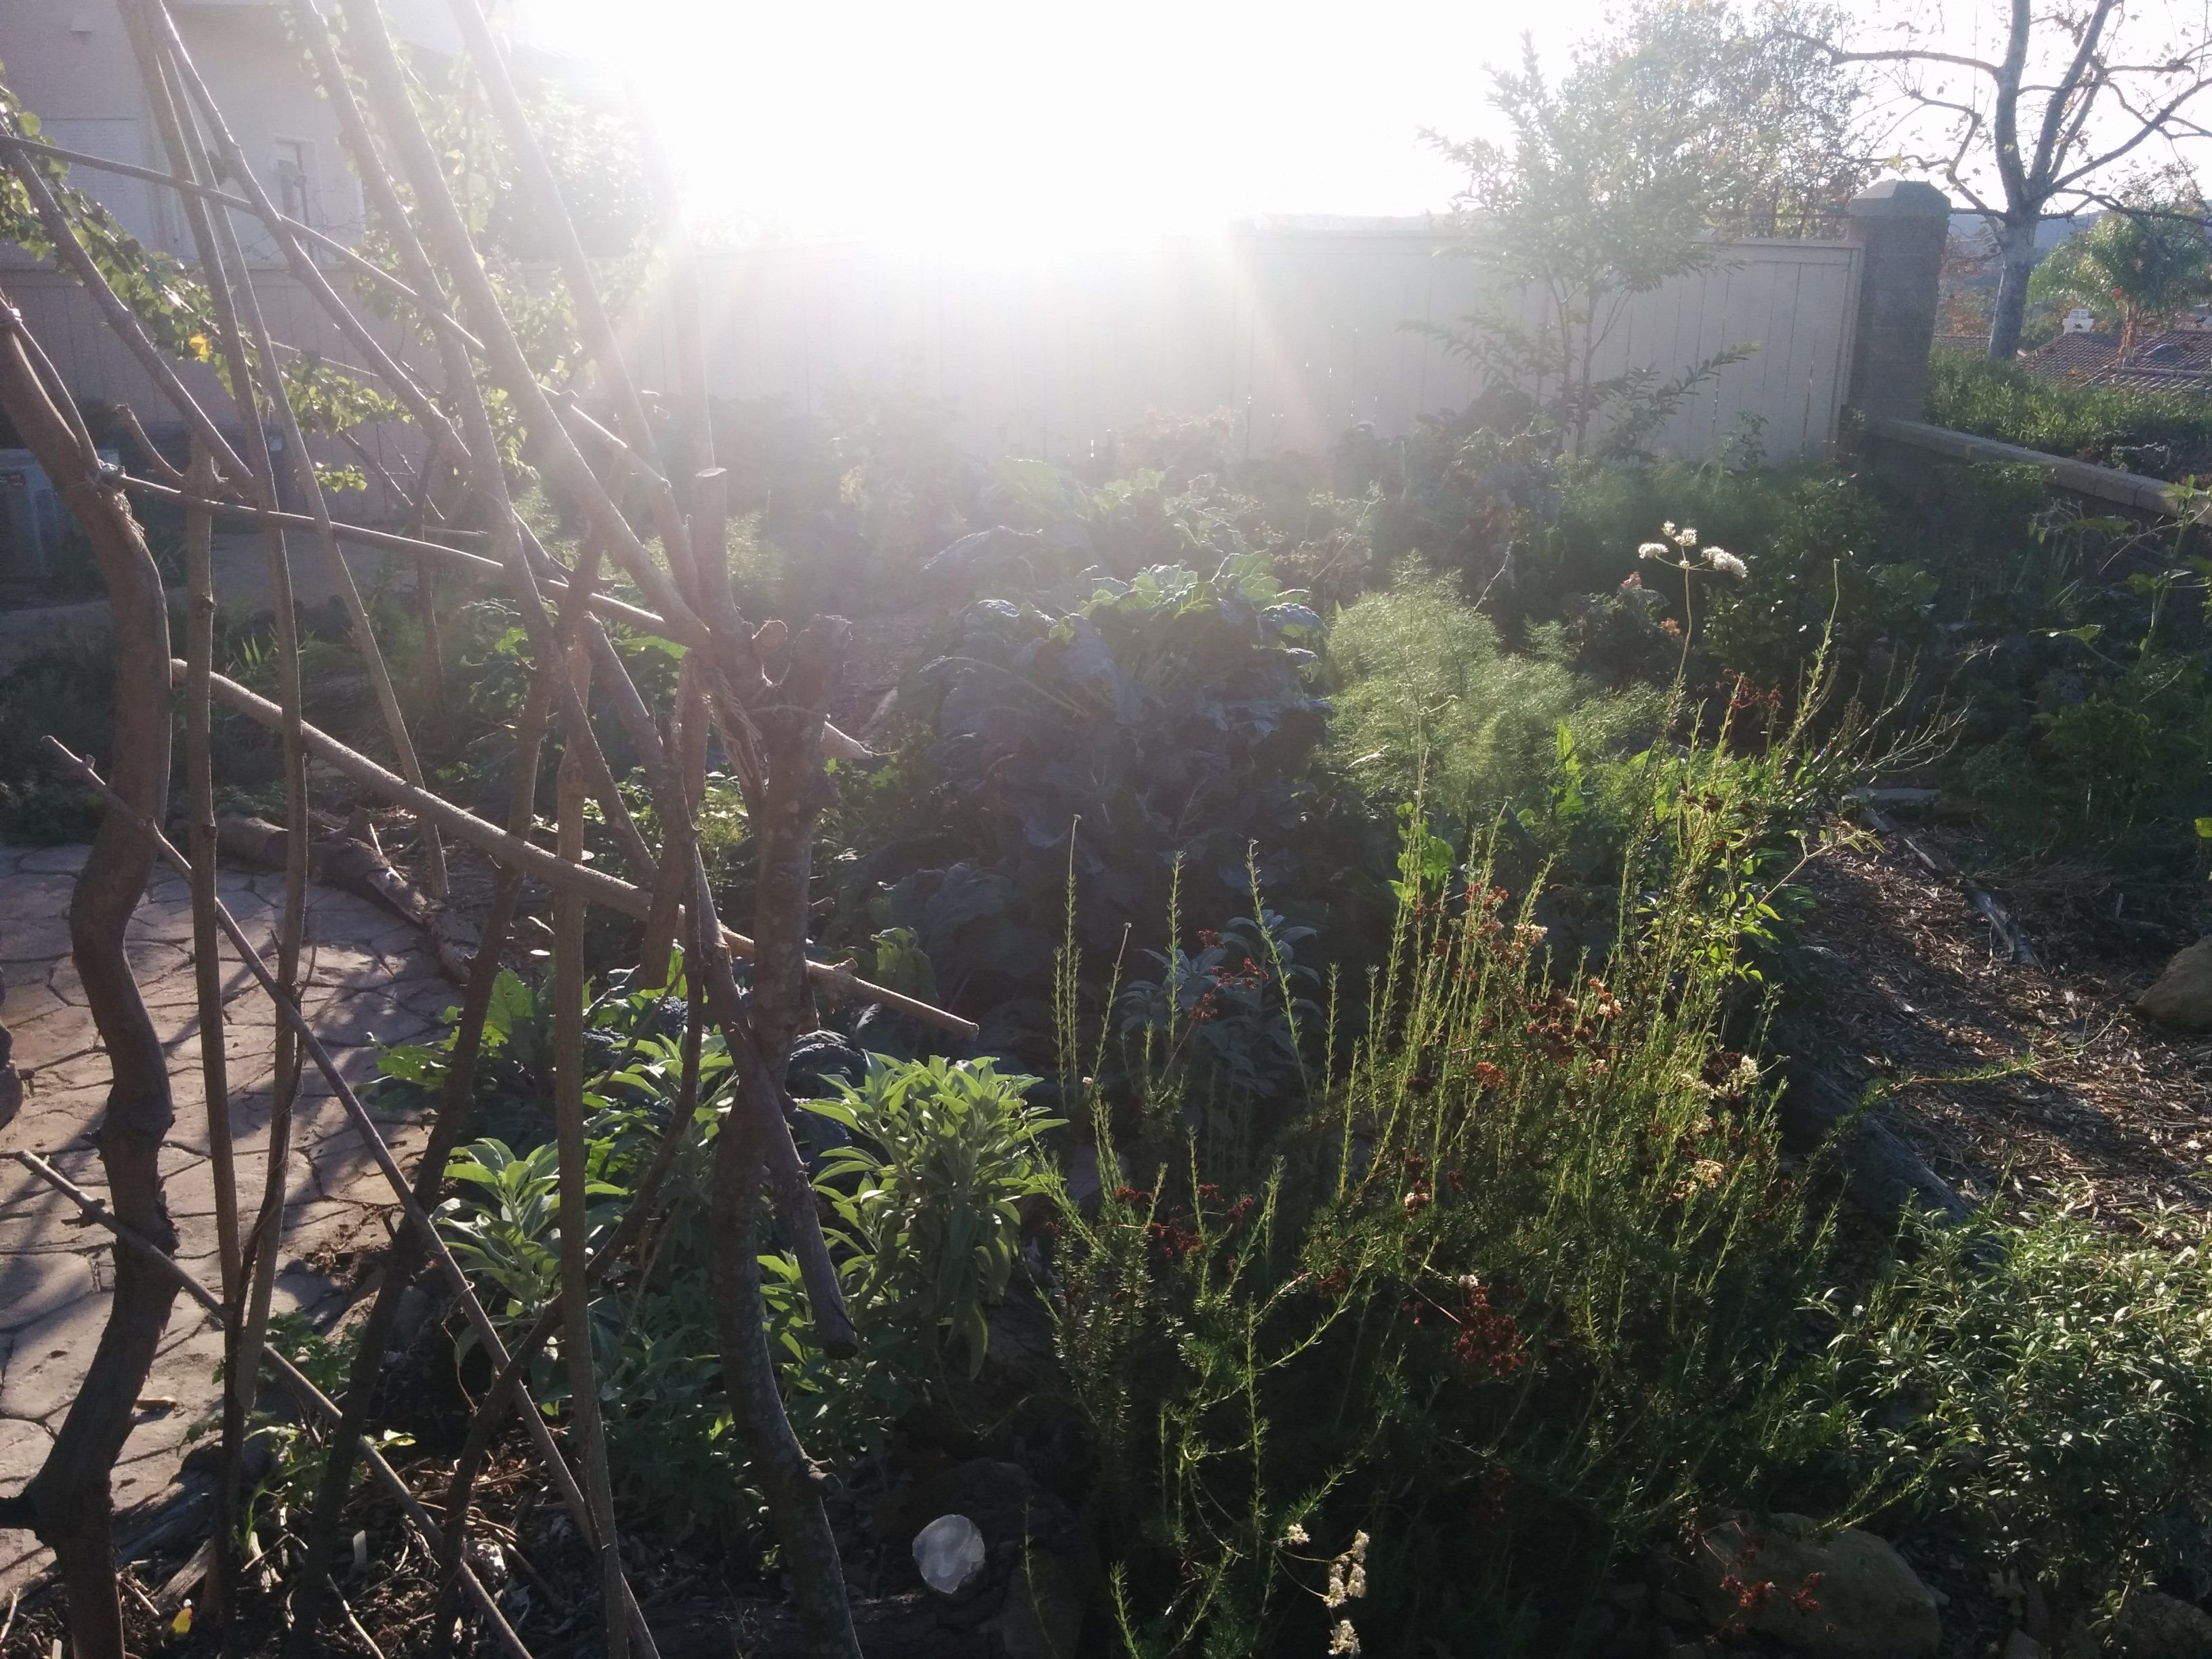
Put Leaves On Top of the Soil
Start mulching the soil right away to get water retention and food for the soil. Leaves are a free resource that can be found from neighbors and around the neighborhood in common areas. If there are trees in the neighborhood and unless everyone is saving those leaves for their own soil, there is likely literally way more leaves than you could use. You can also do this with lawn clippings (don't lay lawn clippings too thick though)!
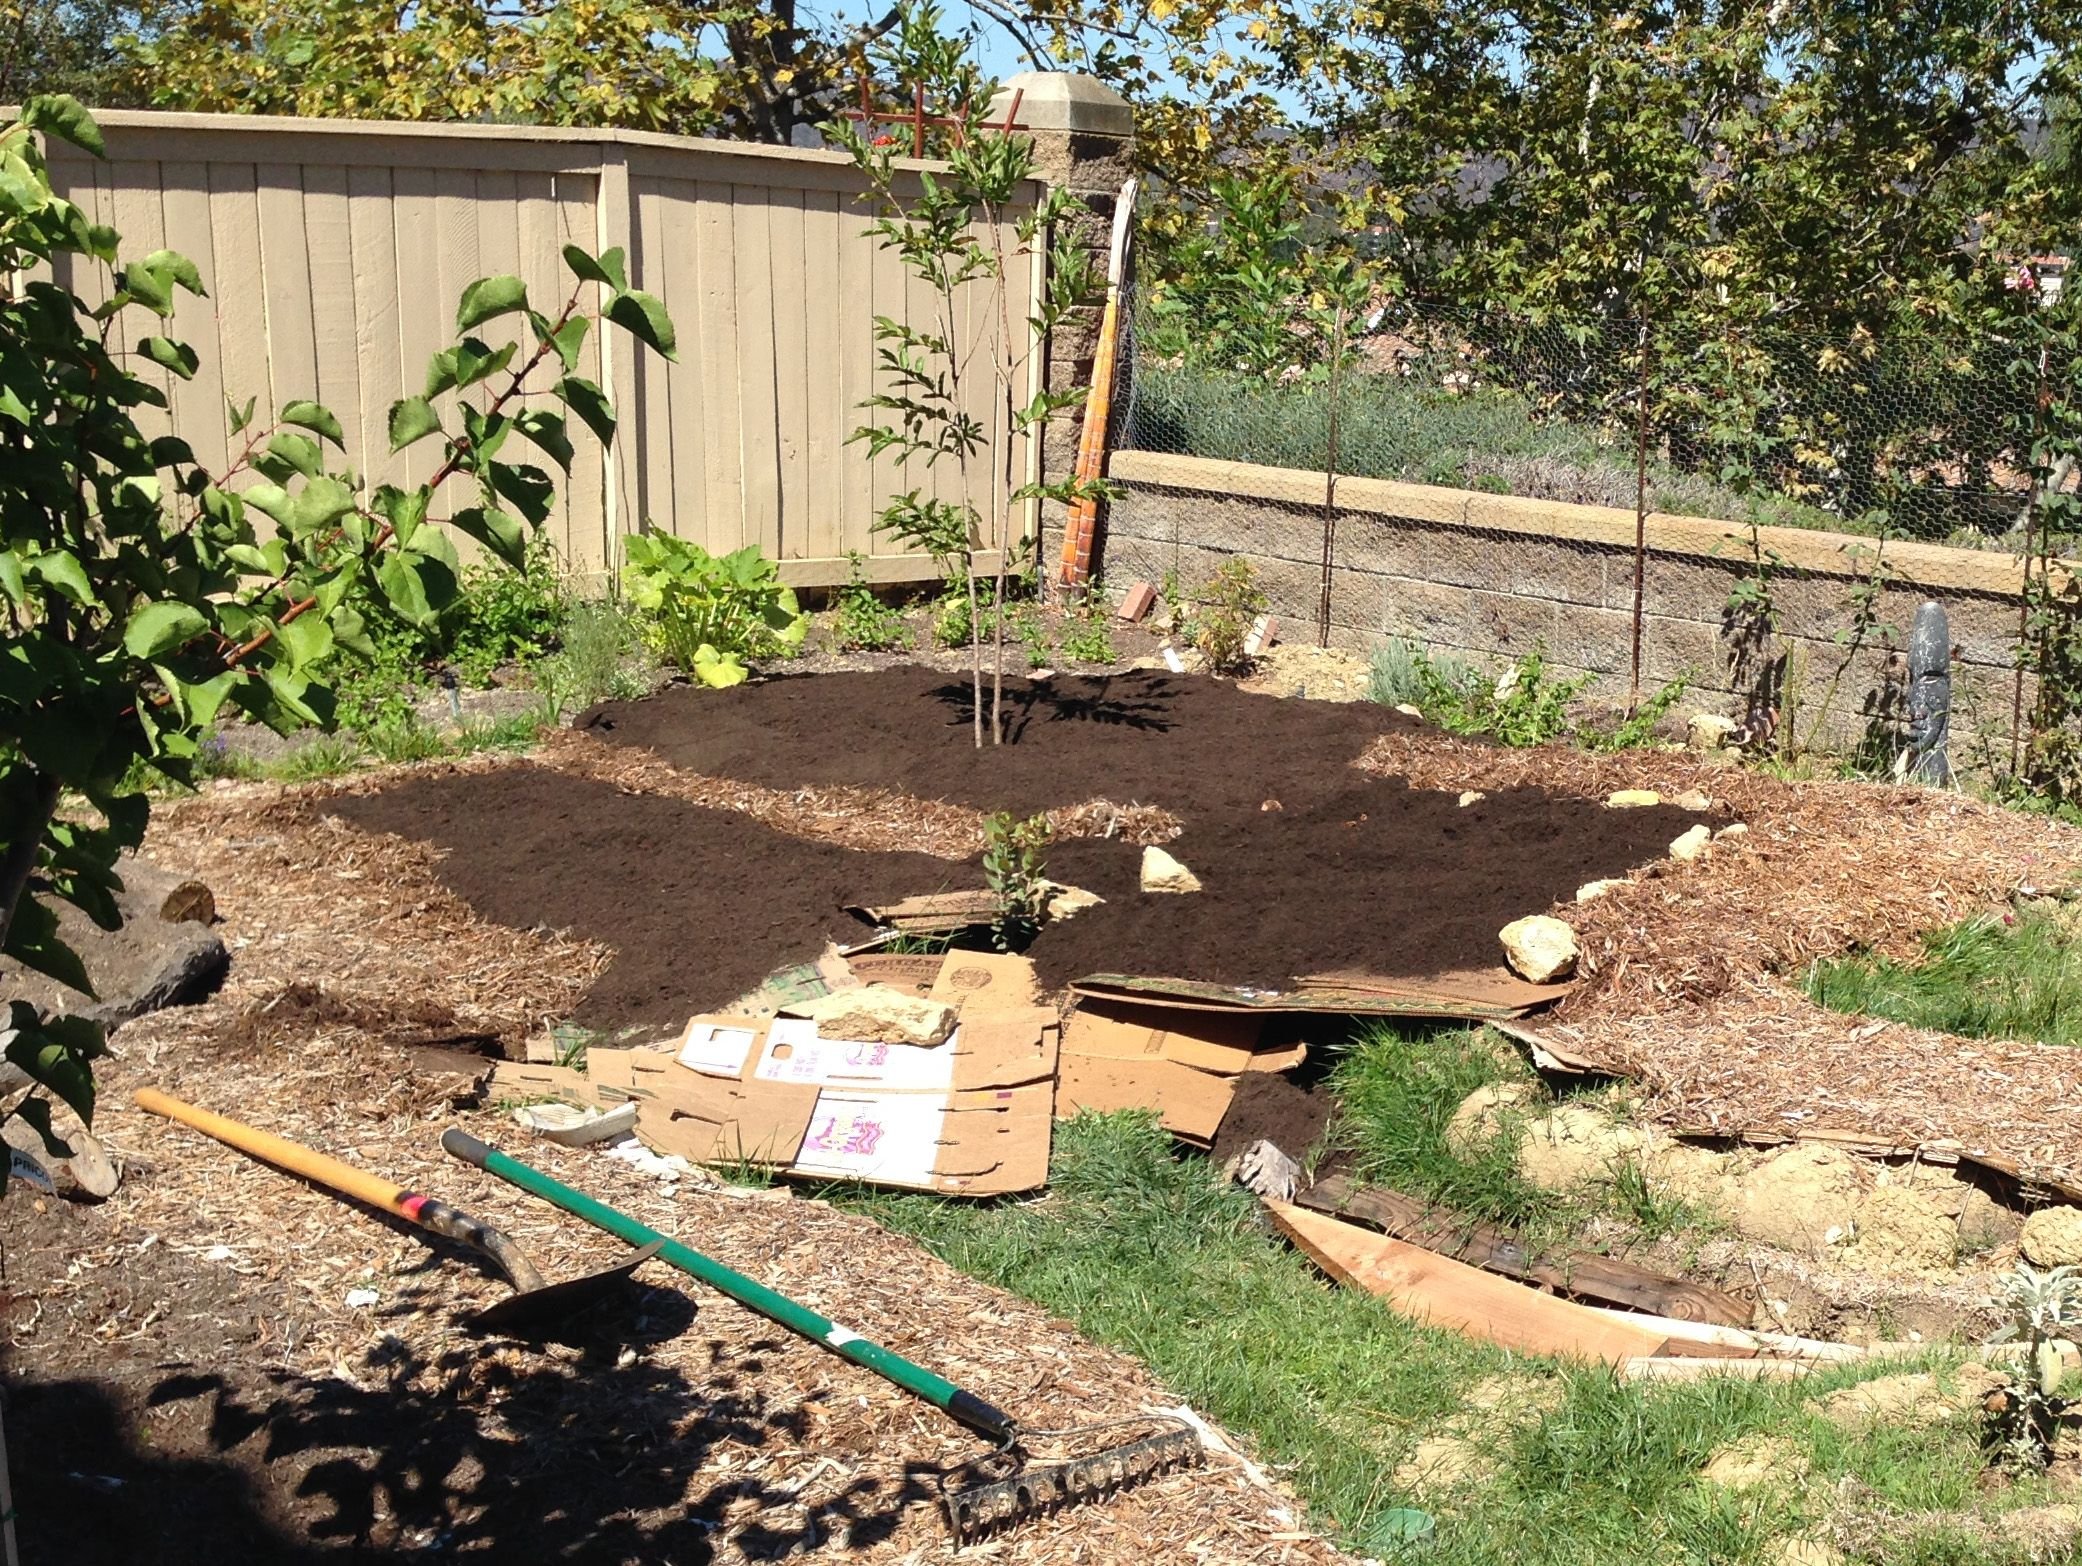
Lasagna Gardening Method of Sheet Mulching
Sheet mulching is a no till approach to converting a patch of weeds or lawn into a productive, fertile garden space. Here is a quick recipe for sheet mulching:
- Leave your grass as is. No need to dig it up or till it.
- Put down a layer of 1/2" - 1" of cardboard on top of the grass
- Add 4" compost, straw & leaves on top
- On top is the good compost (in our area it was free mushroom compost)
- Keep at least 4" away from the base of tree trunks
Toby Hemenway created instructions for a "Bomb Proof Sheetmulch" in his book Gaia's Garden and can also be found here.
You could also purchase or check out from your library Lasagna Gardening by Patricia Lanza for more ideas about lasagna gardening. The general idea is start with cardboard to block weeds and grass and layer organic materials on top in layers. With emphasis on diversity of materials and repeating your layers at least several times. Then once you establish that initial sheet mulching you can continue adding layers on top as compost and "mulch" layers that continue to add food to your garden.
All of the layers of the sheet mulching, including the cardboard and the grass, will eventually start rotting and break down, creating food and habitat for worms, insects and microbes. Worms will eventually carry organic matter from the top layers down deeper into the soil and create channels for roots to grow. The more this happens, the deeper your top soil layer gets and the looser and more fertile your lower, original soil gets.
I found that it's better not to skimp on the cardboard during the sheet mulching process especially if you have pernicious grasses or weeds like bermuda grass. Large overlapping like 12" of overlapping between pieces of cardboard and multiple layers really helps block bermuda rhizomes from spreading. They are quite adept at traveling long distances before they find a small space between cardboards to come up and announce themselves!
It is also worth the pain of stripping as much tape & glossy stickers as possible off of the cardboard, so that you don't find bits and pieces of plastic in your soil years to come. Likewise refrain from using glossy cardboard.
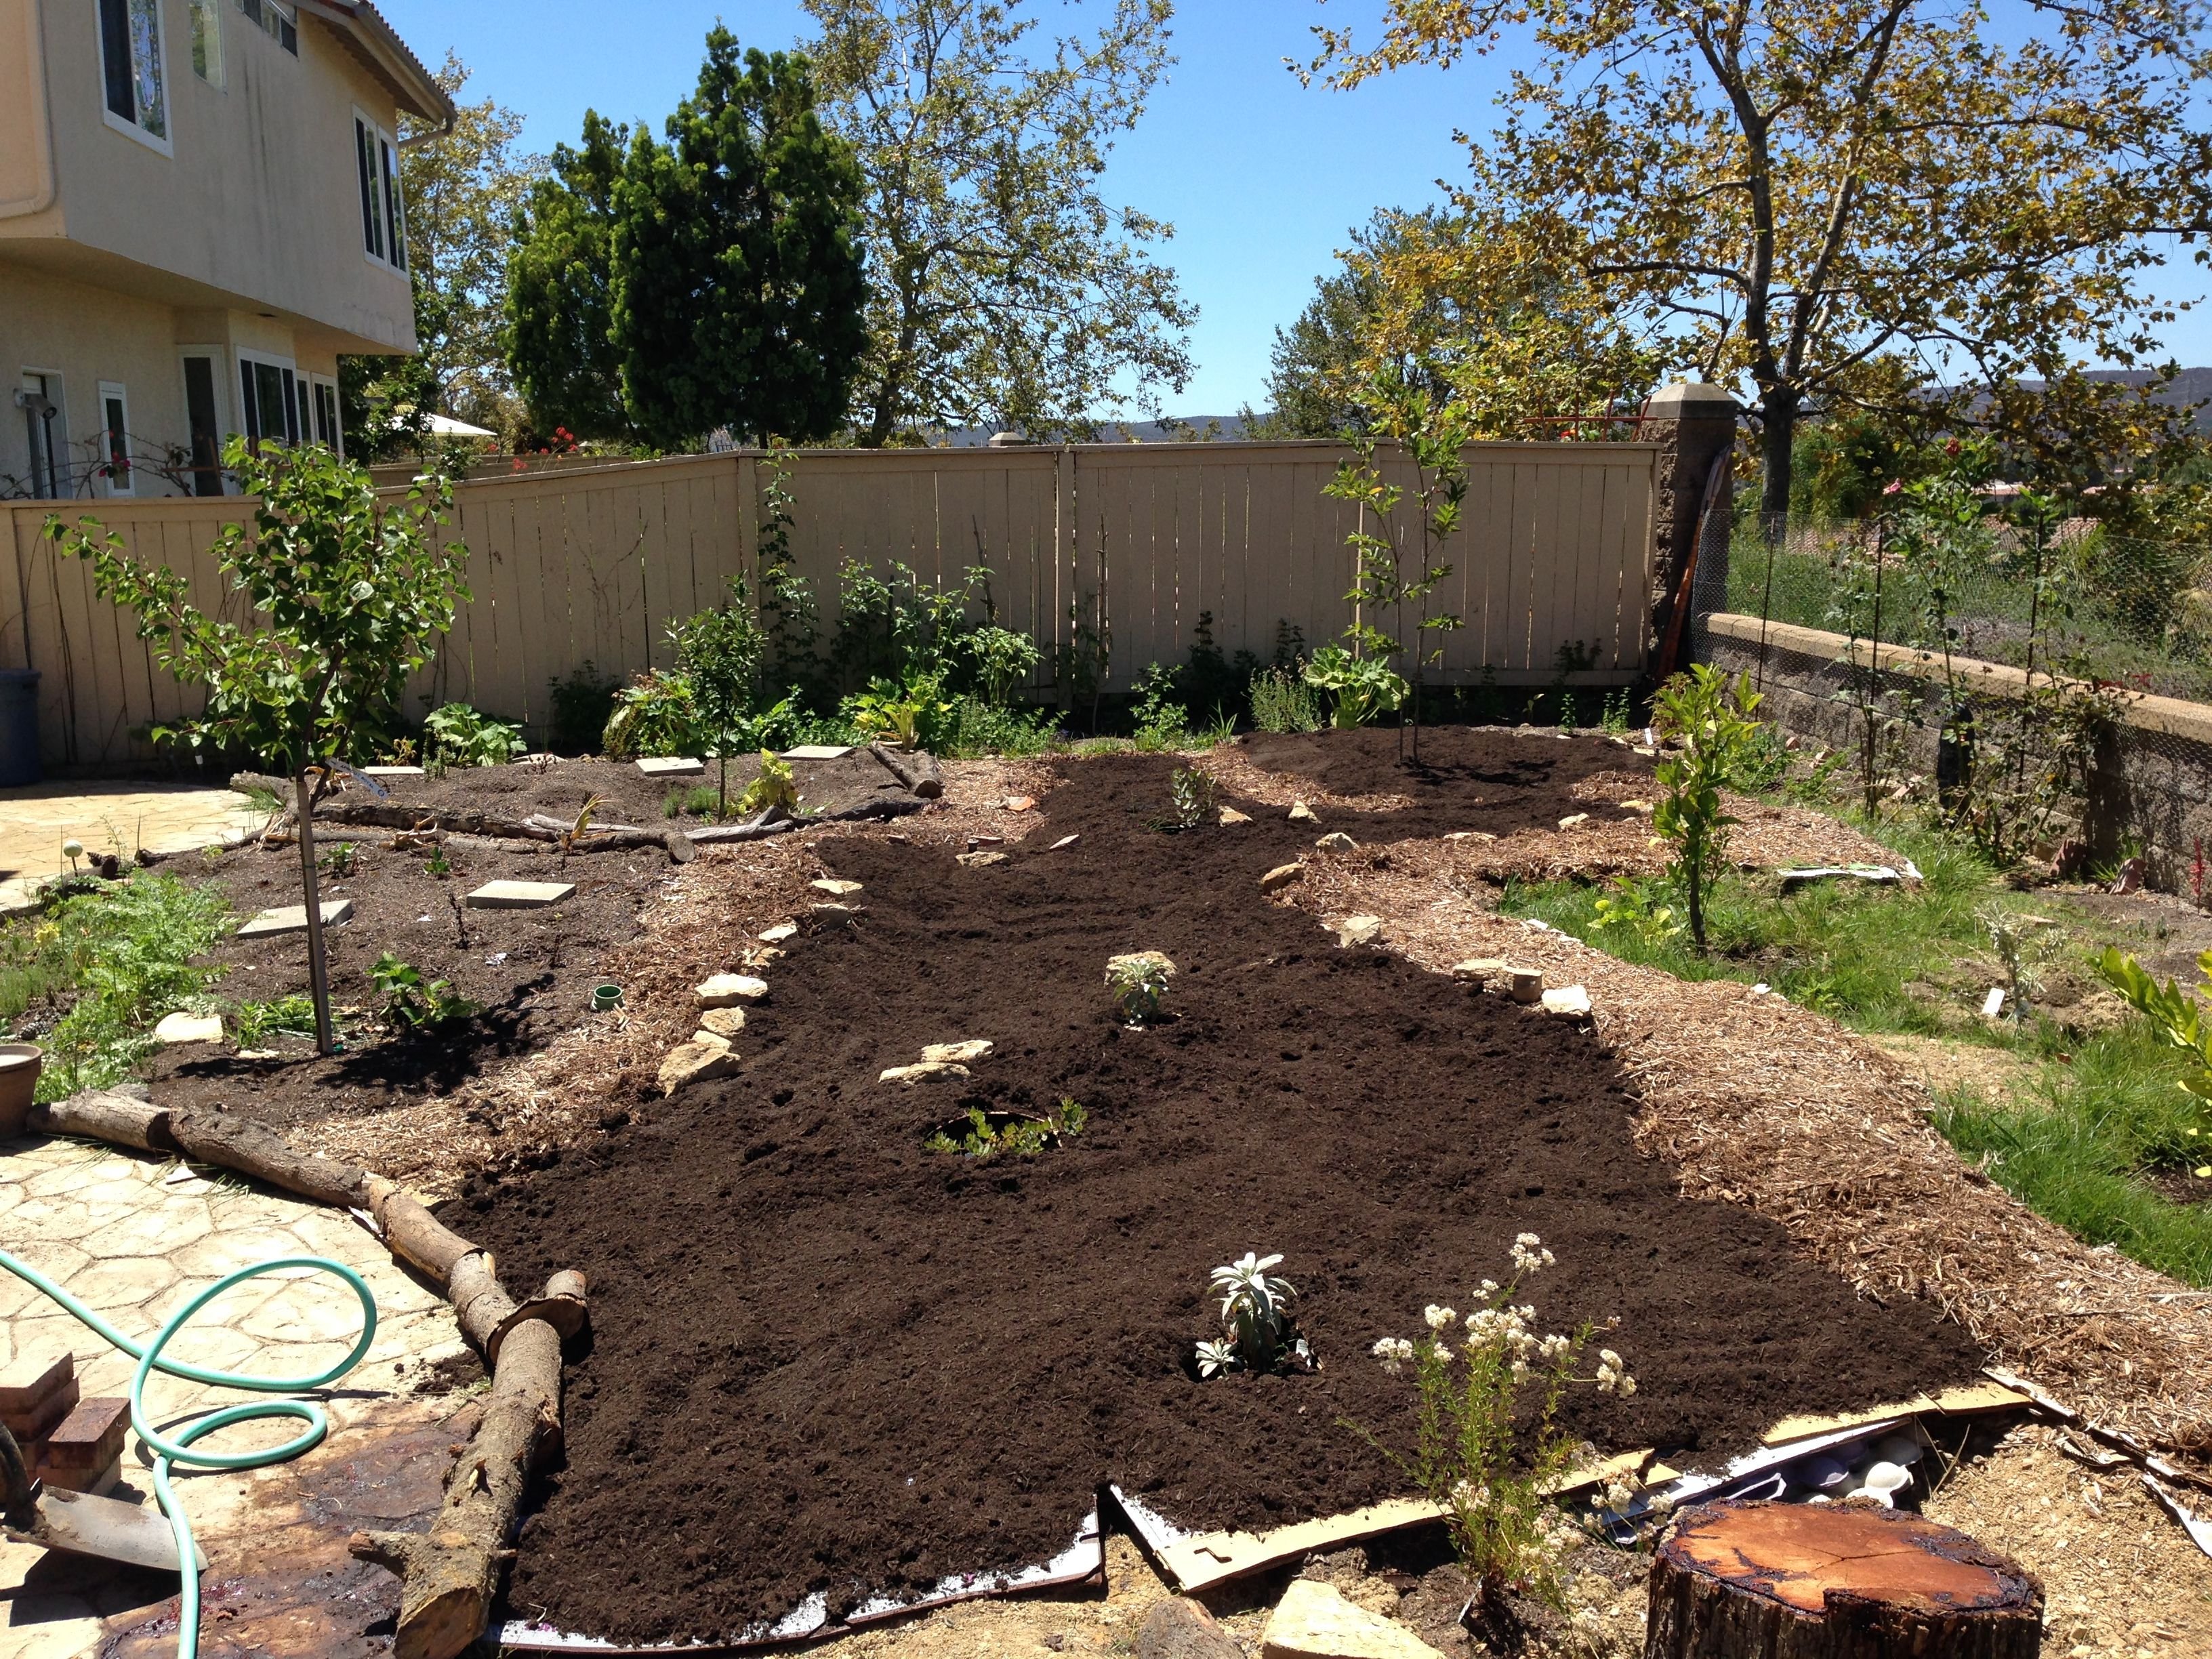
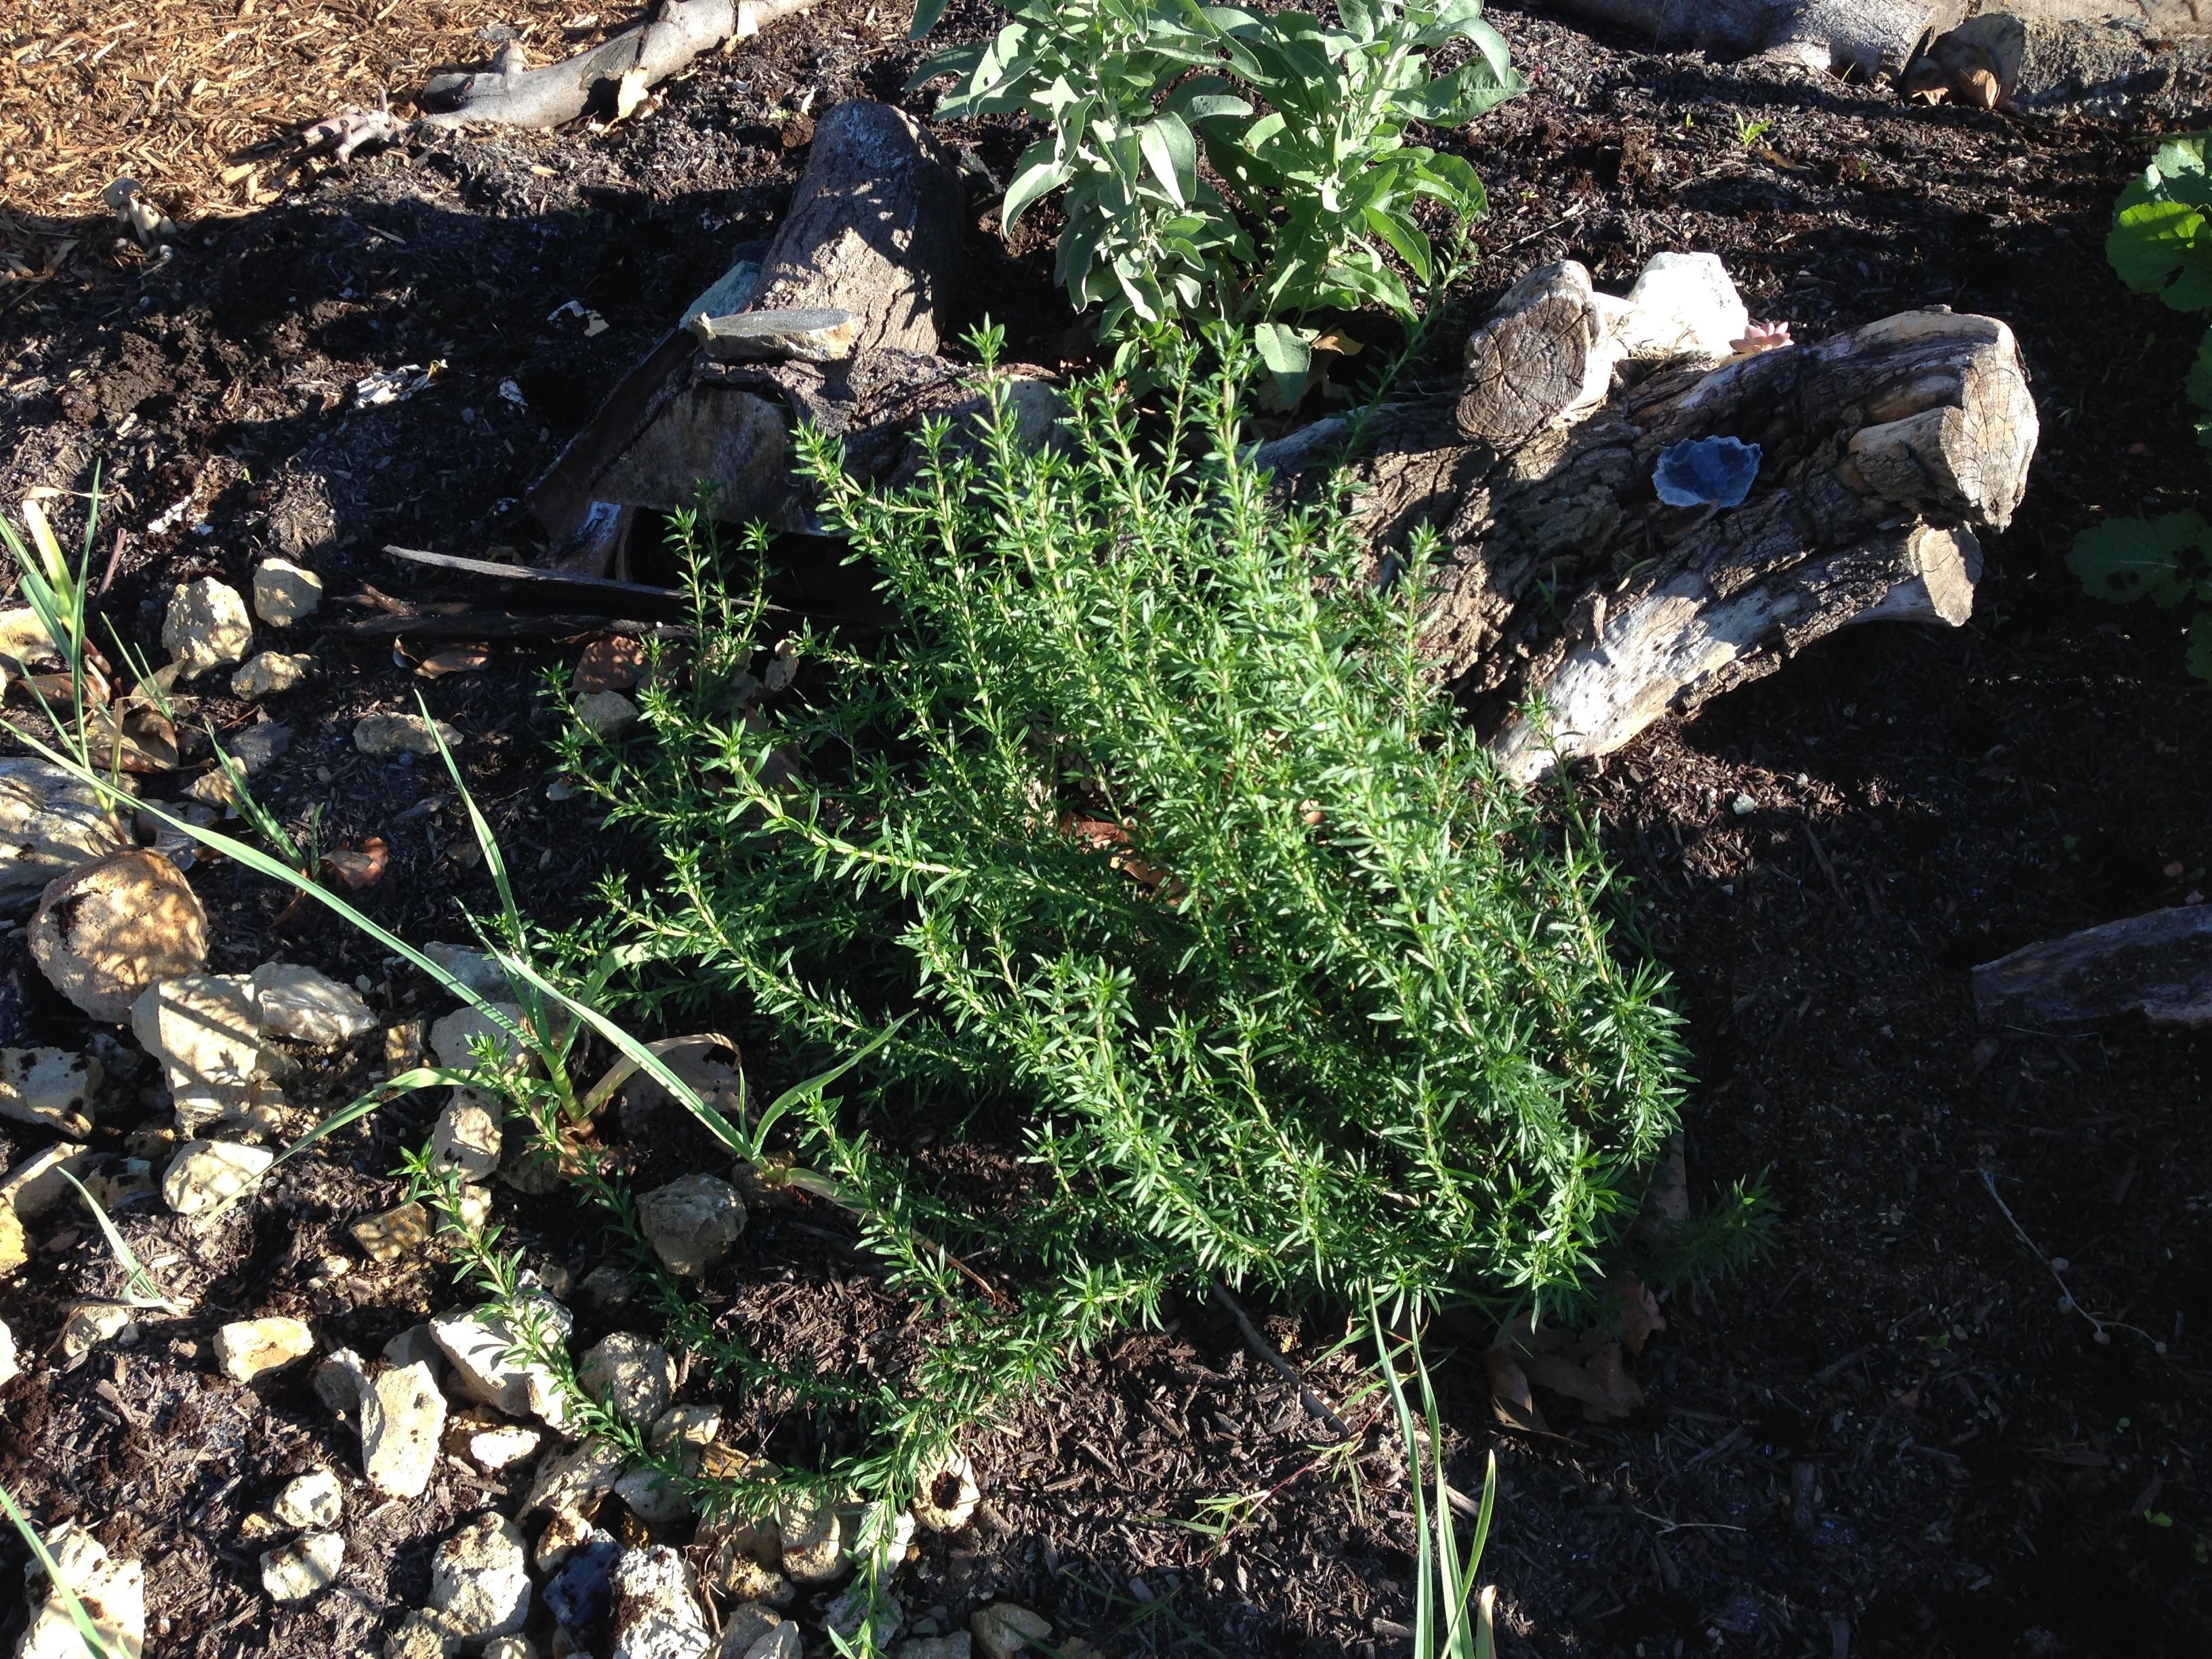
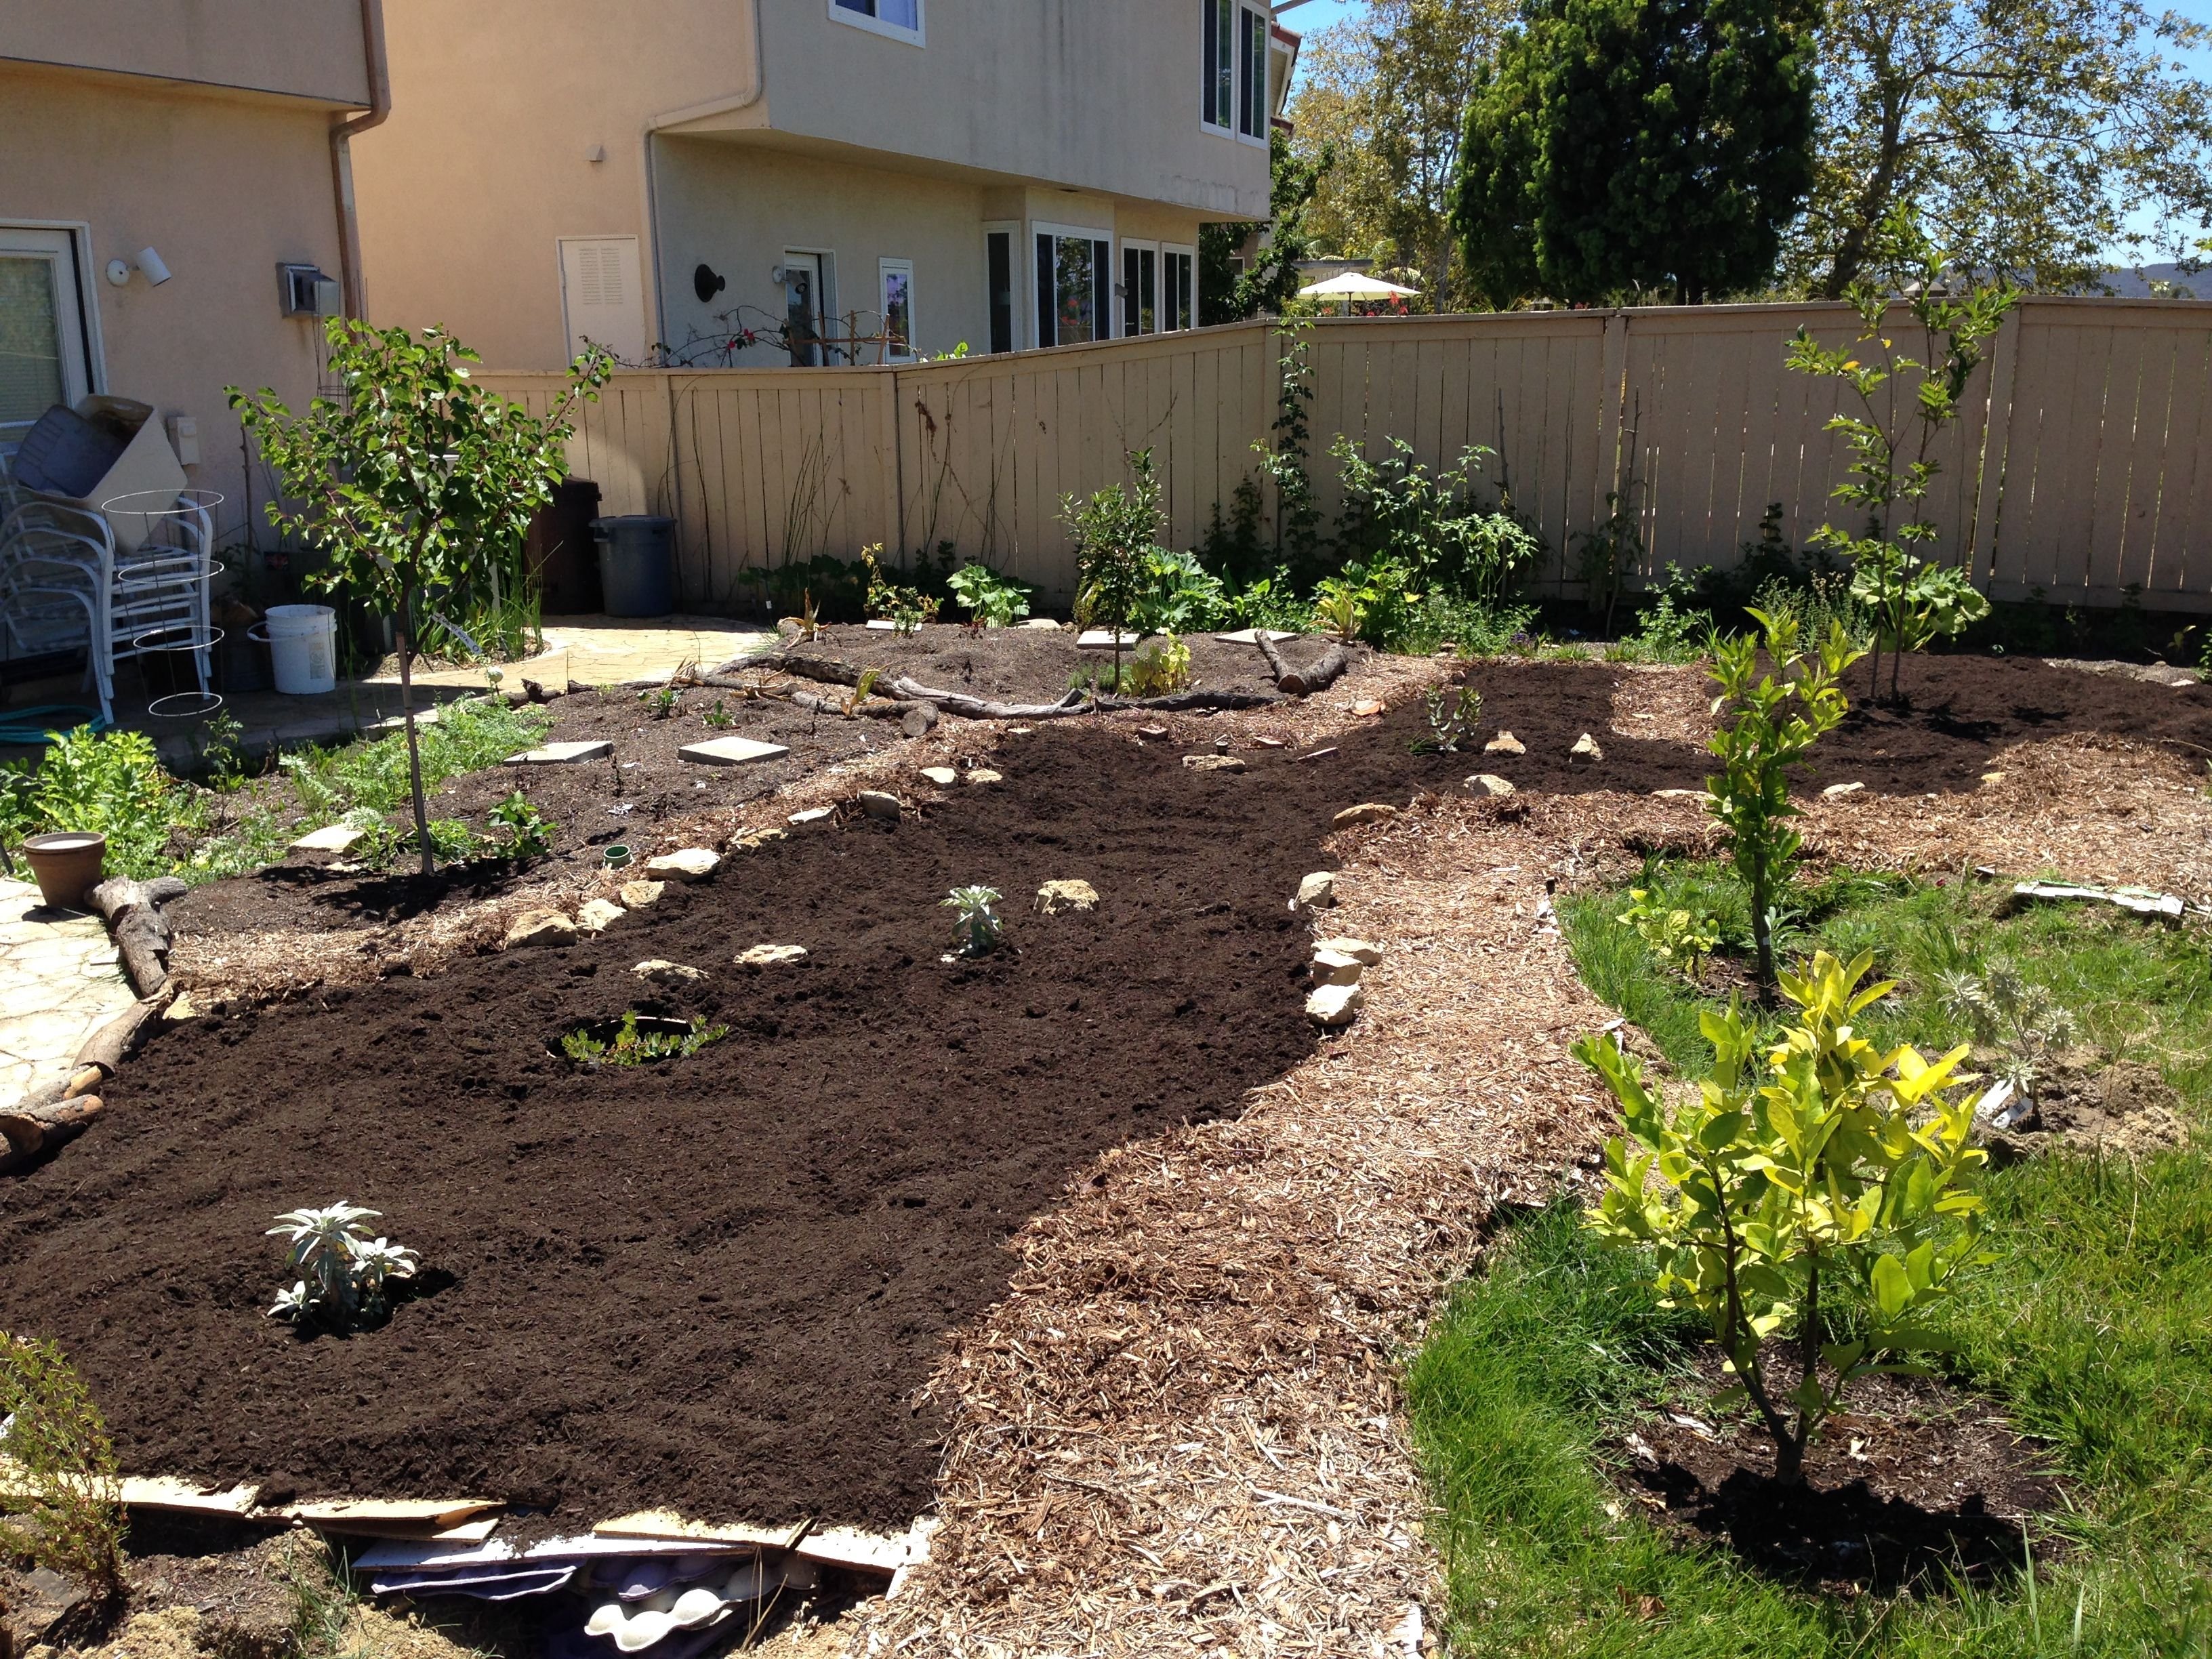
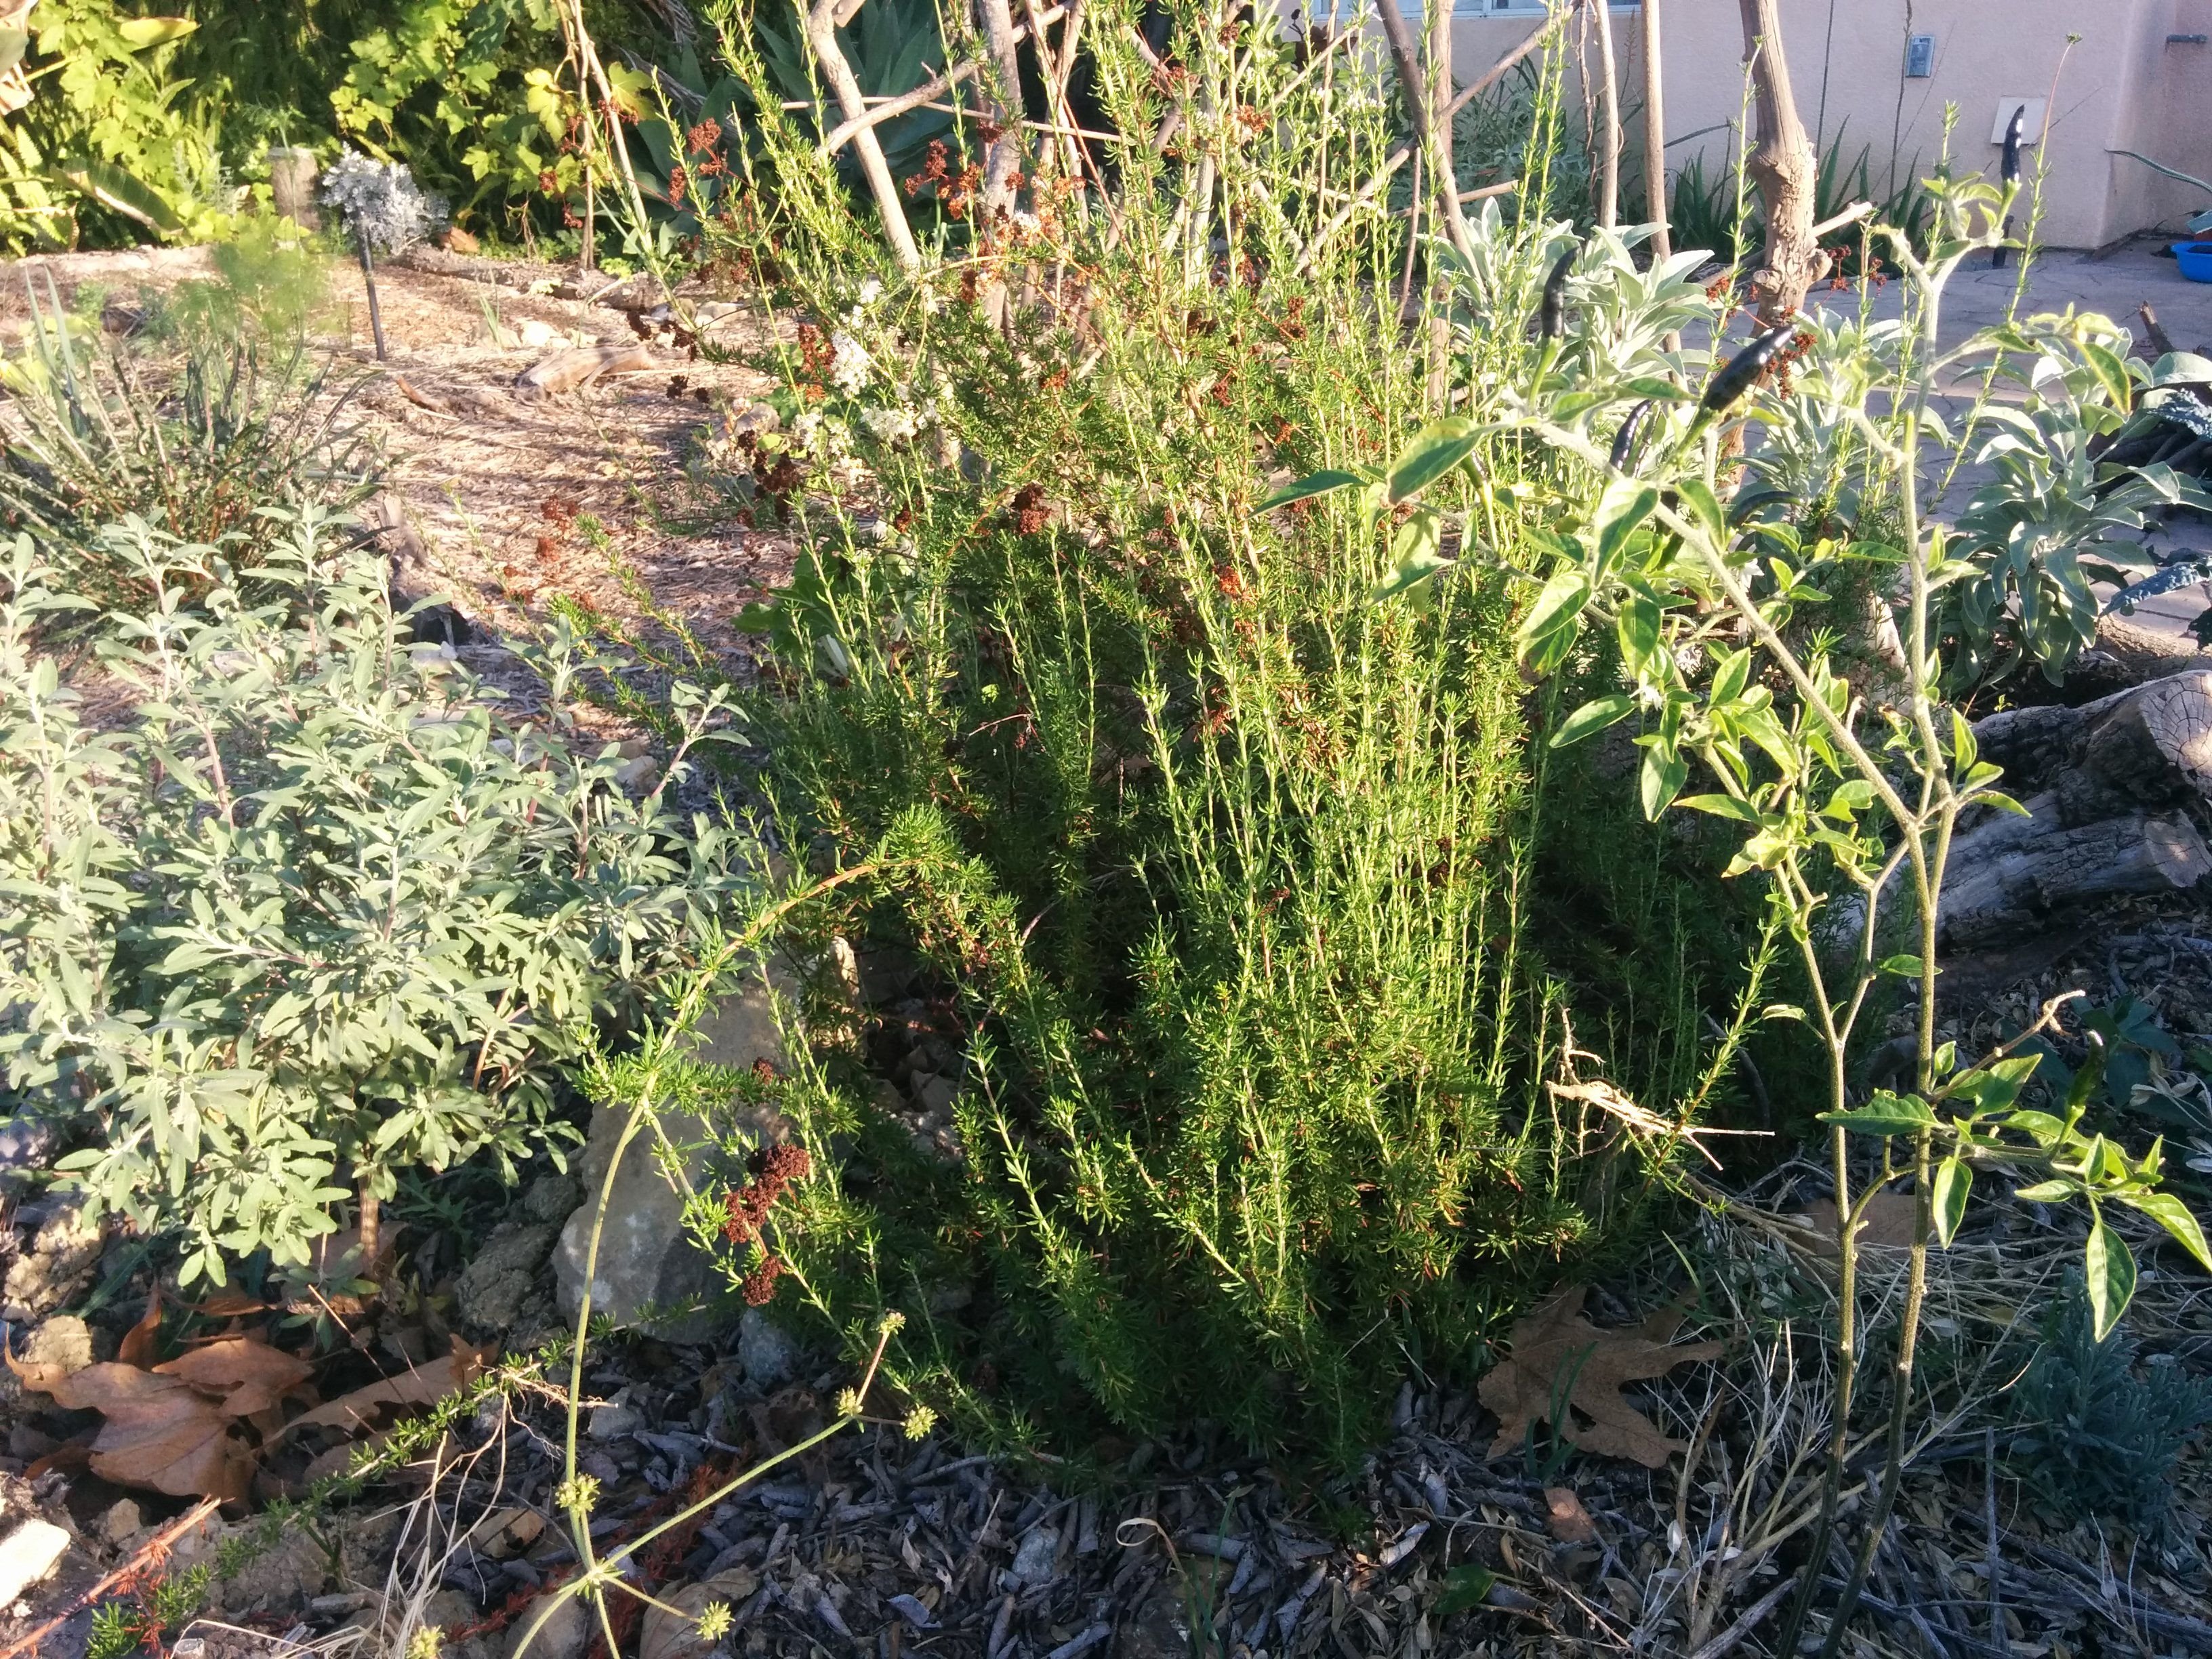
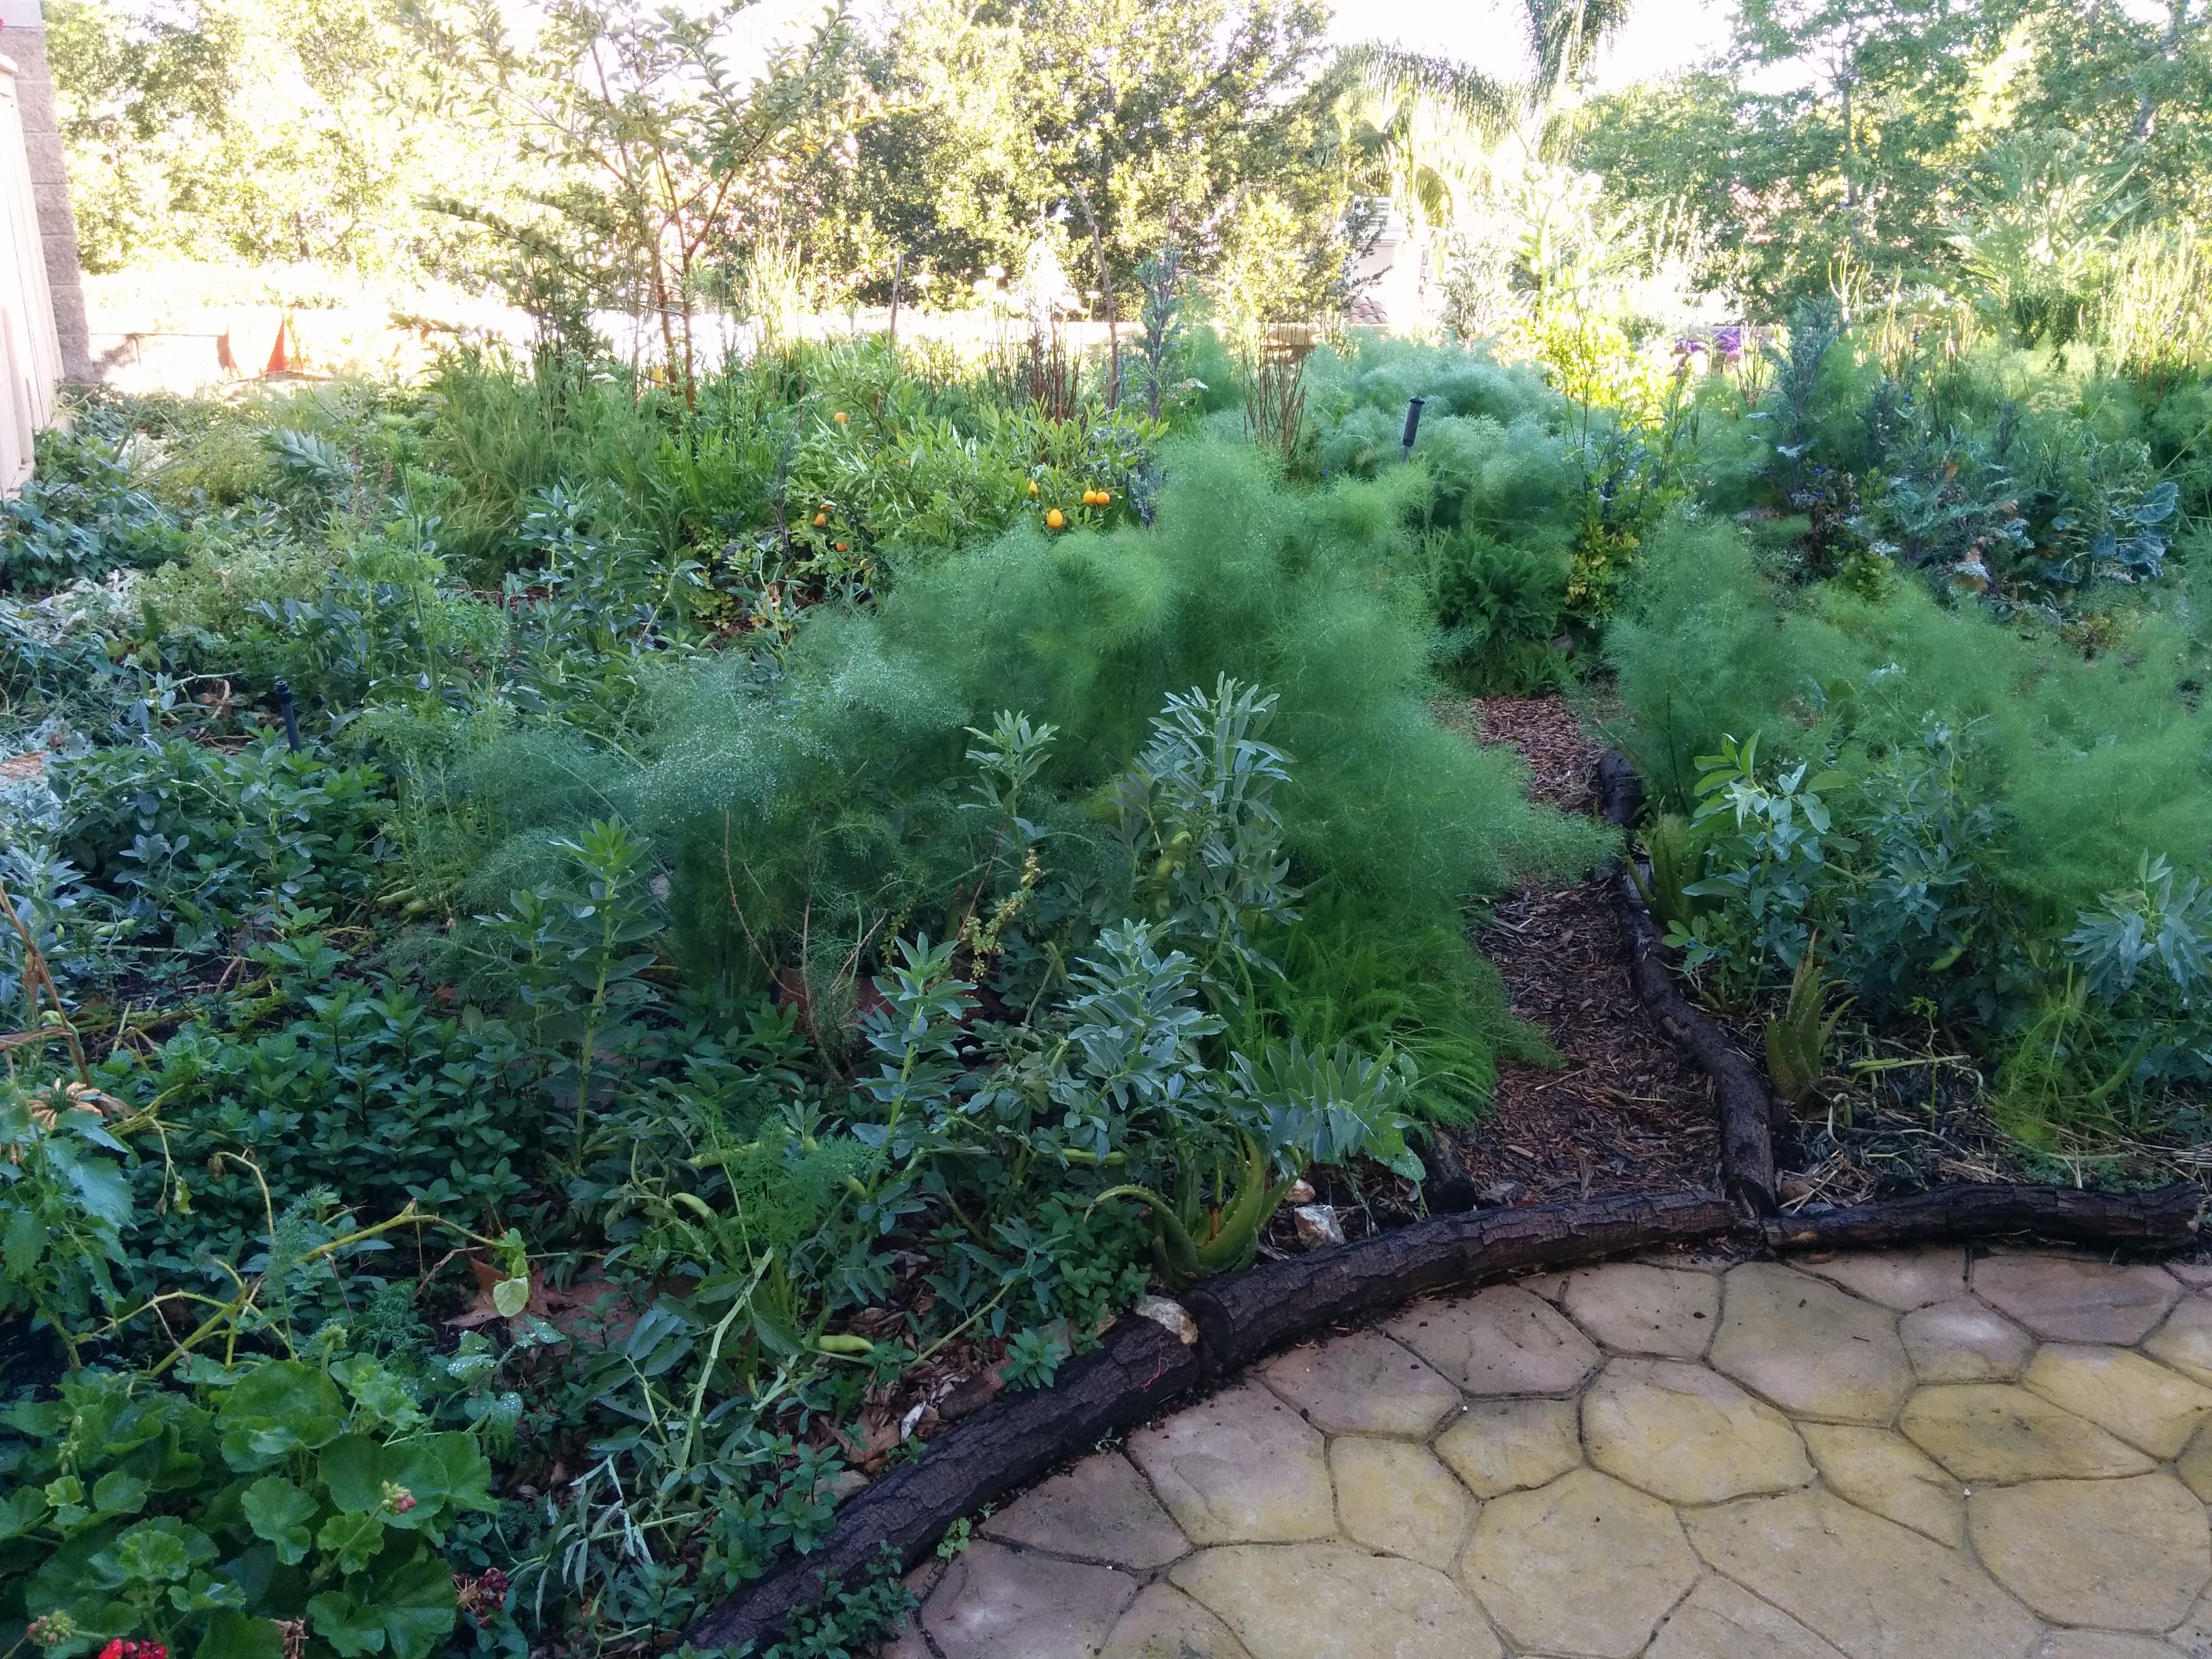
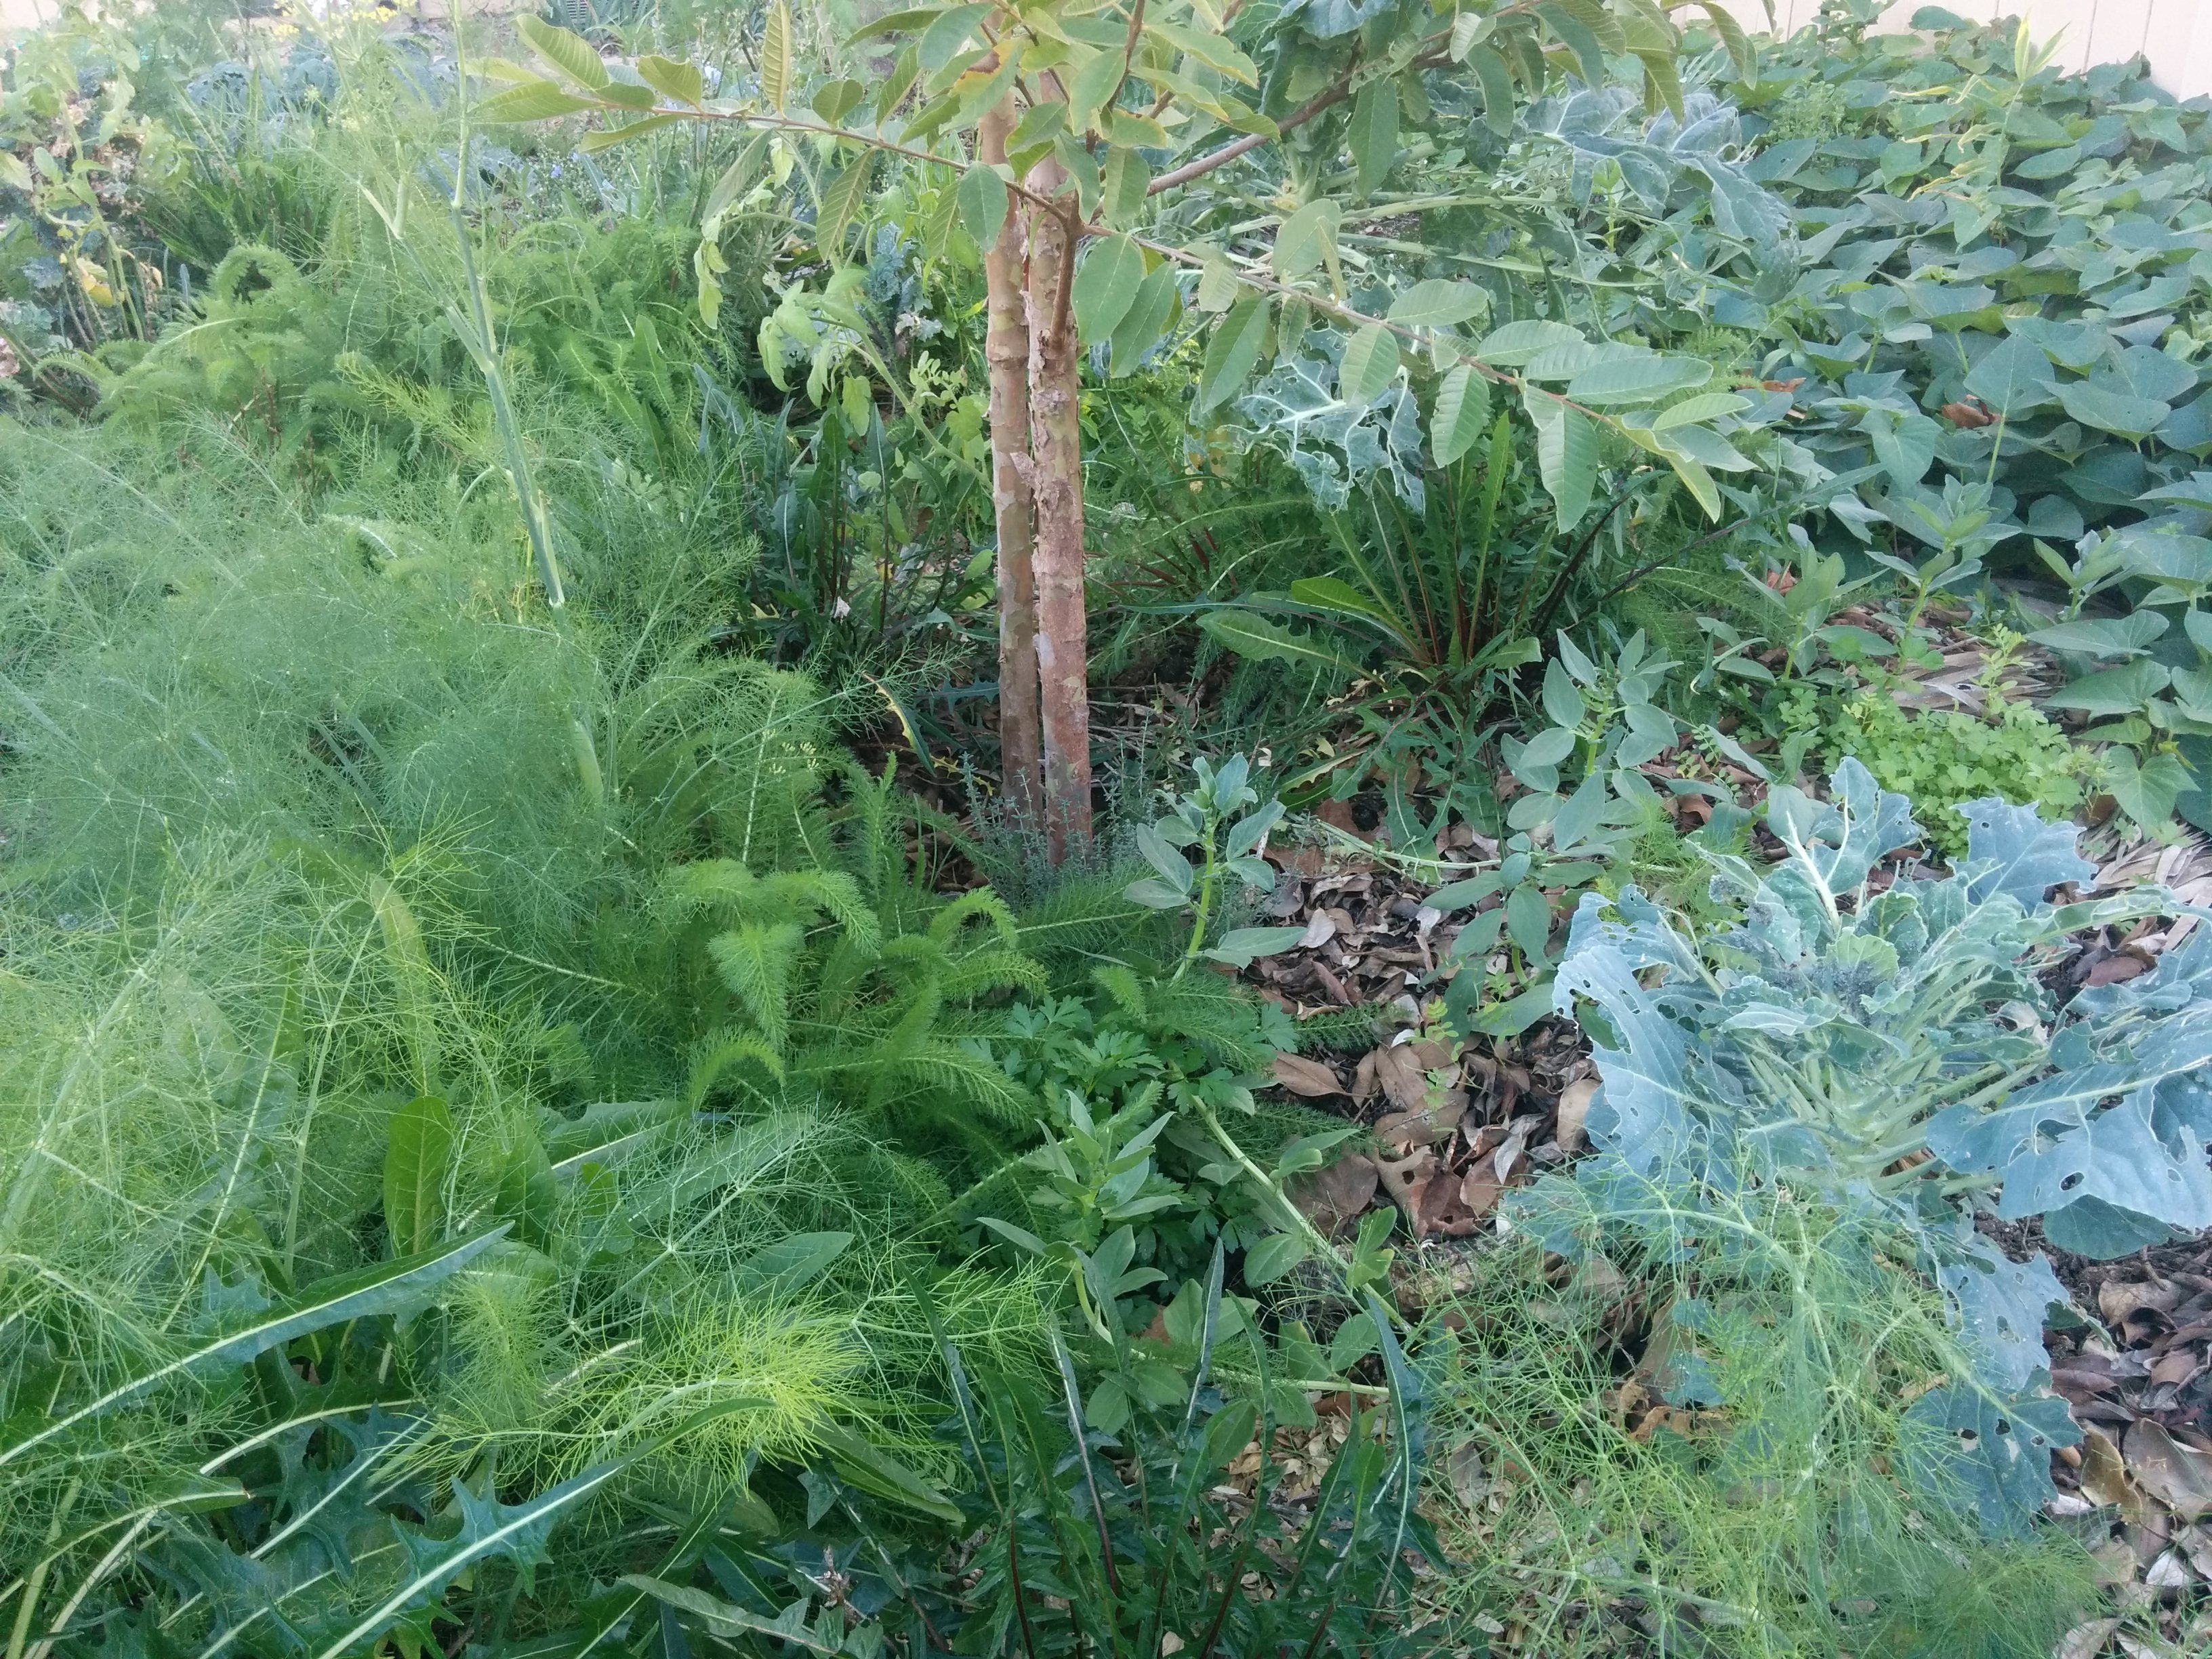
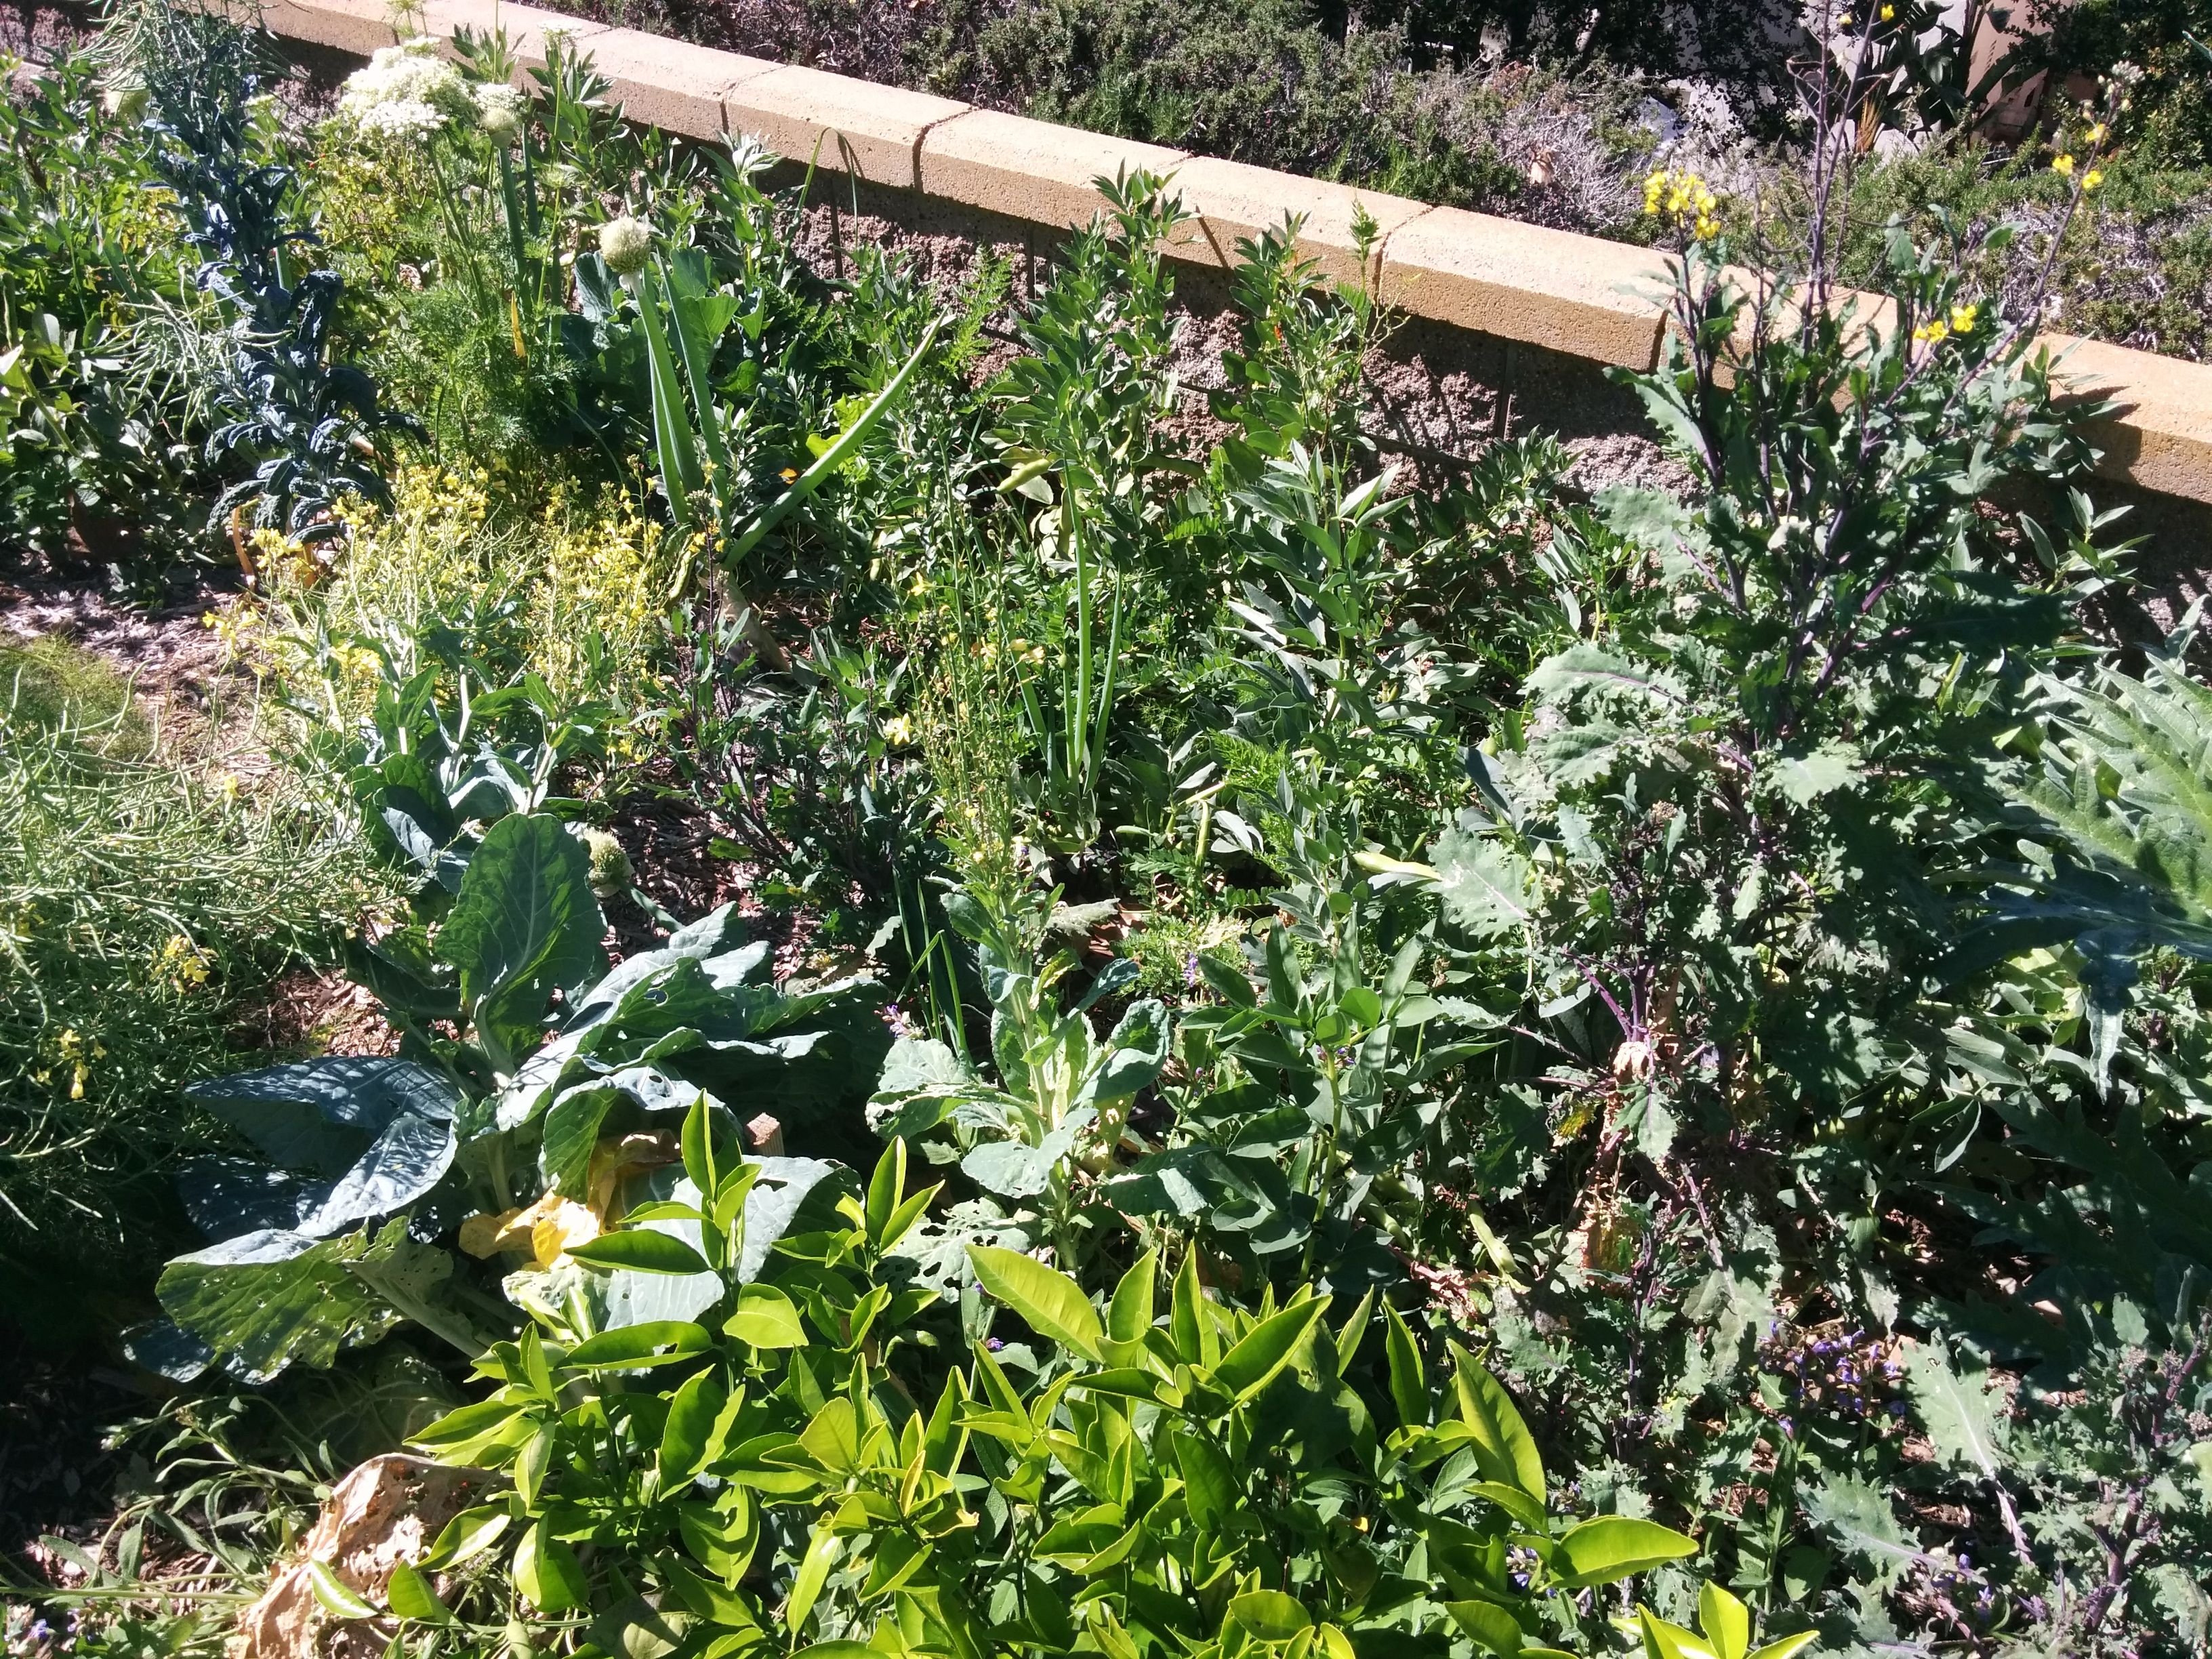
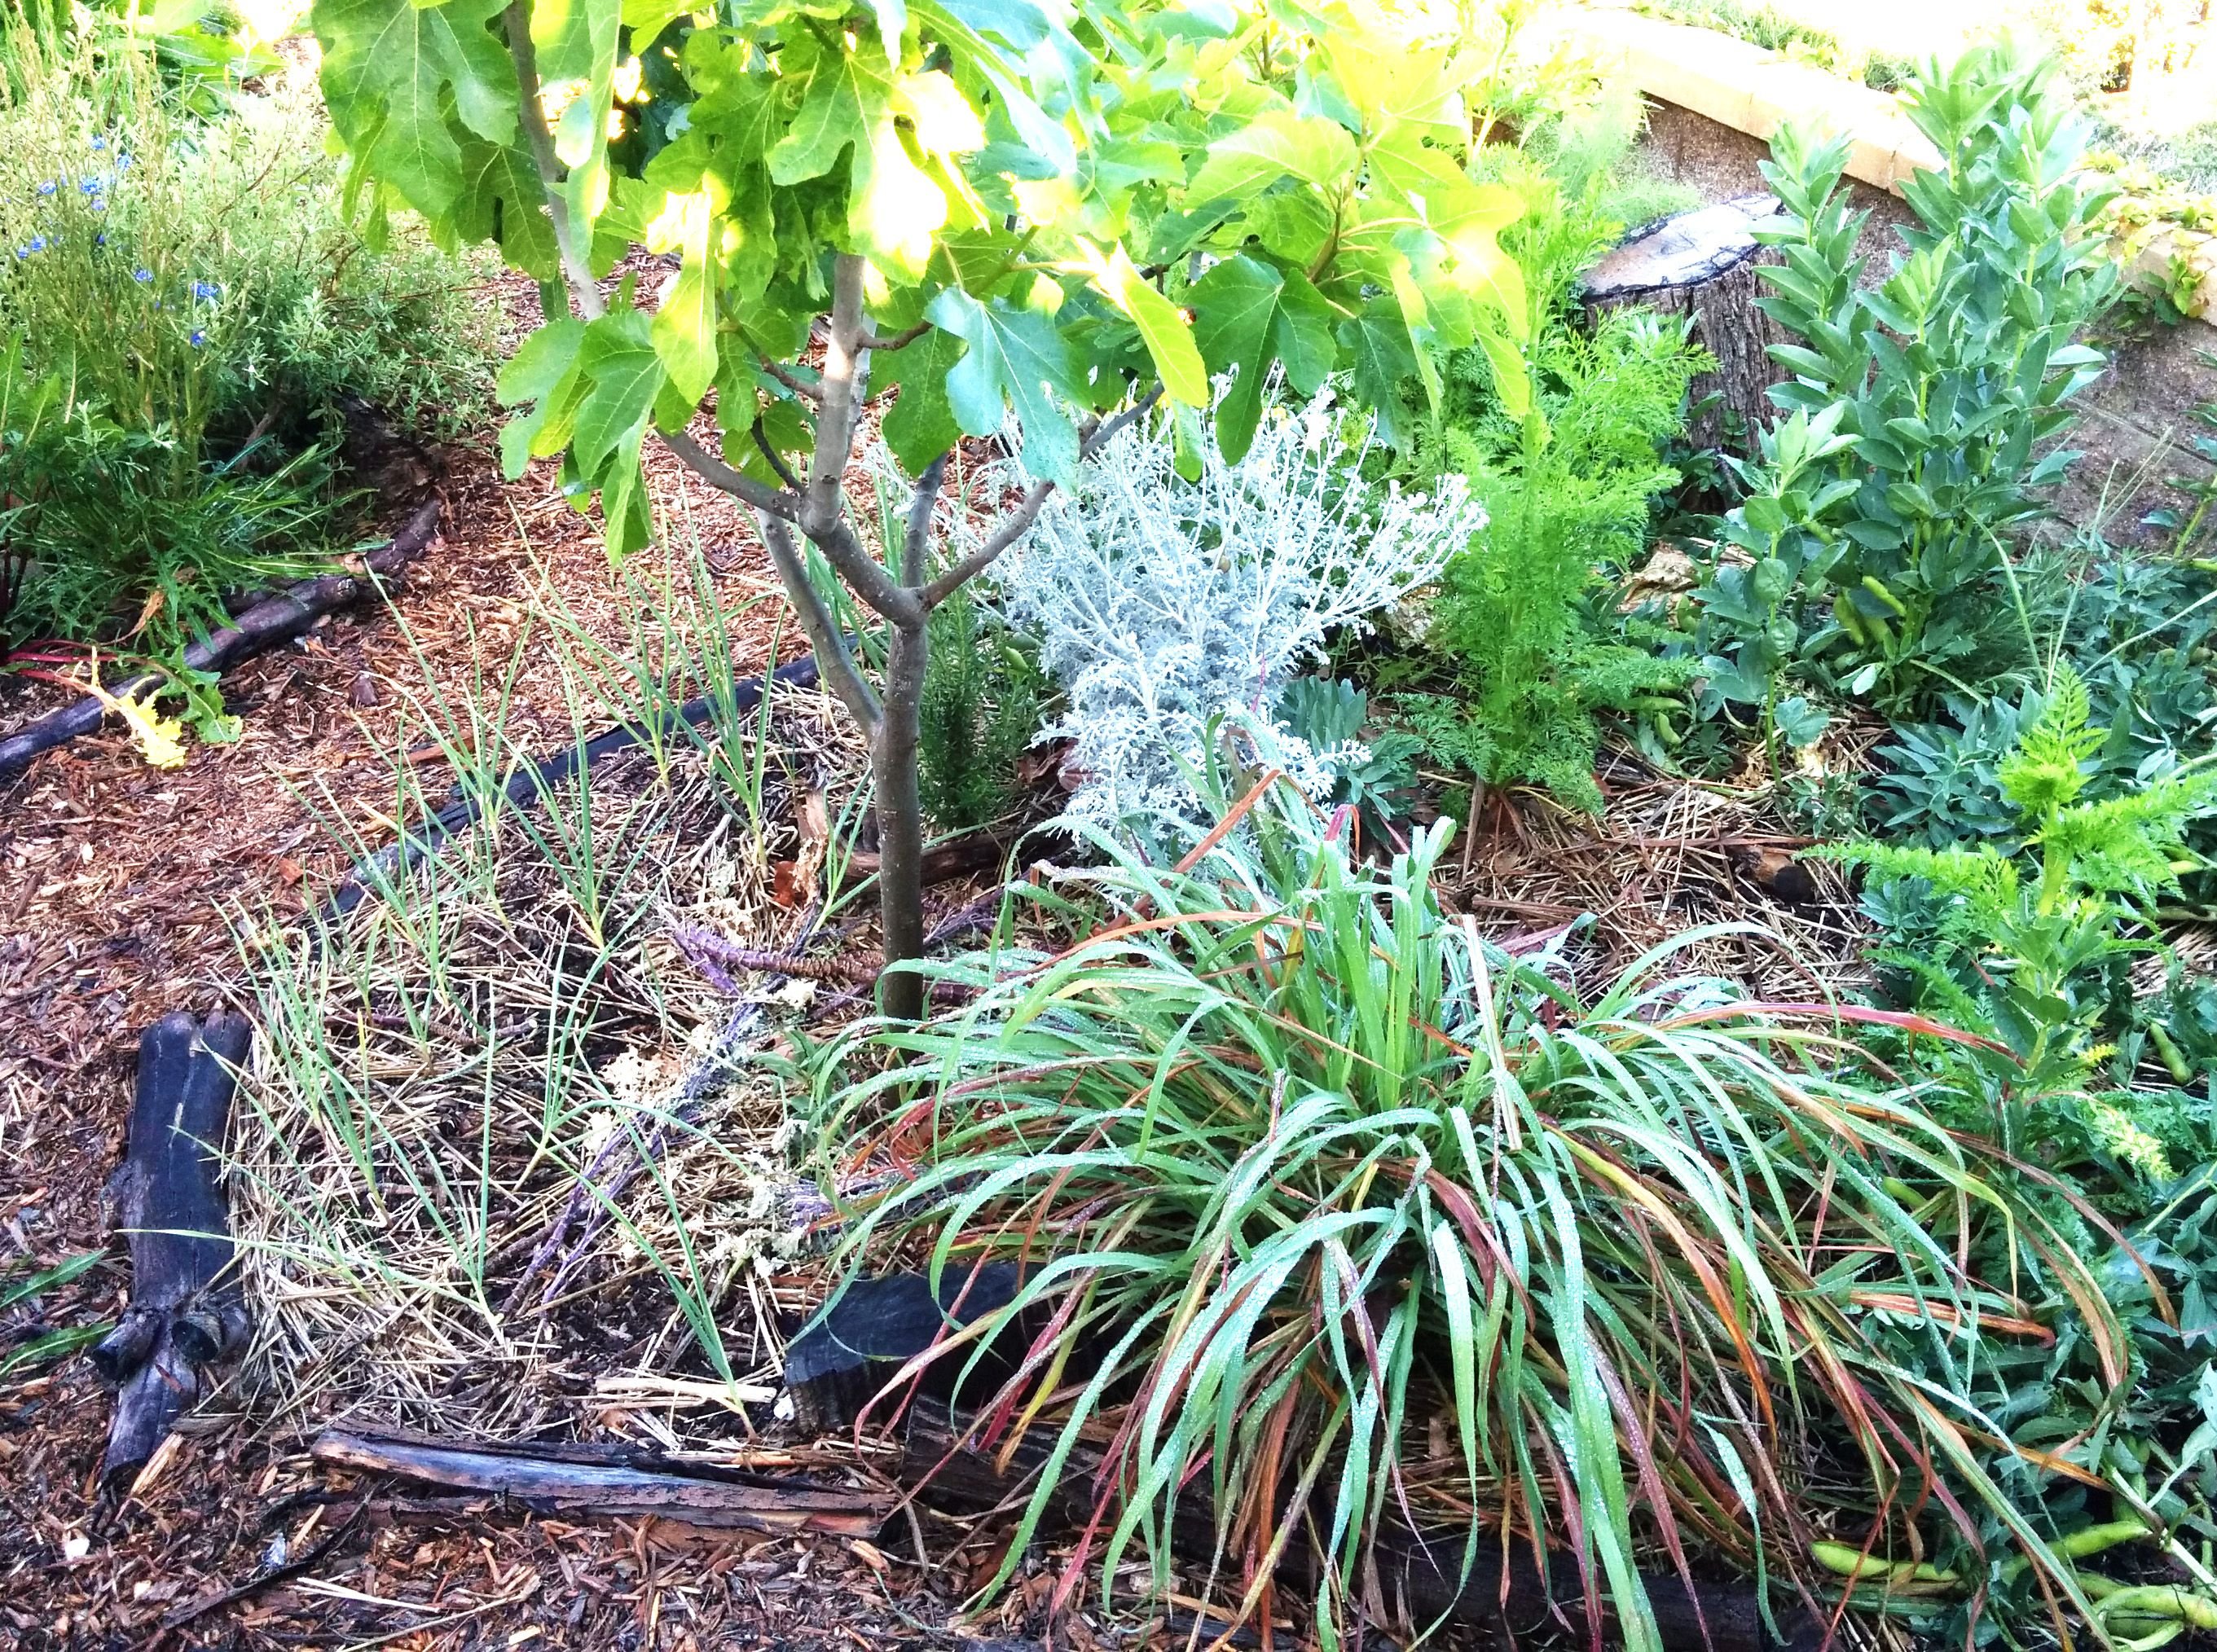
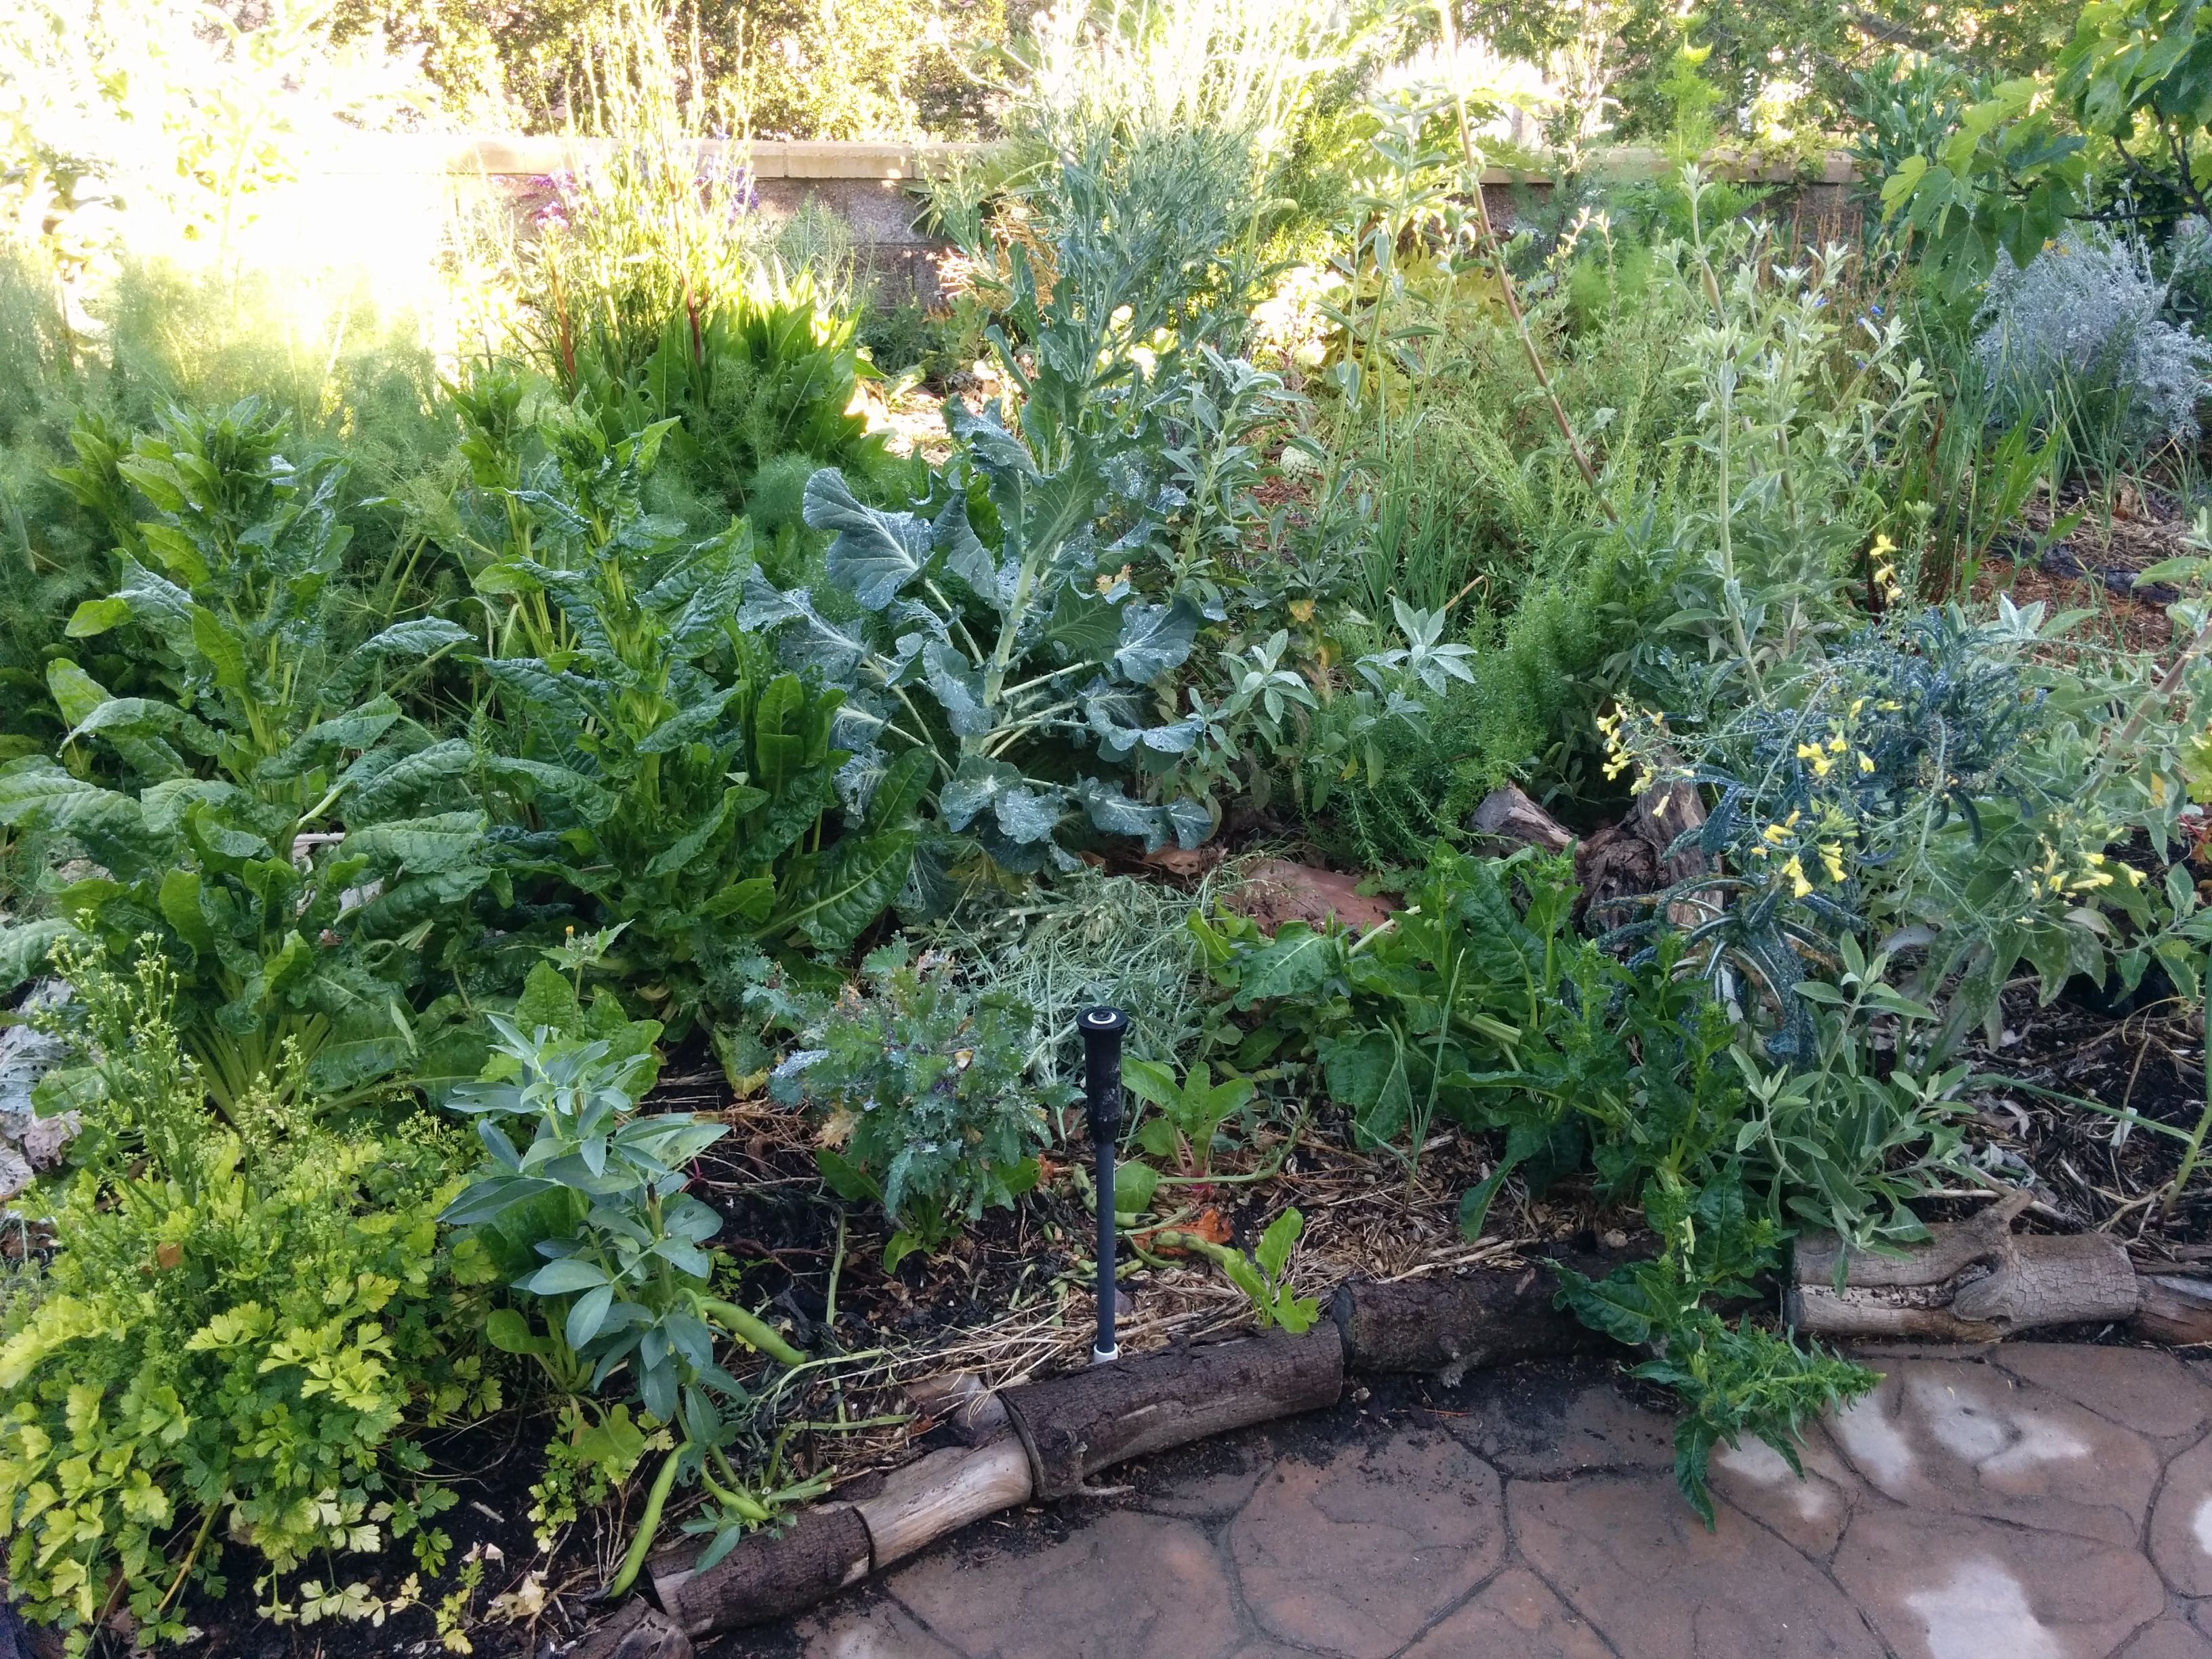
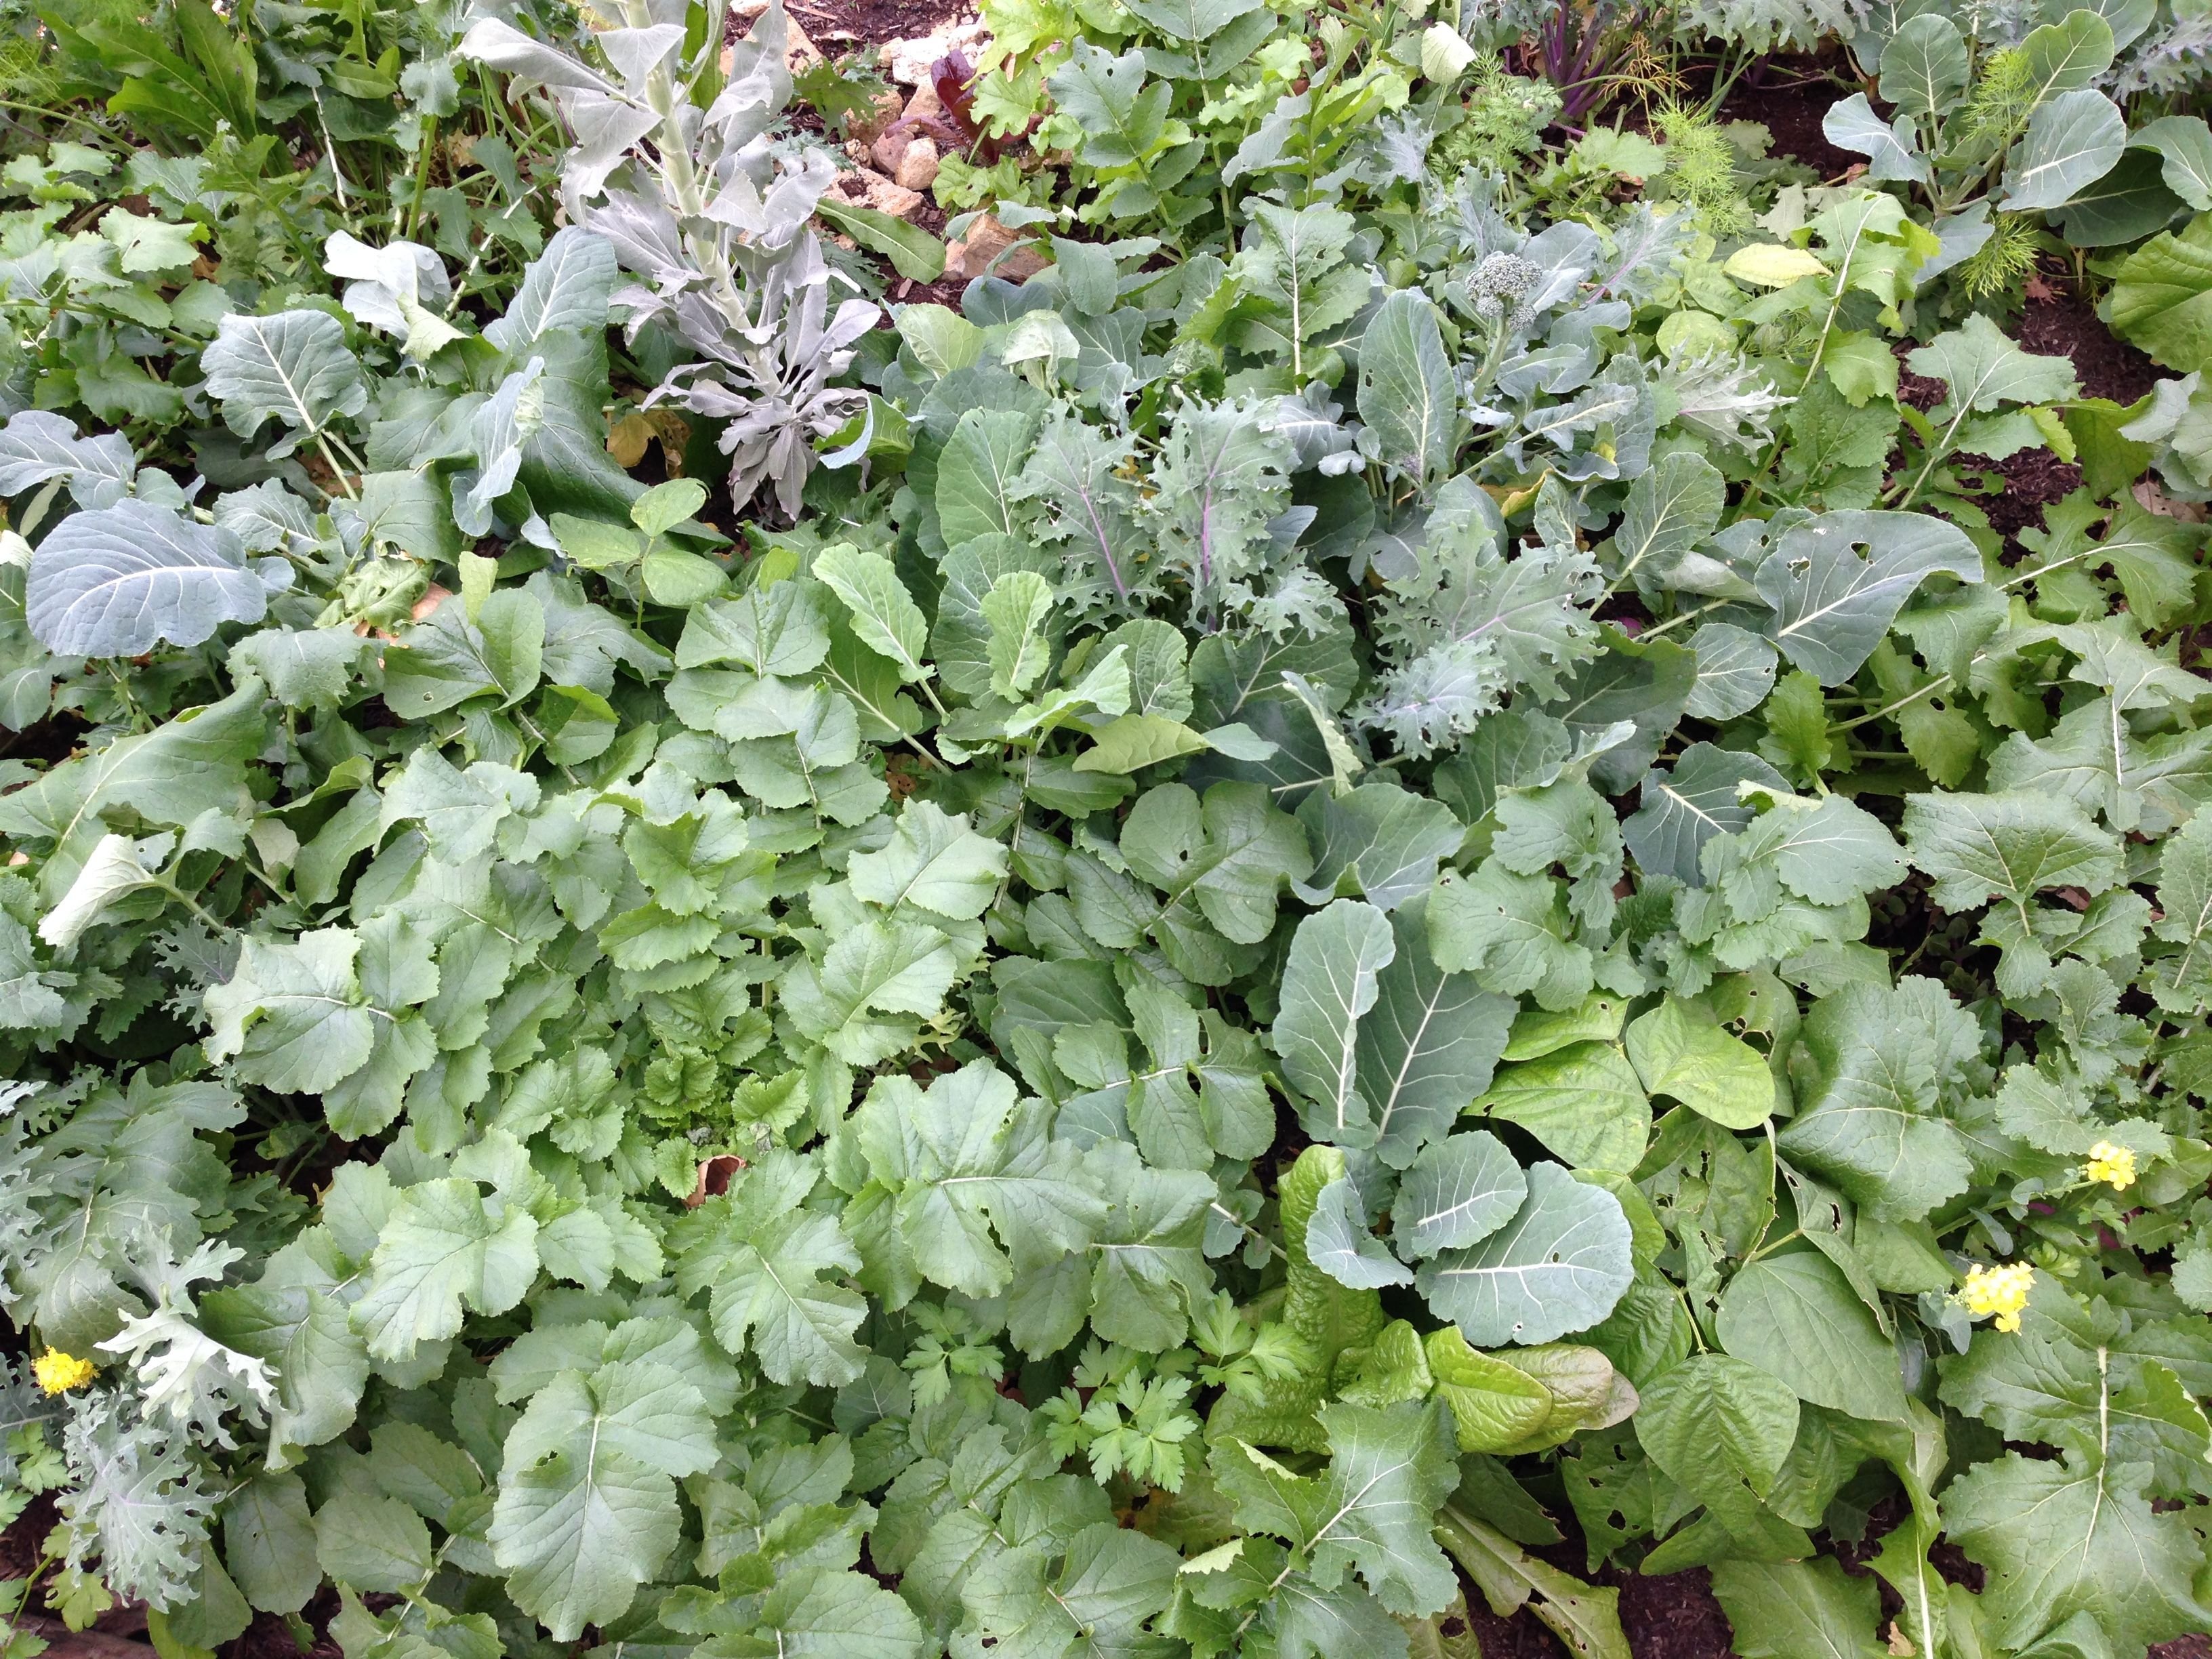
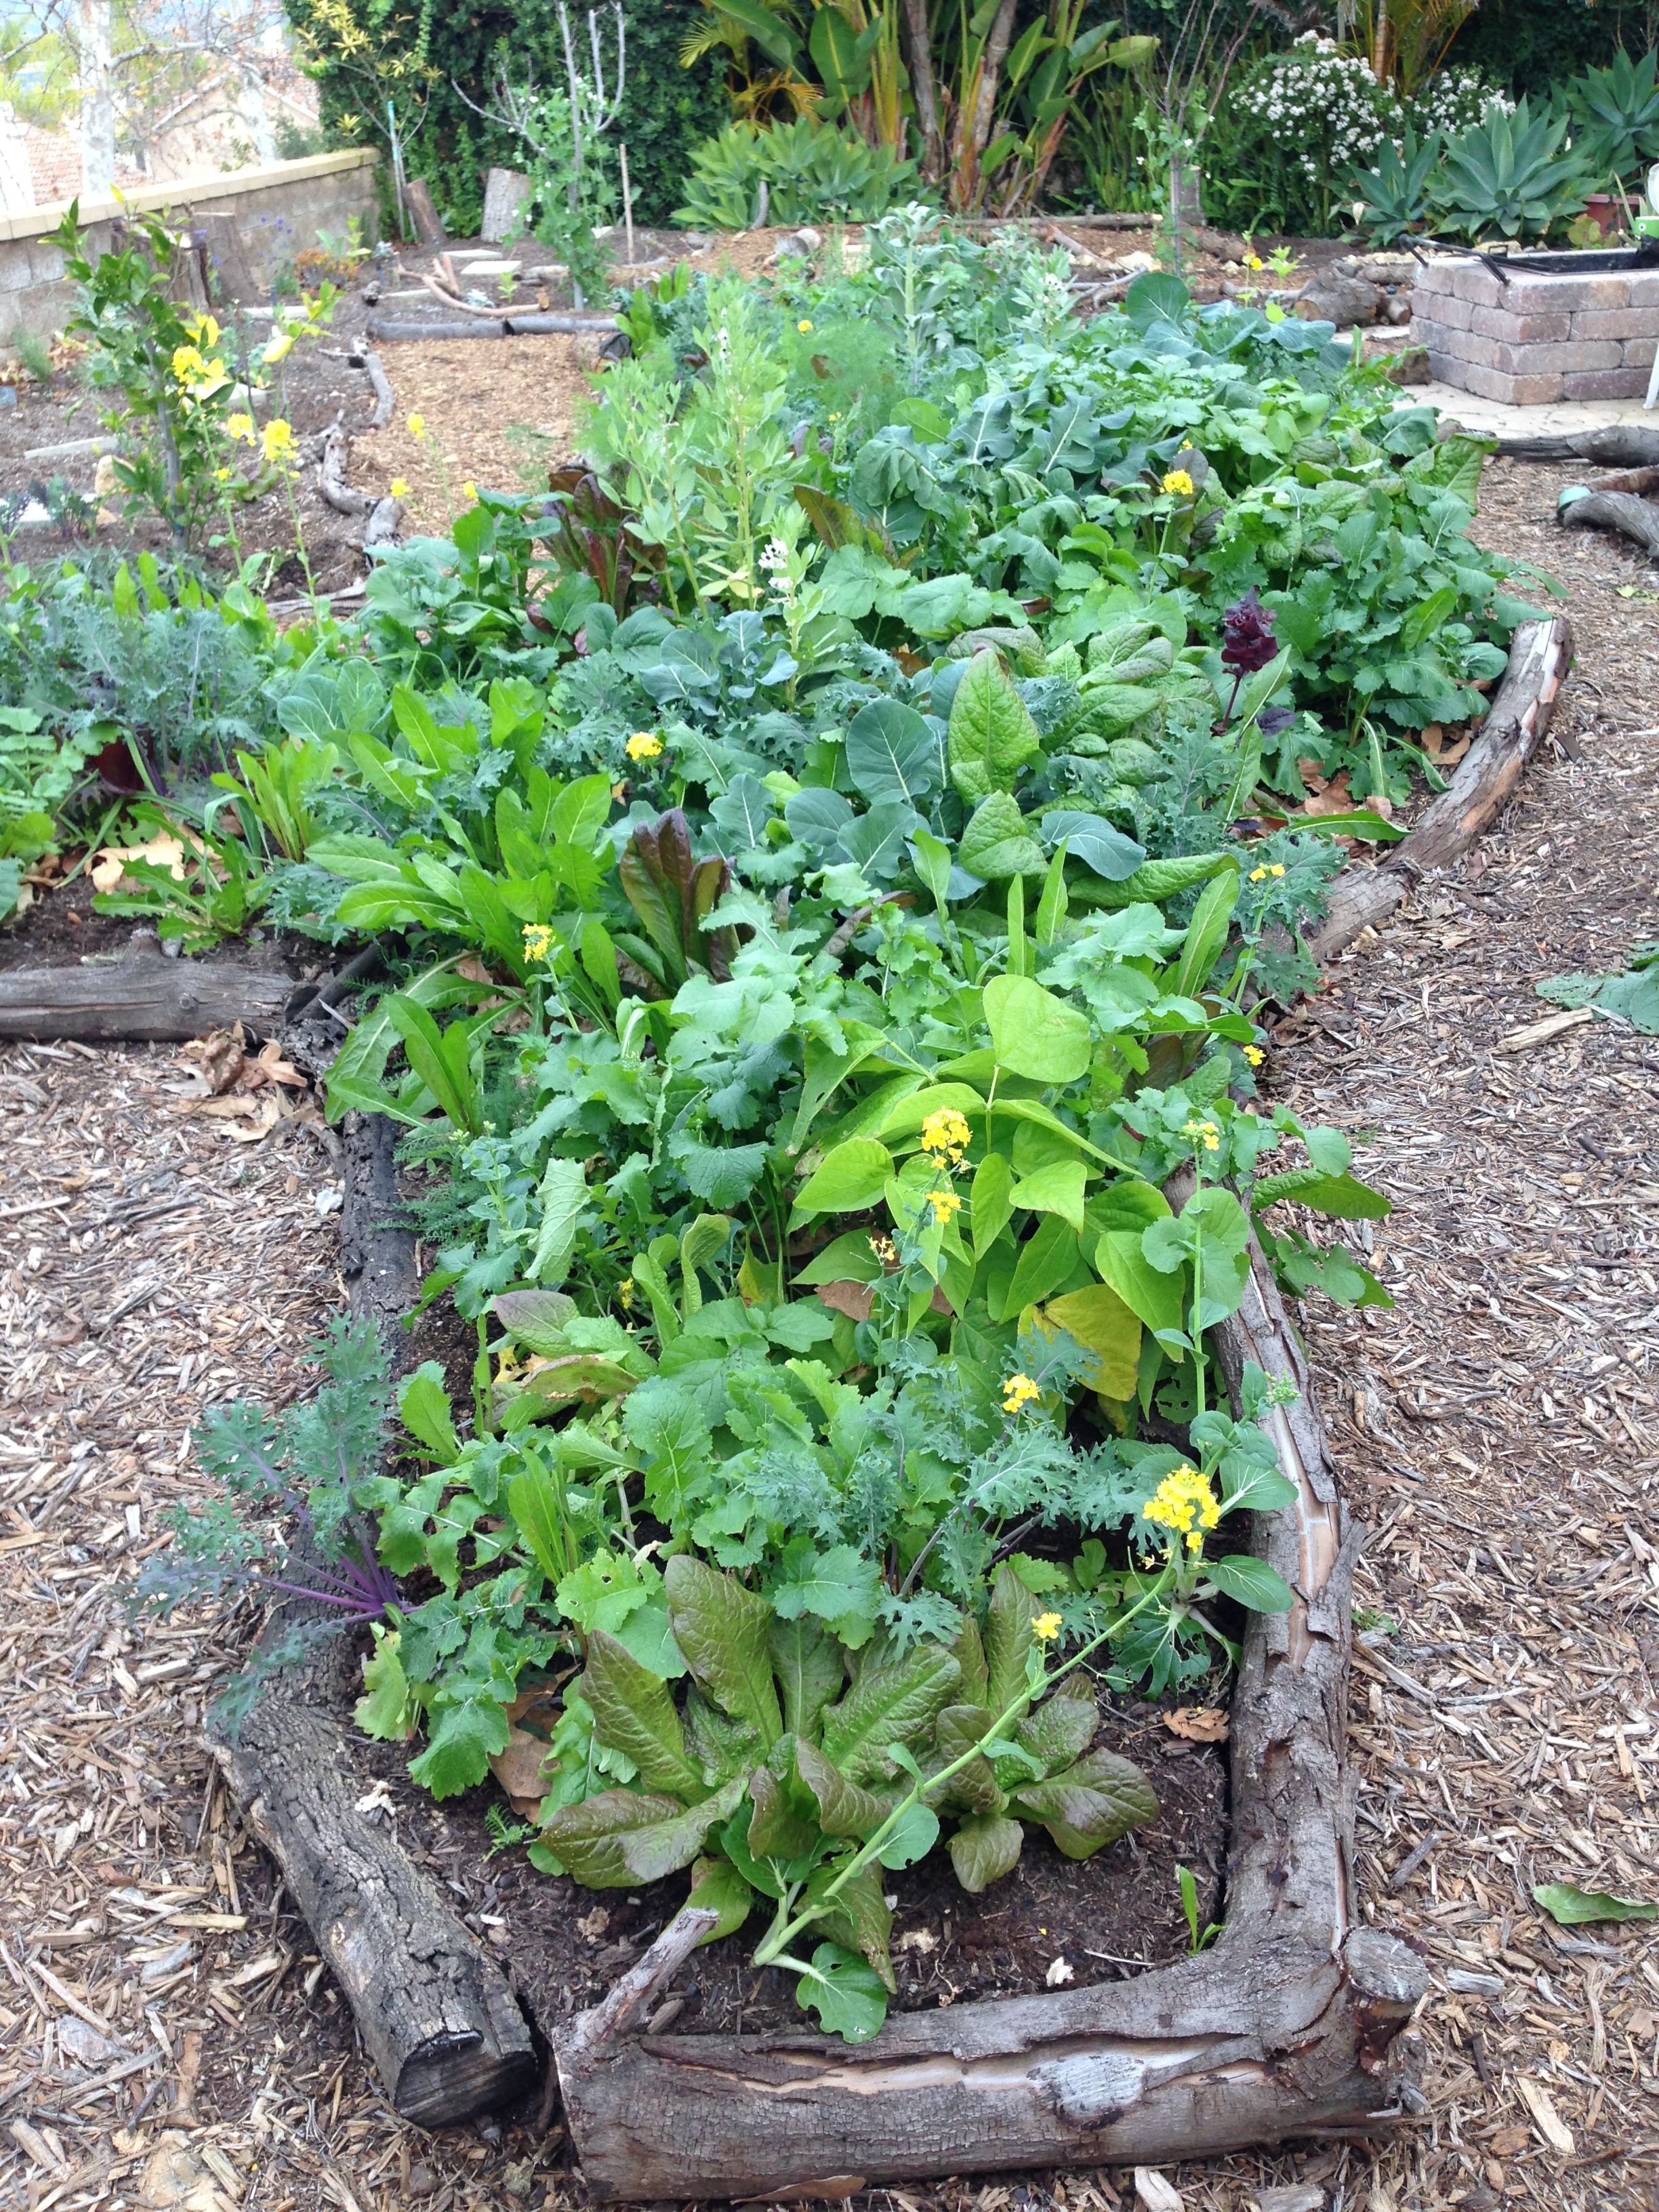
Add Perennials
Initially adding in quick growing perennials and native perennials like sages that will grow large quickly and wide roots that will help start breaking up the tough clay soil. In general combining perennials with your annual veggies in the veggie garden helps support the veggie growth and creates a rich, more robust soil life and food web.

Native Landscaping
Native plants help create a sense of place, add habitat for wildlife, reduce the need for irrigation and help improve the soil. Consider going to the local native plants nursery and talking to the staff about native plants that might meet your garden design criteria and while providing a healthier, more beautiful and sustainable ecosystem in your backyard.
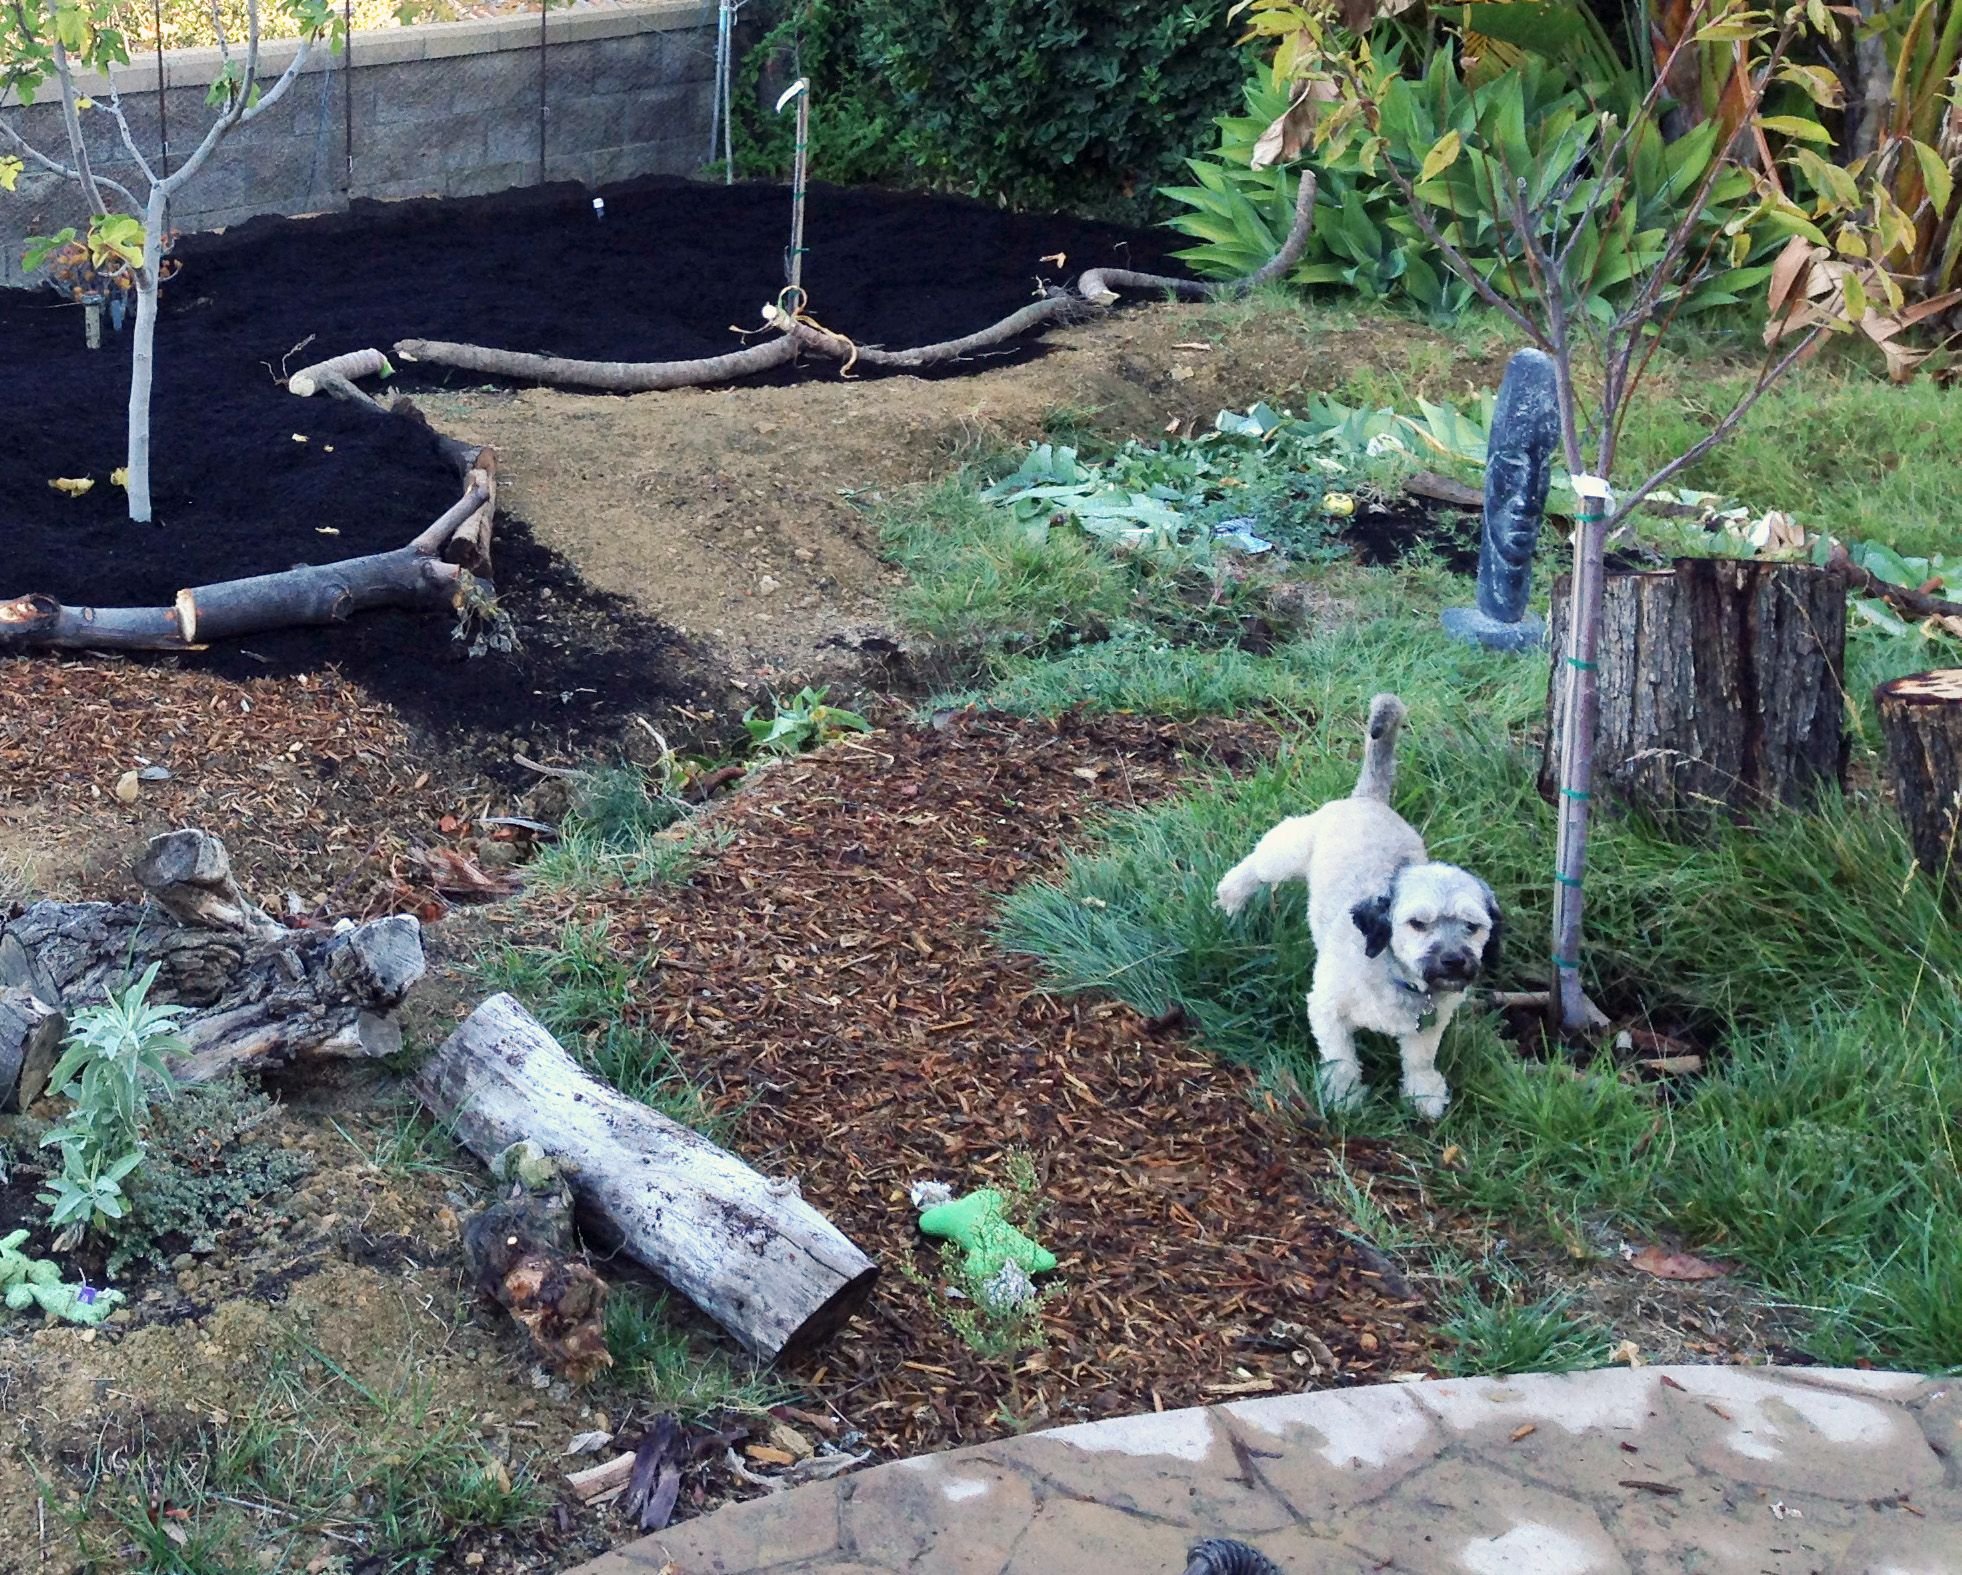
Pathways First
When creating the new garden design, plan pathways first (consider at least one main path that is 3-4 ft wide for easy wheelbarrow access), then create guilds/combinations of plants throughout the garden. Pathways give access to garden spaces and aesthetic viewpoints. In my case I already had trees in the ground so I designed my pathways around the trees for access. When designing pathways I was considering how far I could reach from the pathways. Once the pathways were designed and in place, it was easy to use the remaining space to create veggie and perennial plant beds.
You'll notice my pathways are quite close to the young trees. I knew that the trees would eventually grow over the pathways but I didn't want to make my pathways too far from the trees because I also wanted to maximize my veggie bed space. I figured that either I would do some creative pruning as the trees grow or the paths would move over time. I only mention that to remind you to consider the size of trees and shrubs when they are full grown, which is usually quite a bit larger than when it's first planted.
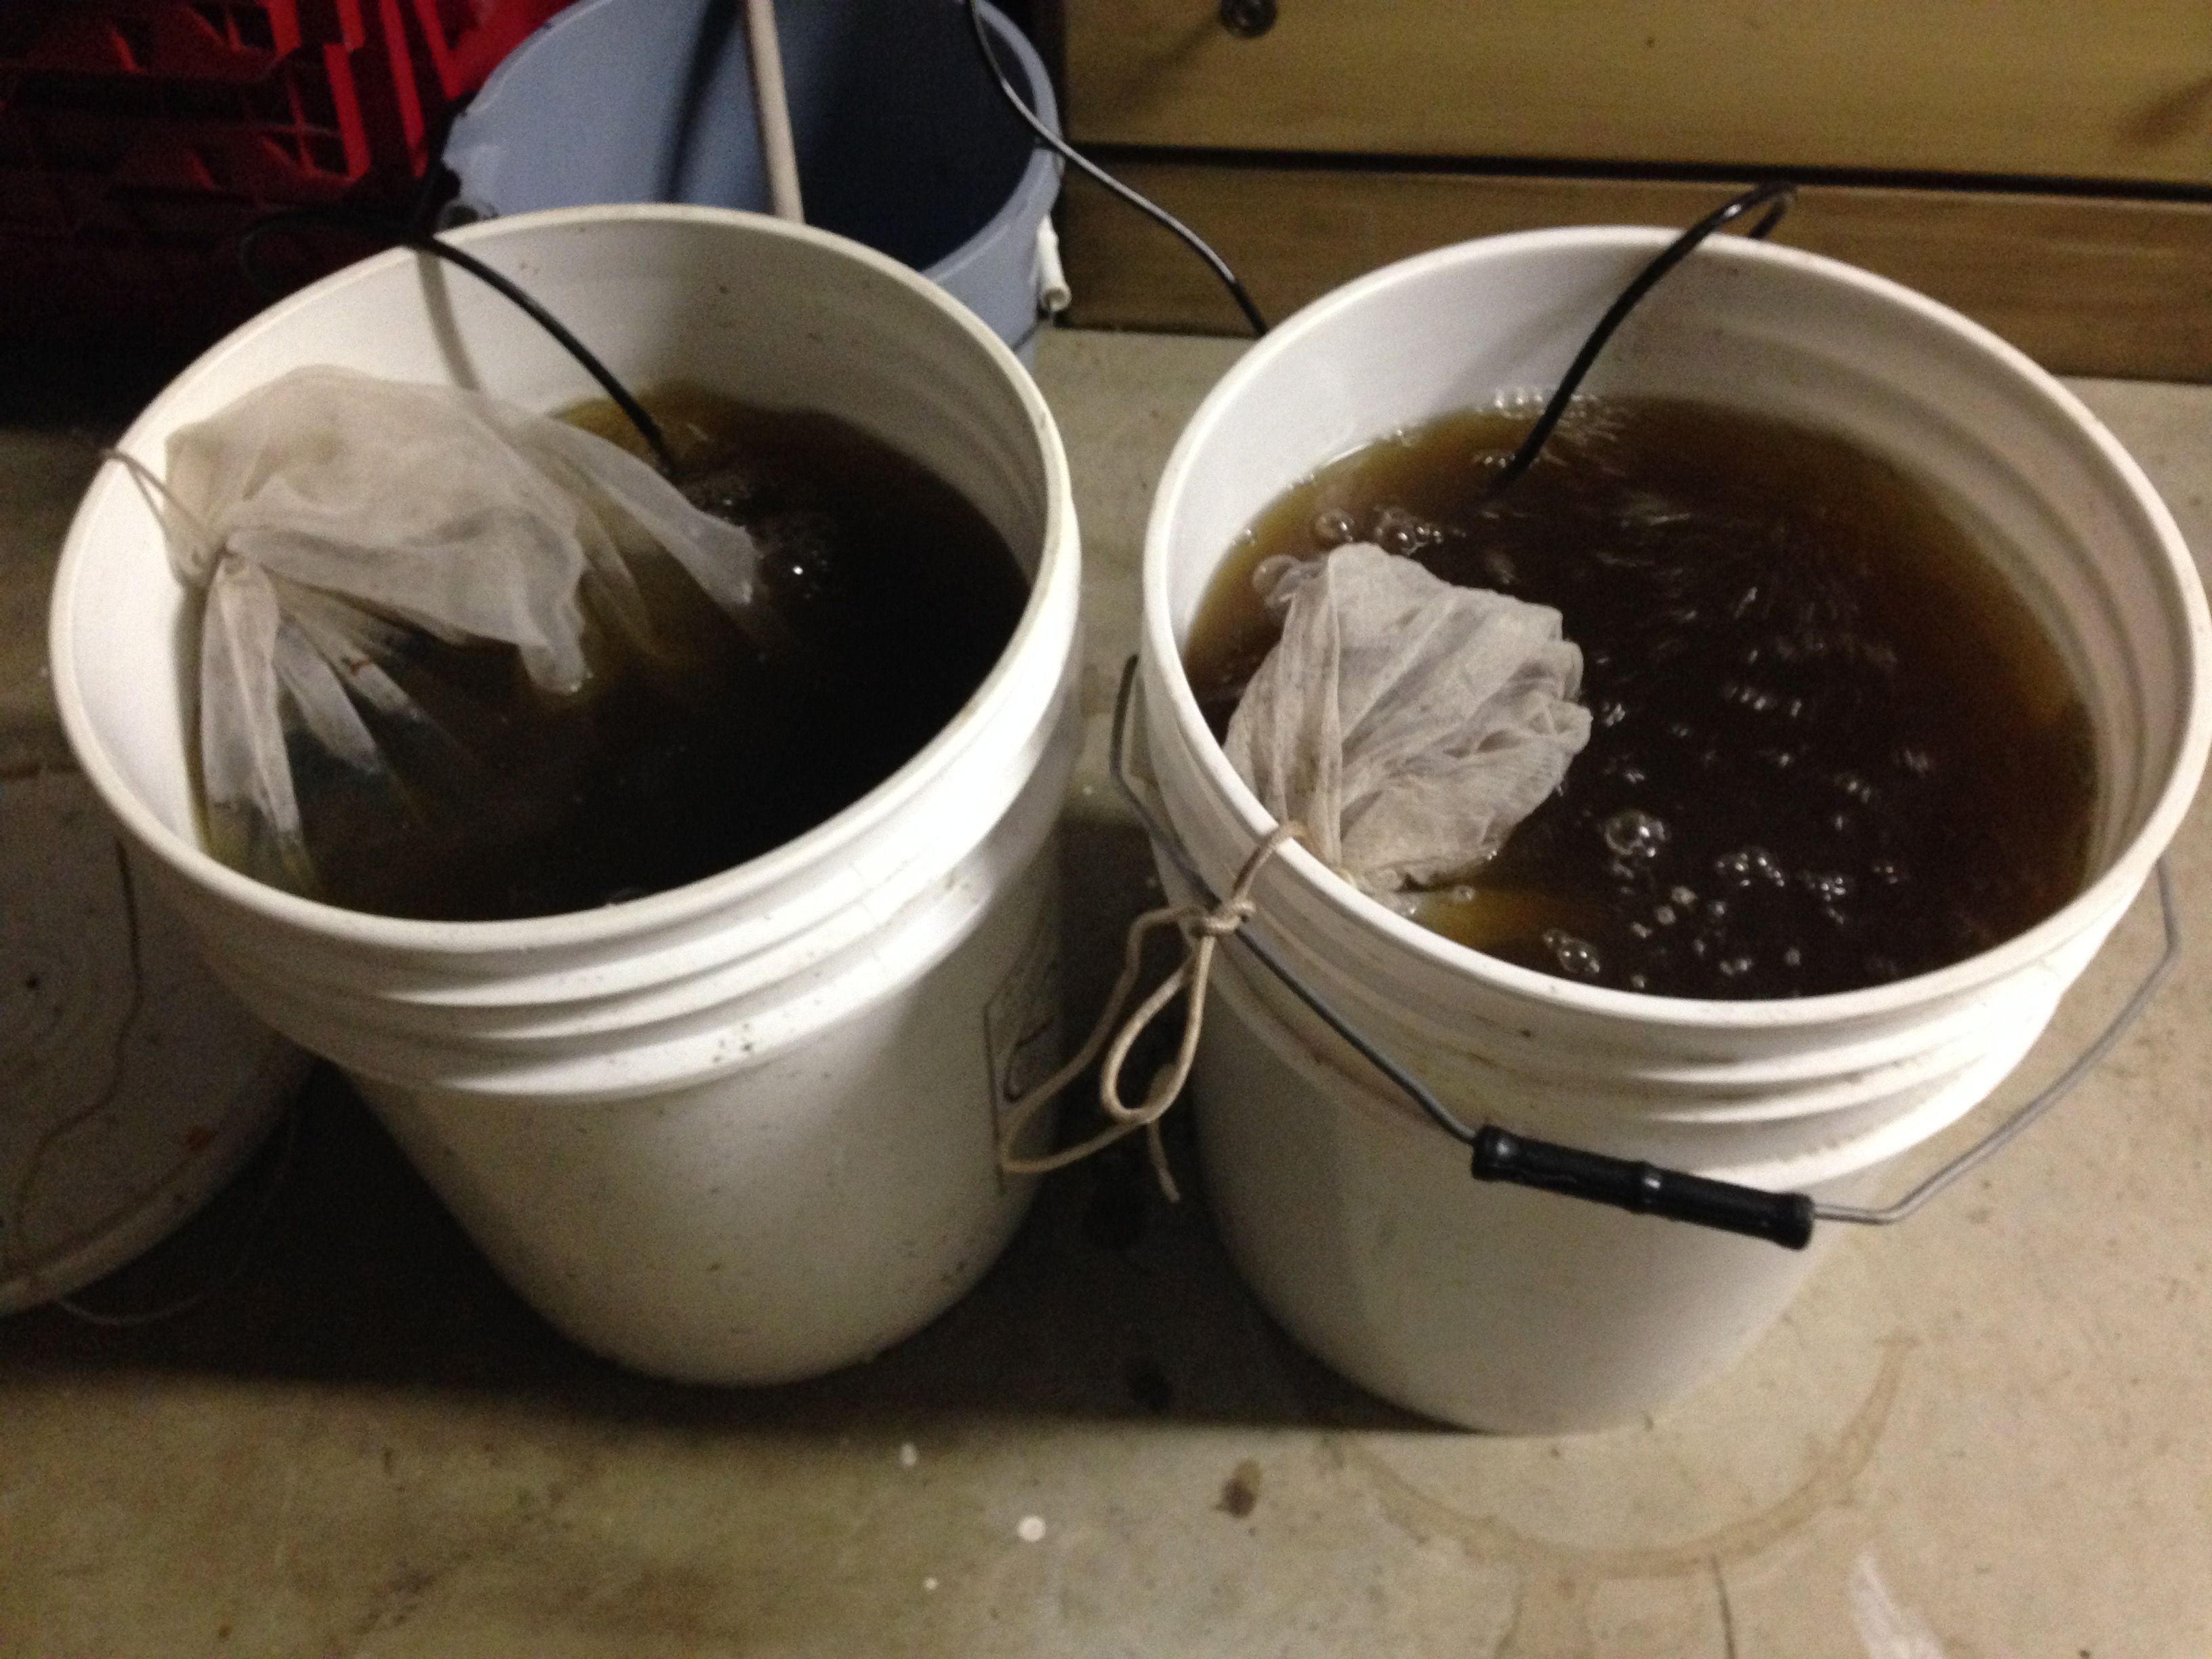
Actively aerated compost tea
Compost tea helped me get life back into my plants that had yellow leaves, were stunted and weren't growing. It took patience and consistently applying compost tea regularly, usually at least two times a week. Within about 1 month I saw a huge improvement.
- 5 gal bucket with rain water or dechlorinated city water (leave outside for 24 hours)
- Add 1 tbsp molasses
- Several scoops of compost (w/ microbes) into a fine net sack, stocking or paint strainer
- Fish tank aerator with stone at the bottom of the bucket
- Brew for 13 hours
- Brew for maximum 2 times
Pour/spray compost tea onto plants, seedlings & soil around them.
Full recipe and details found here.
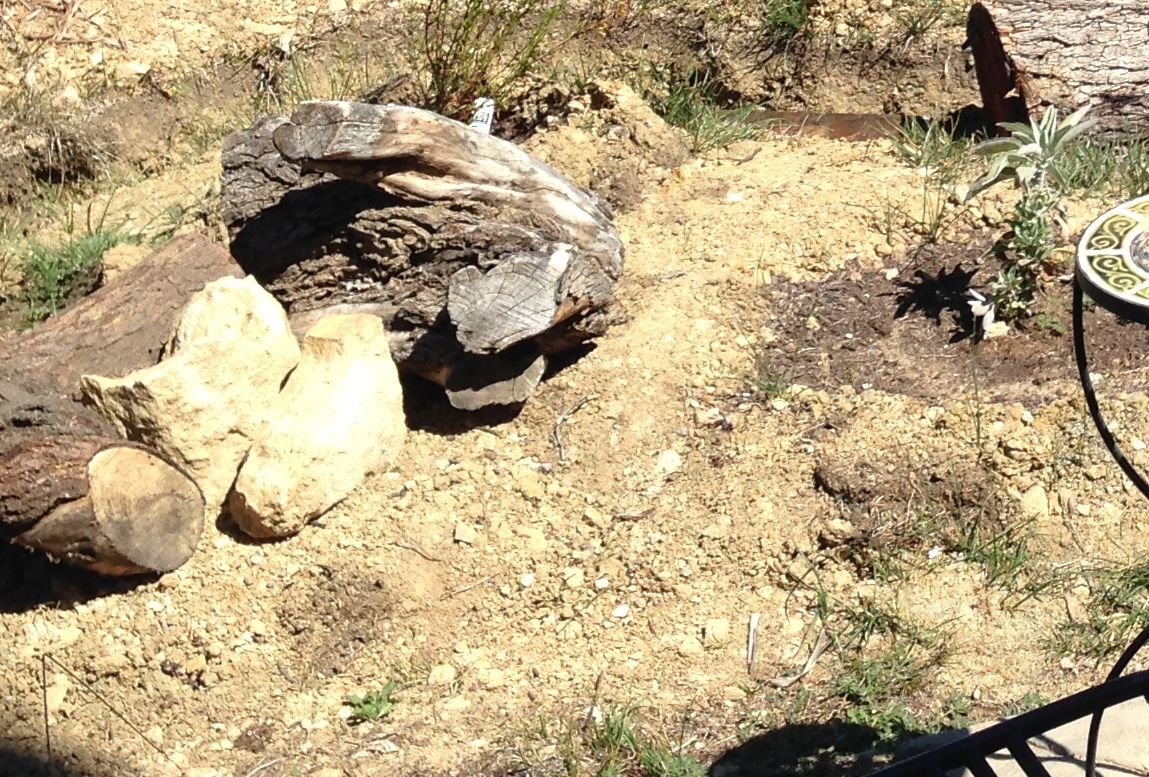
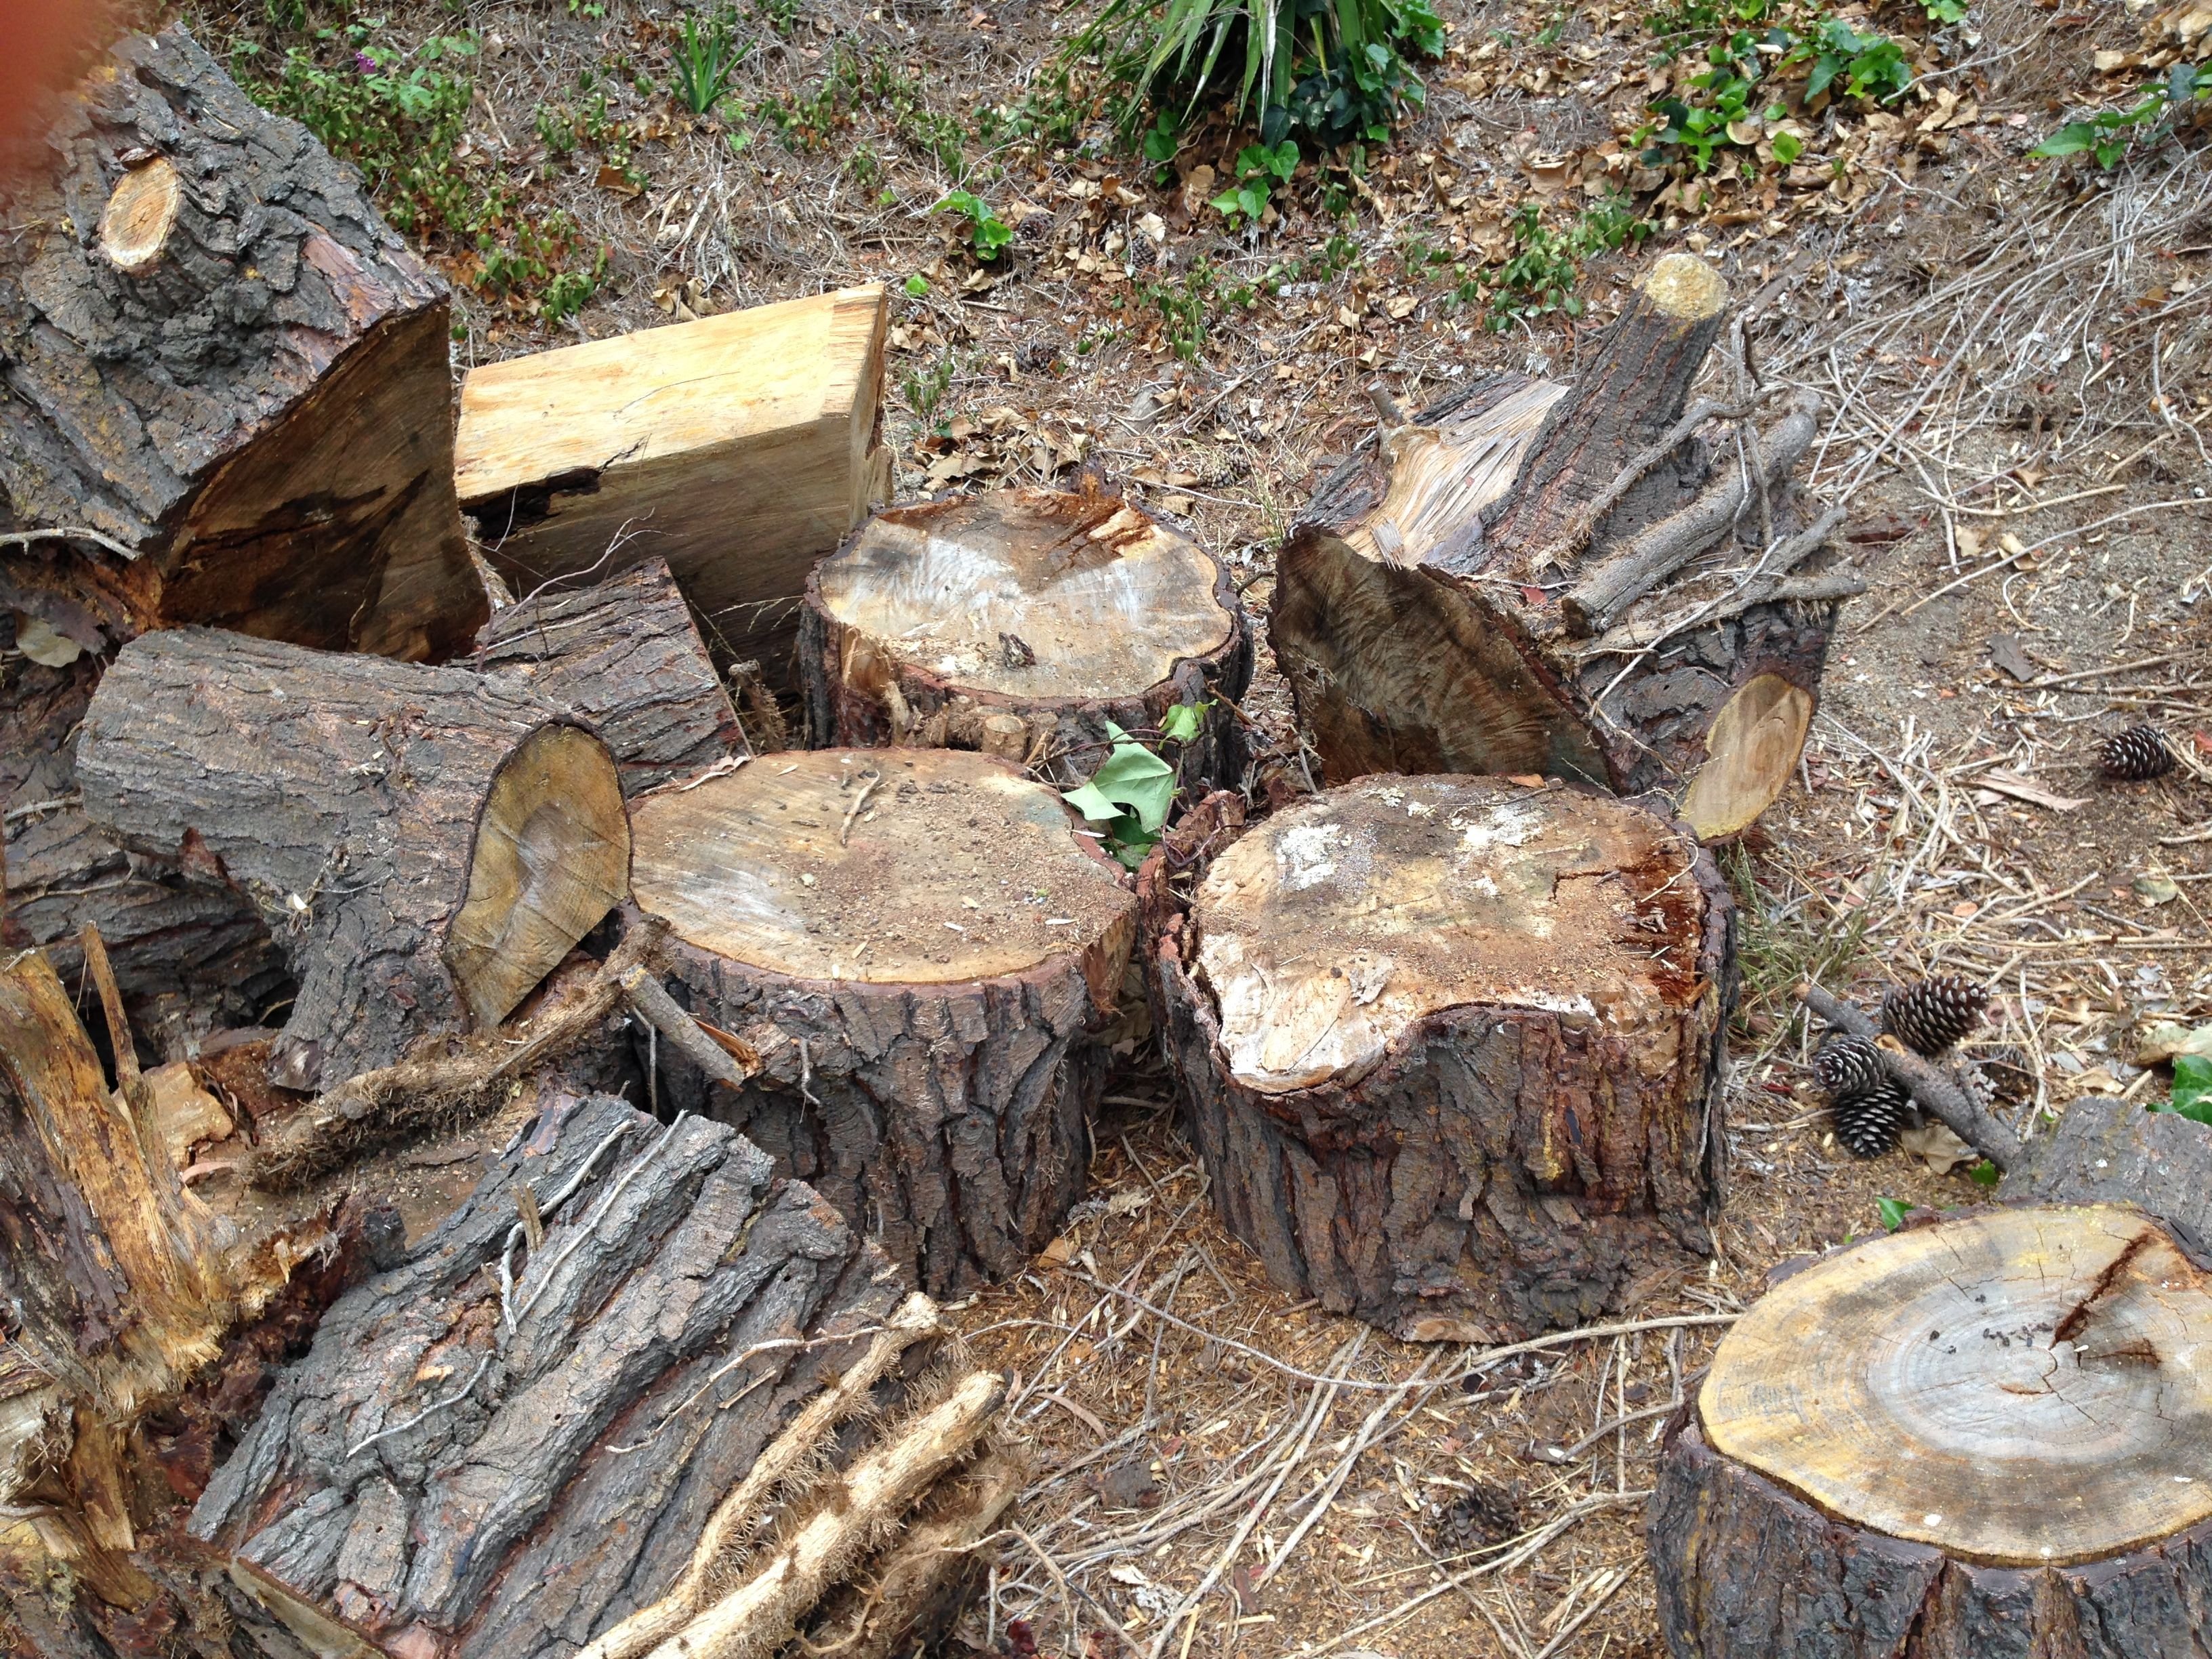
Bury Wood Near Perennial Root Zones
Bury wood in the ground. Whether prunings from your trees and shrubs or logs of wood scavenged on craigslist or from your neighbors. Wood will decompose and give food and habitat for your tree and shrub roots. It will also absorb moisture and help hold water for your plants during dry times. Wood can be buried in the ground next to or under new tree plantings, or it can be buried next to the root zone of existing trees.
I buried a lot of logs and scrap wood around in the garden. Some of these stumps were too big to bury so I split some for firewood and set some around the garden as is for some interesting aesthetics and to create microclimates for plants and habitat under the wood for insects and worms as it rots.
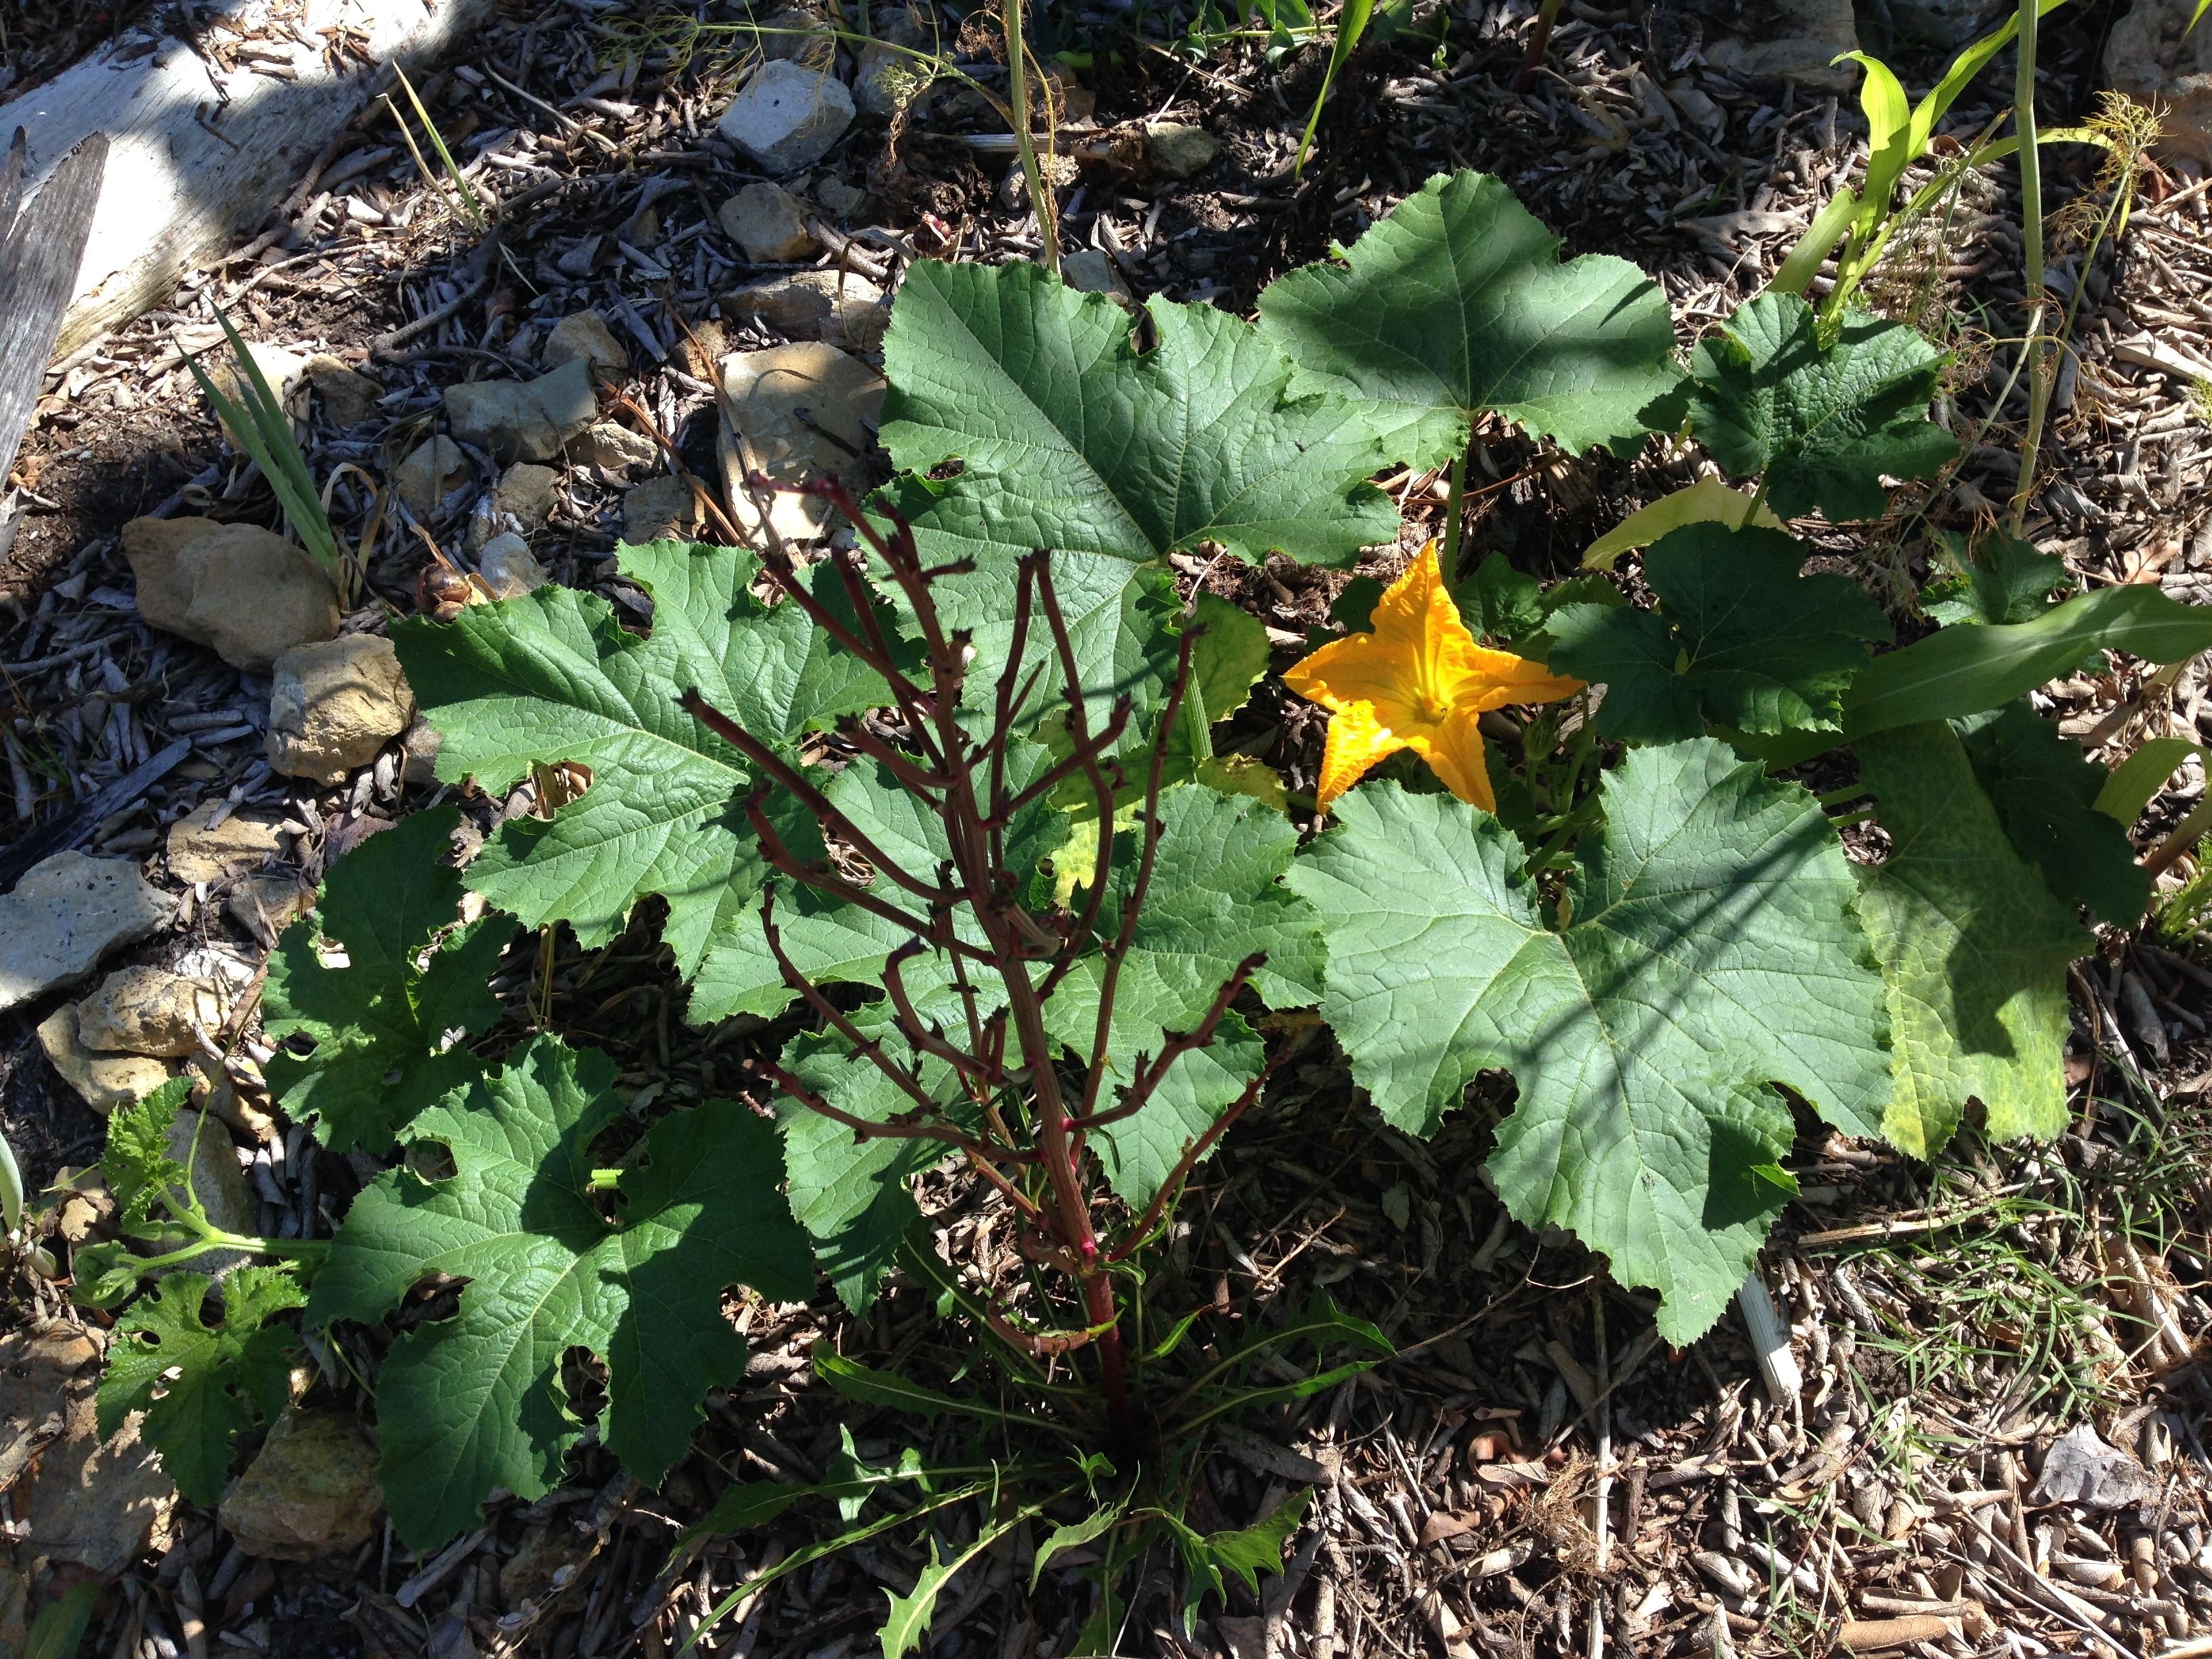
Grow Squash Everywhere
Since sheet mulching an entire yard is a process that takes time. Meantime there is all this open grass area that is not producing food. It could be utilized to grow squash and let them sprawl all over! They would just need some good soil or compost where they are planted to get going, but they can spread from there.
Zoning for Water Requirements
Keeping different plants in different zones of the yard will help reduce over watering. Veggies need the most water so they could be in their own zones. Veggies bordered with Mediterranean shrubs which require less water. Then those shrubs could be bordered with native shrubs and plants which require even less water. This would be the smart approach rather than mixing plants with different water needs.
Don't Throw Away Dog Poop!
You don't want dog poop around your food because it could transmit disease if it's not fully broken down. But if you throw it under your ornamental (non edible) trees, it is free fertilizer and there is no risk of contamination. Don't throw away this valuable resource! Any form of manure (poop) has lots of nitrogen, minerals and trace minerals that can be easily accessed by plants once it is broken down by fungus and insects which deliver it to plant roots.
Use Shade to Your Advantage
On the shady side of the house, plant kiwi vine or passionfruit. Take advantage of this space for growing food. Don't disregard it as being unusable just because it is very shady.
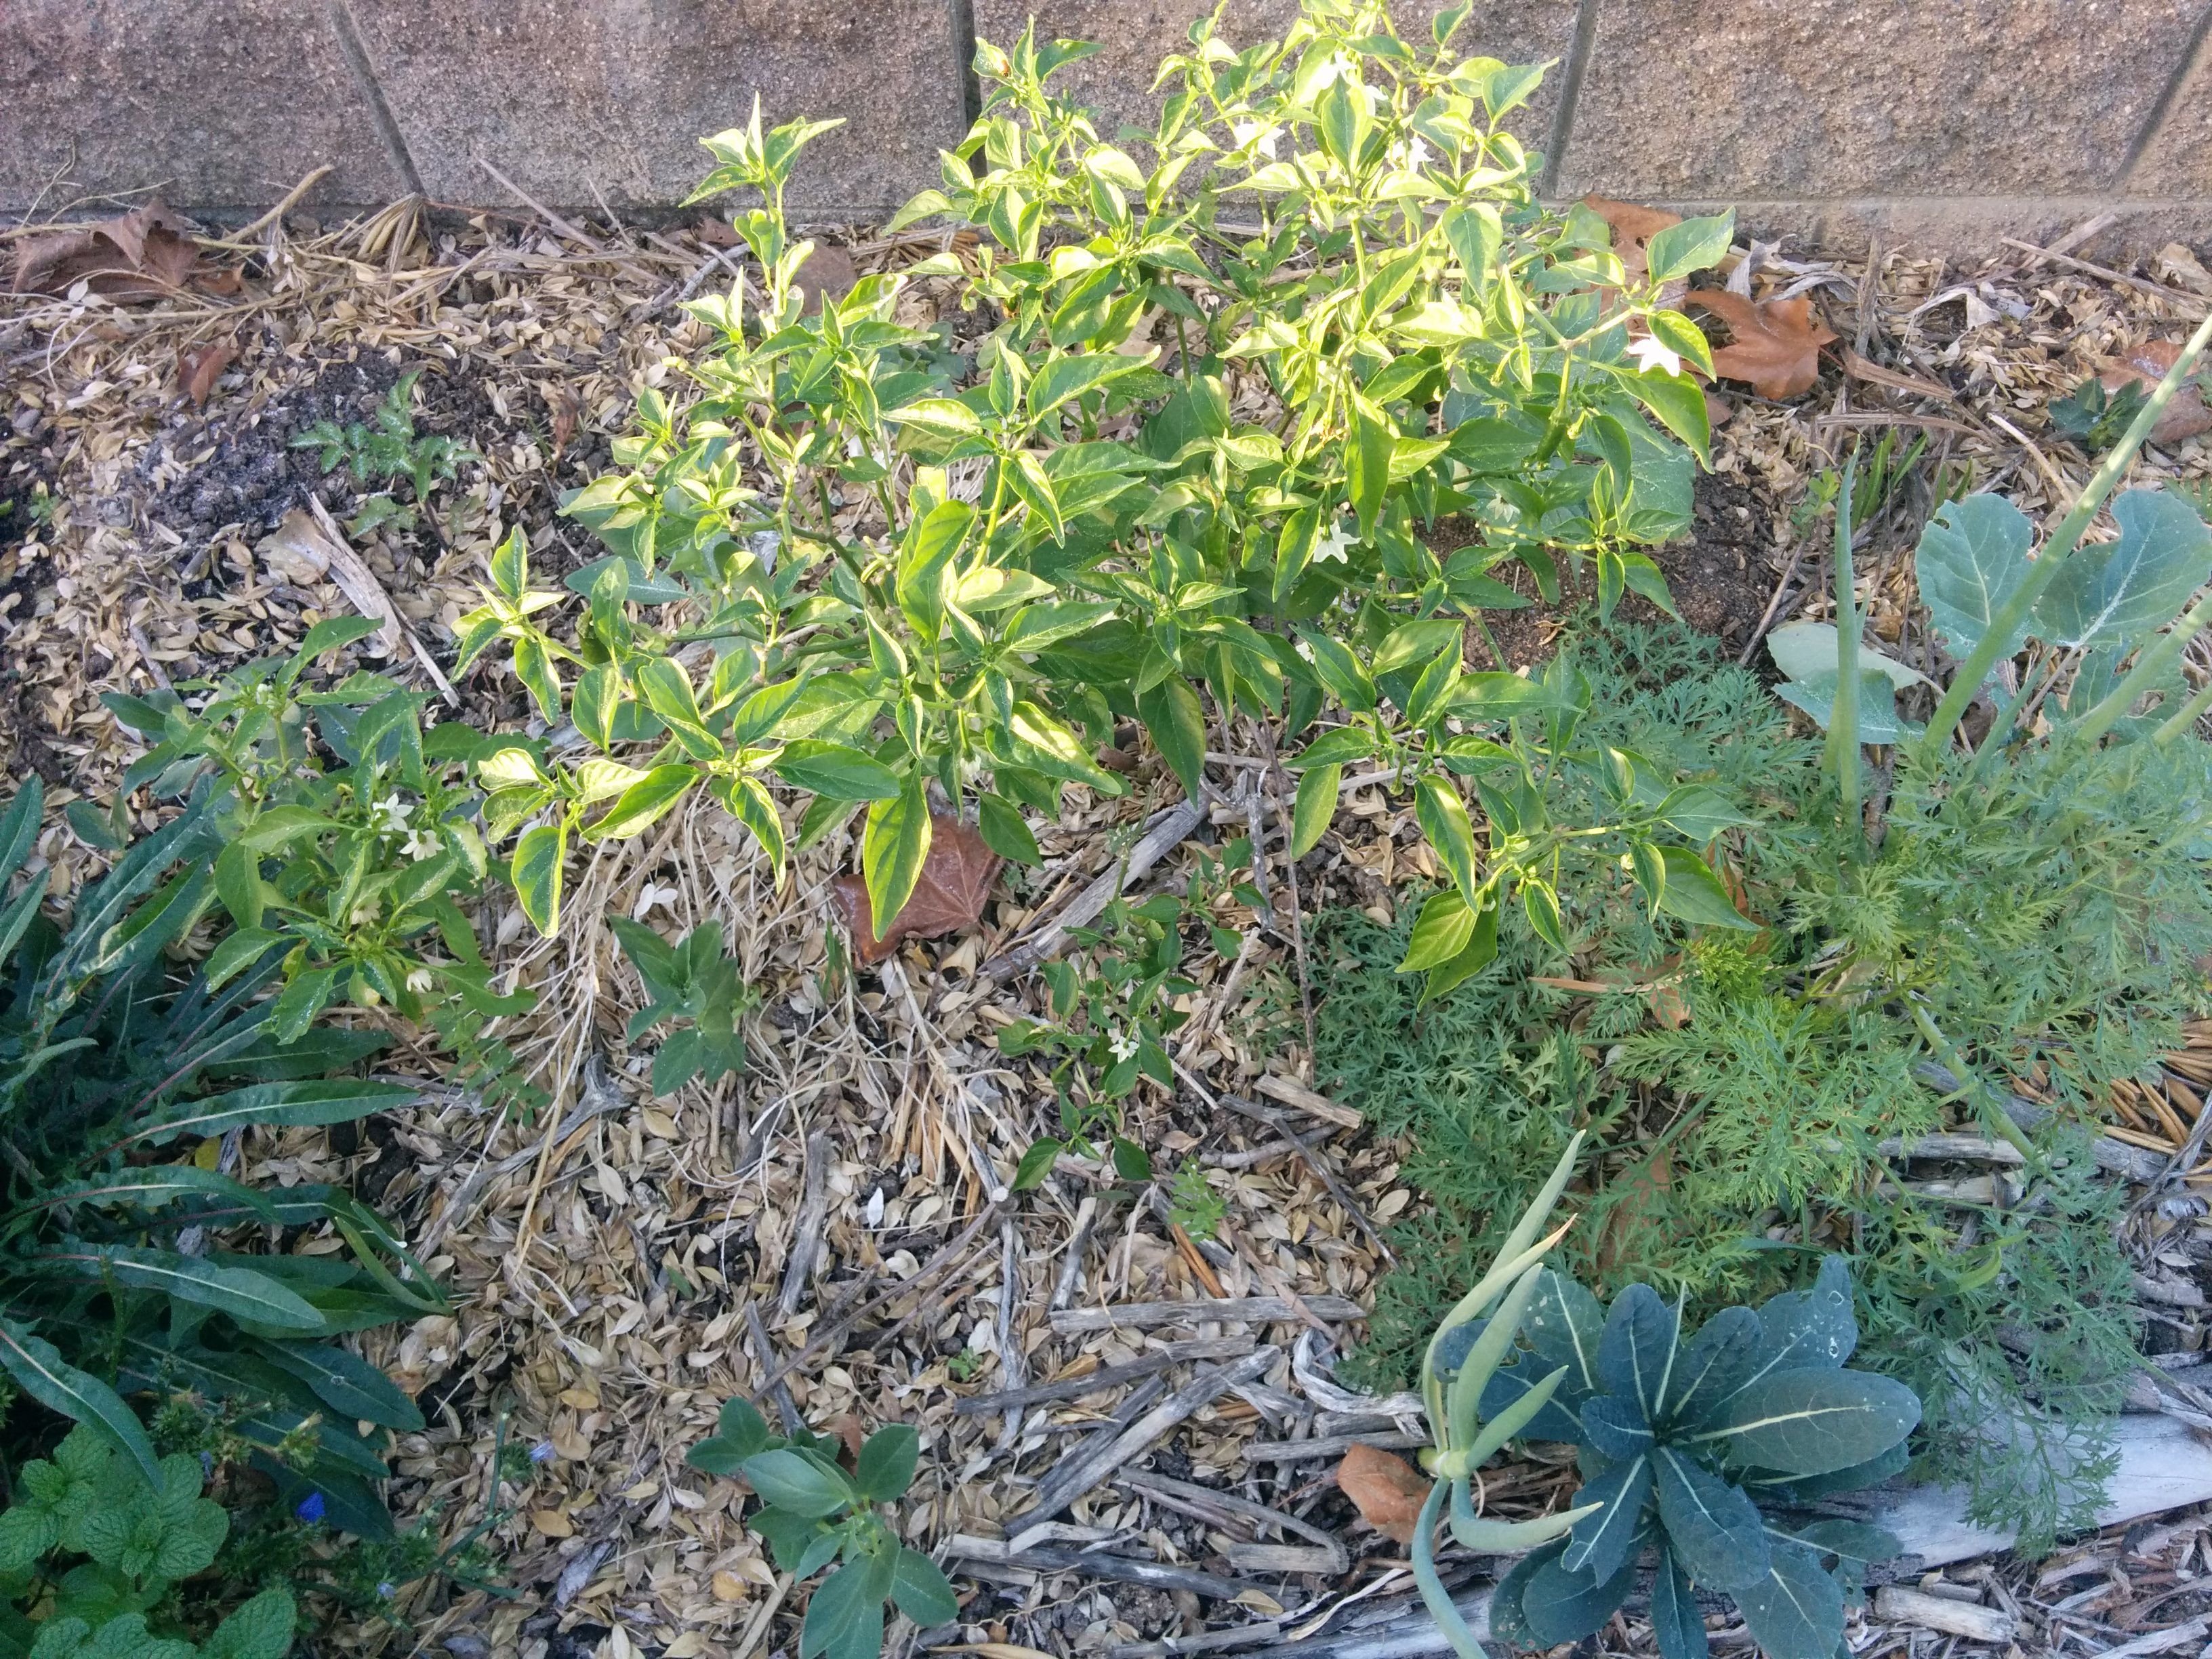
Biodiversity is Wonderful
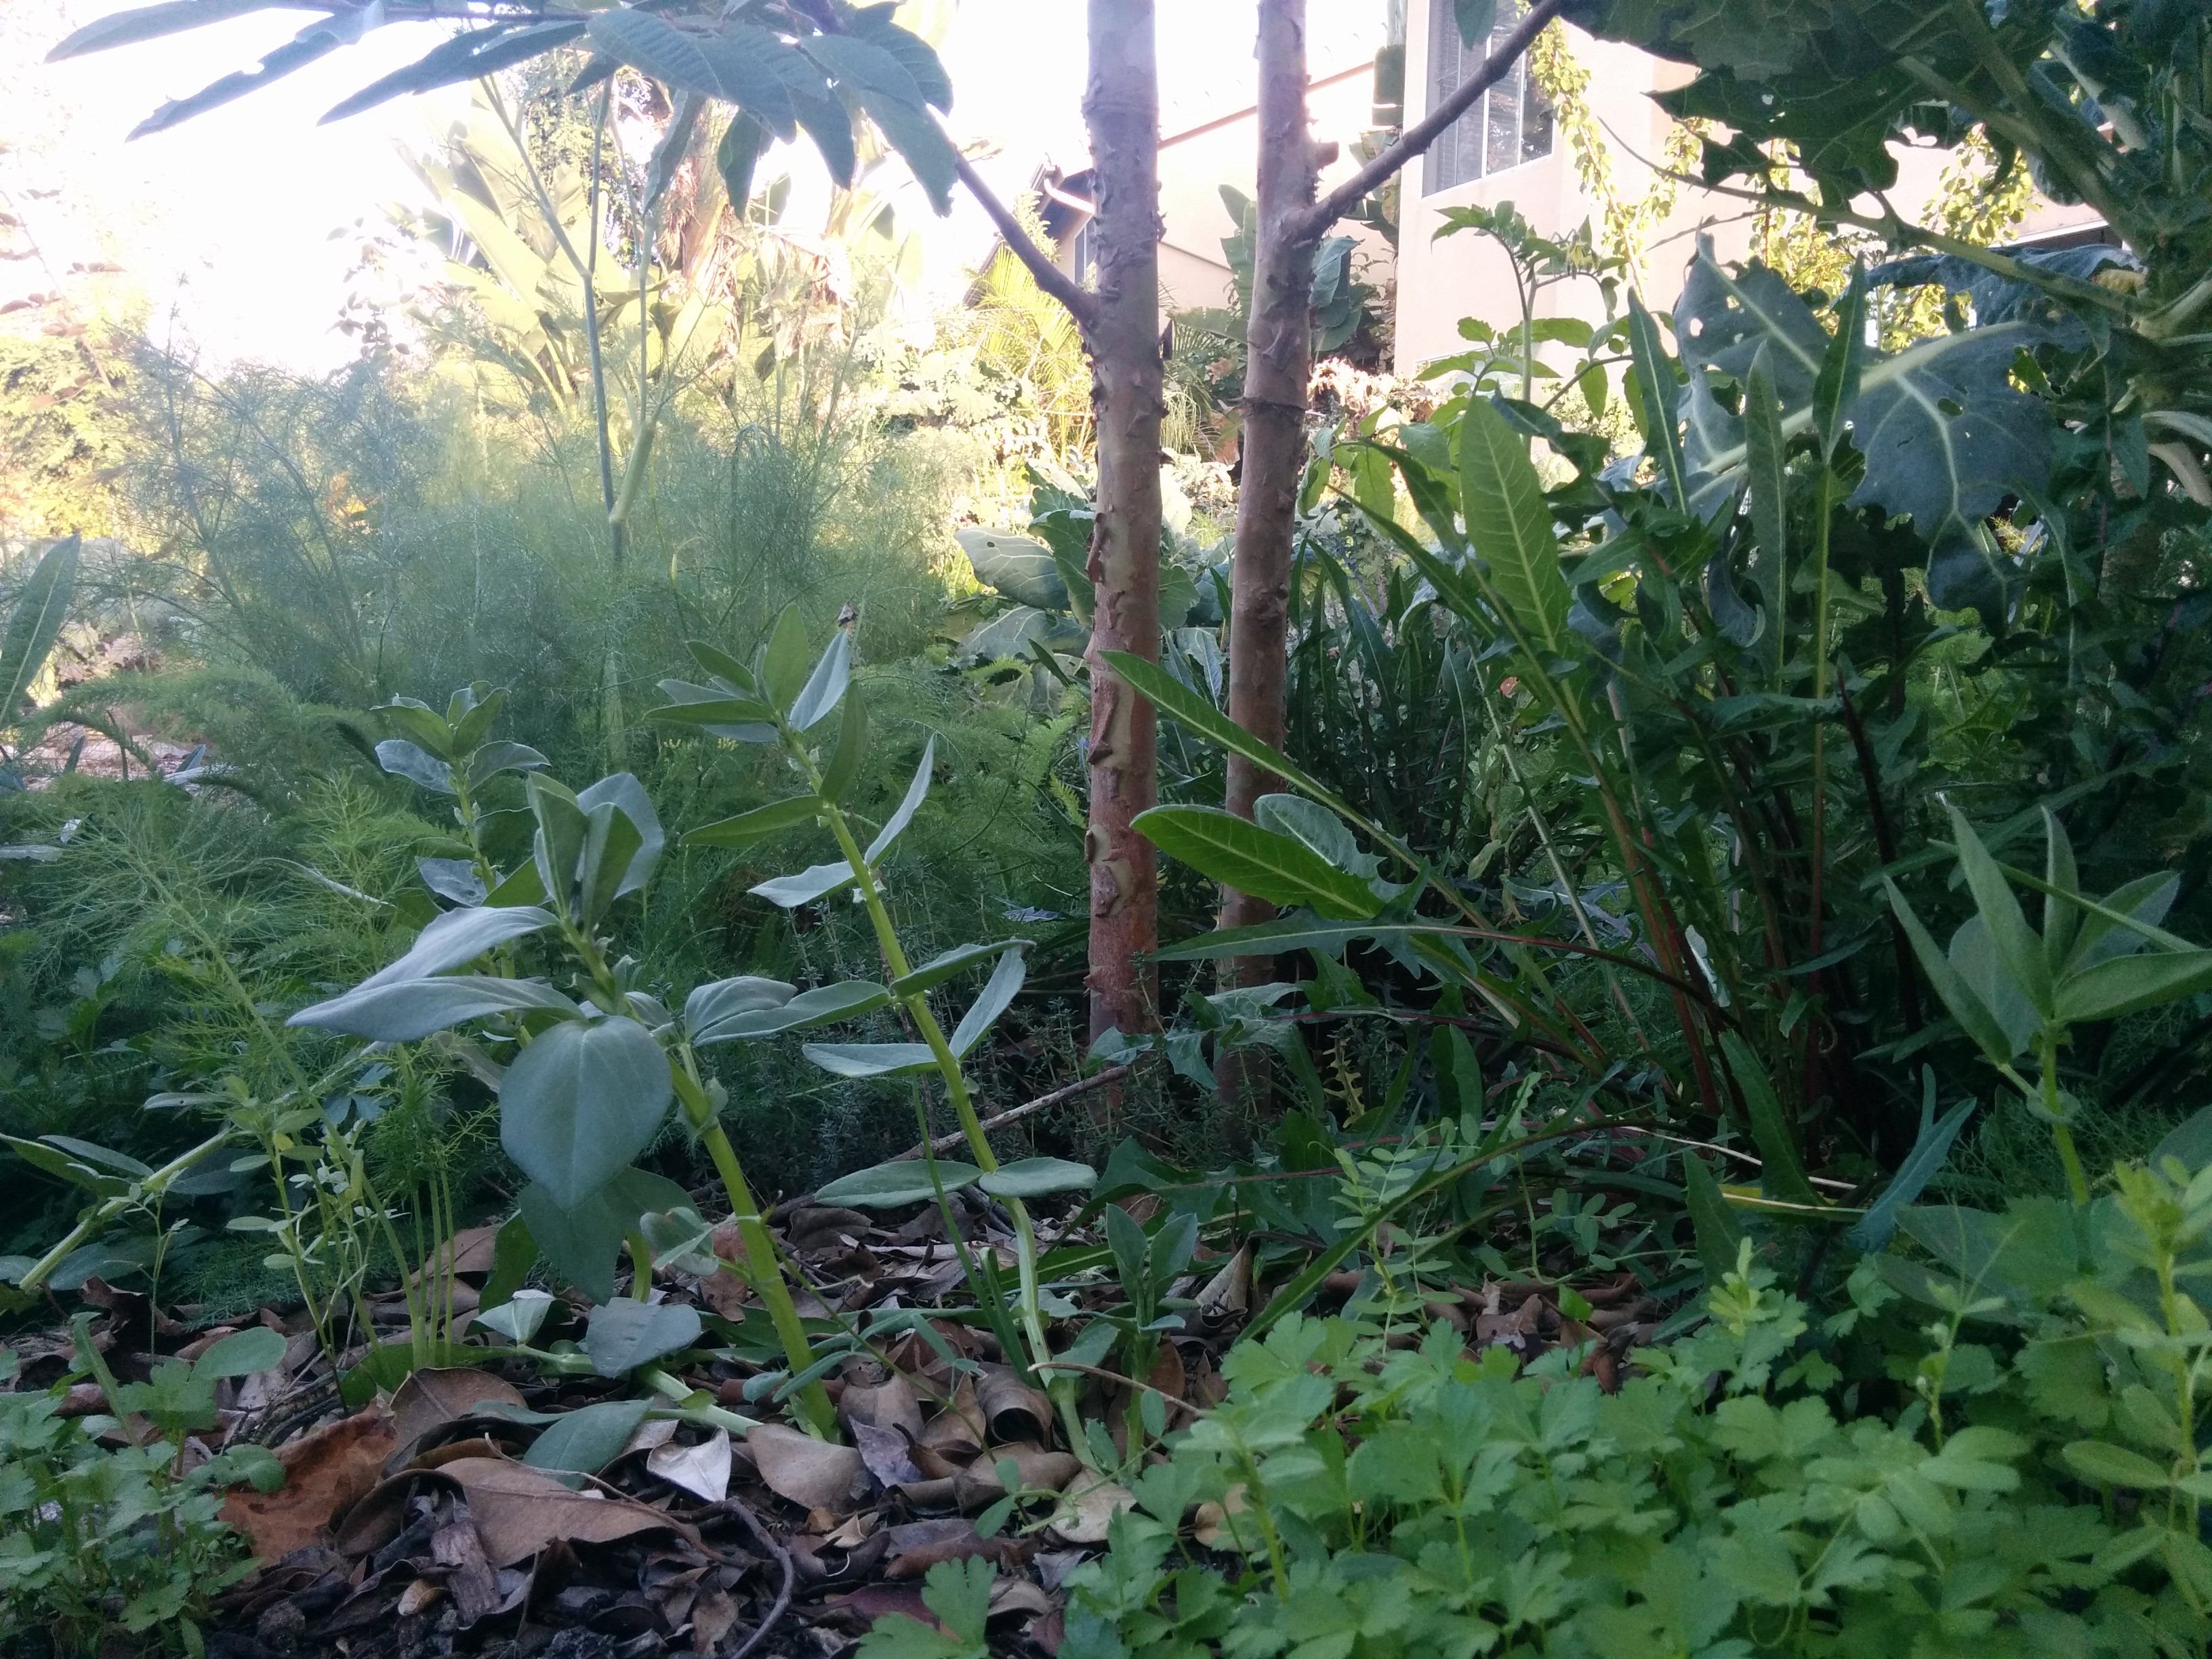
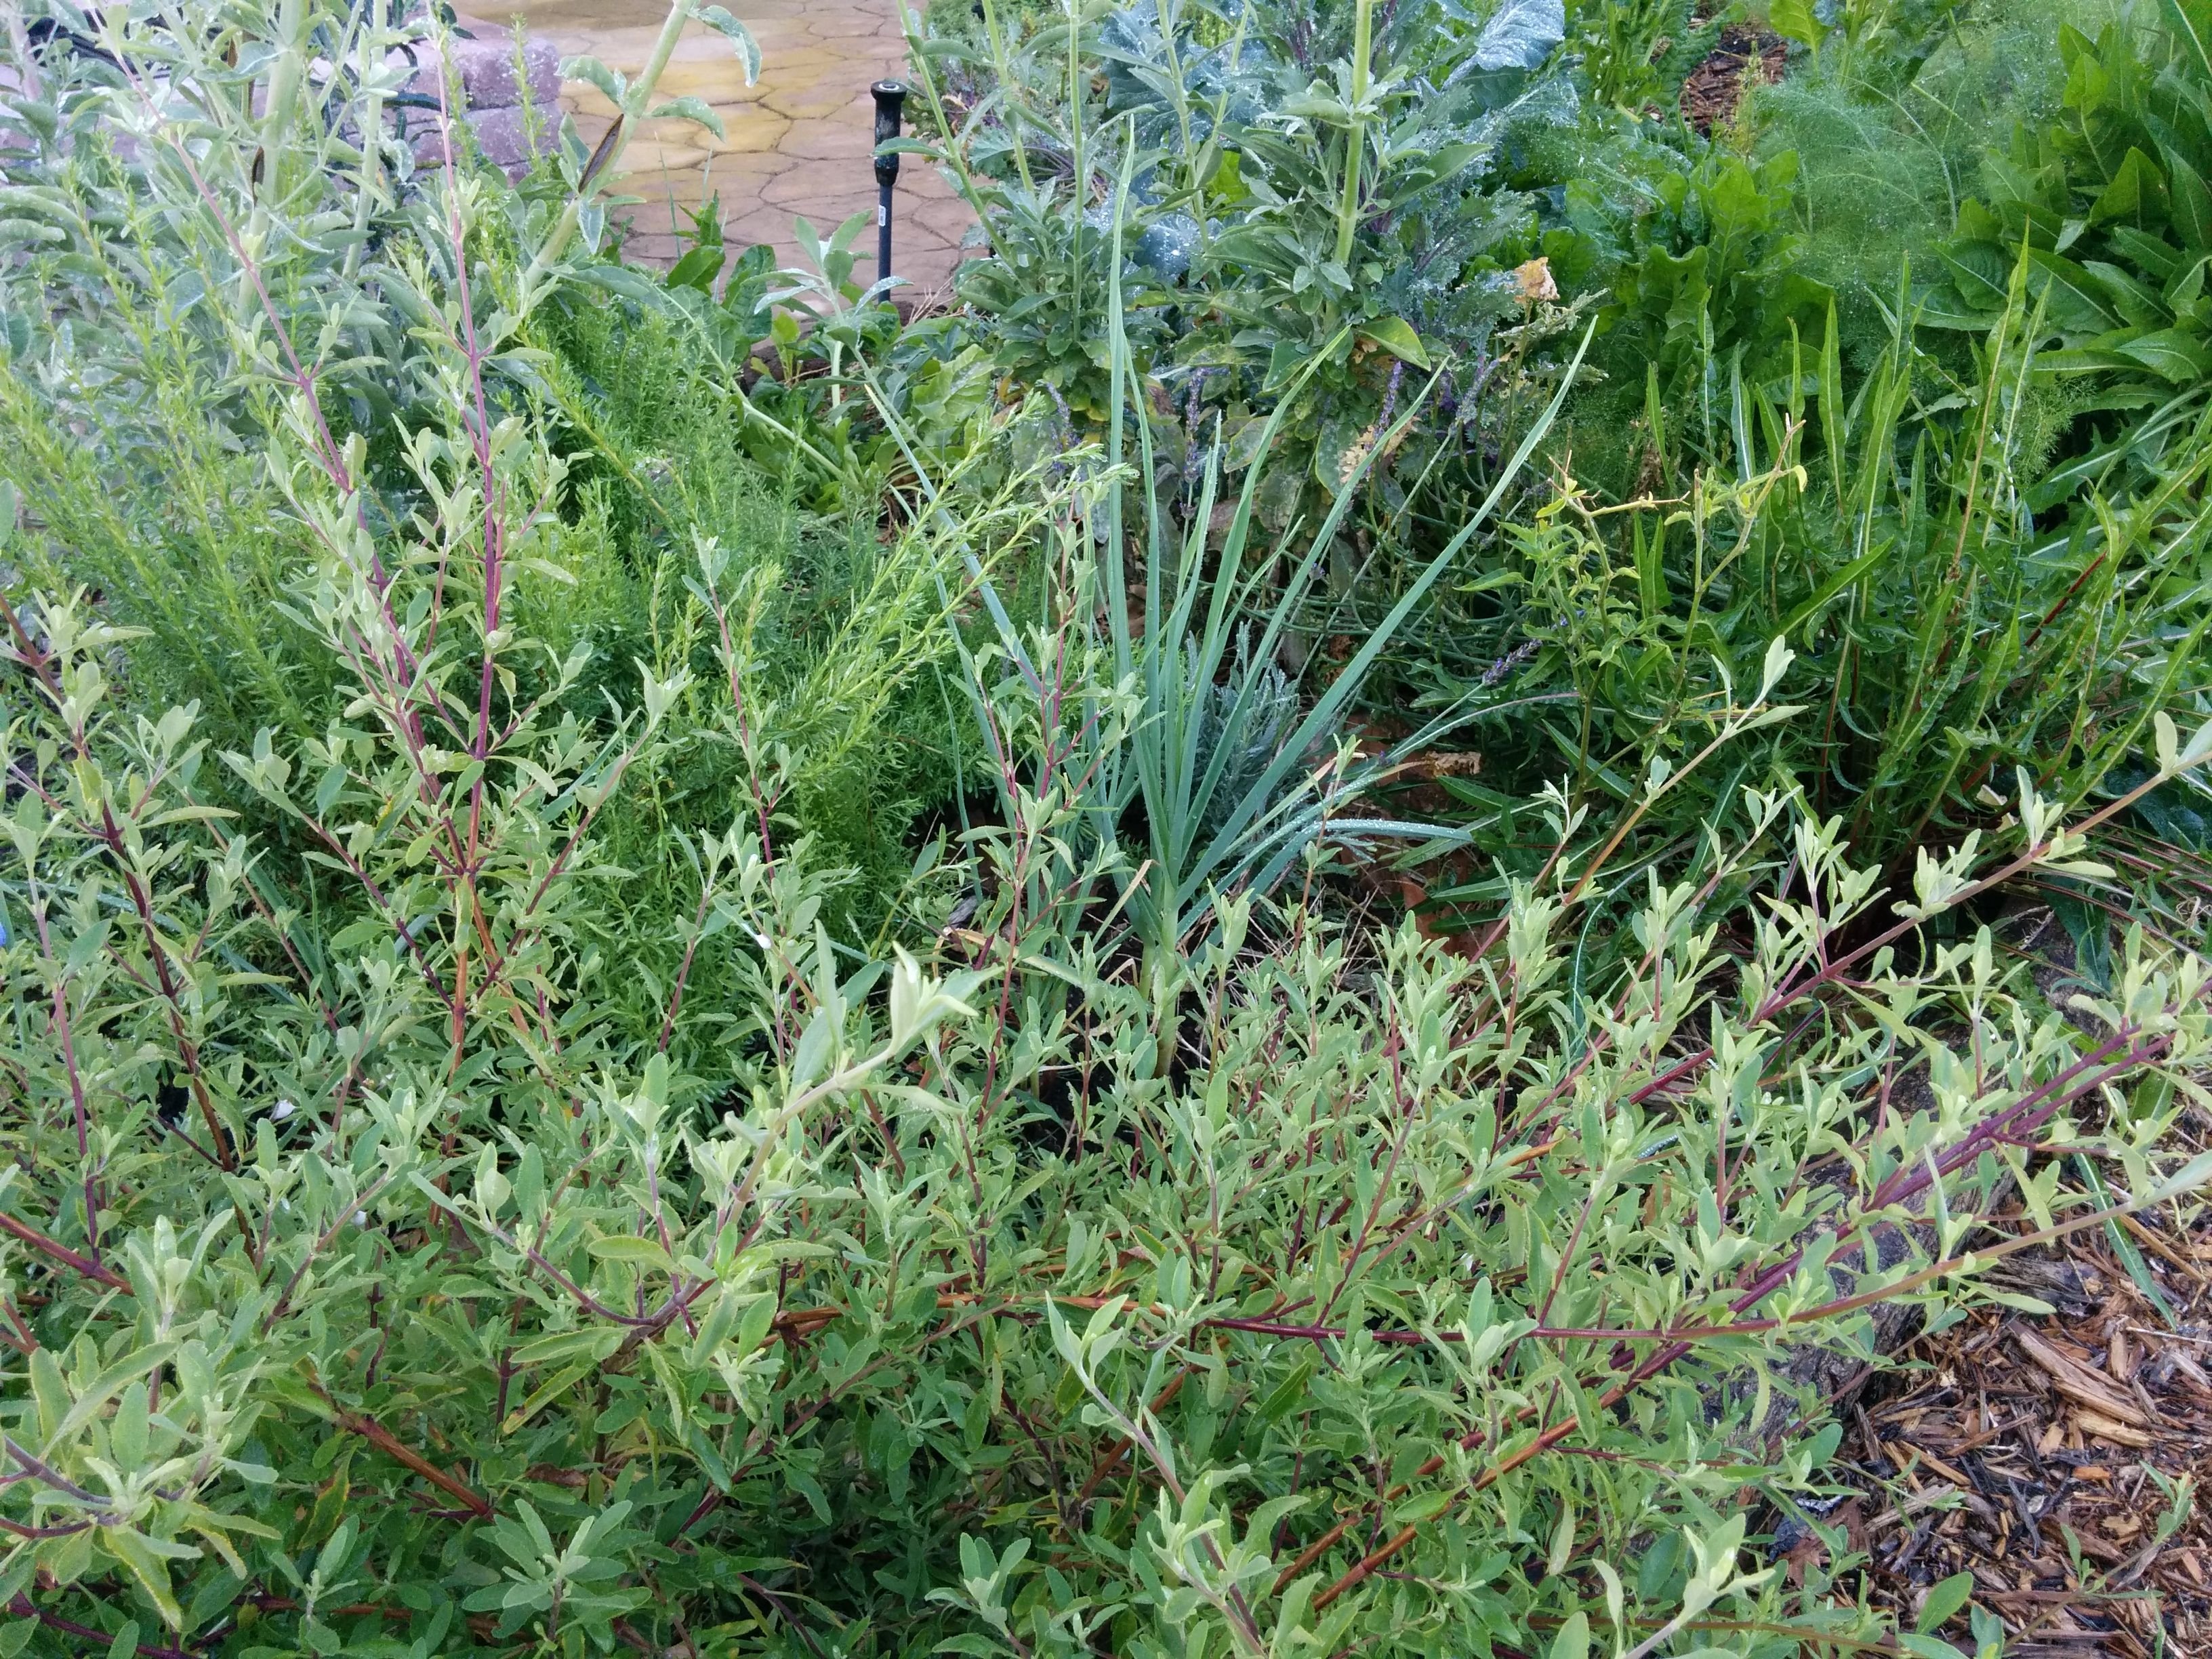
The more biodiversity the better. You can't really go wrong with adding many species of plants together. Don't overthink what plants can grow with what plants. While there are exceptions like with Walnut or other alleopathic plants, more often than not plants will be happier with more diversity. Biodiversity encourages more fungal communications in the soil which enhances health and fertility and creates a more healthy ecosystem. Different plant combinations throughout the garden helps avoid insect infestations. Insects get confused by diversity and have a harder time establishing themselves in numbers.
Mother Nature gives gardens extra points when they have more biodiversity ;)
Thank you for joining me in this garden tour!
I hope you enjoyed and possibly were inspired! I will be making one more celebratory update to this series in the very near future :)
More posts in this series:
Part 1: From Grass to a Vegetable Polyculture
Part 2: How I Used Pioneer Veggies to Build Healthy Soil
Part 3: A Permaculture Consultation for A New Garden
Part 4: Celebration of Abundance! Epic Garden Harvest