As promised, here is the paper bag flooring tutorial. If you want to know some of the benefits of paper bag flooring, and why we decided to use it in our tiny house, then check out Tiny House Episode 16: Paper Bag Flooring.
In this tutorial, I am only going to cover the method that gave our floor the textured leather appearance it has because that is what I am familiar with. I may, at a future date, describe the technique my mother used to simulate a hard wood flooring appearance.
 Best practice would be to pre-crumple the pieces to expedite the application process once you start.
The first thing we should go over is the materials list. As you can see the only real expenses are the brown paper, white glue, polyurethane, dye and paint brush. The glue and polyurethane can be found in 1 gallon containers at most hardware stores. Going with larger containers is probably going to be more economical in the long run, unless you have a very small space to do. While the rest of the materials could be purchased, they could also be salvaged or repurposed if you are more environmentally friendly or thrifty.
Materials List
- Paper Bags or Brown Craft Paper
- White Glue (and Water)
- Rit Dye (your choice of color)
- Mixing Bowl (an ice cream bucket would work also)
- Mixing Spoon (old spatula or those wooden paint mixing sticks would work too)
- Paint Brush
- Water Based Polyurethane (we used Miniwax Brand)
- Small container or paint Tray
- Latex gloves (or something similar)
- Optional: small squeegee (this was suggested to us, however, we found the squeegee ended up pulling pieces out of place. My mother used one for a few pieces but we all opted to use our hands instead)
Before You Start
Paper bag flooring can go over most surfaces, although in some circumstances the application technique may need to be adjusted. In our tiny house, we applied the paper bag flooring right over the OSB and plywood subfloor. My mom installed hers in an old house over what appeared to be some really old linoleum tile. Both of us used the white glue mixture,I will share later, as our adhesive. I do know that over concrete you may need to use a non-water based glue to adhere the paper to the concrete or you could run into issues with the paper separating from the floor.
What I recommend is to do test boards or sections to not only see if you like the dye color and amount of dye you are using but also to get a hang of the method before you tackle a large floor section. This will help to prevent major mistakes. You can often find small pieces of OSB or plywood, free for the taking, at residential construction sites.
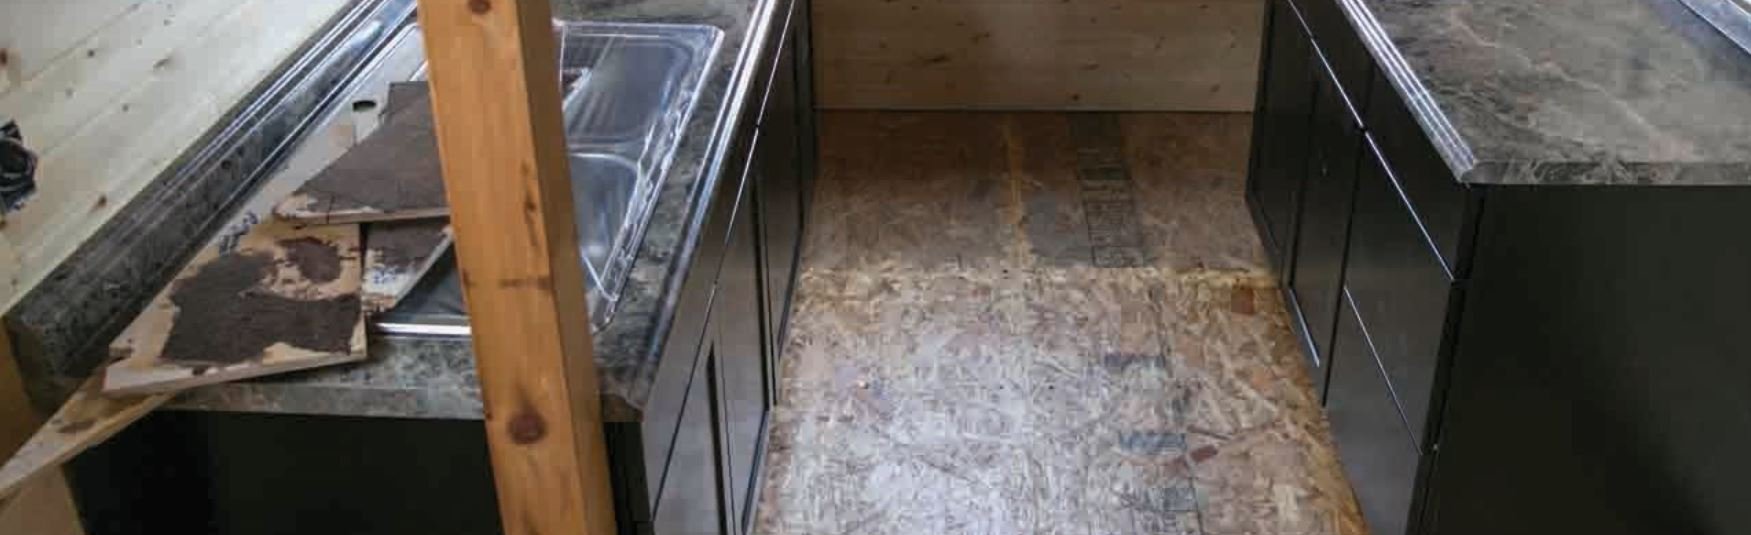 Note the test pieces on the sink.
Preparation
The surface you will be applying the paper to should be clean and free from dust and loose particles. The smoother the surface the less you will see the texture of the underlying material. The level of sanding and smoothing you do before applying the floor is up to you. In our case, we were ok with a bit of the wood texture showing through so we only sanded to get rid of the roughest areas.
The brown paper will need to be torn up into sections. We made two separate piles; pieces with straight edges, to go along walls and into corners, and pieces with only torn/uneven edges, to fill in the main area. Having two separate piles made grabbing the specific pieces we needed easier, allowing us to work more quickly.
Glue Dye Mixture
What we found worked best for the Glue/Dye Mixture was:
- 1 cup of white glue
- 3/4 cup water
- 1 Tbsp. Dark Brown Rit Dye
This is a fairly thick glue/dye mixture compared to what some other people are advocating but it worked well for us. Also, any type, and color, of water soluble dye will most likely work so don't worry if you can't find Rit dye specifically. This is where the test pieces come in because you can try different combinations until you figure out what colour you prefer.
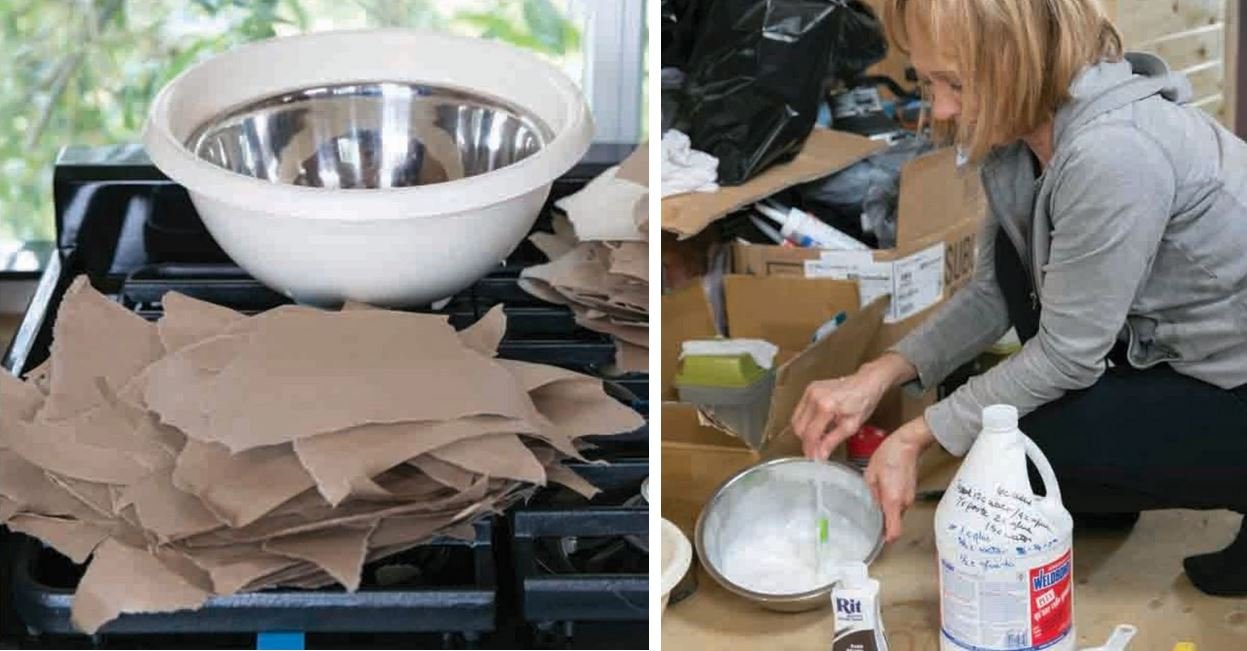 Left: Piles of torn up paper. Right: My mom making the glue/dye mixture.
Application
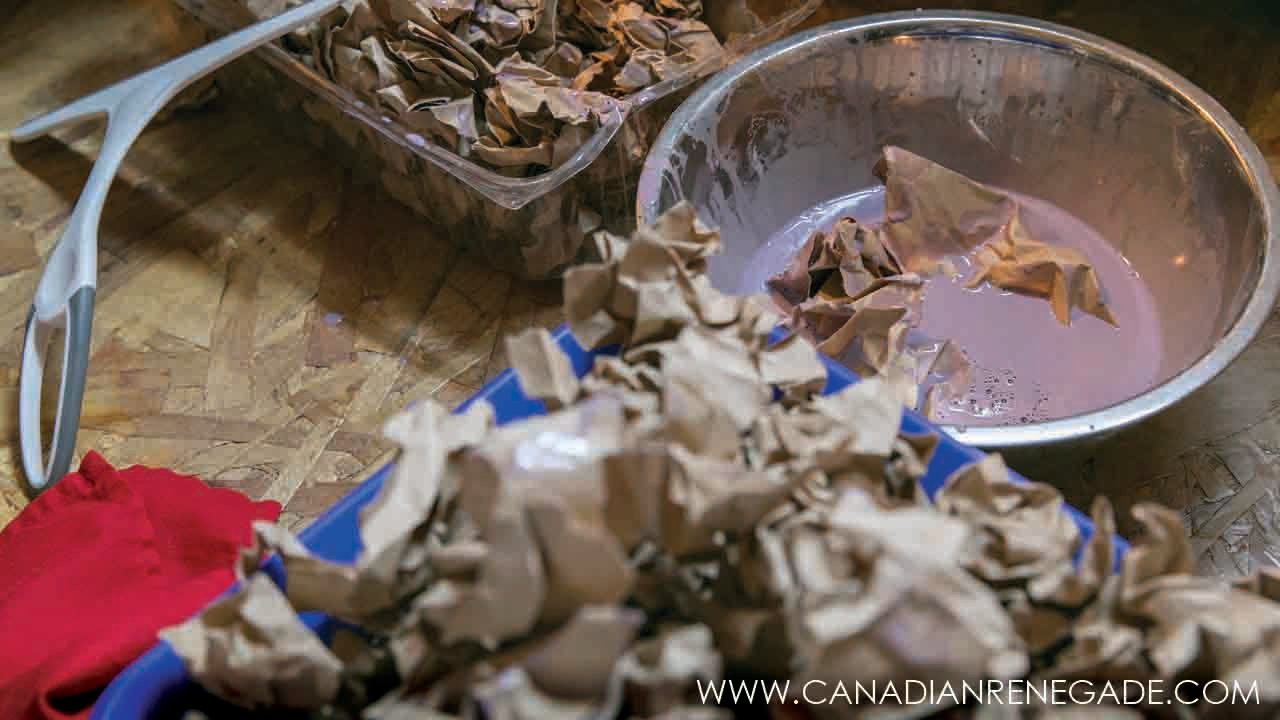
There is a bit of an art to it but installing the paper bag flooring is pretty straight forward. I recommend that you pre-crumple the pieces rather than doing them one at a time once you are down on the floor.
Dunk each crumpled piece in the glue mixture then squeeze out some excess solution and uncrumple the paper before applying it to the floor. The longer you soak the pieces in the glue the more dye they will pick up and the darker they will be once they dry. If you want a fairly even appearance to the color then you will want to get a rhythm going so they all soak for about the same amount of time. Conversely, you might want to soak the pieces for different lengths to create a marbled appearance.
The most effective method is to start in the corners and along a wall on one side and then work back towards the door or hallway. You don't want to trap yourself in the center or corner of a room!
The pieces should be overlapped by at least a quarter inch but try experimenting with the size of pieces and how much you overlap them to vary the final look to your liking. Once again, this is where a few test boards can be really helpful.
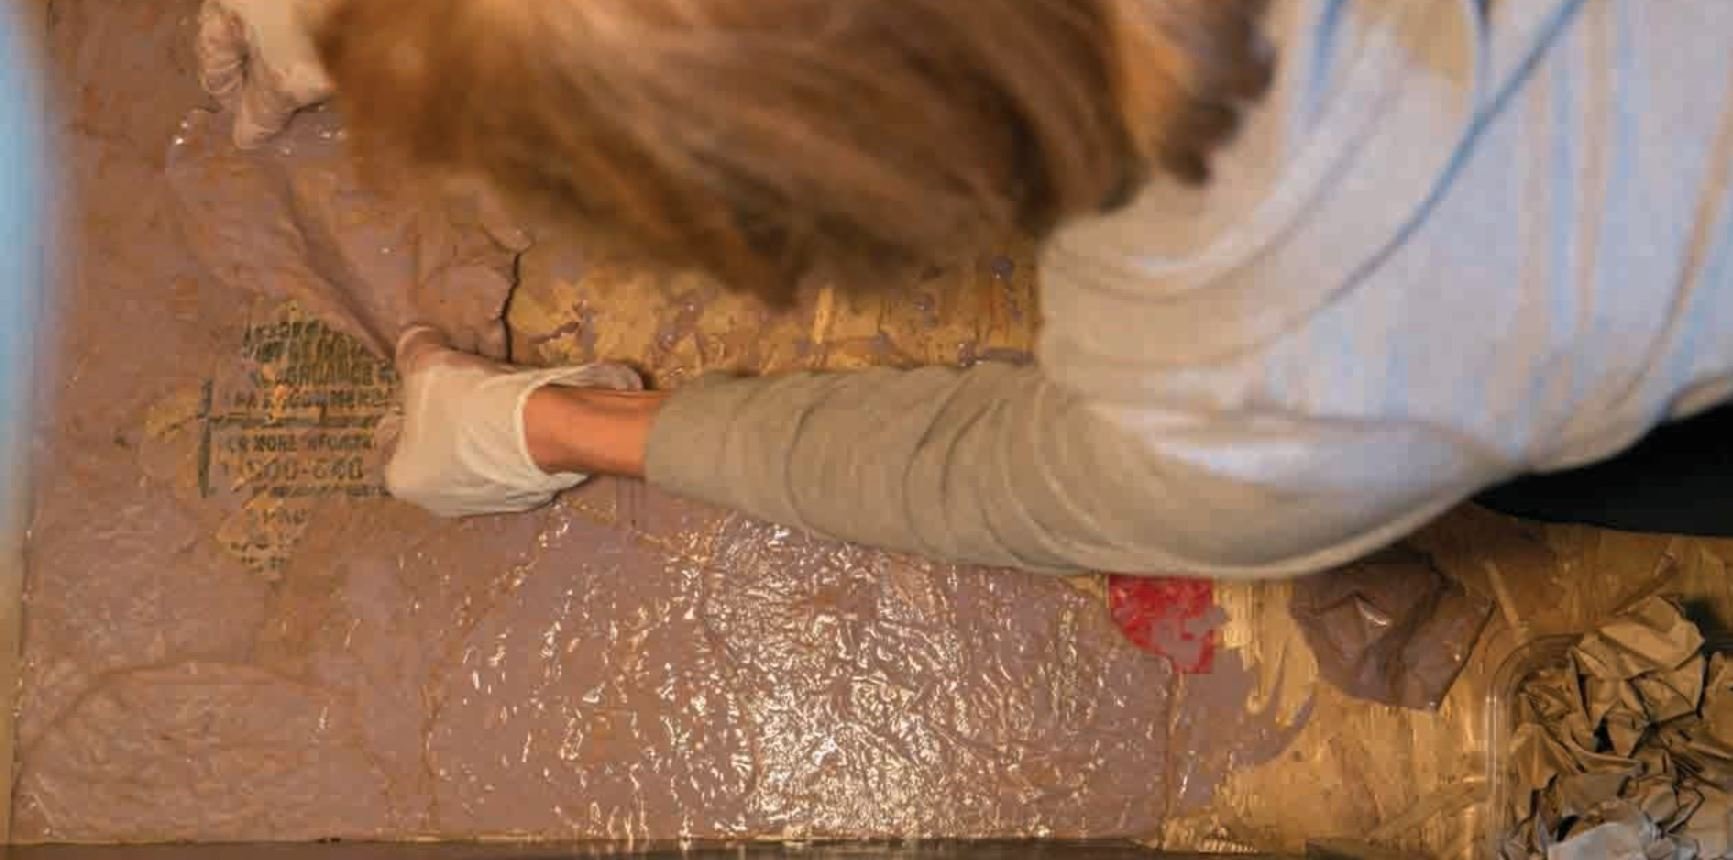 Mom applying the paper bag flooring in a corner.
Keep in mind that you don't need to get right up against the wall if you will be installing base boards. Also, depending on how your walls are finished you may want to put some 2-3" painters tape along the edge to prevent the glue/dye mixture from transferring to the wall from your gloves.
As you lay down the pieces, make sure to smooth them down flat and make good contact with the floor. BE wary of wrinkles as this can create an uneven surface once the application dries. You can spread out the excess glue with your hands or wipe it away with a small squeegee, though depending on the pressure you use the squeegee may cause some pieces to shift. The thicker the layer of glue the darker the floor will be and longer it will take to dry.
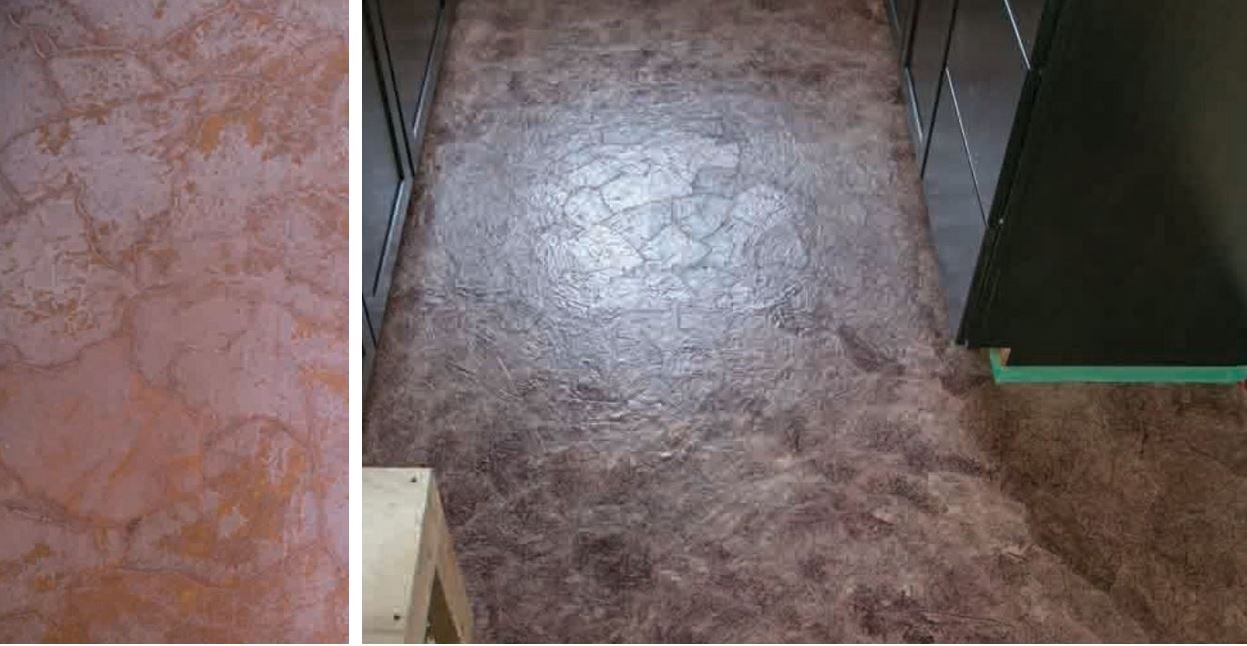
 The pieces of paper mid-way and after application.
Sealing the Floor
Depending on temperatures and air humidity, the glue mixture will take at least day or two to dry. Once the floor has dried apply 3-5 coats of oil-modified polyurethane. I advise that you wait about a day between coats and remember the more coats you apply the longer the finish will last.
If you want to make the floor a bit darker you can also add a bit of dye to the first coat of polyurethane. Doing this allows you to darken and/or even out the coloring. You won't need to add too much dye though. Start with a conservative amount and increase the amount until you reach the color you desire. Once again, I highly recommend that you use test boards before proceeding!
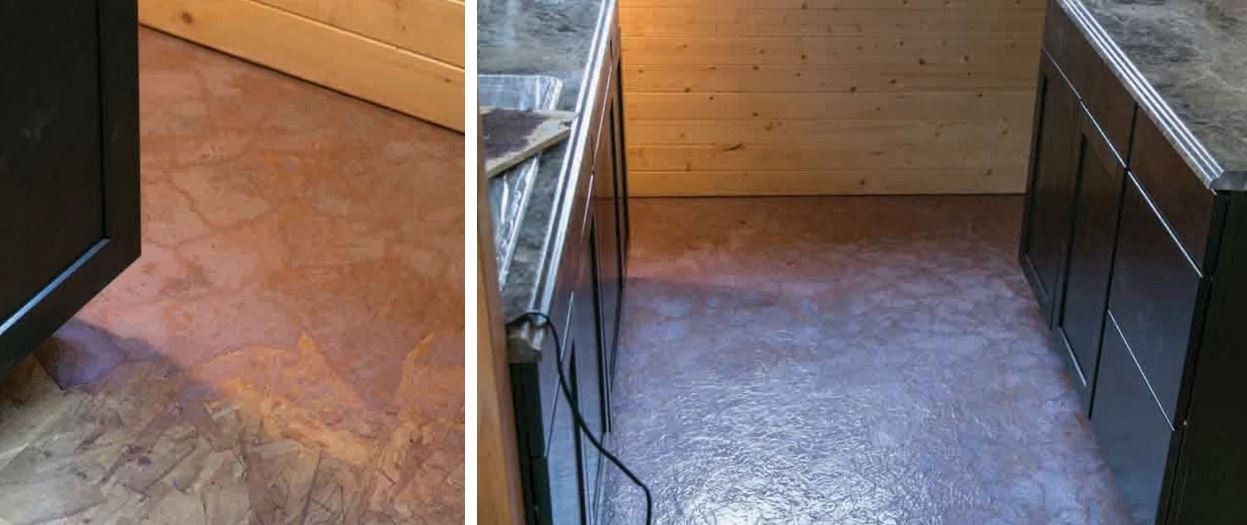
 Left: The glue rising to the surface is normal. Rest assured that once the glue dries it will be clear. Right: The floor dry and ready to apply the polyurethane.
The great thing about this flooring is that if a high traffic area starts to wear or you damage it, like I did by dropping a pale full of hole saws on the floor, you can repair the floor by adding more coats of polyurethane. Just make sure to refinish the damage before it wears to the point where the underlying paper bags become damaged.