If You Could Be Anyone...: Creating your Steemit Visual Identity

If you are new to Steemit, you are probably doing your best to research and learn as much as you can about this unique platform. This is a 3-Part series. This series' ultimate goal is to help as many beginners as we can, from one Steemit beginner to another. Read About the Inspiration for this Series
Part 1 focused on what you should consider before jumping in with your first Steemit post. I also included several links to Steemit posts that I found helpful in getting started, so it would be worth checking out.
Part 2 focused on creating your Steemit contextual identity. I define this as the identity that is portrayed through the content in your posts.
Welcome to Part 3: Creating Your Steemit Visual Identity!
This is the 3rd and final post in this series, and here's where it gets fun! The real “meat and potatoes” as we say in Texas. I will be discussing the following topics in this post.
- Your #IntroduceYourself Photo
- Creating a Personalized Theme
- Creating a Signature & Breaker Bar
- Using Photos in Your Posts

Your #IntroduceYourself Photo
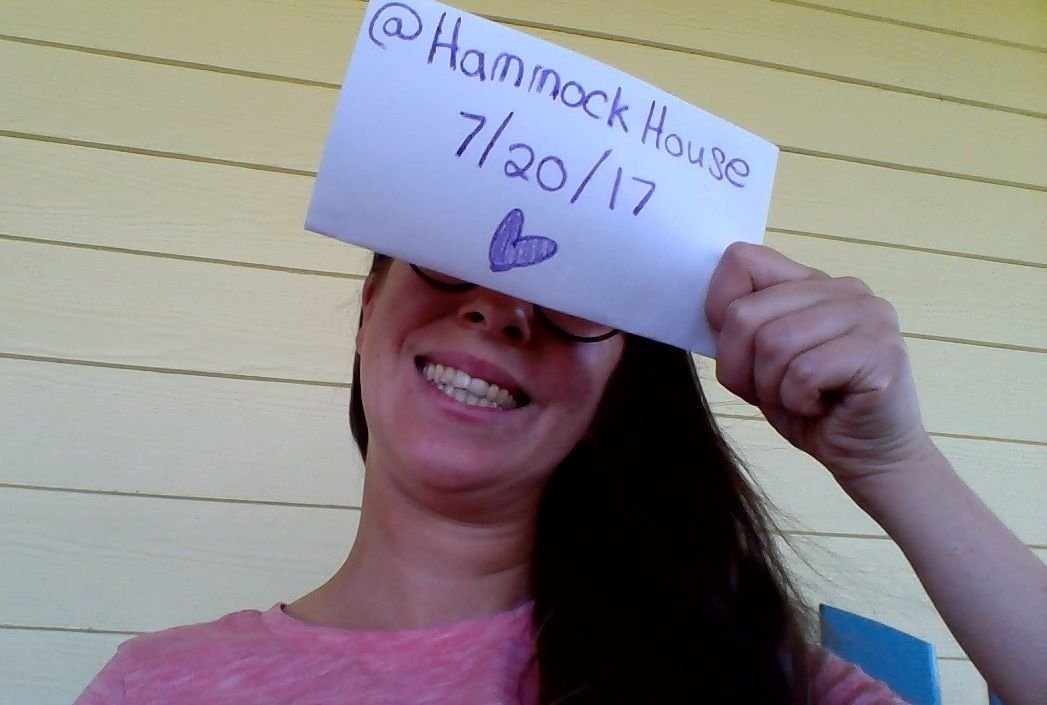
Your #IntroduceYourself post is your Steemit debut. It is your chance to show this community who you are, what makes you unique, and how you will be contributing authentic content to Steemit. The photo of yourself used in your #IntroduceYourself is no exception. You never get a second chance to make a first impression. A series of experiments by Princeton psychologists Janine Willis and Alexander Todorov reveal that all it takes is a tenth of a second to form an impression of a stranger from their face, and that longer exposures don’t significantly alter those impressions (although they might boost your confidence in your judgments). A tenth of a second?! Wow, that's astonishing! Here's some tips I have to take your personal best photo.
- Spruce yourself up a bit beforehand, look in the mirror, practice your smile, make sure you like what you see!
- Create a special, or personal Steemit authentication paper. Traditionally this includes your Steemit handle and the date you will be posting your #IntroduceYourself.
- Pay attention to your background when taking your photo. Plain, not busy backgrounds such as a blank wall, or landscape look great!

Creating a Personalized Theme
You may have notice that some users have a “theme” to all of their posts. We chose to use a sea turtle as the main symbol for our theme. In creating this we had a couple of things that we thought about. We wanted something nautical to coincide with the nautical theme of Steemit. We wanted to incorporate the Steemit logo. We love animals, so it made sense it would be an animal. Put some thought into this and choose a symbol that reflects your personality. This symbol will be used in the creation of your signature.

Creating a Signature & Breaker Bar
Your signature is a neat way to end your posts. It creates continuity throughout your blog, and lets other users know that you mean business and aren't going anywhere! Incorporating the symbol you created as your theme, create a logo. Here's some tips I have for creating your logo...
- Incorporate the Steemit logo somewhere in it
- Use your Steemit handle, this is your brand!
- Use the phrases: Resteem, Upvote, Follow..... It's common business marketing knowledge that putting a “call to action” in print subtly suggests your reader to do what you wish.
- Add a border. Borders make logos have a clean and finished look.
- Never Be Satisfied. Accept that your logo can evolve and change as your Steemit account grows and changes.
Here's Our Signature Logo

A breaker bar is a visual way to separate trails of thought through your content. It is a visual reminder to your reader as to whose post they are reading. It supports your blog brand, and visually “breaks-up” content. The Steemit blog width is 840 pixels. So, create a breaker that is this width so it stretches the full width of the page. Use the same theme and colors as your signature to create continuity.
Here's Our Breaker Bar

Using Photos In Your Posts
Here's my personal rules for using photos...
- You've undoubtedly by now read many times about the importance of authenticity on Steemit. This include photos. Using farmed internet photos without giving credit to the source is akin to plagiarizing. Crediting photos is as simple as including a link to the source of the photo at the end of your post.
- Be sure to use photos that are relevant to your post.
- Also, make sure to use the right amount of photos. Too many photos (in a post that is not about photography) can be just as annoying to readers, as too little. A post that has a whole lot of content with very few photos does not hold very many reader's attentions for very long.
Check Out My Other Posts!
- Read About the Inspiration for This Series
- Read Part 1 of This Series
- Read Part 2 of This Series
- @HammockHouse Introduces Ourselves
- @HammockHouse Introduces Our Business
- @XtrodinaryPilot Introduces @HammockHouse
- Read Something Completely Different


Image Credits
If You Could Be Anyone
