The voting slider is a powerful tool. Here’s how everyone can use it, even if you haven’t reached the 500SP treshold yet.
The Voting Slider
One of the most powerful tools here on SteemIt is the voting slider: it allows you to spread your votes, without having to spend 100% every time you upvote a post.
With the slider, you can give partial upvotes, like for example a 30% upvote. This gives you the opportunity to cast more upvotes with the same voting power.

Without the slider, you can upvote about 10 posts using 100% of your power, with the slider, you can upvote for example 20 posts using 50% of your power, or even 40 posts using 25% of your power.
The 500SP Treshold
Unfortunately, on SteemIt.com the voting slider is not available until you have approximately 500SP.
If you don’t invest in Steem, it might take a while before you reach that treshold.
Fortunately, there are some workarounds which allow everyone to use the voting slider and maximize their curation profits.
A Voting Slider For Everyone!

I must admit I thought it was common knowledge that everyone was able to use the voting slider.
It was only after reading a couple of comments by some of my fellow members of the #newbieresteemday initiative, like @davemccoy and @beeyou, that I realized a lot of people were still struggling to build their account without the voting slider.
So I decided I’d give everyone a little heads up on how everyone can use it, even without having the ‘required’ 500SP.
For as far as I know, there are 4 different ways to get access to the slider. Which one you use, is completely up to you. (Of course I kept my favorite one for last)
1. Use Busy.org
The Busy.org site can be considered as a sister-site of SteemIt. You can use it to post, upvote and comment on SteemIt, using an alternate interface. Busy.org also offers a couple of extra features, of which one is very alike to the voting slider.
You can log in to Busy.org using your SteemIt credentials.
Once logged in, visit your ‘Settings’-page. On your ‘Settings’-page, you can select whether you want to enable or disable your voting slider.

Select 'enable'. Don’t forget to click ‘Save’ at the bottom of the page!
Once you’ve enabled your voting slider, you will see the message shown below whenever you click the ‘Upvote’ button.
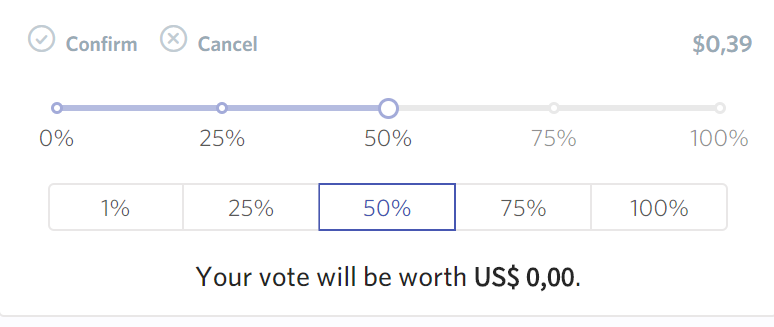
You can now select at which voting power percentage you’d like to upvote the post.
2. Use The eSteem app

If you like using SteemIt on your mobile phone, the eSteem app is another way to go. Available for both Android and IOS, the eSteem app gives you a fully-featured SteemIt experience, right there on your phone.
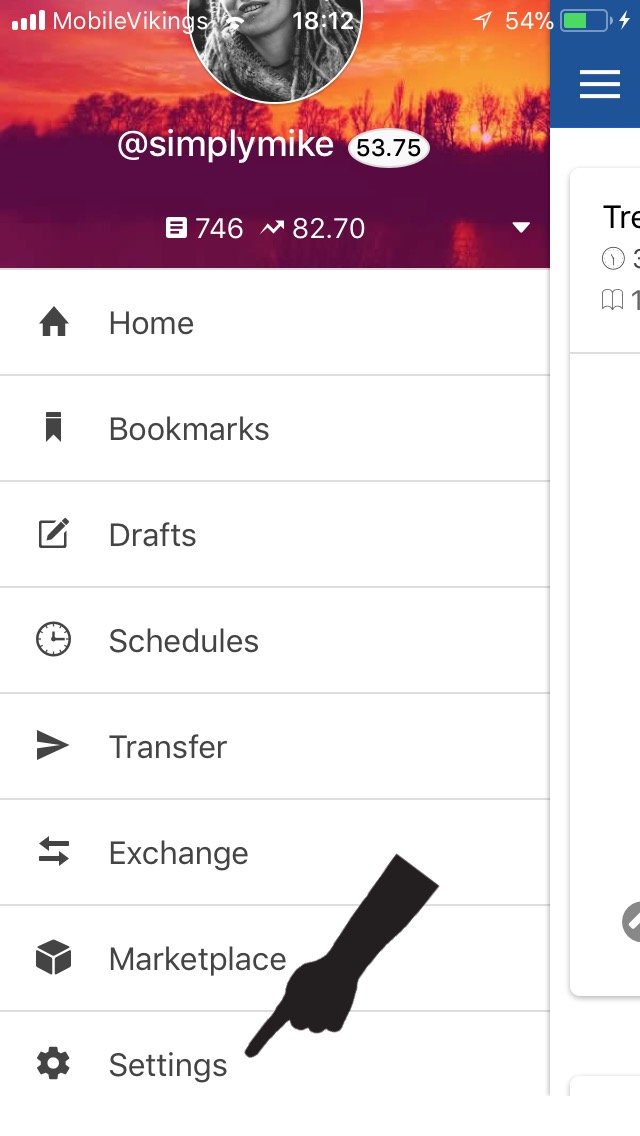
Once you’ve installed the app and you’ve logged into your acccount, click the little menu icon in the top left corner to open your menu.

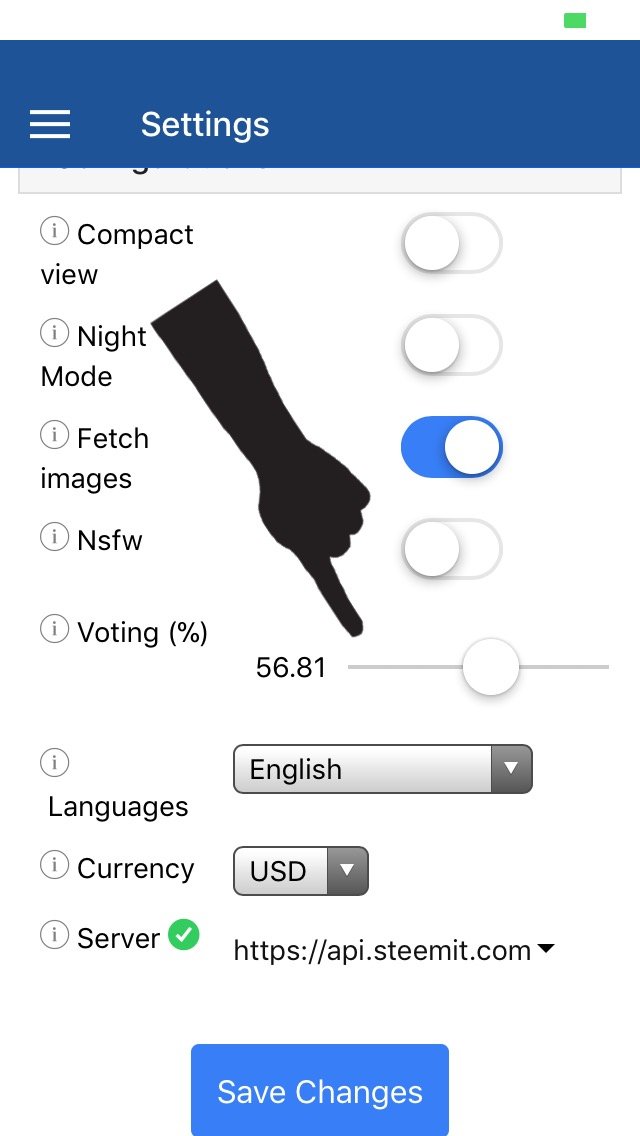
Click ‘Settings’ and adjust your voting power percentage so it represents the voting power you want.
3. Use The SteemPlus Browser Extension
Apart from providing you with a voting slider, the SteemPlus browser extension has a lot of very useful features, which makes it a tool you simply nééd to have.
(Another extension you can not live without on SteemIt is the ‘SteemIt More Info’ extension. However abandoned, this last one still works, and both extensions combined you get a powerful arsenal of extra tools.)

SteemPlus is available for Firefox, Chrome and Opera. You can find the download links, an overview of the features and a userguide in this post.
In this userguide you can find how to make the voting slider available:
To access the voting slider, click on the popup and go to Upvote tab, make sure the url corresponds to what you want to upvote and click Upvote. For a comment, first click on the date to change the URL.
4. Use The (Edited) Tampermonkey Script Of @alexpmorris
This is probably the least-known trick to get the voting slider. I don’t know why, because it’s the one that gives you the closest experience to the ‘real’ slider, which makes it my favorite.
I have written a fully detailed guide on how to use it a couple of months ago, when I was still using my old account.
To read the post, simply click the image below.

If you’re not familiar with running Tampermonkey scripts, I suggest you read the full guide by clicking the image above.
If you do know how to use Tampermonkey, here’s a quick run-down:
- Install Tampermonkey.
- Install the ‘Post Vote Slider And Past Payout Monetizer’-script.
A voting slider will automatically appear when you click the upvote button.
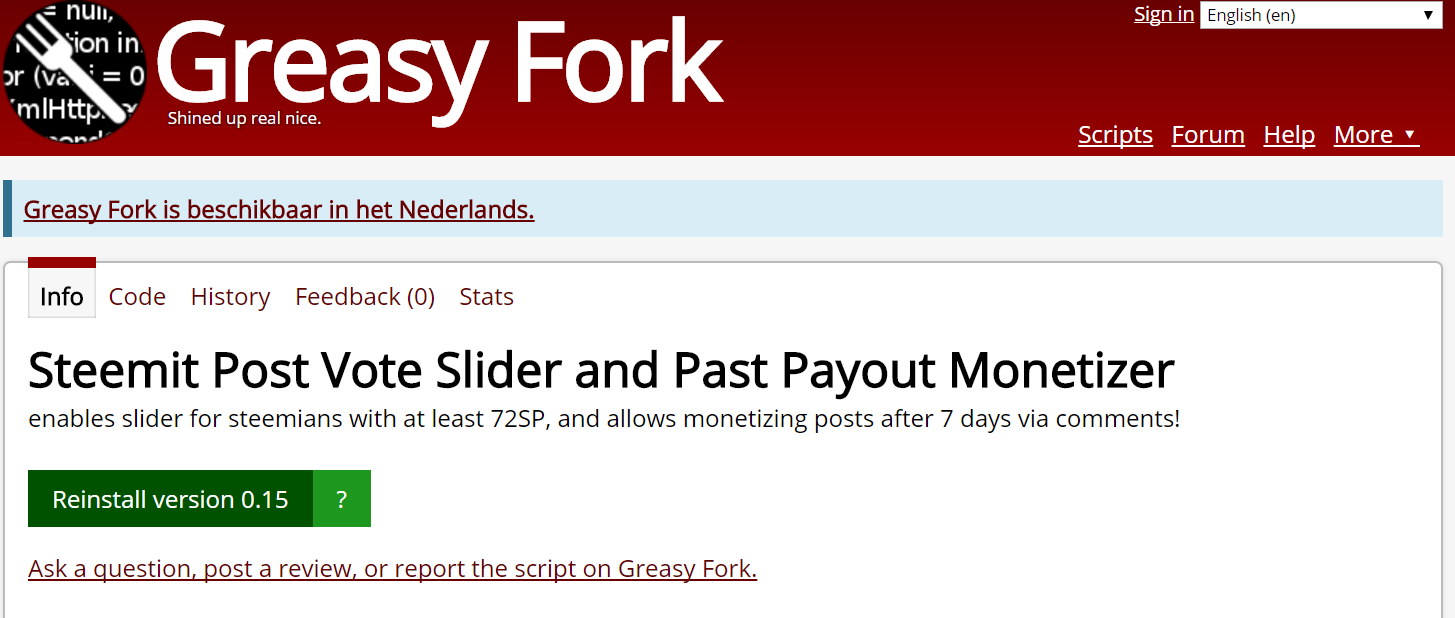
(You can find the original post by @alexpmorris here)
For some reason, the script by @alexpmorris is set to work only for people with 72SP or above.
Fortunately, there’s a simple fix for that, provided by @mahdiyari.
(You can read his full post and detailed guide here)
- In Tampermonkey, click the icon to edit the script.
- On line 28, edit the part that says ‘var minVests = 150000’ and turn it into ‘var minVests = 1500’
- Save your changes.
You’ll now be able to use the script ánd the voting slider, even if you only have 1SP.
The only problem with the script is that it can create a conflict with other extensions, so if it doesn’t work, go check out your ‘extensions’ list in your browser. In the list will be stated which extension will be in conflict with the Tampermonkey script. Simply turn it off to solve the conflict.

So, there you go: 4 different tricks that allow you to use the voting slider, even if you are plankton (or red fish, as you please) or a minnow with less than 500SP.
Feel free to resteem this post and let others know they too can maximize their curation profits by using the voting slider!

Image sources:
Giphy
All other images were taken from the mentioned sources

