Redscale
There are many photographic film processes and techniques out there, many of which I have never tried yet. One that I have tried and have grown to like is a technique called redscale. It is a technique that results in photos with rich red to yellow tones, and stripped of nearly all blueish tones.
The process involves shooting film by exposing the "wrong side" of the film to light. This way the layer most sensitive to red light is exposed first, rather than last, as in a normal roll of film. Below I will show you how I prepare my own redscale roll of film.
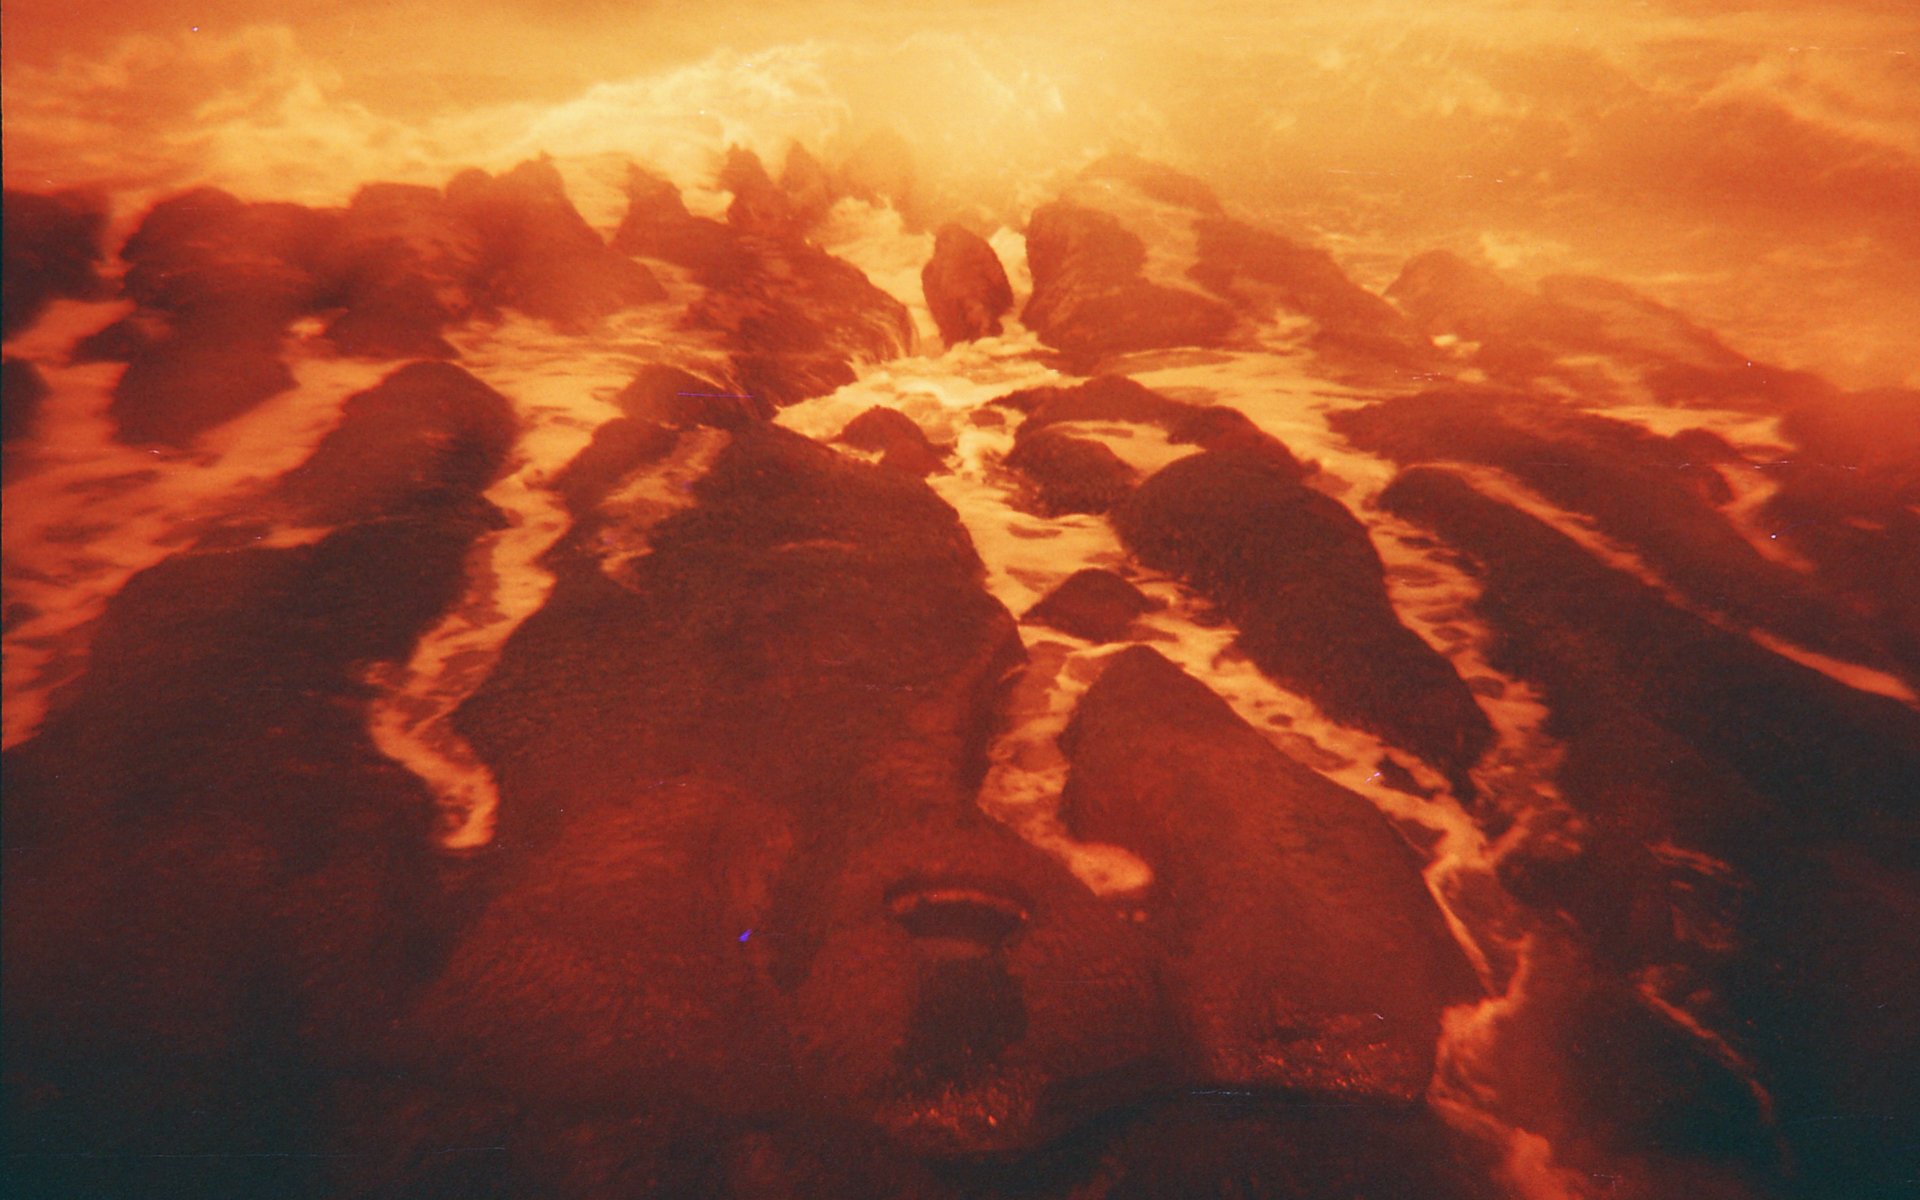
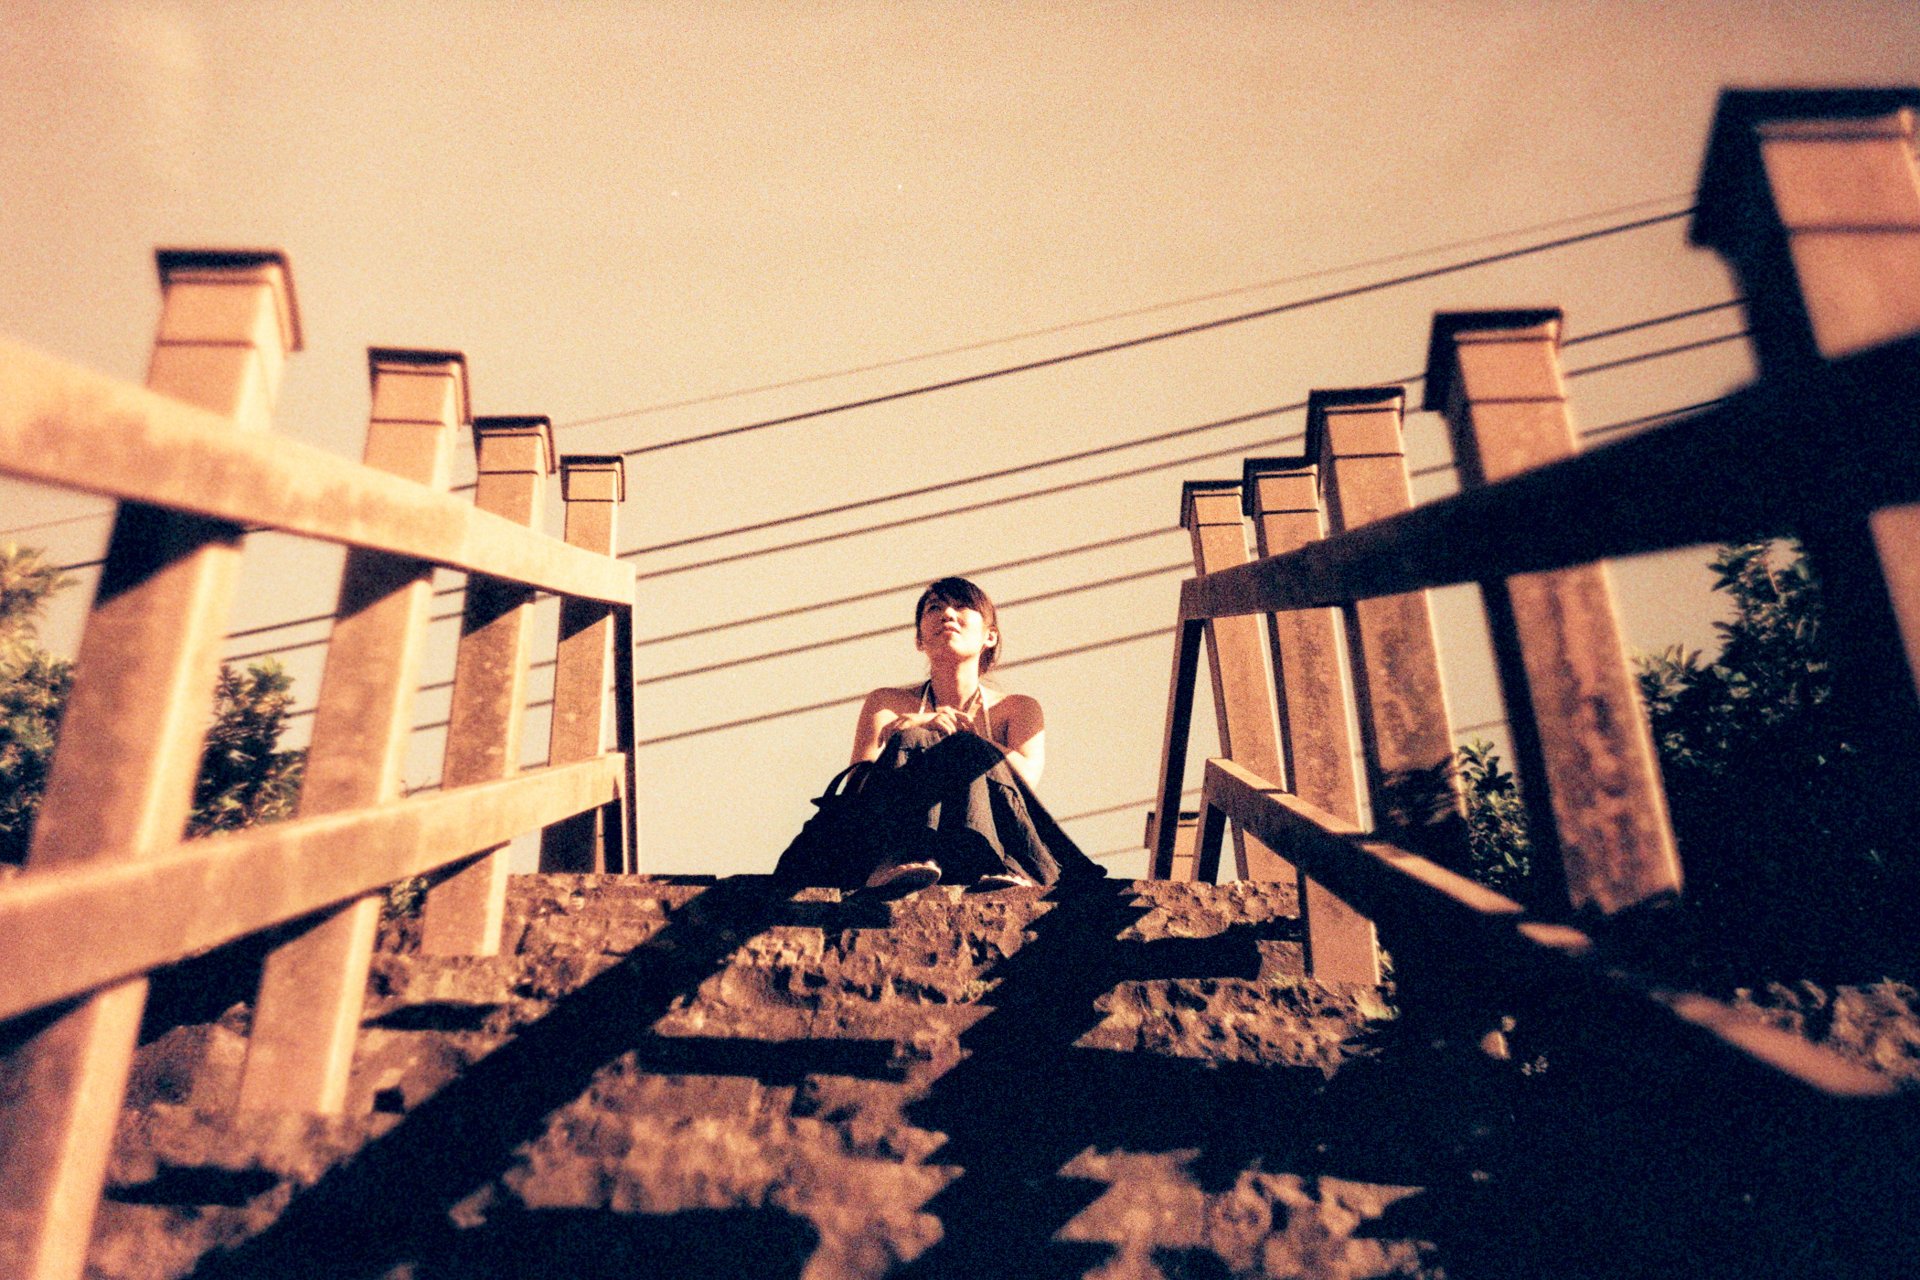
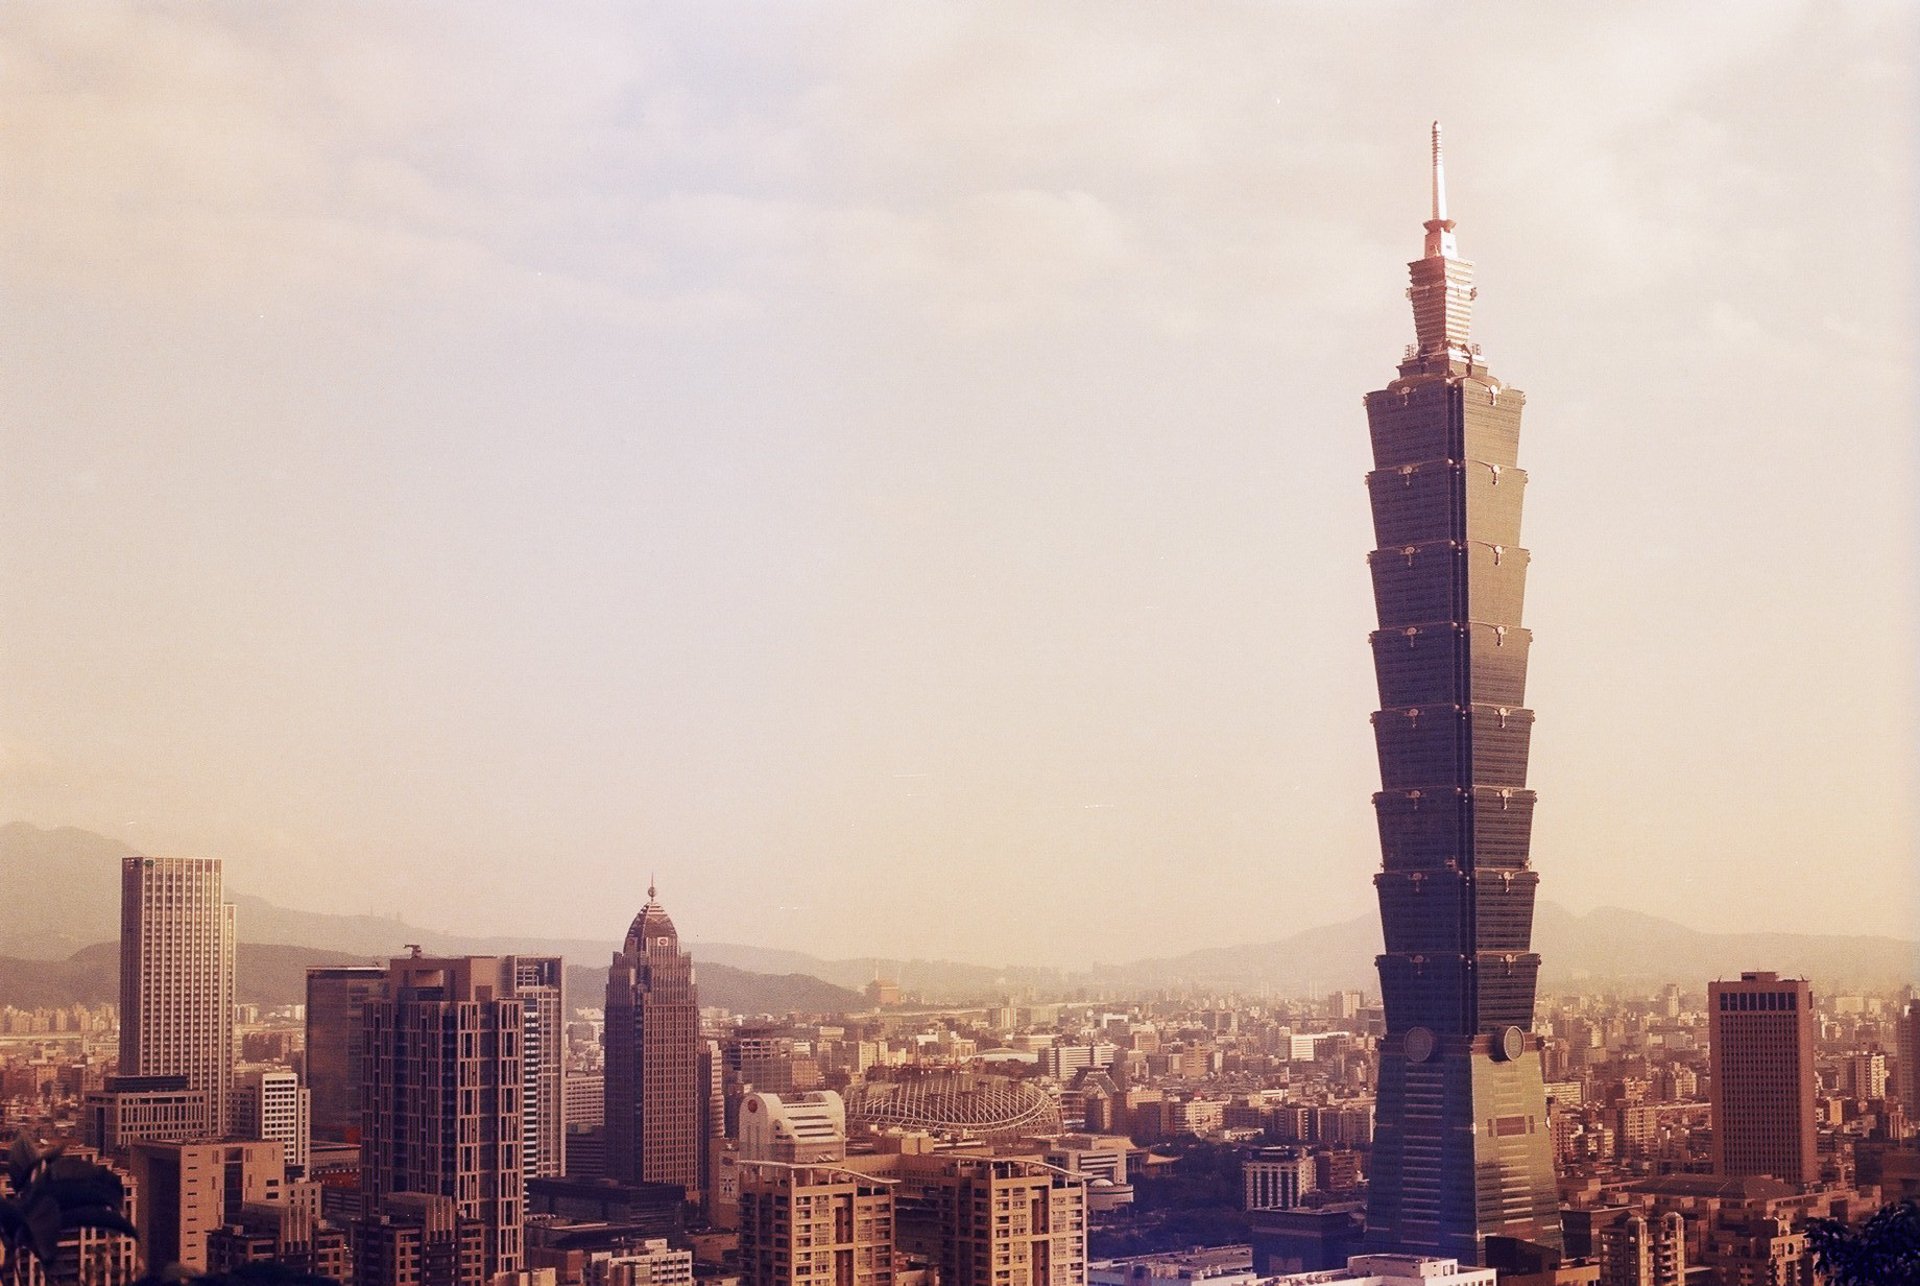
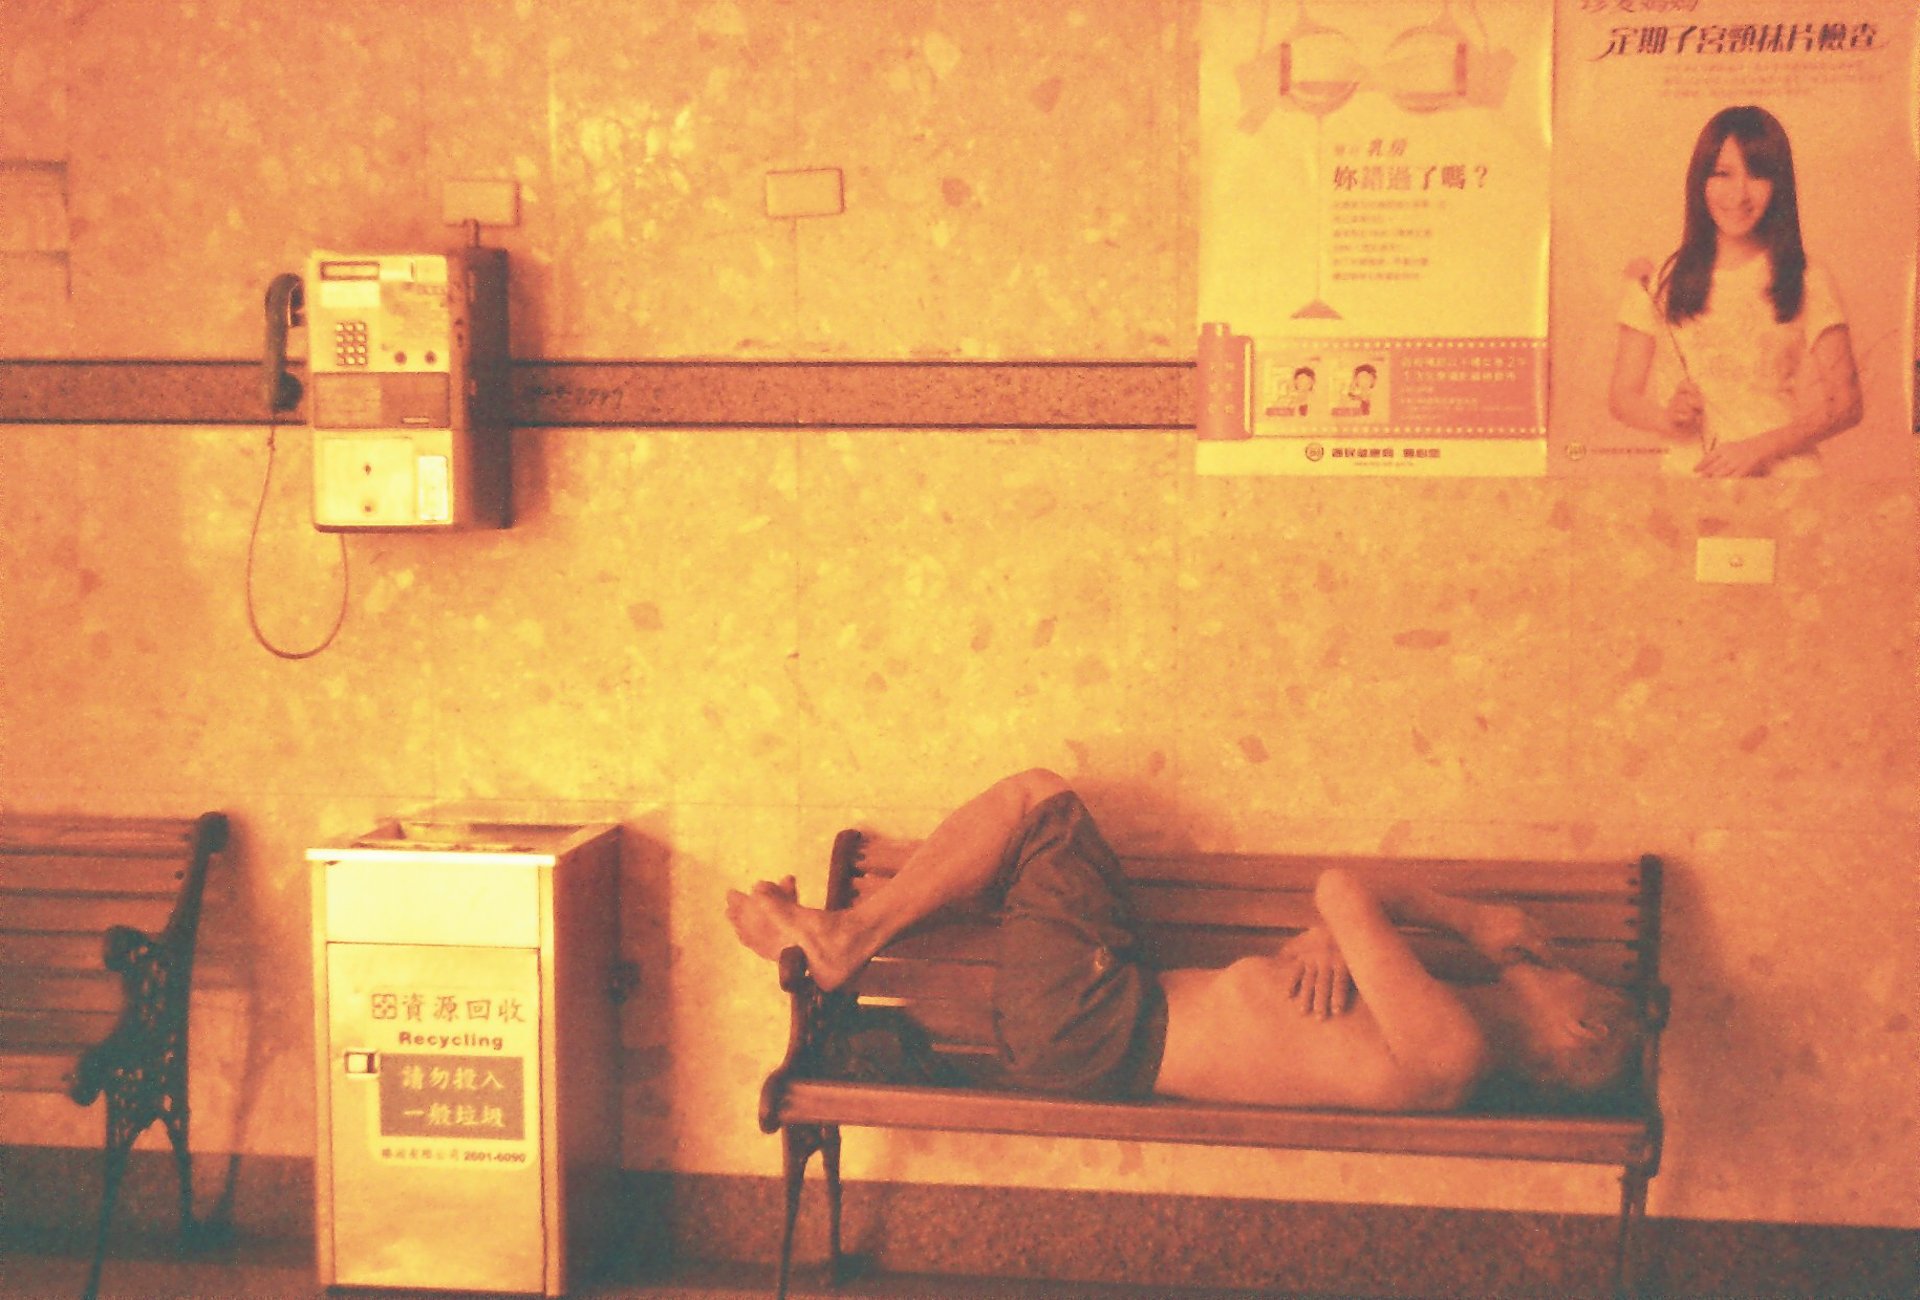
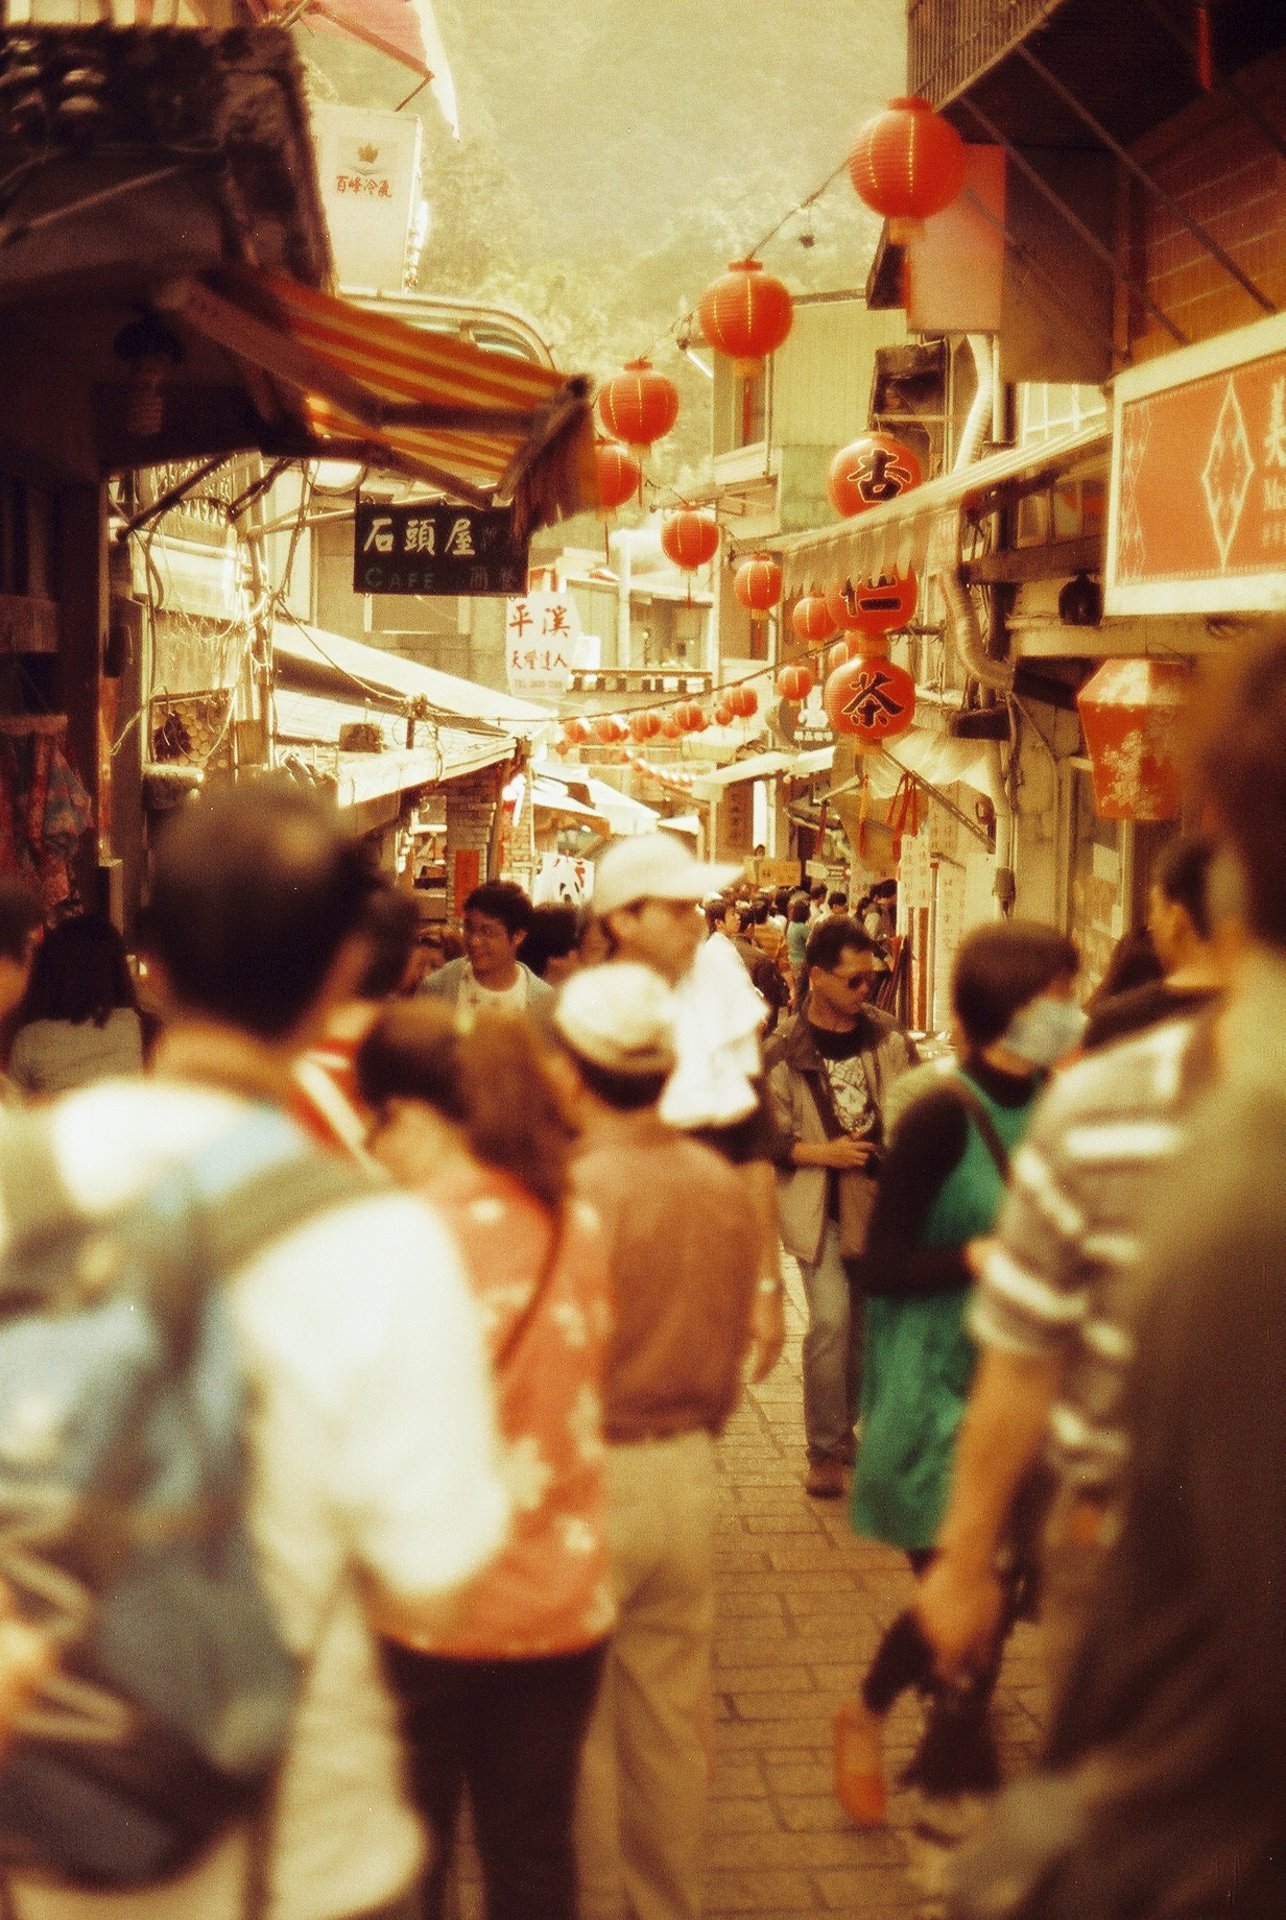
Some examples of what redscale looks like
 |
 |
 |
 |
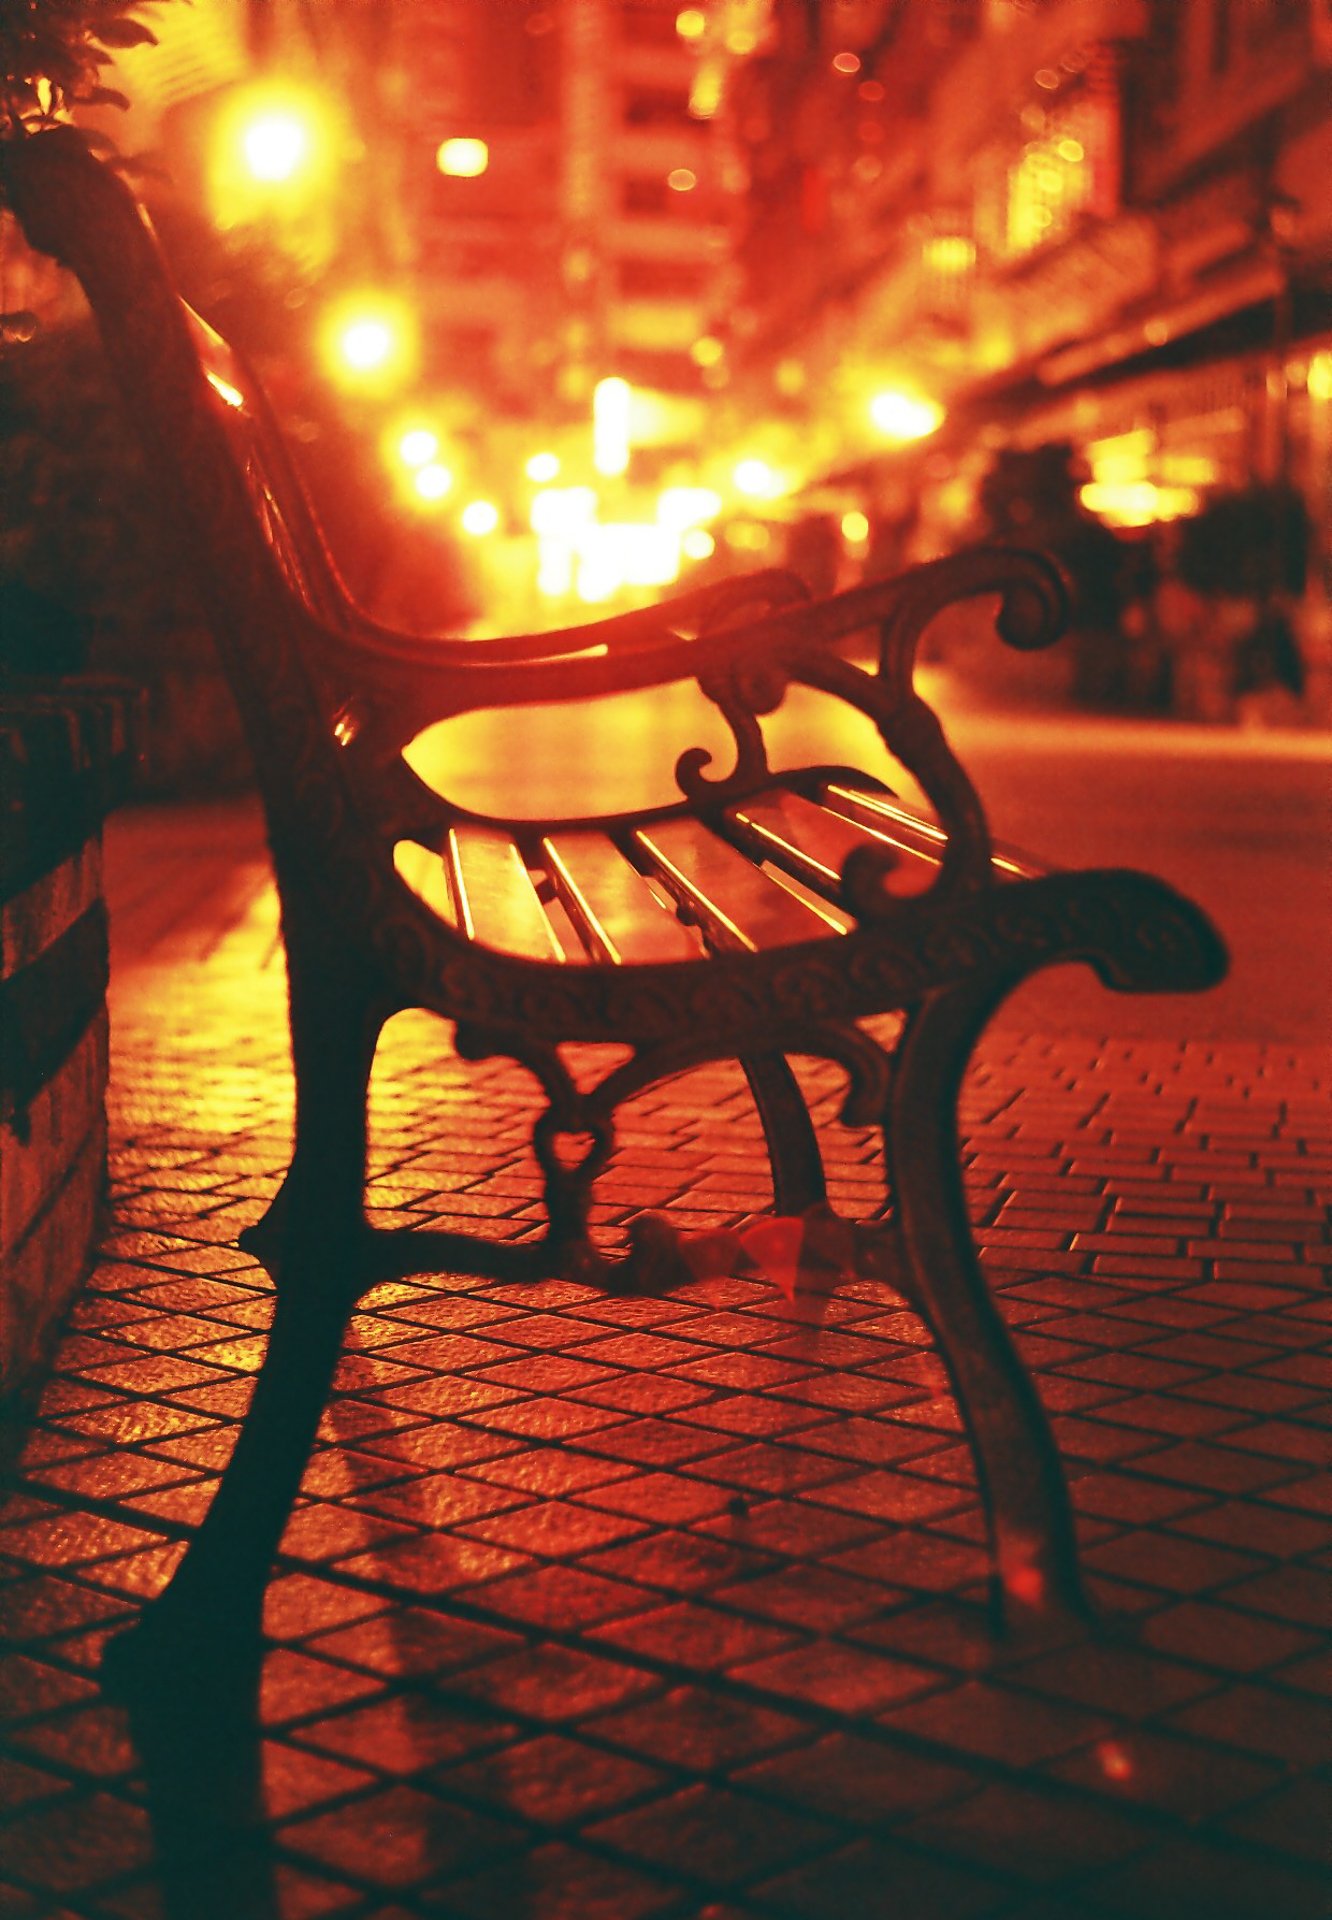 |
The photos above were all from different rolls of film. As you can see, there can be quite a difference between the film used. Also the way you expose each shot can also affect the outcome, more on that later.
Preparing your own redscale roll
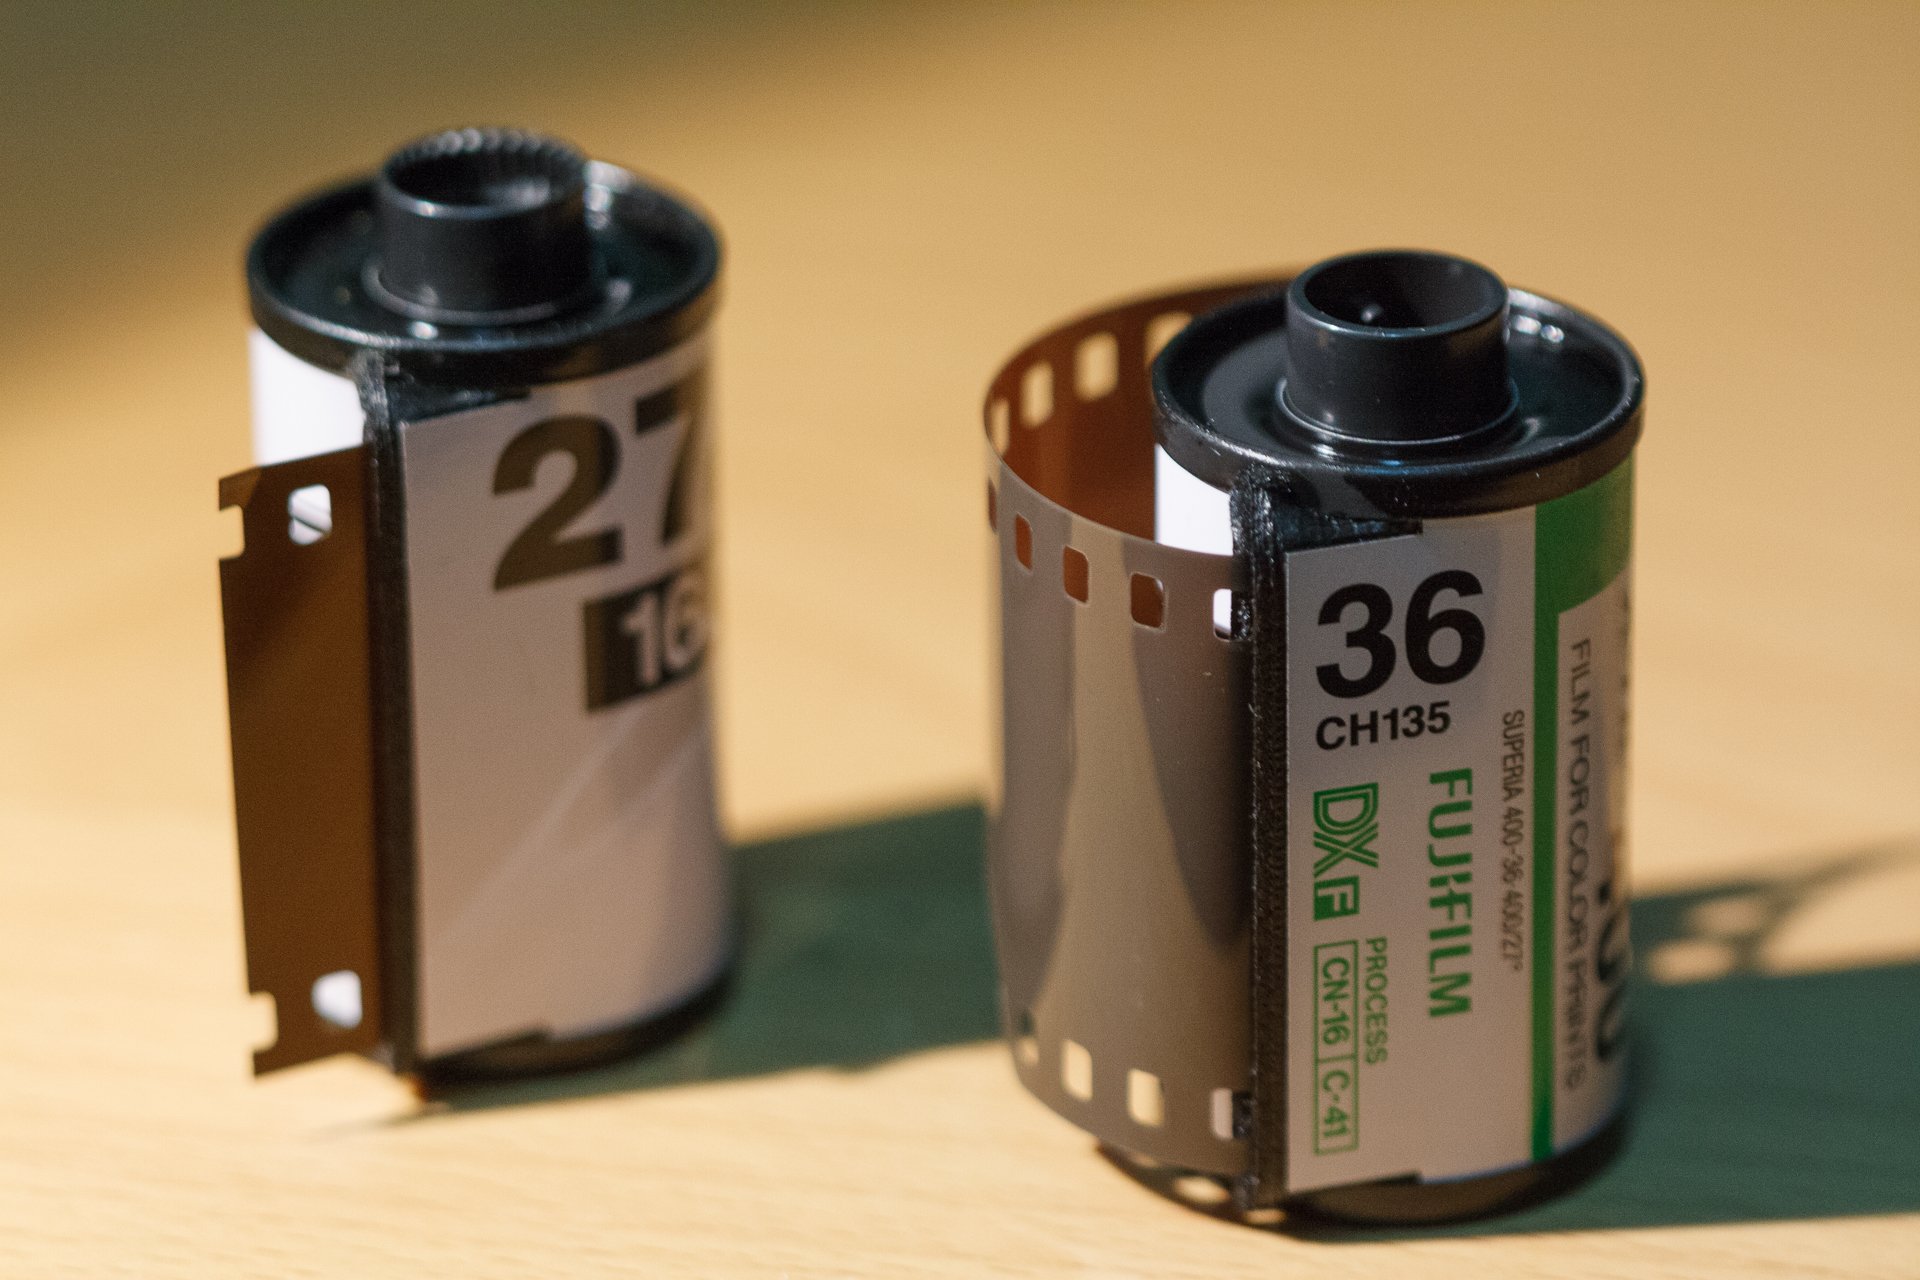 |
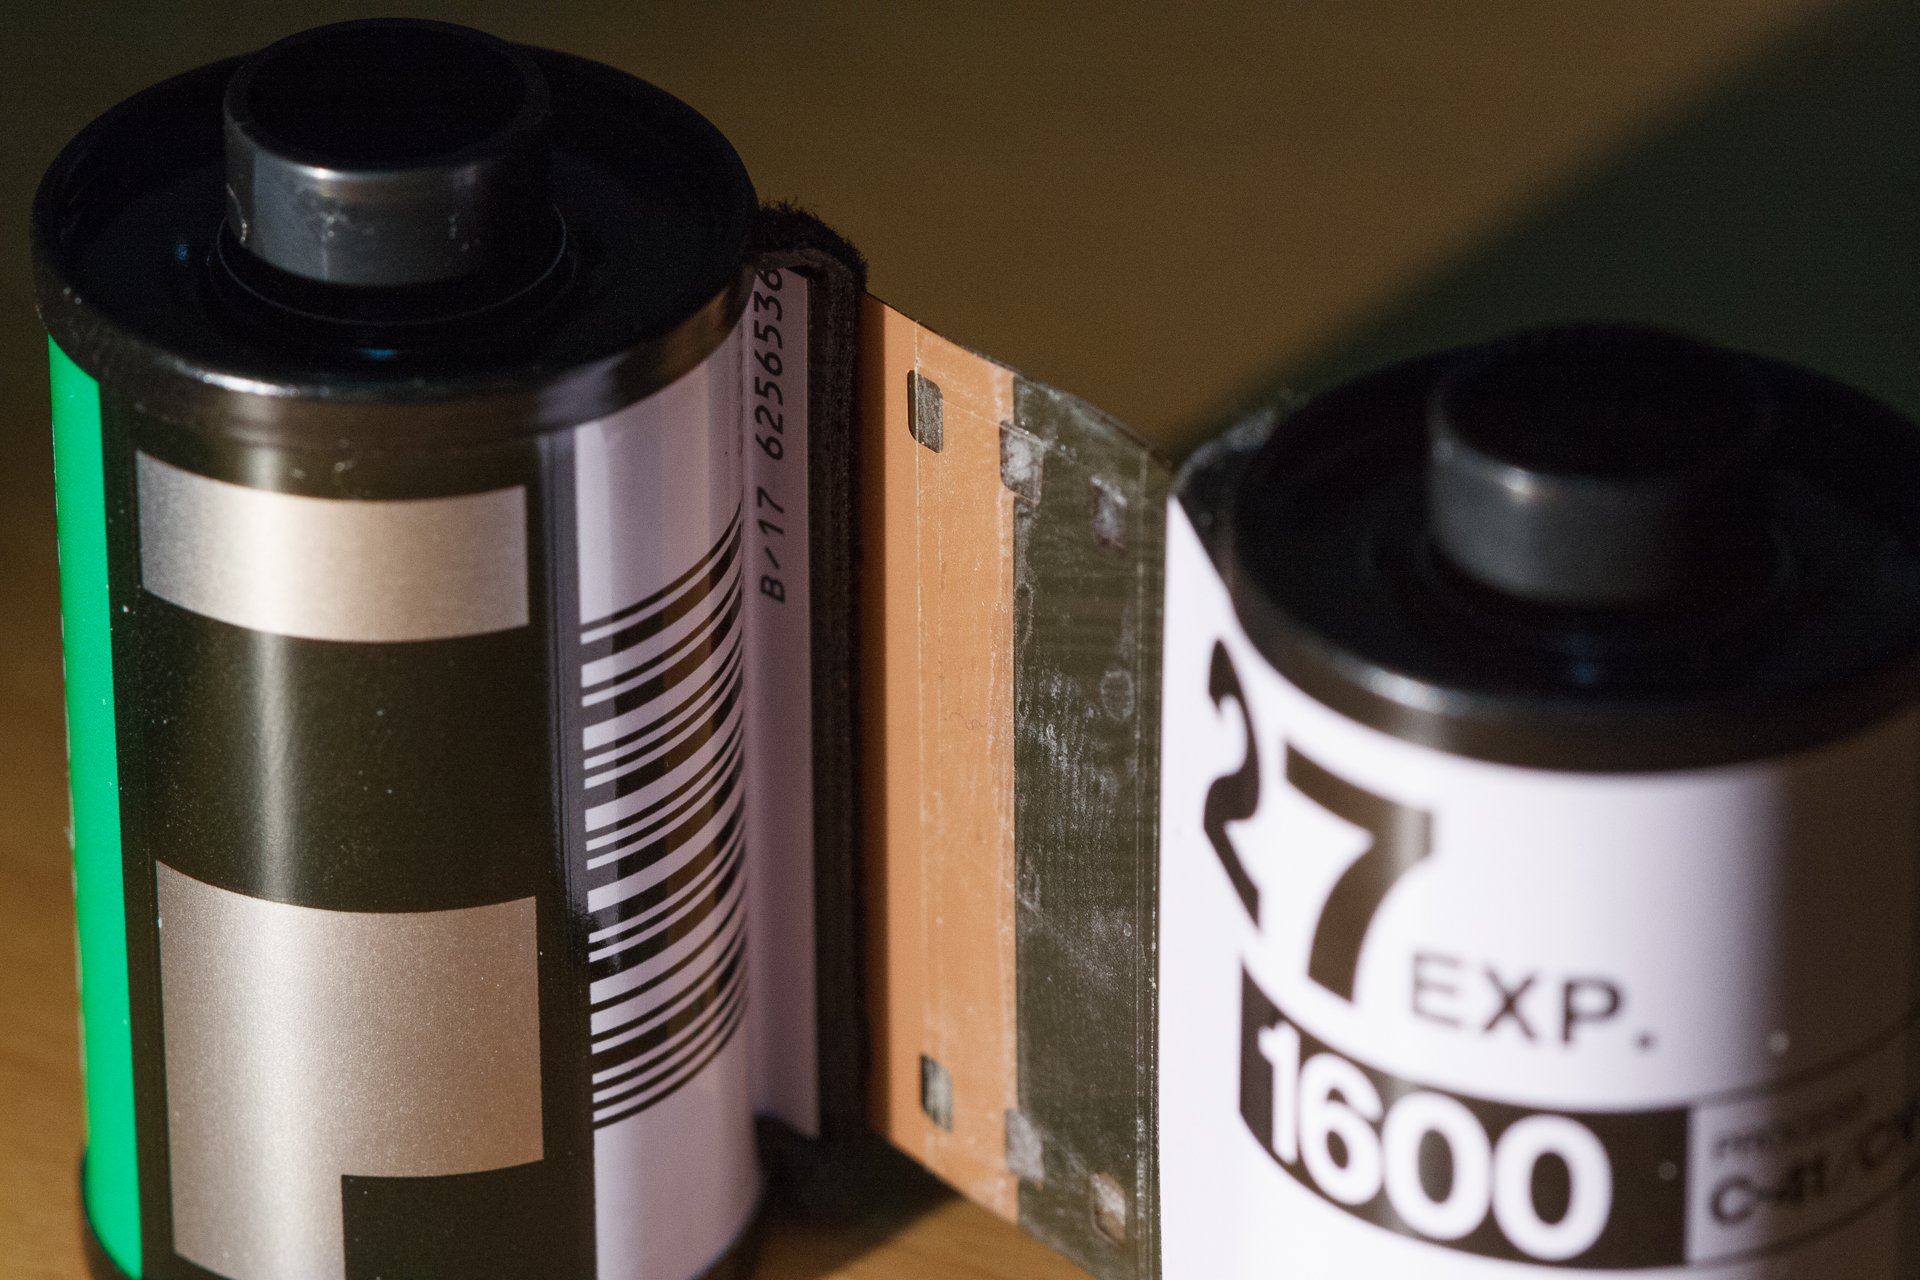
To start, you'll need a normal roll of film, and a empty roll. The empty canister can be obtained by your local film development store if they have some. Also the empty canister should have a little stub of film sticking out of it. |
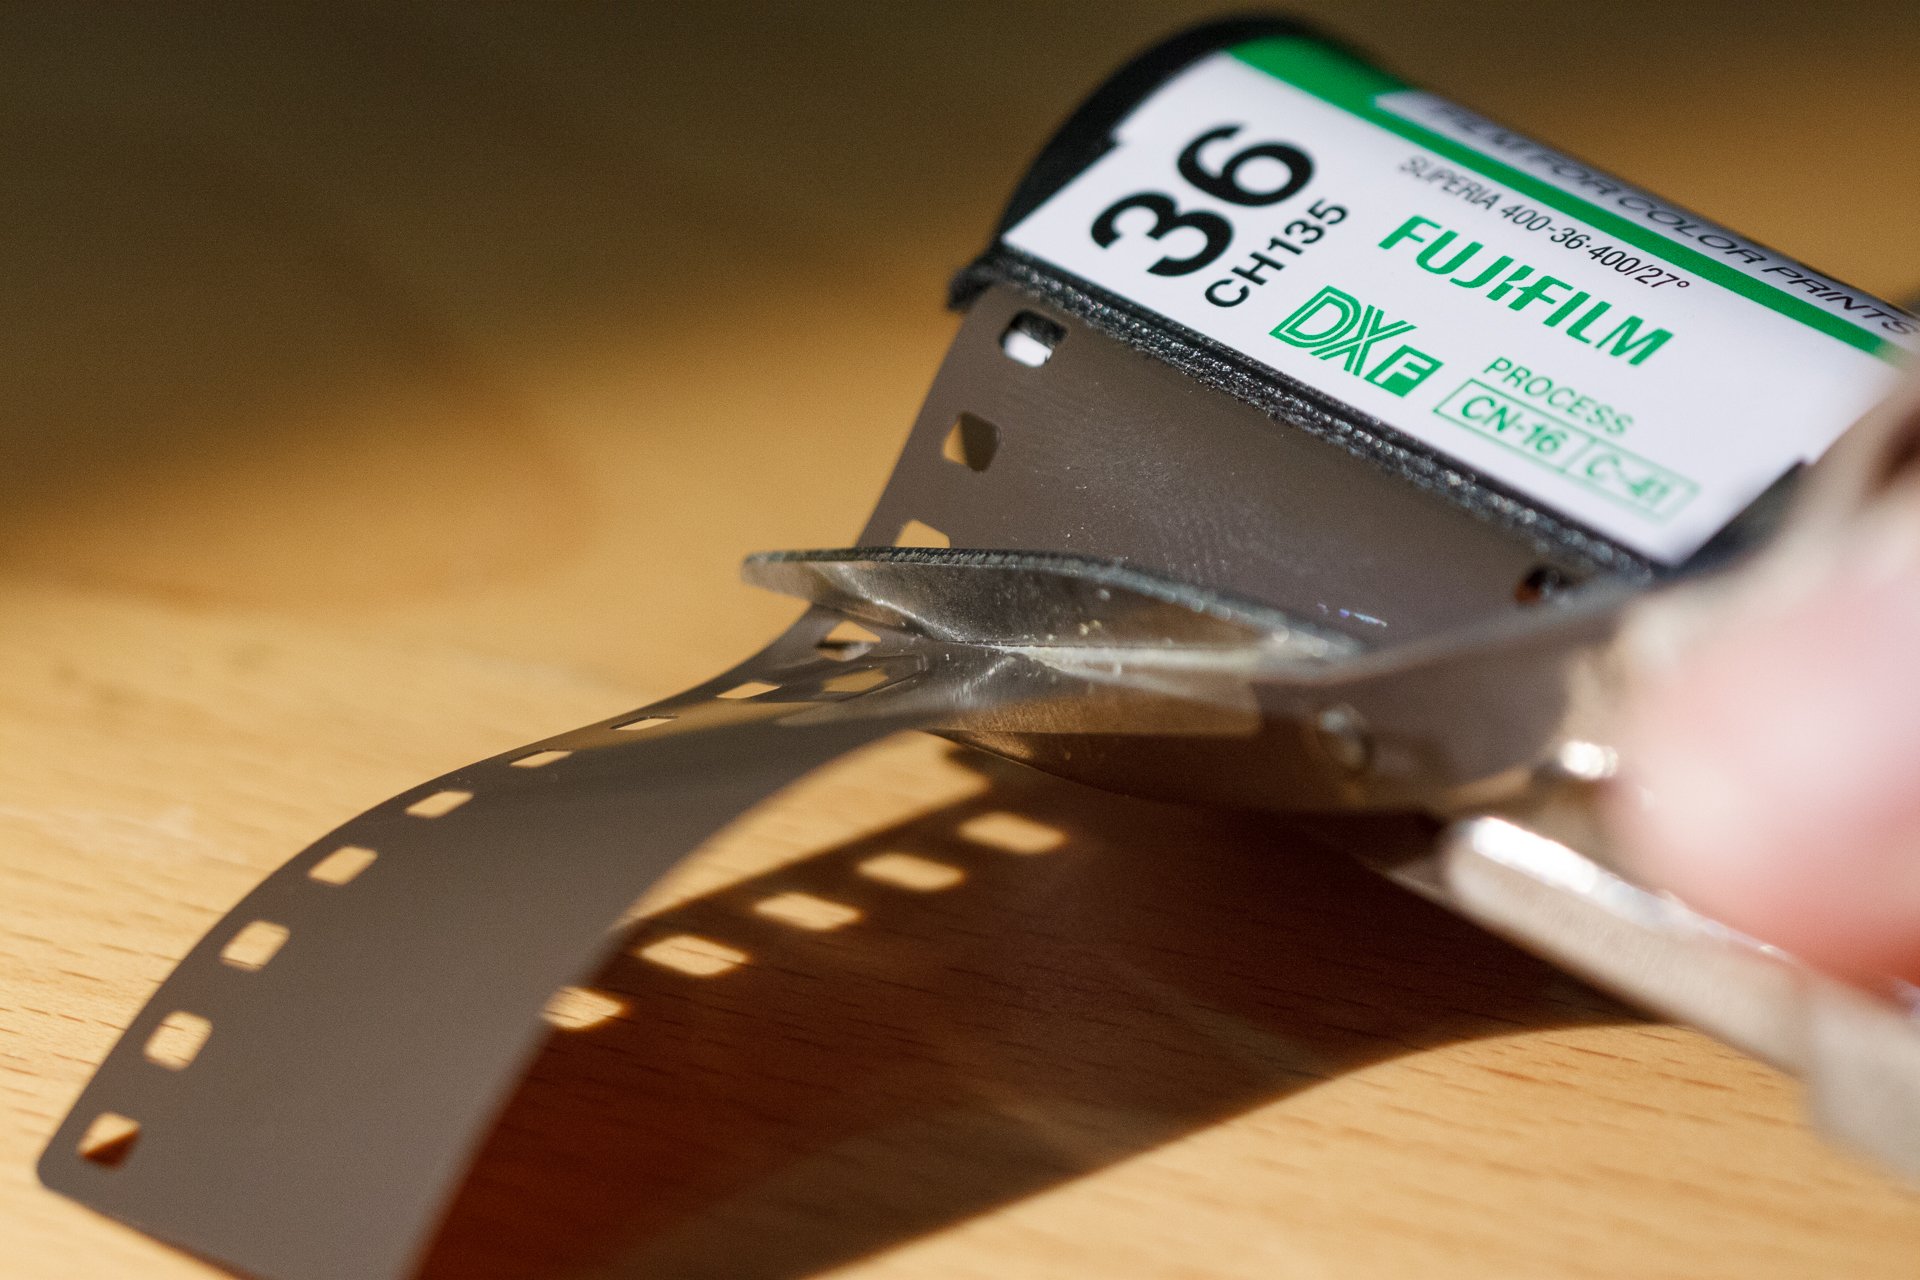 |
Next, cut the leader strip off from the new roll so that it results in a straight edge. |
 |
Now, align the two end stubs together, as shown. Use some thin tape to secure the two ends together. |
| Do this step in complete darkness!!! | Now wind the empty canister until it takes up all of the film from the new roll. As you wind, try not to let it curl back, and stop winding when you can't wind any further. |
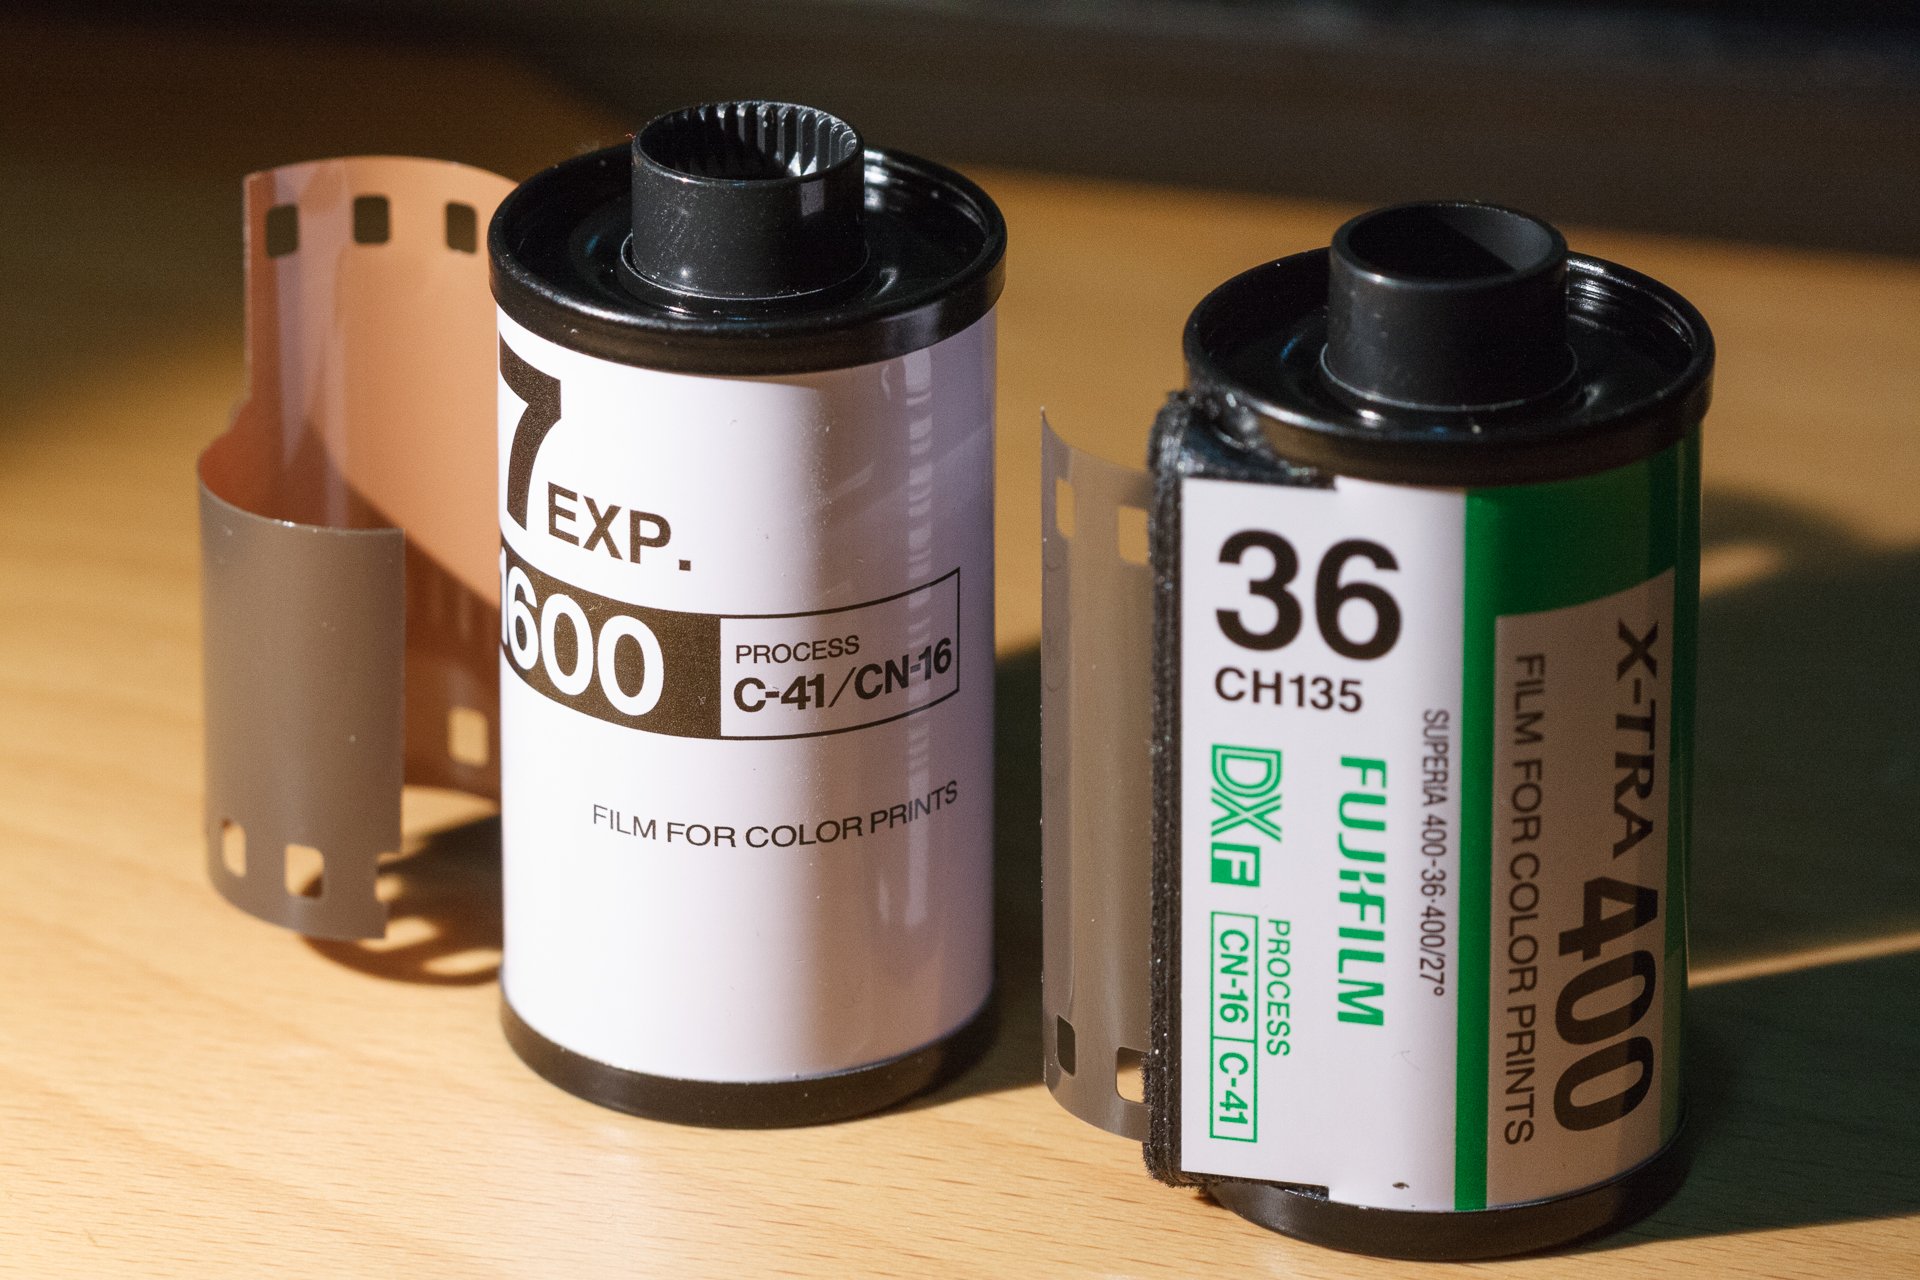 |
Cut between the two canisters to separate them. You can leave a stub in one of them for your next redscale roll! If you want, you can cut a leader strip in the newly wound roll. Congratulations now you are ready to shoot redscale! |
Tips for shooting redscale
Here are some tips and guidelines when shooting redscale:
- Expose the redscale film at least two to three stops brighter. For example, if the film is rated at ISO 400, shoot it as if it were ISO 100 or ISO 50. For this reason I usually use films with ISO 400 to make my redscale roll.
- The more overexposed, the less pronounced the red, and the color will shift towards yellow. Underexpose and it becomes more red.
- With redscale, you don't have to worry too much about overexposing your highlights.
- The overexposure required naturally allows for longer exposures. You can use this to your advantage and create some long exposures in the day!
- Experiment with different films and exposure settings!
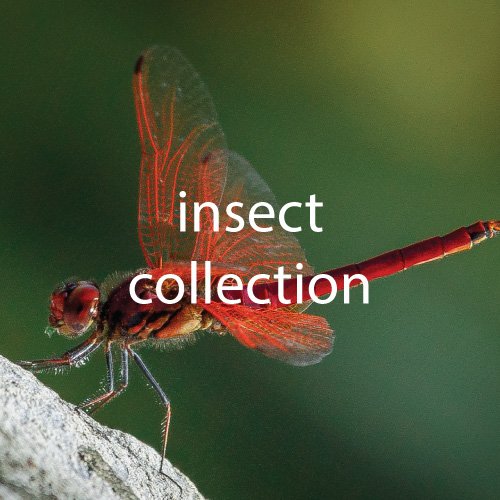
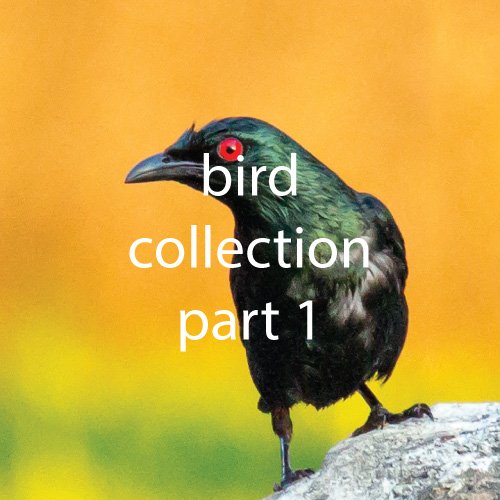
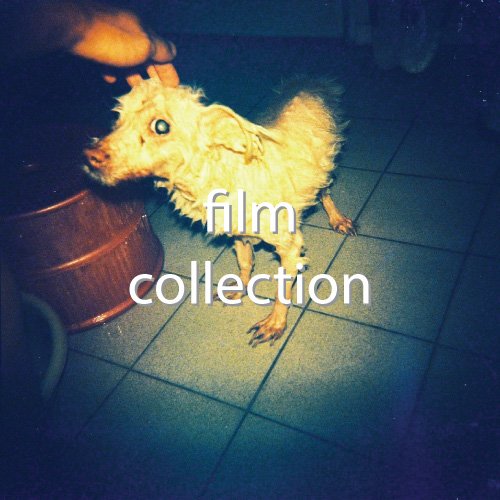
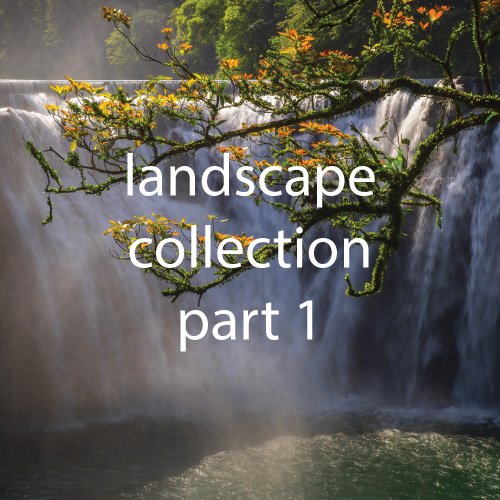
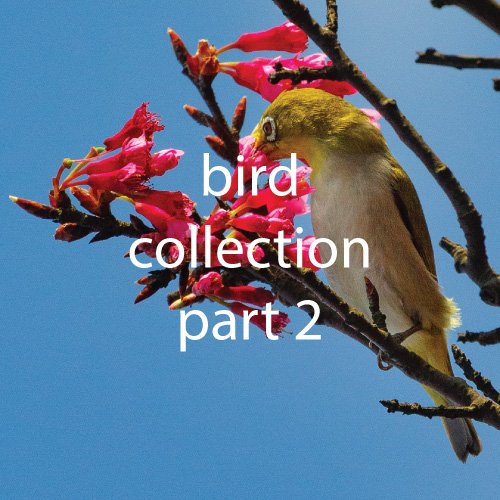
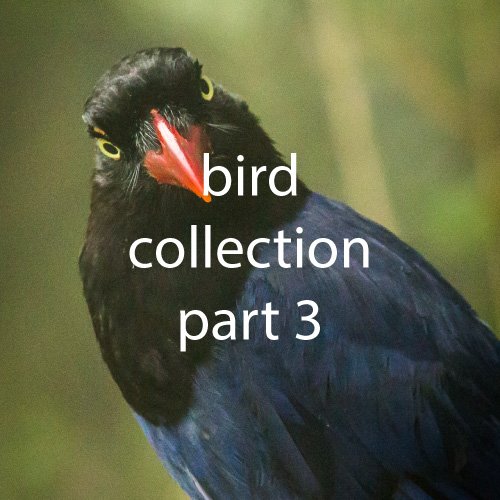
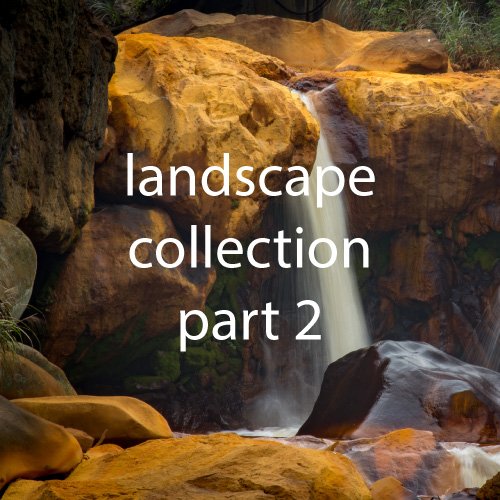
My Photo Collections
 |
 |
 |
 |
 |
 |
 |
 |  |
 |
