Introduction
Continuing on from the previous tutorial style I though it would be useful to cover how an image evolves from the original RAW file to final finished and corrected file.
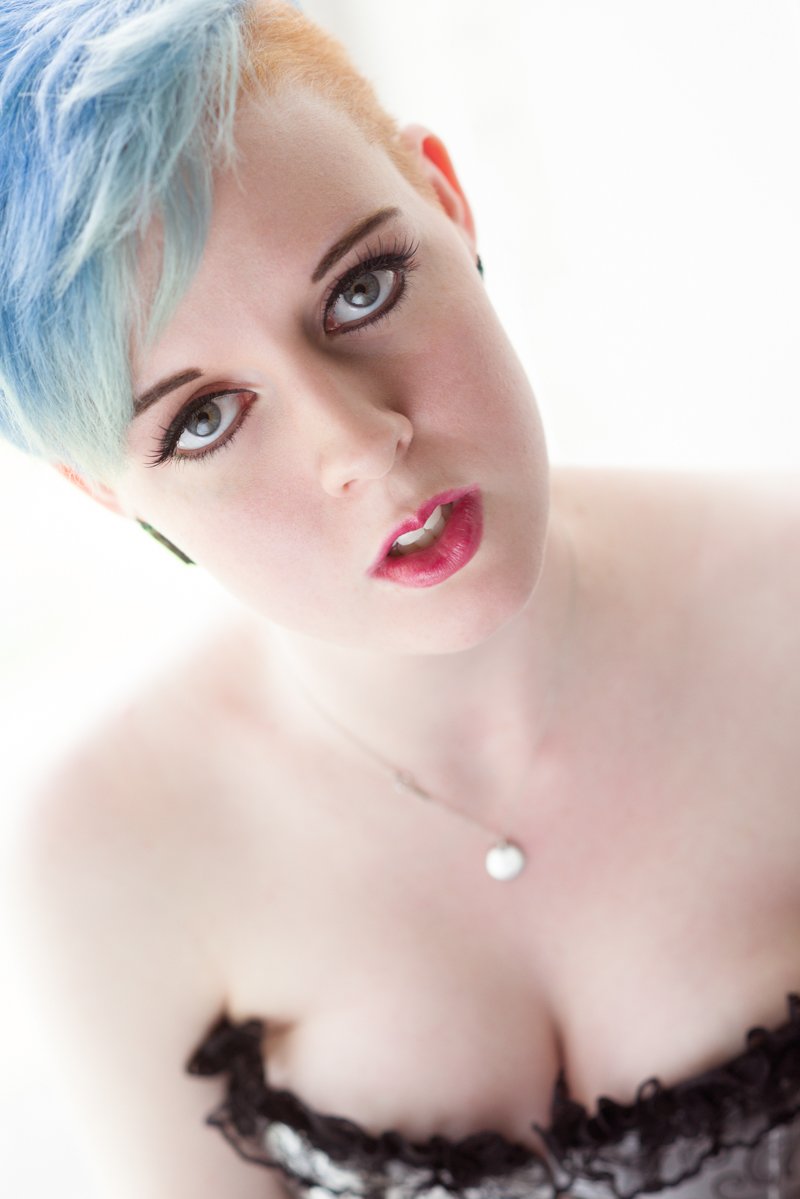
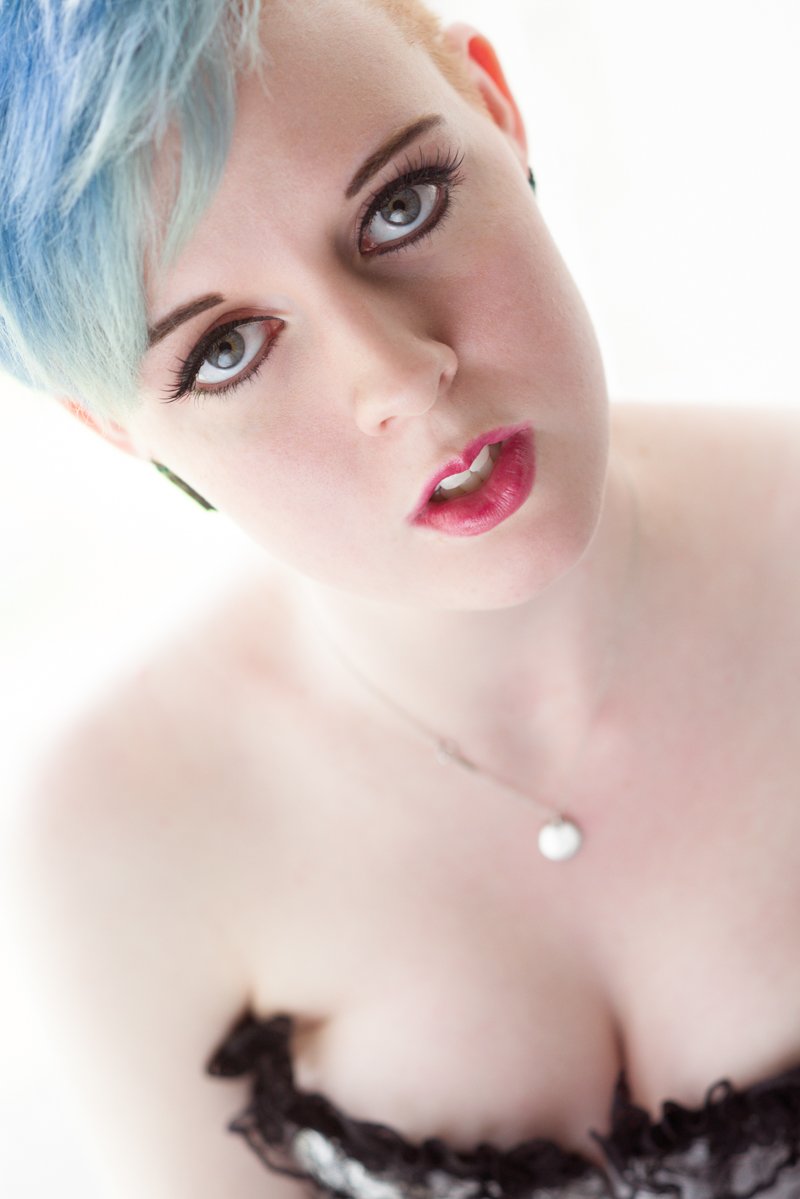
TLDR: The Finished Image VS the Original Side by Side

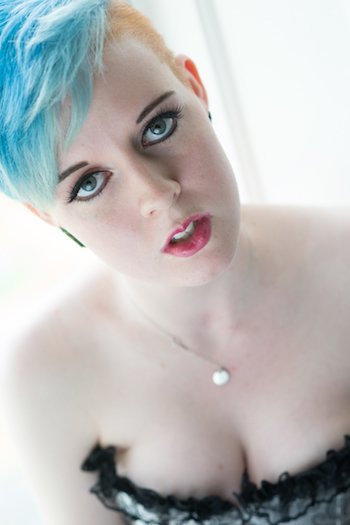
The Final image is on the left and the original image is on the right. You can also see a large version of the final image at the bottom of the post.
The original image is already pretty good and only needs very minor corrections for blemishes, colour balance etc. - using the right kind of lighting and lenses helps with this - as well as the model having good skin and makeup.
The equipment used was my Nikon D800 camera with Nikon 85mm/1.8 lens shooting wide open.
The model here is Gabriella Kennedy. She was backlit using the window behind her and a reflector held in front for front lighting and highlights in the eyes.
Basic Skin Retouching in LR and Photoshop
I have used the spot removal tool in Lightroom to remove some minor blemishes which leaves me with the image below. I have described use of this in more detail in my previous tutorial.
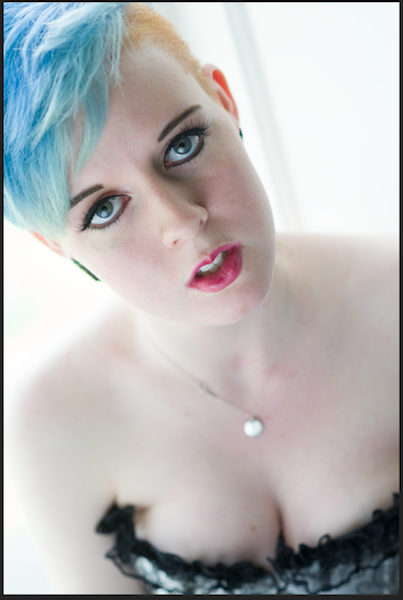
Basic skin retouching to remove blemishes in Photoshop.
Larger version to show this.
The difference is subtle but I don't want to go too far and remove too much skin detail. I'm just using the spot healing brush tool as detailed in my previous photo repair tutorial. This photo is already pretty blemish free so doesn't need anything more advanced.
Temperature Adjustment
Detail to show the difference. The colour seems off. So I'm going to do a colour balance adjustment here.
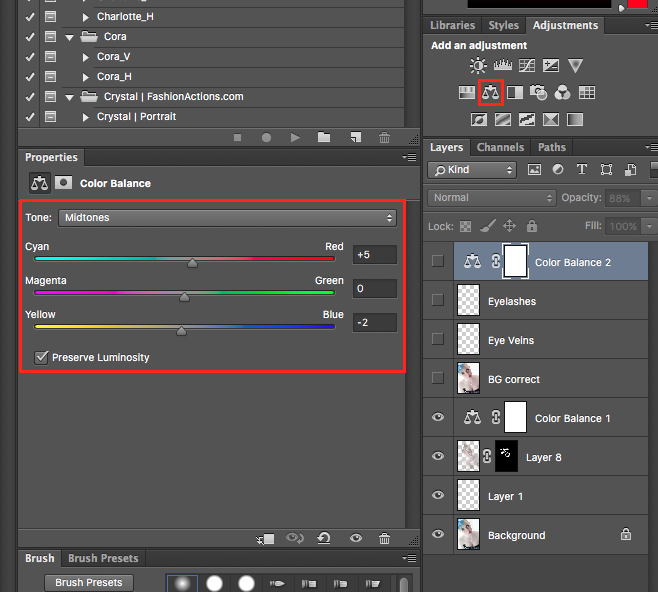
This is an improvement but it's not perfect. I might do more fine adjustment in Lightroom.
Background Fix
I also want to remove the window bar behind her. So on new layer (Cmd/Ctrl+Shift+N). I use the clone stamp tool to copy the background to the right over to bar. The clone stamp tool looks exactly like a stamp and is just below the healing brush. It directly clones an area without any intelligent modifications.
So the bar is now gone.
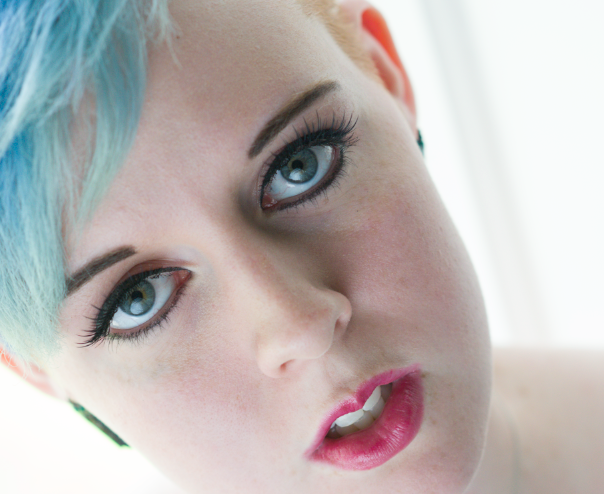
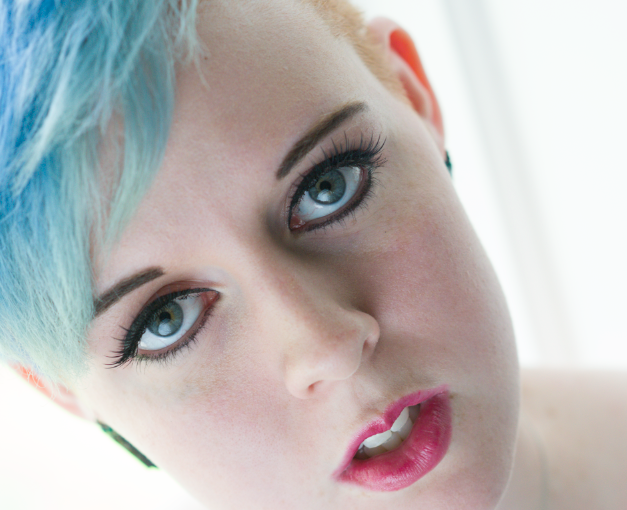
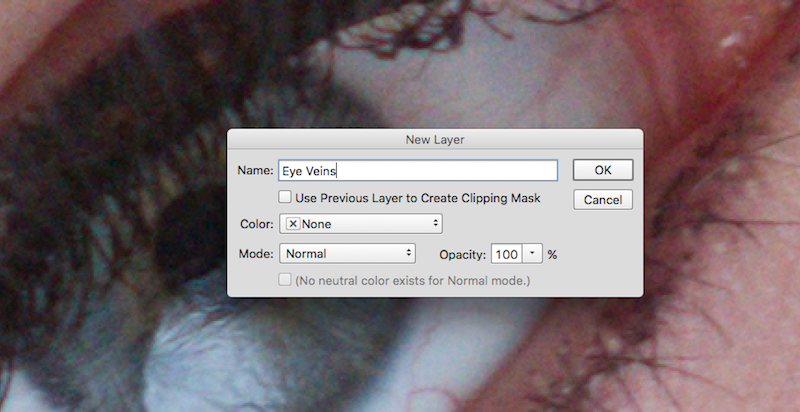
Eye Veins

OK I might do some very subtle work on the eye veins. Again I will create a new layer (Cmd/Ctrl+Shift+N) and zoom in and carefully use the healing brush to erase the veins.
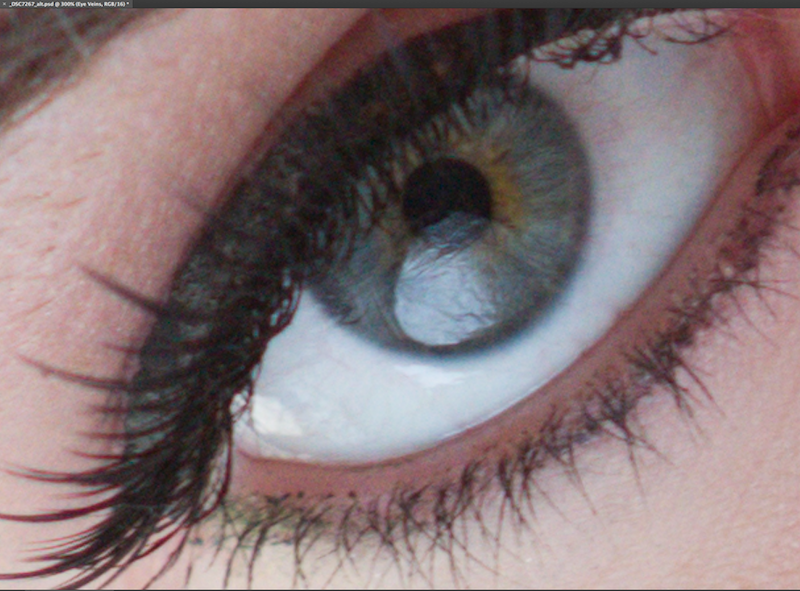
This is to show the difference to one of the eyes. This is a bit too much so I will enlarge the image and reduce the opacity of this layer to 50%.
Here is the full size image. This looks about right.
Final Adjustments in Lightroom
I'll save this and open it up in Lightroom for final adjustments. Just before saving I couldn't resist doing another colour balance change but it is really unnecessary as I will fix the colours in Lightroom.
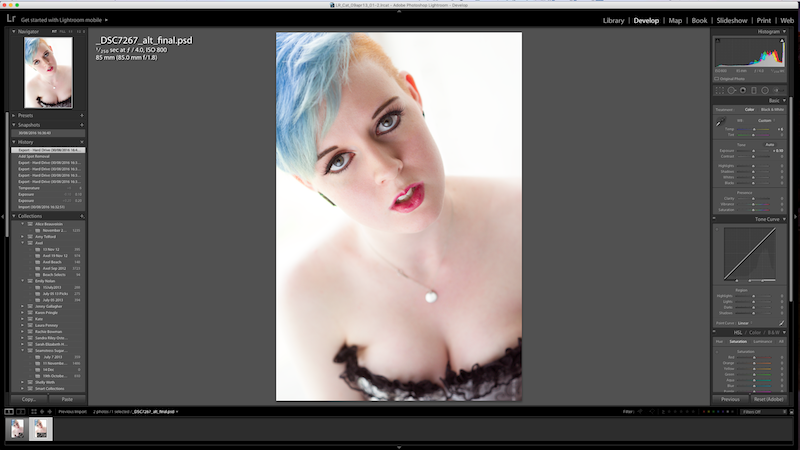
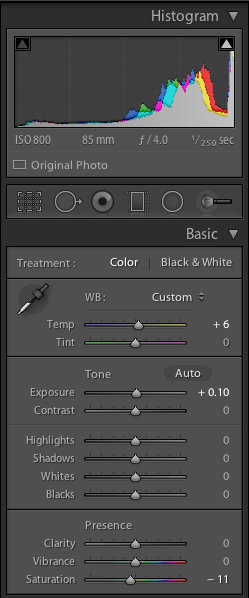
I have basically adjusted the exposure very slightly to +0.10 -
I have also tried auto temperature which gave a more balanced result but the colours didn't look right to me. It set the Blue/Yellow slider to +13, so as a compromise I set it half way to +6 which looked better to my eye.
I also reduced the saturation by -11 as it seemed a bit strong to me. The image is essentially finished apart from cropping.
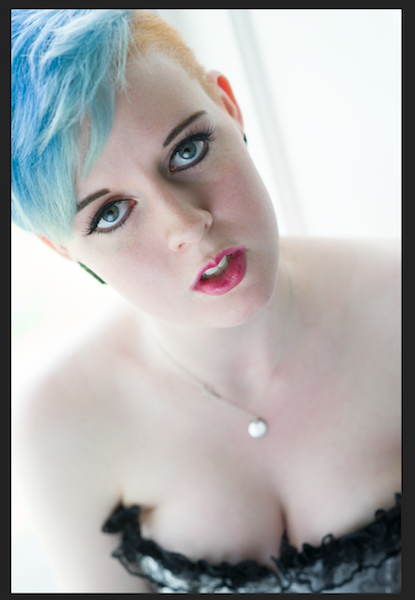
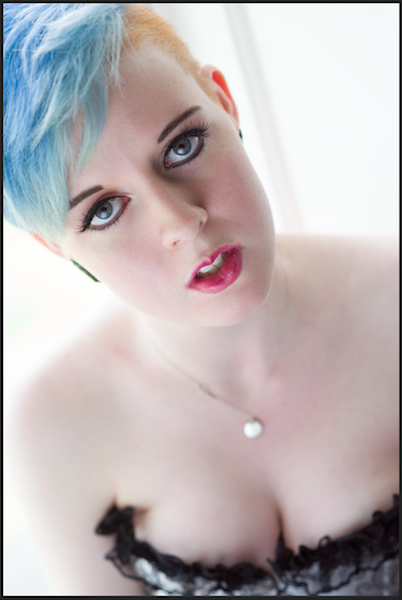
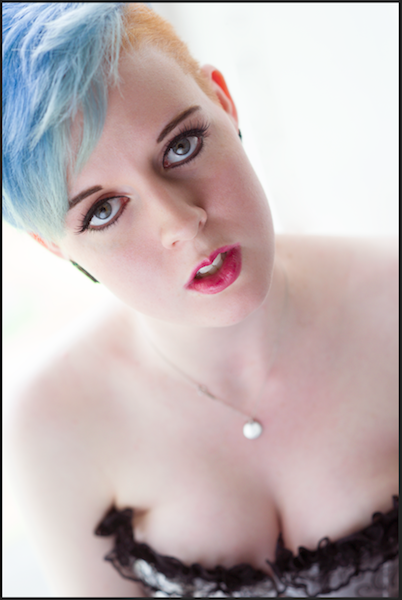
Final Image With and Without Cropping
Uncropped
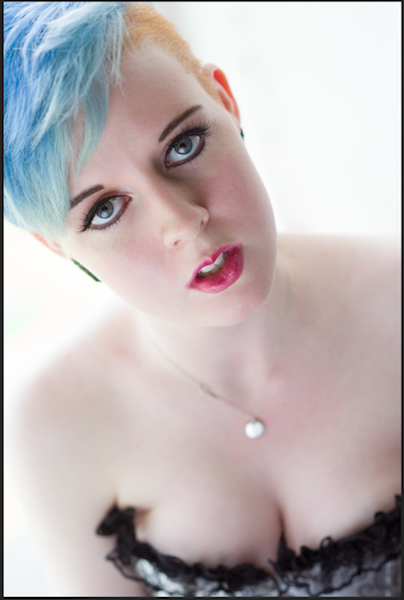
Cropped. The difference is very subtle but I think the crop emphasises the eyes and face more.
THE END
I hope you found this useful. I've tried to keep it short and to the point.
You can see more of my work @thecryptofiend - hope you enjoy.
(Verification for me here: http://www.aapicture.com/about-me)