Raspberry Pi Case for SteemPi (2)| SteemPi 專用樹莓派盒子 (二)
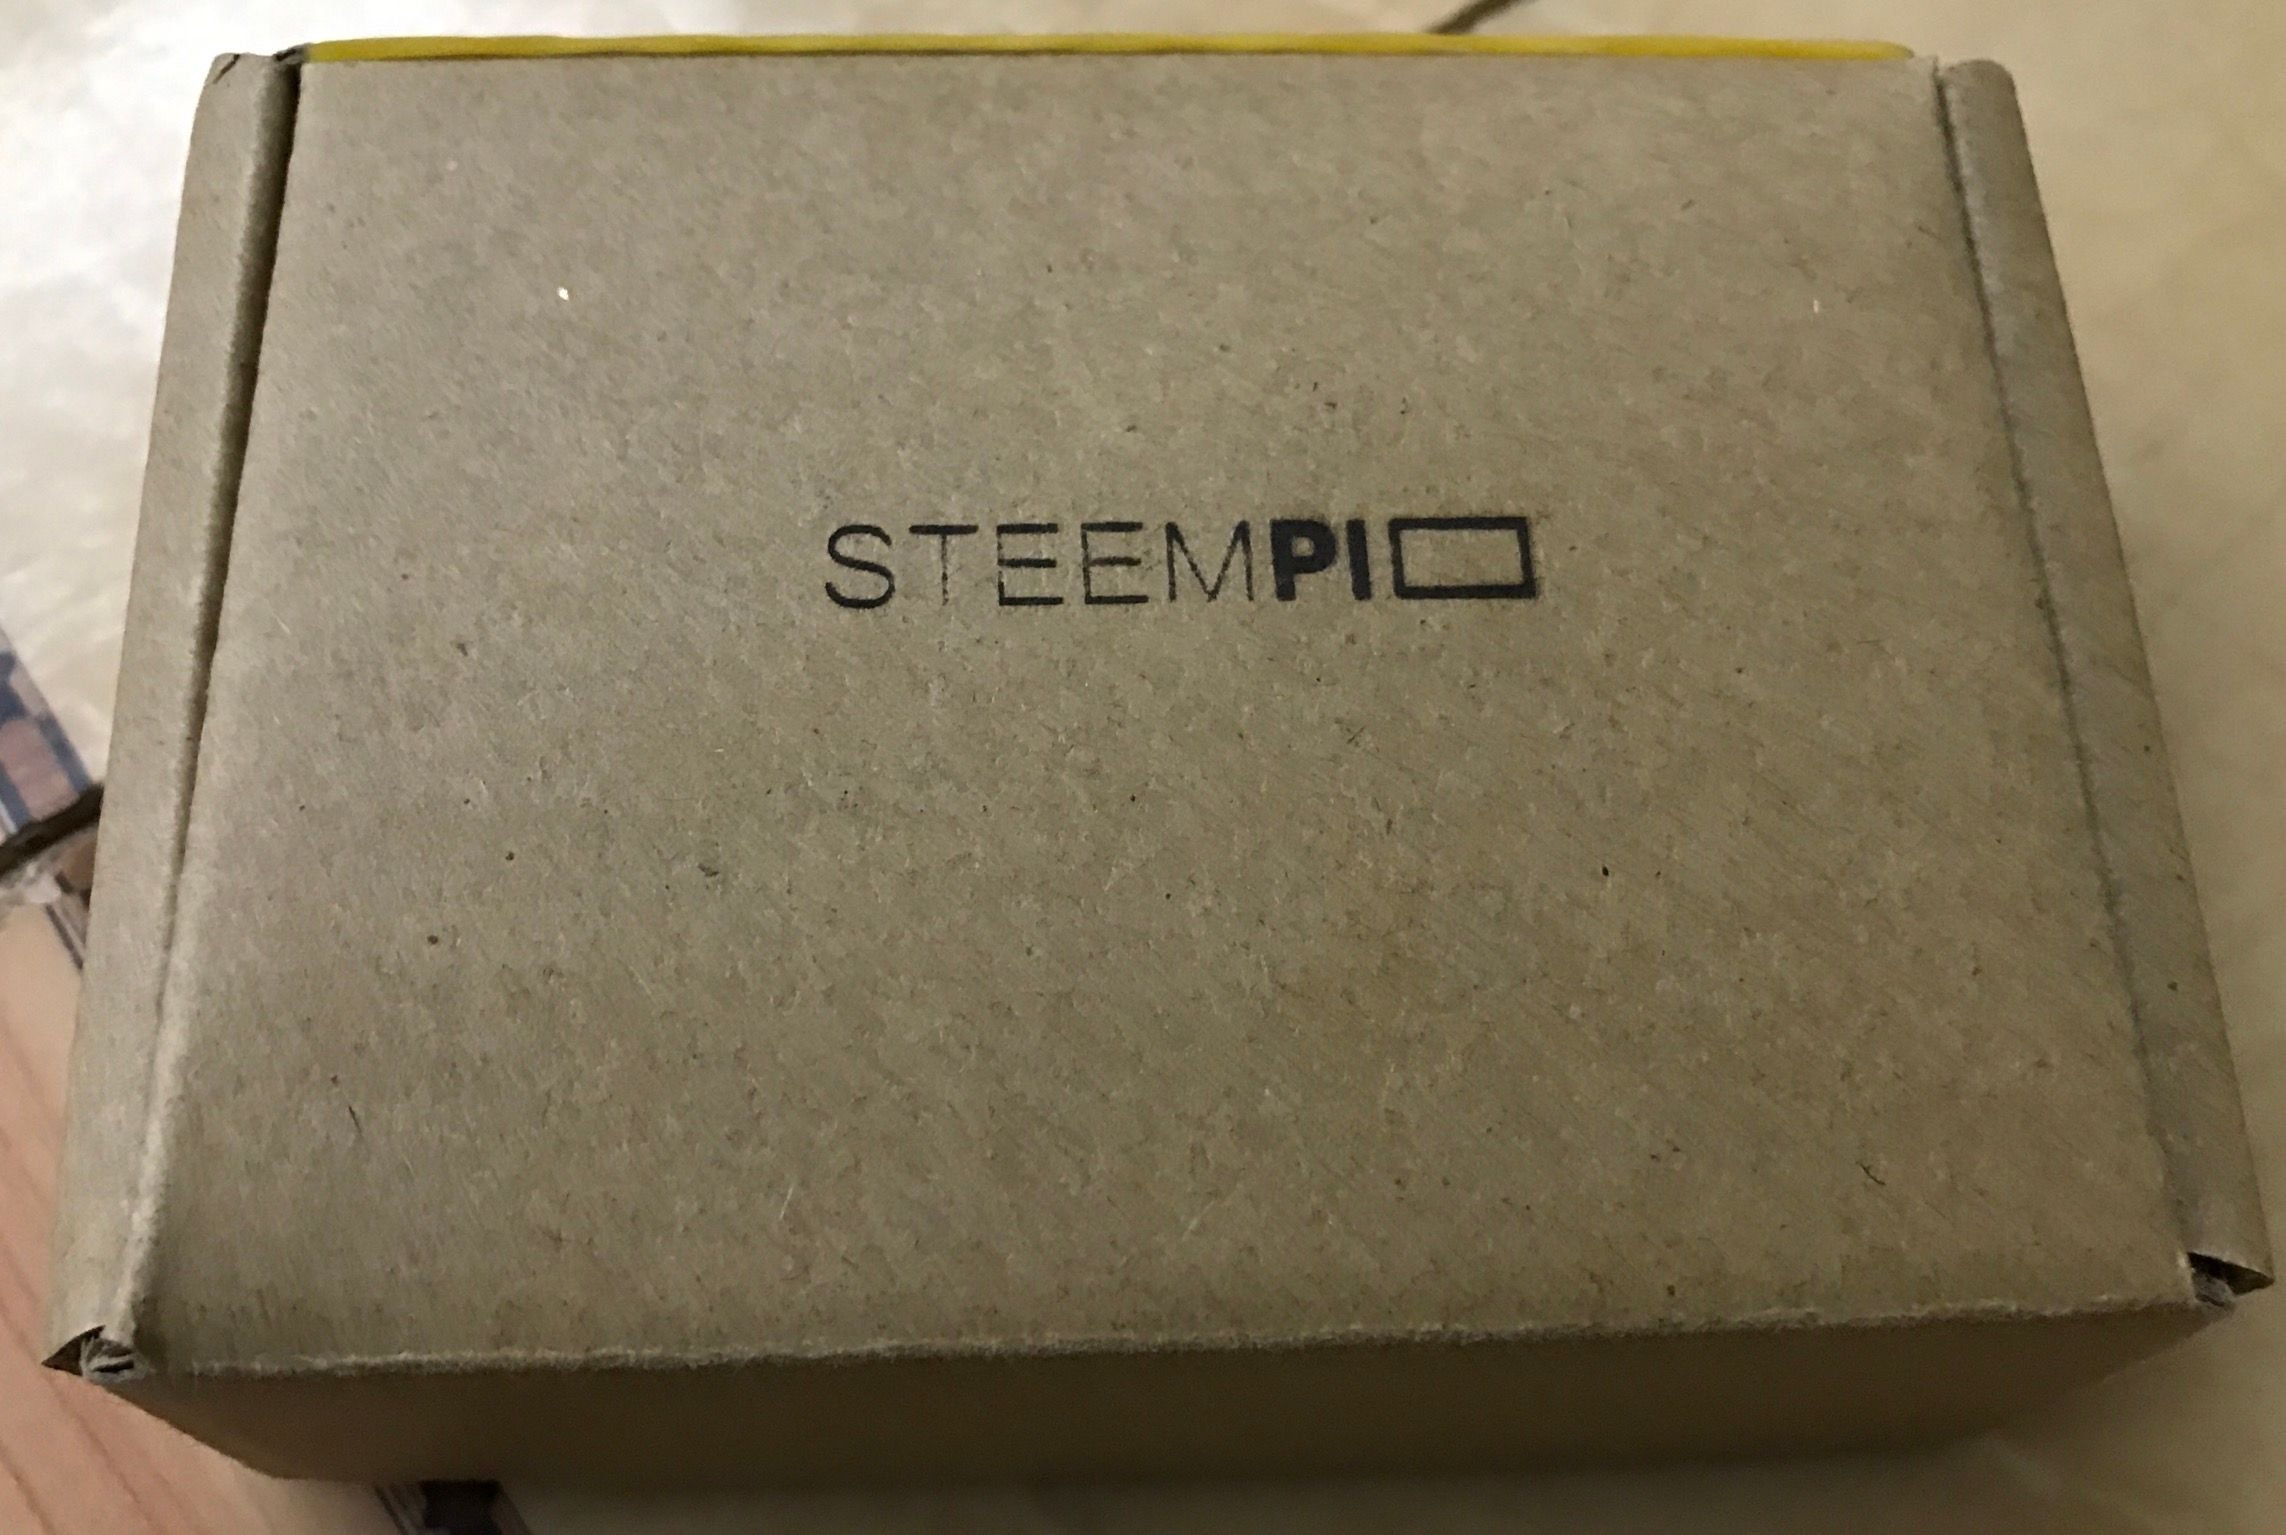
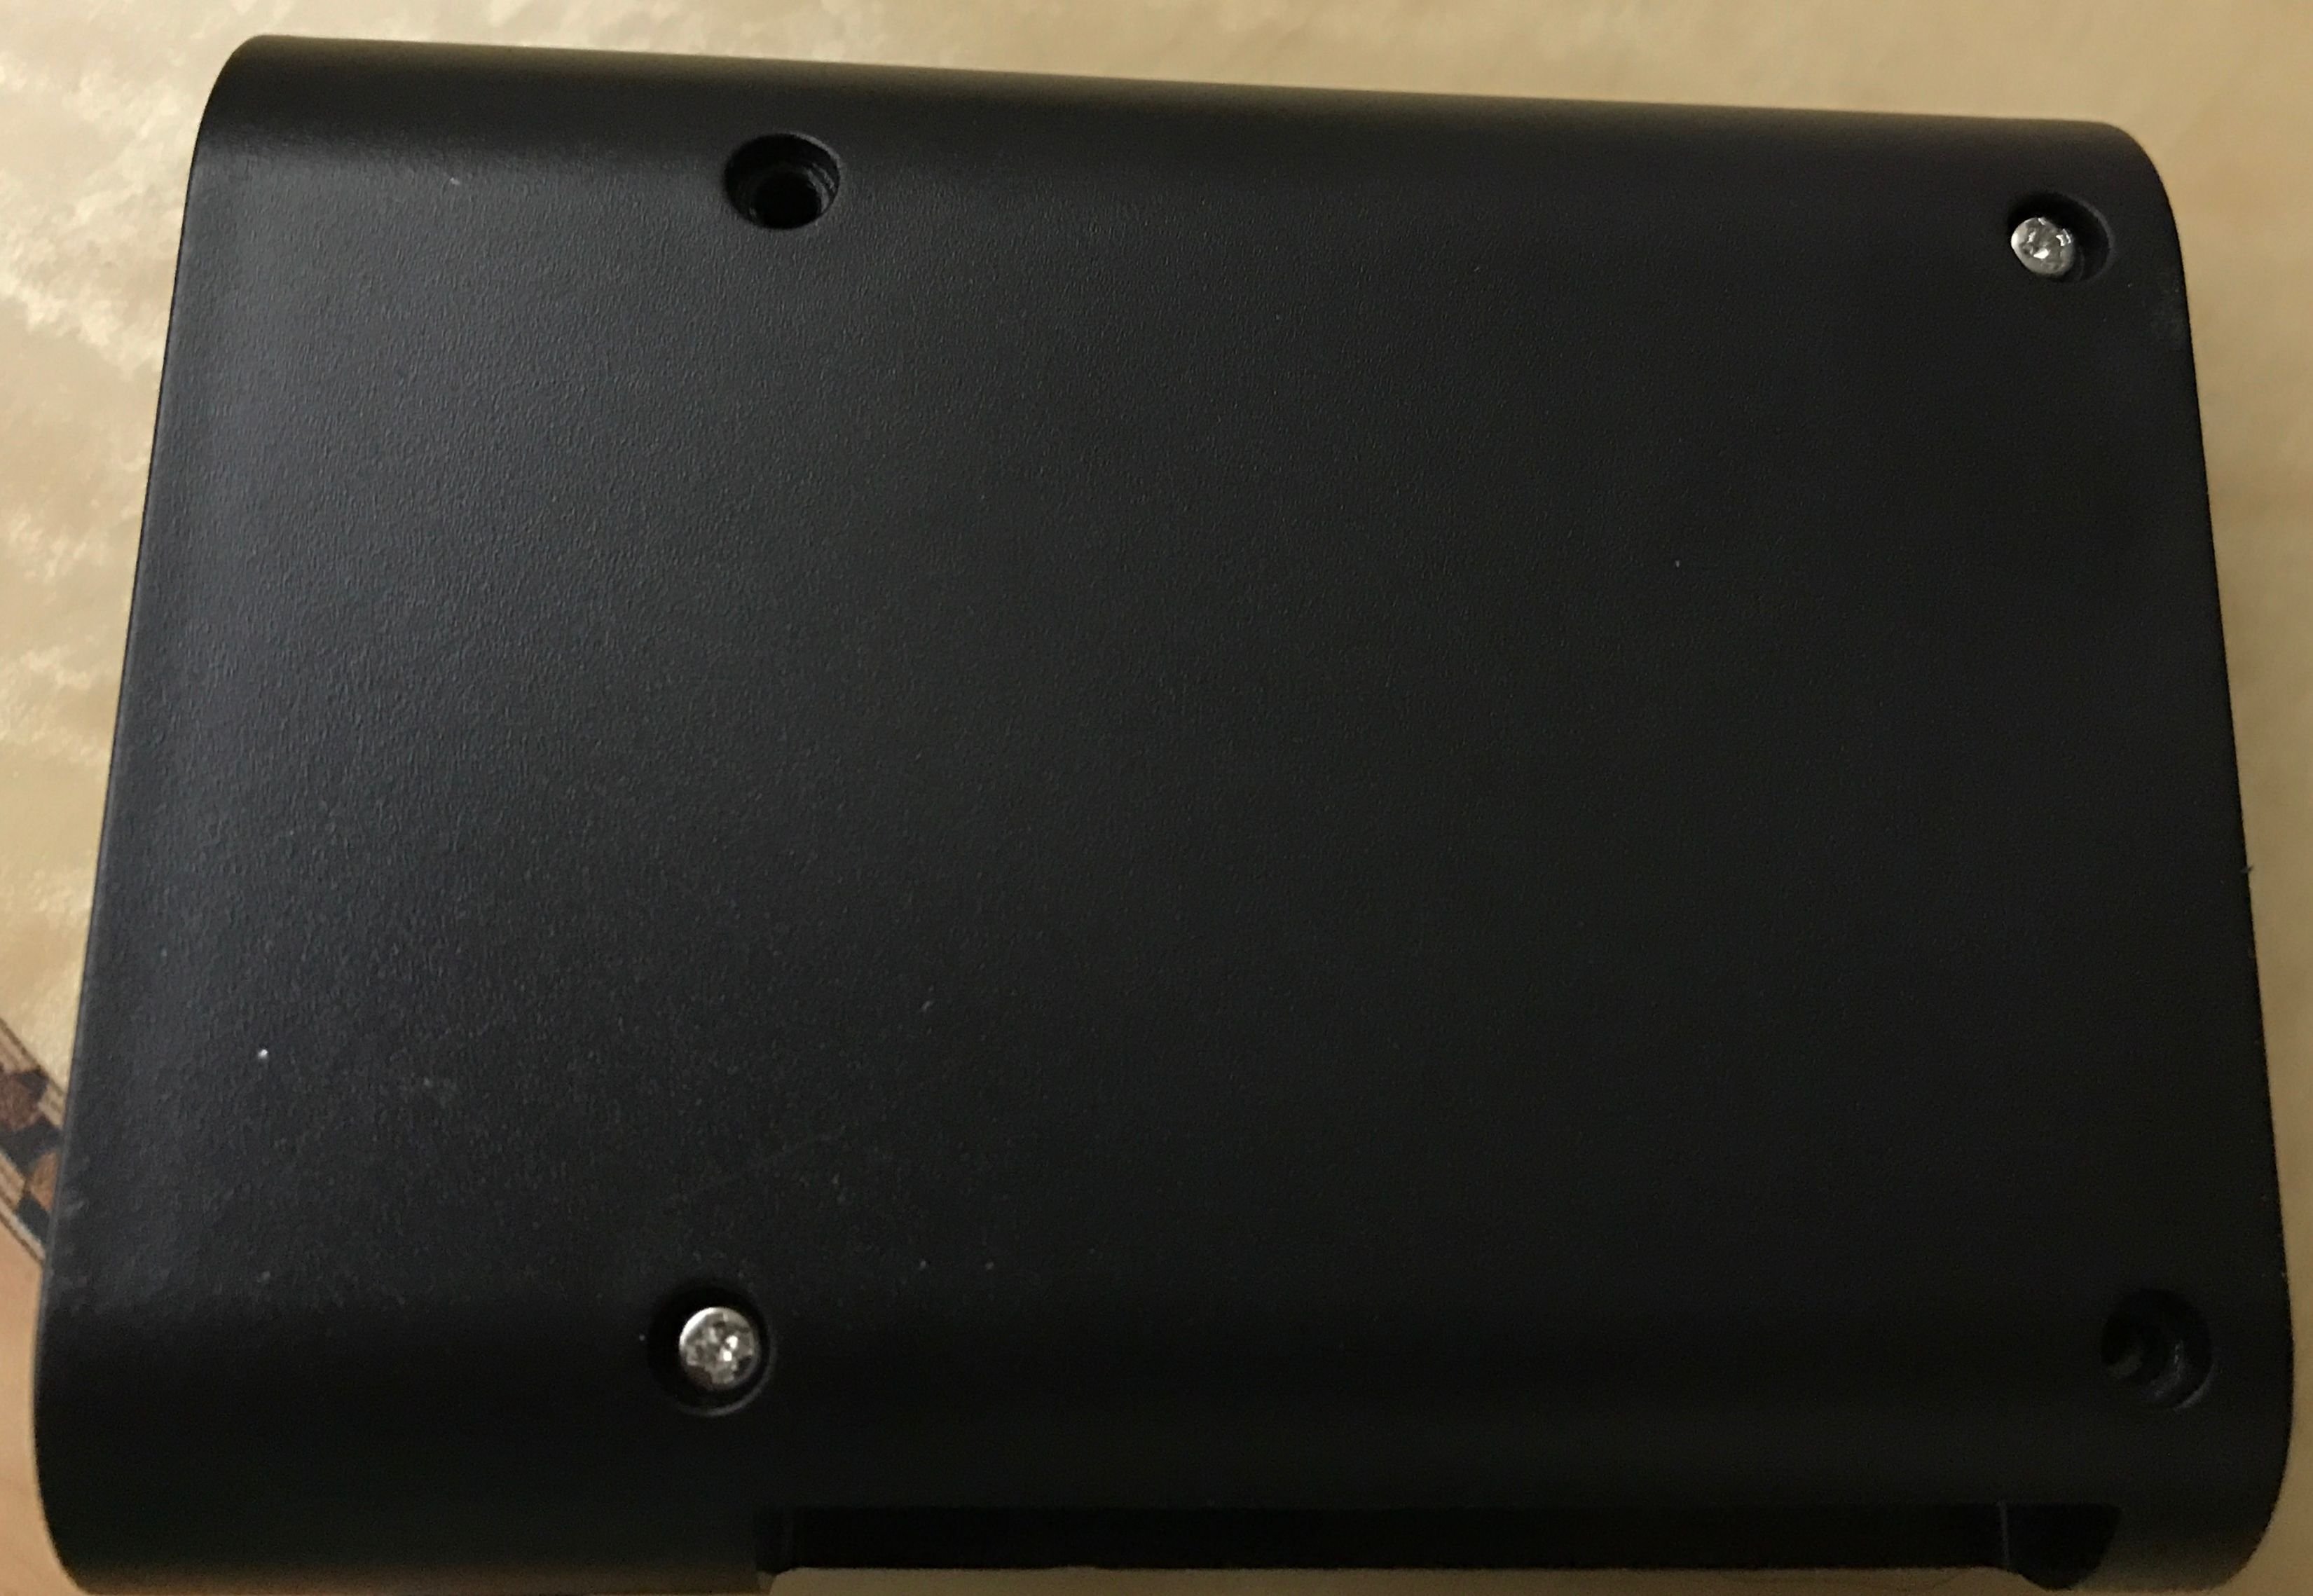
Last time I showed the SteemPi box all put together with screws on. In this post let's continued.
上次說到我要借助螺絲的幫助來把SteemPi盒子蓋好。今次讓我們再看下去。
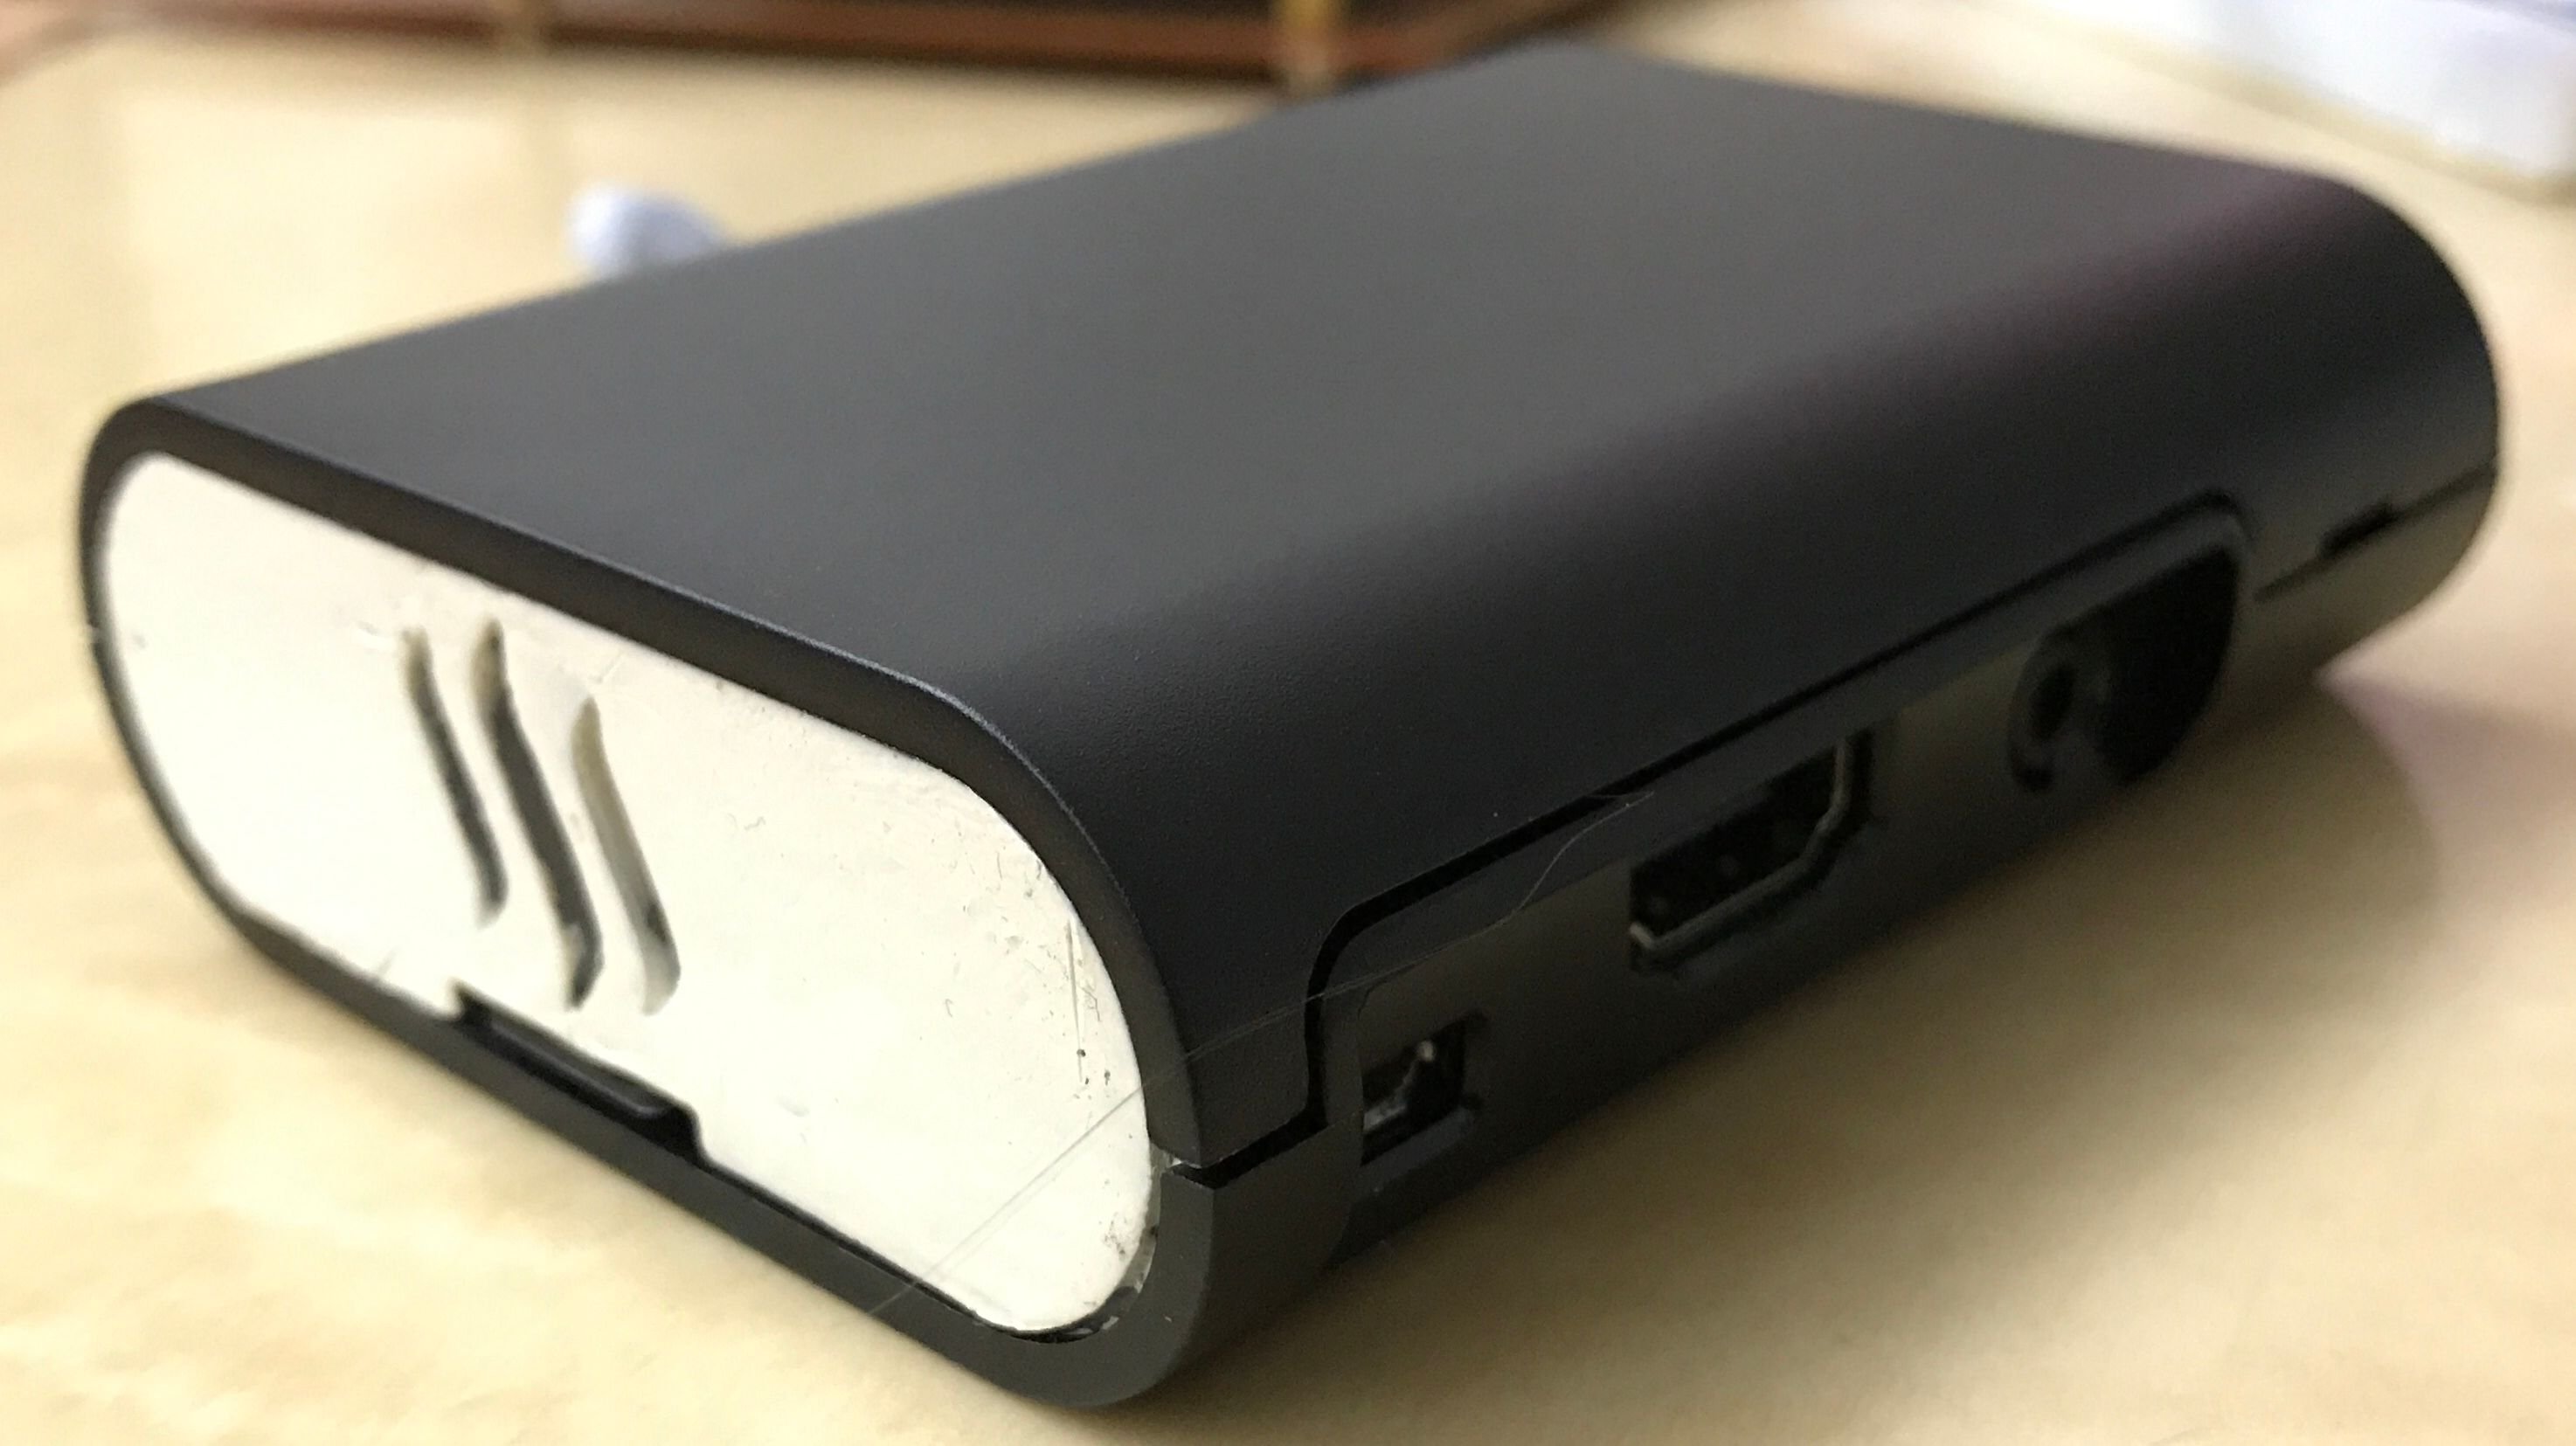
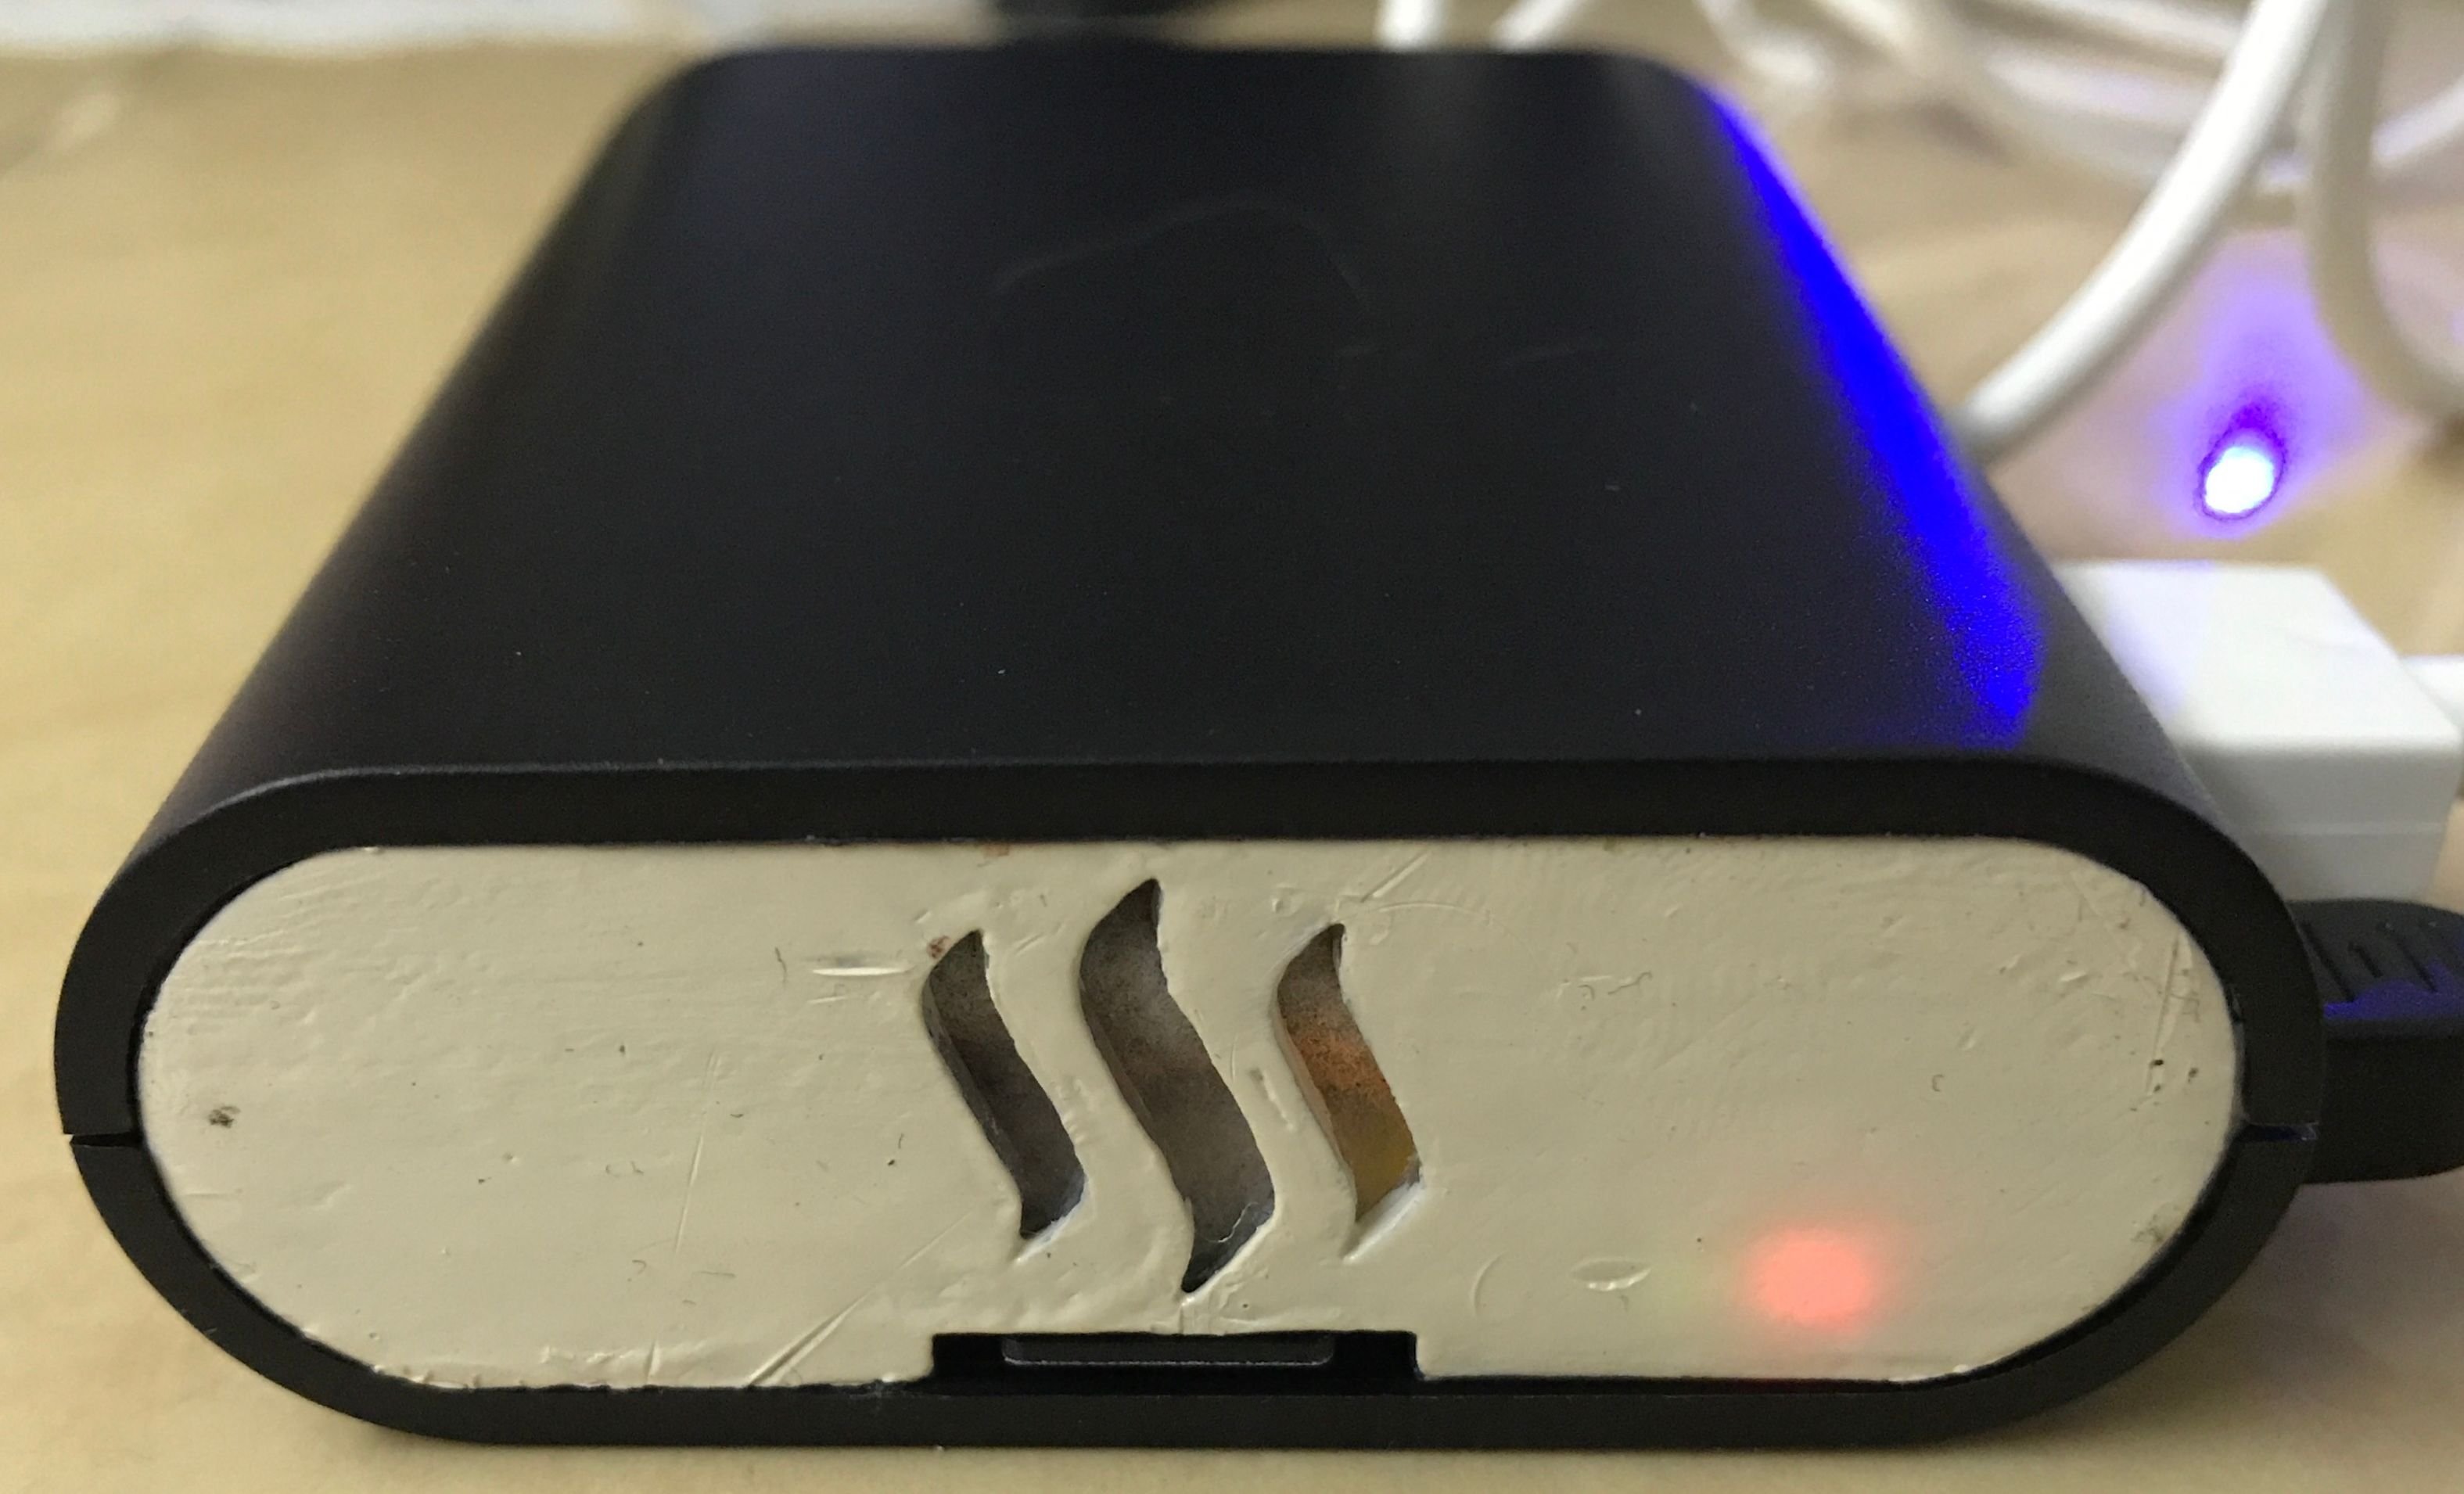
I put on the special designed and made side panel instead of the original black one. It was nicely designed by @techtek and 3D printed. As per @techtek, he didn’t have enough time to give it a better finishing, I sure it will be even better looking if there was more time.
我亦用 @techtek特別設計和製造的側面版來代替原裝的黑色側面板。它是利用3D打印機造出來的。@techtek說過他不夠時間去仔細打磨它,不然的話它應該會更加漂亮的。
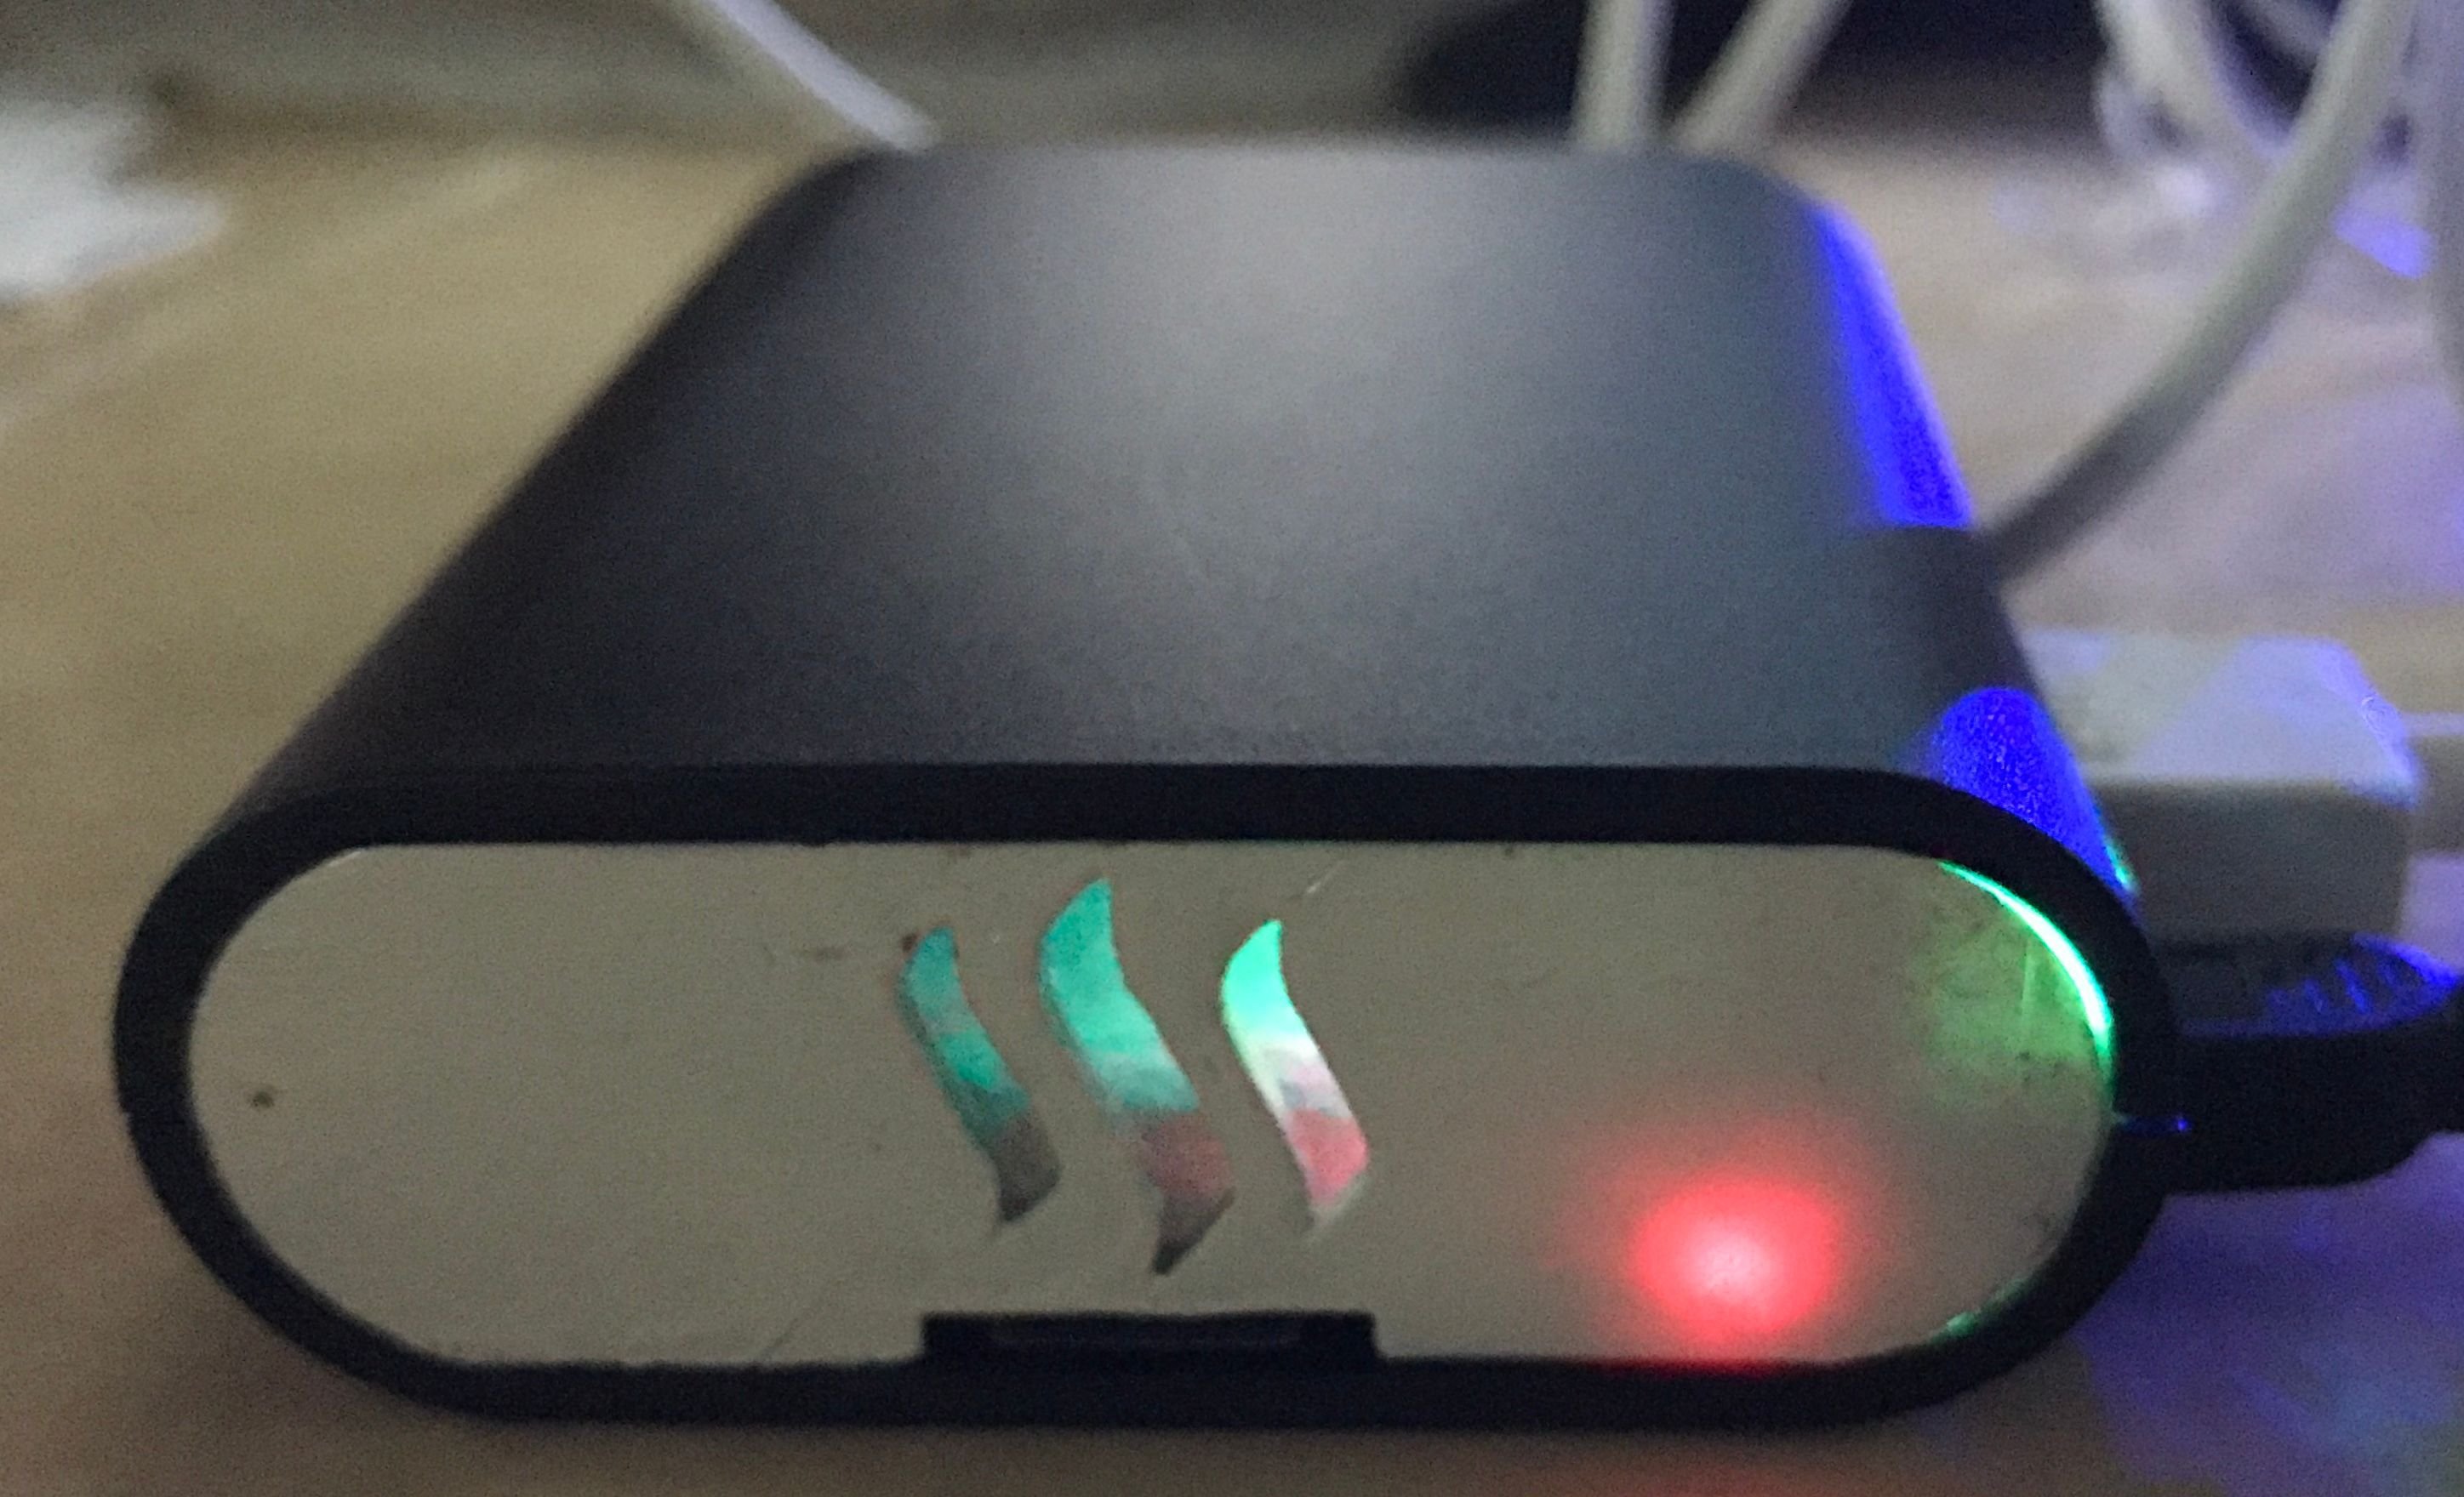
Before I put the panel on, I attached a piece of paper at the back. This was for better lighting effect as you can see later.
我還在它背後放了一張不透明的紙,希望能有更加好的光影效果。

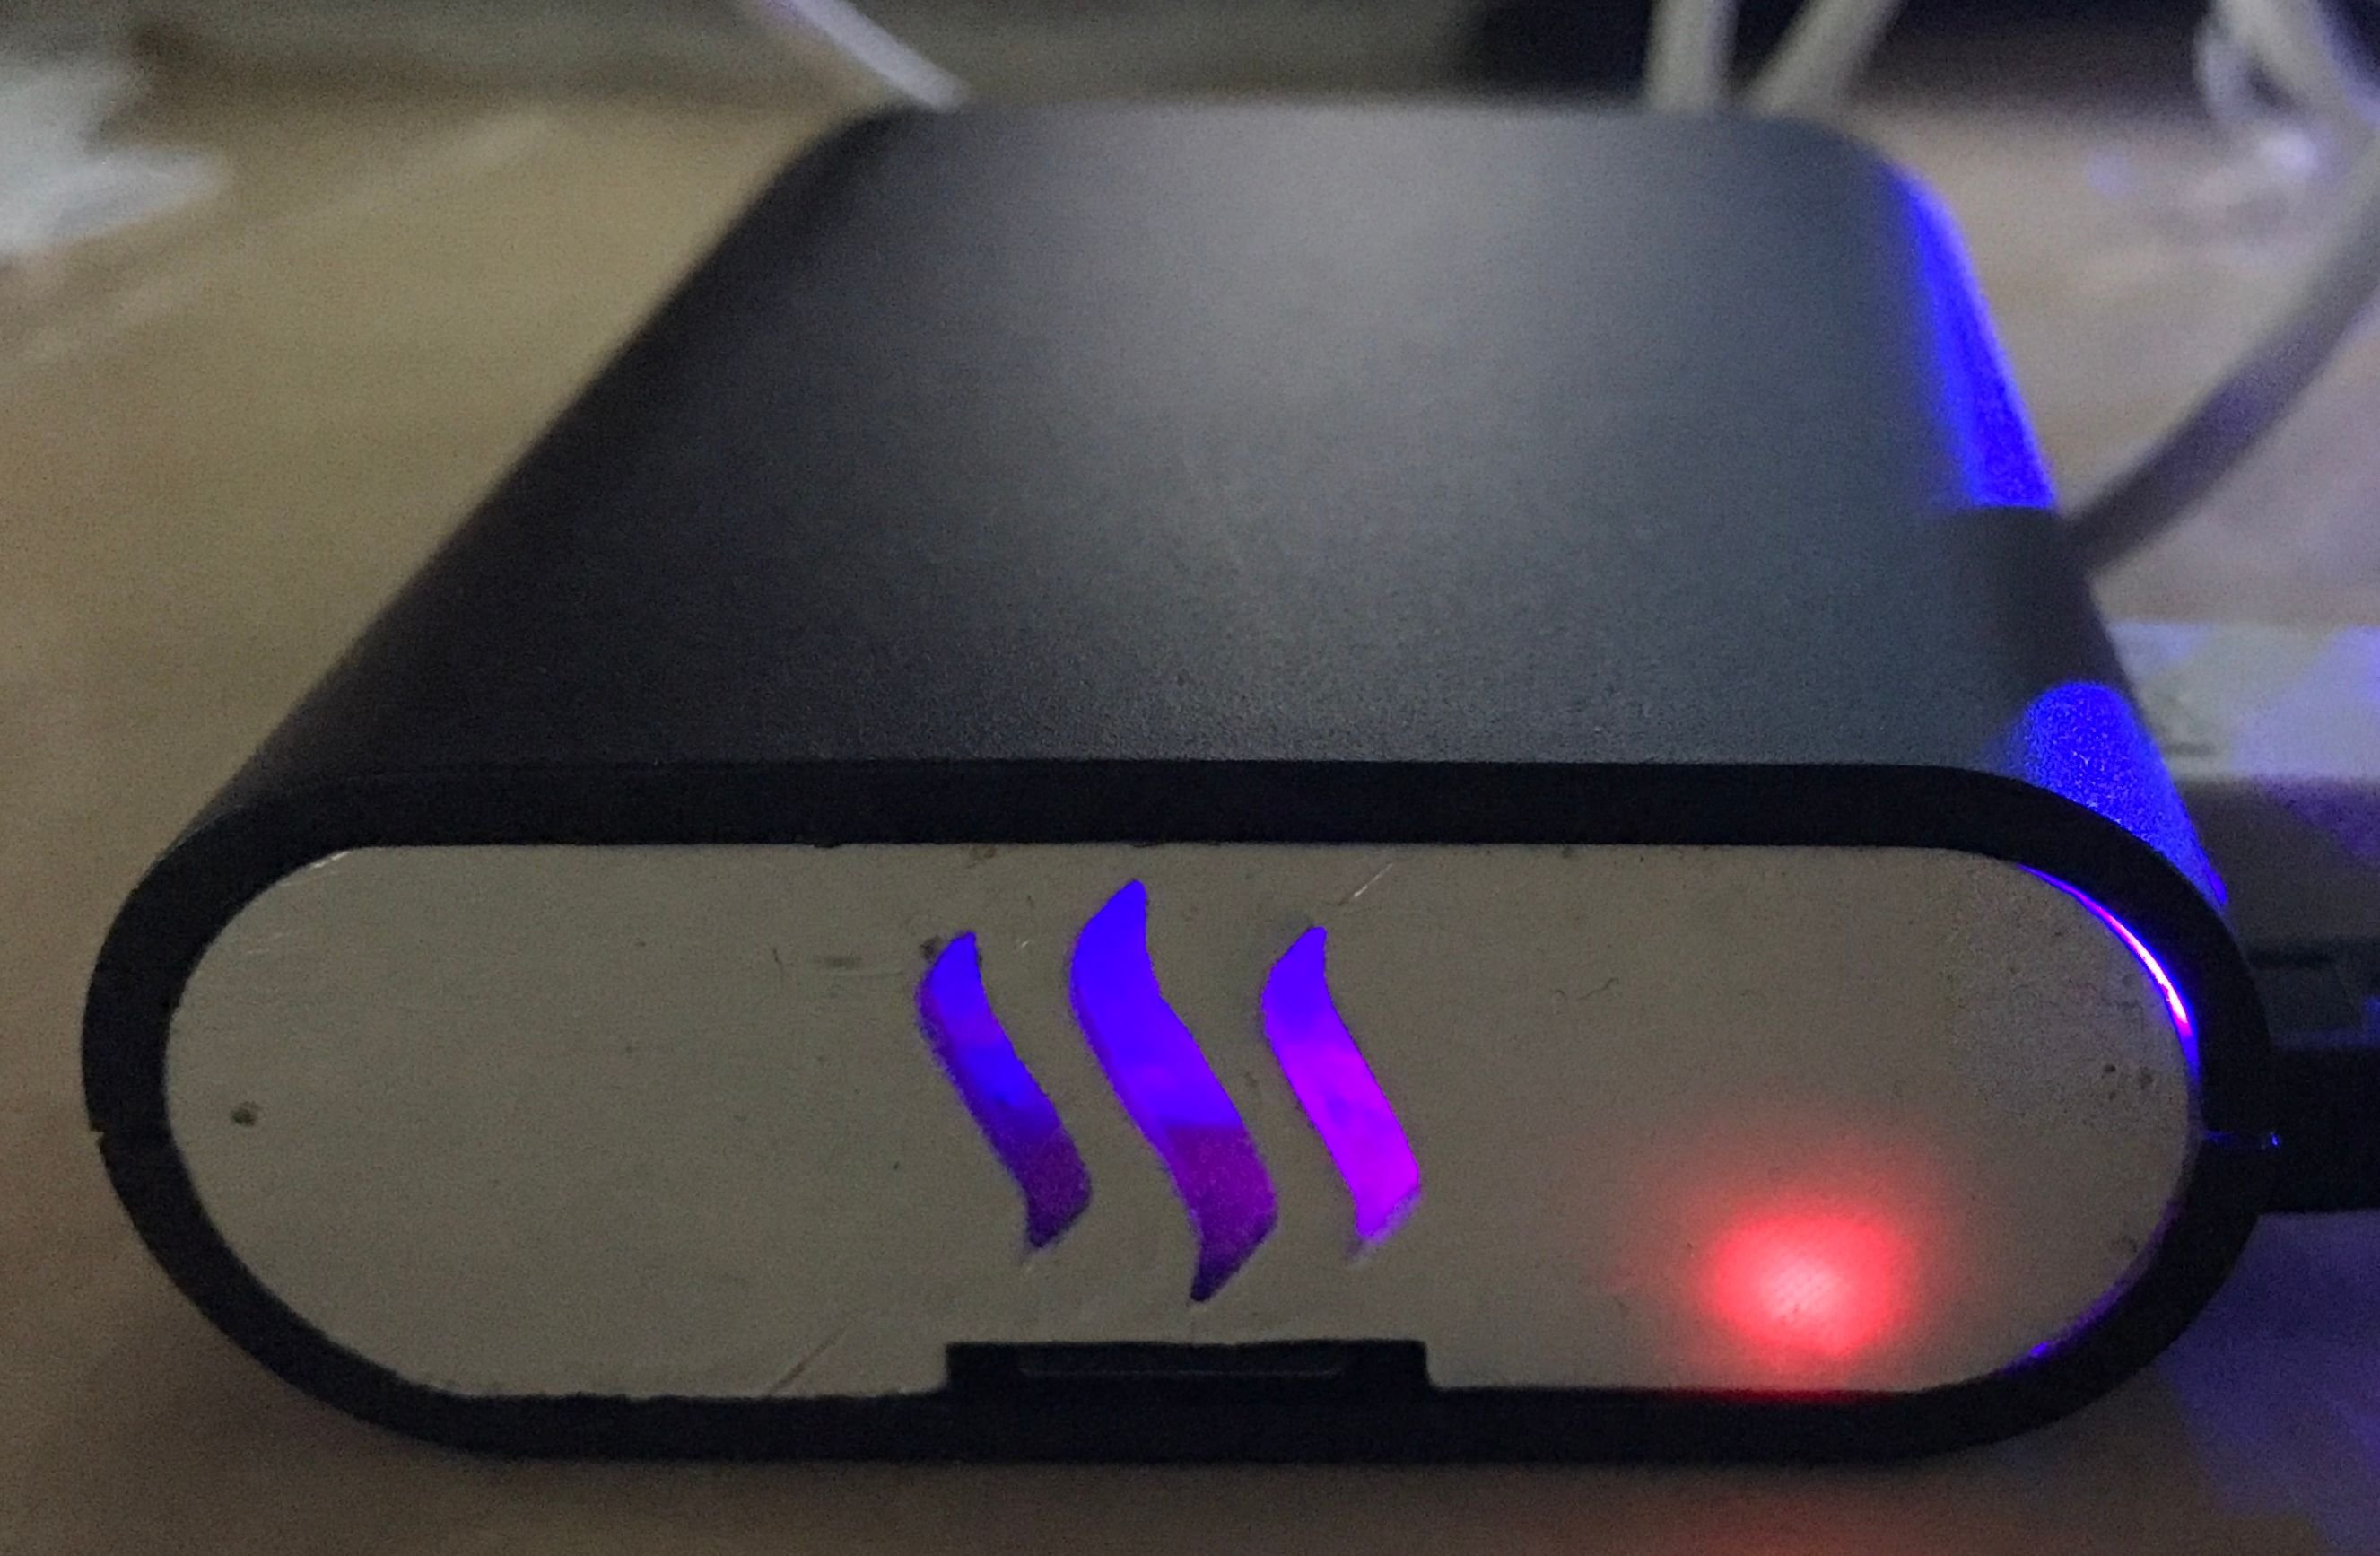
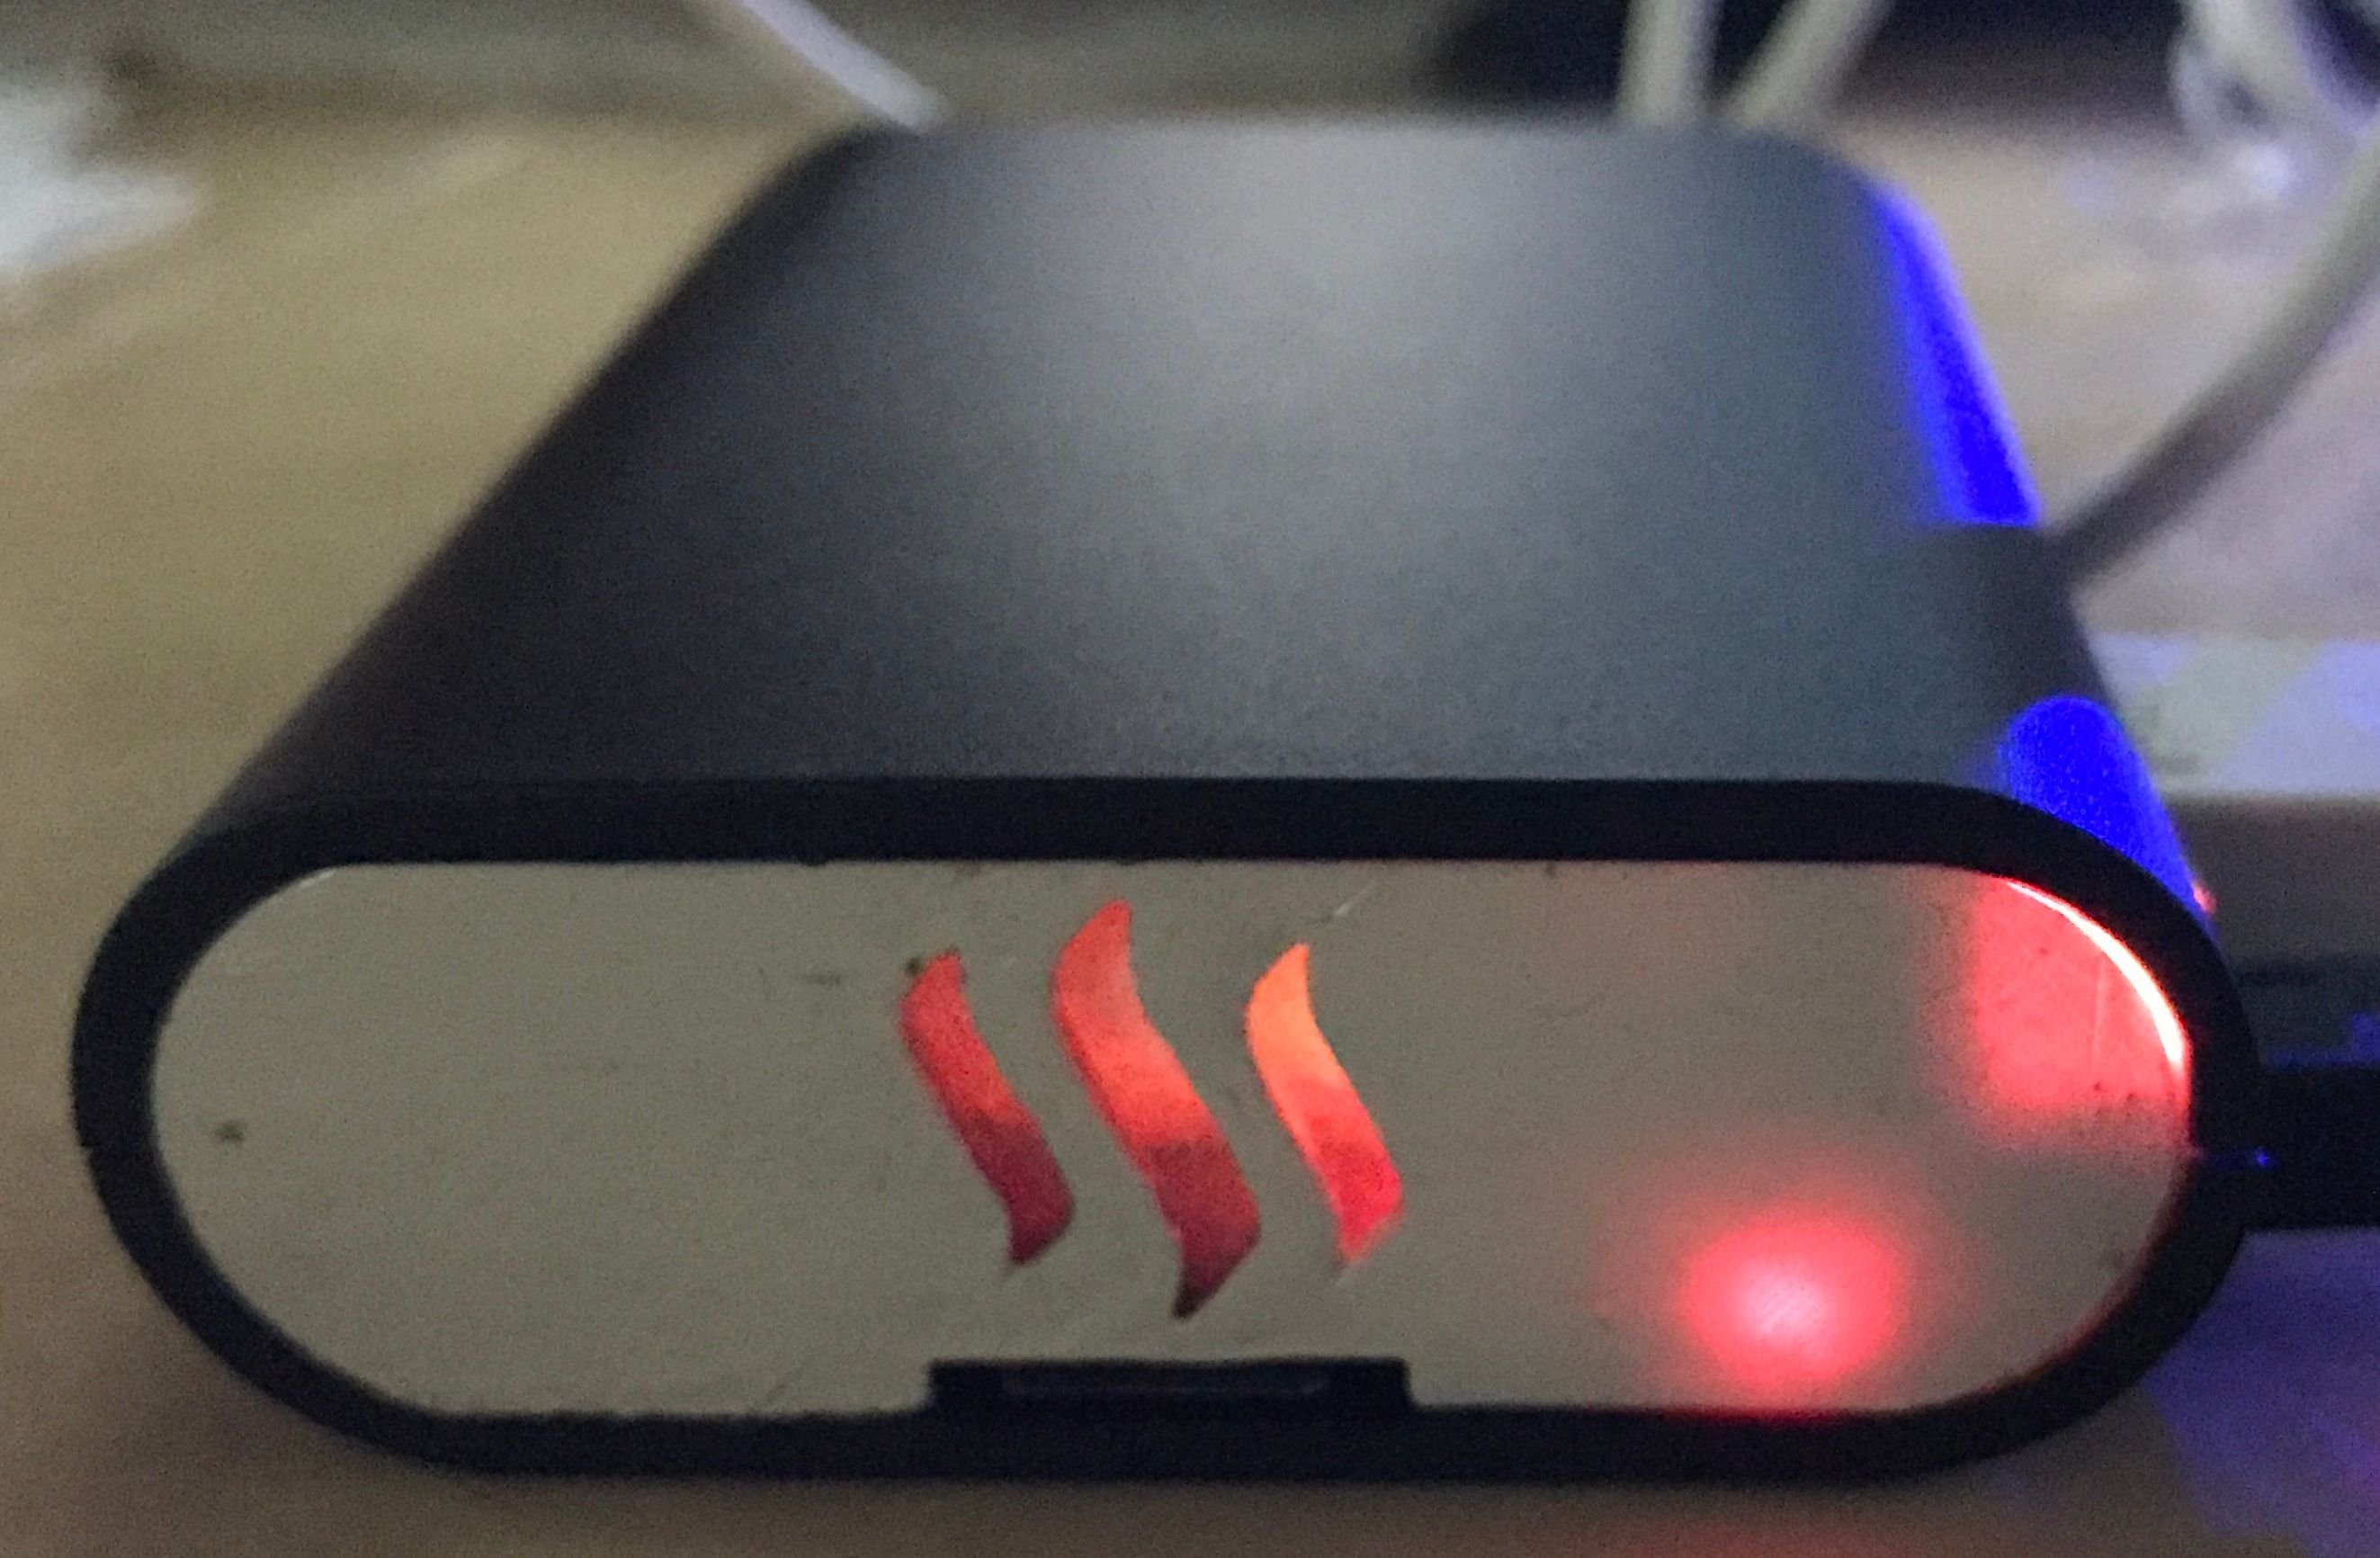
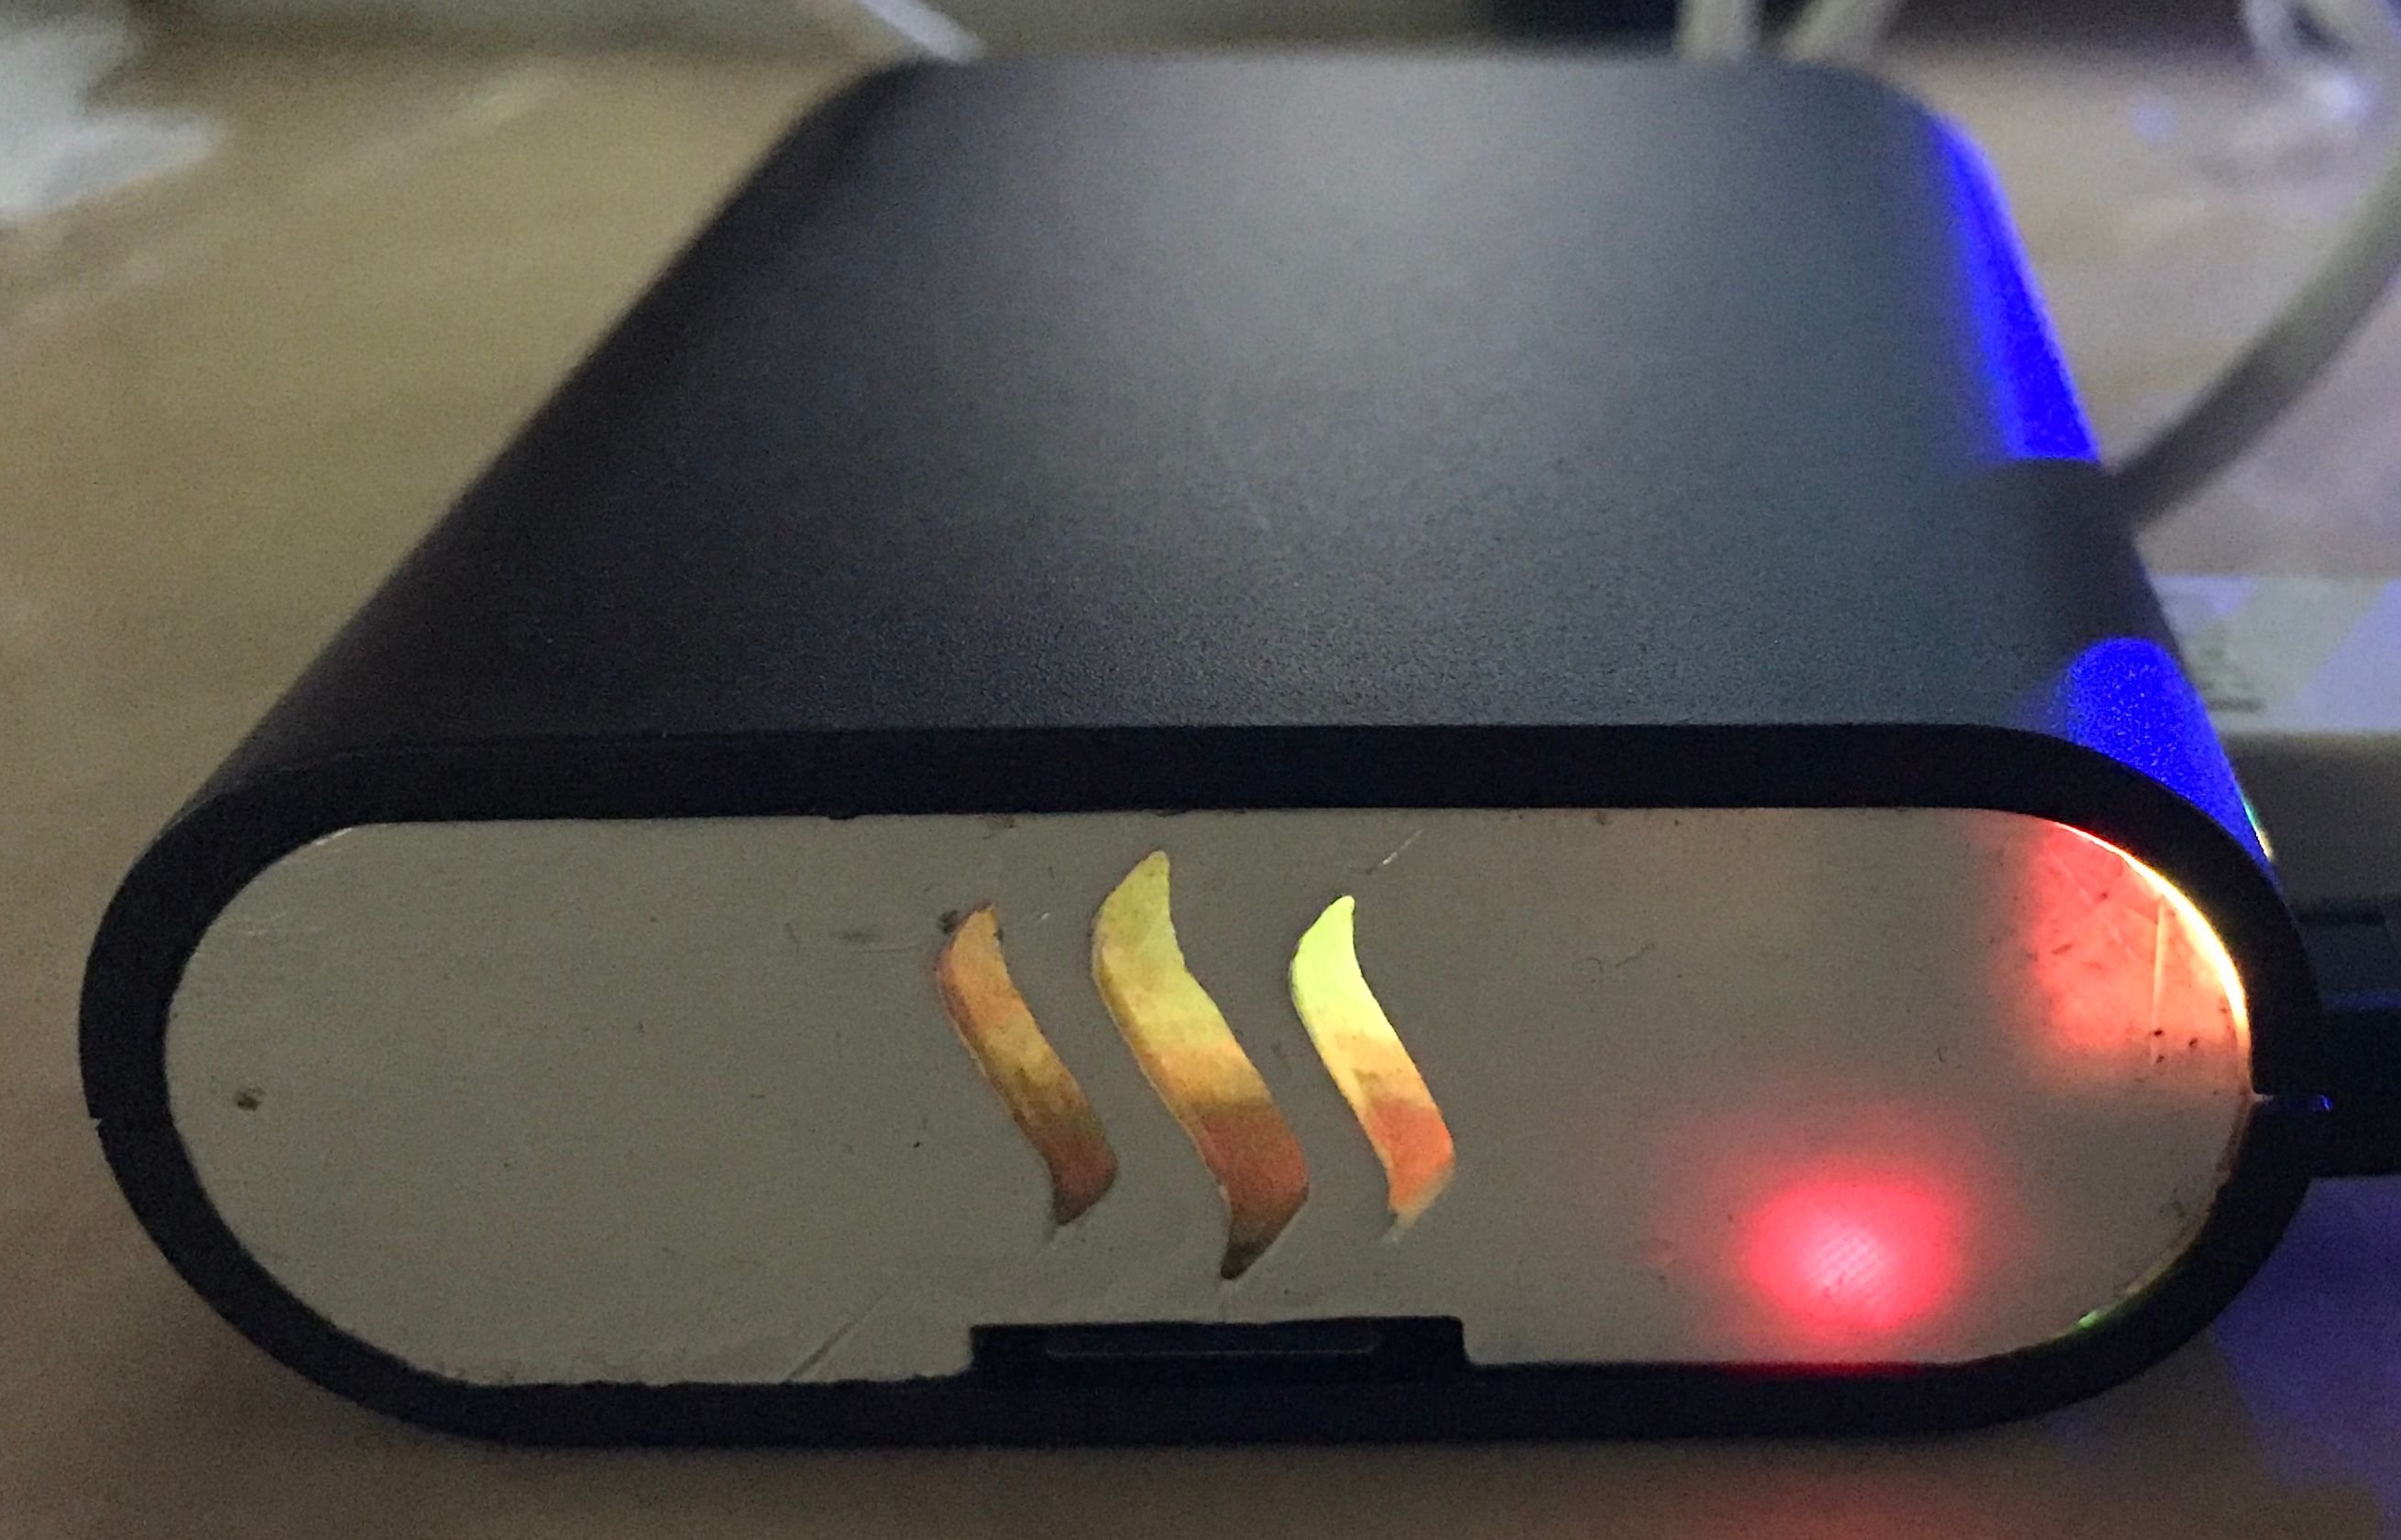
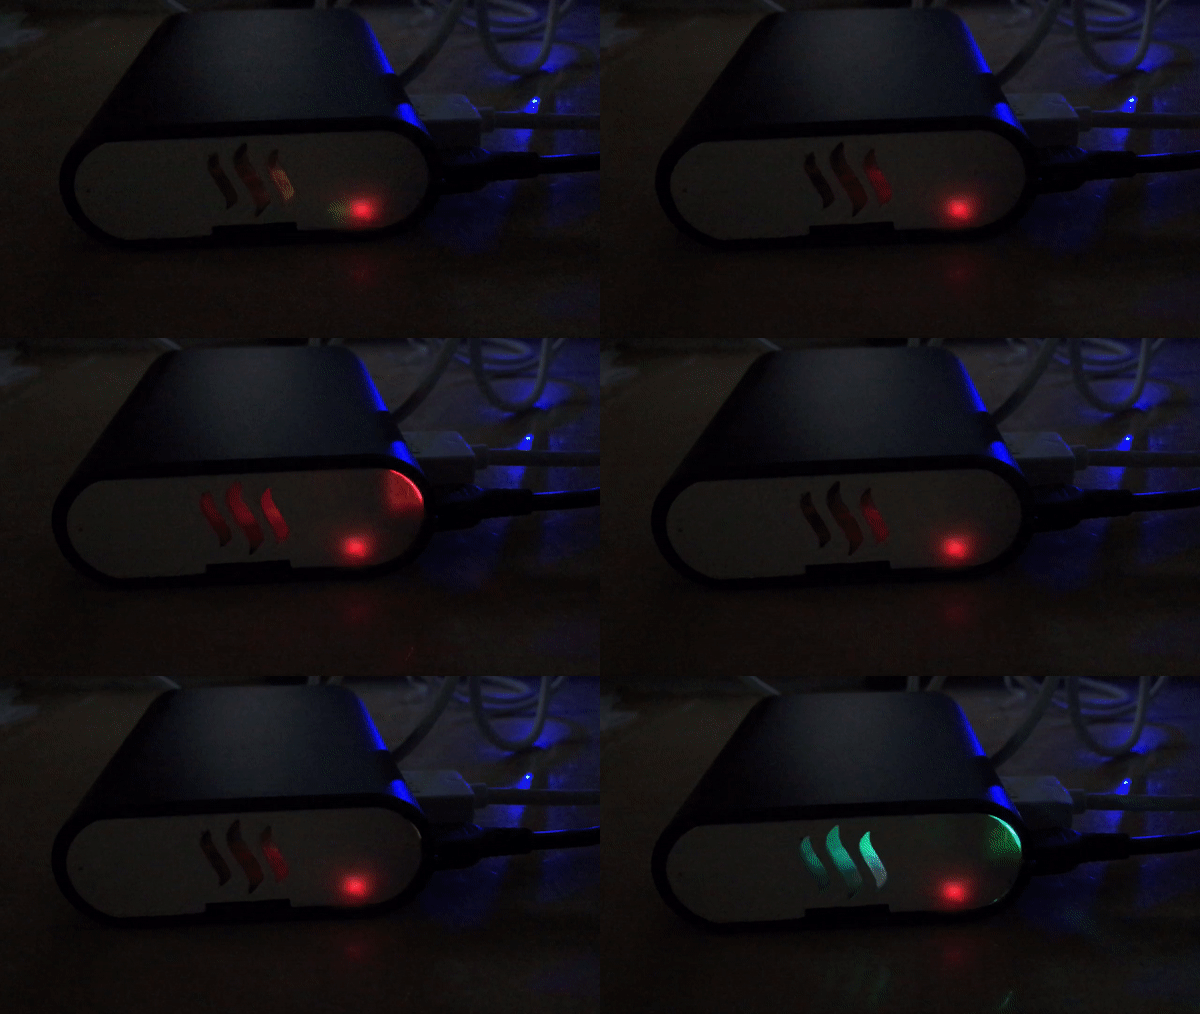
Now the box was ready, let’s give it a try! Here was the notification light effect when there are new comments. Cool, right?
一切都準備好了,讓我們試一試這個通知燈號的效果吧。不錯吧?
Since SteemPi is a TV-box, I put it together with the other 2 TV-boxes I had in home and compared them side-by-side.
SteemPi 的定位是TV盒子,所以我就把它和家中的另外兩個TV盒子放在一起作個比較。
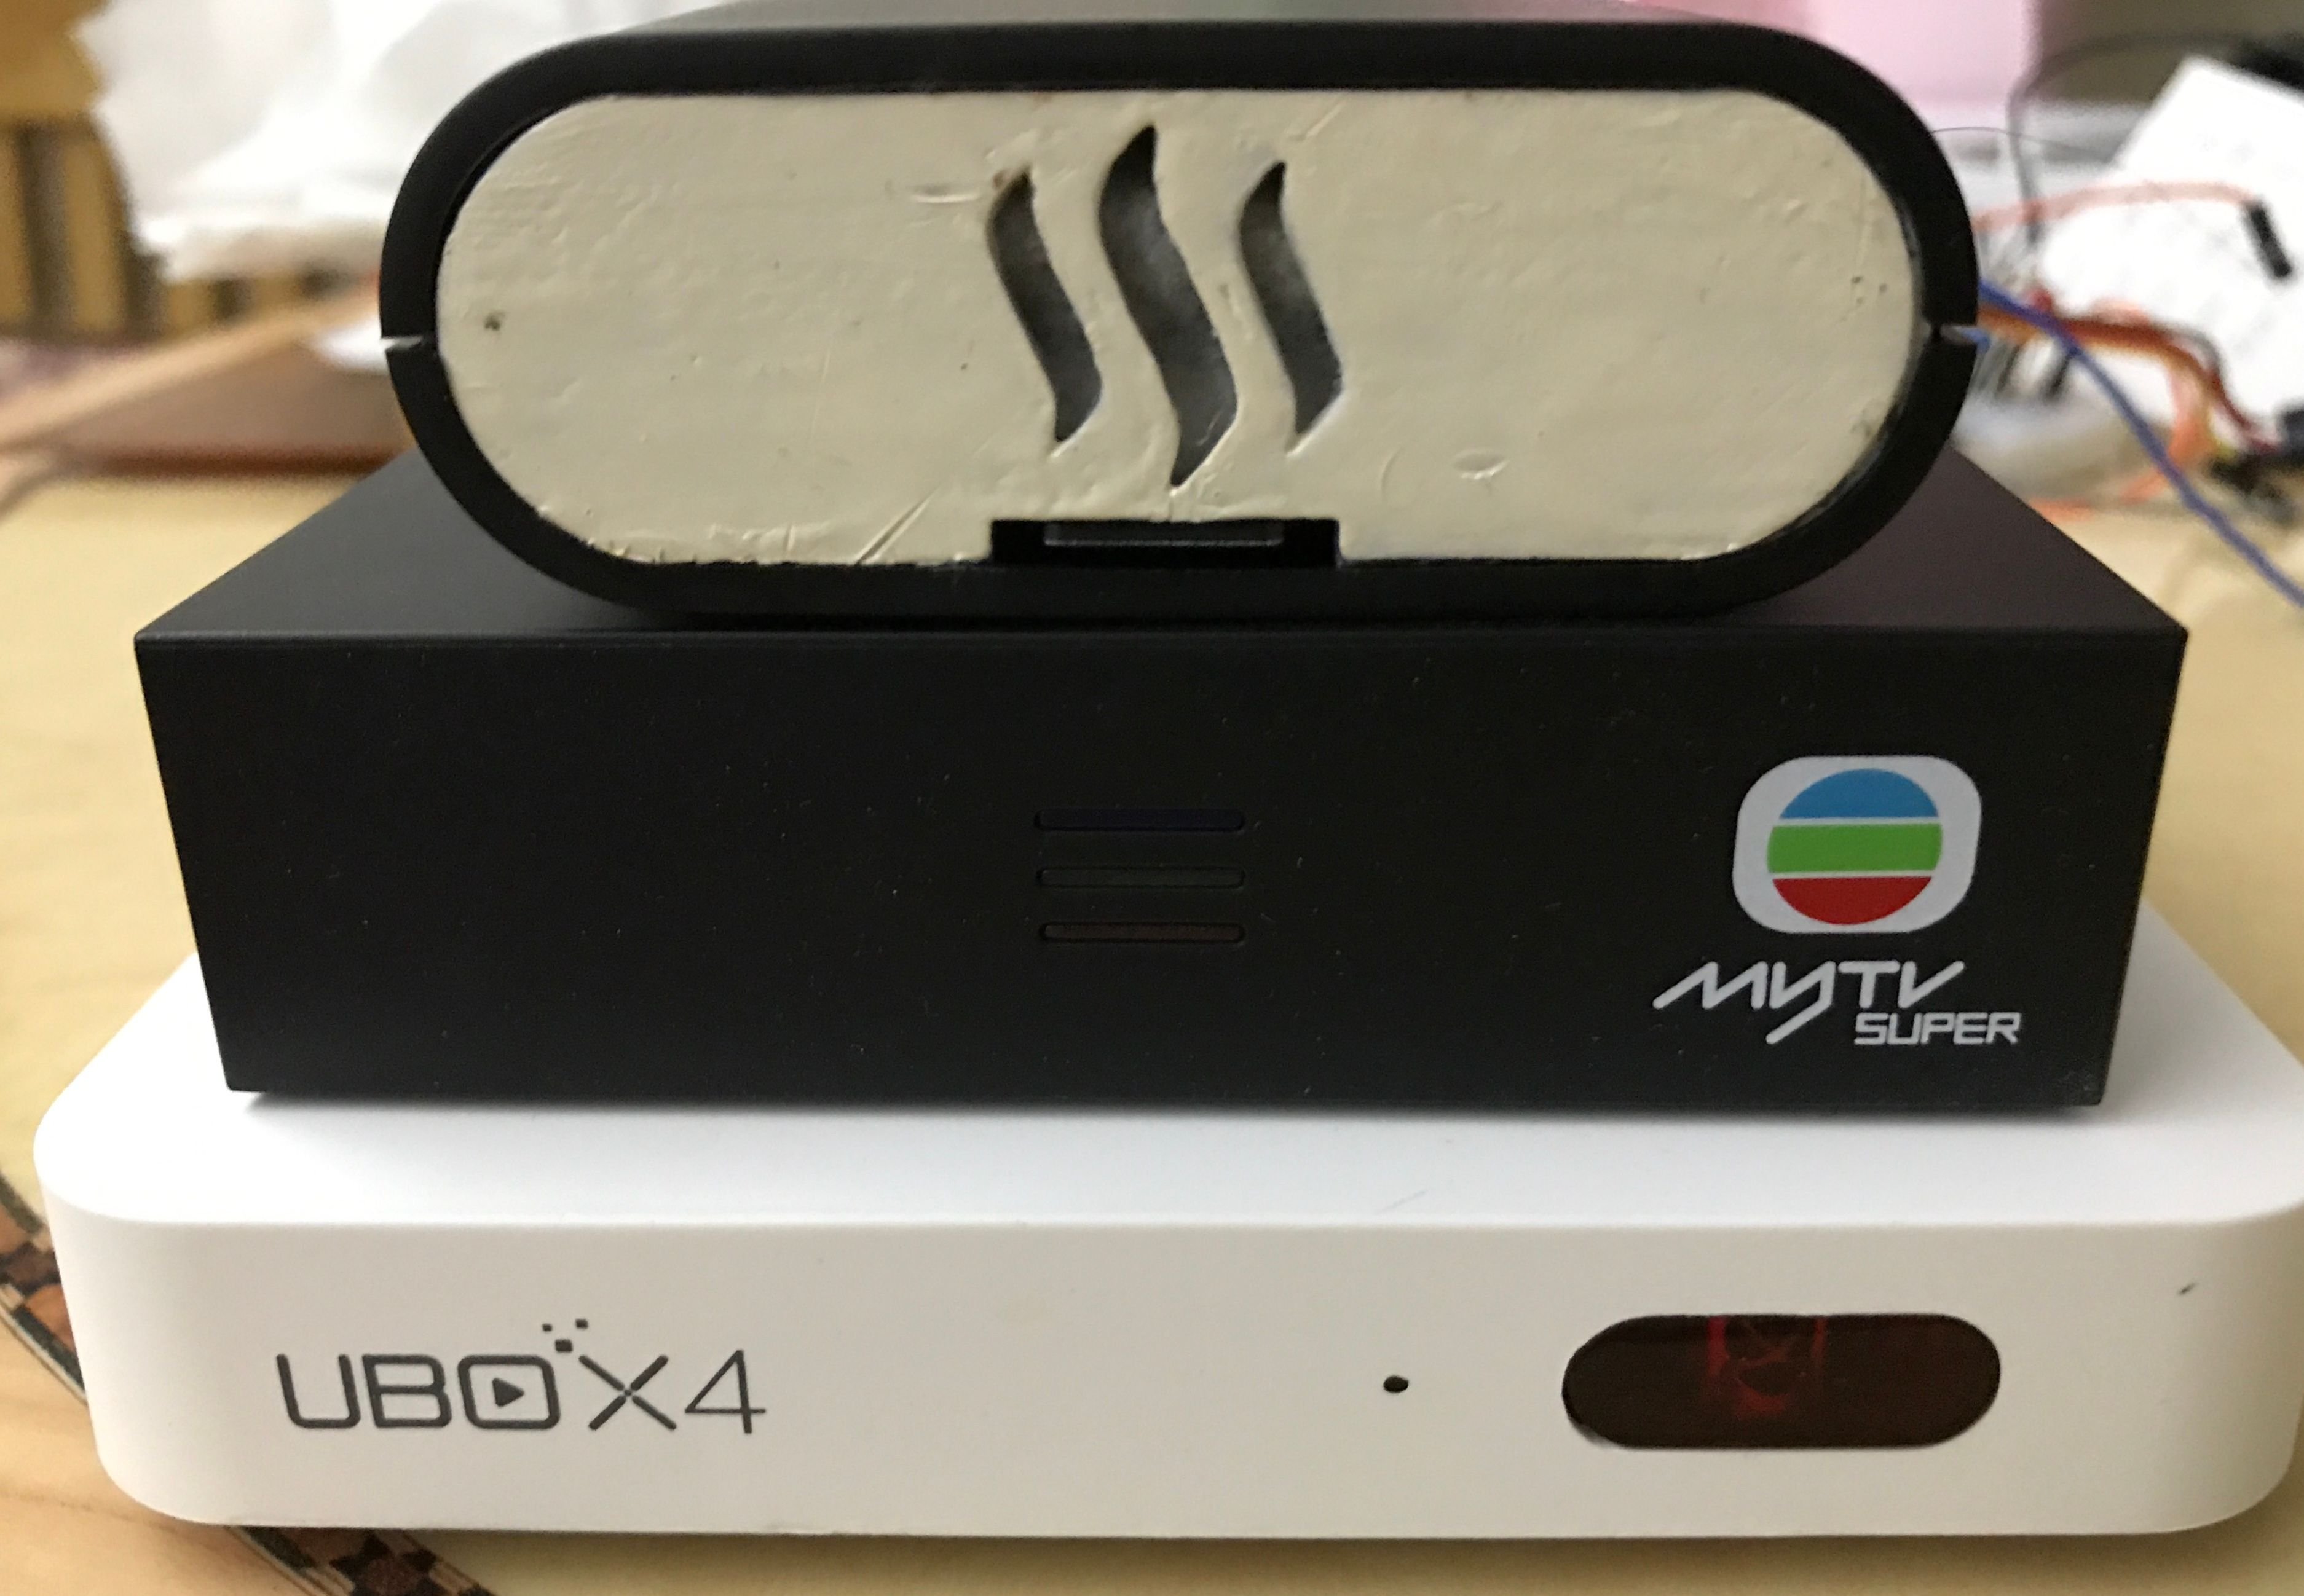
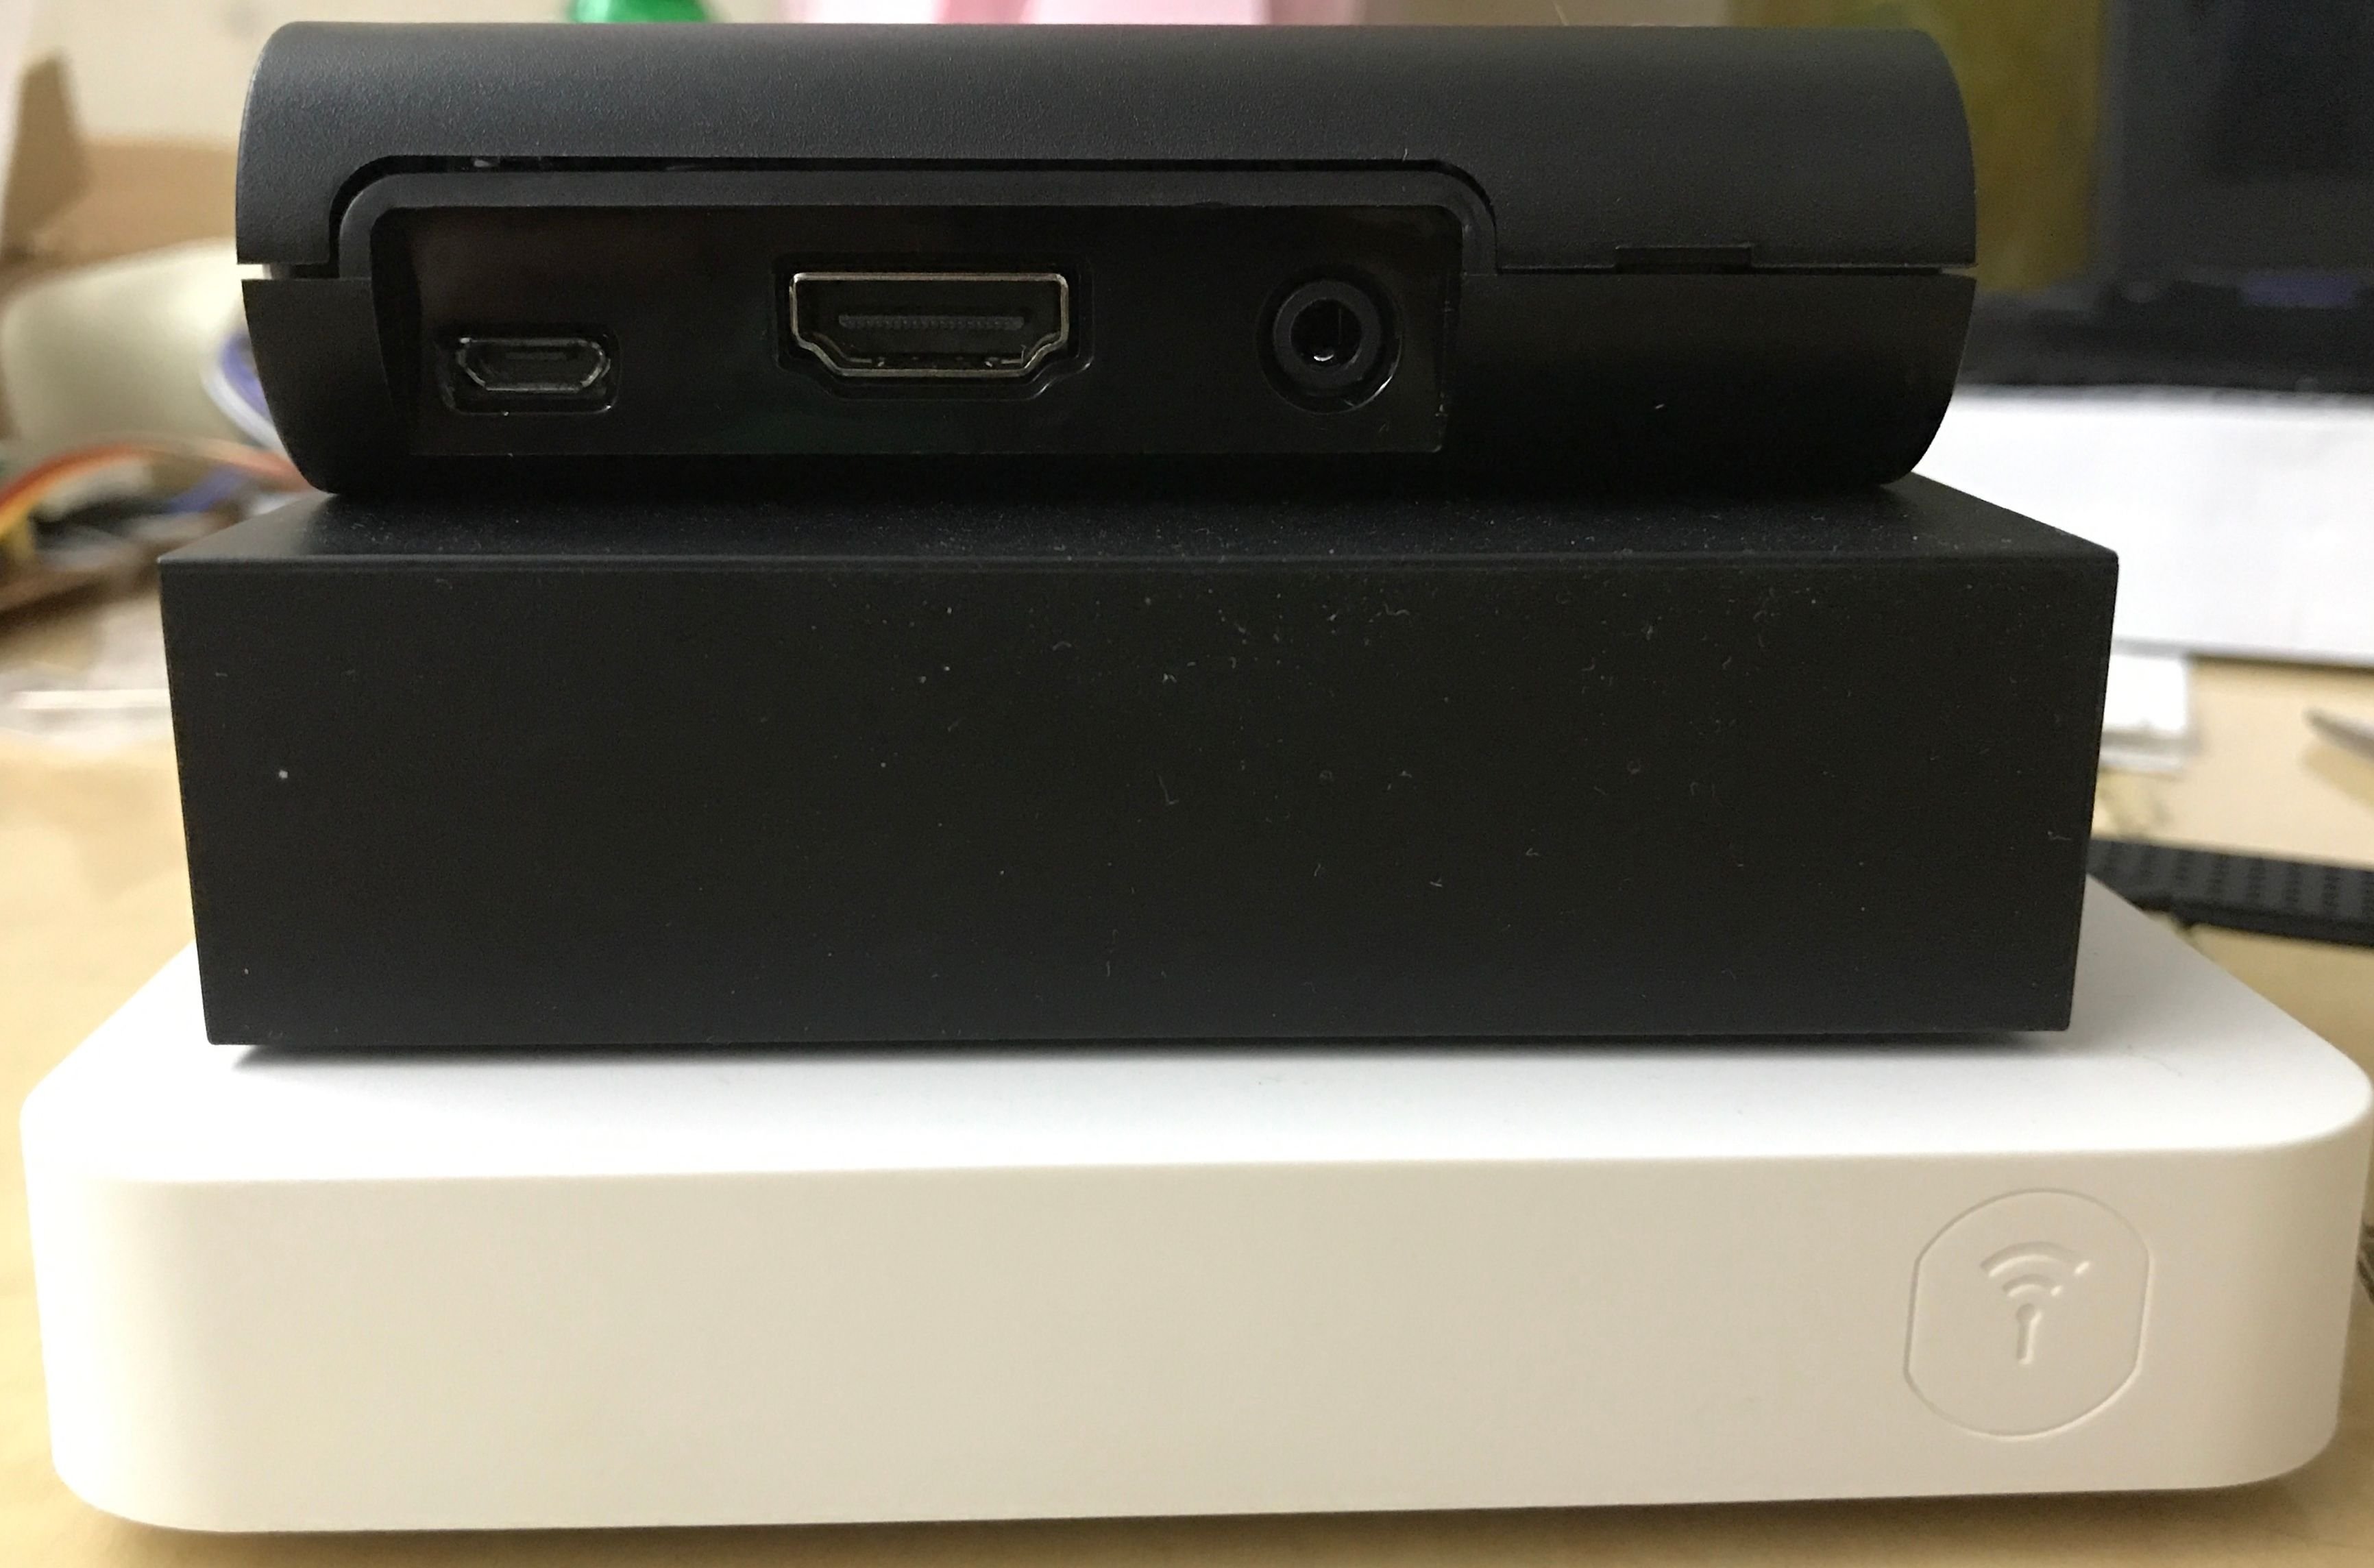
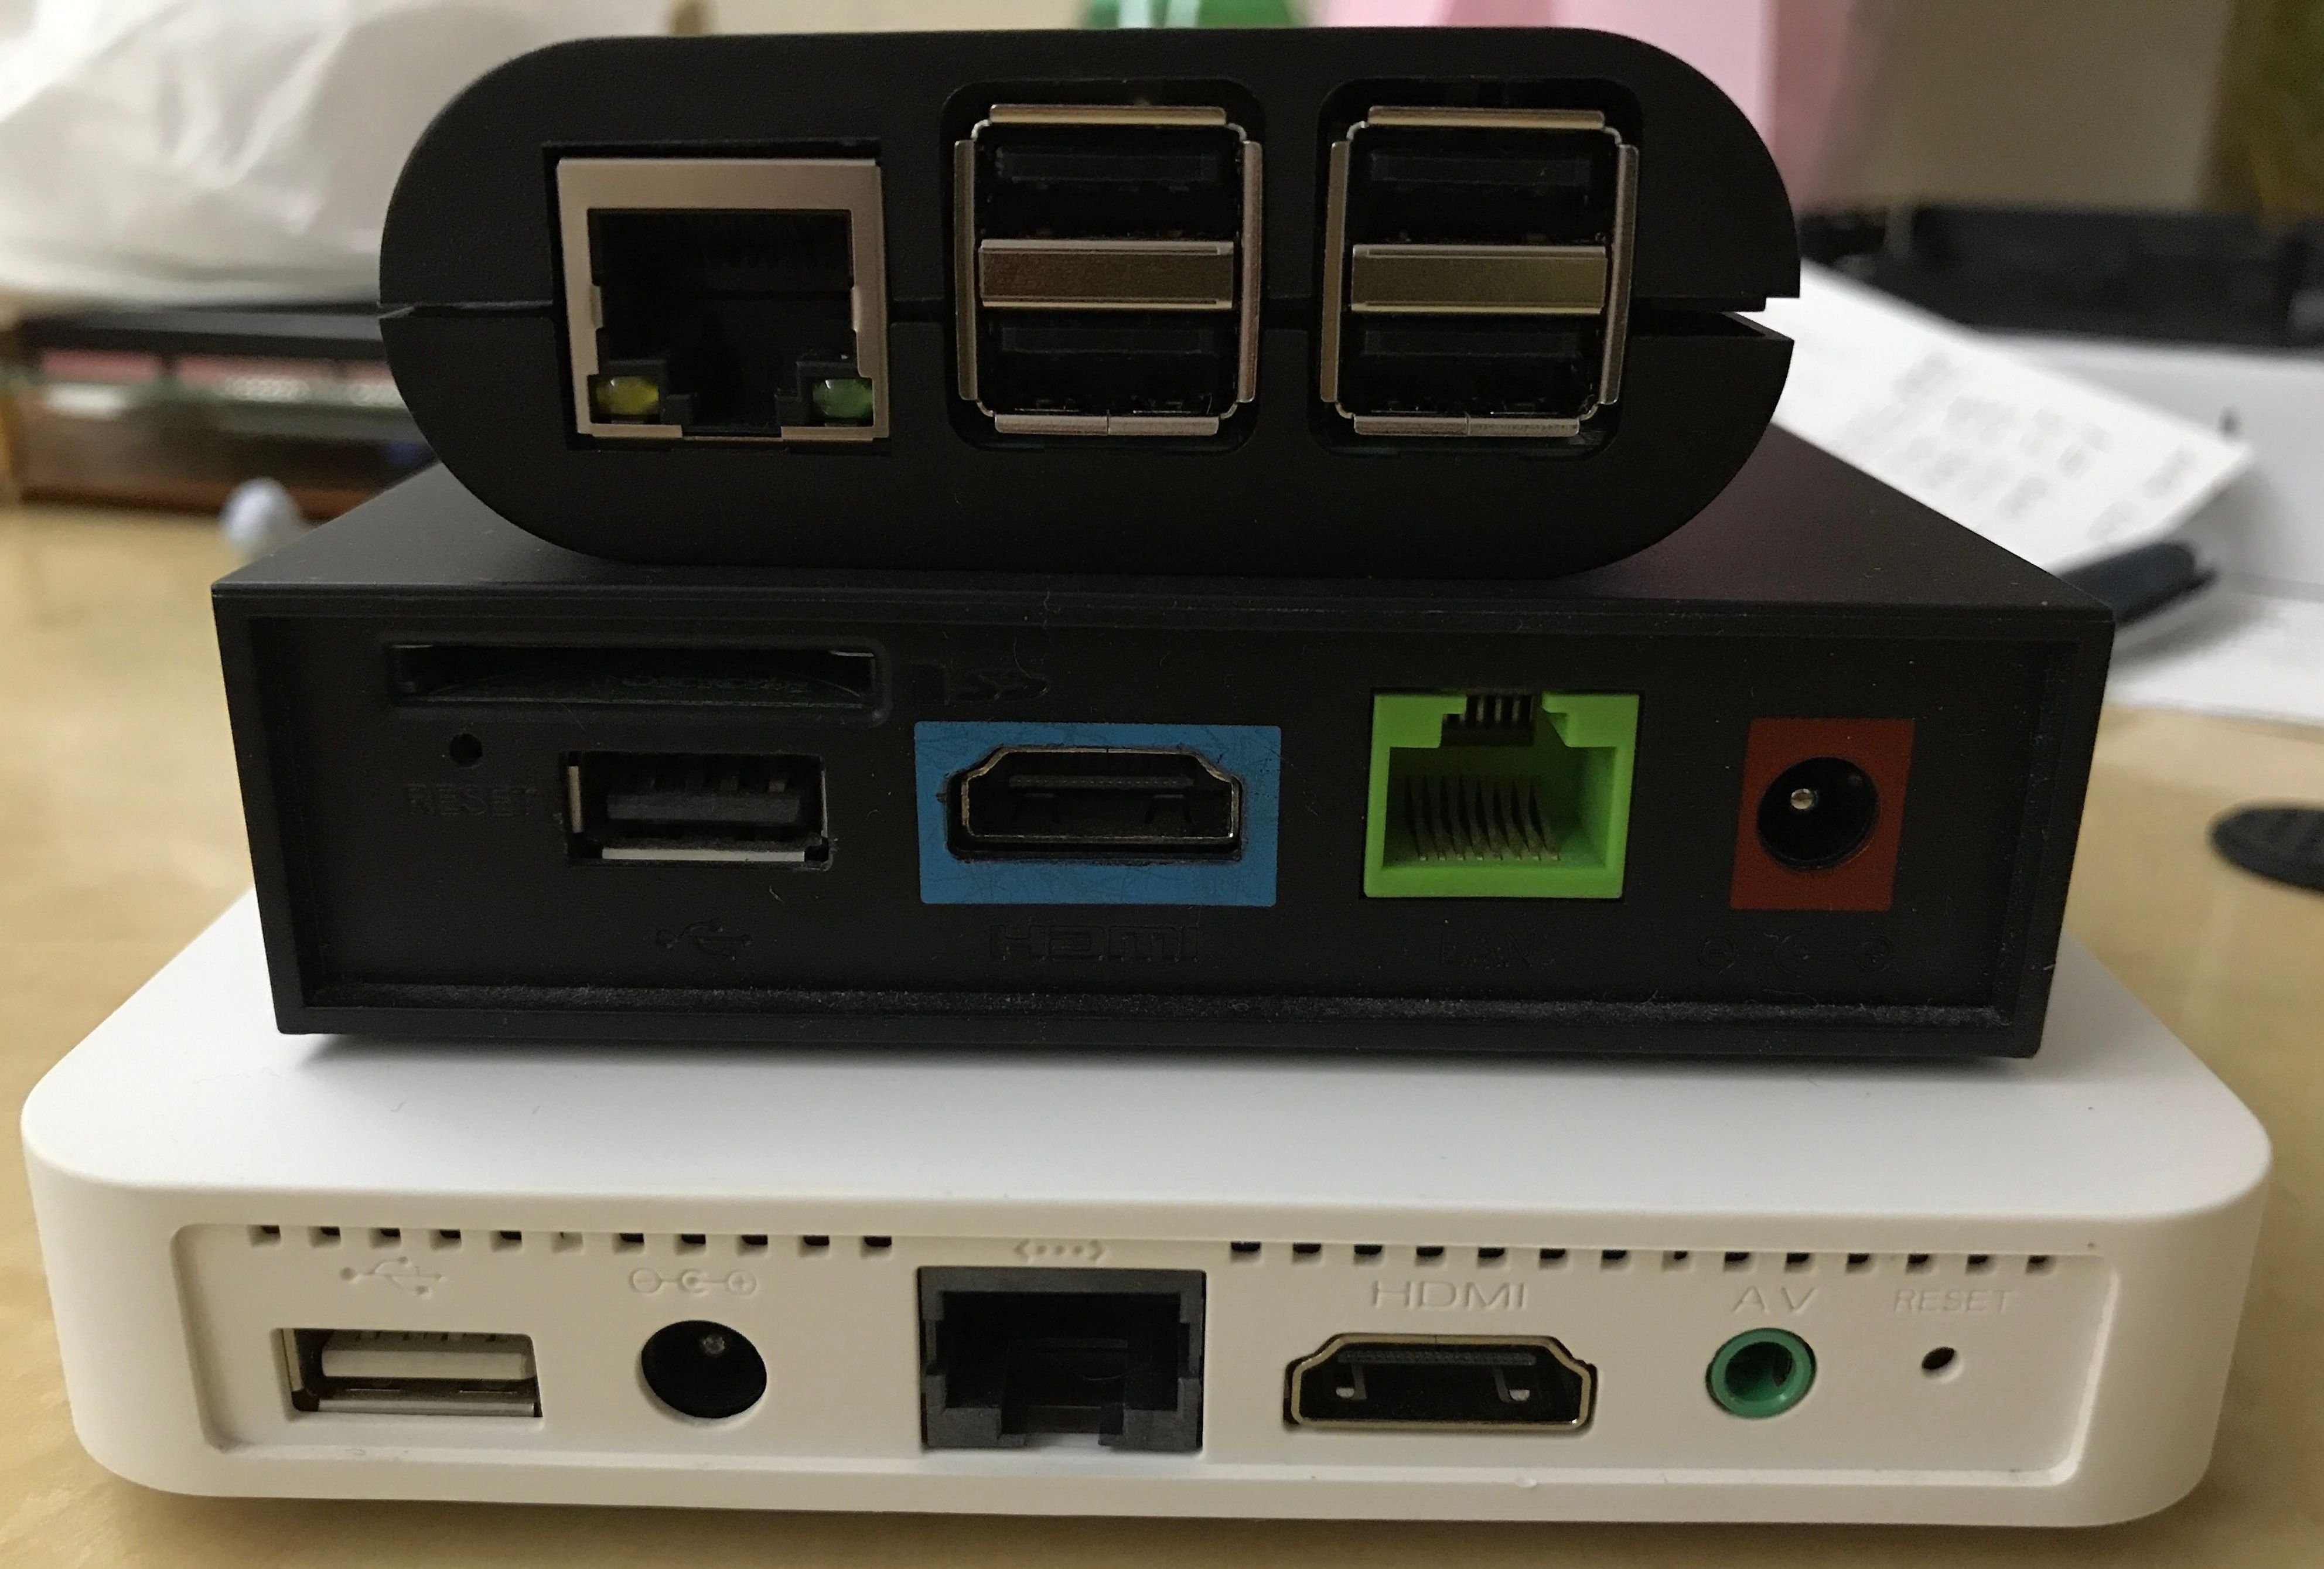
As you can see, SteemPi definitely is much smaller in size! It is also much more flexible as it is a computer that you can always use it for something else. Moreover, with built-in Steemit support, you can always keep up-to-date with your Steemit account!
可見SteemPi盒子比另外兩個香港常見的盒子都來得細小。由於它是一部可以任用戶隨意更換用途的電腦,SteemPi盒子比起其他的對手更為有彈性。加上已經內置了Steemit的支援,用戶就不會錯過Steemit上面的任何改變了。
I think SteemPi is a project with potential and will definitely follow its development. If I have time, I am going to see what I can do to support it too!
我認為SteemPi是一個可塑性頗高的項目,所以我會繼續留意它的發展的。
請關注!點讚!轉發!

Please Follow! Upvote! Resteem!
Raspberry Pi Case for SteemPi (1)| SteemPi 專用樹莓派盒子 (一)
Trial of Steempi v2 | 初試 Steempi v2
Raspberry Pi with 20x4 LCD - D.I.Y. Series (3) | 樹莓派 加上 20x4 液晶顯示 - 自己動手系列(3)
兼賣樹莓派的書店 | Bookstore that sold Raspberry Pi parts
樹莓派 3 開盒及初建分享 | Raspberry Pi 3 Open box and Setup
