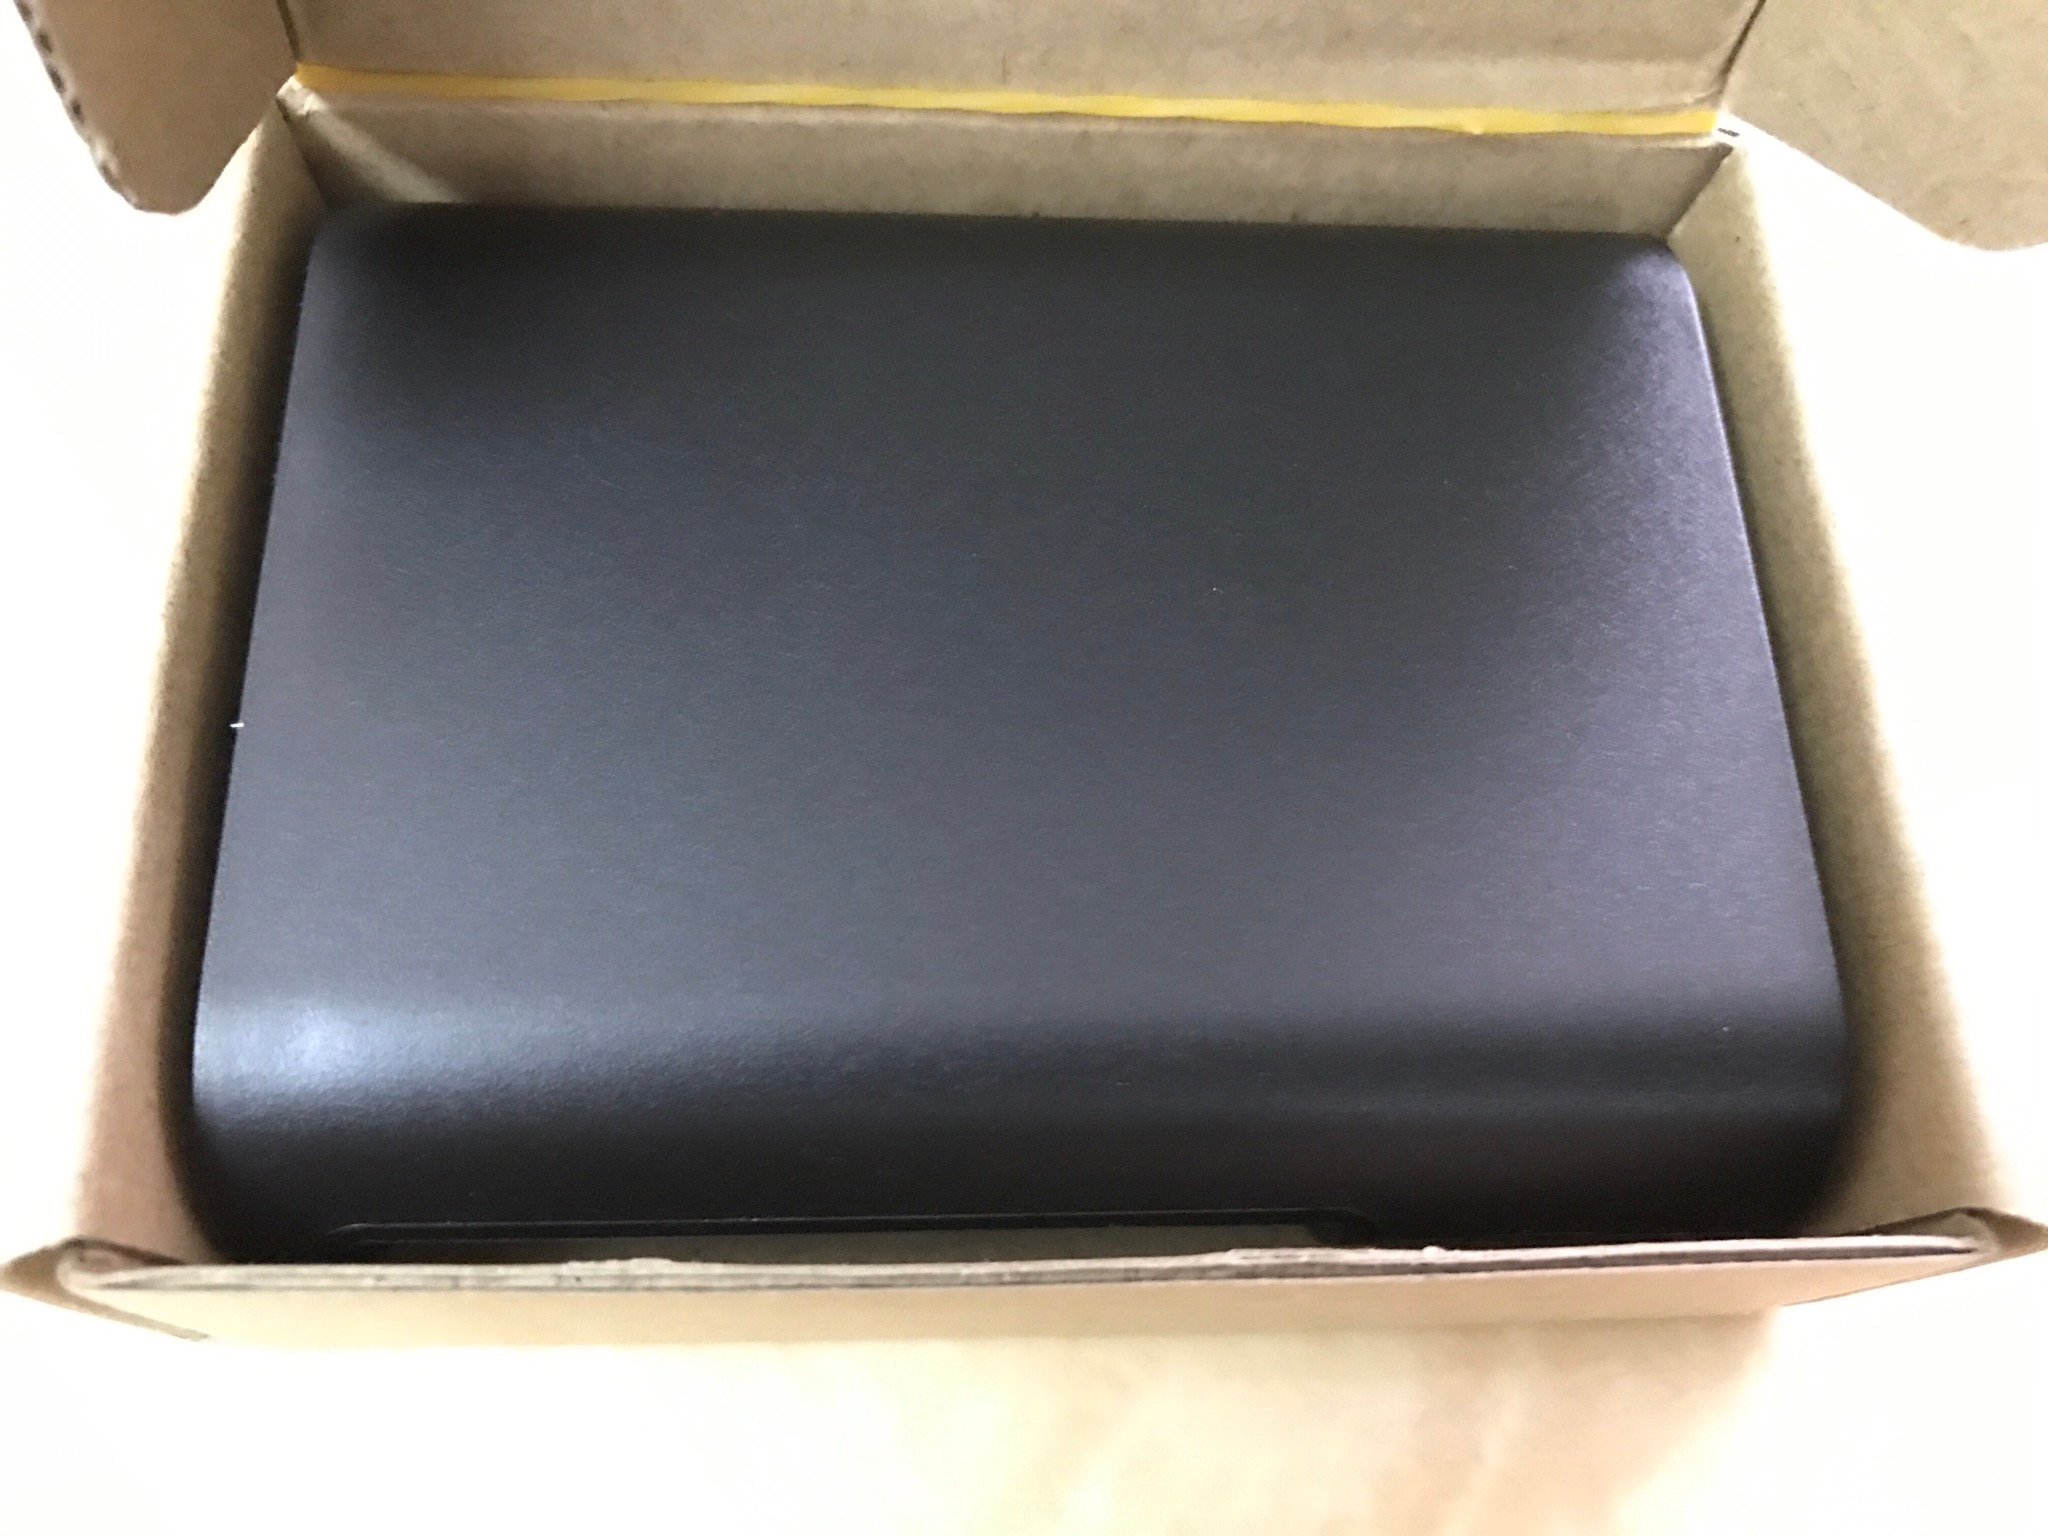
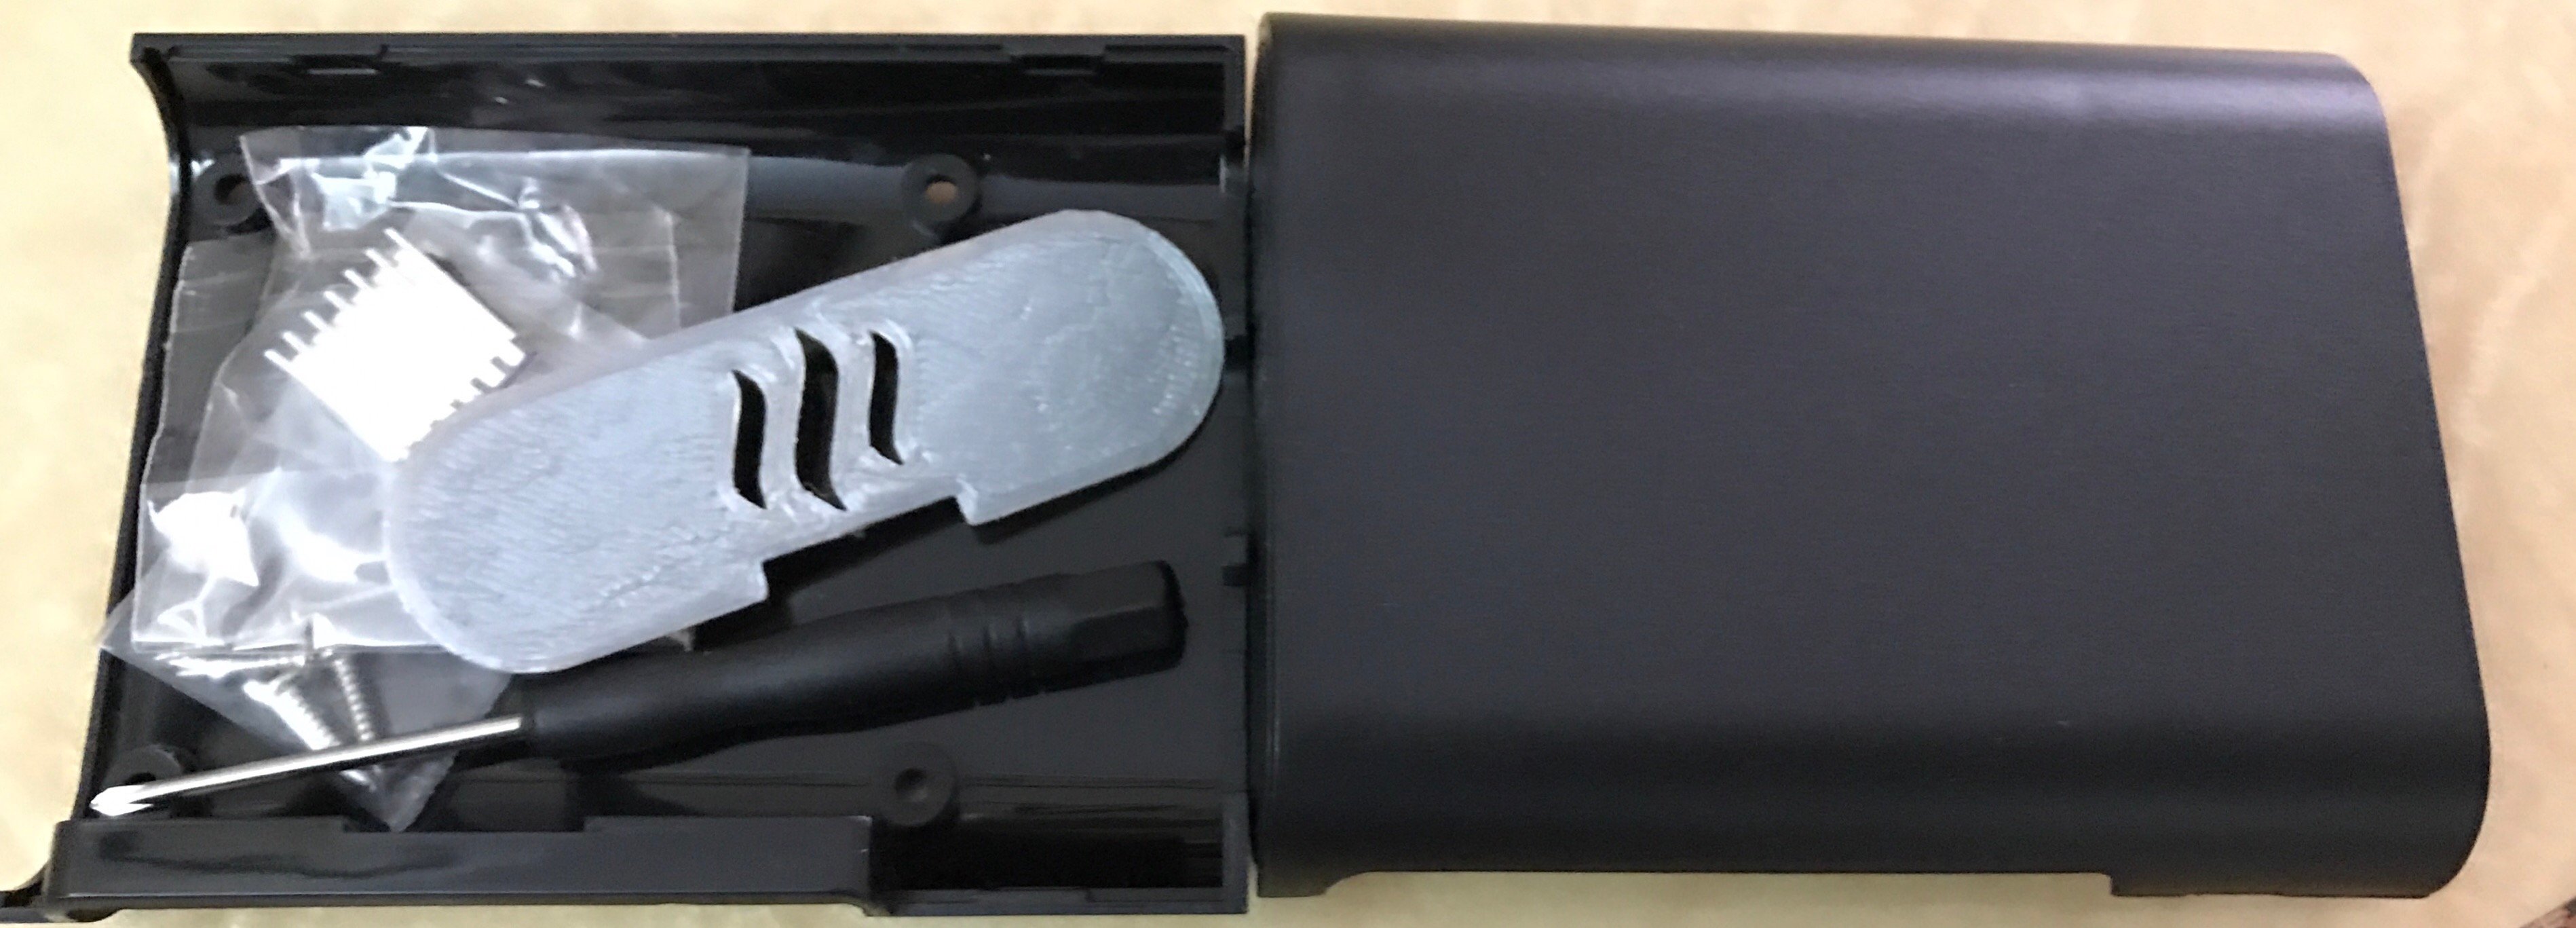
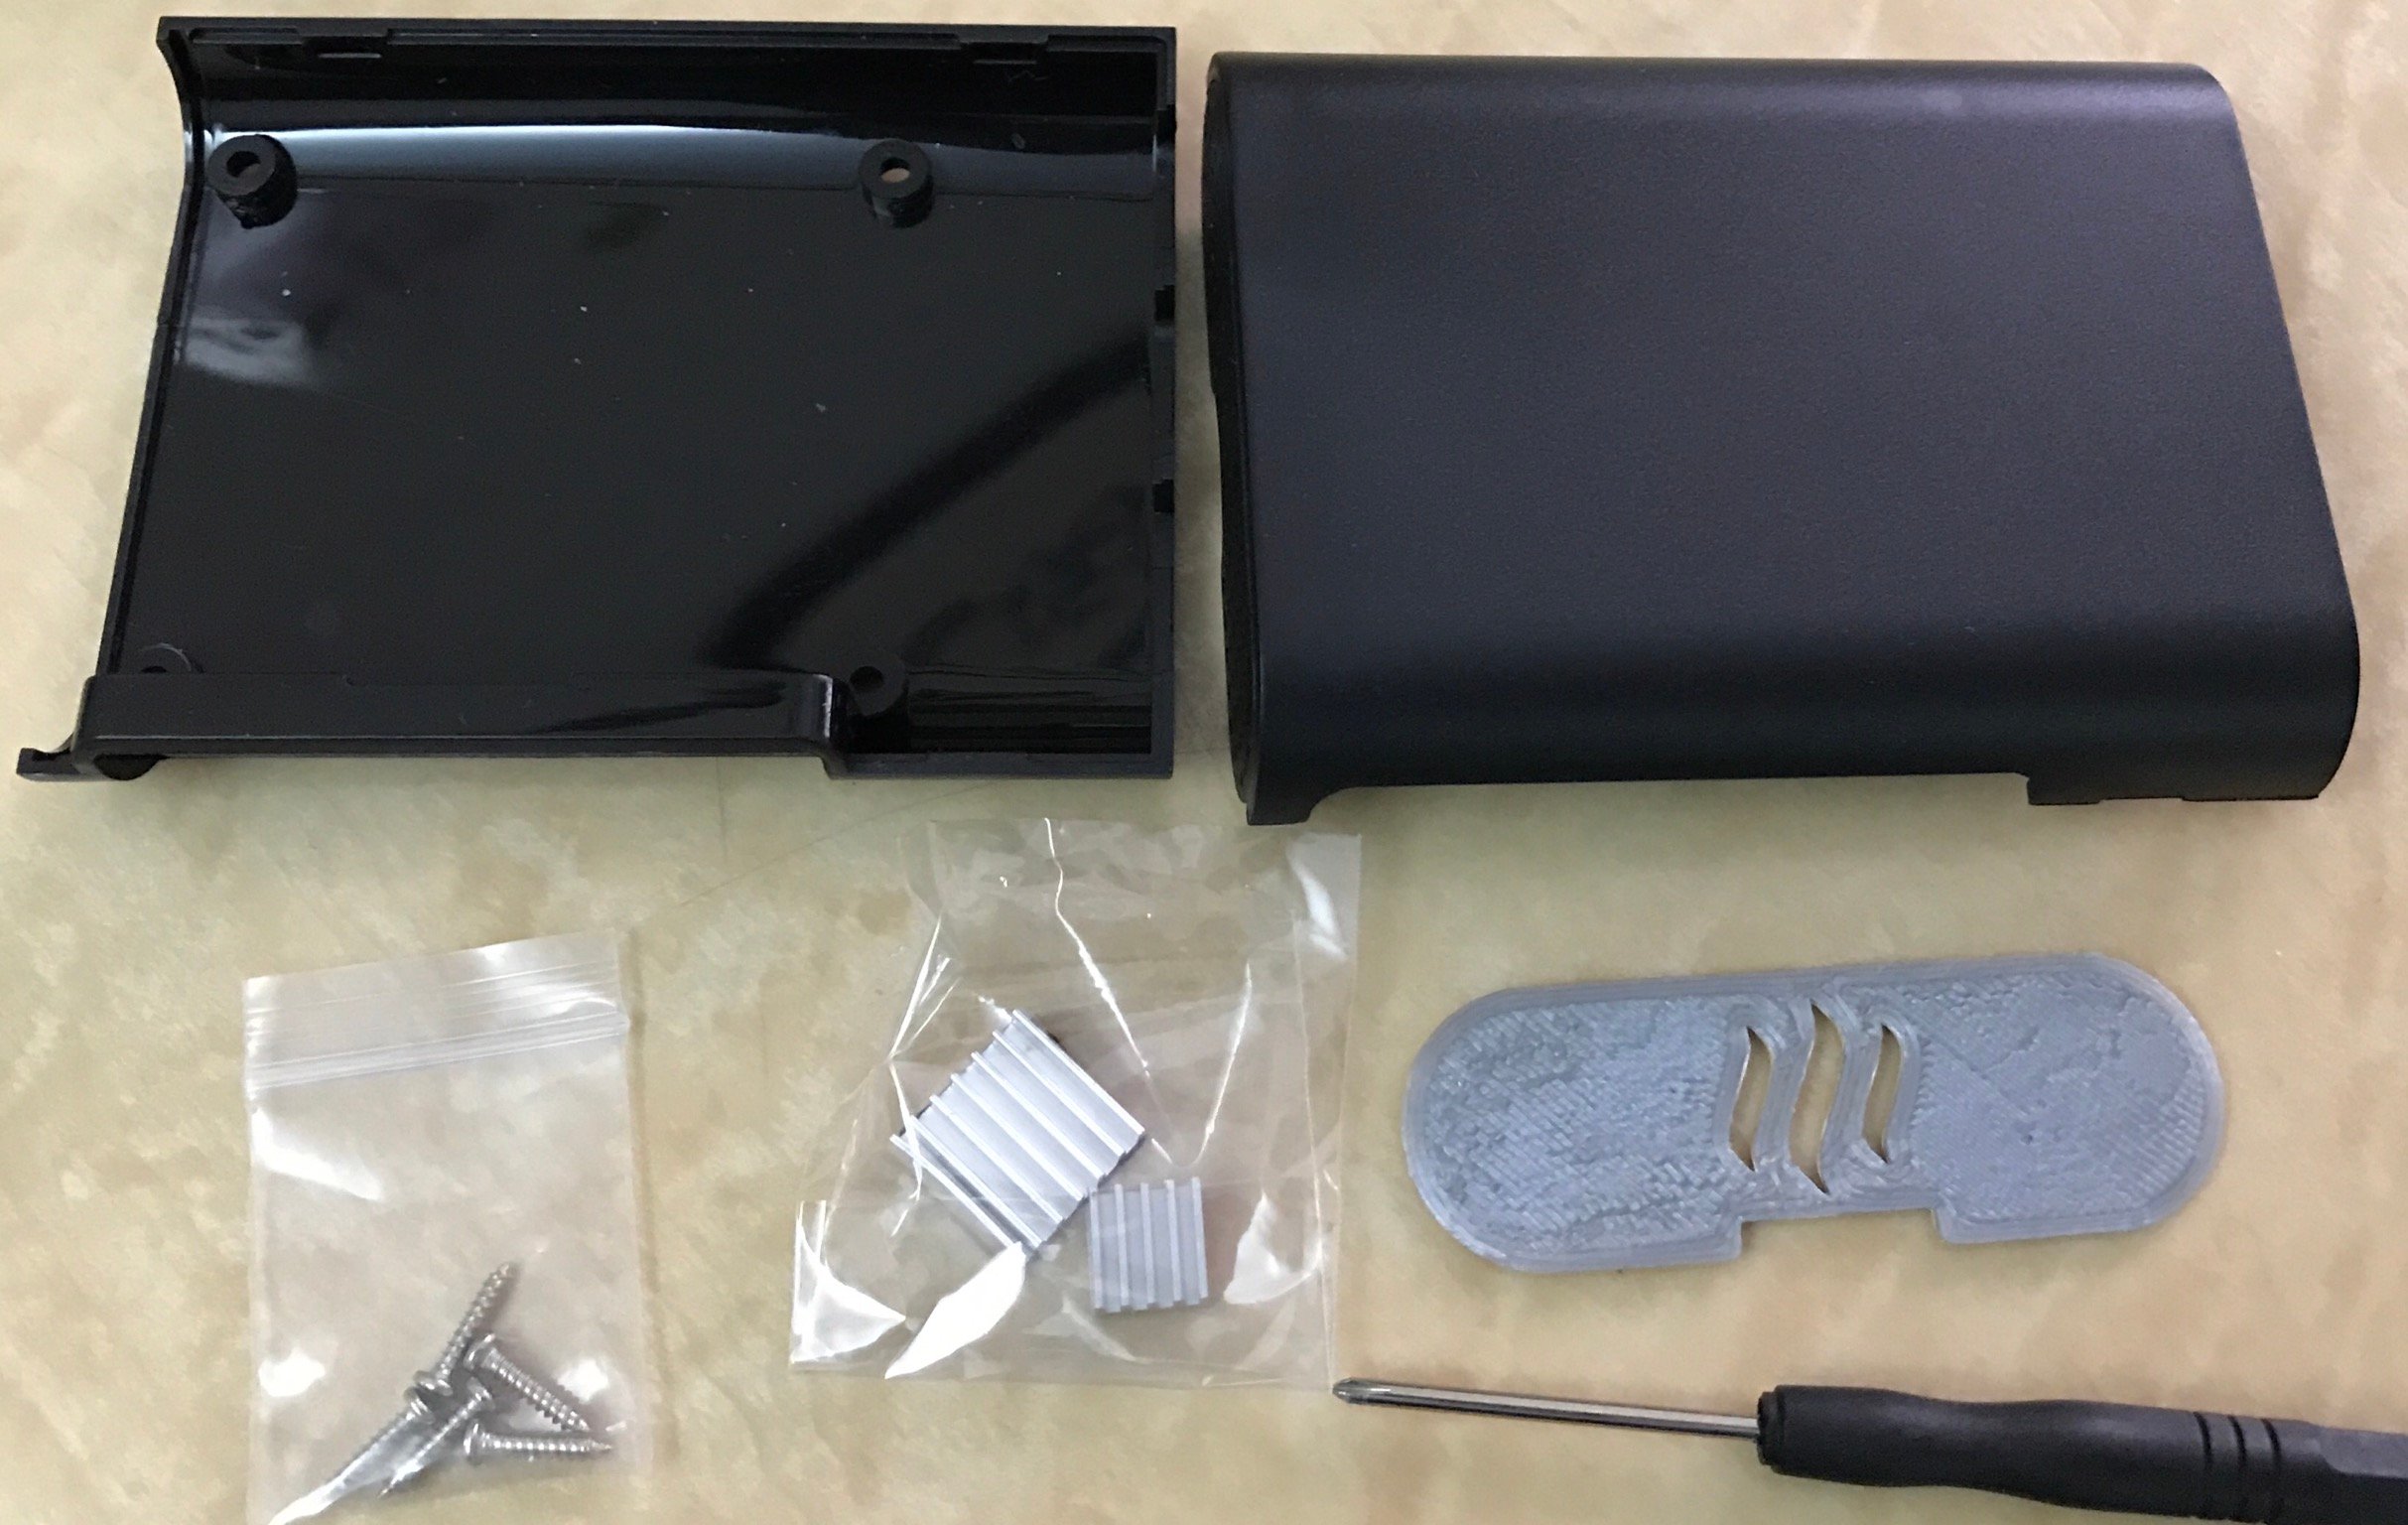
@techtek gave me a Raspberry Pi 3 case with Steemit logo as gift in our mini SteemPi meetup at ShamshuiPo. I thought it was my obligation to test it and let him know how is this case. I finally had time this Sunday to work on it. In order to make it works, that’s actually quite some works for me.
在深水埗的微型SteemPi聚會中,@techtek送了我一個連Steemit標誌的樹莓派 3 盒子. 我認為我應該為他測試一下它並讓他知道結果。這個星期天我終於kb時間這樣做了。不過要好好利用它,之前的準備卻是不少呀。
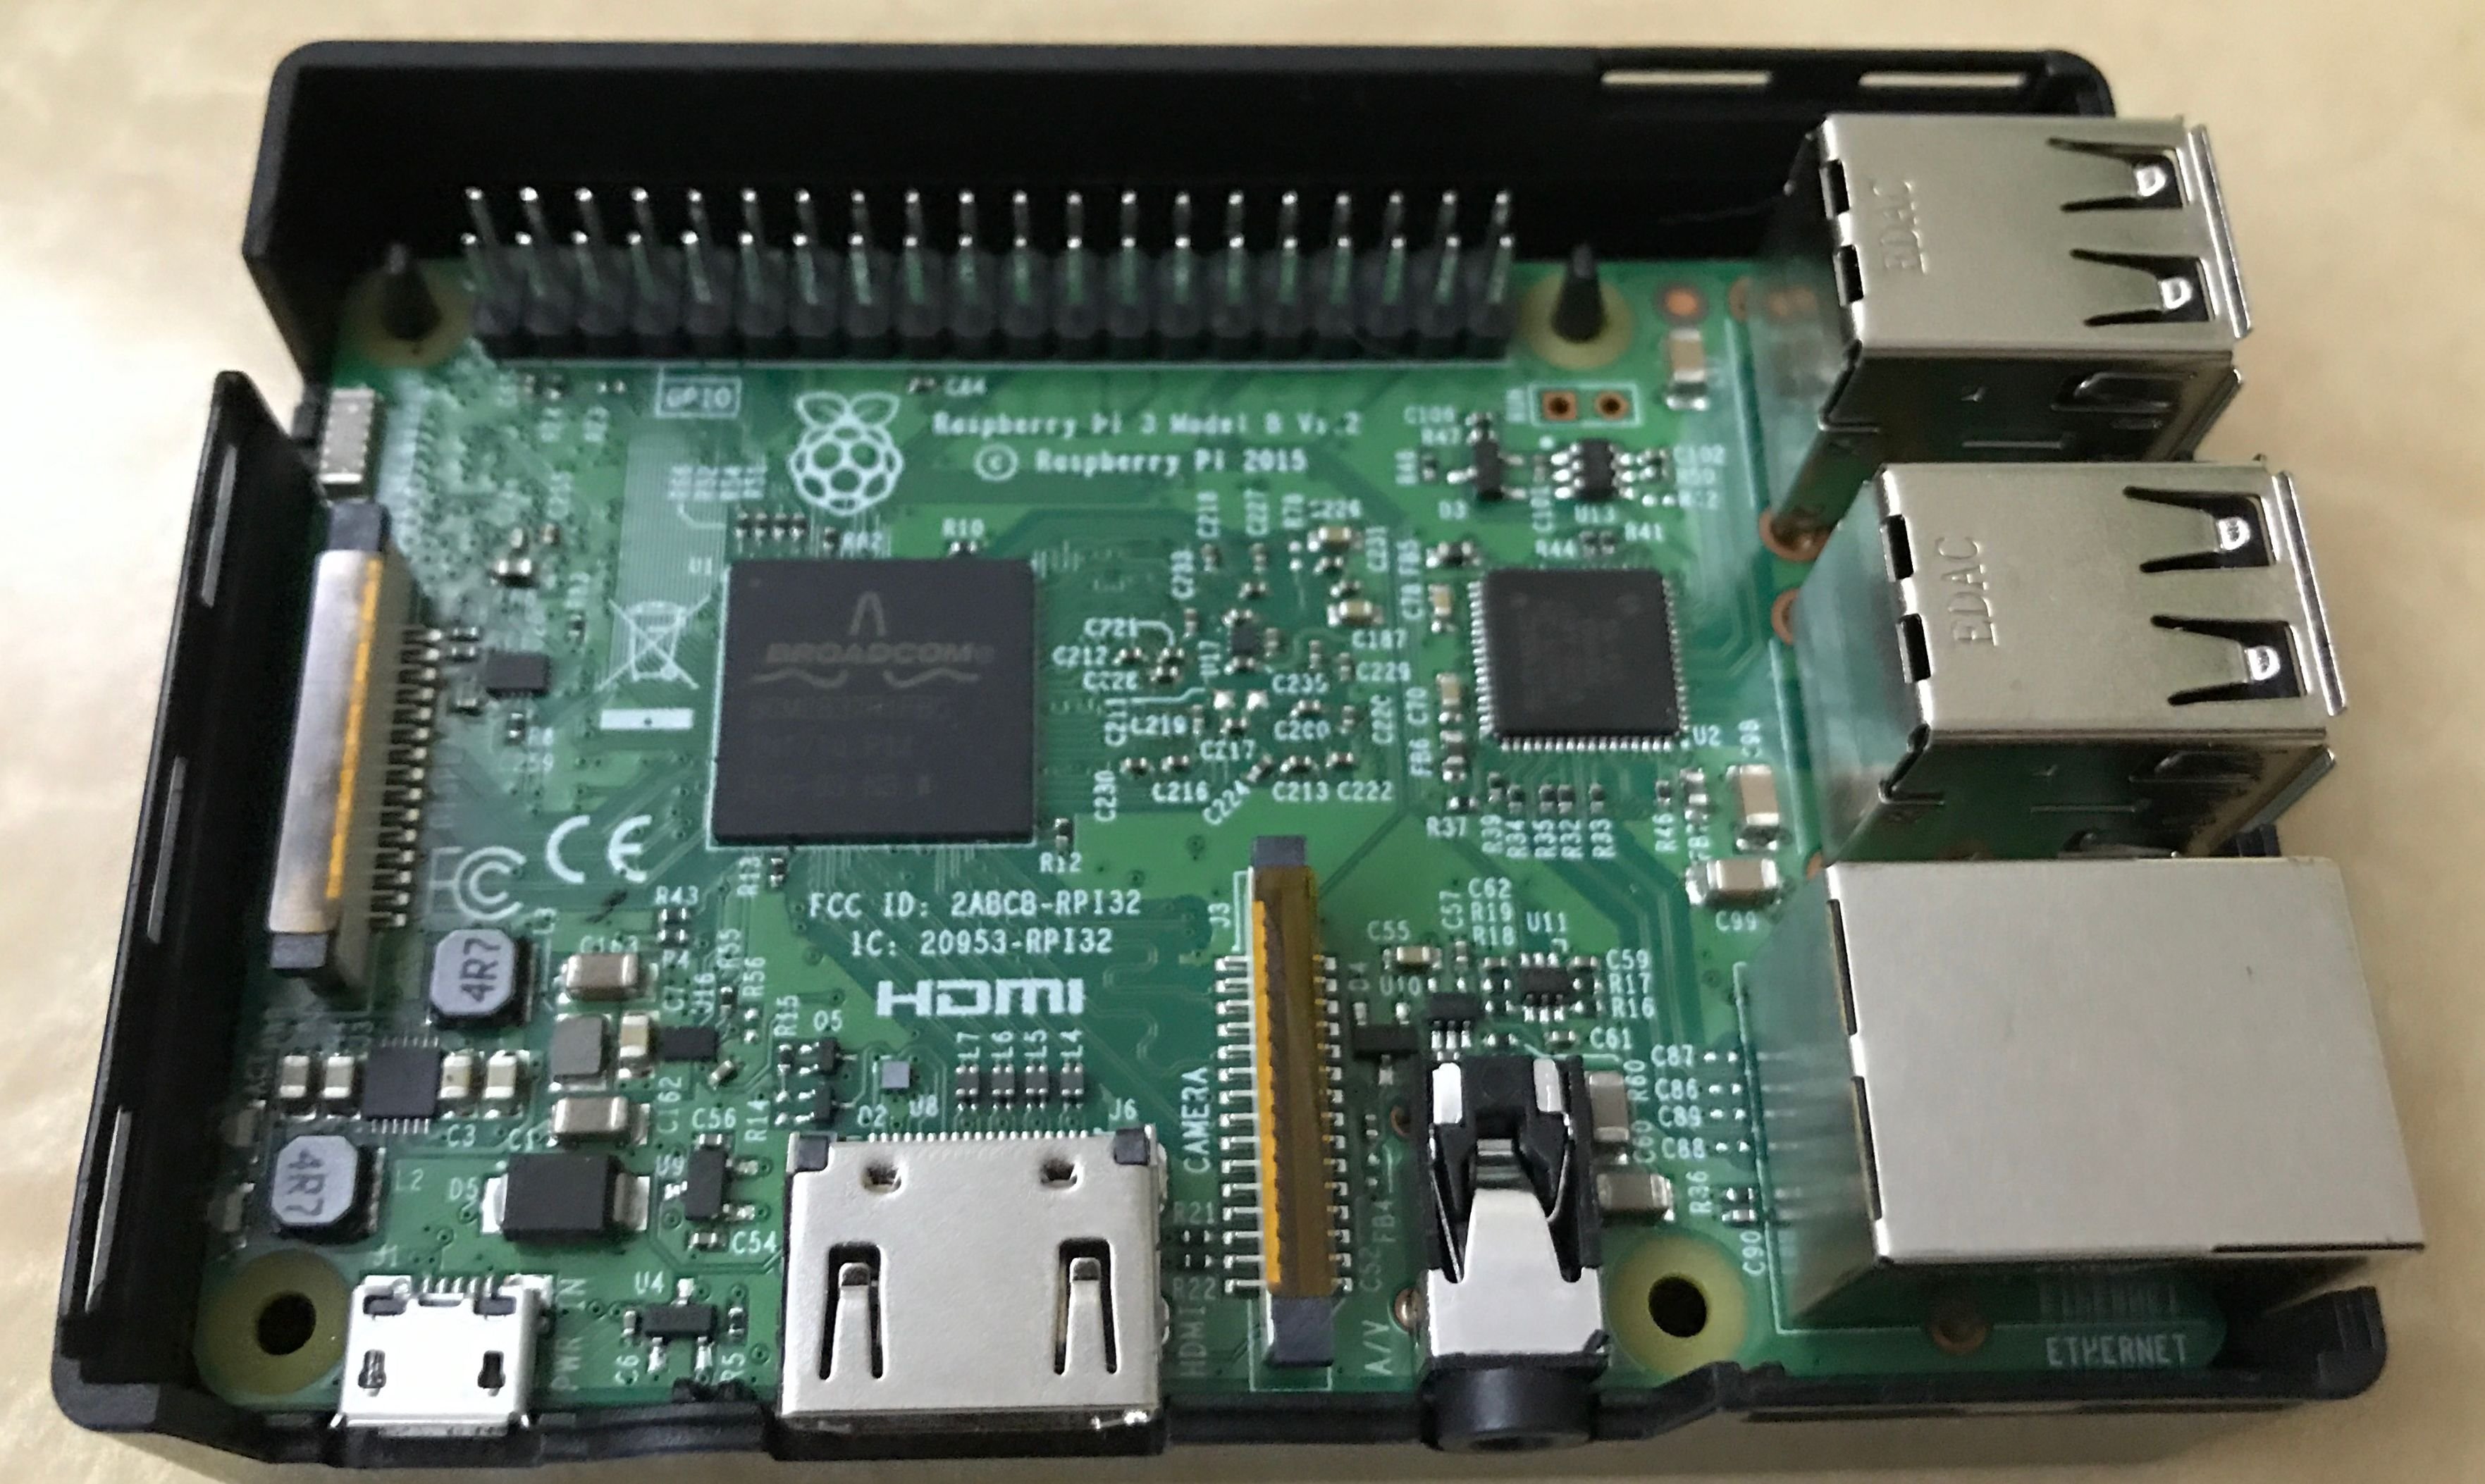
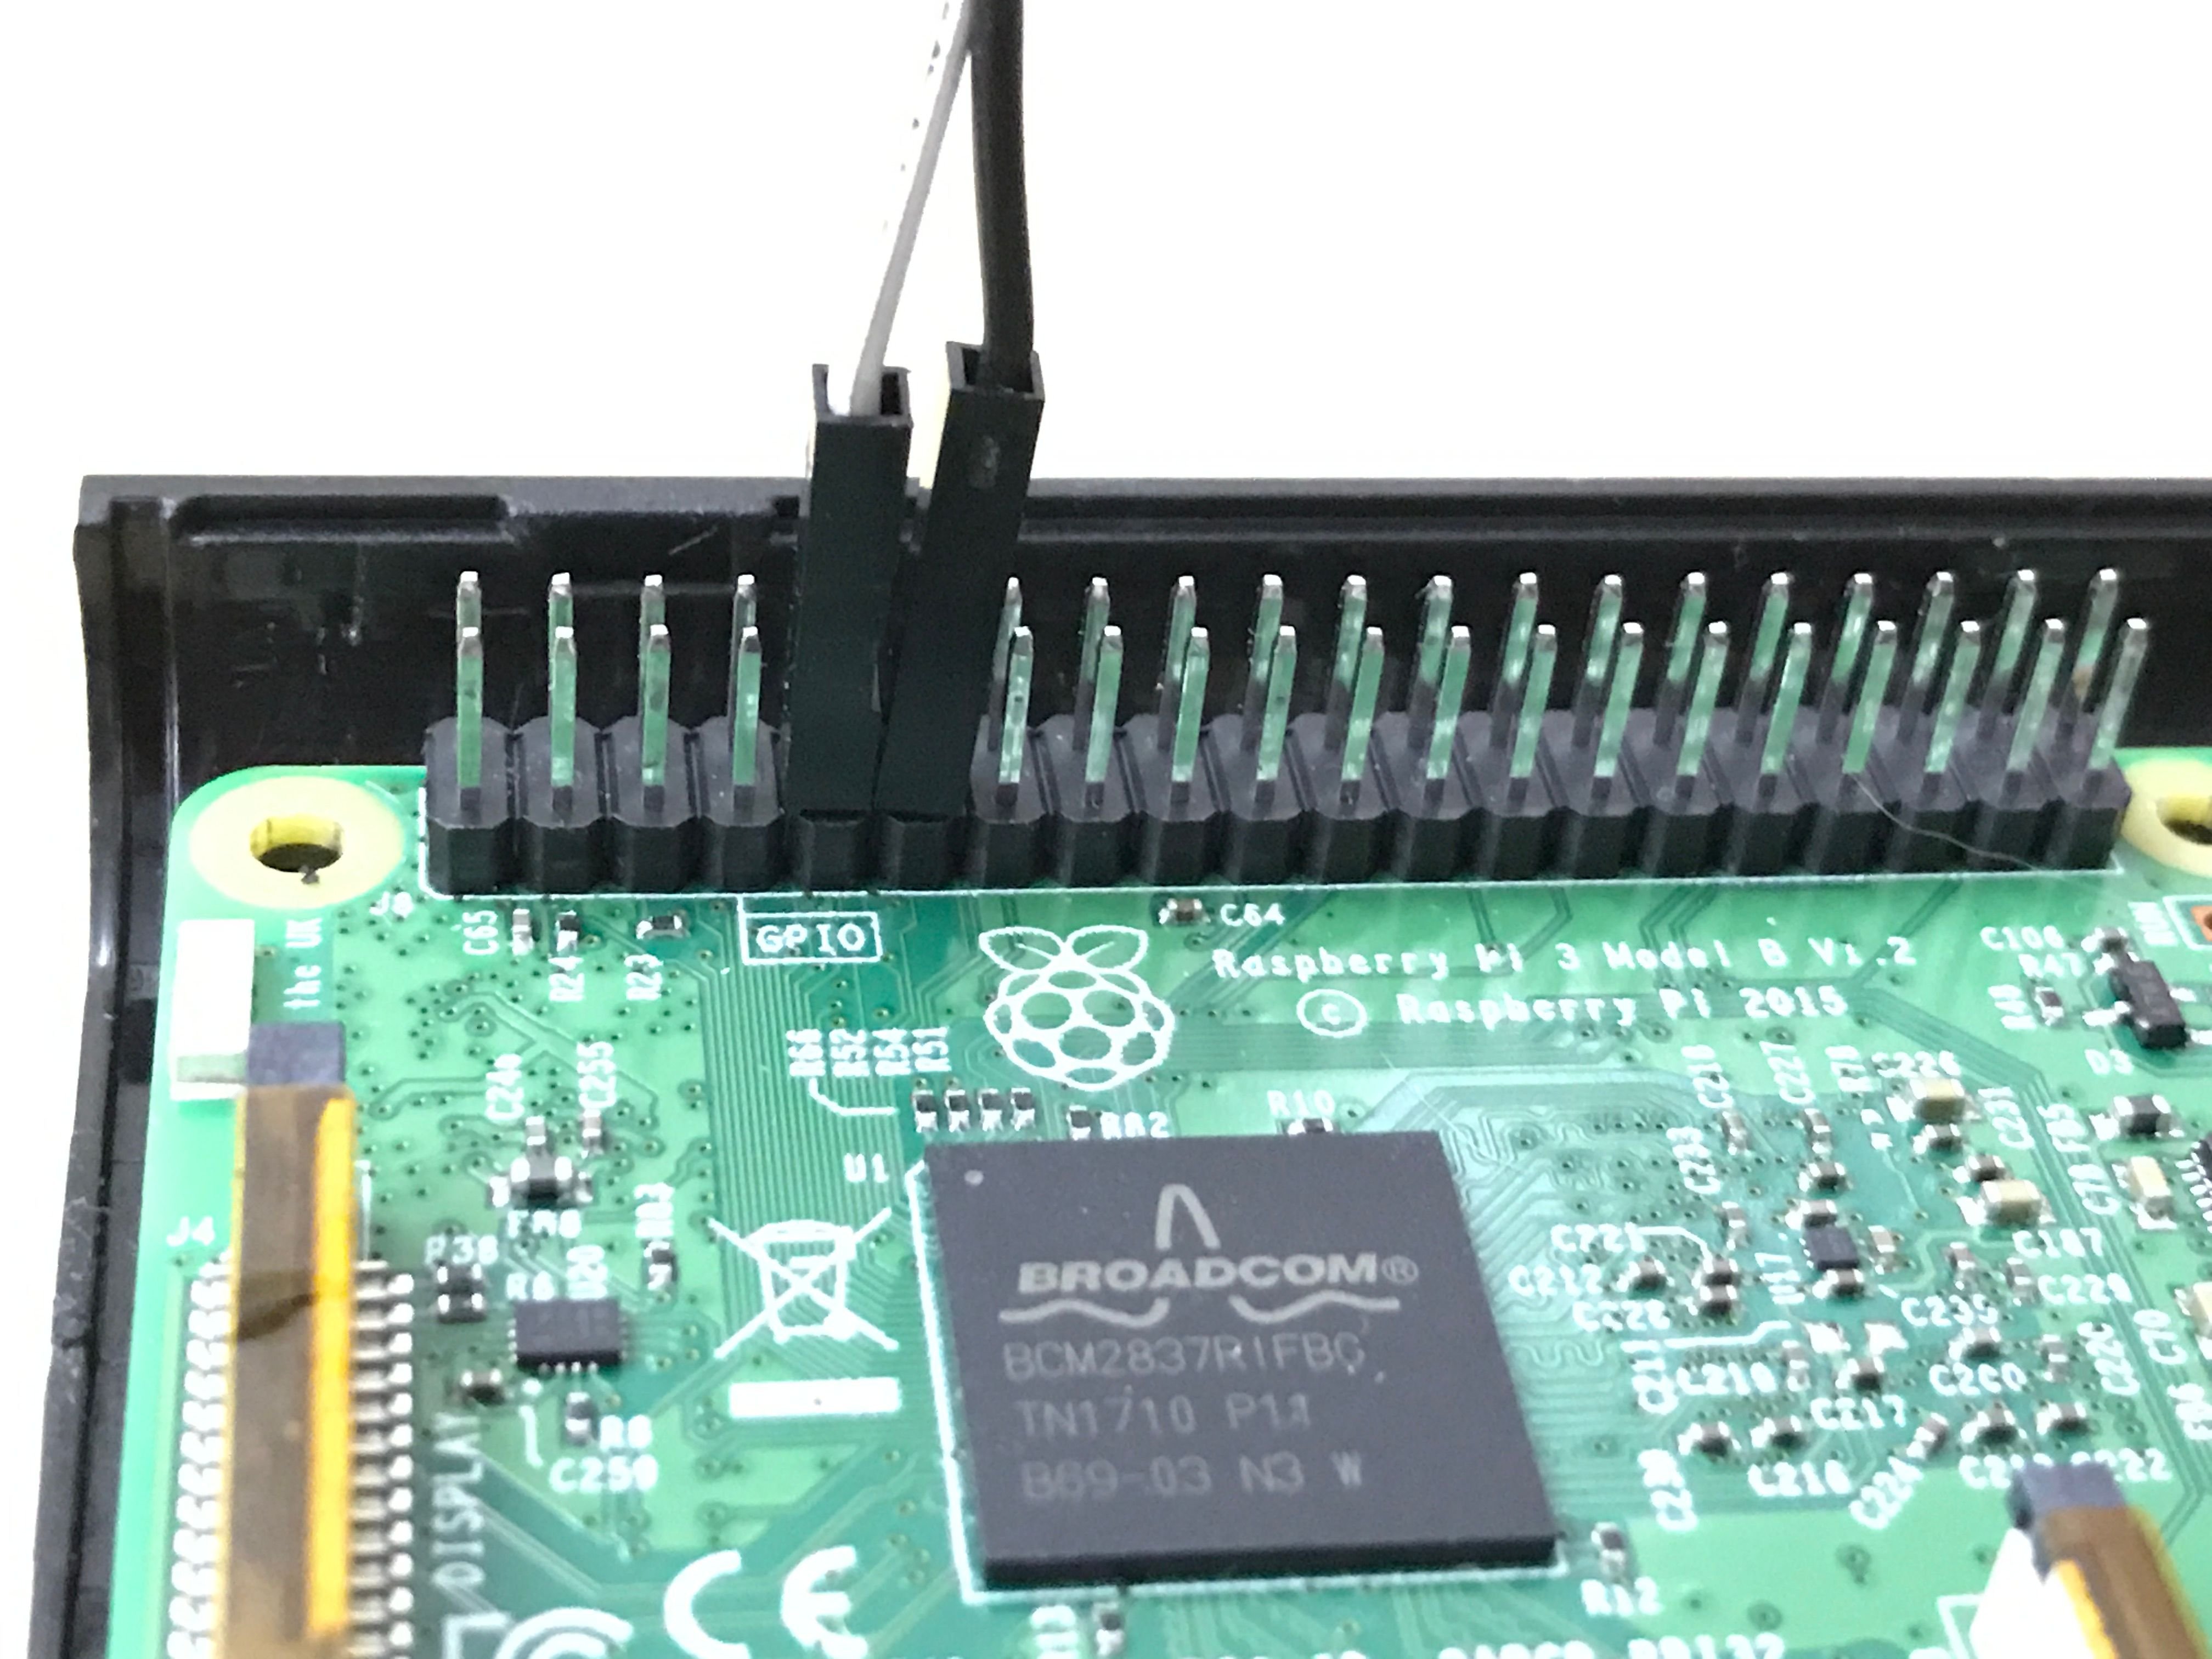
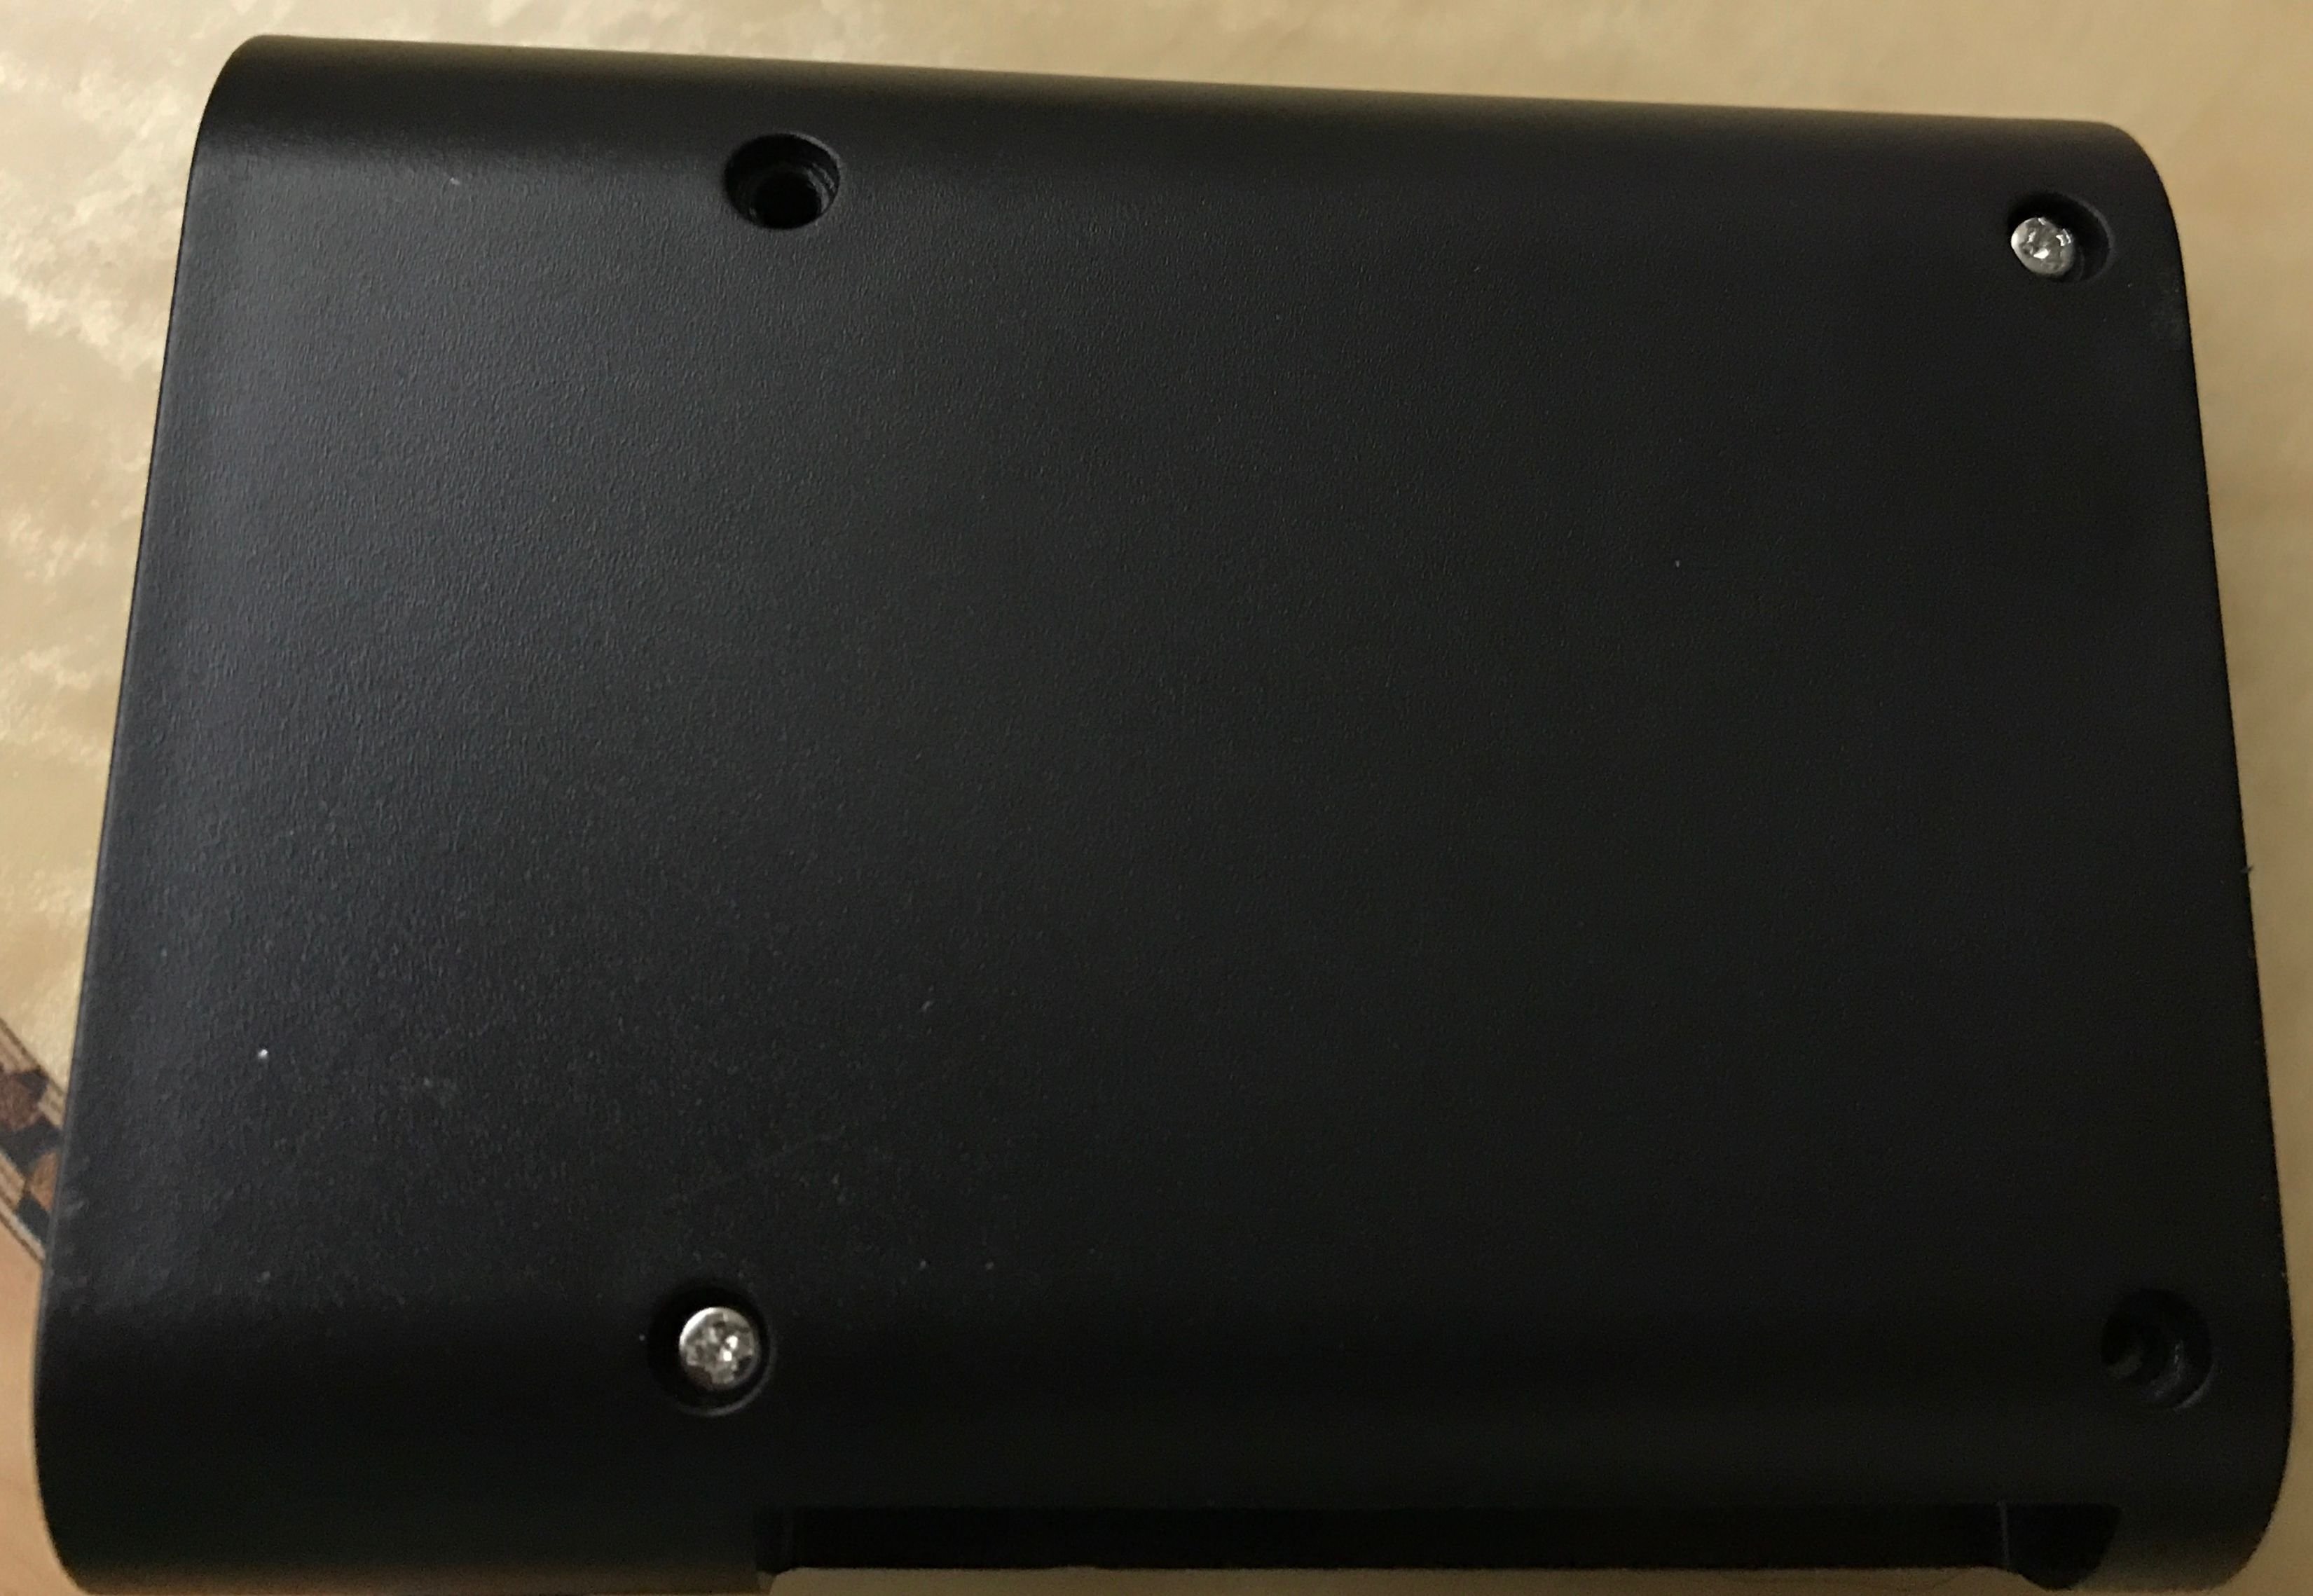
As you can see in above photos, there is no opening on this case for cables to go out from inside. Therefore, I first had to remove all the cables that were connected to external devices like the LCD and LED matrix, etc. The cables were connected like this:
從相片中可以得知,這個盒子並沒有位置讓入面的電線走出來。所以第一件要做的事就是把原本連接着不同配件的電線暫時拔掉。就好像這些:
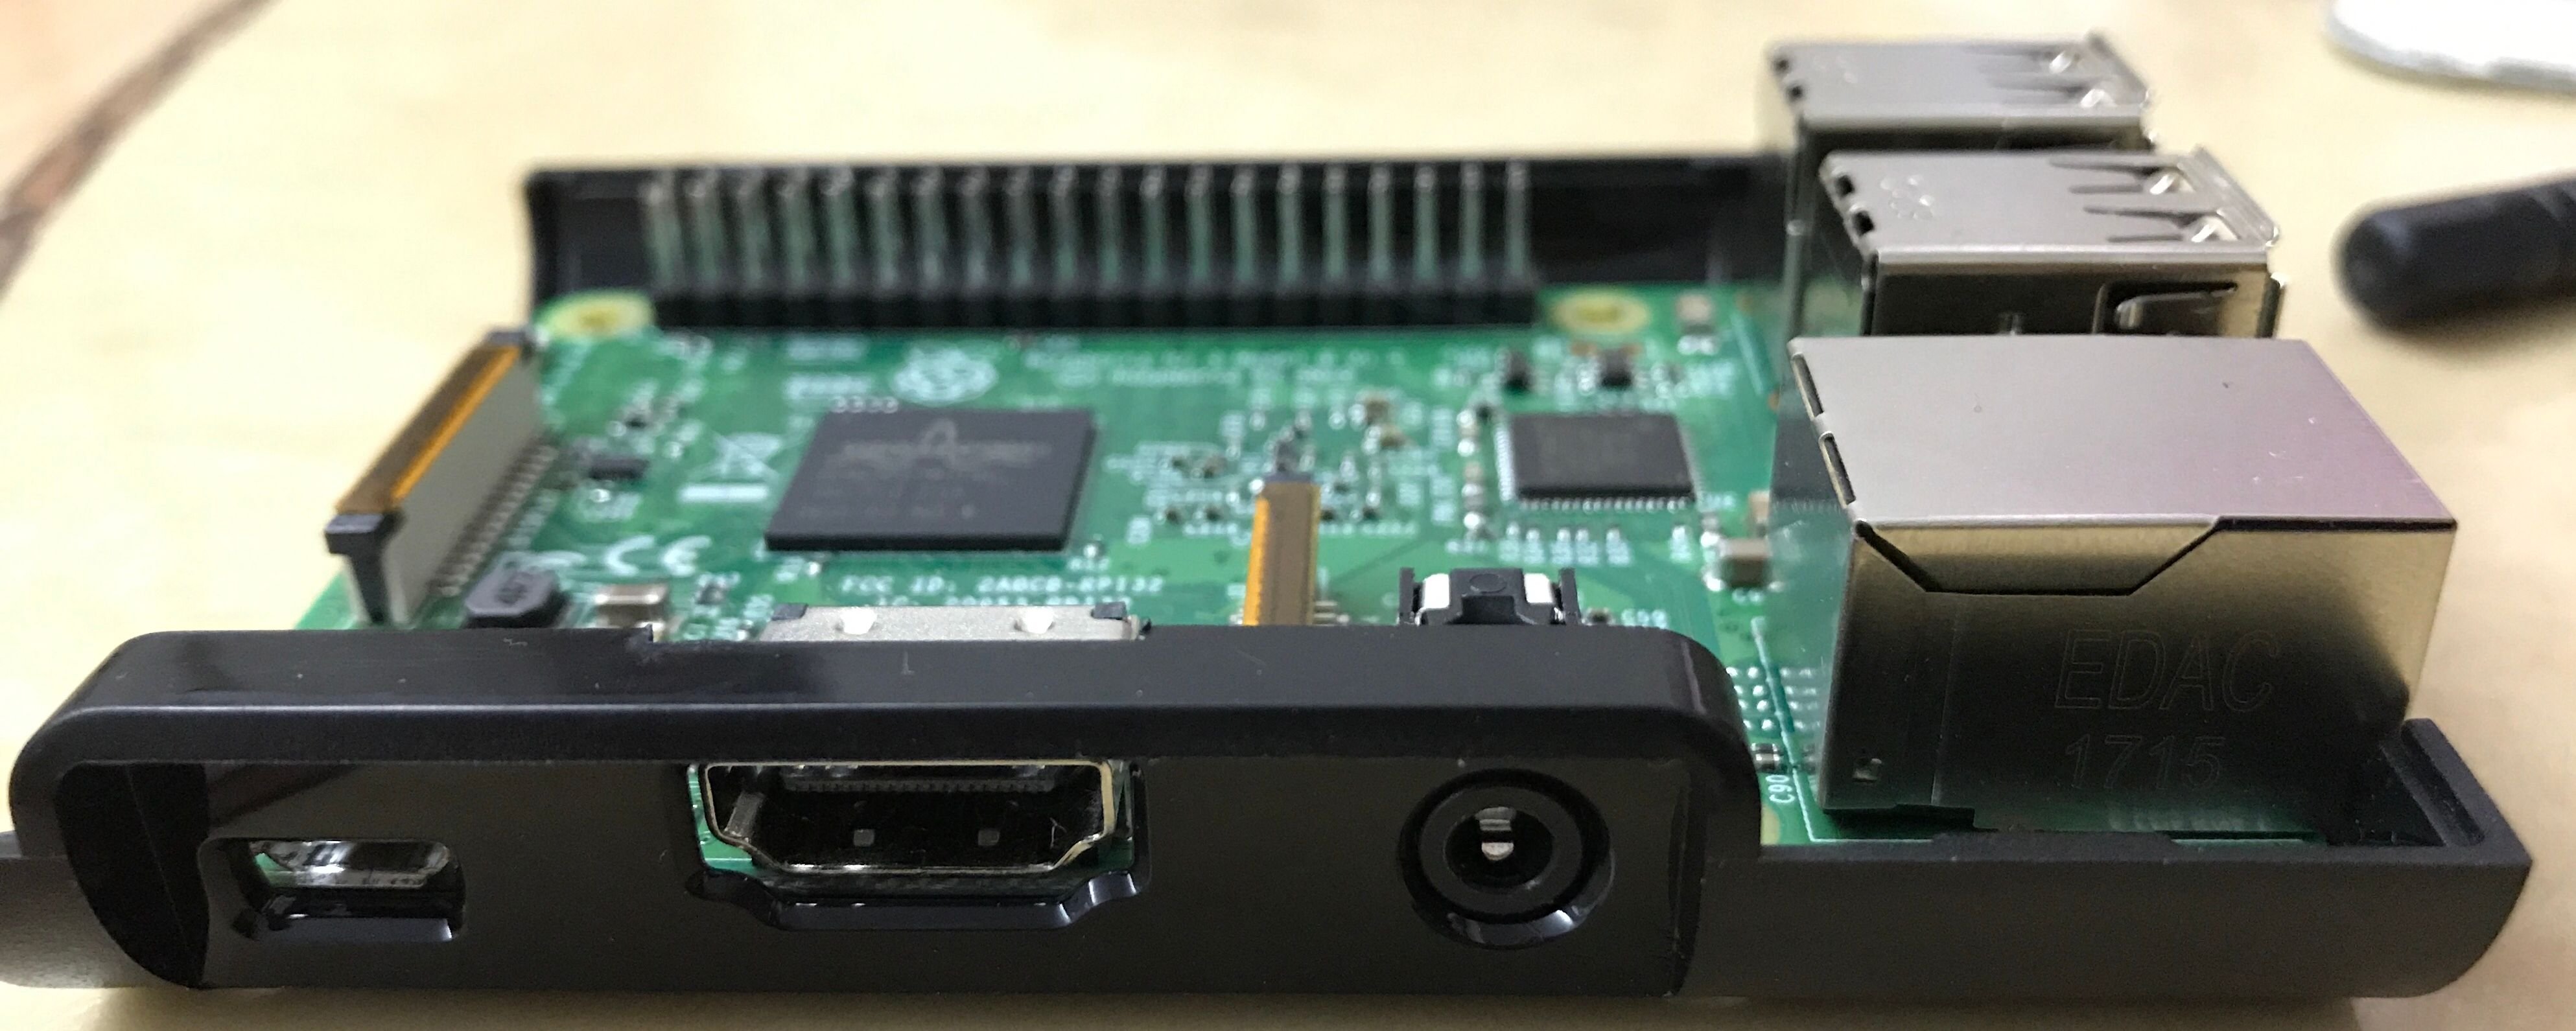
After removing all the cables, Raspberry Pi 3 became like this:
拔掉之後就是這個樣子:
Then I removed the Pi 3 from the Lego case and put it in this case. No surprise, they fitted with each other very well.
接著就是把Pi 3從之前的樂高盒子中拿出來,放到新的盒子中。果然非常合身。
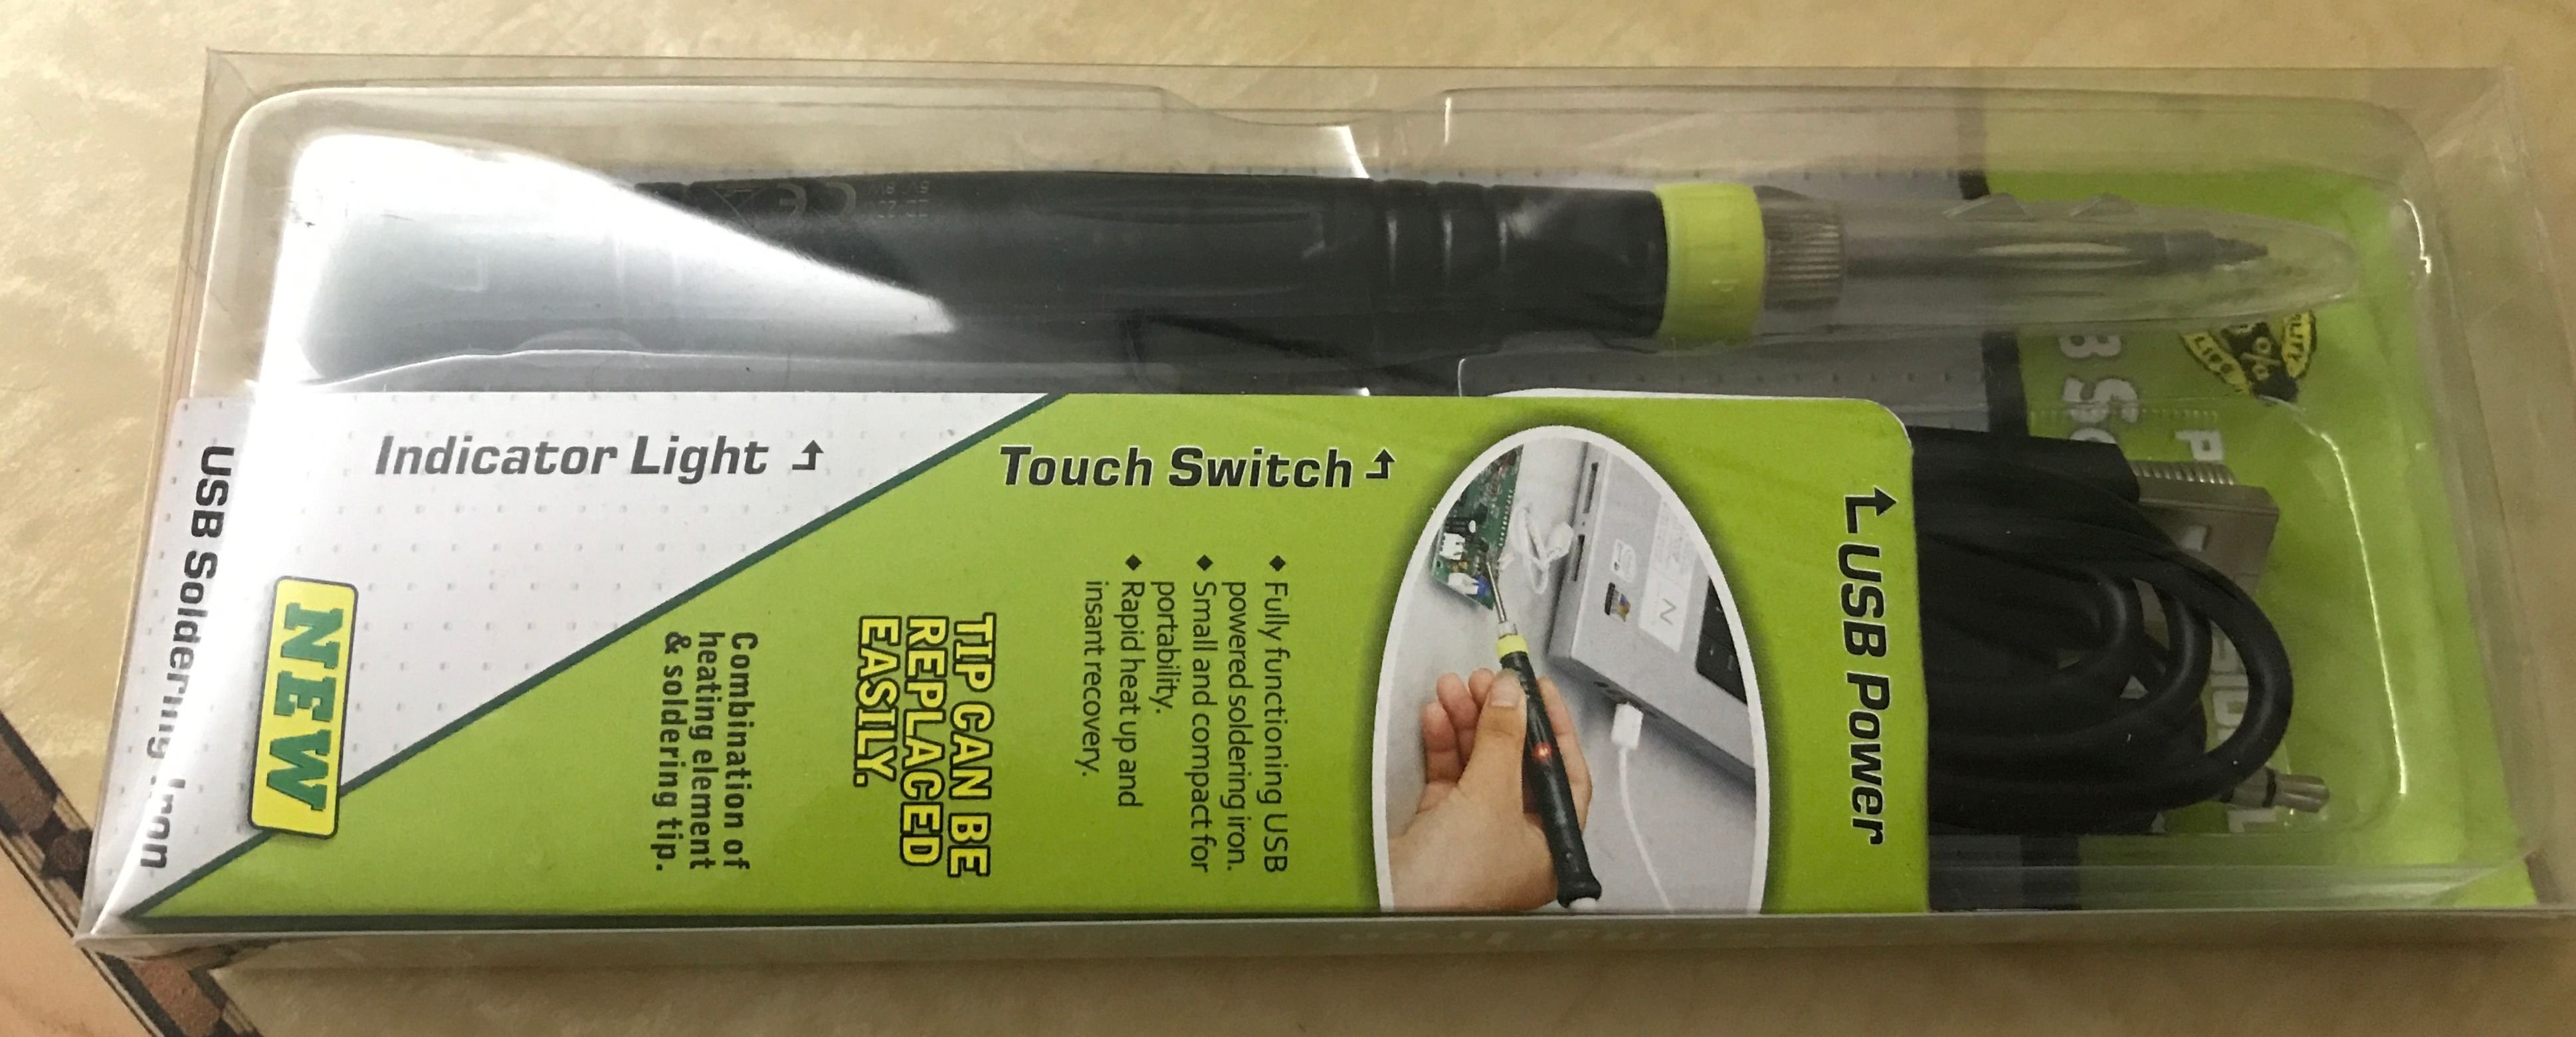
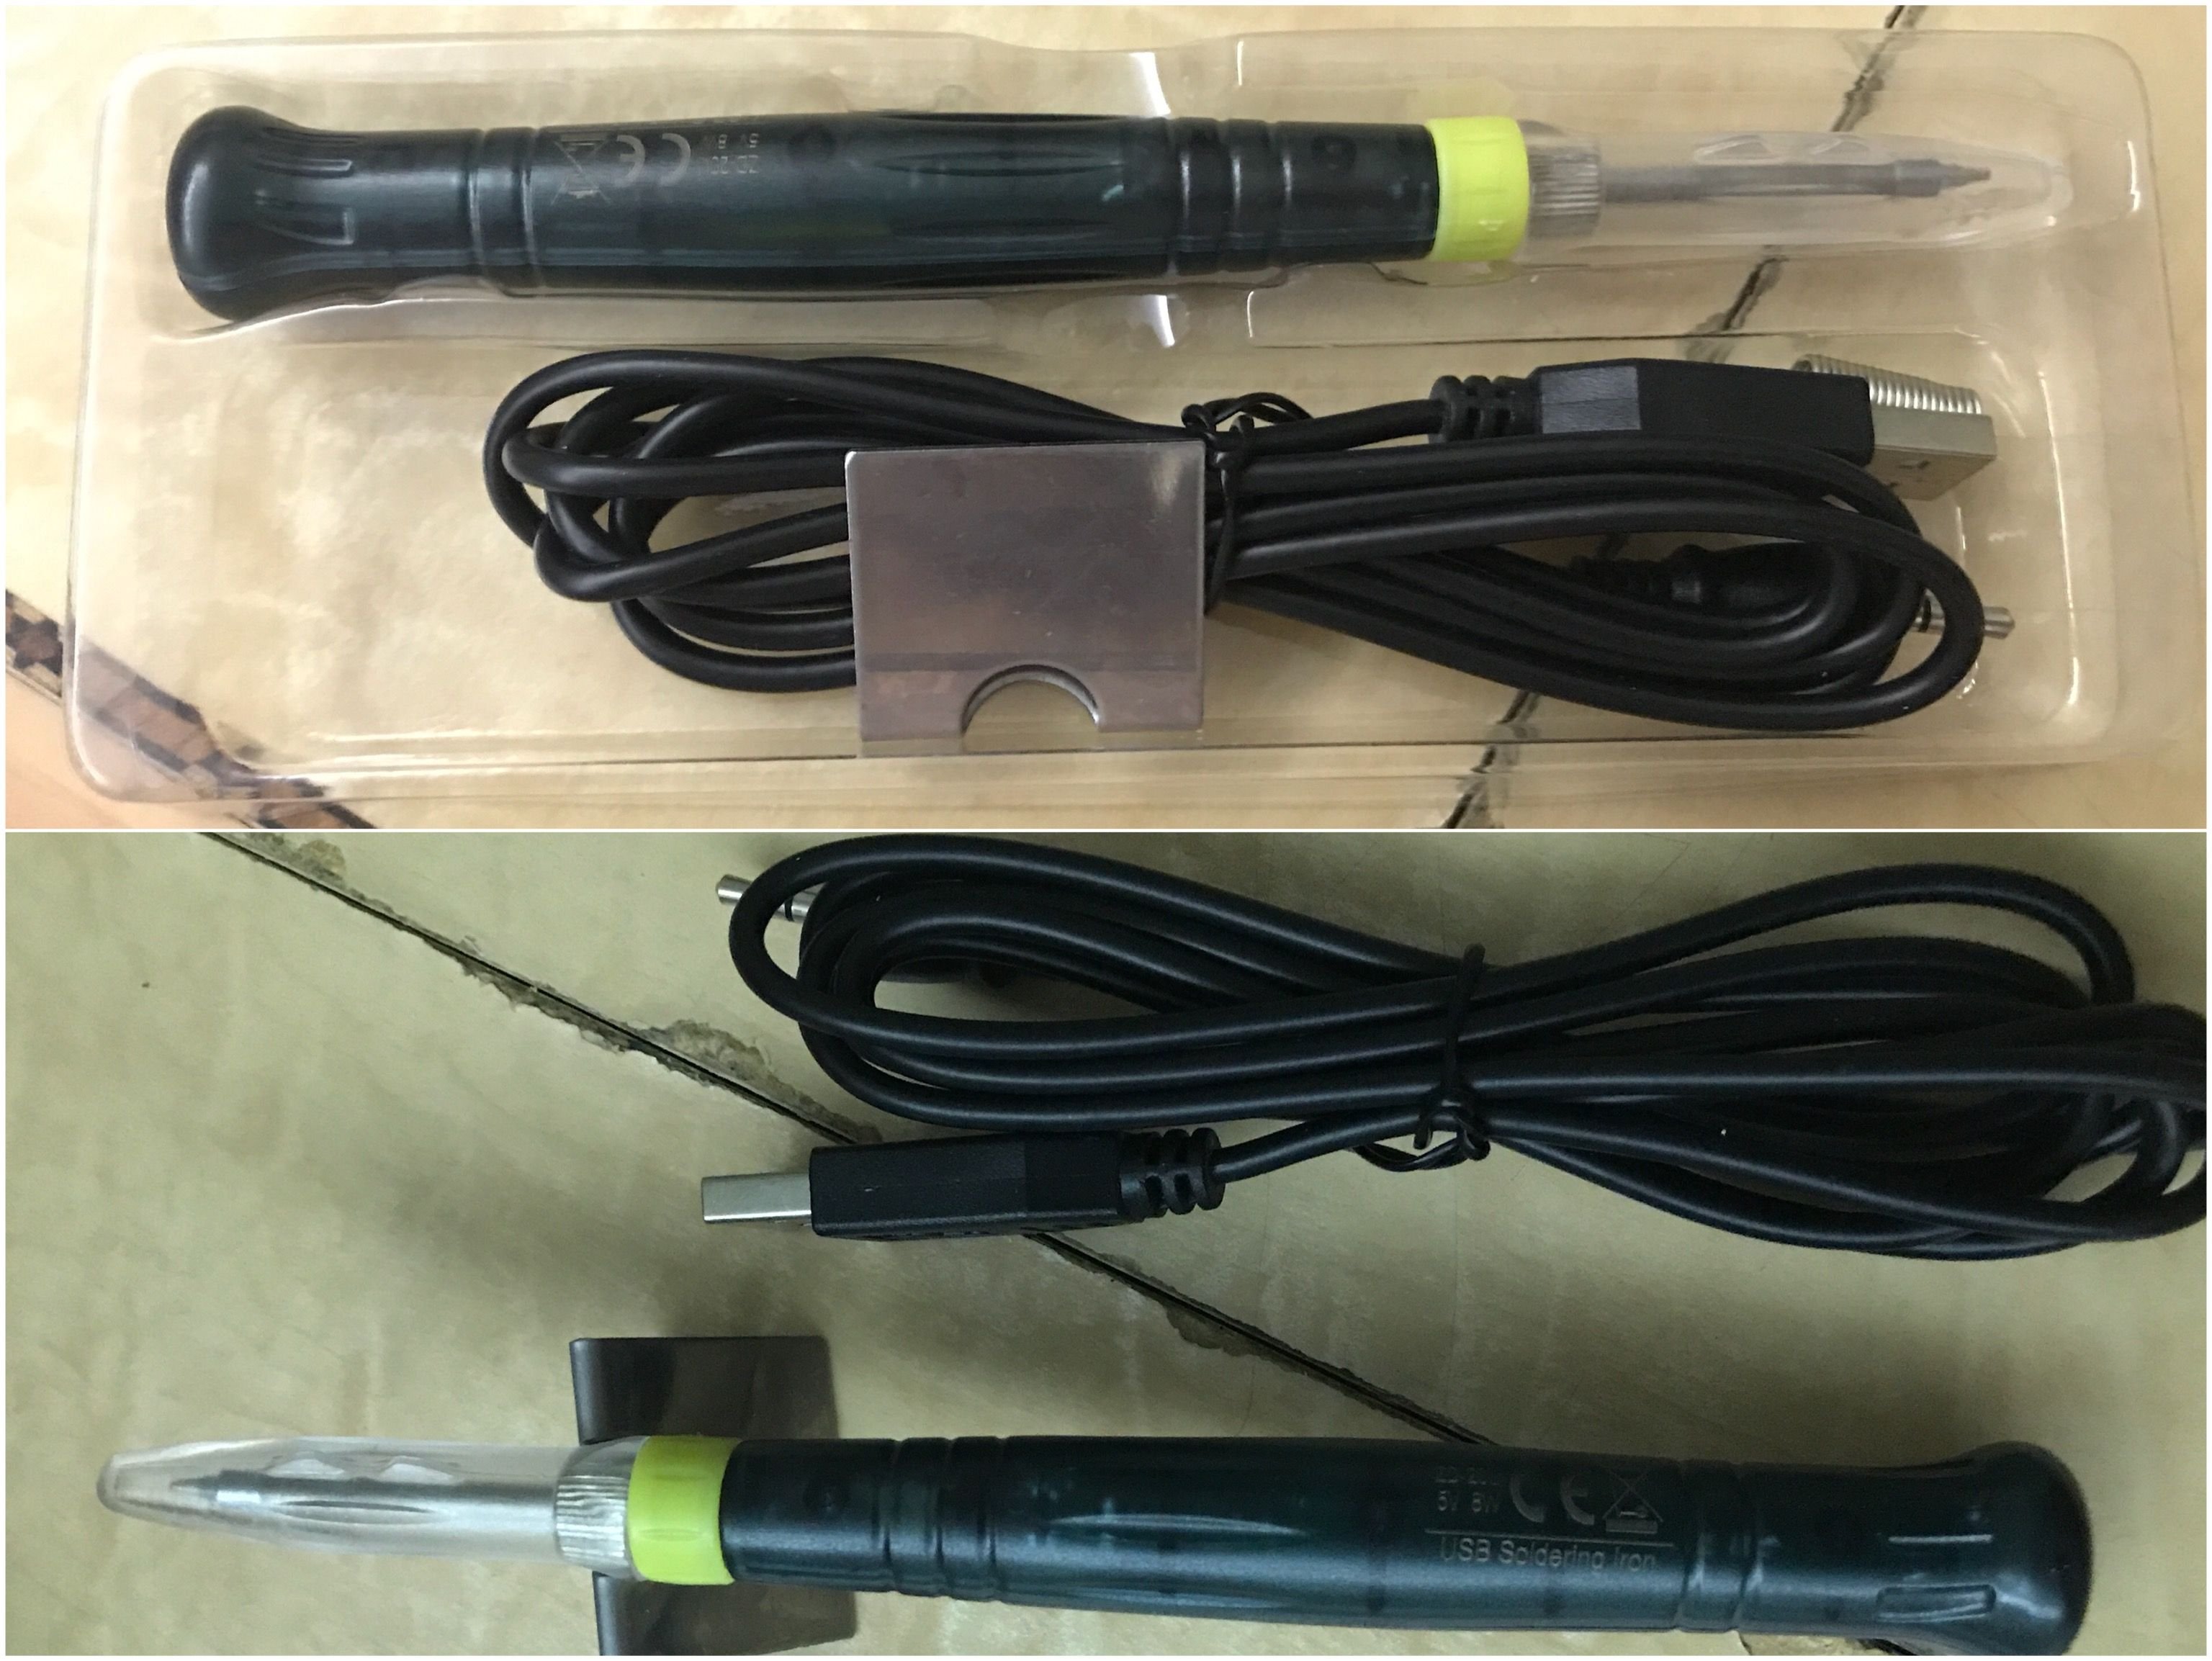
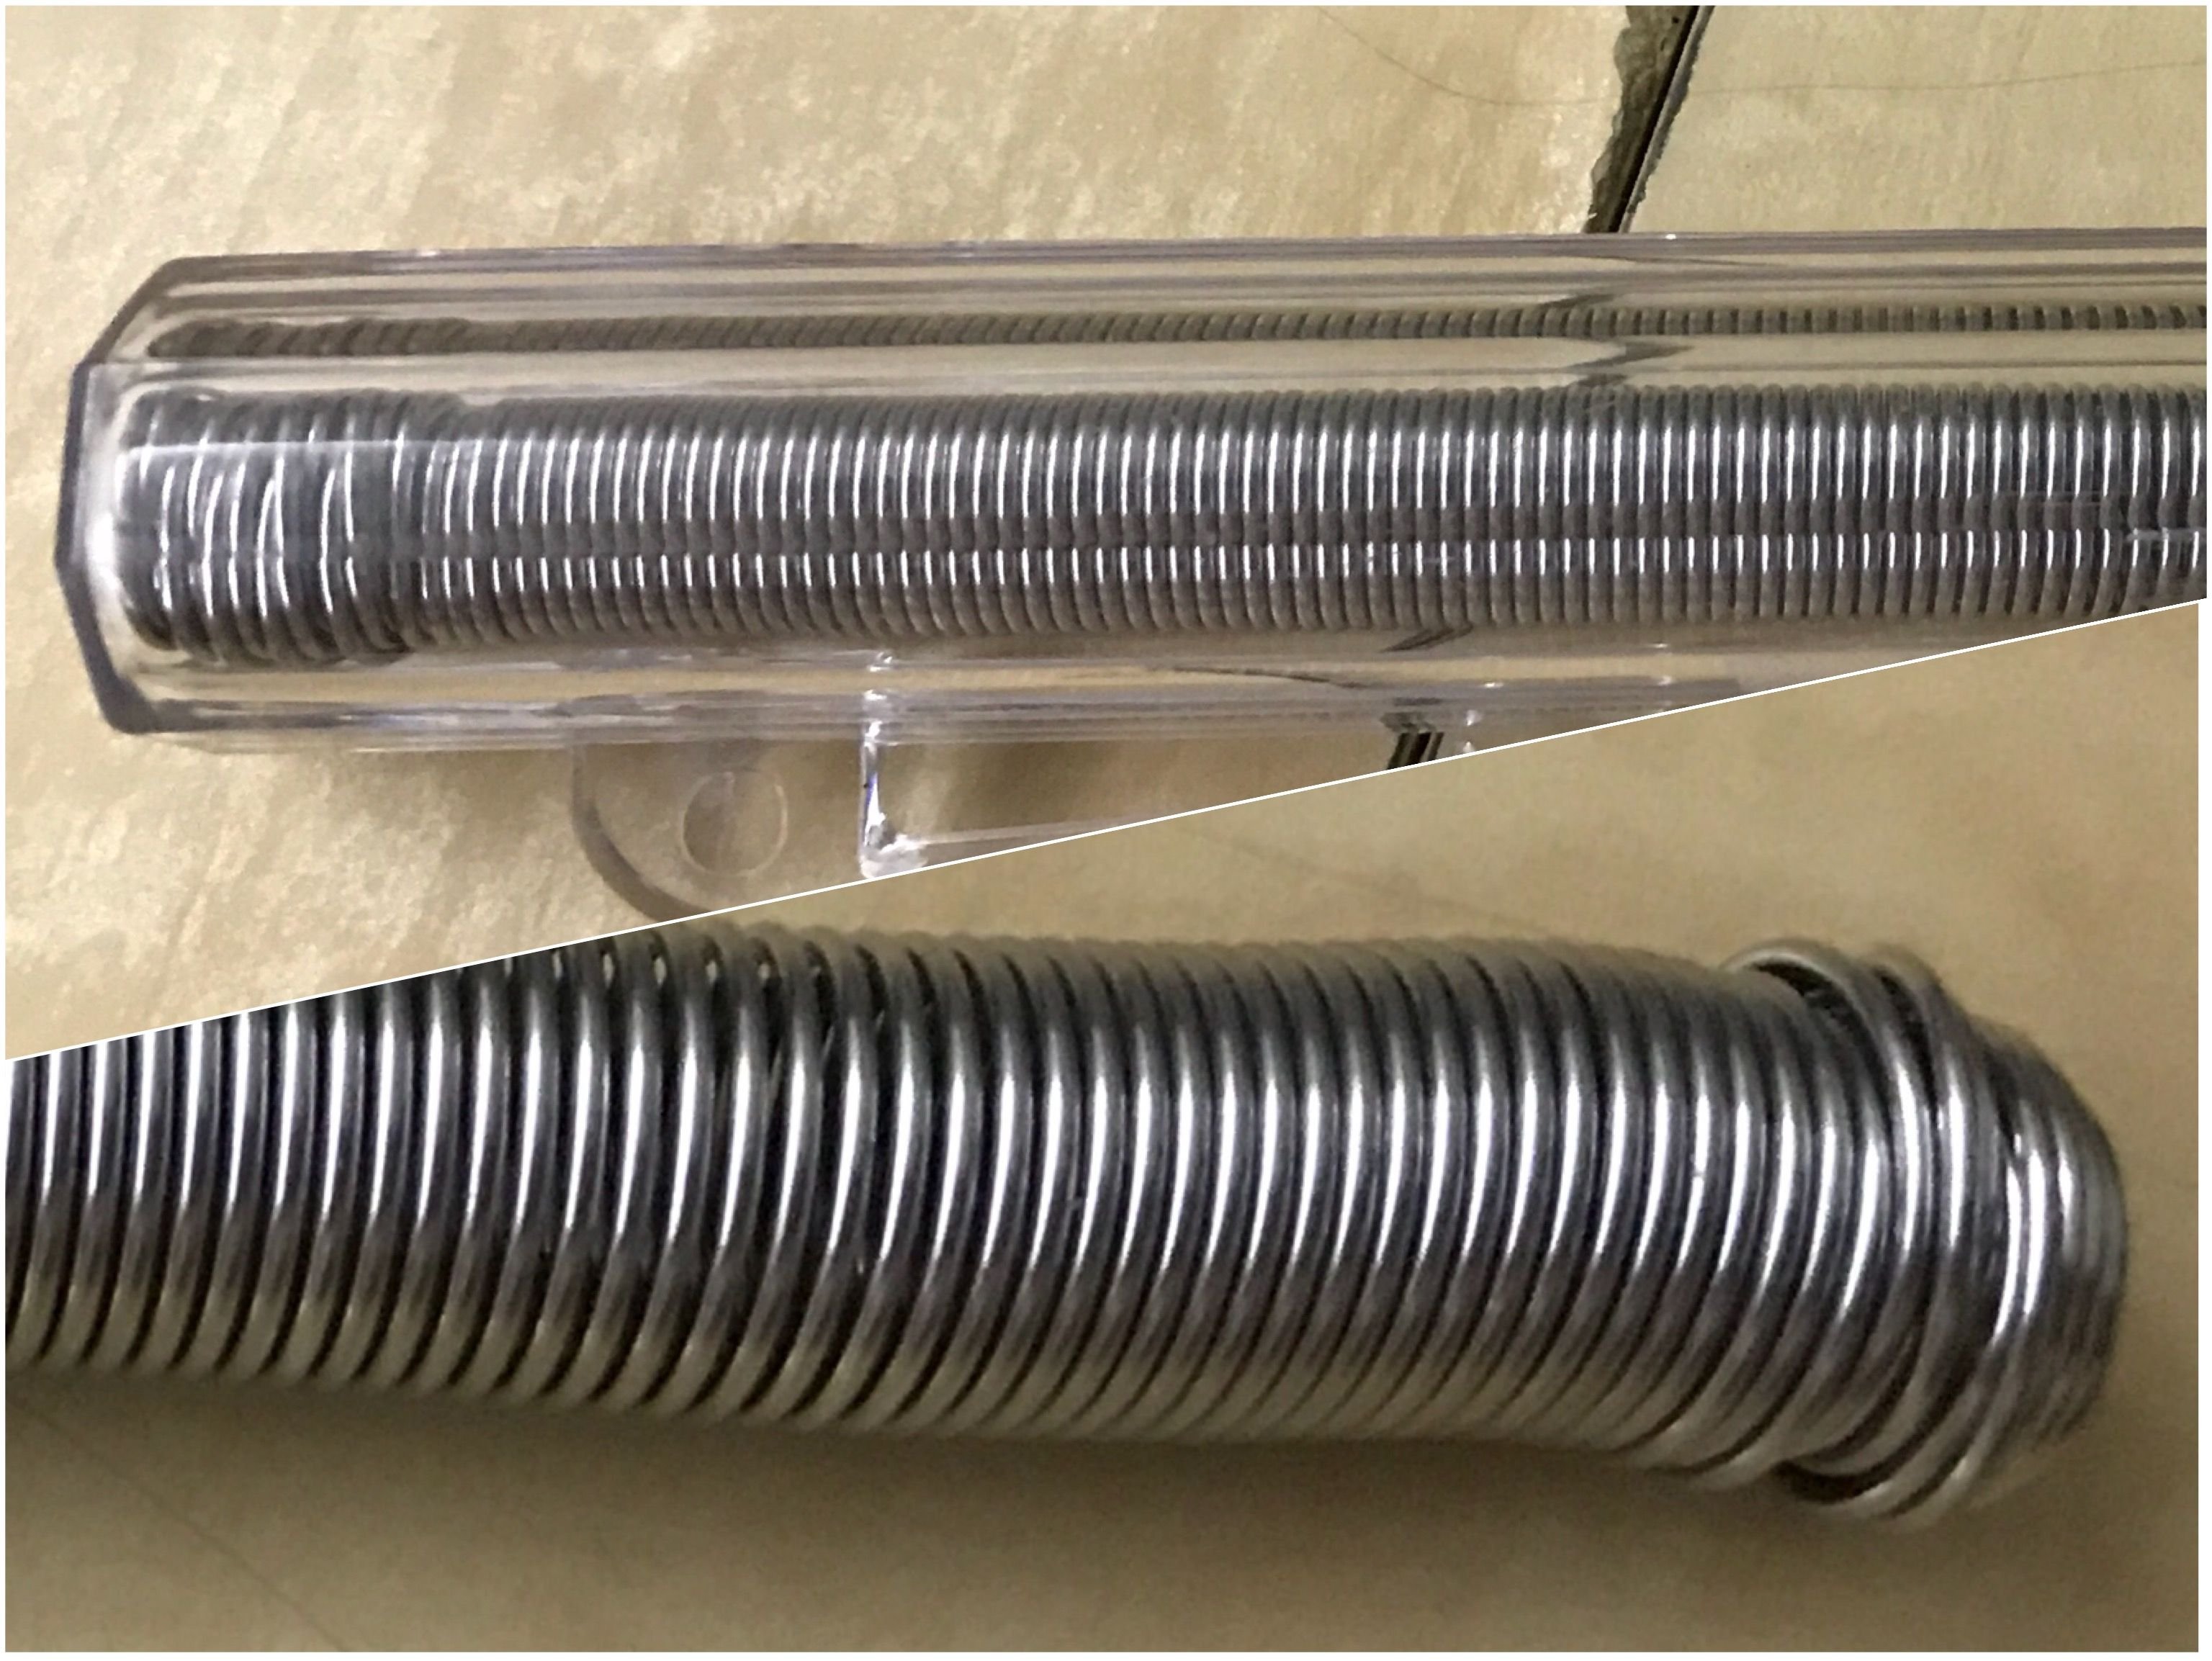
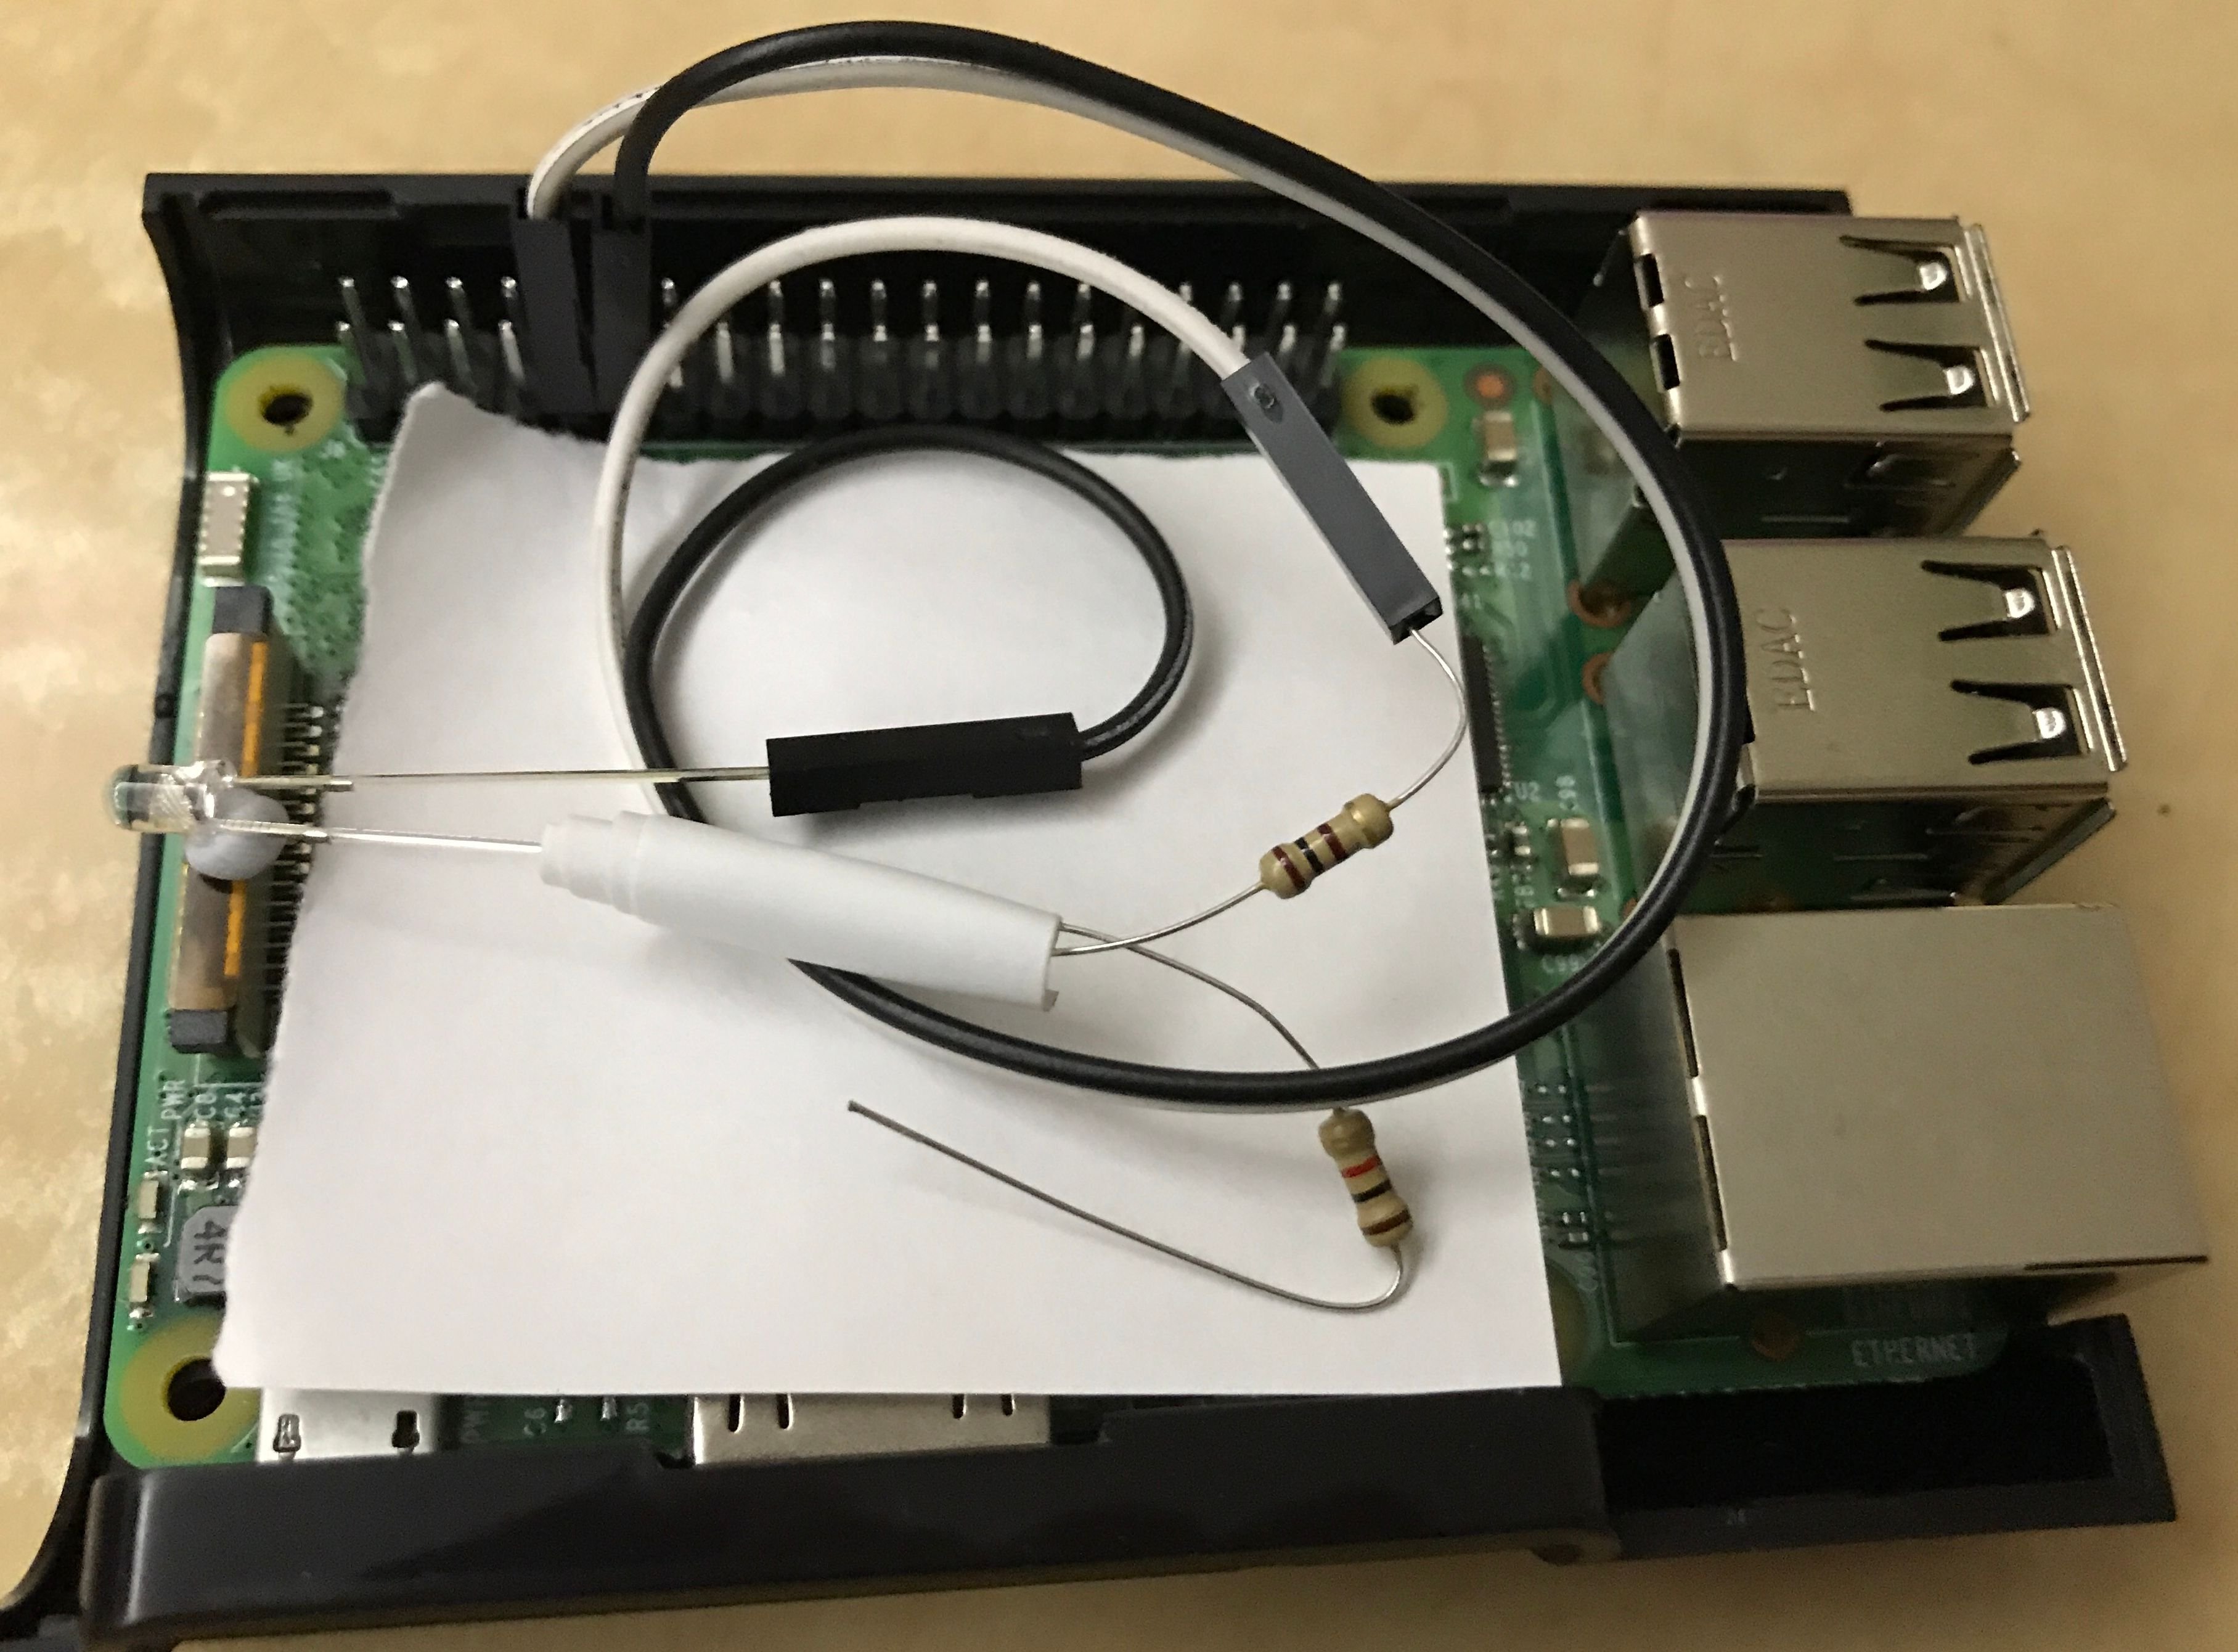
Next step was to prepare a dedicated LED as the notification LED of SteemPi v2. This was a difficult task for me as I need to do some soldering work and that was the first time in past 25 years after the last time I did the same thing, when I was still an undergraduate student. I didn’t even have the tool. That’s why I bought the tool from ShamShuiPo (yes, again).
之後就要準備SteemPi v2專用的通知用LED. 因為不能使用麵包板,所以要直接把電阻銲接到LED之上。這樣做對我來說直的不易呀。因為我對上一次這樣做已經是25年前我還是學士學生的時候了。連工具都沒有的我,唯有再到深水埗買一套工具。
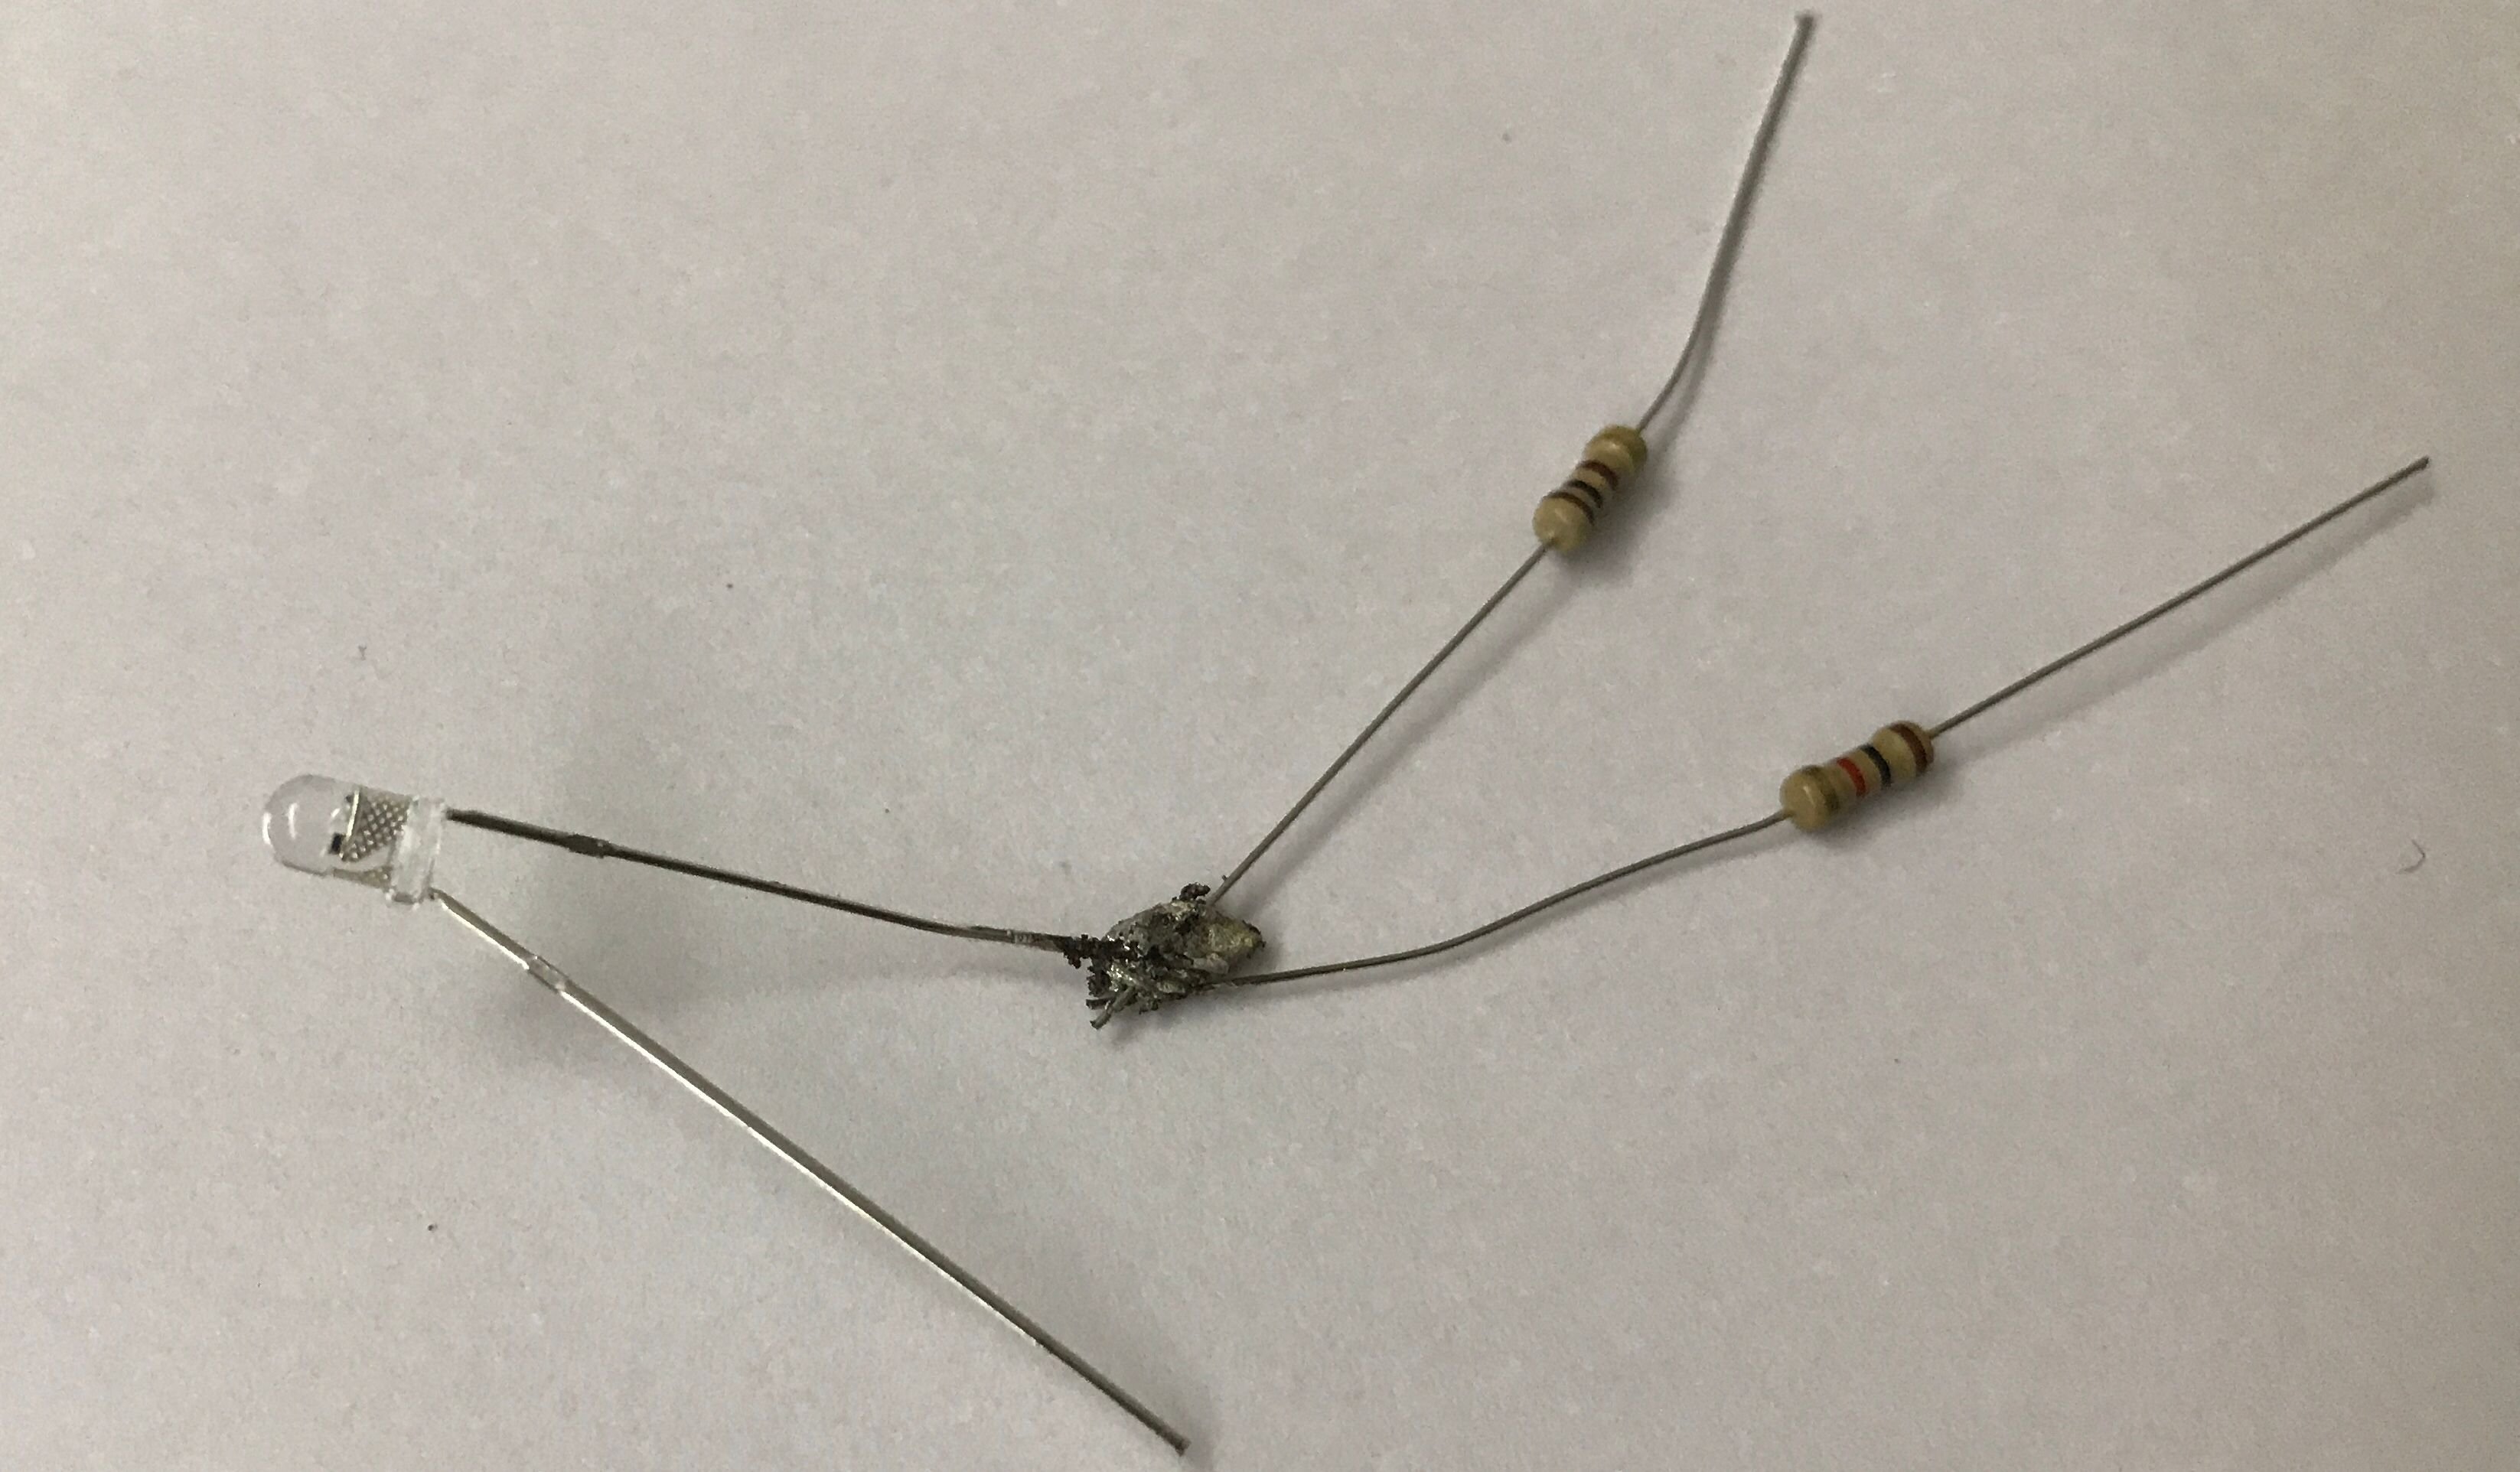
With the tool in hand, I soldered the multi-colour LED with 2 different resistors, so that there could be 2 different level of brightness to choose if necessary. For the time being, I connected the cable to resistor that gave higher brightness.
工具到手之後,我就要把電阻和那彩色LED焊接在一起。為了能選擇不同的光亮度,我把兩個不同數值的電阻焊接到LED上。不過為了方便示範,我把電線連到低一點的電阻以得到光一點的效果。
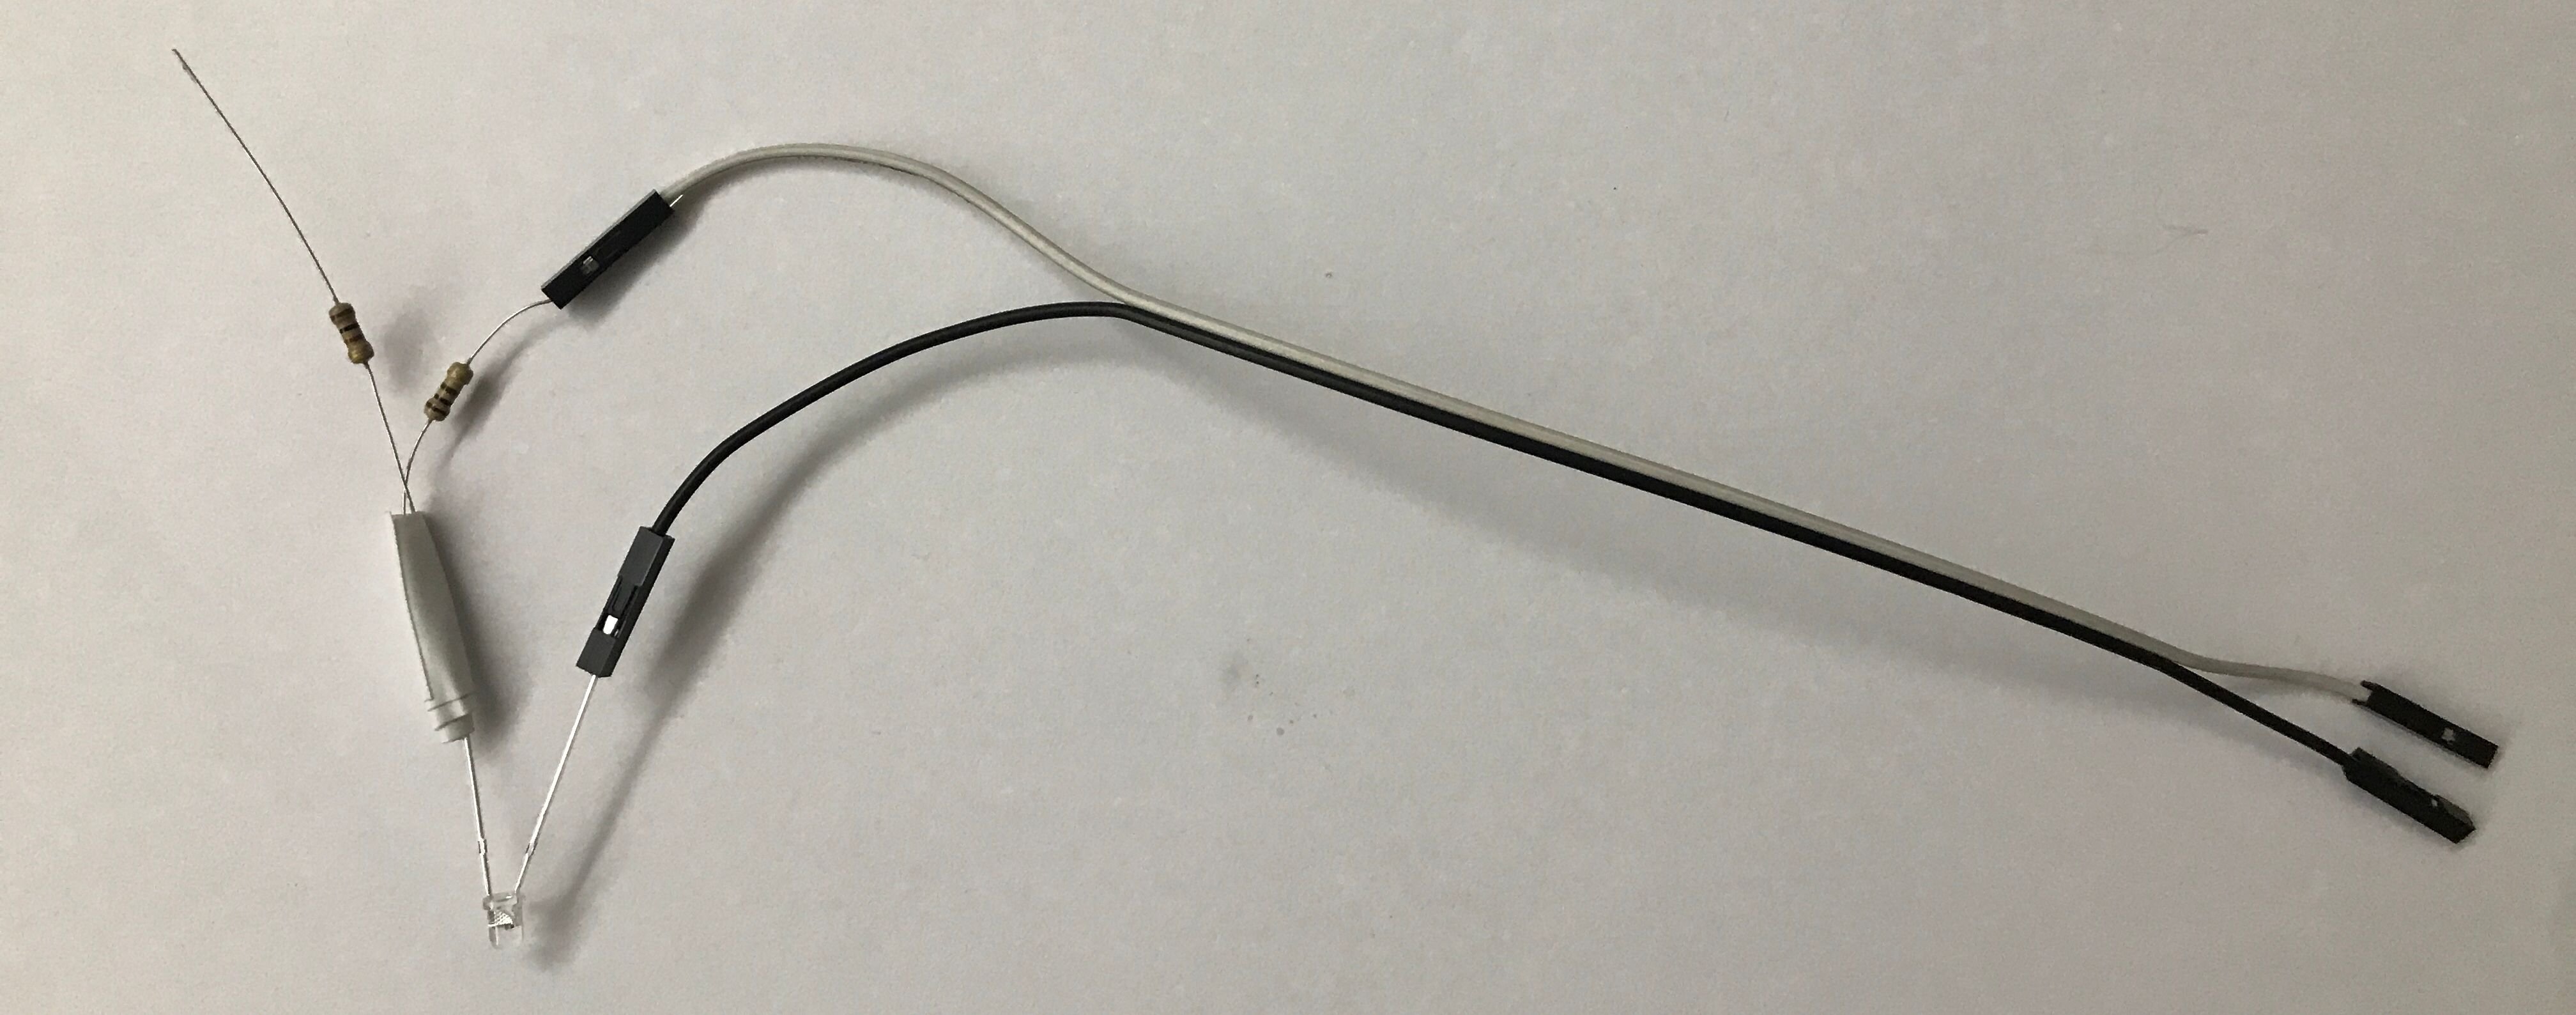
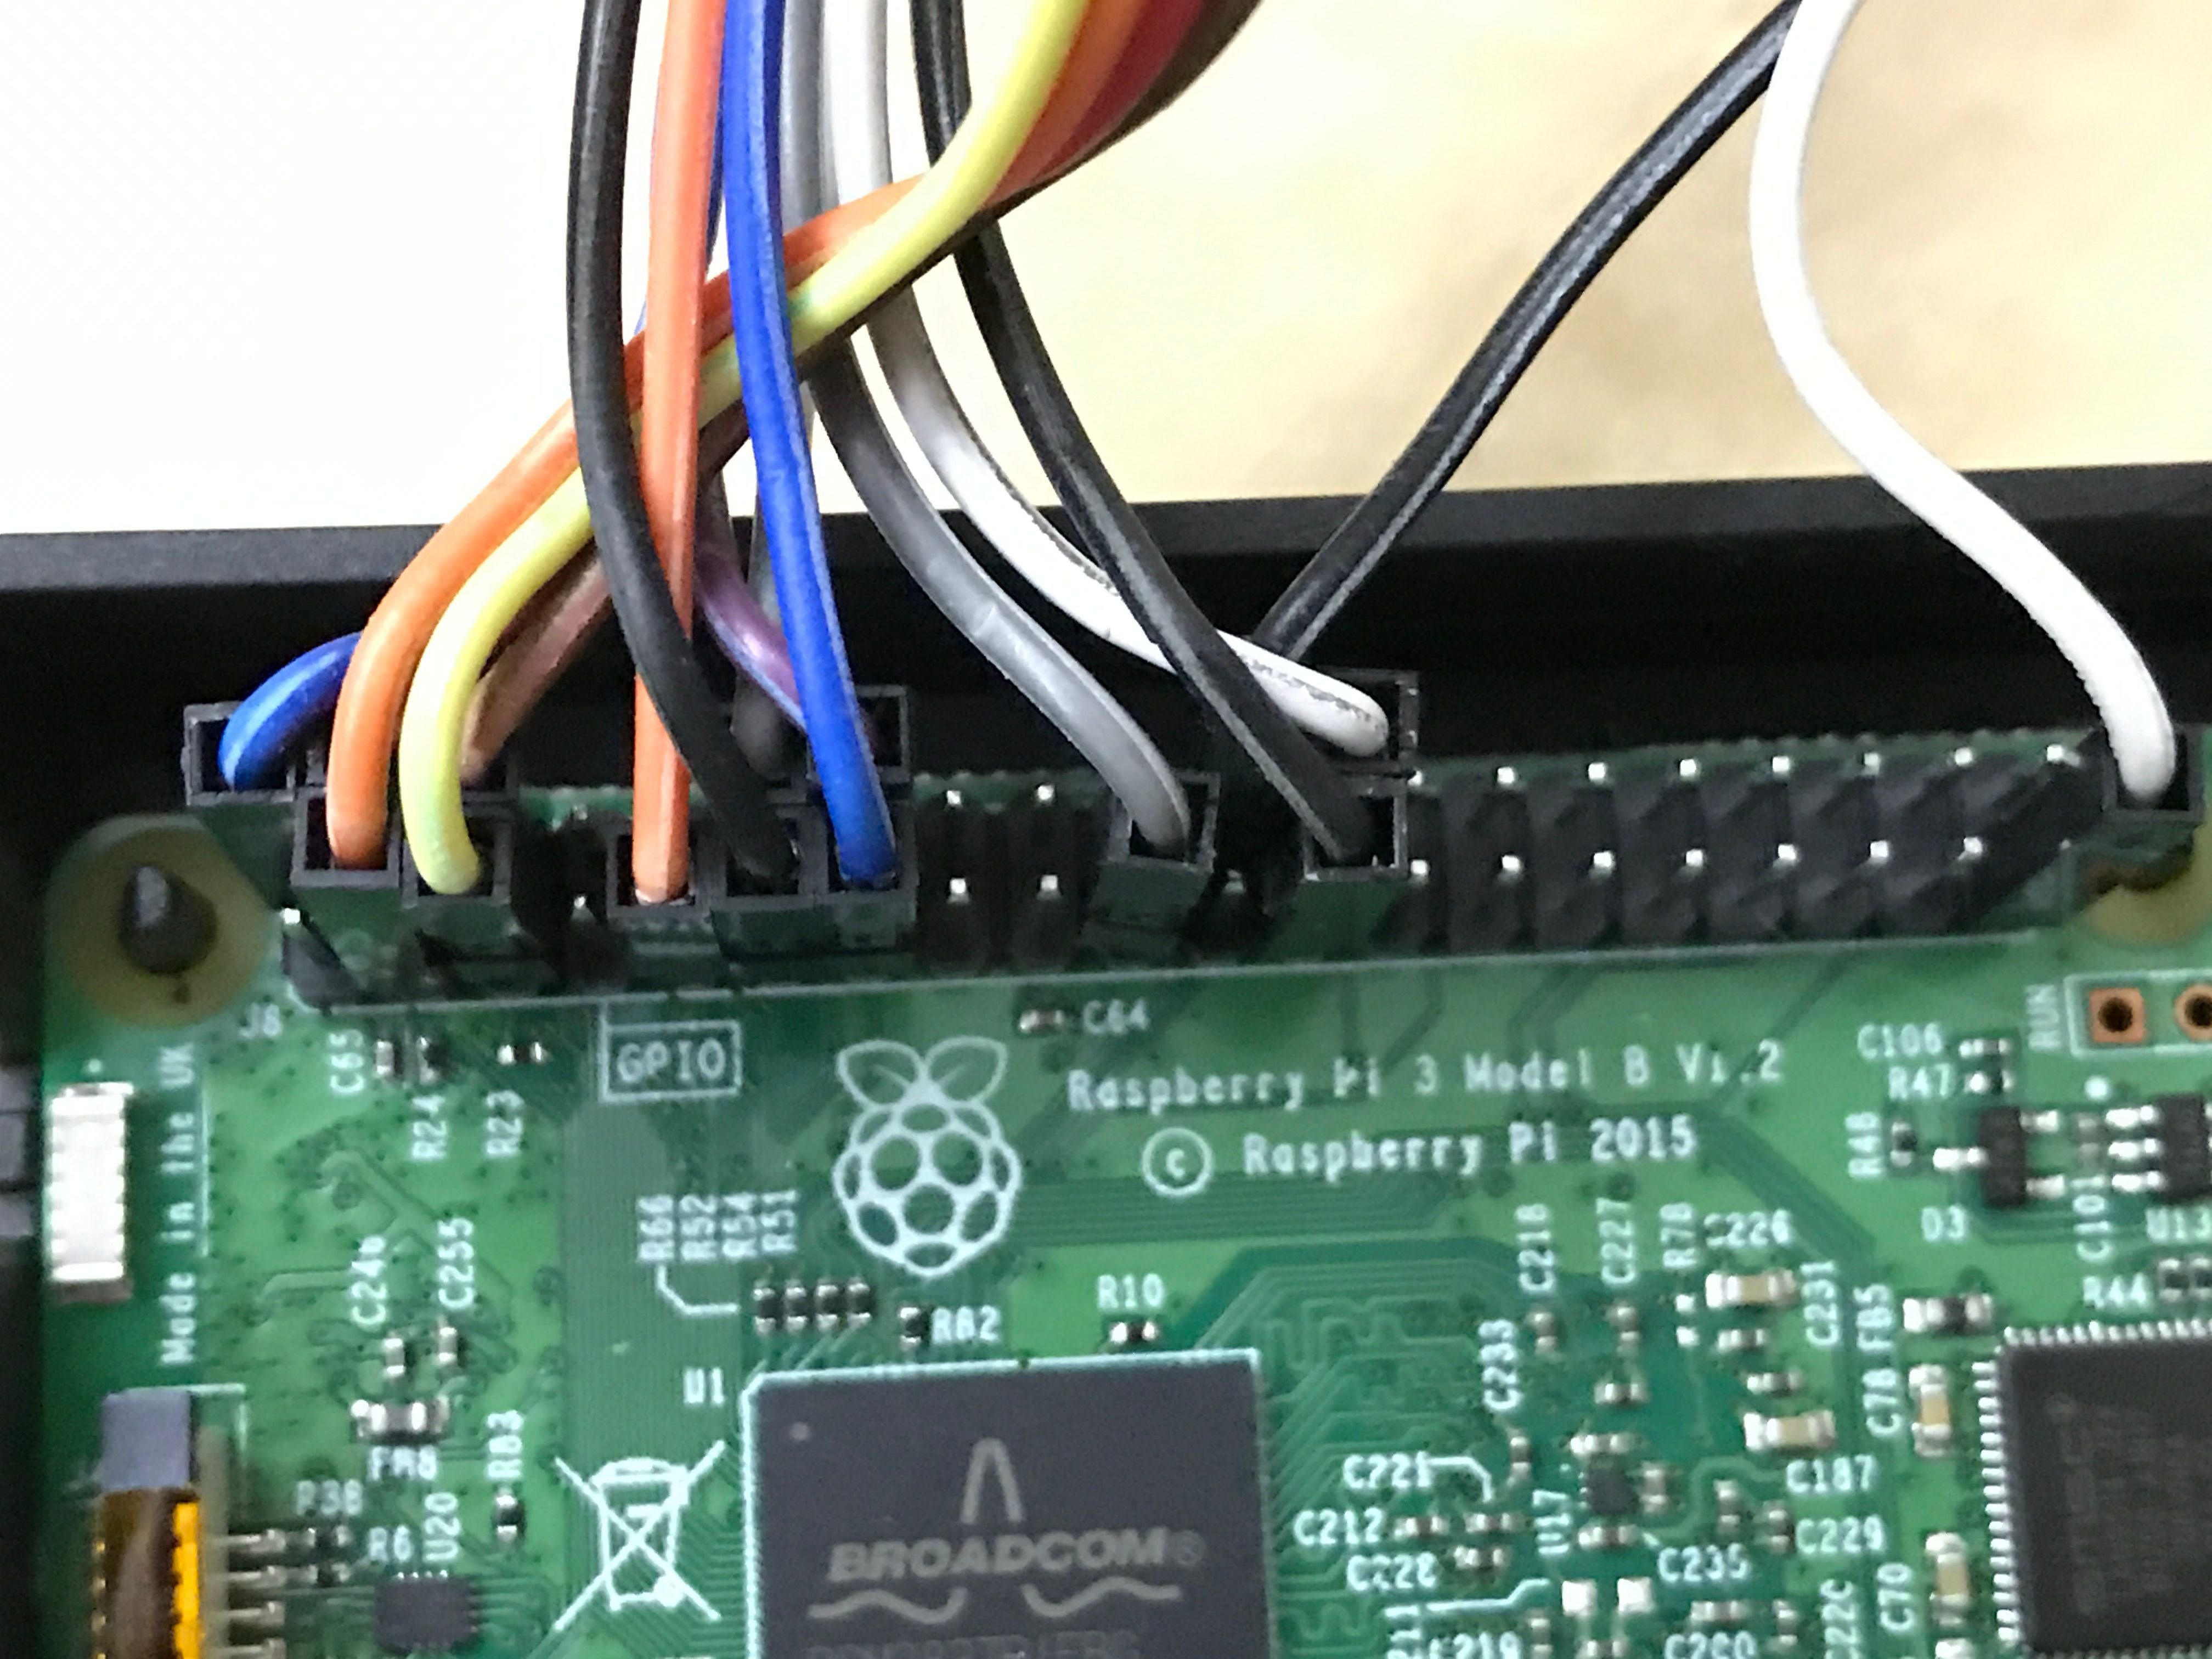
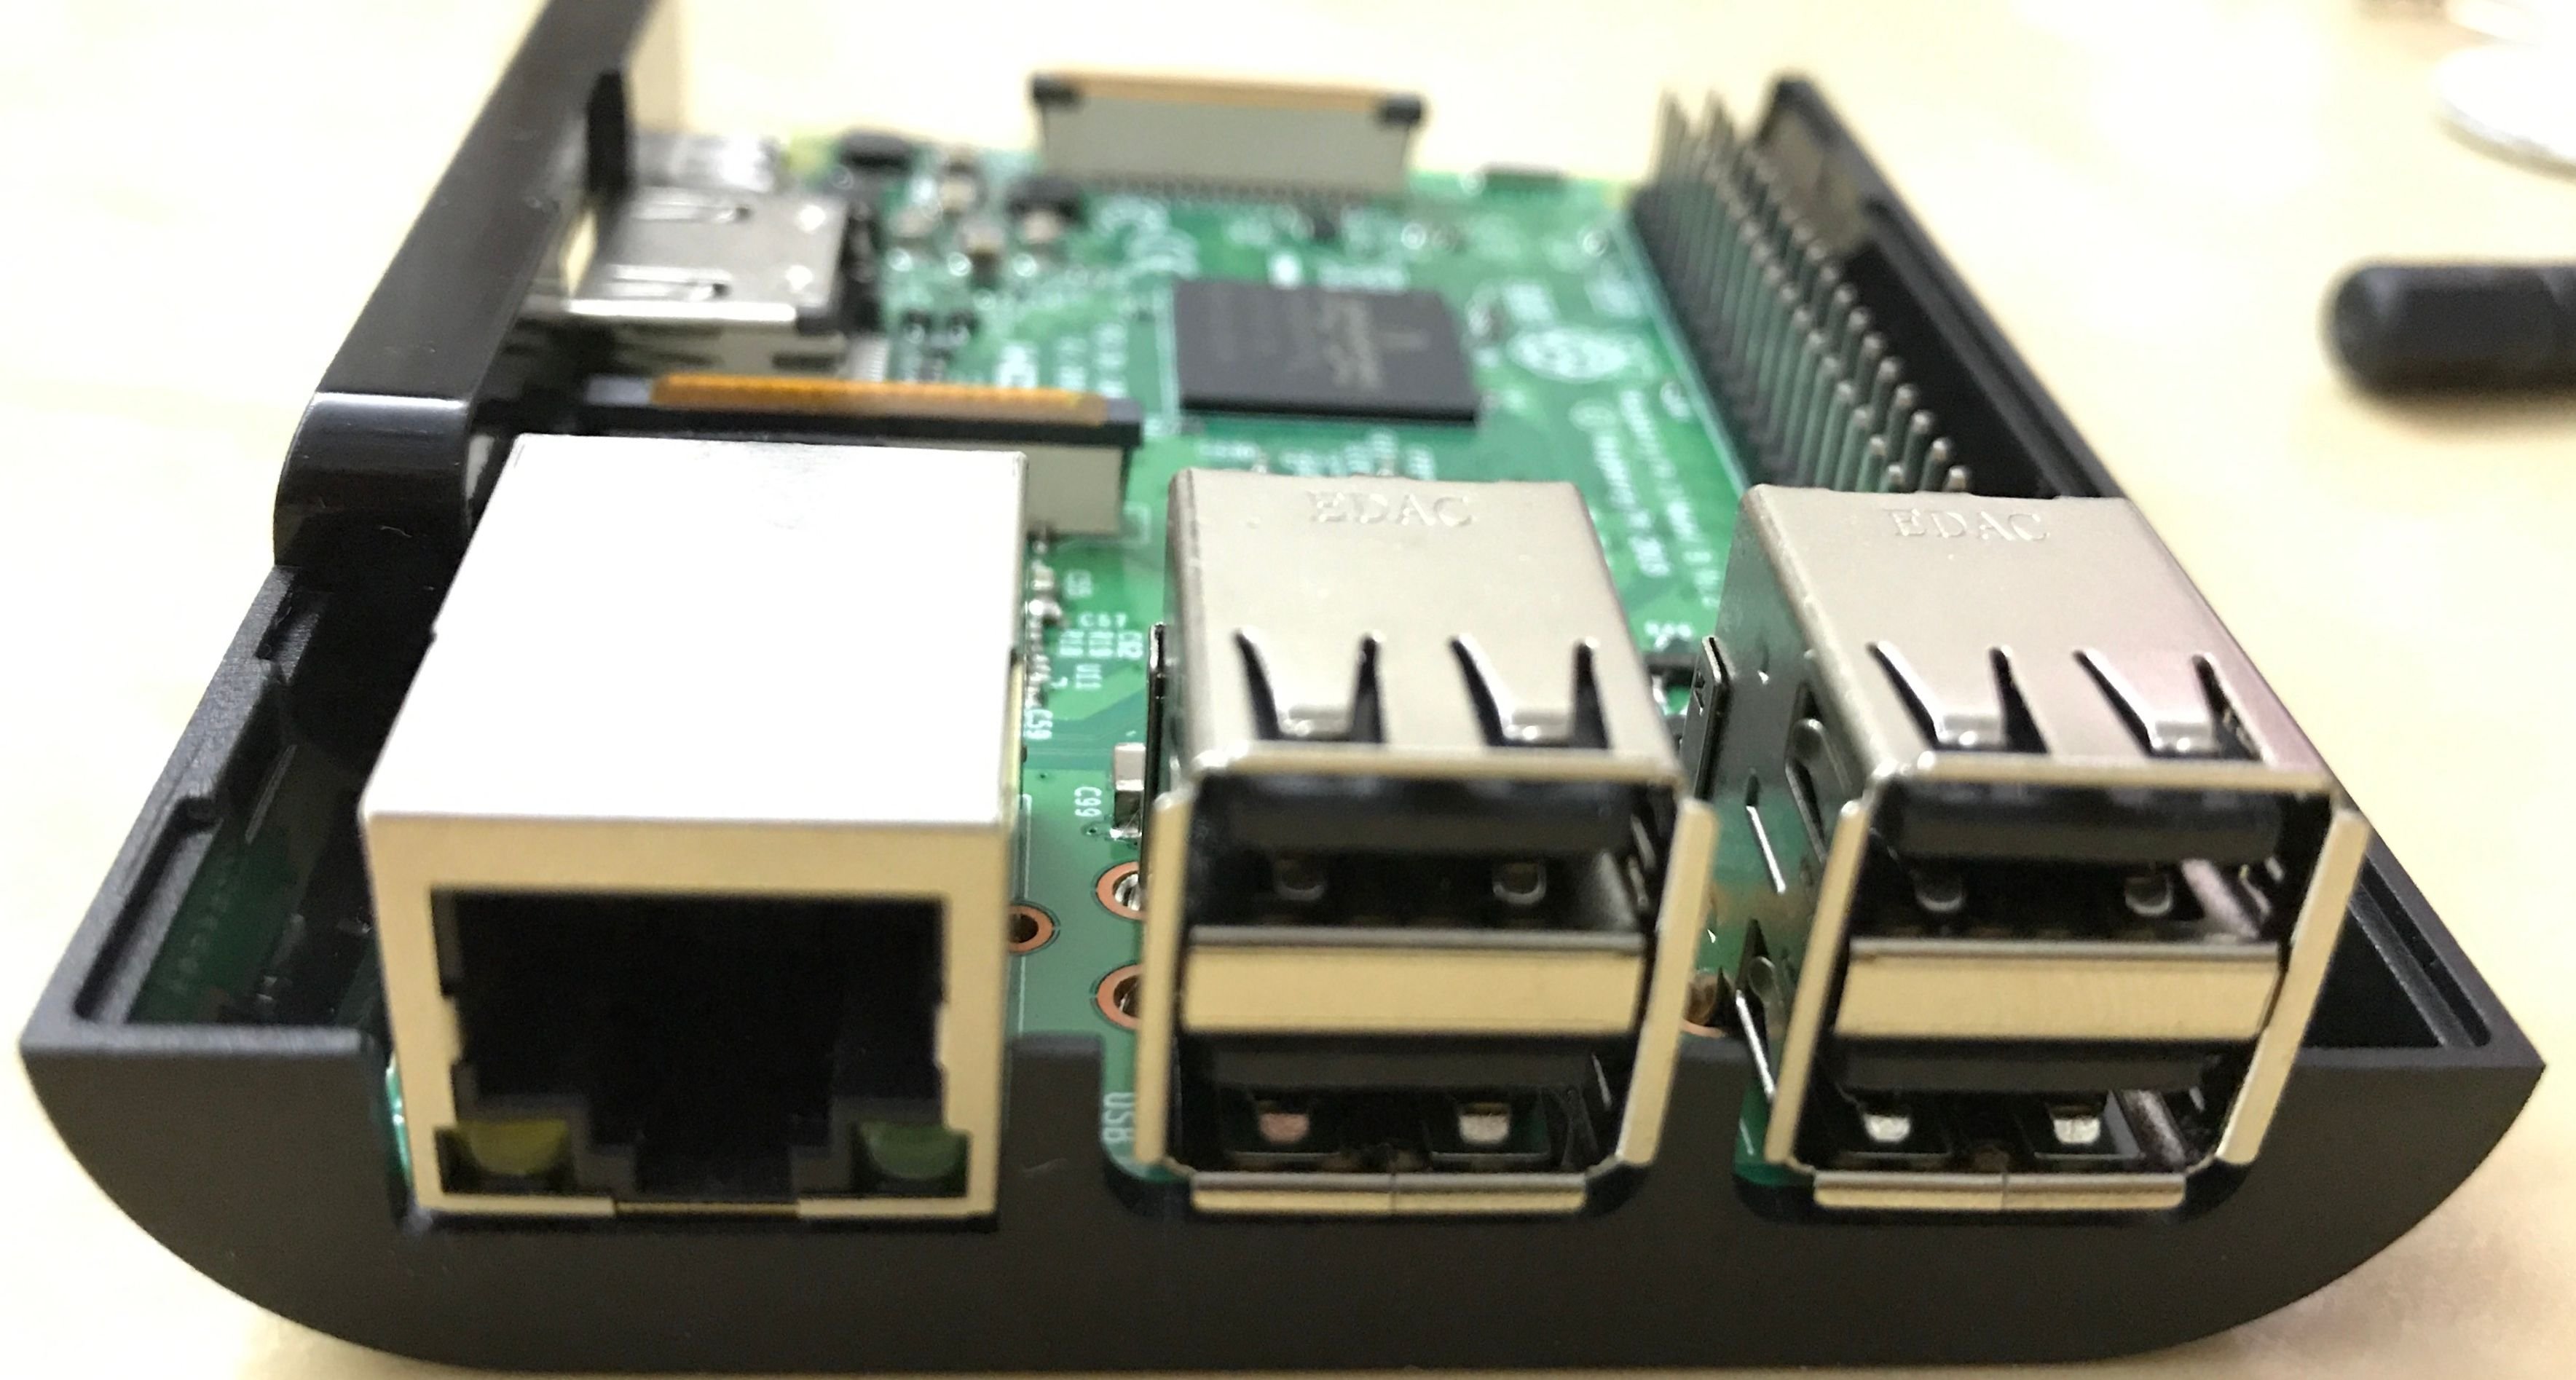
Then I connected the LED to PIN#9 and #11, which were GRD and GPIO0.
接下來我把這支LED接到第9和11針腳,亦即是GRD和GPIO0.
As there was some uncovered wires, to avoid accident (short circuit), I used a piece of paper to cover the Raspberry Pi before put the LED on it.
由於有暴露出來的電線,我就先放一張紙在樹莓派之上來隔開那LED,以防止短路。
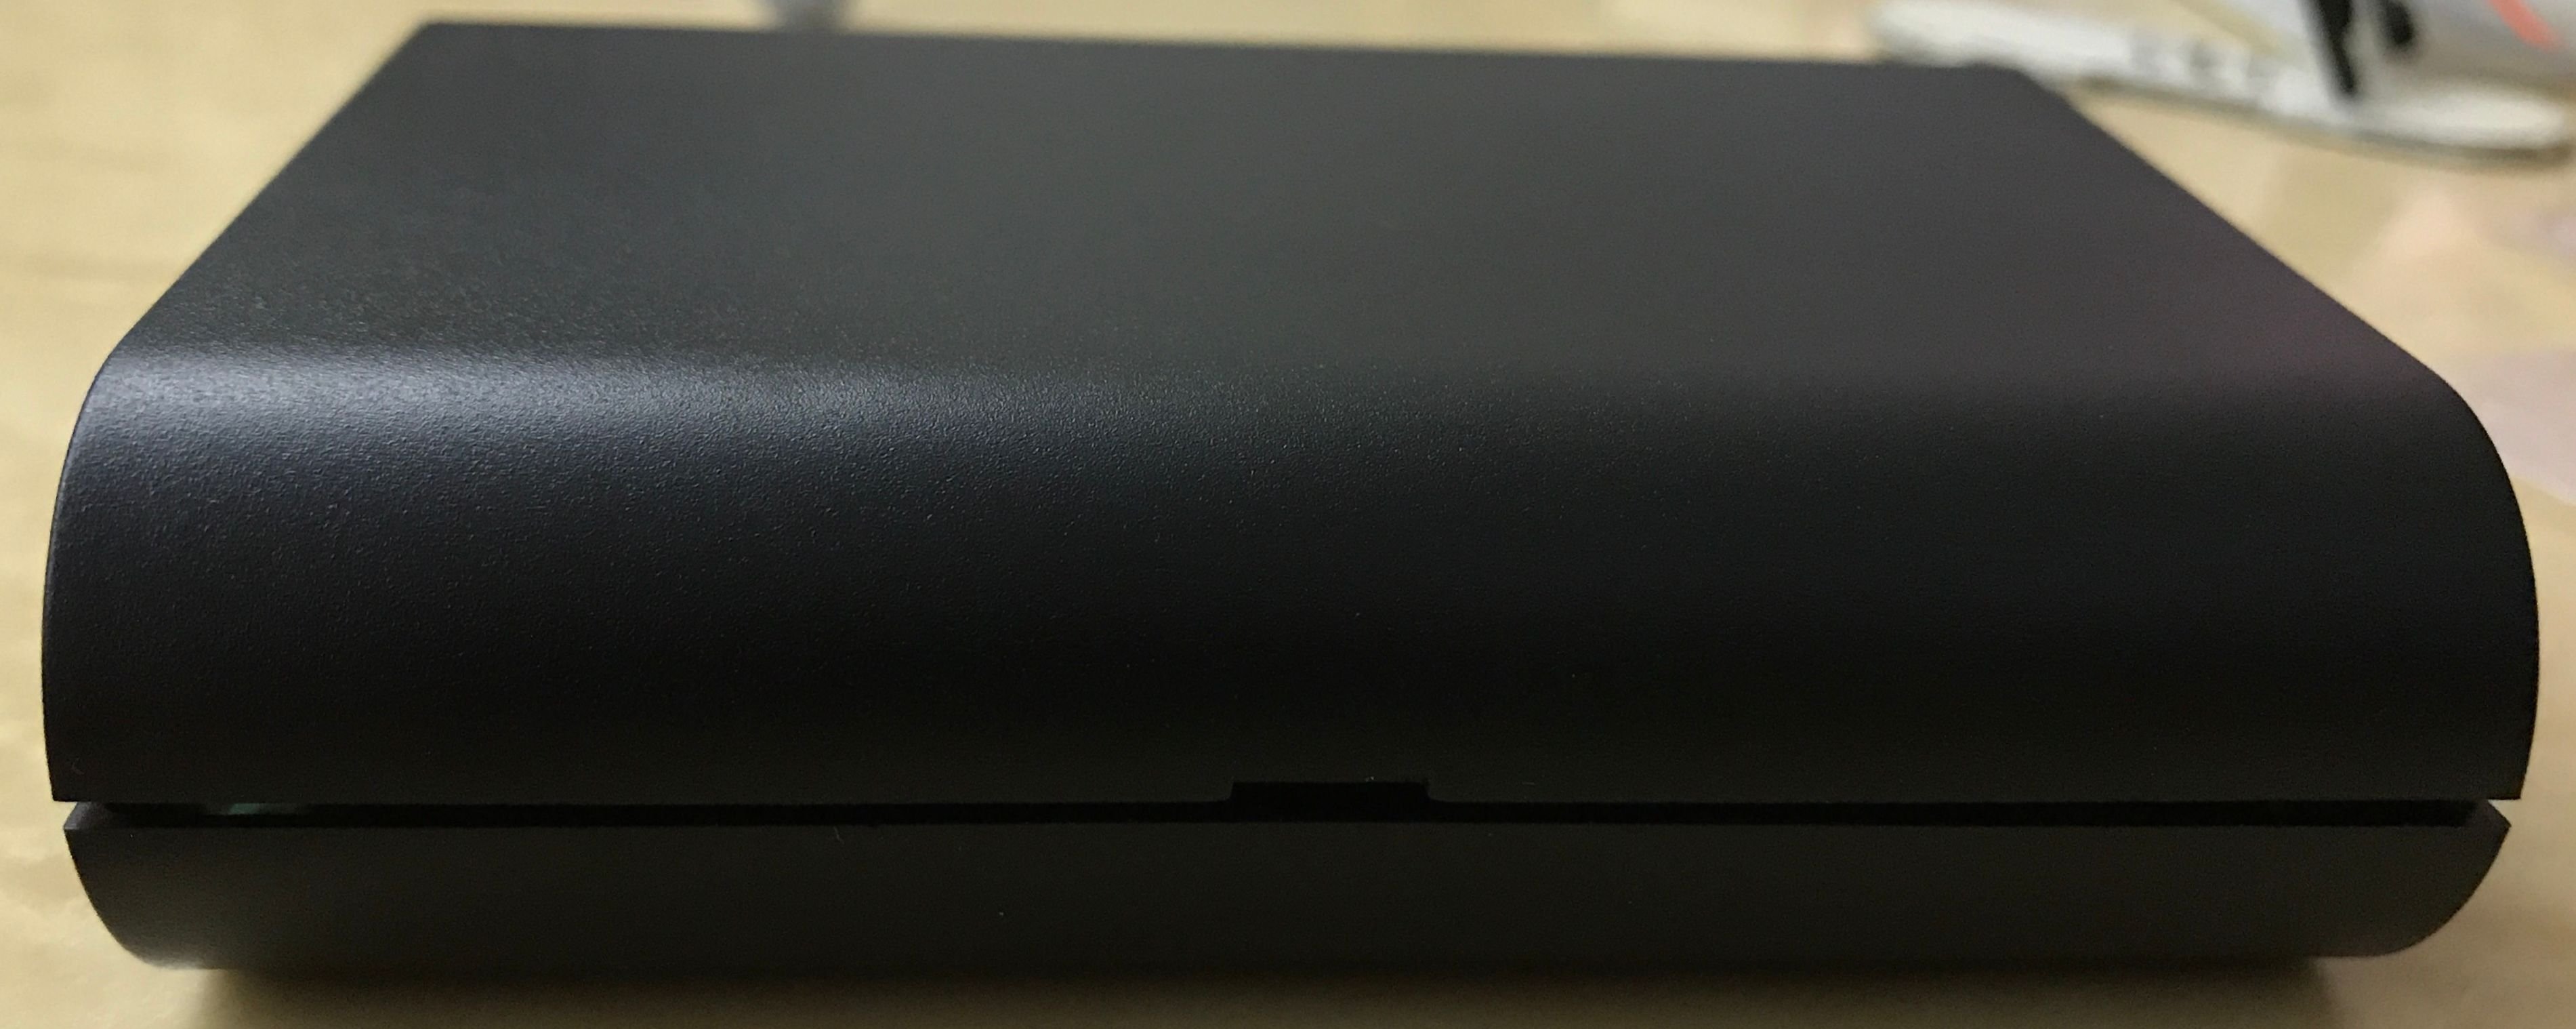
With the wires installed, the cover could not completely close. The screws helped a little bit thought.
因為插着電線的關係,盒子的蓋不能完全緊合,要靠螺絲釘來幫忙固定。
Let's see how it looked like in next post, stay tuned.
下回就讓大家看看效果如果,敬請留意!
請關注!點讚!轉發!
Please Follow! Upvote! Resteem!

Trial of Steempi v2 | 初試 Steempi v2
Raspberry Pi with 20x4 LCD - D.I.Y. Series (3) | 樹莓派 加上 20x4 液晶顯示 - 自己動手系列(3)
兼賣樹莓派的書店 | Bookstore that sold Raspberry Pi parts
樹莓派 3 開盒及初建分享 | Raspberry Pi 3 Open box and Setup