I have written a bit about my shortcuts in modelling before in this post
Today I will elaborate a bit how to skip the tedious part of planning and sculpting cloth (after having finally managed to find out how to do it right)
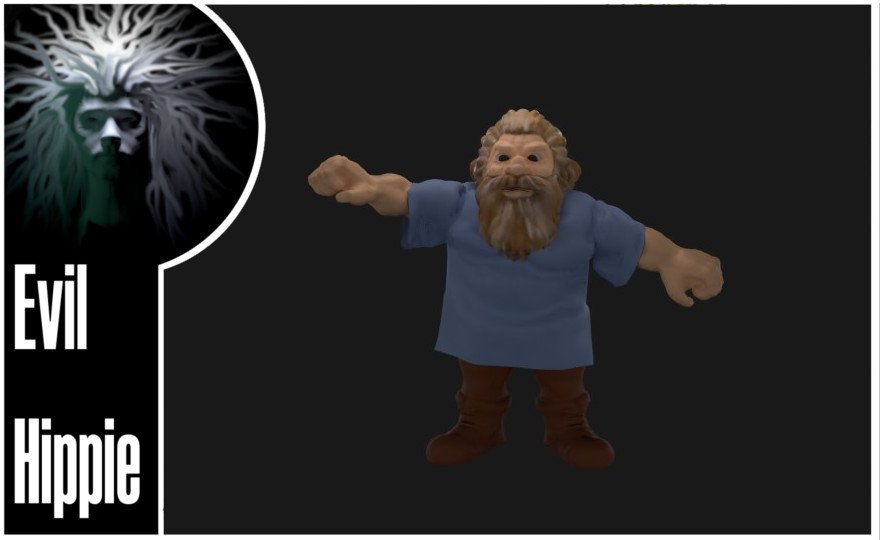
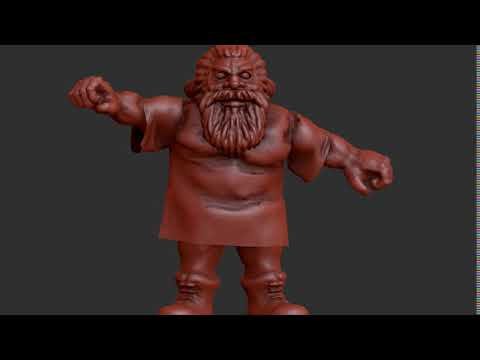
I will use my Dwarf model from earlier posts as an example, because I needed to have him clothed anyways.
part one: Sewing the cloth.
This is surprisingly like sewing real clothes in that you should make your model as you would cut out the fabric.
when the cloth model is made you must go to the physics panel and mark it as cloth. You must also remember to mark the figure that the cloth should interact with as a collision object. otherwize the cloth will just fall trough it.
Then select the cloth object, go in editmode, mark the seams (that is add all the vertices on the border to a vertex-group) Connect the vertices with edges (just like the string that would be used to sew it) then go into the cloth tab and tick the cloth sewing springs box. Set the spring force to 30, leave the rest untouched.
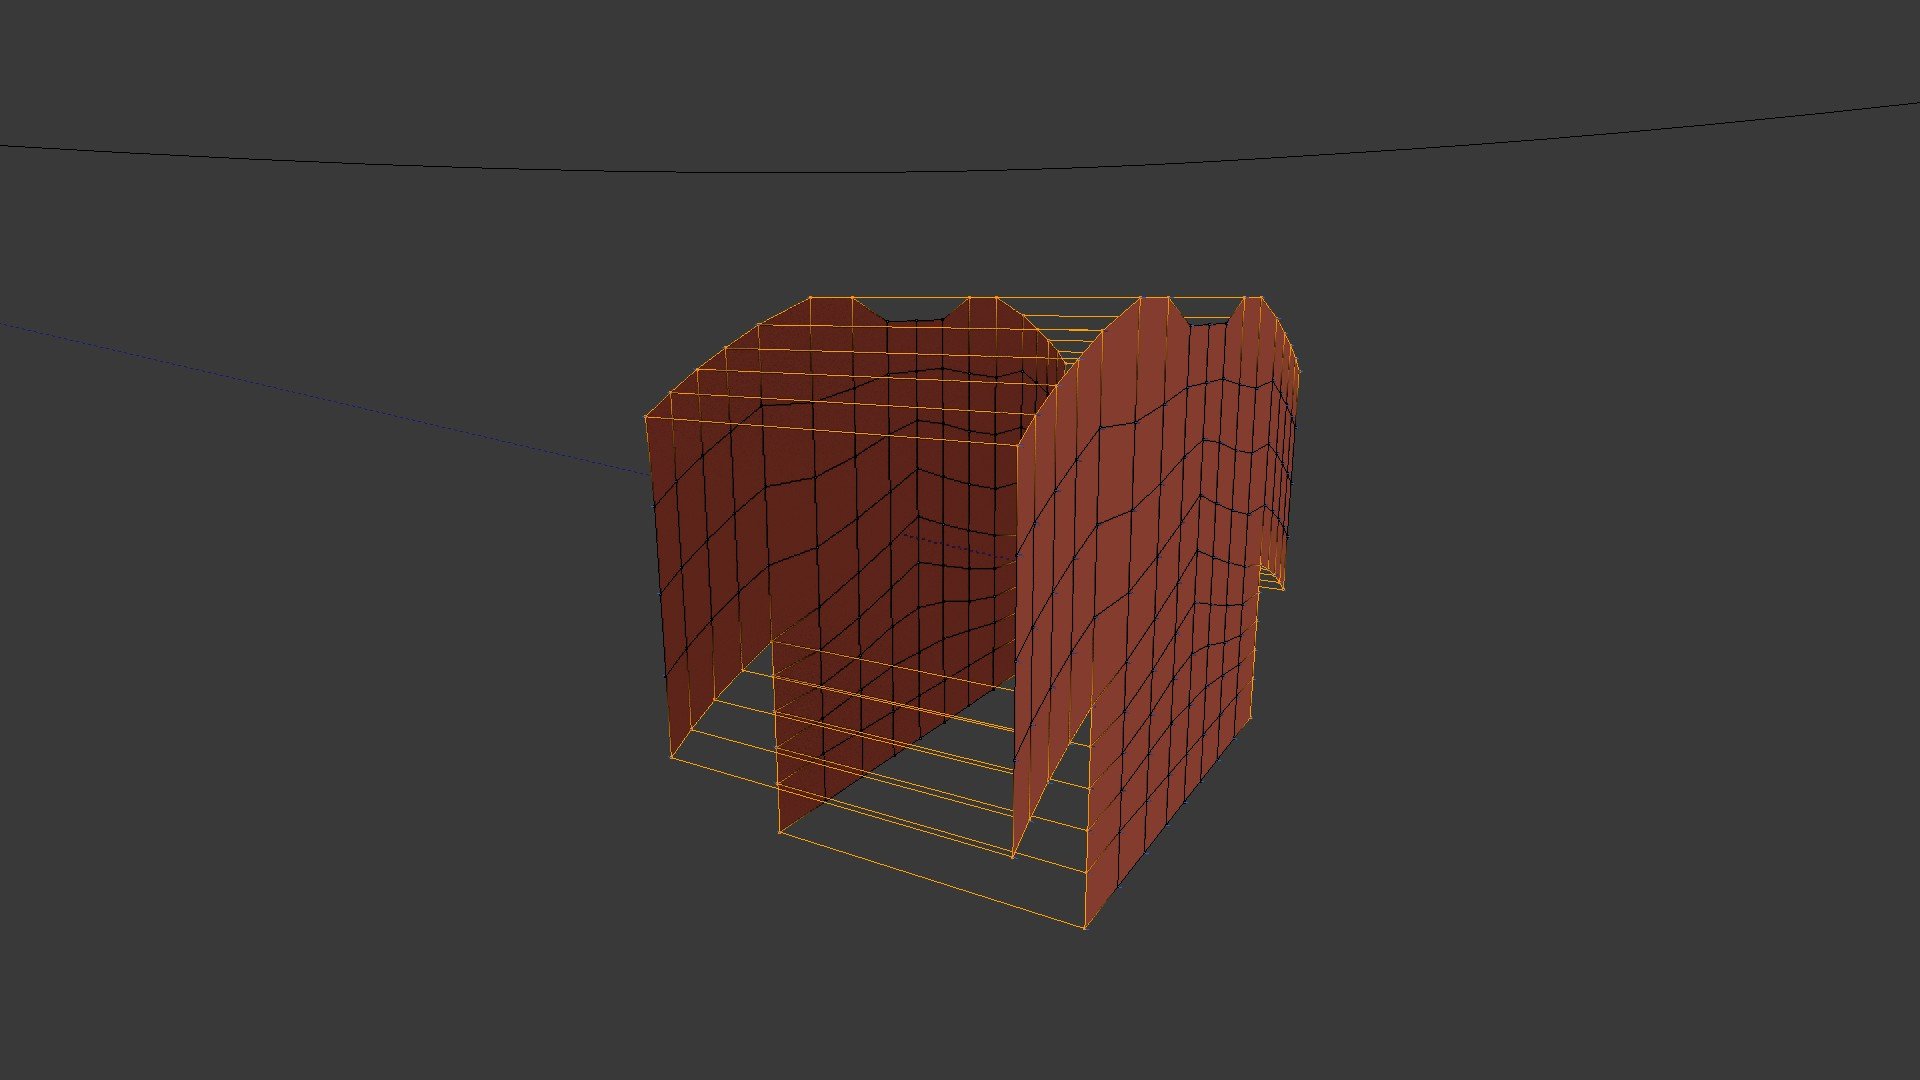
Now place the object in such a way that is placed around the body, and then run the simulation.
You should imagine the edges to be very strong elastics that will then pull the cloth in around the body.
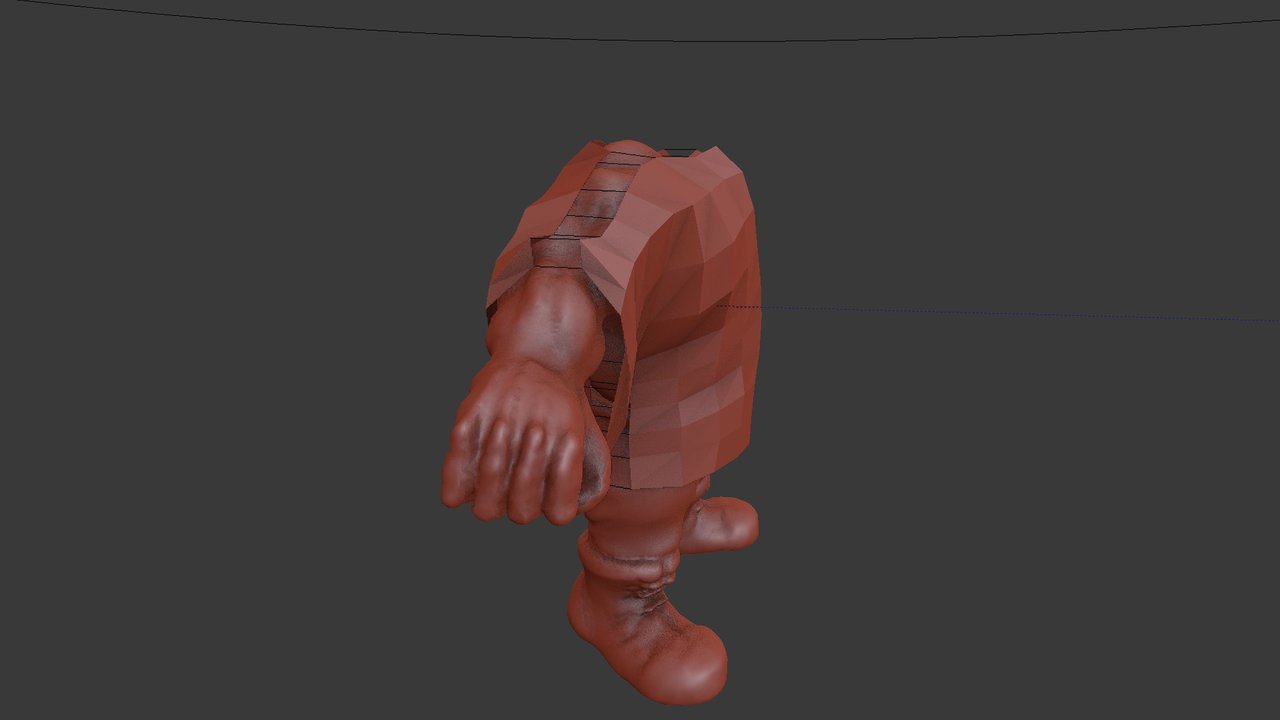
the result of this should be a fairly coarse blouse like this :
Apply the cloth modifier and go into edit mode once more.
now you are ready for part 2: fitting the clothing.

Choose all the seam vertices (easy in blender by just selecting them from the group tab) remove doubles, effectively fusing the seams. You may have to tweak the fusing distance a bit to make sure they are all fused, otherwize you will get a hole in the finished garment.
Now put a subdivision modifier on the mesh (2-3 subdivisions) and apply that too. choose simple as the interpolation method, to avoid the cloth going through the skin of the body. It will look weird in the beginning but we are going to run another cloth simulation, so it doesnt matter.
You can also make a new group for sewing springs. this is great for forcing the cloth to fall in interesting ways.
Think of it as elastics on the cloth, or tied ribbons. It is great for placing where a belt would be or around the place where the sleeves are sewn unto a blouse, as I have done here
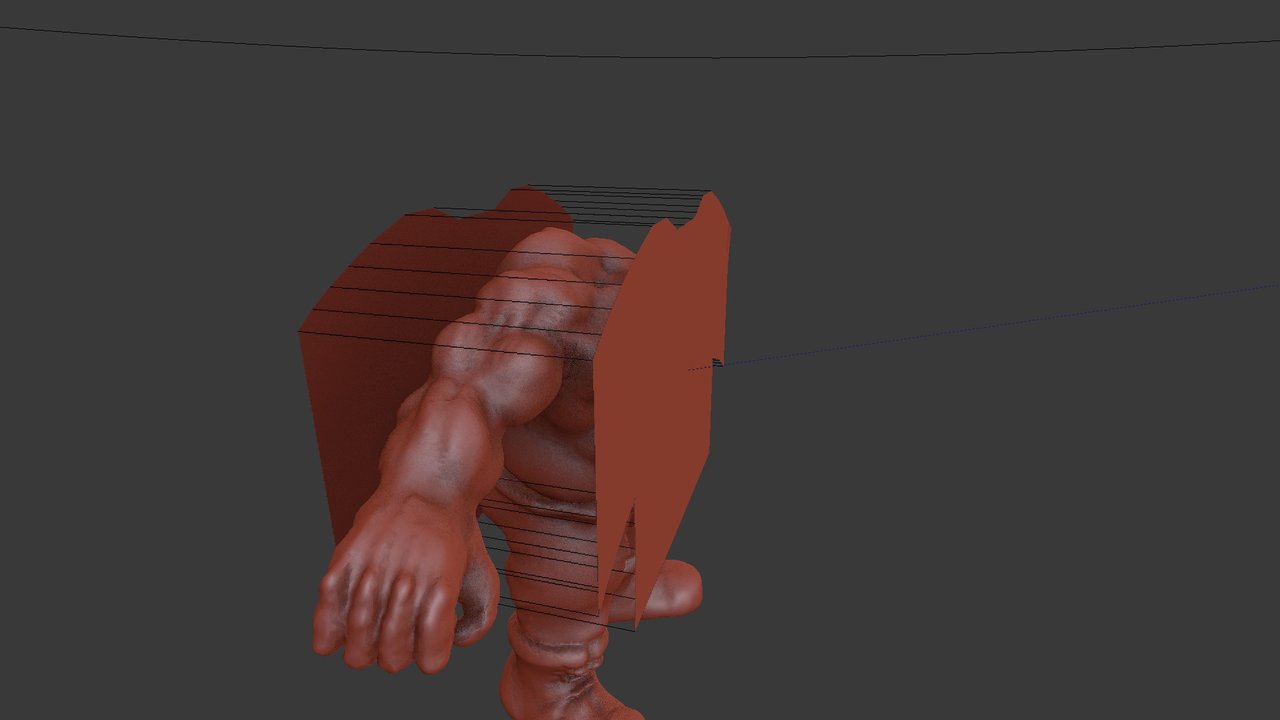
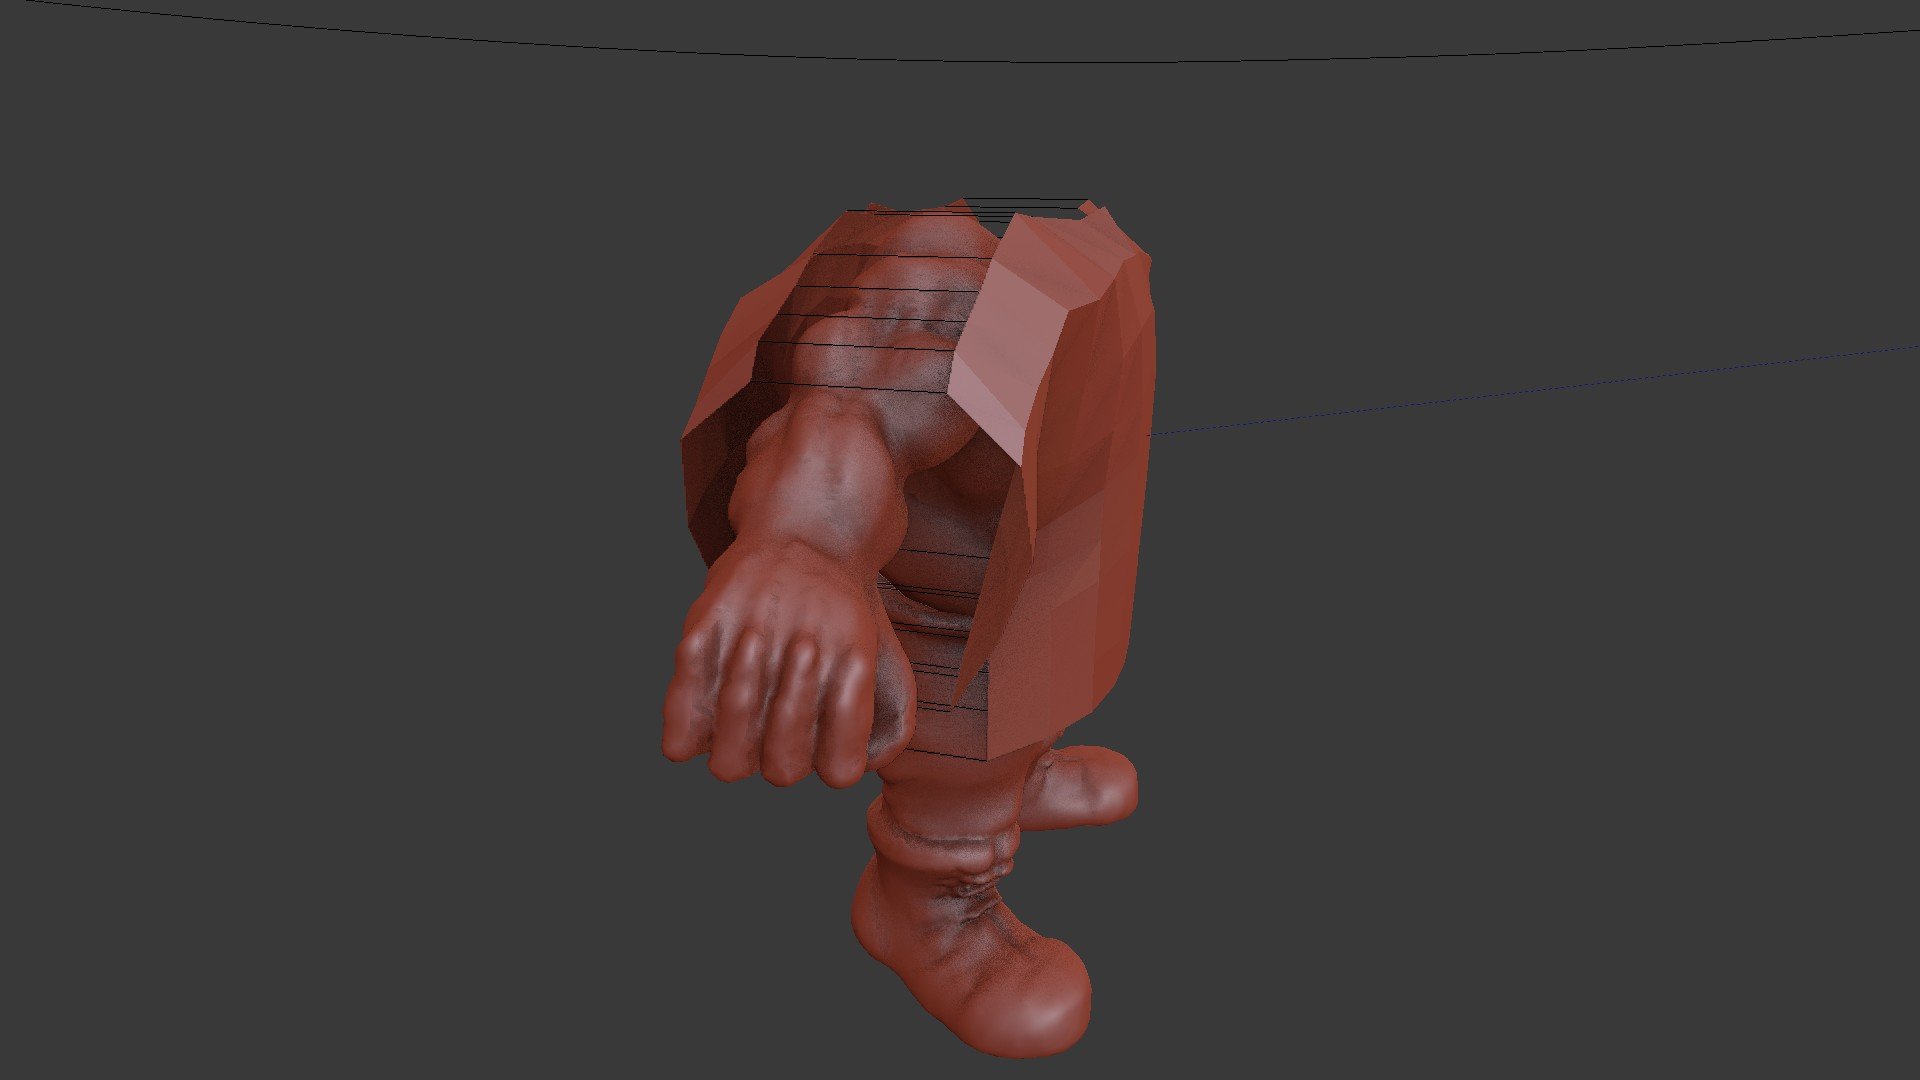
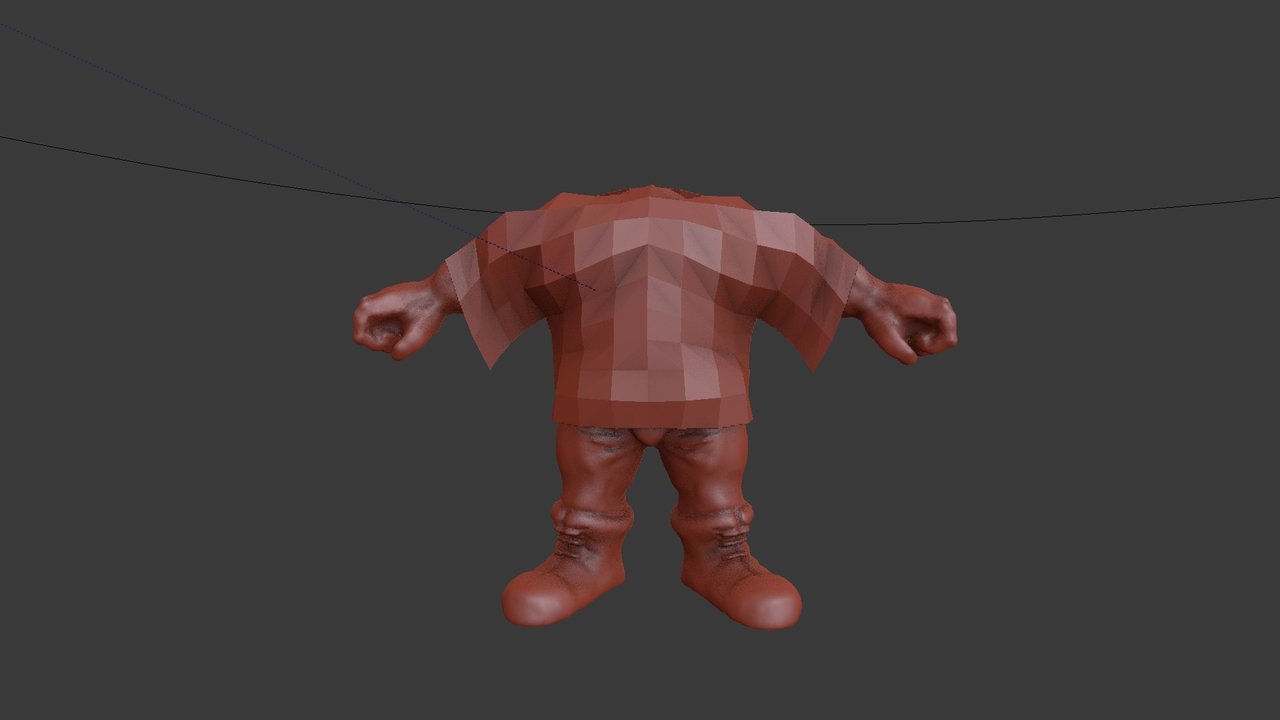
now add another cloth modifier to the (much more detailed) mesh. Let it run until it is resting. It is important to remember, when doing these simulations, that you need to start from frame 0 every time you make a change.
if you want a specific pose for the model. then choose the frame where the cloth is at rest. Insert keyframes for all bones in the rest position here. then move 20-30 frames forward and pose the figure. Then add keyframes in this new pose, run the simulation again from the beginning.
that will give you, first a natural cloth and then a natural pose with the cloth falling in such a way that it.
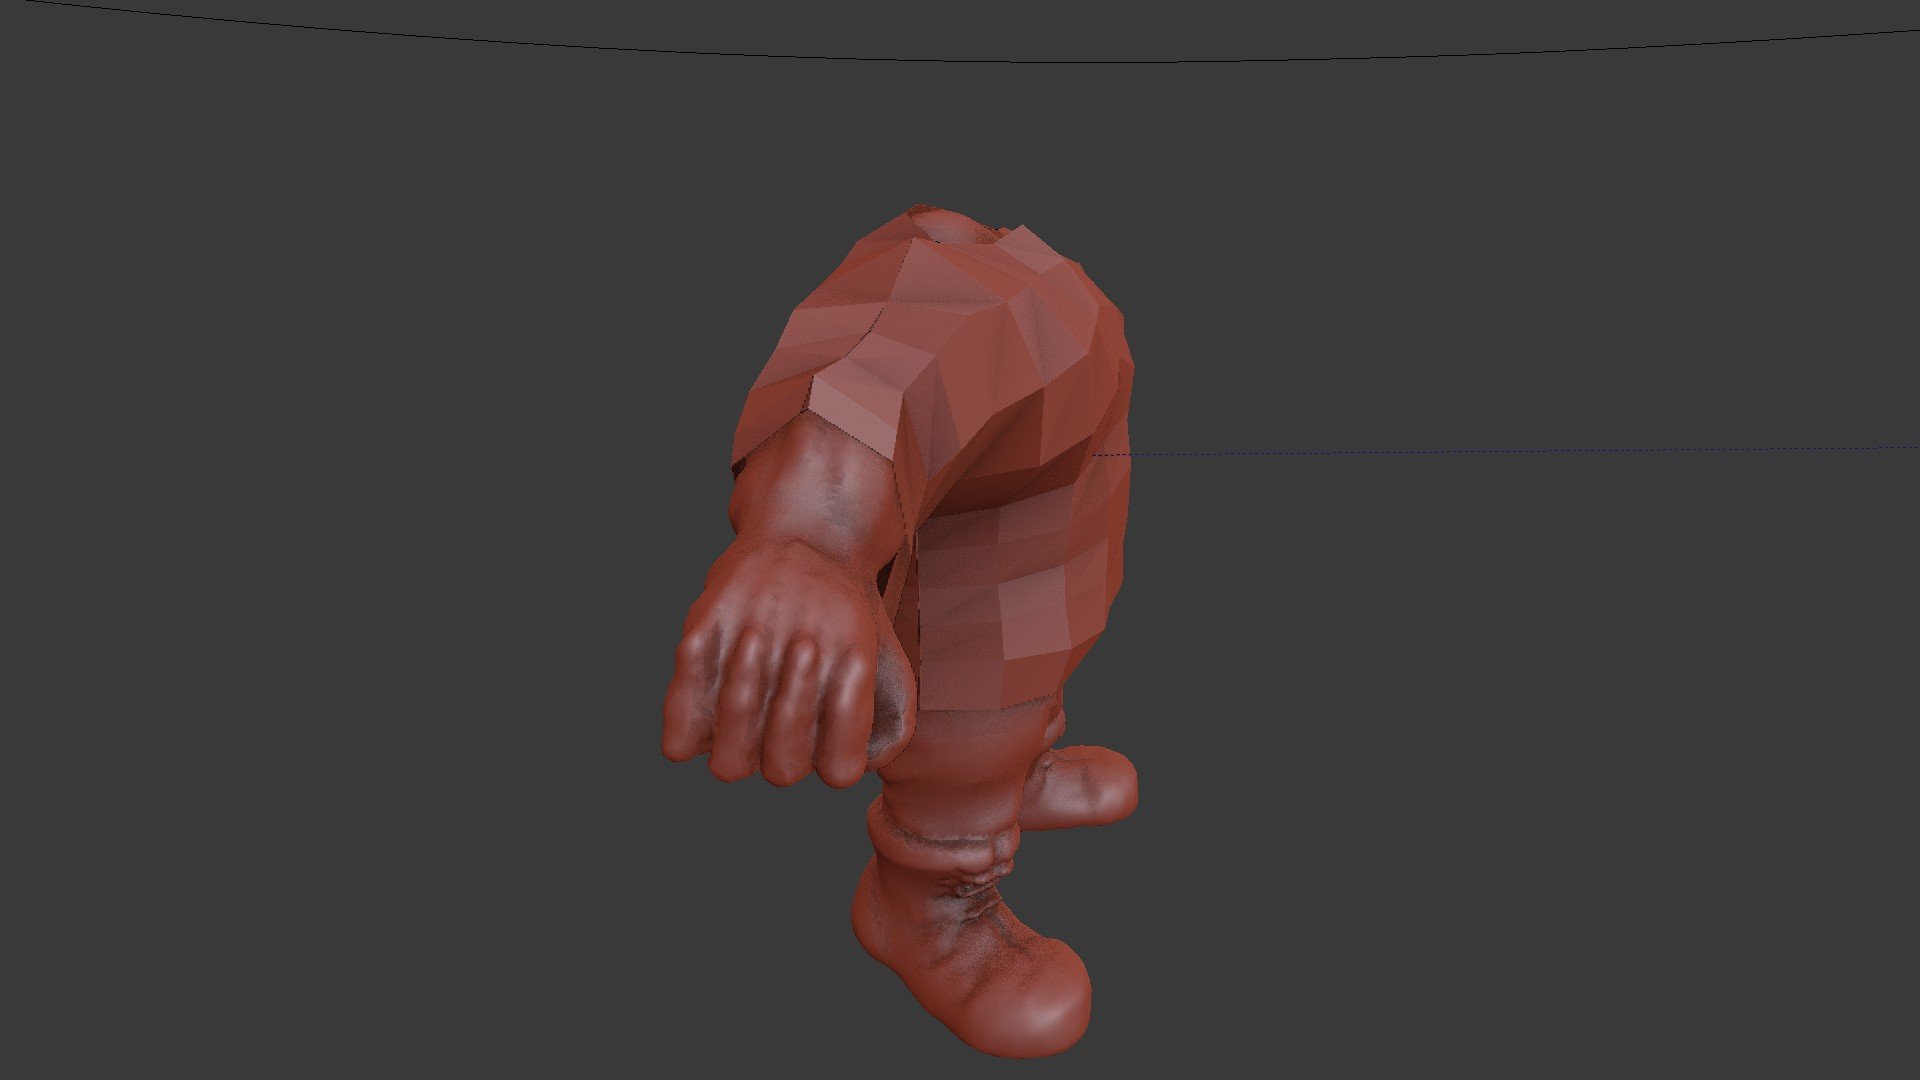
here you can se the result of the second simulation.
Now all that is left is to make the mesh "watertight" i do this by applying the cloth modifier(it is a good idea to save just before you do this and then work in another version of the file, since otherwise you wont be able to make another pose) choosing all the edge vertices in the neck, the sleeves and at the waist, and simple making a face to cover it. sometimes it takes a bit of fiddling but usually not to much.
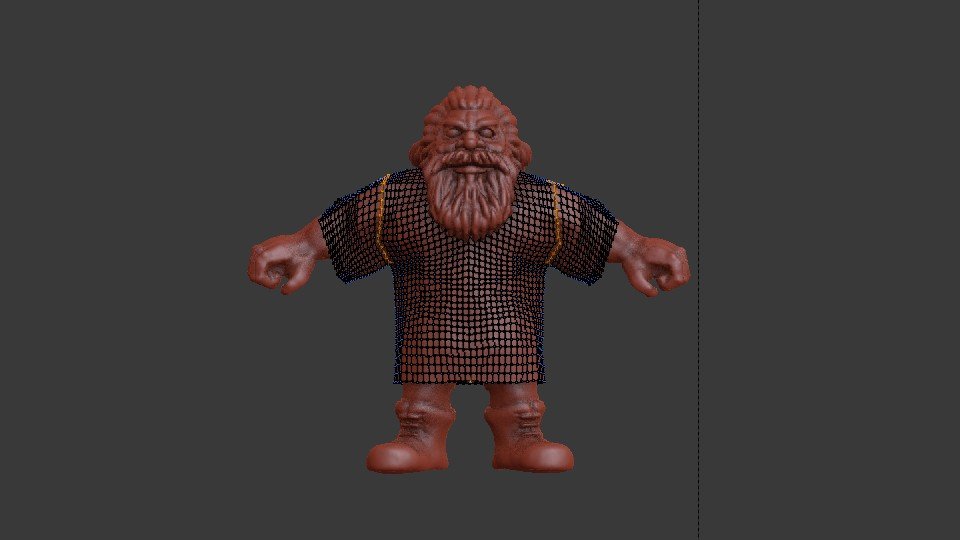
I find this to be a great , and comparatively fast way to make believable cloth on figurines . the really nice part is that afterwards it is possible to sculpt on the mesh to add more details or tweak it to look even better.
I have done some experimenting with doing this to fur/hair as well but I havent found an easy and foolproof way to make the hair printable afterwards. I am sure I will though and I imagine it can be use for smoke as well.
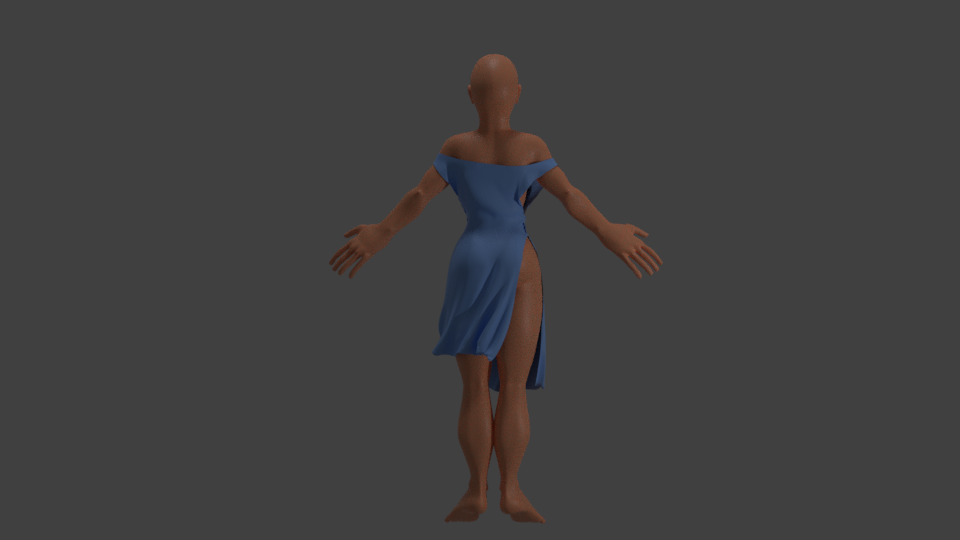
I made another nice cloth model for this female model as well:
Hope you like it and that this post may be helpful to some of you.

Im EvilHippie, a compulsive creative and jack o' trades. If you want to know more about me, check out my introduction post here
If you like what you see, feel free to upvote, follow and resteem
or you can check out these recent posts
Sindre animated
Brok and Sindre 2
Brok and Sindre 1
Dwarf
Inquisitor miniatures
Ratling
Myconid 3