Hay Steemers,
let’s continue our journey to a build environment for professional software development. In the last part 4.1, we put our example application that we developed in part 2 and part 3 under version control.
In this part, we continue to setup our Continuous Integration environment and add a Jenkins-CI Server to it. I will start by explaining what Continuous Integration (CI) is about and motivate the use of a CI-Server like Jenkins. At the end, we will setup our first automated build job!
But before we start, I want to loose some words about the topics of this tutorial series that are burning in my soul.
A comment to this topic
The company, which I am working for, hires a lot of working students and I have started my career as a working student too. So, as I know a lot of students and know myself, I think I am in the position to claim: Most of the IT-students (at least in Germany), have no idea about the things we are talking about in this tutorial series. But in times were every company wants to run their software in the cloud, do “devOps” (We may get later to this) or Continuous Deployment, the knowledge of this topics can make the difference between you and other applicants when it comes to a job.
What I want to say: If you plan to work as a software developer, you should put some effort in this topics.
Okay, now that I feel better, we can start by defining and motivating Continuous Integration.
Continuous Integration
Continuous Integration, or short CI, is a technique, that basically is about integrating the changes of each developer as often as possible, to make sure your product is working as expected. Below you can find the definition of Martin Fowler, who is one of the most known persons when we talk about software architecture:
Continuous Integration is a software development practice where members of a team integrate their work frequently, usually each person integrates at least daily - leading to multiple integrations per day. Each integration is verified by an automated build (including test) to detect integration errors as quickly as possible. Many teams find that this approach leads to significantly reduced integration problems and allows a team to develop cohesive software more rapidly.
The main target of this approach is the fast feedback. Imagine you are working on a feature for several days, but you don’t notice that your changes have huge impact on other parts of the product. When you have finished your part, you commit the changes to the version control and feel like you did a good job. But just some minutes later, you get called by your colleagues because you fucked up the hole project. You have to revert your changes and the work of the last days has been done for the trash can. This is not good for your personal motivation and also costs a lot of money, so we defiantly want to avoid this situation.
And yes, this technique becomes more useful when working in a team and maybe results in an overhead if you are working alone, but keep my introducing words in mind. You should use this technique even if you are working alone on your project, just to get some experience with it.
According to the definition, we have to provide the following systems and work flows to embed CI in our development process:
- A central place to store the software changes
- A system that can trigger a build when there are changes on the software
- The build has to do the following steps:
- Get the newest source code
- Compile the source code
- Execute the test cases
- Do a static code analysis
- Give feedback to the developers. (For example: After your commit, 2 test cases have failed. Please fix them)
We’ve already setup a central place to store the current version of your software in the last part: GitHub! So we can continue with the next point from the list: A system that can trigger builds for us, when there are changes on the source code. Those kind of systems are called CI-Servers.
Jenkins – The most common CI-Server
One of the most common products is Jenkins. As it is open source and can be extended by hundreds of plugins, you will meet this product in nearly all companies.
To show you how to work with Jenkins, we will use Docker to setup our own Jenkins Server on our local machine. If you need some introduction and basics about Docker, you could have a look at part 5.1 and part 5.2 of this tutorial.
Our own Jenkins-Server started with Docker
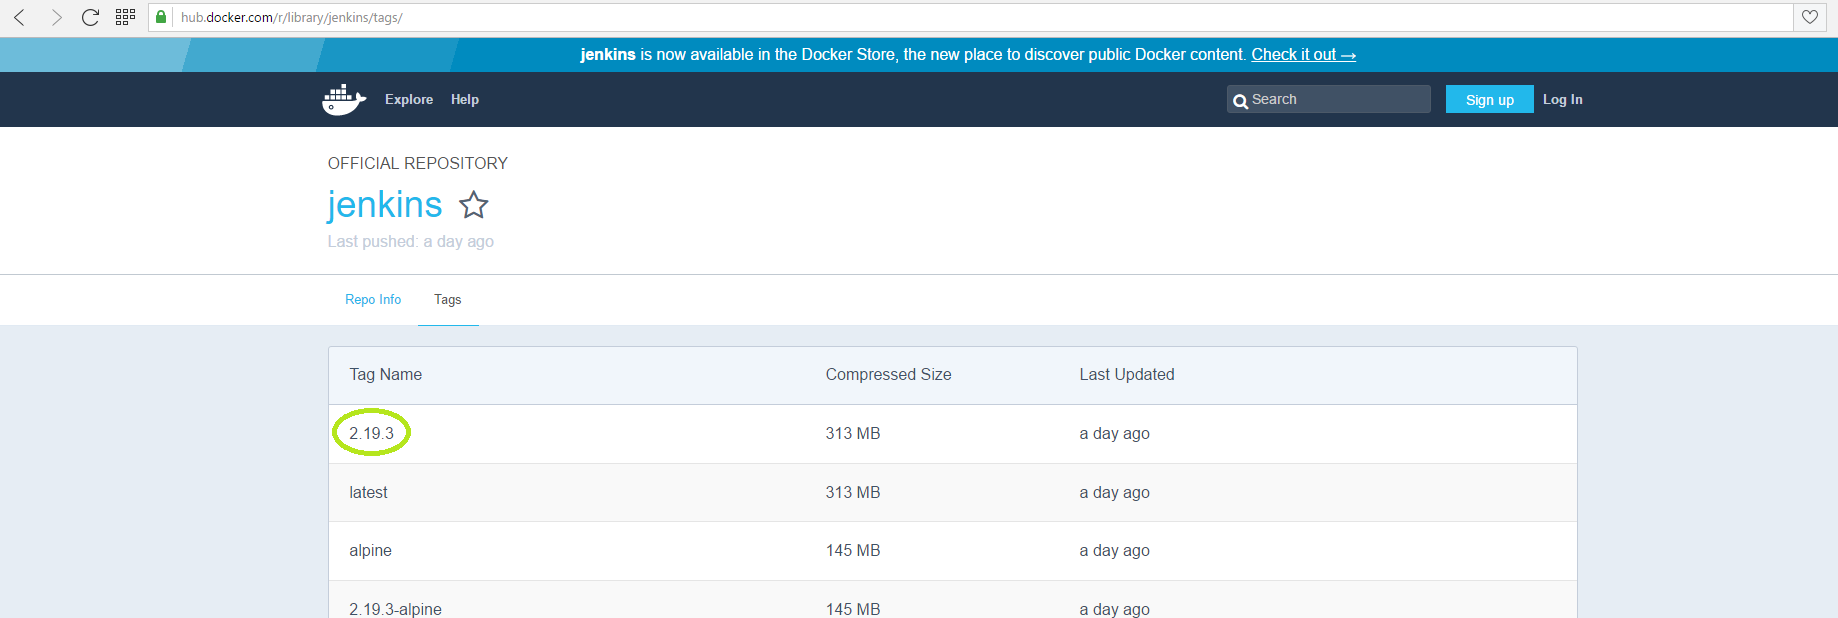
Jenkins provides official Docker images that we can simply run to start our own Jenkins-CI-Server. I’ve just searched for Jenkins at the Docker-Hub and took the latest version:
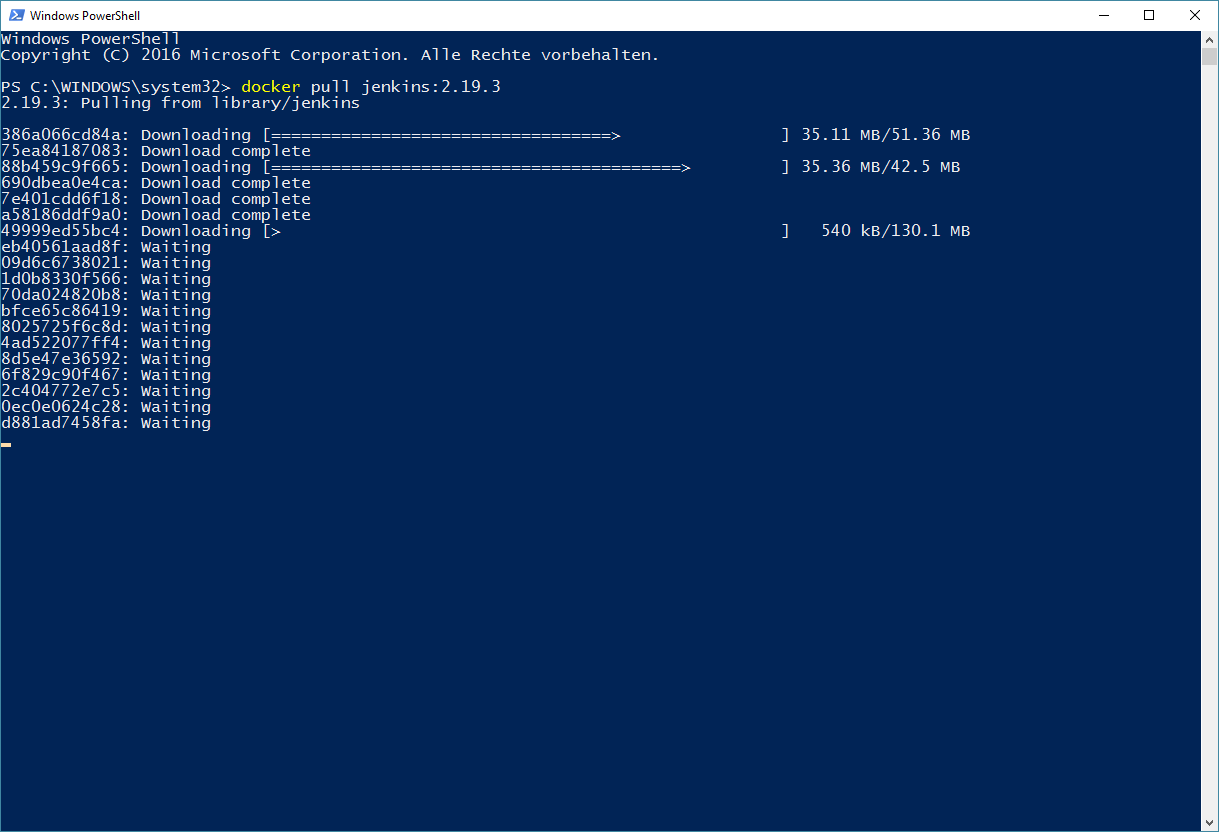
If you’ve never used an image before, Docker will download all needed layers, like you can see on the following Screenshot:
According to the documentation for this Image on Docker-Hub, we start the container with the following command:
docker run --name myjenkins -p 8080:8080 -p 50000:50000 -v {PATH_TO_LOCAL_FILESYSTEM}:/var/jenkins_home jenkins:2.19.3
Some additional info: The “-v” parameter defines a volume. As you may now or read in part 5 of this tutorial series, Container will lose their data if you restart them. We do not want to loose the configuration that we are going to do, so we just tell Docker: “Please store the files of /var/jenkins_home on your local HDD and use the files when we restart the container”.
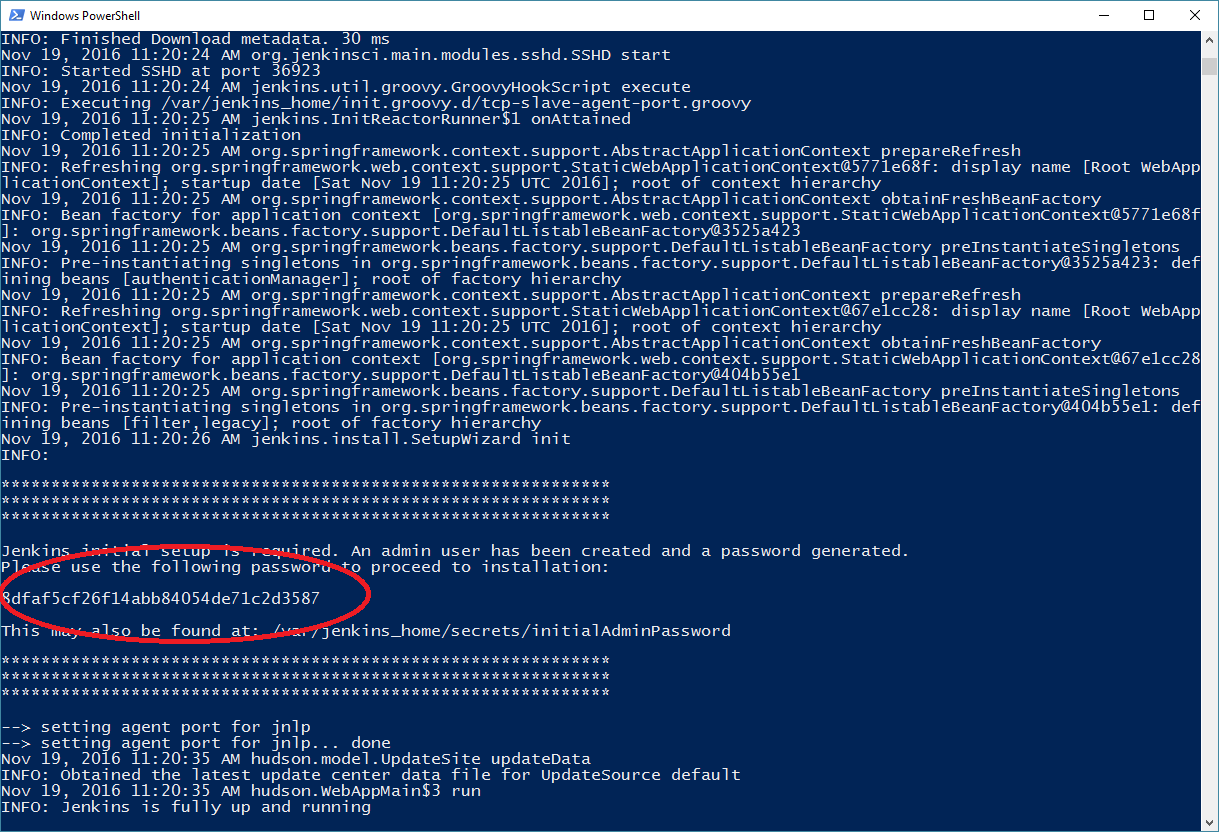
Just give Jenkins some time to start. You should then see the following output:
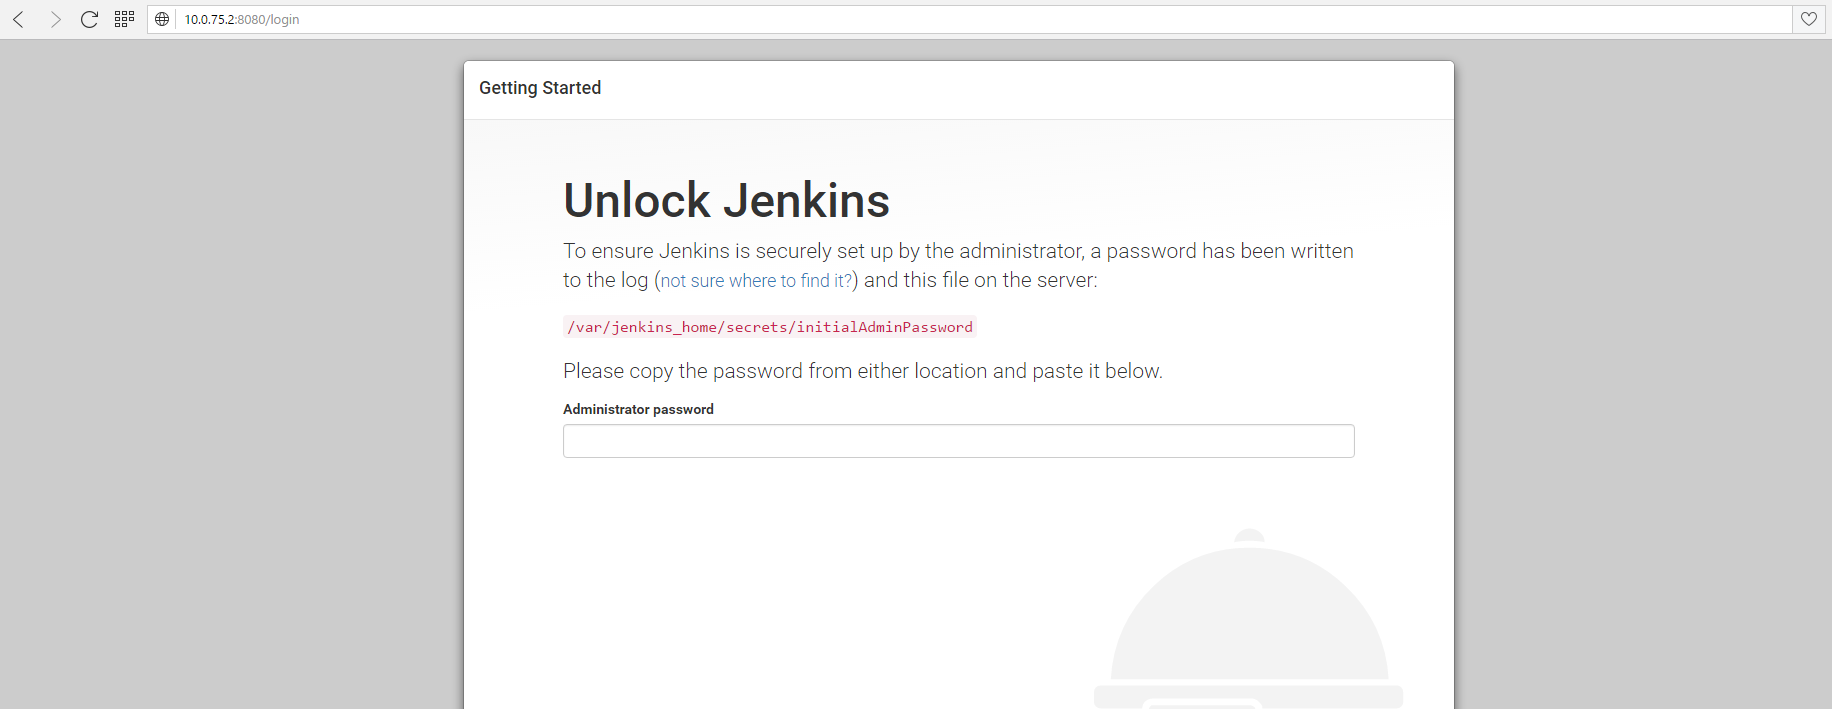
This password is needed to access the Jenkins-Server for the first time, so please copy it. Now enter the IP of your Docker-Host into the browser and add the port 8080 (We defined this one in the docker run command) and you should see the following dialog:
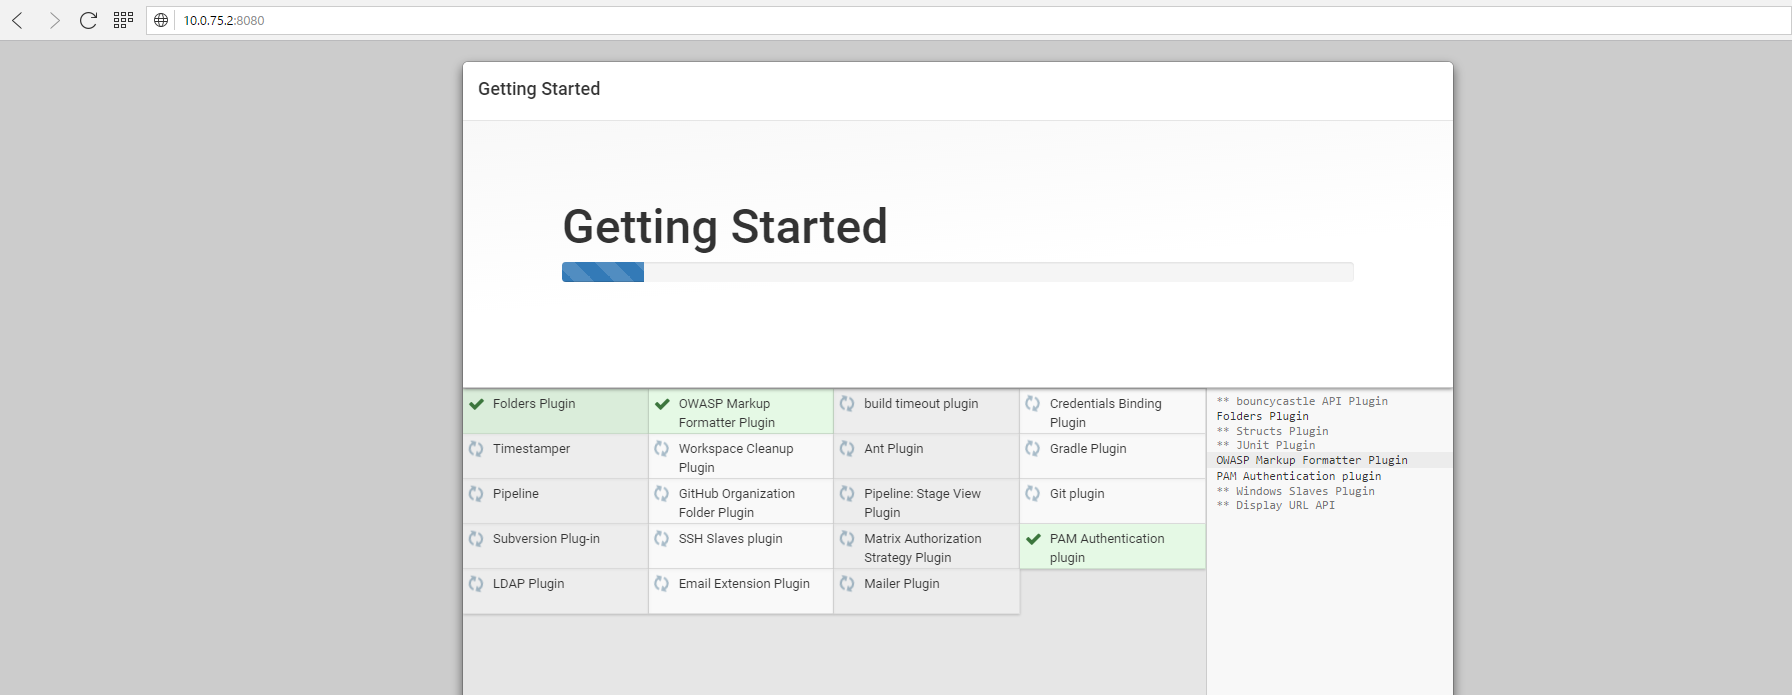
Enter the code you’ve copied before into the text field and press next. On the upcoming dialog press “Install suggested plugins” which contains all the plug-ins we will need for this tutorial series.
After the installation is done, you only have to create the admin user and than you should finally see the normal web interface of our Jenkins-Server.
That was pretty easy, wasn’t it? We will close this part of the tutorial series by creating our first and simple job.
Our first Jenkins-Job
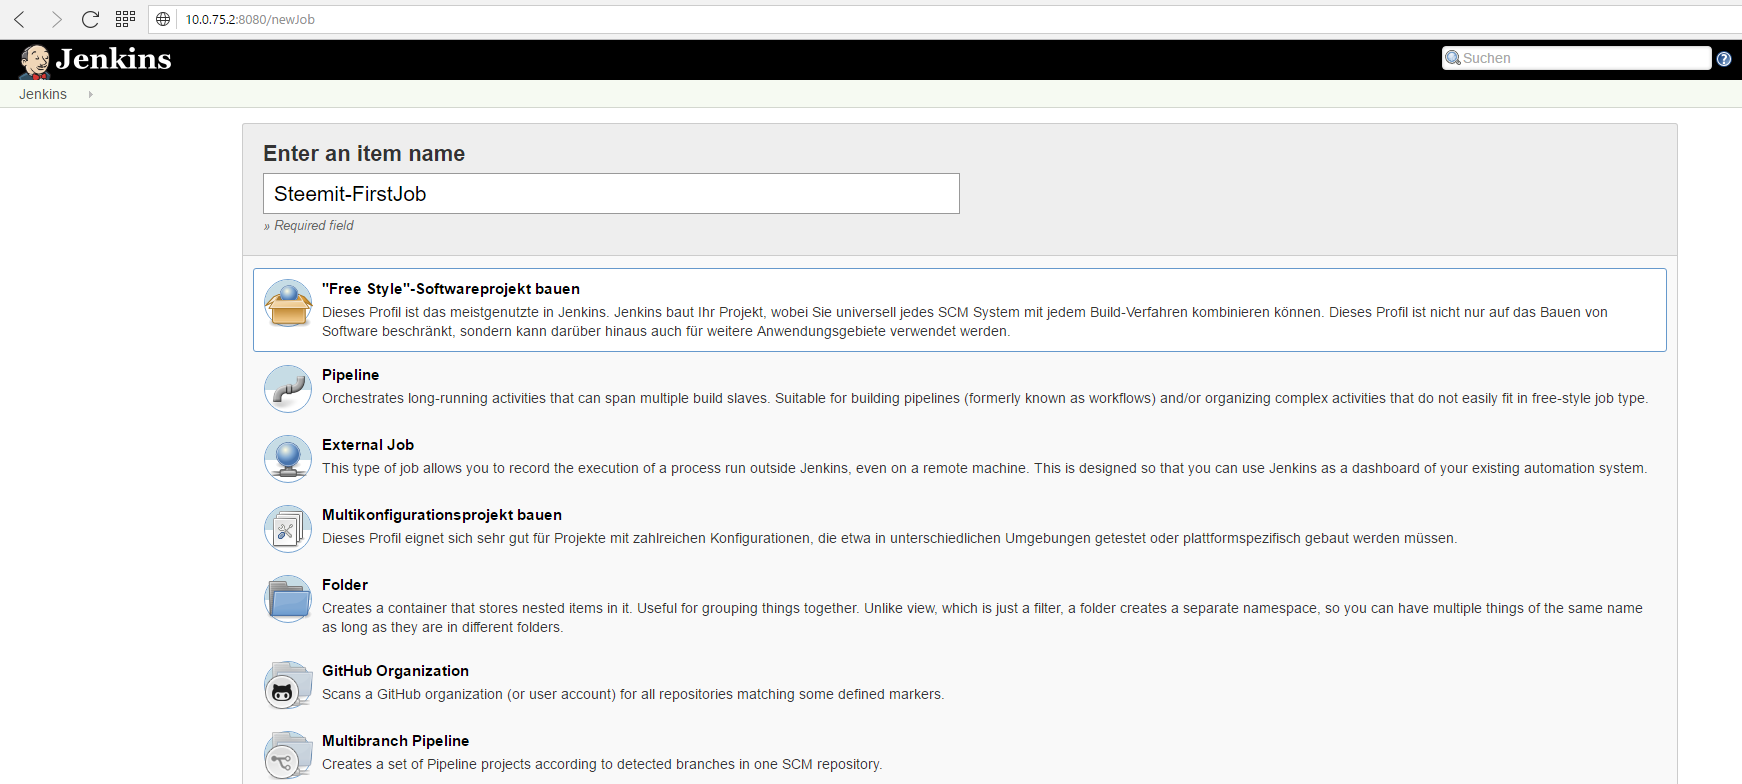
Just press the "Create new Job" link and create a new "Freestyle Project".
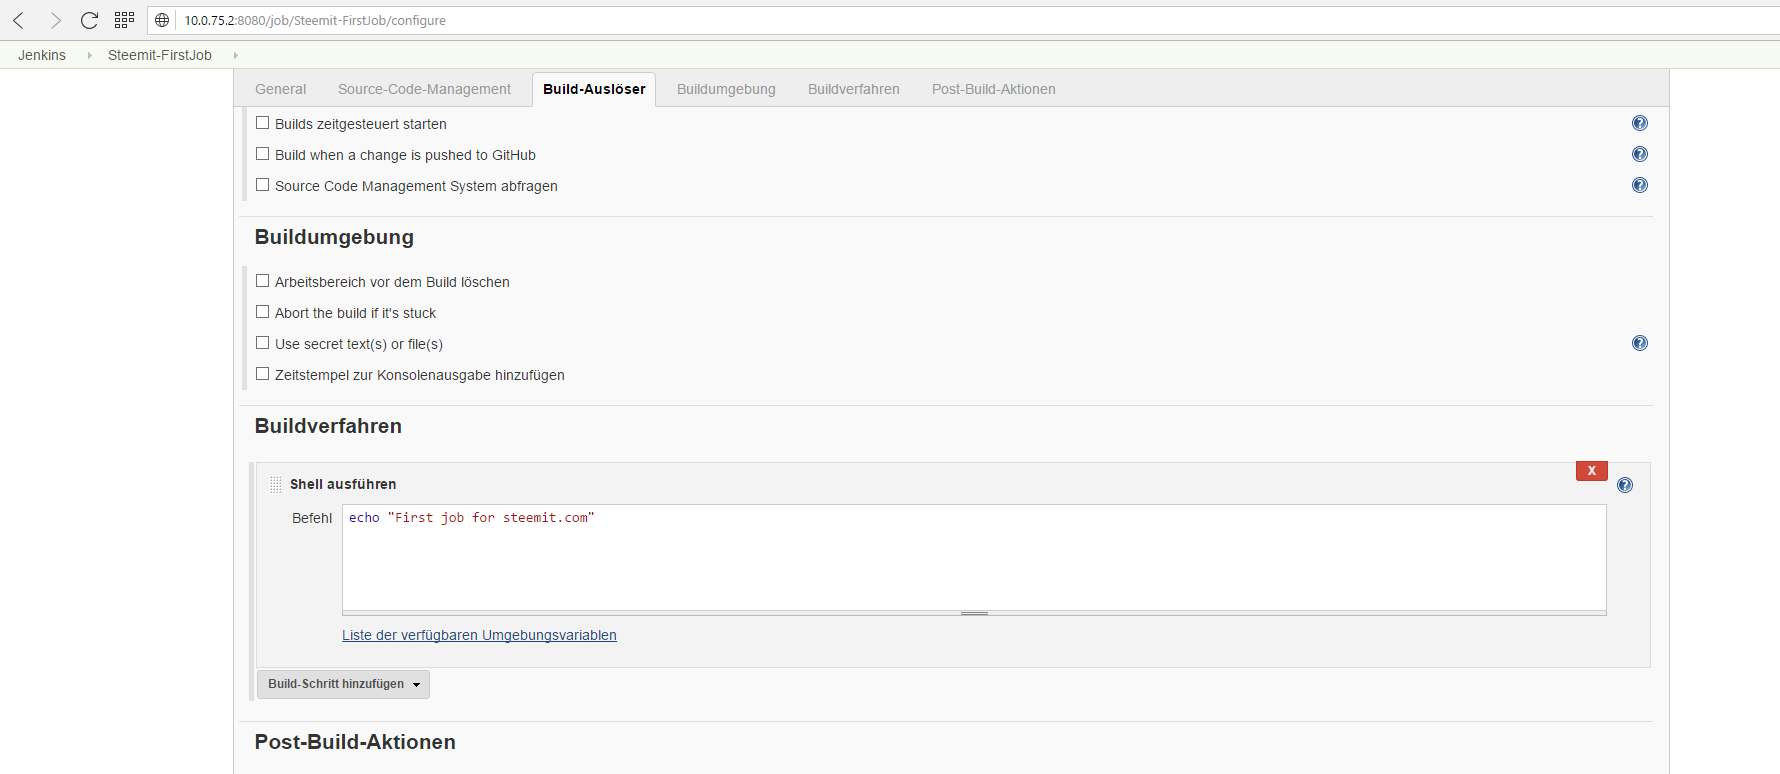
On the upcoming page you can configure a bunch of stuff like "Build triggers", which tell Jenkins when to start the job automitacally. We will have a deeper look into that features in the next parts, so just stay tuned. For now, we directly jump to the end of the page and add a new build step. Please choose "Execute shell command" and enter an "echo" command into the textbox.
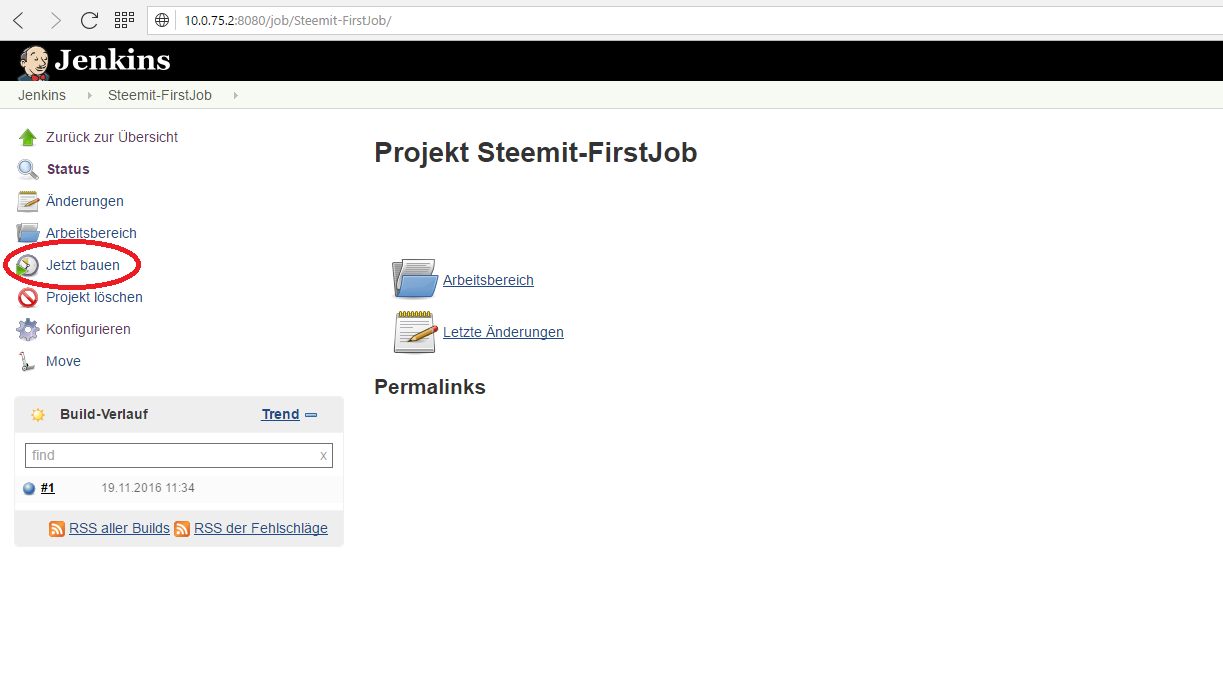
After pressing save, you will be redirected to the dashbord of this job. On the left sided menu you can press on "Build now" to trigger a new execution of this job immediatly.
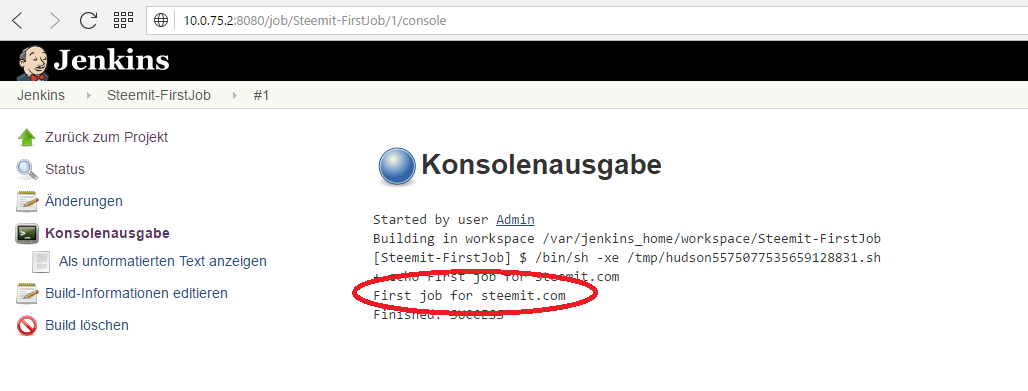
On the bottom left side you should see build number 1 popping up. The blue circle next to it means, that the execution was successful. Press on the "#1" to get to the details page of this build and than press on "View console" to see the output of our build. We expect the text "First job for steemit.com" to be printed, let's have a look:
Seems like we did it - Yeha! Our first, to be honest, pretty useless job. I hope that you feel as professional as I do now ;)!
Summary
Today we learned what Continuous Integration is about and what we need to embed this technique into our development process. By starting our own, local Jenkins-Server we are prepared to define a real CI build, that fulfills the definition of Martin Fowler in the next parts.
If you have some questions regarding to this topic or have another opinion about the necessity of CI, just leave a comment. It would also be nice if you follow me if you are interested in the this topics.
Thank you and best regards!


