
I'm so late this week. I do have a good excuse though.... Honest I do!
In case you didn't know, we welcomed the newest arrival to the welshstacker household this week, and so, as you can guess, it's been incredibly hectic around here.

I can't believe I almost missed out on taking part in this weeks SHARE YOUR BATTLE CHALLENGE. Run by those amazing curators over at @splinterlands, you can win amazing upvotes just by sharing and talking about a specific battle themes or monsters you've used in a match.
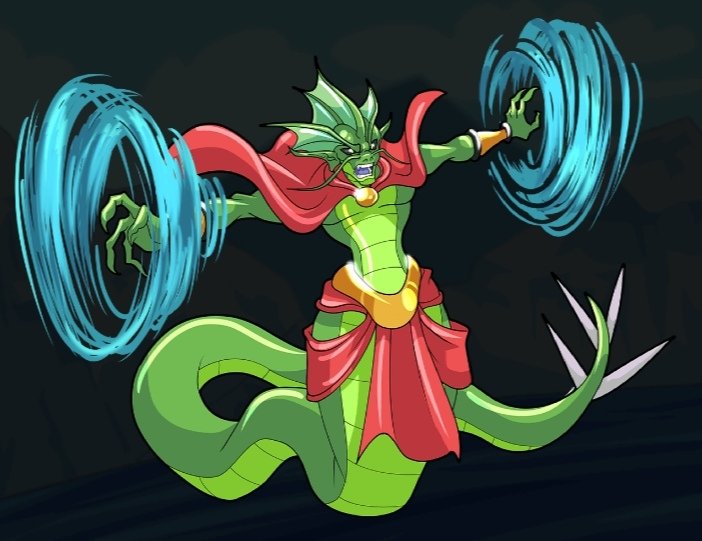
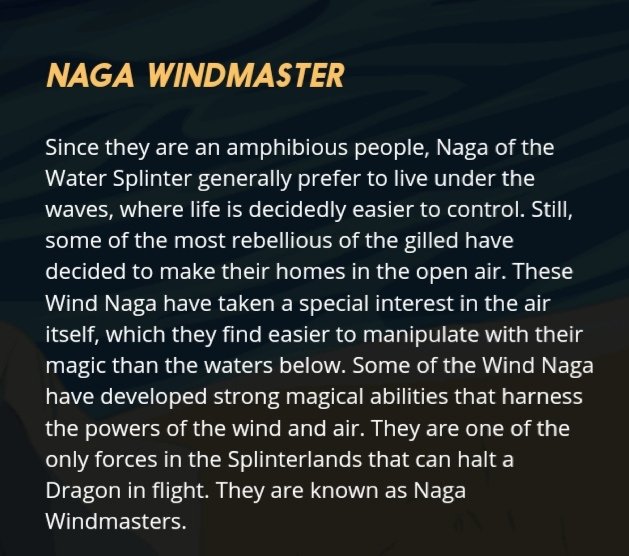
This weeks monster is none other than that pesky WATER splinter magician:
THE NAGA WINDMASTER
Truth be told, I very rarely use this card in battle. I do find that there are much better options out there in the WATER splinter, that not only fit my style of play better, but are cheaper to use too (mana).
None the less, you can watch a pretty interesting battle below, where just because I wanted to complete this weeks challenge, I included the windmaster
Watch this battle HERE
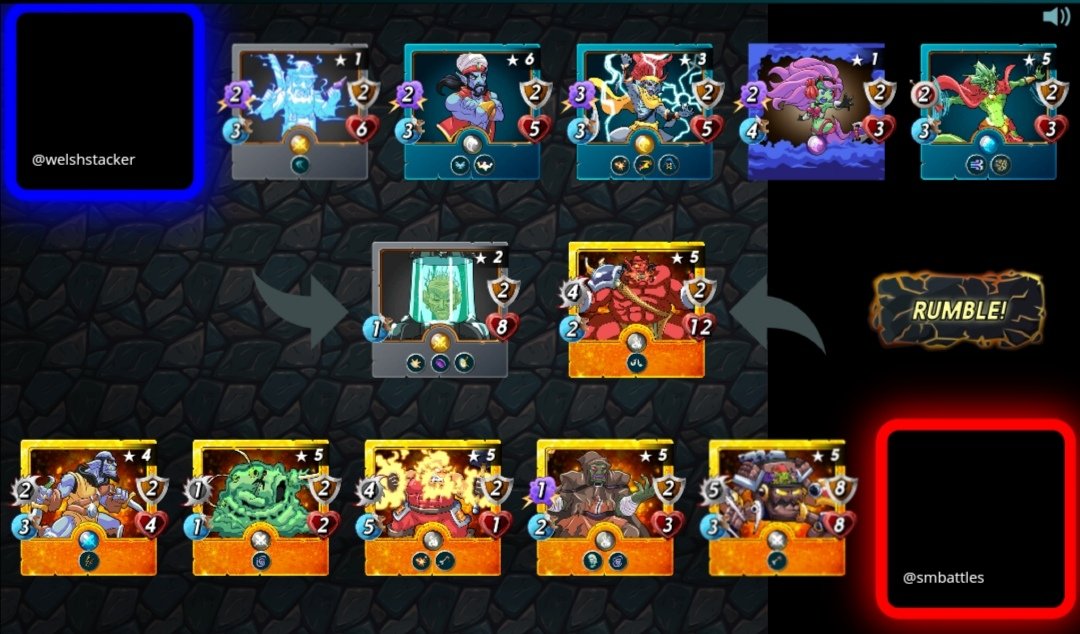
Today's battle rules were - Armour up and melee mayhem.... A very odd combination, and I believe is most vulnerable to magic attacks which can bypass the additional armour given by the battle rules.

Knowing that some players play the same strategies as I do, I decided the best way to combat any use of magic, was to have my Lord A sit in the tank position. His shield, void and reflect (at lvl 2) are brilliant. His void is an amazing defence against all magic attacks. Knowing this battle also had the melee mayhem rule, his shield buff basically doubles his life points as all attacks are halved.
Then I went all in on magic monsters. Knowing my Alric Stormbringer gives all magic attacks an extra +1 attack, I thought I could do more damage by going down this route.
Positioning of my attack was still a very important factor to consider, and by placing my "Spirit Miner" in the second spot, I knew that if my Lord A did fall he would offer a littke bit of resistance with his +6 health, plus his "swift" buff means he's a pretty slippery customer and can dodge an attack or two. Luckily for me he did manage to dodge a big attack from @smbattles' exploding dwarf, and this was the start of the turning point of this battle.
Although my Lord A and Miner fell pretty quickly, my opponent had also taken a lot of damage. Next to fall into the tank position was my Sea Genie. Once again, luckily the big attack of the Dwarf missed.... Its very unusual, but I'm putting it fiwn to the "flying" buff of my Genie.
All that was left to do was for my Ruler of the Seas to mop up the rest. His magic attack is fantastic and his "blast" ability can take out two opponents in one shot. His speed buff was more than counteracted by my opponents X2, "slow" buffs, but still it did help me.
Finally the star of the show!! or maybe not... The Naga Windmaster. I don't really think this monster added much to this battle that I can talk about, so I won't. My opponent had NO range attack monsters, so it's -1 range attack buff was of no use, plus its shatter buff was pointless as magic attack bypasses the shields anyway.
So yeah, sorry if I rambled on a bit in this blog, but as i said, it was a rushed post as I totally forgot to check this weeks challenge.
I hope the way I write these blogs allows you some insight as to how I think and chose my monsters for battle? Looking back at this battle and if given a do-over, what things would I change??
If I had known my opponent would go for brute force, I doubt very much I would have used my lvl 2 Lord A. Given the chance to pick again I may swap him out for my lvl 3 Chain Golem
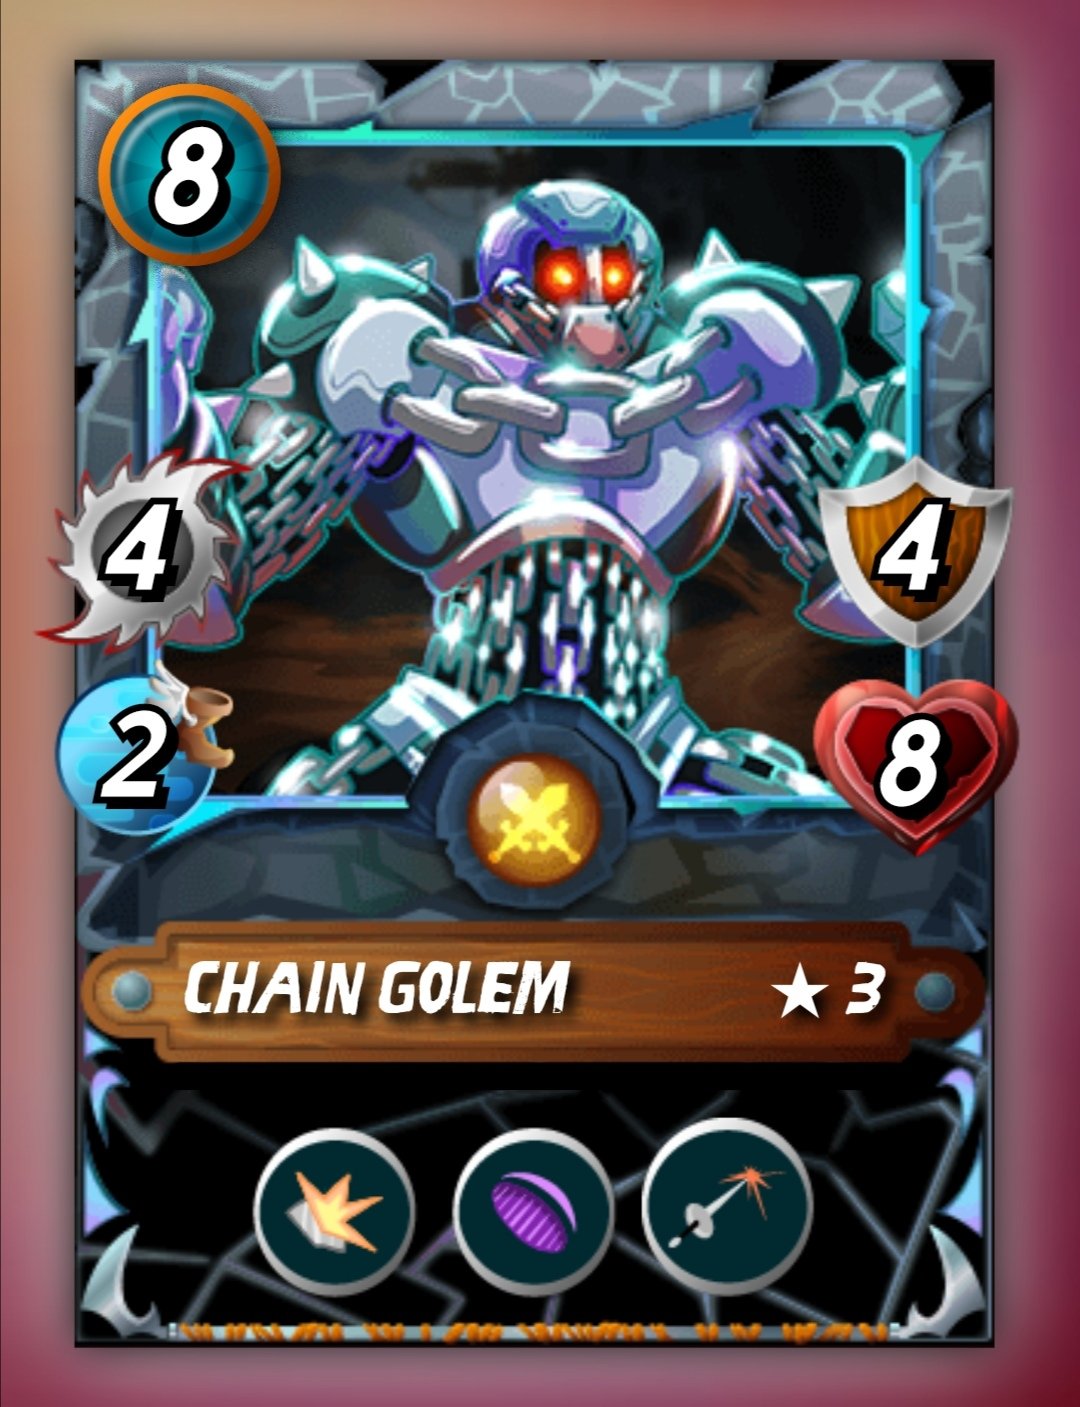
He still offers the benefits of the LA, but he can also pack a good punch. With his extra shields, he may have lasted a little longer than my LA too.
As always, hints, tips and advice is always welcome here. What would you change? What would you add in to this line up knowing the route I've gone down?