Last week @gmichelbkk posted a post about Markdown codes to learn so you can format your posts in a more nicer way. (Click here for the post). I asked him if he did know a way to make a more fancy layout by having floating text and pictures next to each other. He couldn’t give me an answer because he did not know if Steemit editor supported CSS.
(CSS stands for Cascading Style Sheet and is used for the layout of HTML pages a.k.a. webpages)
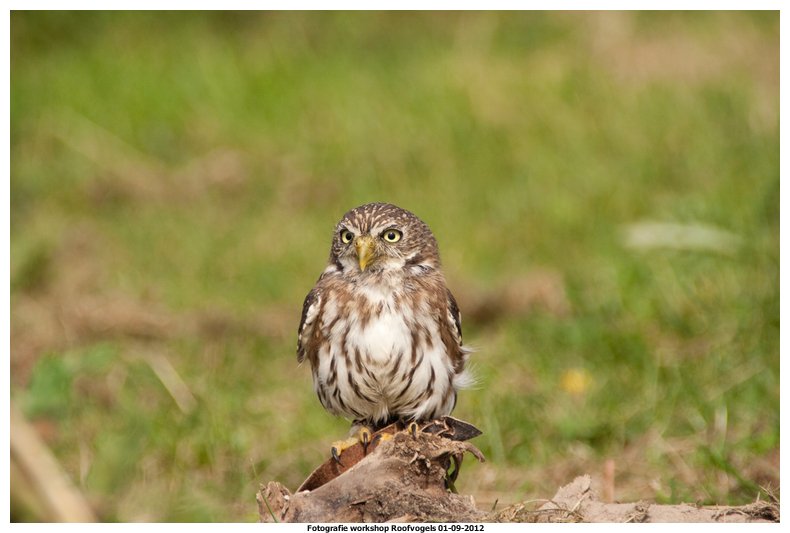
For an example of what I mean see the next picture:
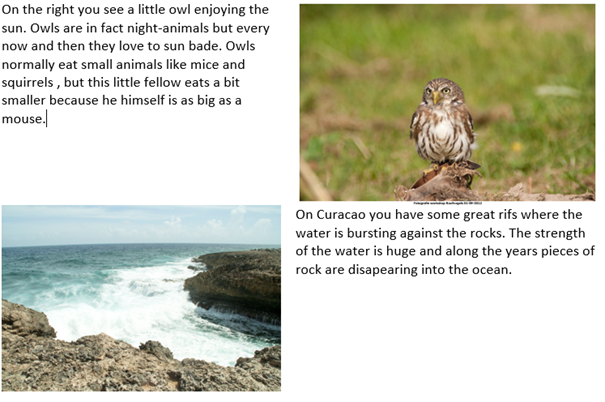
I thought it would be much cooler if you could format your Steemit post a bit more to really look like a professional writer 😊 So I started to look and test if this was possible. I found and old post on Steemit from @primus where he (2 years ago) explained how you can make content floating posts like the one above. Of course Steemit has developed itself very rapidly so I didn’t knew if the proposed solution still works, so I tried it, and indeed it still works. You have to use an predefined DIV tag for it.
A DIV defines a division or a section in an HTML document and is often used with CSS. I don’t want to go to much in detail (because it must stay easy to use and understand) but a DIV can be used to group a set of display settings for a website like background color, hight of a page and the used font.|
The next line of code is used to achieve the desired result.

The only thing that has to be put in another way, is the link for the image. Normally I just copy an image and paste it into the Steemit editor and voila there is the image, you then get a link in the editor like:

But to use this properly you have to use the IMG tag:

You have to reformat the link also before you put it in the IMG tag.

You have to remove everything before the HTTPS and the last bracket, and what is left :

You put between the src tag:

Now you have the right formatting to show the image.
If you then format the text as:

The result would be:
And to put it the opposite (image right, text left) the code is:

I hope that this little tutorial will help you to format your post like a PRO.
More format tutorials will follow, thank you for dropping by.
If you like this tutorial and think other people may want to use it please resteem it, I would appreciate it mostly !!