Repository
https://github.com/aosp-mirror/platform_build
What Will I Learn?
- You will learn how to create a simple animation in an android application.
- You will learn how to link animations together using AnimatorSets.
- You will learn how to draw a circle, make the circle grow and shrink, and how to move widgets in any direction.
Requirements
- Average knowledge of Java, and XML.
- Android Studio installed on your operating system of choice.
- A device to run the application within, can be a physical device, or a VM like the one included in Android Studio's 'Device Manager'.
Difficulty
- Basic
Tutorial Contents
Introduction

Self-Generated Image
Hello Steemians, Utopians, Programmers alike :) I hope you are all having an excellent Friday, and I must say I too am quite excited for this weekend. Before I start this tutorial, I just wanted to let everyone know that this has been an excellent week productivity wise, though I have not been posting so much, I have written out quite a few little projects that I can use to demonstrate a various amount of android functionality.
I wanted to spend a good portion of effort this week, really nailing down my writing style. I have been reading lots of other tutorials this week alone, and will be trying my best to reinvent my work, in a way that makes it easier to read and understand, as well as more enjoyable for everyone. I hope I accomplish that well for you all, but for now, lets carry on into our tutorial.
The Home Page: MainActivity.java
Yes guys, we will not be woring on our 'steemie' application today, as that is currently being takin in a whole other direction, and well, it was getting a bit confusing to use as a teaching tool to be completely honest. For now, all you guys will need is a blank, new project, with a single empty activity, for now. Currently, all you will need to place in your Main activity, is a button. I will provide an image of the layout file now.
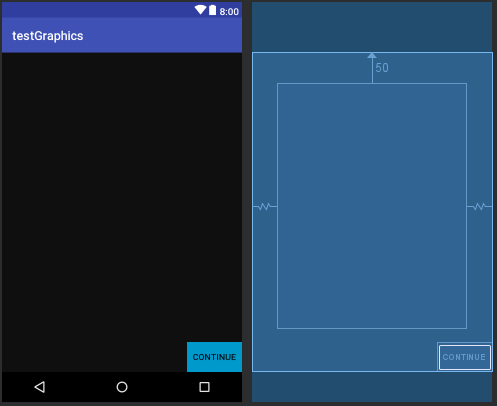
Screenshot
We have included a custom view in this layout, but you will not need to add that in yet, as we have not created it. As for the code needed on this page, All we will really need, is to implement an OnClickListener attached to our Button, and have it switch us to our next activity when pressed. We will be using an Intent to do just this. You will also need to go ahead and create this new activity now. It will be called Main2Activity.java for this example, and the code to set this up in MainActivity is as follows.
public class MainActivity extends AppCompatActivity {

    @Override
    protected void onCreate(Bundle savedInstanceState) {
        super.onCreate(savedInstanceState);
        setContentView(R.layout.activity_main);

        Button b = (Button)findViewById(R.id.button); //Identify our Button

        b.setOnClickListener(new View.OnClickListener() {
            @Override
            public void onClick(View v) {
                Intent i = new Intent(getBaseContext(), Main2Activity.class); //Intent will change from Working Activity to Main2
                startActivity(i);}
        });
    }
}
The WidgetView Page: Main2Activity.java
Alright guys, this is gonna be another pretty simple layout file, since we are just playing and learning, we will only be using a single ImageView, though you could use this same function an nearly any and as many views as you please. It never hurts to practice random things n see what happens. For now just go ahead and set your layout to be similar to mine in the image below.
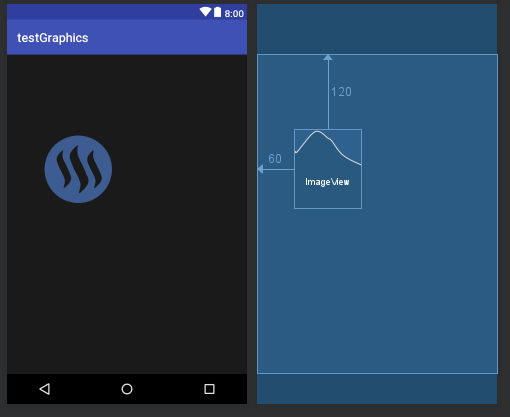
Screenshot
You can set the image to anything you please, or this could even be a Button, or an EditText, but we will be using this image. For the code, We will be doing two major steps. First, the OnCreate() method will require us to set up another listener, like we did in the previous activity, so as to get us here. This time, Instead of launching an Intent onClick, We will be calling a function of our own design.
public class Main2Activity extends AppCompatActivity {

    ImageView i;
    private AnimatorSet Slider = new AnimatorSet(); // Initialize our variable references

    @Override
    protected void onCreate(Bundle savedInstanceState) {
        super.onCreate(savedInstanceState);
        setContentView(R.layout.activity_main2);

        i = (ImageView)findViewById(R.id.imageView2);
        i.setOnClickListener(new View.OnClickListener() {
            @Override
            public void onClick(View v) {
                moveWidget(i); //moveWidget is a function that we will use to move our widget.
            }
        });
    }
Screenshot
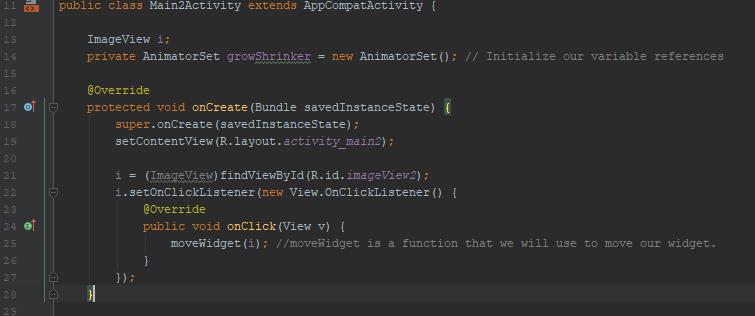
As you can see from the code segment above, The first two things we do are make our variables accessible to us for our ImageView, as well as our AnimatorSet. The last thing we need to do, within our onCreate() method, is to set up the listener, which you can see above is exactly what is done. When this listener is called, our function 'moveWidget()' will then be run. It is okay if you have not yet created this function, as that is what will be the next step. The code for this next function, moveWidget(), is as follows.
public void moveWidget(View view){
    ObjectAnimator AnimateRight = ObjectAnimator.ofFloat(view, "translationX", 400f);
    //ObjectAnimator will be moved, using a Translation on its X axis, to a position of 400(Float)
    AnimateRight.setDuration(1500); //The duration will be 1500 ms
    ObjectAnimator AnimateLeft = ObjectAnimator.ofFloat(view, "translationX", 0f);
    AnimateLeft.setDuration(1500);
    Slider.play(AnimateRight).before(AnimateLeft); //Slider is an AnimatorSet,
    // and can be used to link animations together
    Slider.start();
}
For those of you who are really beginning this android programming with me, a 'Void' is a type of method or function, that is not required to return a value. Since we do not need any value returned to us from this function, such as a String or an Integer, a Void will be an excellent type of method to use for this. The first thing we do, is create a new Object Animator, and set its value, to a floating point representation of the location we would like to move it to on our screen. We will be using translations on the X axis to achieve this. The next line is responsible for setting the duration of the animation.
As you can see, we do this for two animations, AnimateRight, as well as AnimateLeft. Finally, we use the AnimatorSet we initialized earlier in this activity, which was labeled 'Slider'. Slider, an Animator set, is designed to link animations together, so in the second last line of the above segment, we use Slider to play AnimateRight, directly before Playing AnimateLeft, and Voila! This creates a looped animation of sorts, as you will see in the video below, of course only once per click.
Custom View Class - AnimationTest.java
Alright guys, this was done a bit backwards but, this is the final piece of this tutorial, and once we get it done your app will be up and running completely. The first thing we will need to do, is create a new Class, named AnimationTest.java, and for this Class we will be extending the View class like so.
public class AnimationTest  extends View {
}
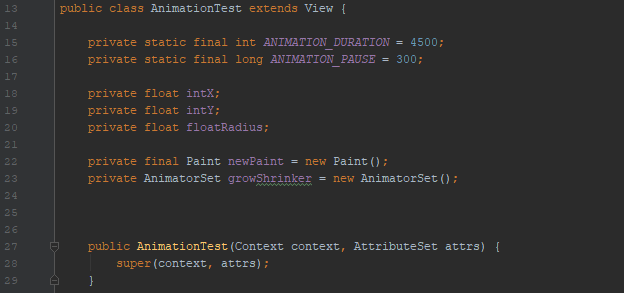
There are also two required methods to be used in this View class, apart from everything else that we need done custom. First off, we must generate our Constructor. Again for the complete newbies out there, a Constructor is a function that is called the minute its containing class is called. View requires a constructor in order to set its view. A constructor can be generated, by going to the top left menu in Code>Generate, and selecting constructor. We will also need to generate a setter for this class, in order to set the radius of the view. Lets take a quick look at the constructor we generated, as well as the variables we will be using now.
public class AnimationTest extends View {

    private static final int ANIMATION_DURATION = 4500; //Duration of animation
    private static final long ANIMATION_PAUSE = 300; //Length of delay between animations.

    private float intX;
    private float intY;
    private float floatRadius; //We will need each of these integers to adjust the size of our views/radius, etc.

    private final Paint newPaint = new Paint();
    private AnimatorSet growShrinker = new AnimatorSet();


    public AnimationTest(Context context, AttributeSet attrs) { //THIS IS THE CONSTRUCTOR
        super(context, attrs);
    }
Screenshot
First of all, our constructor is quite simple like most, and only requires a Context, as well as a set of Attributes. The thing is, simple or not, the view will simply not function without this piece of code. Above the constructor, we initialize a good bunch of variables that we will be needing to use in our custom view. An Int and a Long for timing of the animation, 3 floats for sizing, as well as a Paint Object we will need, and finally our AnimatorSet. After this, we will need to implement our setter for our view to function. This too can be done through Code>Generate.
public void setRadius(float radius) {
    floatRadius = radius;
    newPaint.setColor(Color.MAGENTA ); //Color of circle
    invalidate(); //Invalidate the drawing, so as to redraw.
}
So looking at the code above, we can see that our setRadius method is designed to set the size of the radius of the drawing, as well as color, and finally to invalidate the drawing, so that it can be drawn again. Again quite a simple method, but something that NEEDS to be implemented, or our view class will not compile. But now that we have finished up with all of our requirements, we can carry on to the fun stuff, which is our custom design.
@Override
public void onSizeChanged(int w, int h, int oldw, int oldh) {
    // This method will be called when the size of the view is changed, even during initialization.

    //GrowAnimator will create a growing circle from the value of 0, to the radius of the width of the view
    ObjectAnimator growAnimator = ObjectAnimator.ofFloat(this, "radius", 0, getWidth());
    growAnimator.setDuration(ANIMATION_DURATION); //the duration of the animation

    //This ShrinkAnimator will create a shrinking circle, from the value of the radius of the width of the view, to 0
    ObjectAnimator shrinkAnimator = ObjectAnimator.ofFloat(this, "radius", getWidth(), 0);
    shrinkAnimator.setDuration(ANIMATION_DURATION);
    shrinkAnimator.setStartDelay(ANIMATION_PAUSE); //time before animation starts.

    //AnimatorSet growShrinker will play the growth animation first, then the shrinker
    growShrinker.play(growAnimator).before(shrinkAnimator);
}

Screenshot
So, as you can see from the code, and the image above, we will be overriding the onSizeChanged method of the View Class. This can be done by pressing 'CTRL+O' on the keyboard. We will be using this method to control the animation, since this method is called every single time the image is drawn. In the two lines of this method, we create an ObjectAnimator named GrowAnimator, and design it to grow from the value of 0, to the floating point value of the width of the view. We then set the duration.
After this, in lines 3 and 4, we do the exact same thing, but for a new ObjectAnimator 'ShrinkAnimator', and design that animation to shrink from the floating point value of the width of the view, all the way back down to 0. This too has a Duration that is set in line 4. Line 5 is responsible for the delay, between run and drawing of the animation. FInally, in the last line of code,we tell our AnimatorSet 'growShrinker' to first play the animation GrowAnimator, and then to subsequently play our ShrinkAnimator animation.
This is pretty much it for this tutorial, you are nearing the end! :) However we must do one last thing before we can run our application, and that is overriding the onTouchEvent() method of our View class. This method will be called on every single touch applied to the view, and we will use it to initialize our animation. Go ahead and overide this function now like we did above with the onSizeChanged() method.
@Override
public boolean onTouchEvent(MotionEvent event) {
if (event.getActionMasked() == MotionEvent.ACTION_DOWN) { //When user presses down on screen
    // Integers for the Location of Circle's Center = location of x,y at touch
    intX = event.getX();
    intY = event.getY();

    // If animation is running, Cancel it so as to ensure only one animation can run at one time
    if (growShrinker != null && growShrinker.isRunning()) {
        growShrinker.cancel();
        }
    // Start the animation
    growShrinker.start();
    }
return super.onTouchEvent(event);
}
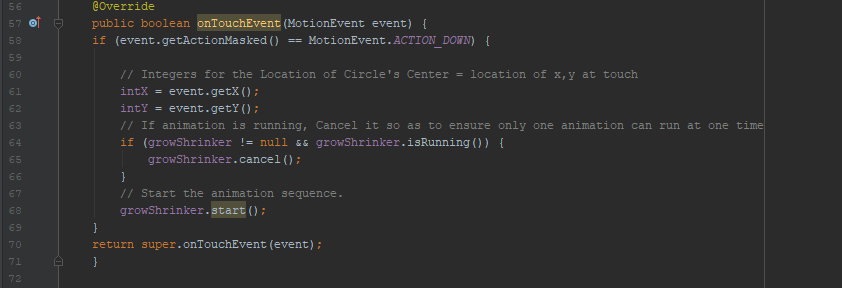
Screenshot
So, lets break down this final bit of code above us. The first three lines of this segment, are an If Statement of their own. This statement states that IF the user has pressed down on the screen, within the location of the view, that we are to get the location of the X and Y axis of the touch, and save them each to their own Integer Variable.
Following this, we implement a further encased IF statement, meaning both will need to be true for the following code to be run. In this statement, we dictate that IF the animation is already running, it is to be canceled. Finally, outside of this secondary IF statement, so IF the user has pressed down, and REGARDLESS IF animation is running, then start the animation. Thanks to this secondary encased IF statement, the animation can only ever be running at one time, and thanks to this method, the animation will be drawn on each screen press, which you will now be able to see if you run your application, or watch in the video below.
The last thing you will need to do, is implement your Custom View in your activity_main.xml file. It is quite simple, and the size can be manipulated how you please, but you will see how it is done on the github page below. No different than adding a Button or ImageView really.
Conclusion
Well guys, that is it! You now have a working, functional graphic application, designed to show off and test with a few different types of simple animations. You can take it pretty much any where you like from here, add more views, change how they move etc, playing around with code is almost never detrimental, provided you have a safe backup copy, and always a great way to learn exactly how things function, and what values represent what.
If any of the methods I have used in this tutorial are a bit confusing, a much more detailed workup of each one can be found through a quick google search using the methods name. Android Developers have excellent Documentation released, and I do recommend newer users to check that out, because there is ALOT of solid info there.
This tutorial has simply been the first, in regards to Animations, Canvases and Drawing. I am getting into making some games for the android, and will be focusing a good deal on that in the future as well. Later on this week we will also be having a special on programming with android, Directly to the Steem Blockchain, so keep your eyes out if that is an interesting subject for you. I hope this has been a good read for you, I hope my comments were clear and easy to understand, and that the videos and images were focused well enough to help, rather than distract.
If you guys have any Opinions/Feedback, I really would love to hear it. I am in no way a teacher, and this is actually quite out of my element, so I will always be looking for ways to improve my methods, and my abilities to help you guys get where you would like to go with this.
As always - Happy Hunting,
Cerulean.
Curriculum
- Android App Development Series #4 - Parsing 'Jsoup' HTML Data, Storing Data Using SharedPreferences, Spannable Strings and More Custom Adapters
- Android App Development Series #3 - Intent Extras/Bundles, ListView, and Custom Adapters
- Android App Development Series #2 - Web Requests and Parsing JSON Objects
- Android App Development Series #1 - Basic Web Browser
Proof of Work Done
https://github.com/cerulean-skies/android-app-development-series/blob/master/Series%20%235.md


