Softaculous is an additional feature in cPanel that will simplify your installation of various cms (content management system) like wordpress, prestashop, drupal and so on. DomaiNesia has provided all the convenience for customers in the installation of cms as an example prestashop. Prestashop is one of the most popular e-commerce cms in the community. In addition to the open source alias free license, prestashop is easy to use, as well as support various payment methods such as Google Checkout, Authorize, Skrill, PayPal and Payments Pro. With this prestashop,
you do not need to create an e-commerce system from scratch. You simply do the installation and setting some rules from the store you want to create. For customers who want to create an e-commerce system or online store then you can do the installation process using Softaculous.
Here's how to install prestashop via Softaculous!
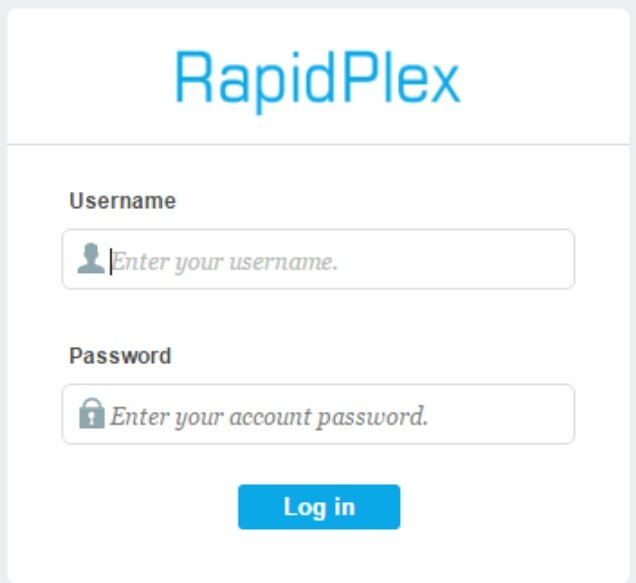
Step 1 - Login cPanel Hosting
Log into your cPanel via http: // namadomain / cpanel, then log in according to email sent from DomaiNesia regarding Hosting Account Information.
Step 2 - Selecting Softaculous
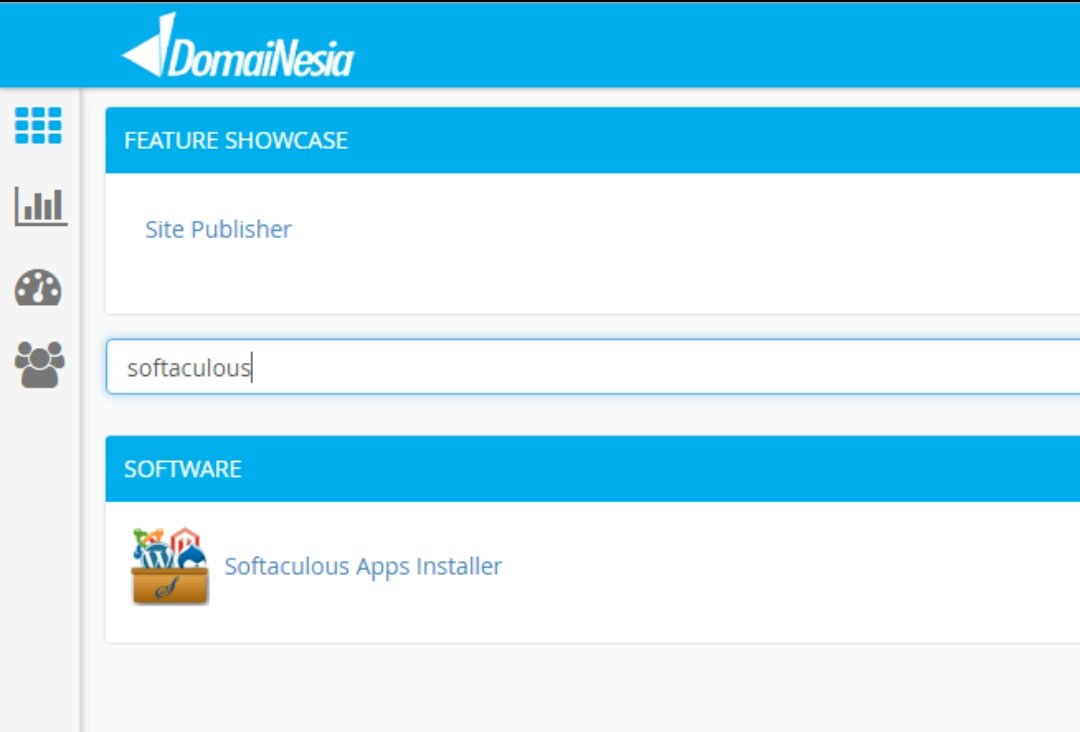
Then go to the cPanel page. In the search field type "softaculous" and select Softaculous Apps Installer
Step 3 - Selecting Prestashop
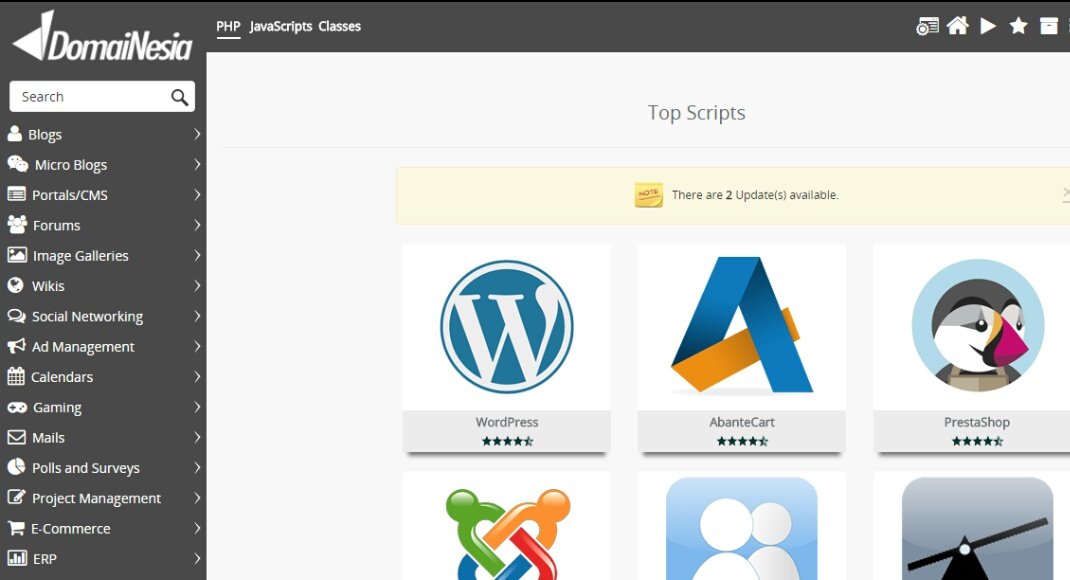
Then you will be directed to the Softaculous dashboard. There are various Content Management System (CMS) that you can choose from. To install it, select Prestashop.
Step 4 - Installing Prestashop
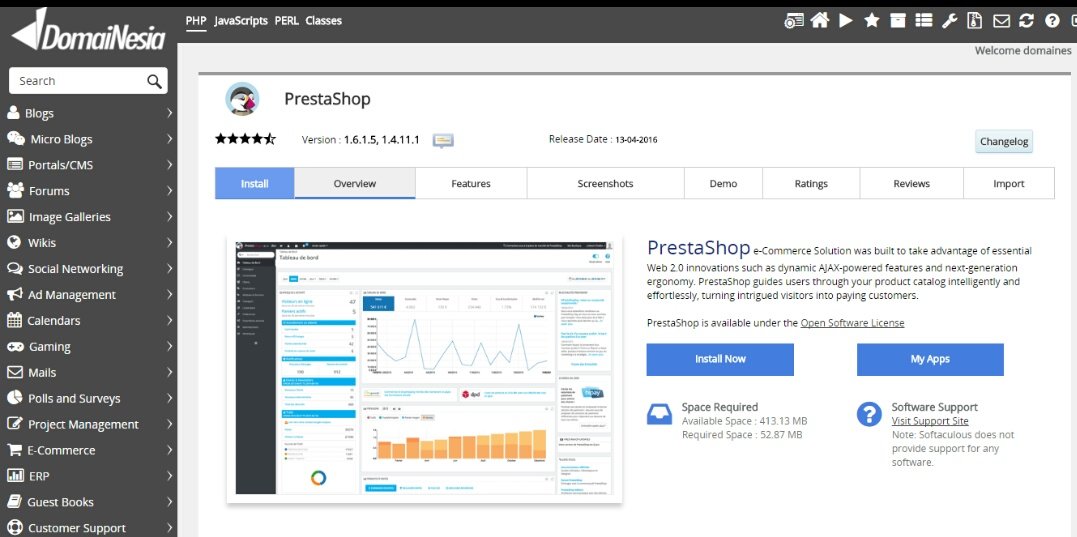
Then you will go to the Prestashop page in Softaculous. You can see some prestashop features, screenshots, reviews and so on. There are various versions that you can choose namely version 1.6.1.5 and 1.4.11.1. Select Install Now to perform the installation process.
- After that, you have to fill some configuration. First, in the Software Setup field. In the Choose Version section, enter the desired version of prestashop. In the Choose Protocol section, if your website uses SSL then fill in https: //. If not, leave the default http: //. In the Choose Domains section, enter the domain name you own. This domain will be the domain of the online store that you will create. Then empty in the In Directory, so prestashop is installed in the live domain.
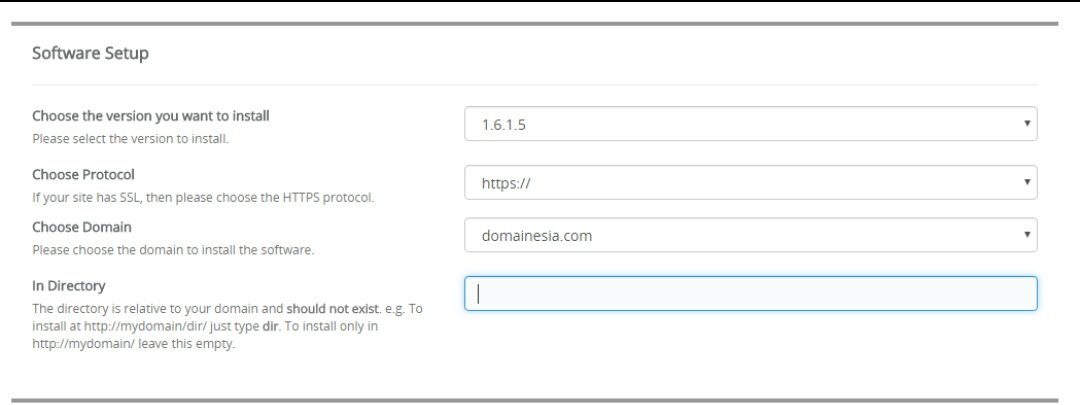
- Second, in the Site Settings field enter the title and description of the online store to be created. Fill in accordance with your wishes.

- Third enter the email and password from which will be used to login online store. This email and password will be used at login at your online store. So do not forget. You can also enter your own store email lho. For those who do not know how to create an email with their own domain name.
After that, enter also your first and last name
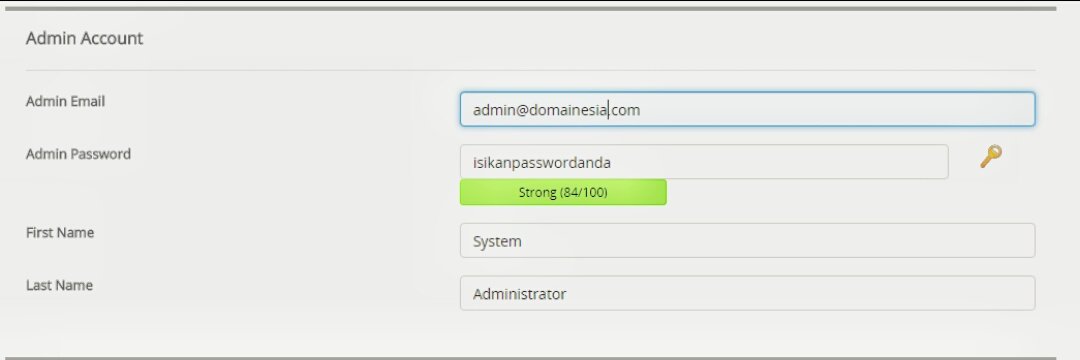
After that, click the "+" sign in Advanced Options to configure the database. Fill in the database name, and table. You can set update notifications, auto upgrades, automatic backups and backup quota. For simplicity, leave the defaults alone. You can also find the installation details in your email. Then on the form email installation details to enter your email address. When done, click Install.

Step 5 - Installing Prestashop Completed!
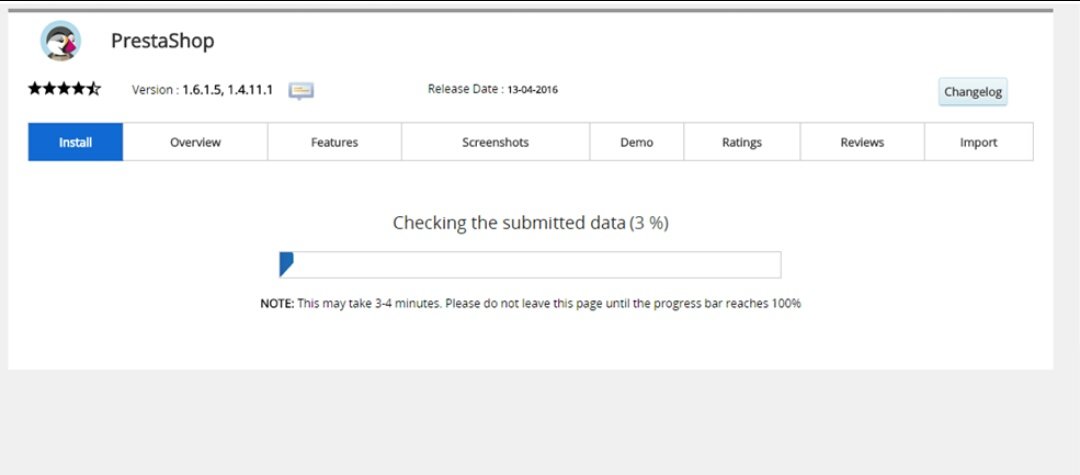
After click Install, please wait until the installation process to complete.
After the installation process is complete, it will display information about the domain that you used earlier. To access the online store that you create then simply access the URL contained in the information. To access the admin dashboard, you can add / admin123 after the main domain as shown below. For the admin page, you have to customize it with the admin folder you just created. For more details, you can access.
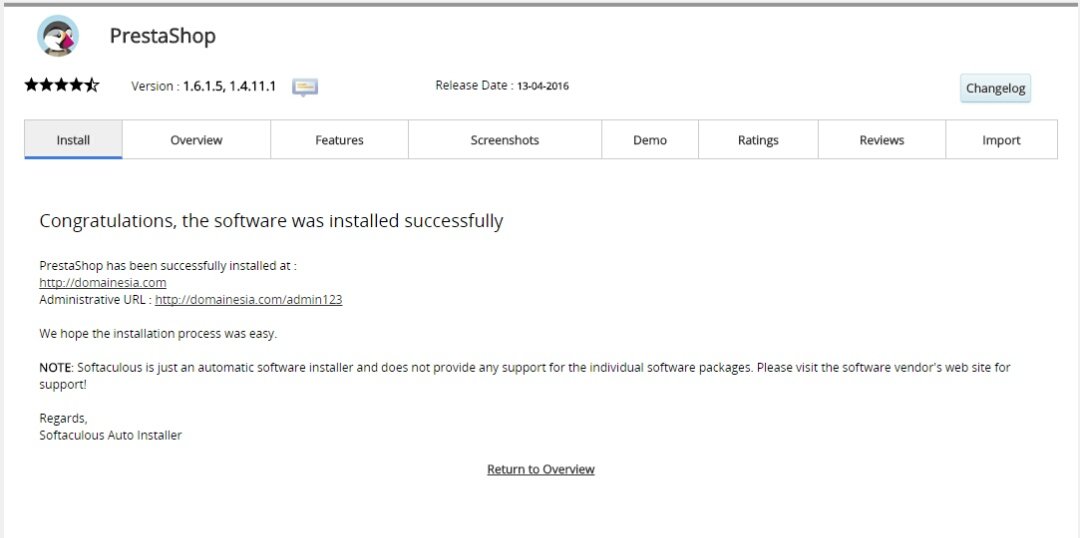
You can easily create online stores in DomaiNesia. In addition to using the Instant Deploy feature, you can use the Softaculous feature in cPanel
Thank you for your attention and your time
Posted on Utopian.io - Rewarding Open Source Contributors
