Xampp is a free and most popular Php development environment.It lets you create php project development environment on our local pc. And using this feature we can install and run wordpress site locally on our own computer.Running localhost has many advantages on any project developments.
In this tutorial, I am going to show you how to install wordpress locally using xamp. Please follow these simple steps.
Step 1: Download Xampp for your OS.
Download Xampp installation file suitable for your system fromApachefriends.org
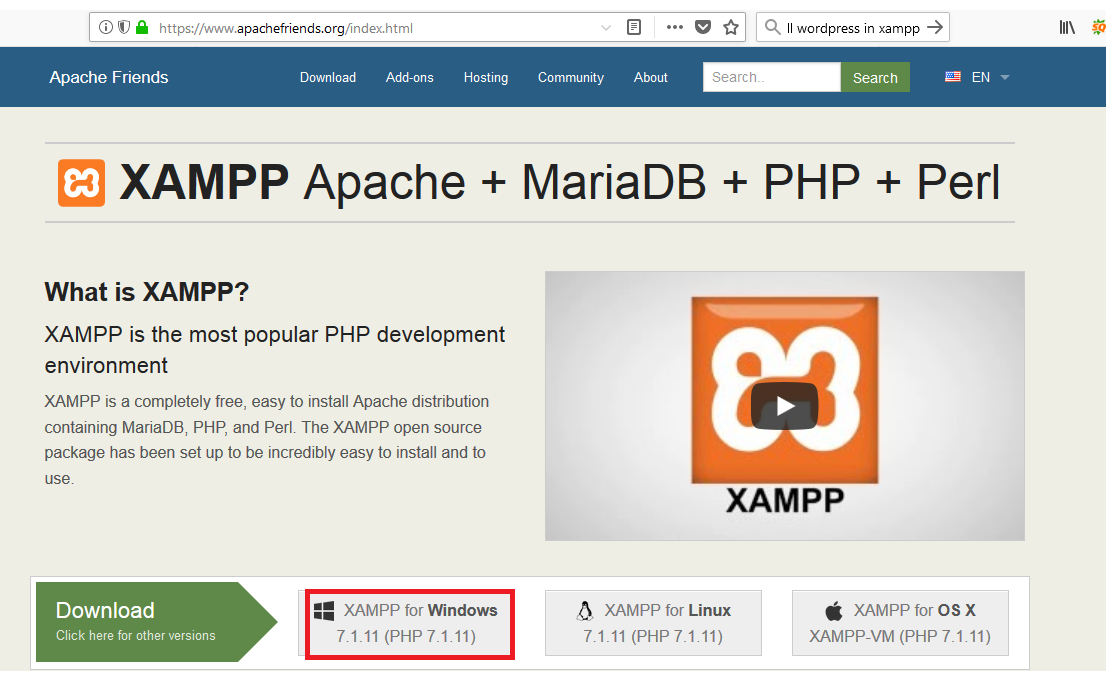
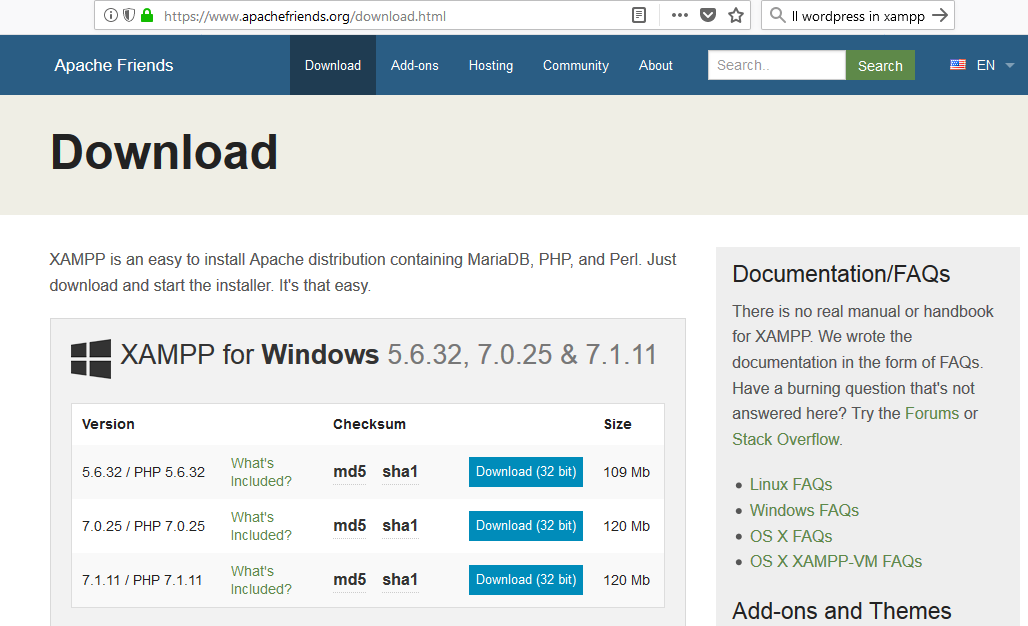
View download for more specific file options.
Step 2: Install Xampp
Open the xampp installation file that you have downloaded to start installing xampp on your system.
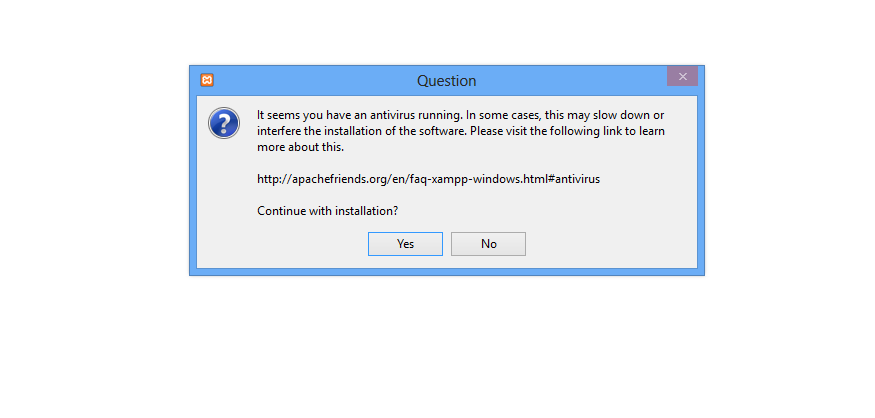
If you have any antivirus running on your system it may show you the message like below in the screenshot. Click 'yes' to continue.
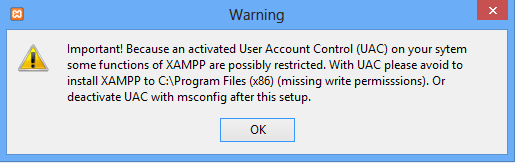
If you use windows 8 or above you can get the following message. Just click ok to go further.
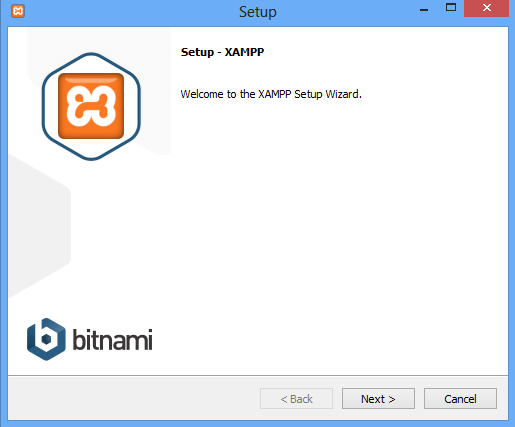
Now you will get the following window, click on Next button.
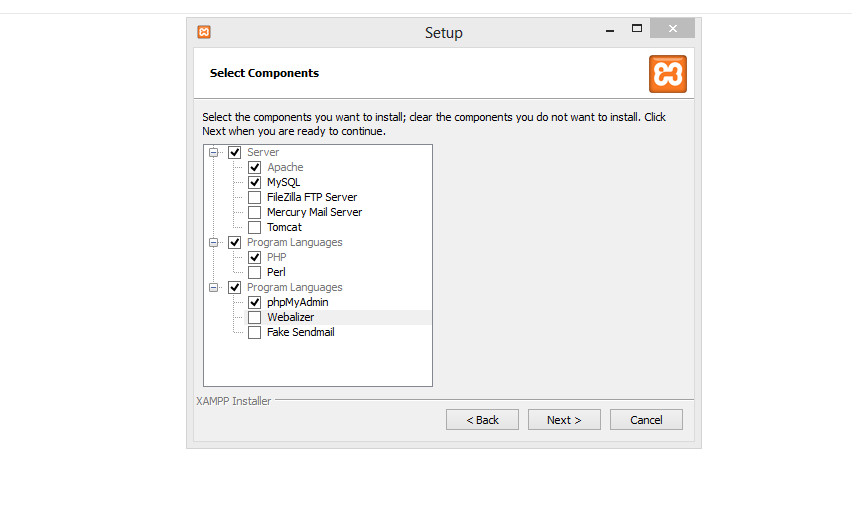
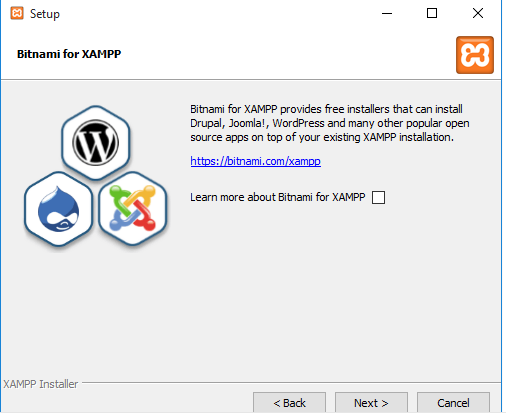
Now you will get the following window with some installation options, where you can select which components to install.
For using wordpress, you can just select the same options I have selected below in the picture.And click on next button.
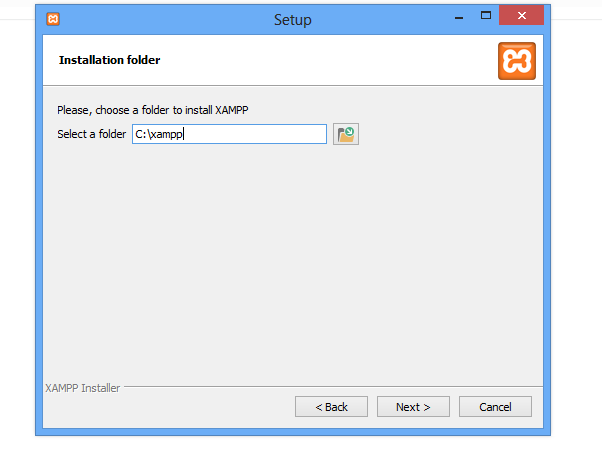
Select the installation folder and click Next.
Click on Next Button.
Click On Next button.

Click On finish button.
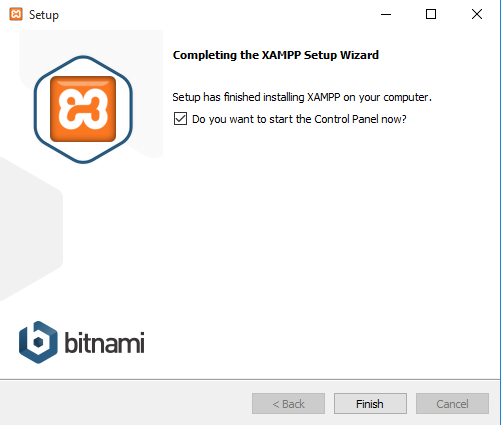
You have successfully installed xampp on your computer.
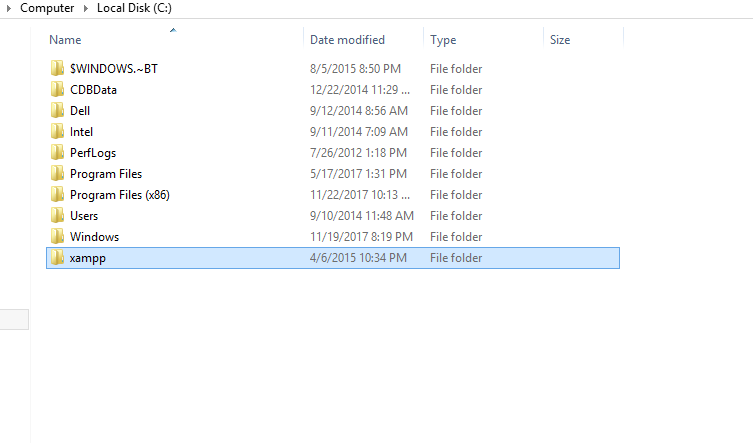
Step 3: Open Xampp
Locate the installation folder where you have installed xampp in the previous step and open the folder.
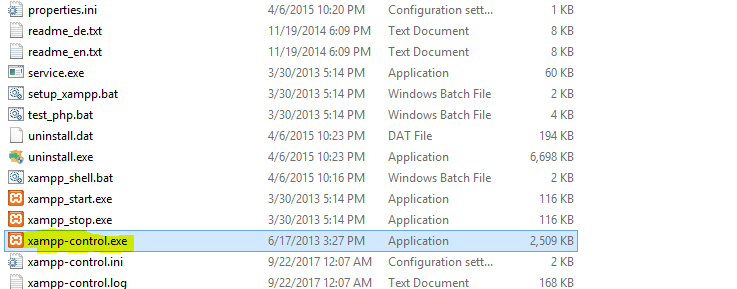
Locate xampp-control.exe file and open it.
Now you will see the following window. Those blue and black text means xampp is running well on your system. If you see some red texts then it means there are some errors while running xampp. Try to fix those errors before moving to further steps.
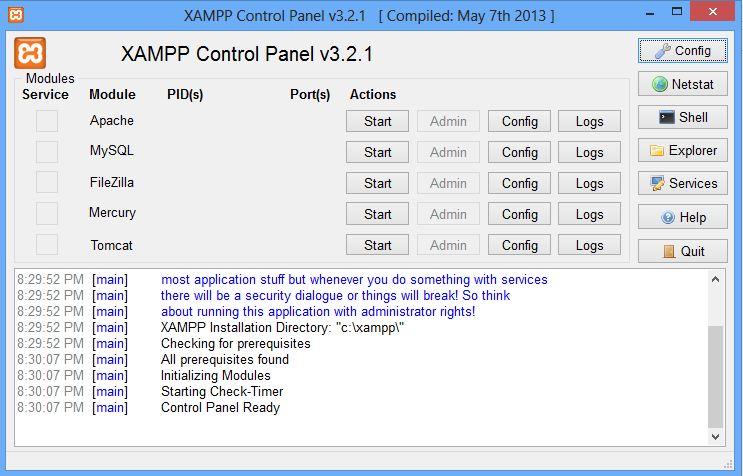
Click on that start buttons of Apache and Mysql Modules.
You will see the following window. Now move on to the next step for creating the database for your wordpress site that you are going to install later.

Step 4: Creating Database for Wordpress
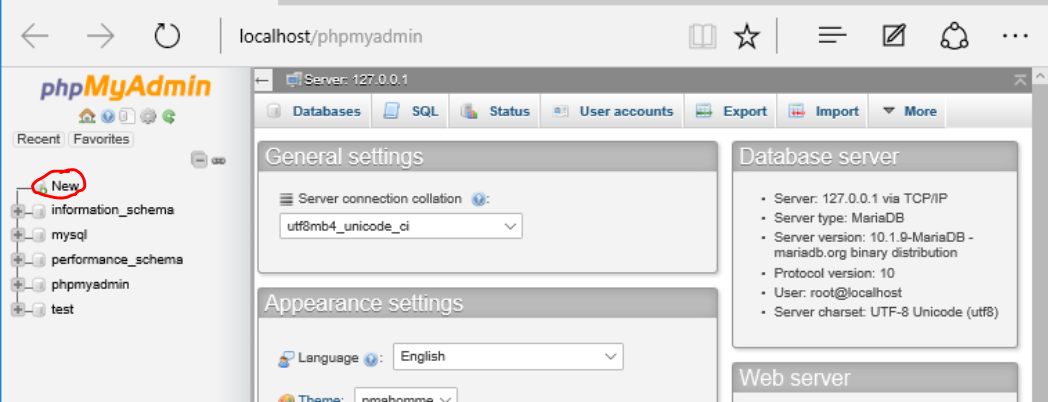
Open localhost/phpmyadmin in your browser.You will see the following window.
Click on that New button to create a new database file.
Enter a name for your database and click on that create button.
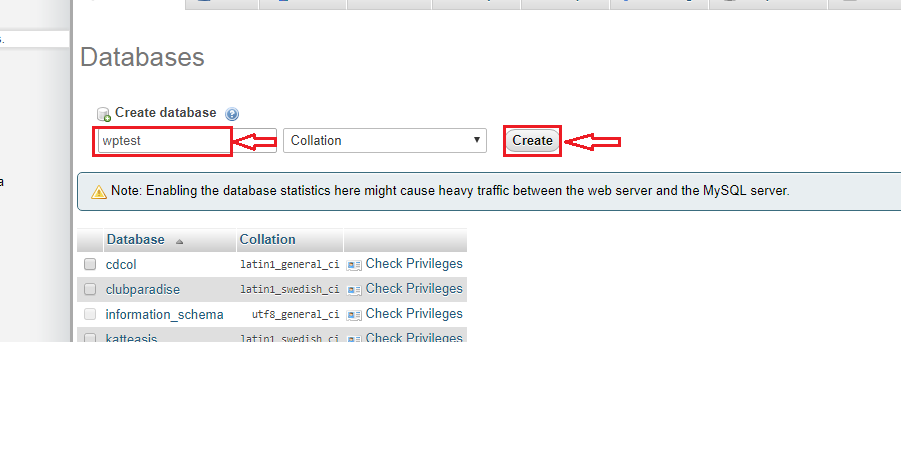
Here I've named it wptest.
You have successfully created a database. Now move on to the next step to install wordpress.
Step 5: Download And Install Wordpress.
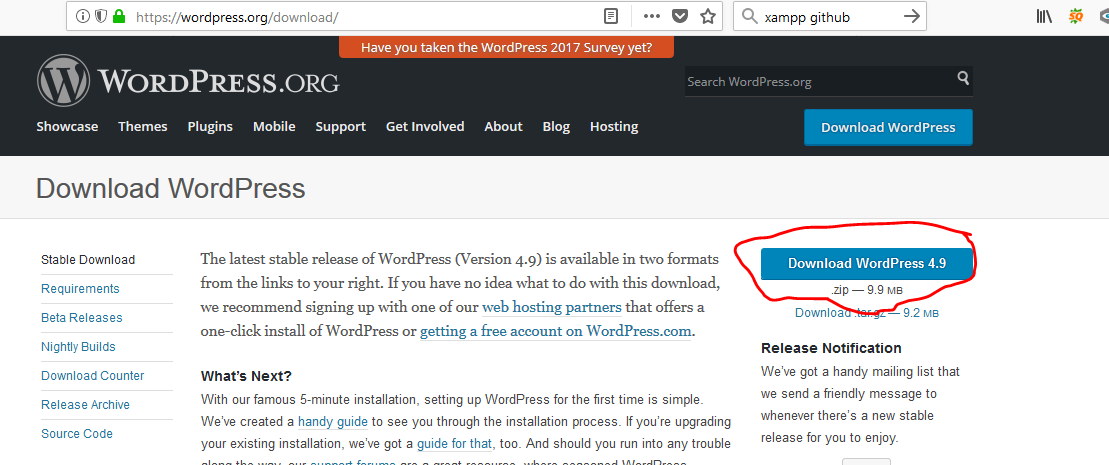
Download the latest version of wordpress from Wordpress.org.
Unzip the downloaded file and copy the whole Wordpress folder.
Locate htdocs folder.
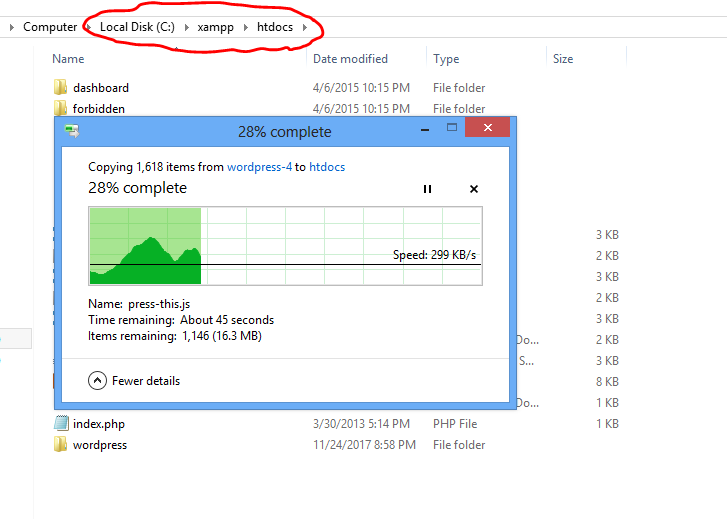
Again go to xampp installation folder, find htdocs folder and open it.
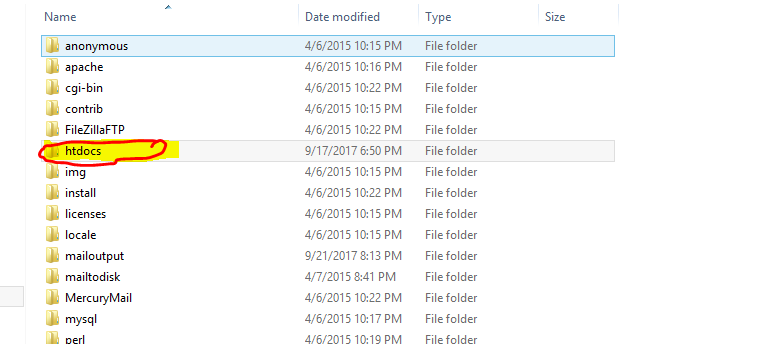
Paste the previously copied wordpress folder here.
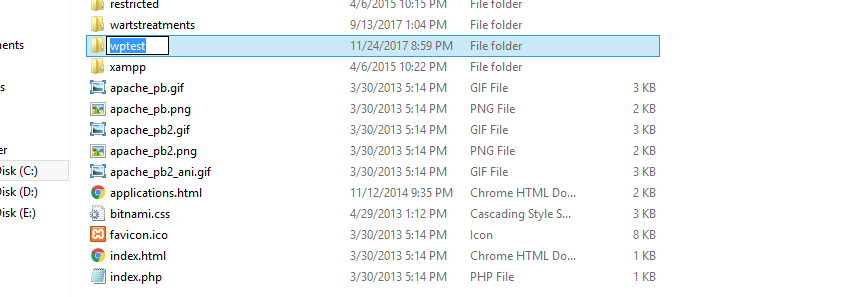
Rename the wordpress folder to the same name as the database previously created.
Here I have renamed it to wptest since it's the name of the database from the previous step.
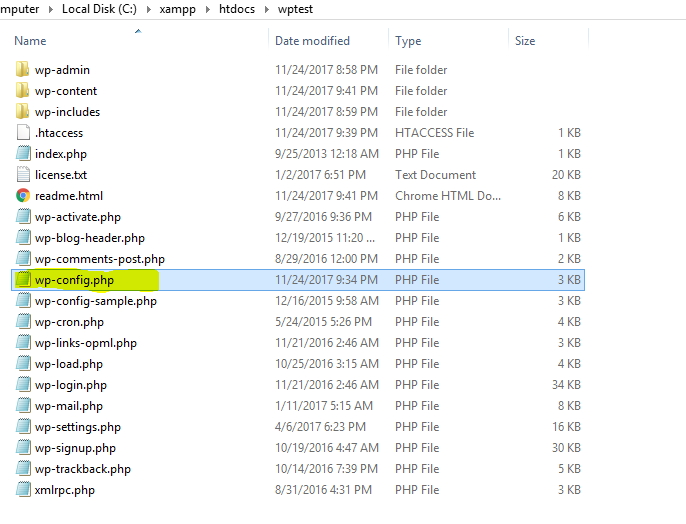
Now Open the folder. Locate wp-config.php file and open it.
Locate these code as shown below. Notice those highlighted parts.
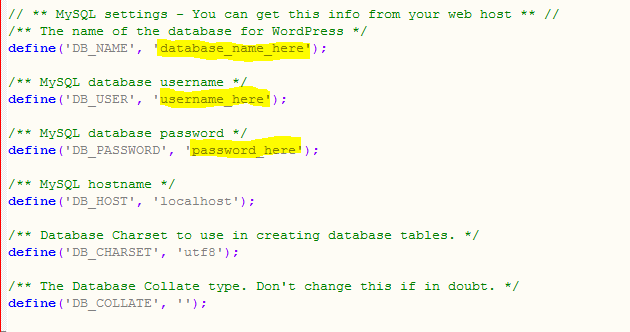
Now replace the highlighted parts above with the following.
database_name_here --> database name created previously.
username_here --> root
password_here --> blank
Using our database name it becomes like this.
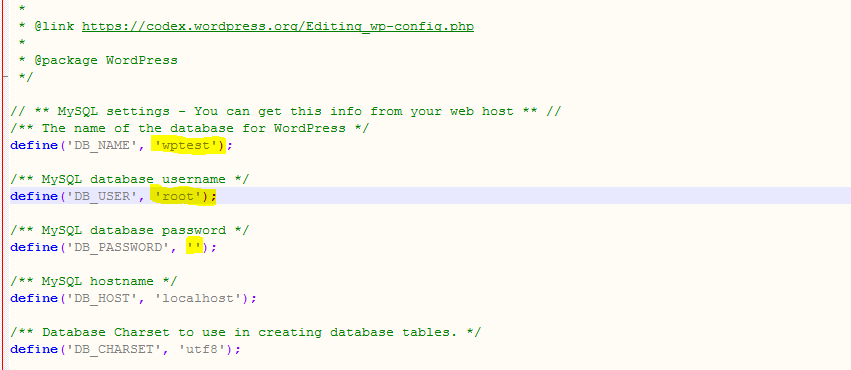
Save the file.
Now open localhost/foldername in the browser.
Here foldername means, the name of wordpress folder that you have copied inside htdocs. In general, it is the name of database.
wptest in our case here.
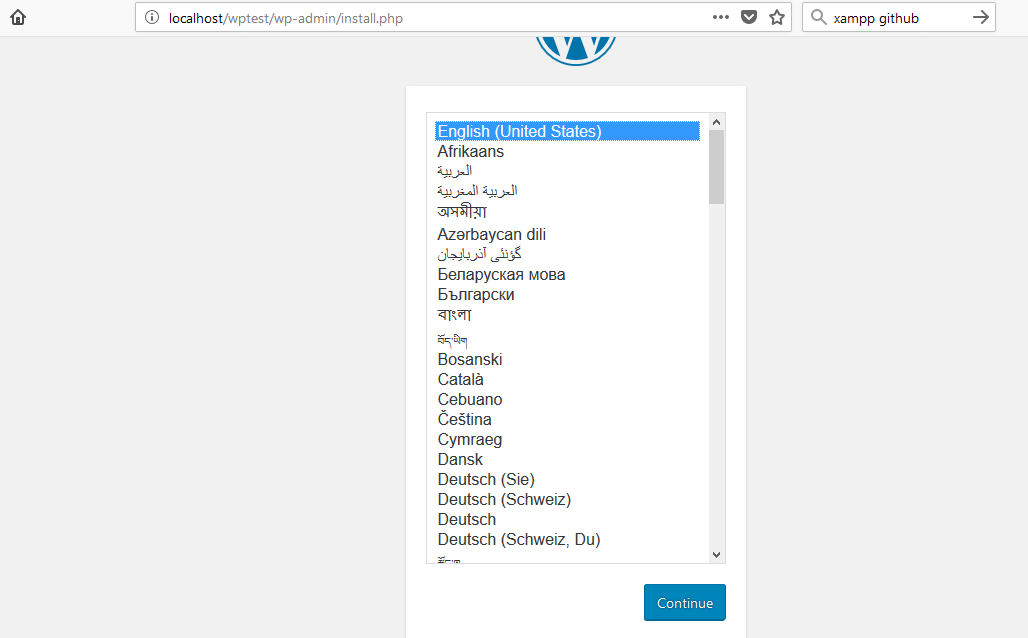
You will notice the following wordpress installation window. Select your preferred language and click on continue button.
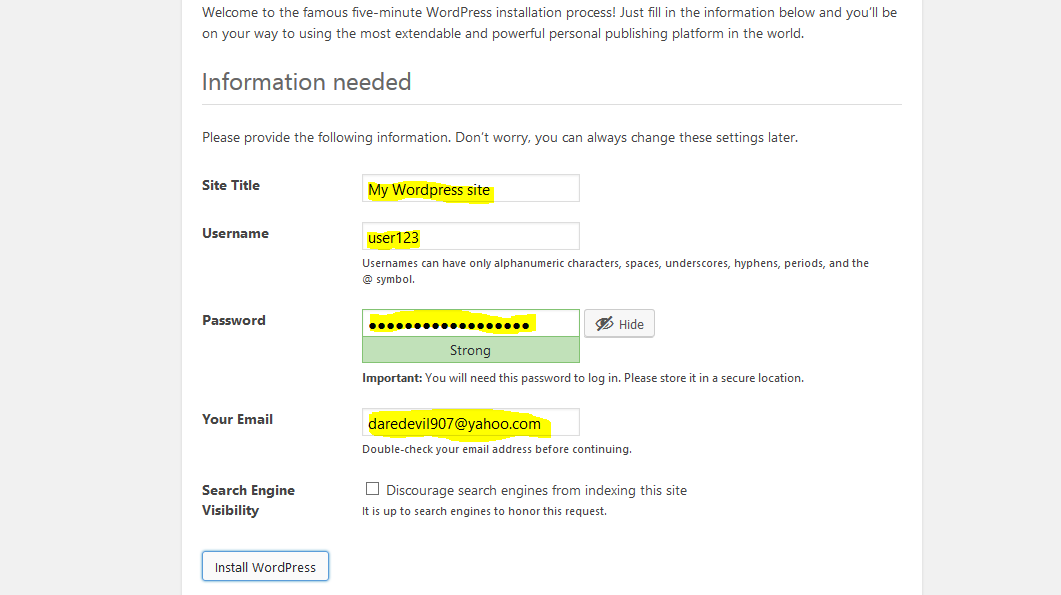
Now you will get the following window where you have options to set website title, username and password.
Enter your site title, set your username and password, enter your email address then you are ready to go.
Click on that install Wordpress button to finally install and setup wordpress in your local server.
Congratulations you have just successfully installed wordpress and created your new wordpress blog in your local server using xampp.
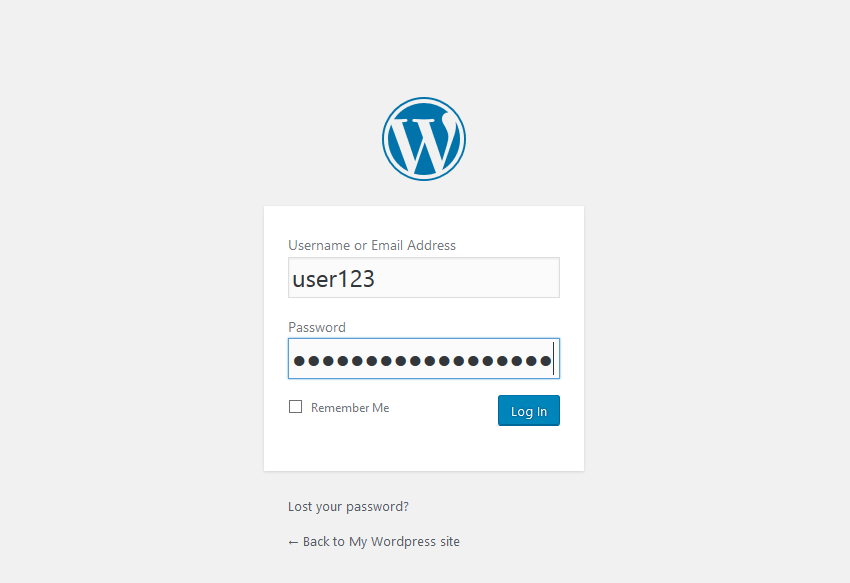
After completing installation enter your just created username and password to log in to your wordpress account.
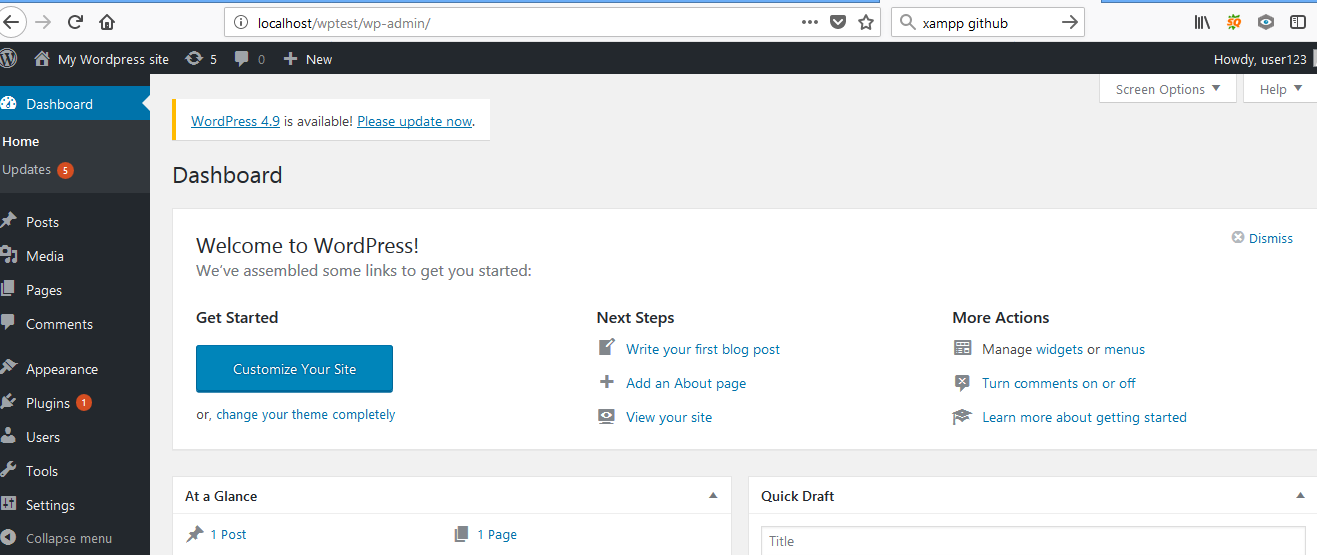
Here's your wordpress dashboard.
From here now you can write and customize your wordpress project before publishing it online.
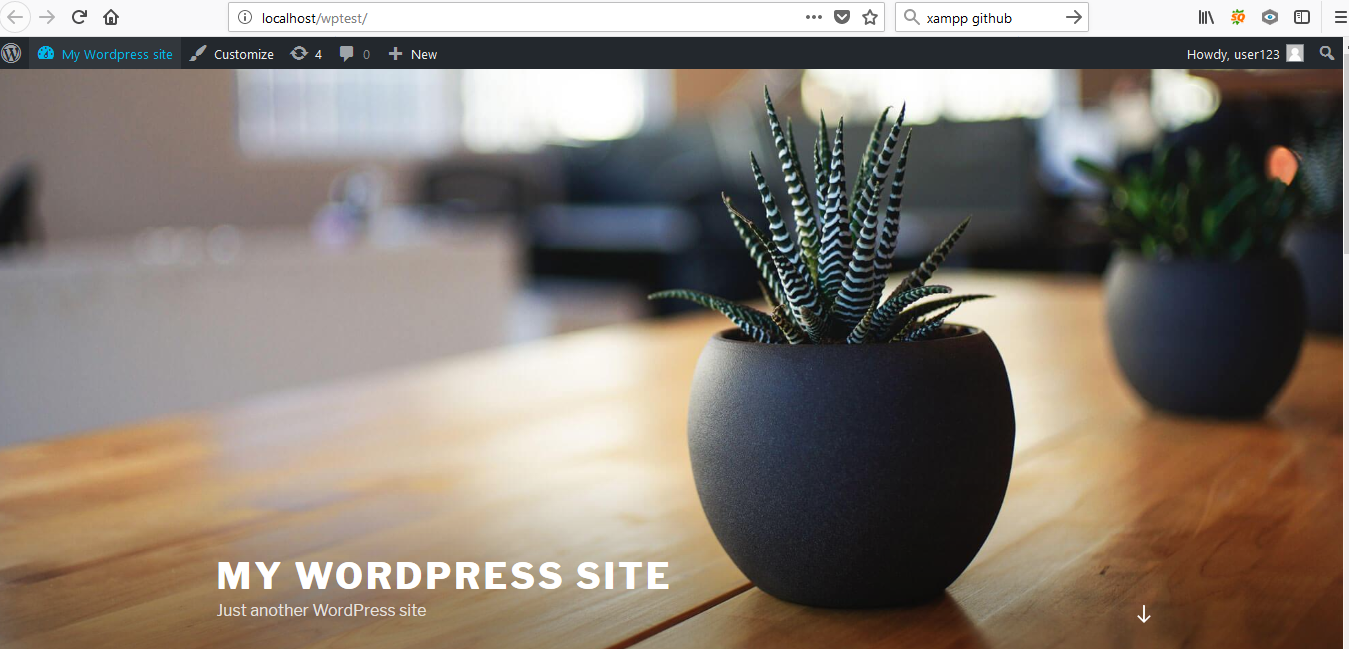
Check out your newly created homepage too.
I hope this tutorial will be helpful to install and customize wordpress site locally.
Posted on Utopian.io - Rewarding Open Source Contributors