Tutorial Kden Live Video Editor - Free open source software to edit your videos!
Hello, in this tutorial I'll show how to install Kden Live Video Editor on Windows and How to do a simple video creation and edition!
Kden live is a very useful tool to Video Bloggers and Video Editors, easy to use and with all features that a non free pro software offers. So let's begin
First we need to download the windows version
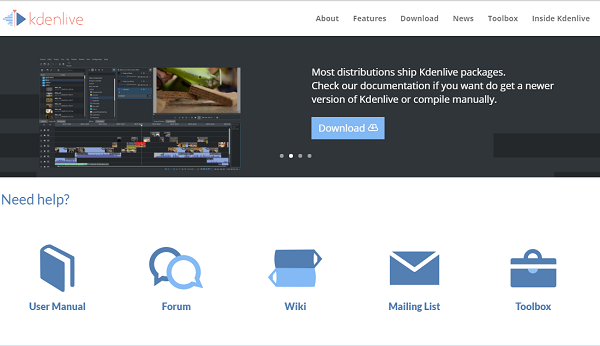
Go to: https://kdenlive.org/download/
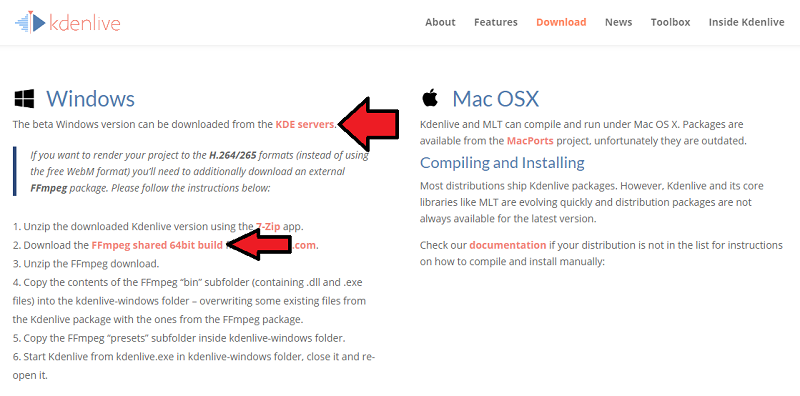
Click 'from RDE servers' to download Kden Live. Click 'ffmpeg shared 64bit build' to download ffmpeg package.
Open the first file 'Kdenlive 17.12.0-w64.7z'
Extract files to your prefer folder ( you can use PeaZip FOSS to do that)
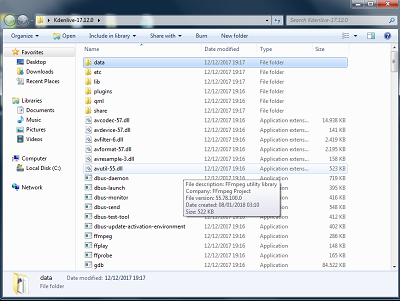
Result:
Open the second file 'ffmpeg-20171217-387ee1d-win64-shared.zip' ( you can use PeaZip FOSS to do that)
Extract files to any folder
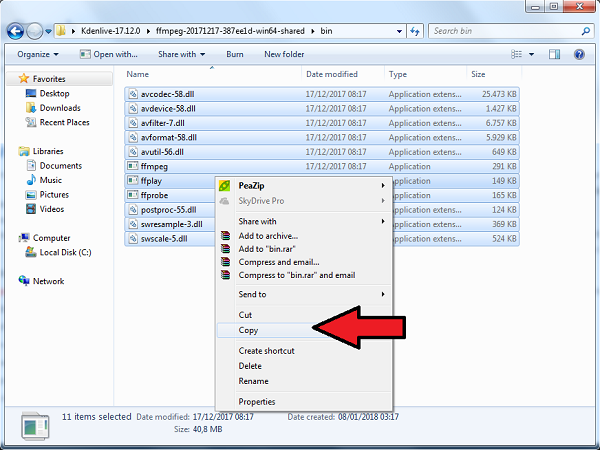
Open 'bin' sub-folder and copy all files.
Go to Kden Live windows folder you created when extracted the 'Kden Live 17.12.0.7z':
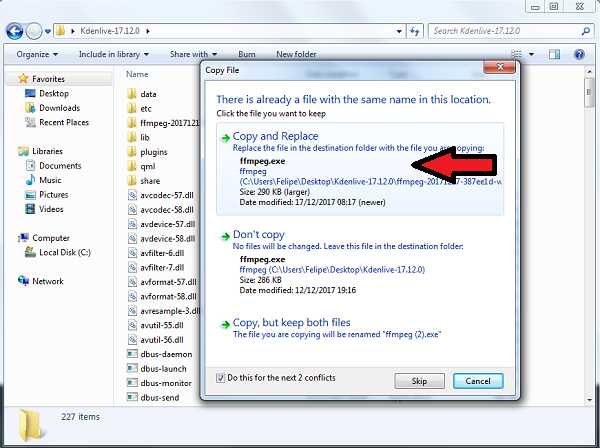
Copy and Replace all files
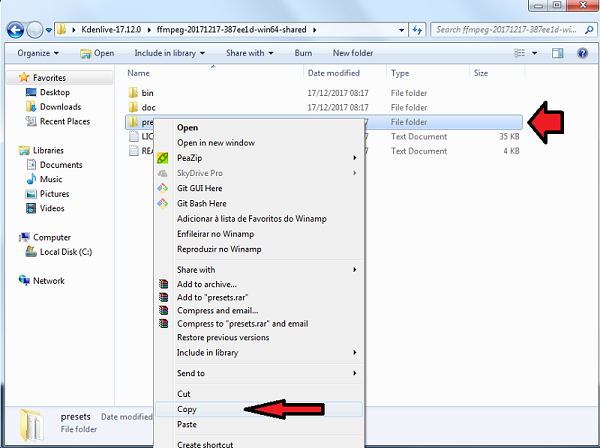
Go back to the 'ffmpeg-20171217-387ee1d-win64-shared' folder and Copy the sub-folder 'presets':
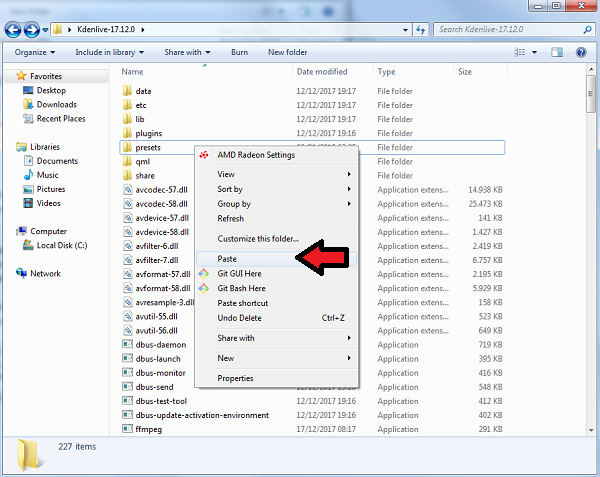
Go to Kden Live windows folder you created and copy 'presets' folder:
Now we are almost good to go! We need first to execute Kden Live and then close it, and execute it again to complete the installation
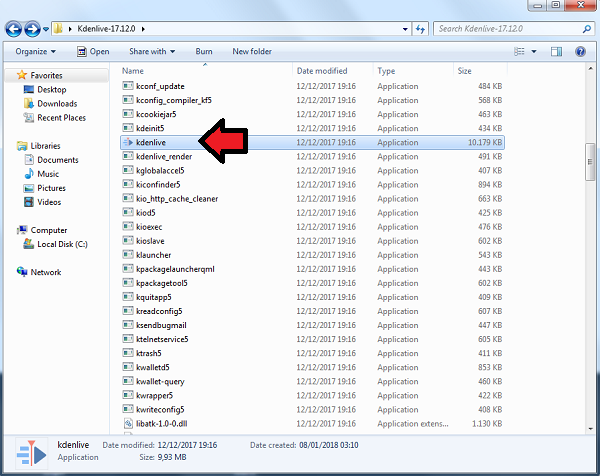
To run, Double Click on 'Kdenlive.exe'
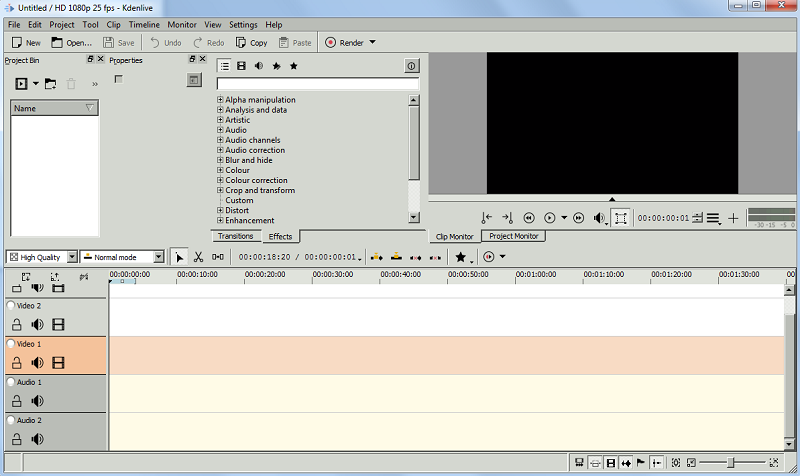
Great, now the Kden Live is successfully installed on your Windows:
Let's see how we do customization's
Adding Themes:
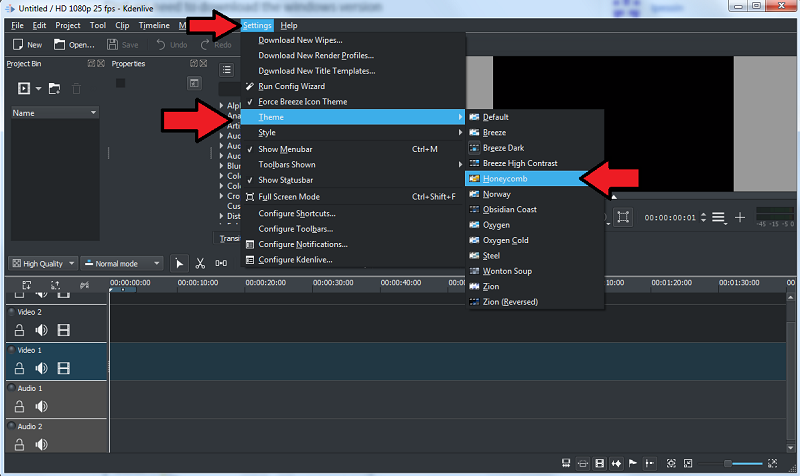
Click 'Settings' on the top panel. Select 'Themes' and choose your prefer theme. I choose here 'honeycomb'
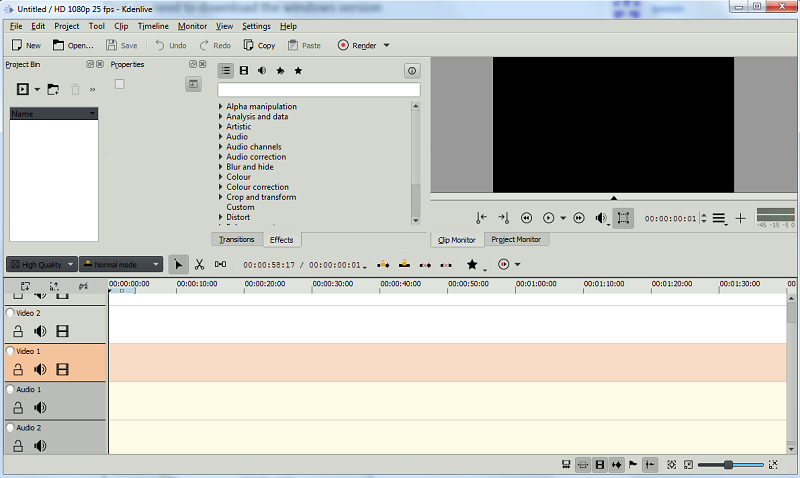
Result:
Adding Style:
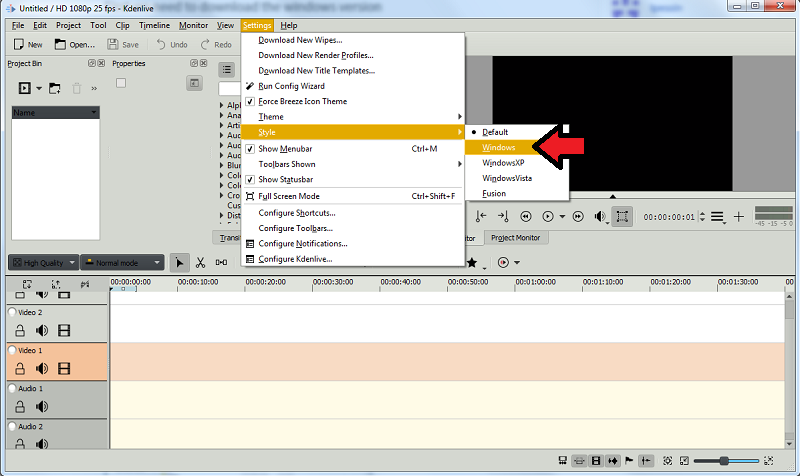
Click 'Settings' on the top panel. Select 'Style' and choose your prefer style. I choose here 'Windows'
Result:
Now let's start a project and see how to do basics
First Click 'New' > 'Project'
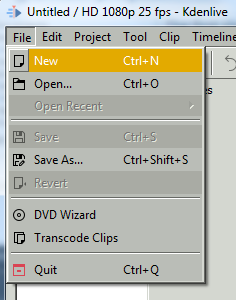
or press 'CTRL + N'
Settings:
Choose your destination folder for the project. Is very important to keep your projects folders organized, when you work with several projects this may get confuse if is not well placed.
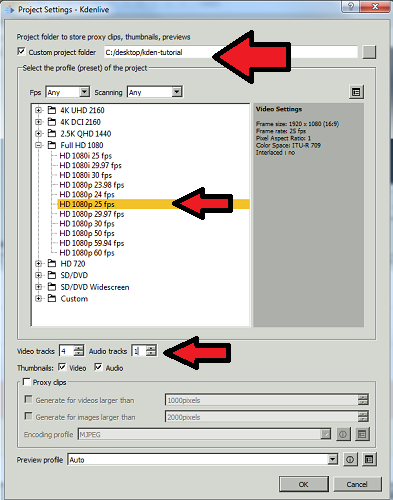
Choose the quality and how many video and audio tracks you need (you can add or remove then later)
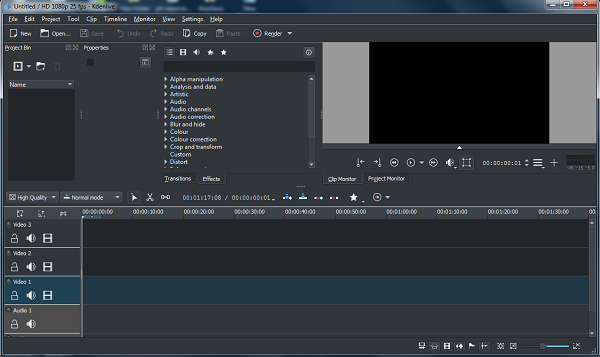
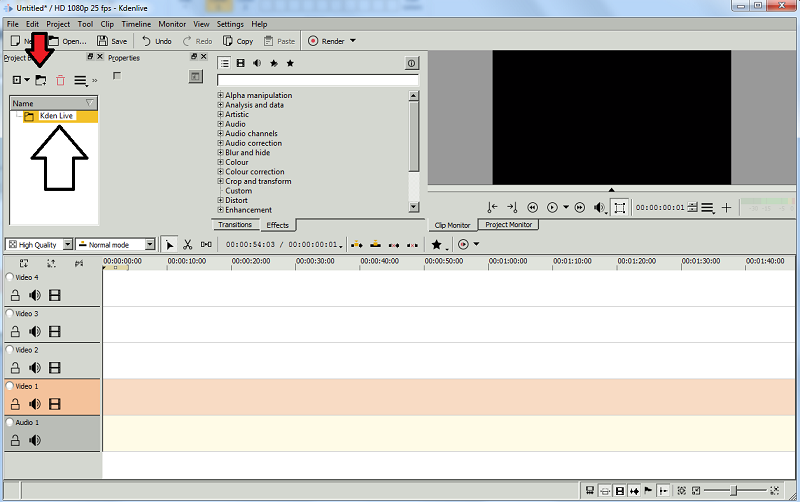
Result:
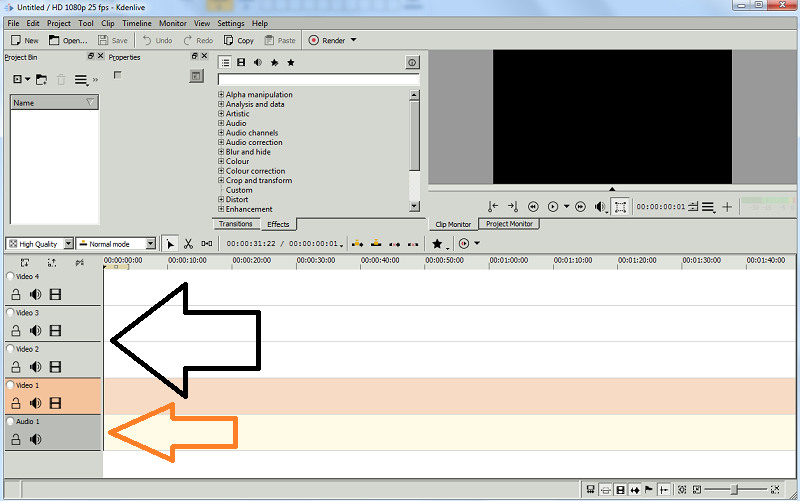
Nice we have our blank project with 4 videos and 1 audio track, as I chose before.
Now let's create a simple colored background video with one title, just to use as example on how to do a basic project video:
First we must create a folder inside our project panel:
Click 'Create Folder' and type a name.
Adding back ground color:
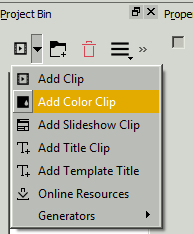
Select 'Add color clip'
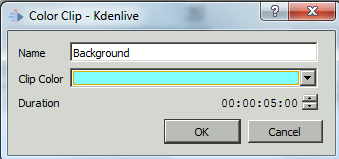
Choose a name, a color and set the duration time
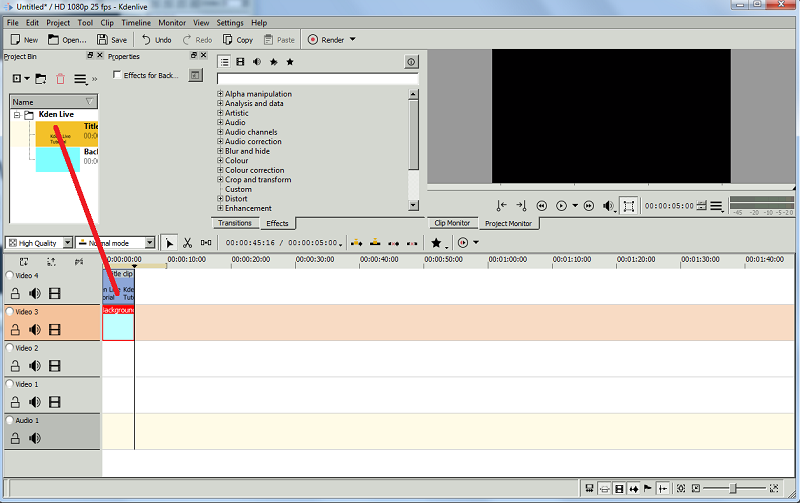
Now our color clip is inside our project folder:
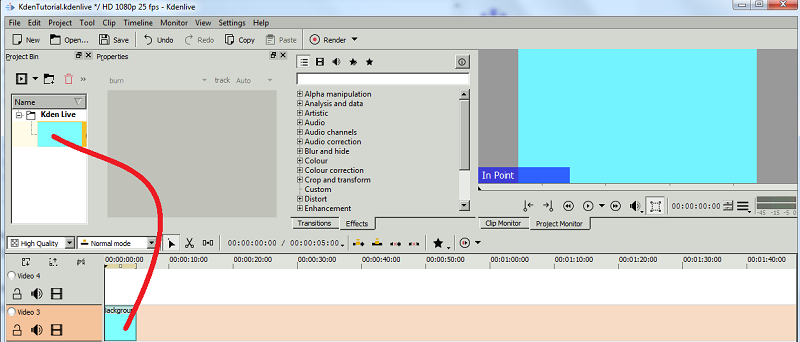
Click & Drag to the second video track in the Timeline to add it in the video. Now we got our color background clip inside, with duration of 5 secs.
Adding Title:
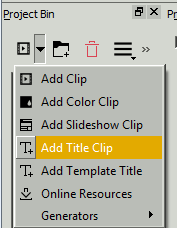
Click 'Add title clip'
This screen will open:
Select your prefer font style, select your font color and size
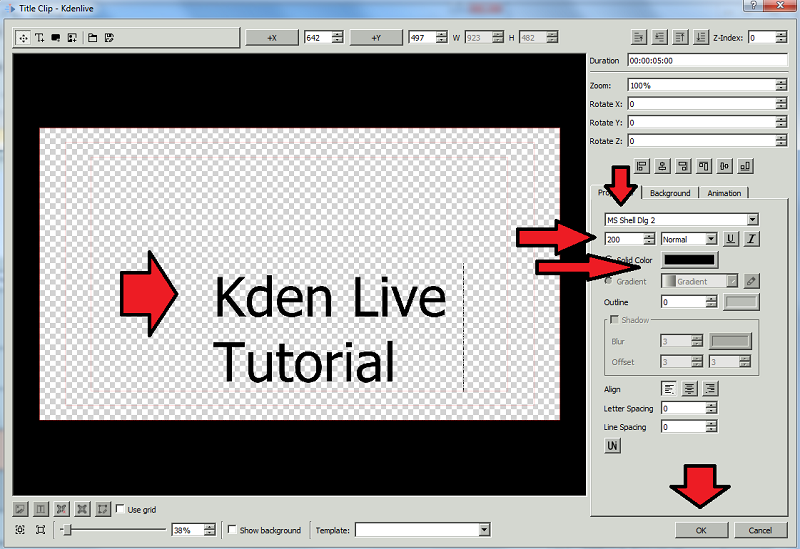
Double Click inside the panel and type your title. Click 'OK'
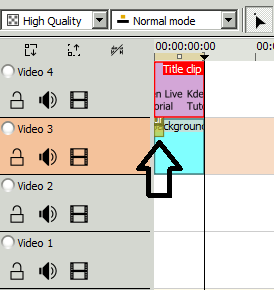
Now same as with the color clip, let's drag the title to our time line:
Click & Drag to the first video track in the Timeline. Now its added to our video.
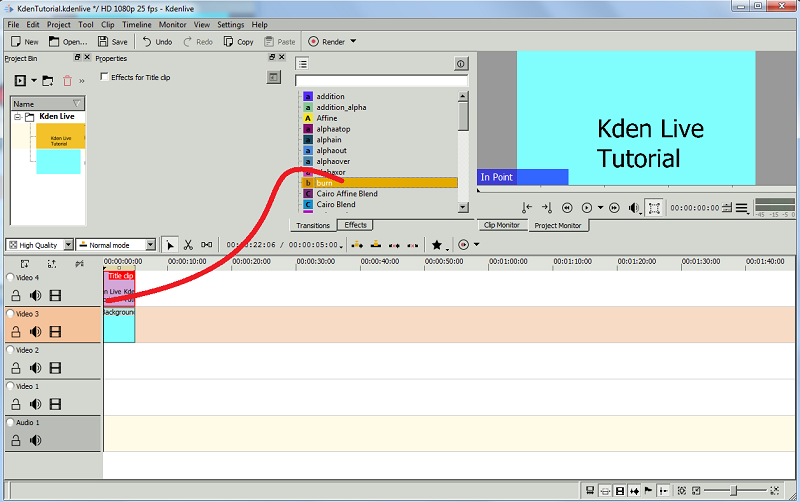
Adding Transitions:
Here we can see our title in our Timeline along with our background
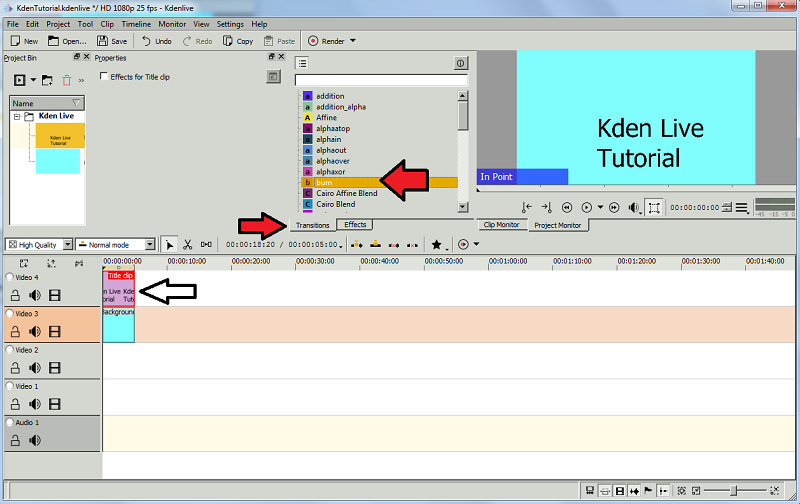
To add effects Click 'Transitions' and select one of the list. Here I chose 'Burn'
Click & Drag the transition chosen to the Timeline, inside our clips:
Result:
Great we have now our colored background video, with title and transiction

Click 'Play Zone' to see the result
Rendering:
Now that our project is good to go we need to render it in order to create a video file
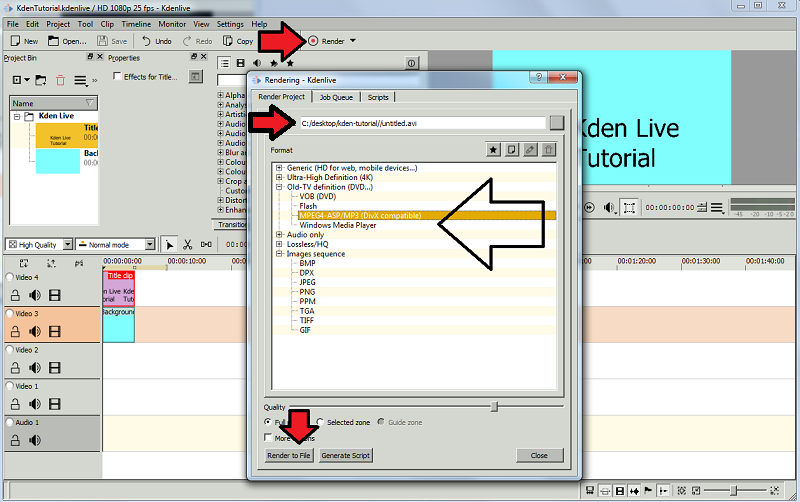
Click 'Render'. Choose the name for the file. Choose the video file type and Click 'Render to file'
Wait the process to complete and that's it !
A new video file was created !
Here is the result as a .GIF example:

End of Tutorial
That's all for today. I hope you all enjoyed.
Thank You
Posted on Utopian.io - Rewarding Open Source Contributors