In this tutorial, we will learn how to manage user accounts and create new users. Also, we will learn how to set restrictions, and assign permissions to users on the Ubuntu system.
Creating a New User
You need to perform the following tasks to create a new user account.
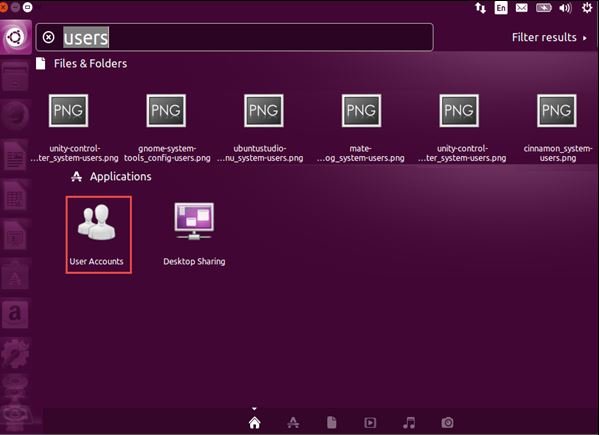
Step 1
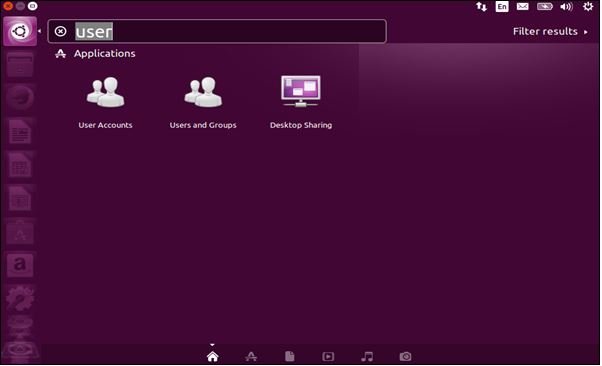
- Open the user management program by typing users in the search menu.
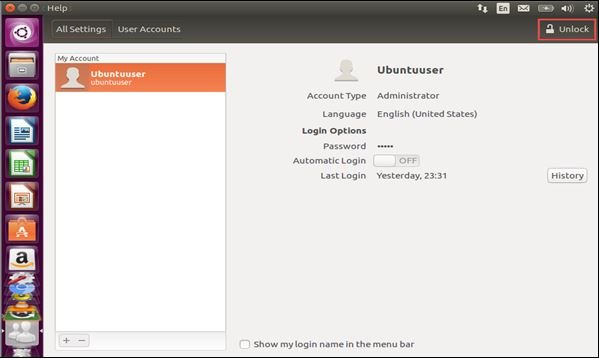
Step 2
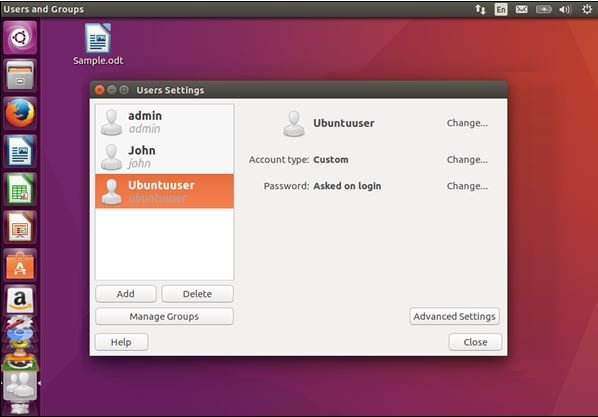
- After opening the user management console, click Unlock and enter your administrator password to unlock the settings.
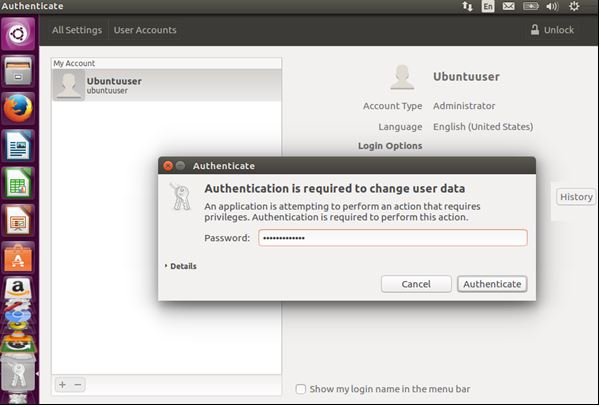
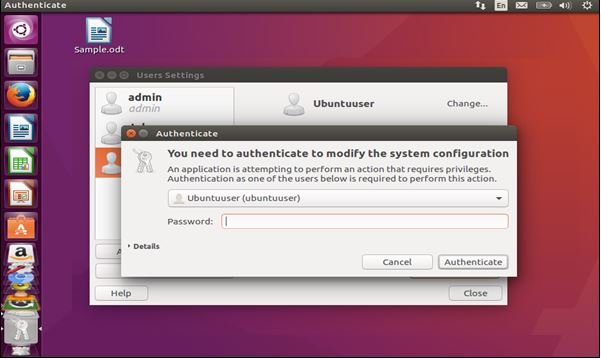
- Once you press Authenticate, the settings will be activated and enabled.
Step 3
- Press the "+" button to create a new user.
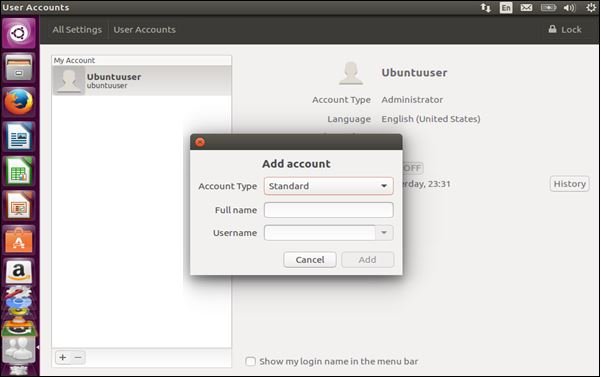
Step 4
- Fill in the user details: full name, user name and account type to create an Administrator account or a Standard account.
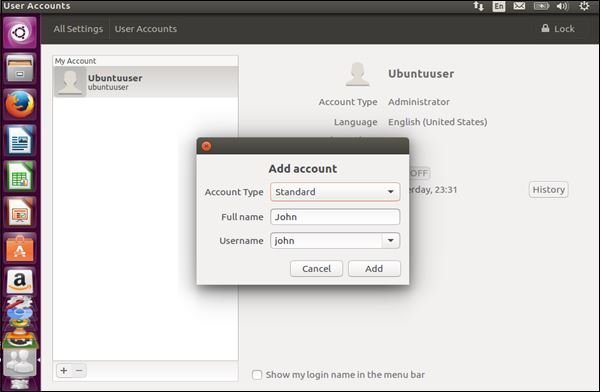
Step 5
- Click add to create the new user.
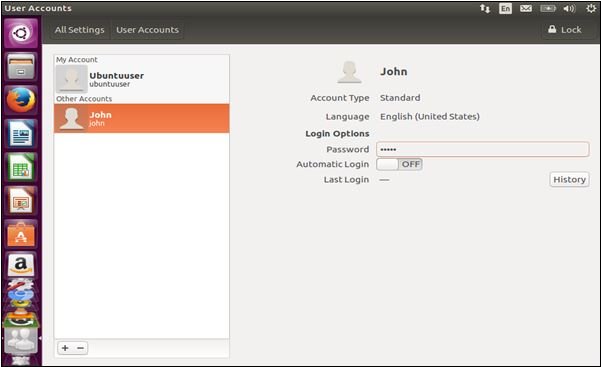
Enabling The New User Account
A new user account has been created, but the account is disabled because it doesn't have a password so we need to activate it by creating a password for this account.
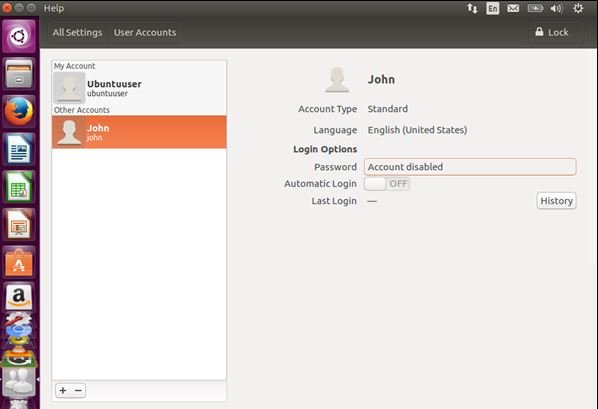
Follow the next steps to enable the new user account.
Step 1
- Click Account disabled option to create a password.
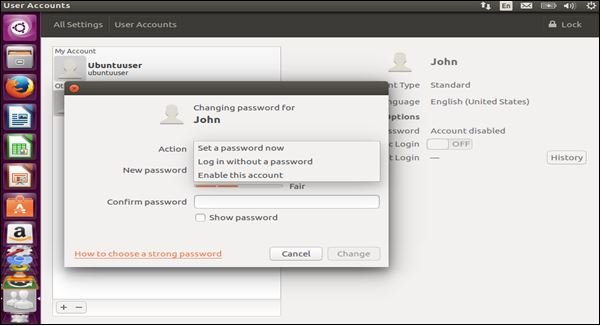
The first option is to set a password for the account, the second option gives you the ability to log on without a password, and the third option is to activate the user. The best option is to set a password.
Step 2
- Enter a password and click change.
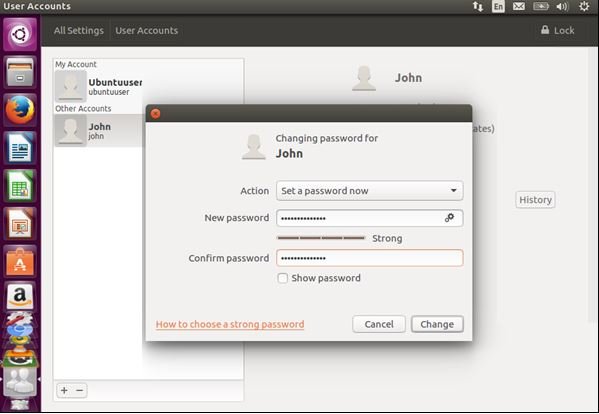
Step 3
Now, the new user account has been enabled and fully activated.
Managing User Permissions and Groups
To be able to manage User Permissions and Groups we need to install the required
gnome-system-tools package through the Terminal.
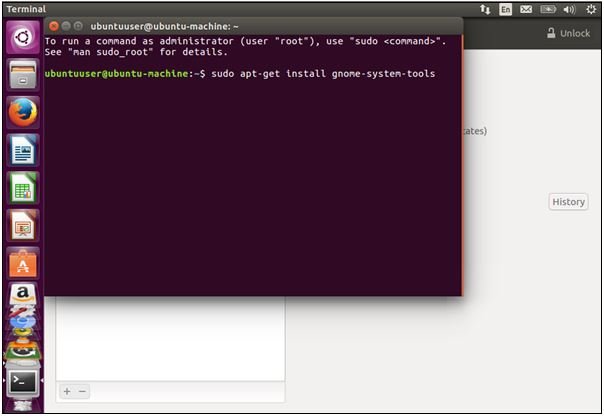
Step 1
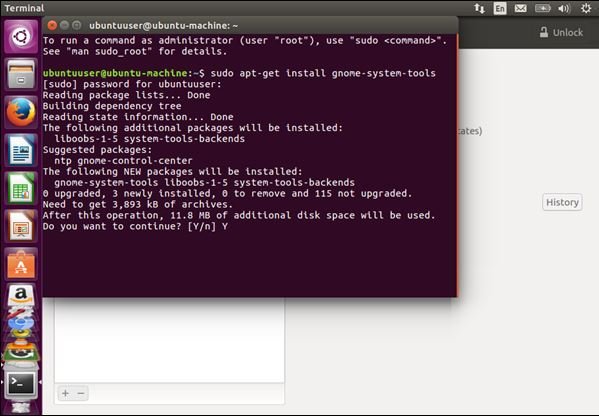
- Open the Terminal and execute the following command to install the required package:
sudo apt-get install gnome-system-tools
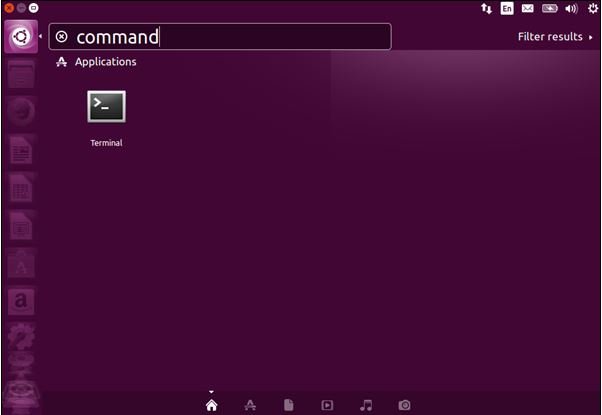
Step 2
- After the installation of the required package is complete, open the users and groups option by searching for user in the Ubuntu search tool.
Step 3
- Select the desired user account and press Advanced settings. You will be asked to enter the password of the current logged on user, enter the password and click the Authenticate button.
Step 4
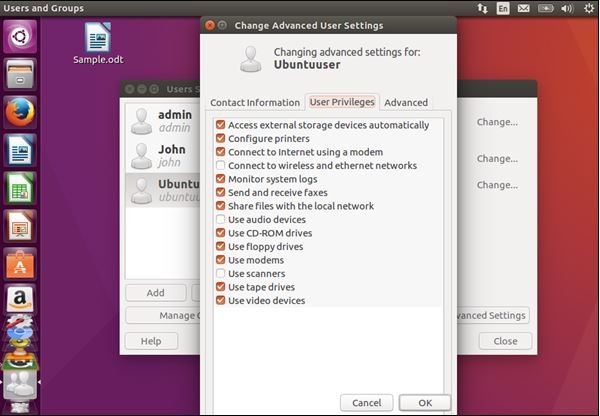
- A new window will open up, and on the user privileges tab you can assign / remove the privileges you want for that specific user.
Step 5
- If you want to manage groups, and add or delete a group, click the Groups option.
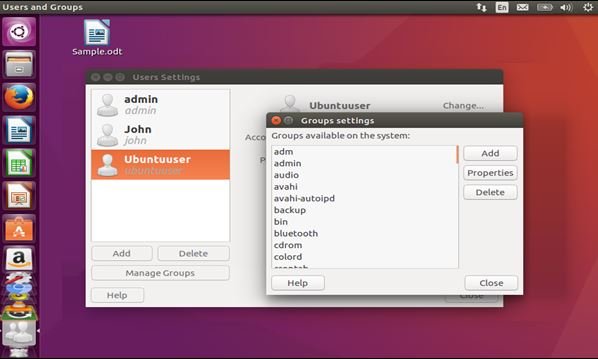
Step 6
- Click the Add button to add a group.
Step 7
- A new window will open up where you can name the group and add users to that group.
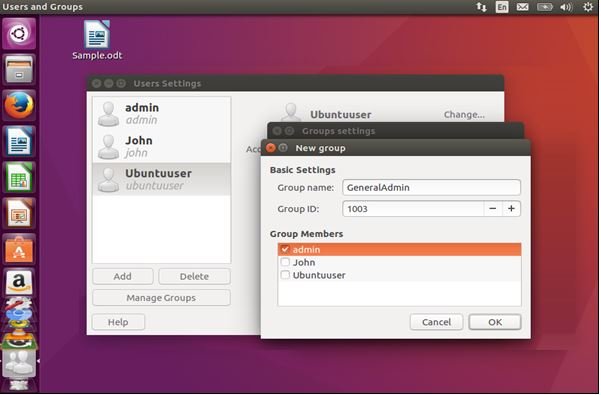
Step 8
- Last, click OK to create your group.
It is the end of today's tutorial. Thank you
Posted on Utopian.io - Rewarding Open Source Contributors