Dear Artists,
As before last step we will add a "3D Element" to the canvas.
In case you missed the previous parts, here they are :
[EN]🎨 BecomeTheArtist – Art Lesson #11 – Applying Decopatch – Art Project #3 (1/6) Black & Red Mixed Media Acrylic Painting [available in EN/DE/FR]
[EN]🎨 BecomeTheArtist – Art Lesson #12 – Create structure with masking tape – Art Project #3 (2/6) Black +Red Mixed Media Acrylic Painting [available in EN/DE/FR]
[EN]🎨 BecomeTheArtist – Art Lesson #13 – Soft transition between colours with a sponge – Art Project #3 (3/6) Black +Red Mixed Media Acrylic Painting [available in EN/DE/FR]
[EN]🎨 BecomeTheArtist – Art Lesson #14 – Circles – Art Project #3 (4/6) Black +Red Mixed Media Acrylic Painting [available in EN/DE/FR]
Have fun!
❀ a piece of packing padding
❀ black spray paint
❀ red acrylic paint
❀ paper tissue
❀ scissors
❀ hot glue
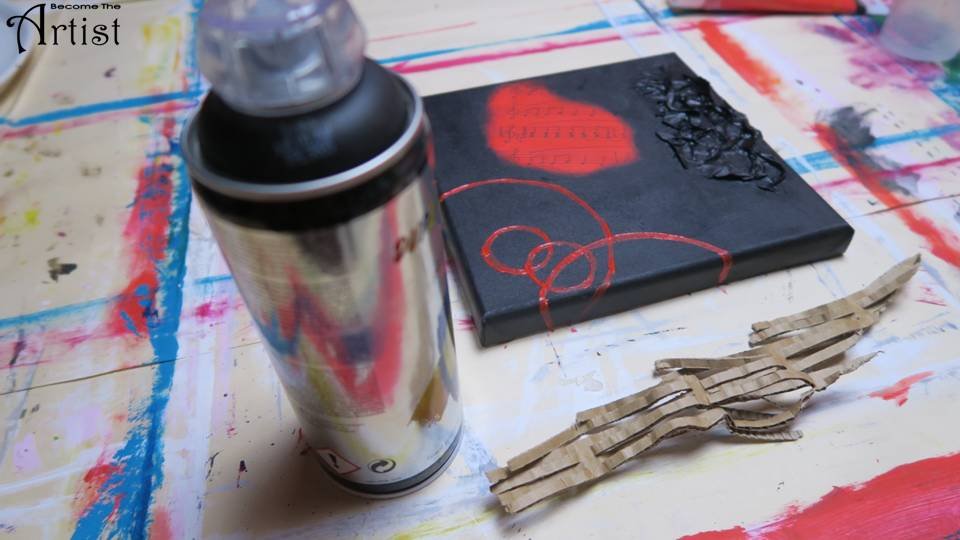
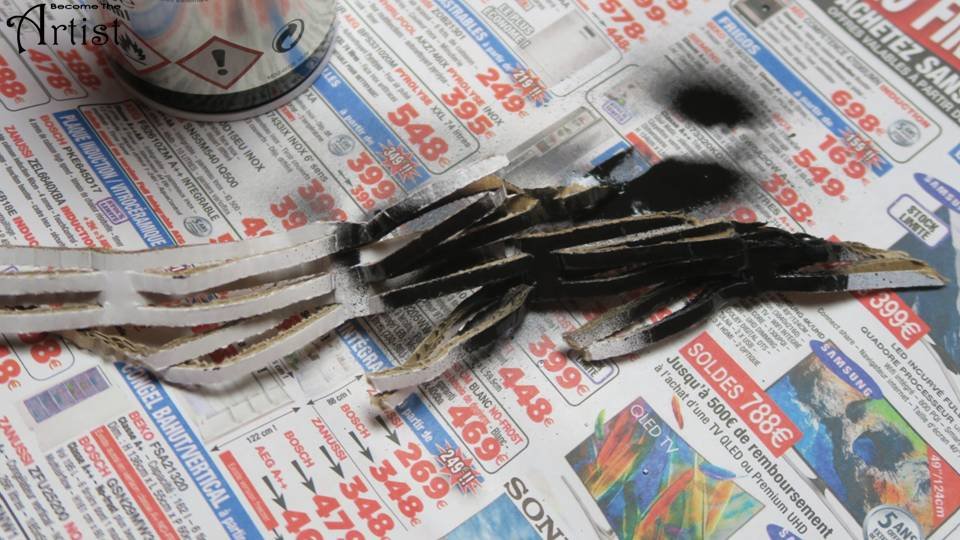
As a first step I painted my piece of packing padding in black using the spray paint.
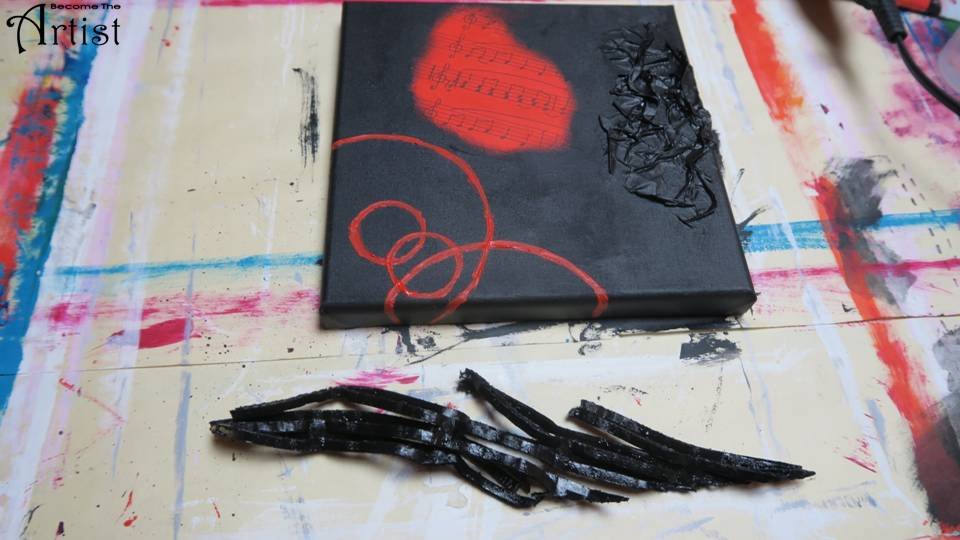
Then I placed it onto my canvas and cut it to the wished size.
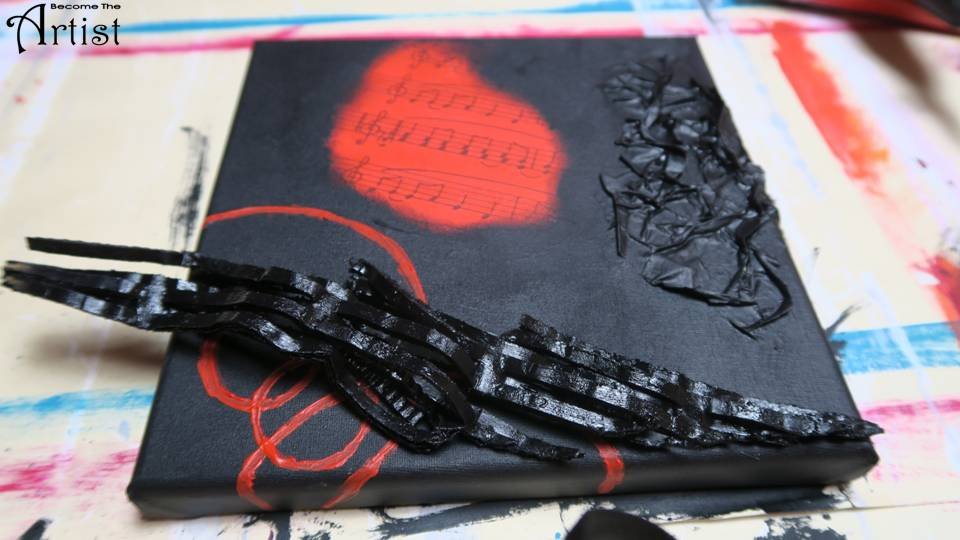
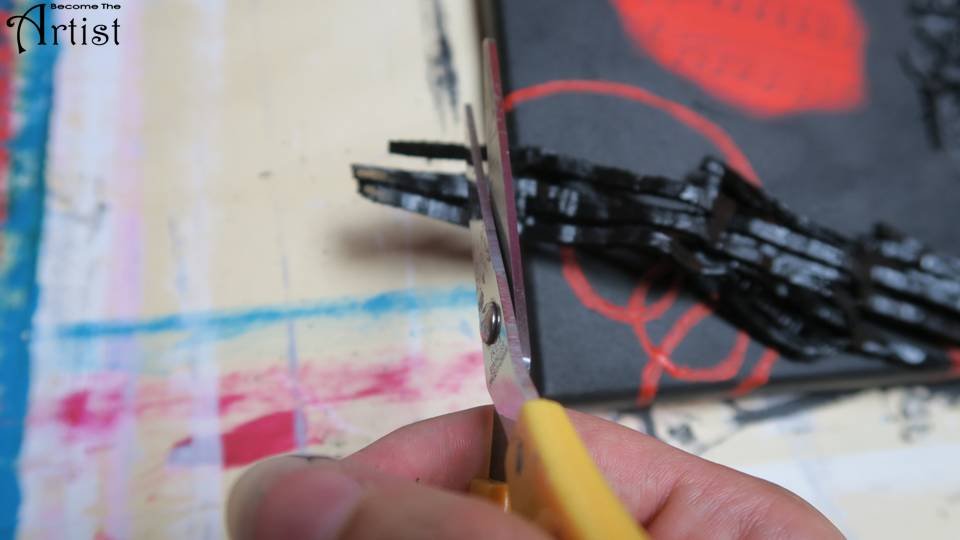
Now I sticked it onto the canvas with the hot glue :
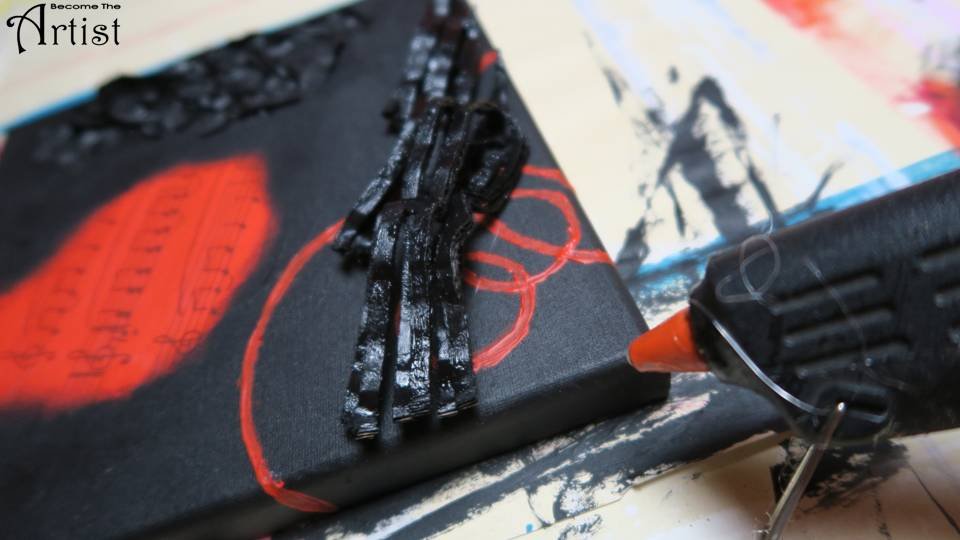
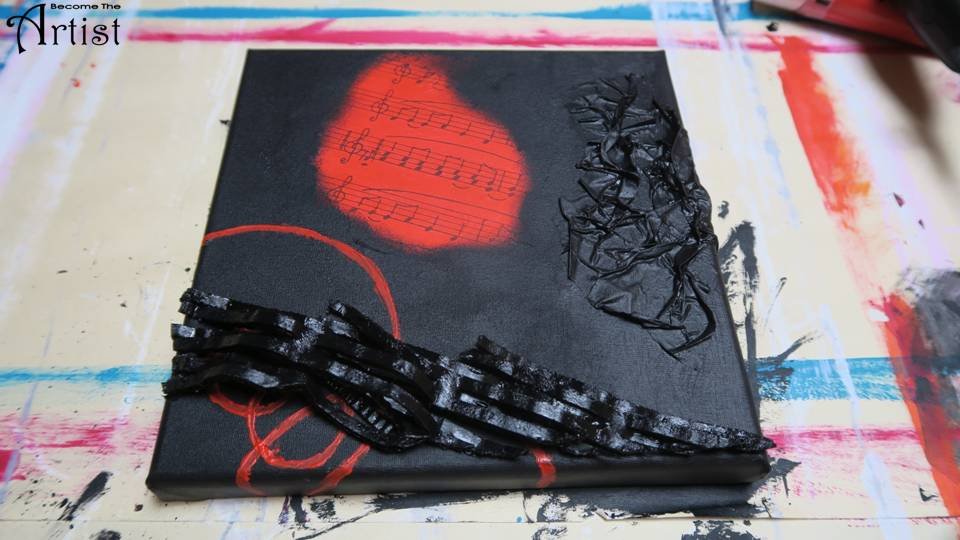
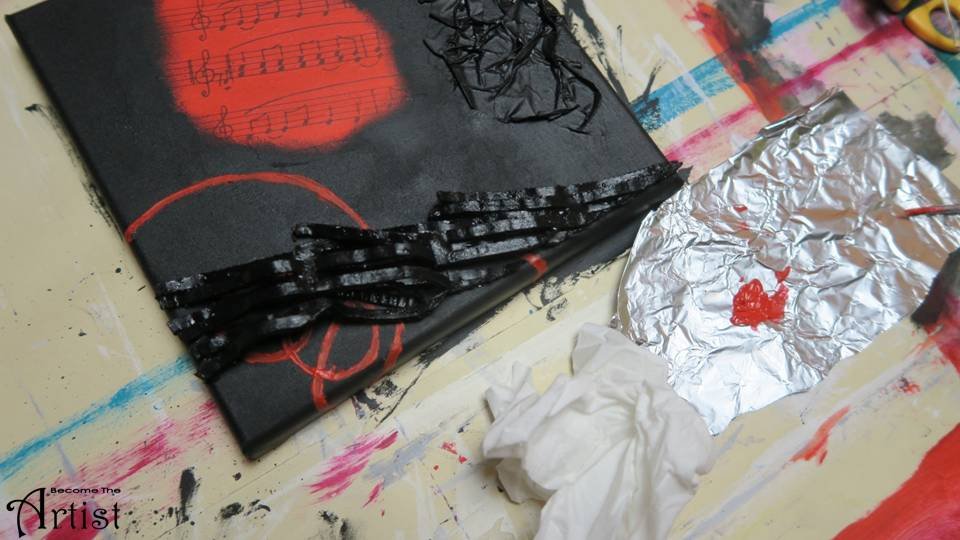
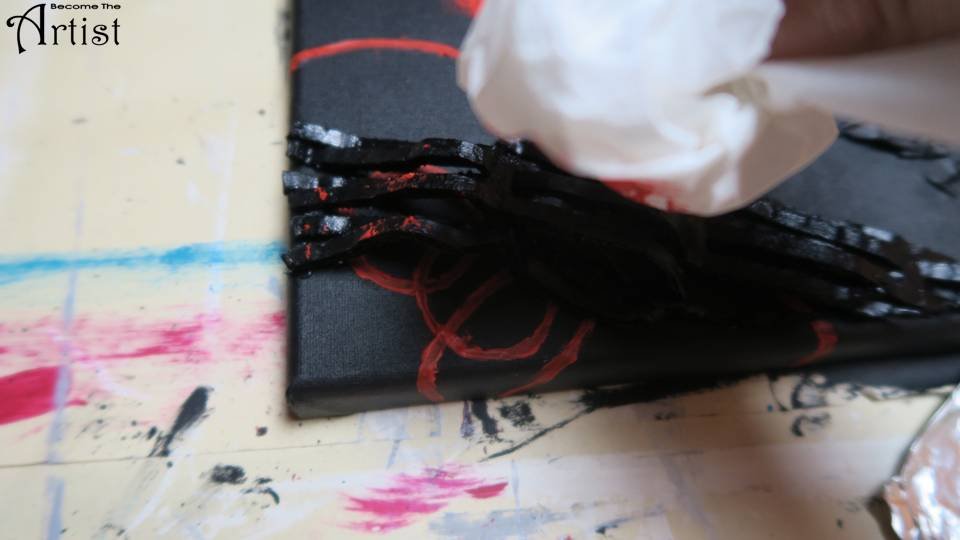
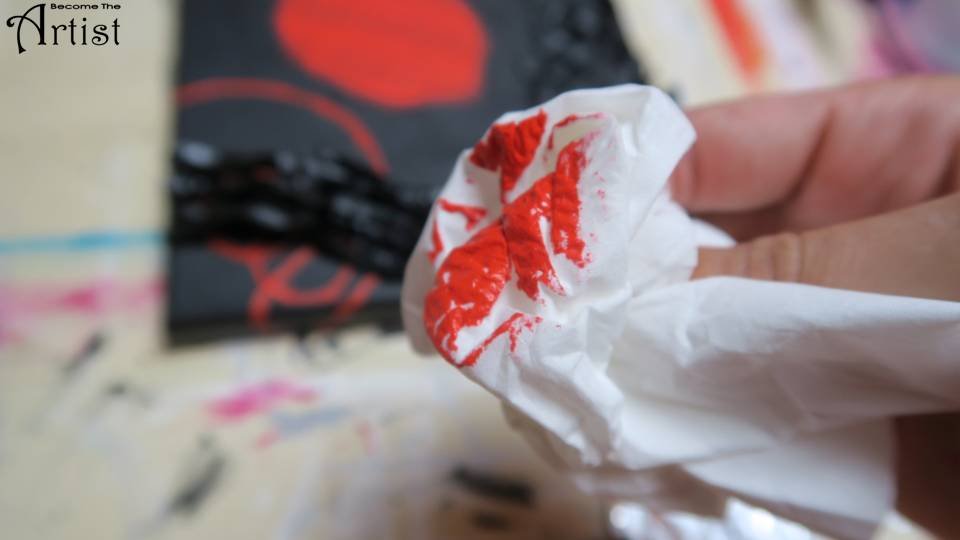
This is it :
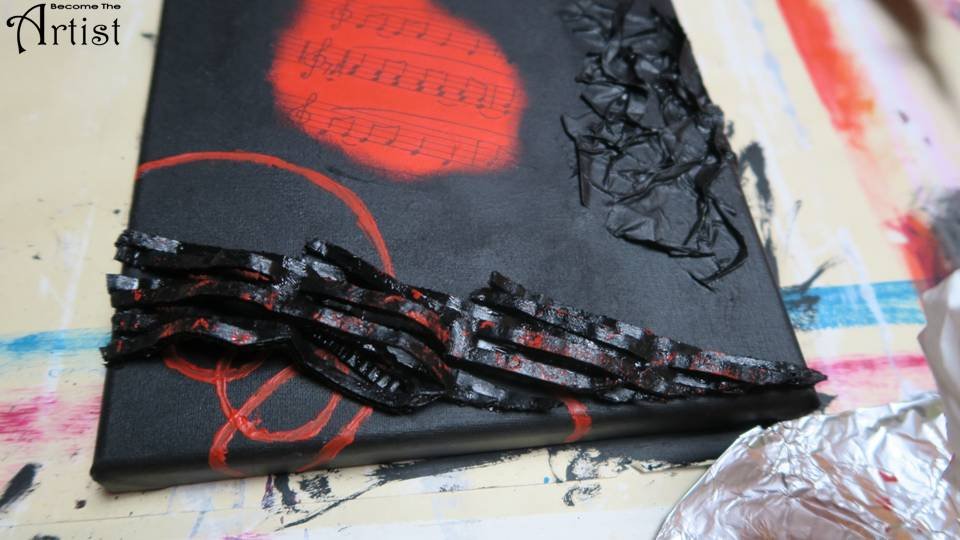
One more step to go and the final touch!
Are you curious to see the final result?
See you soon!
BecomeTheArtist 🌷

All my articles are available in 3 languages (EN/DE/FR) under @BecomeTheArtist
The art lessons can easily be found back under following tags :
[EN] #BecomeTheArtistEN-Lesson
[DE] # BecomeTheArtistDE-Lesson
[FR] # BecomeTheArtistFR-Lesson
