as the ceramic tesserae come out of the glaze firing (kiln), I put them together on top of the drawing
If you’ve followed my posts, you know that I’ve been a ceramic artist for about 25 years and most of that time has been spent making ceramic mosaics or specialty tile commissioned by clients. These days I’ve specialized even further to meet the changes to the economy and the effects of global trade in the US., and now focus on creating the kind of mosaics and tile that factories avoid making because it’s too fussy, too personal or doesn’t make financial sense for large scale reproduction.
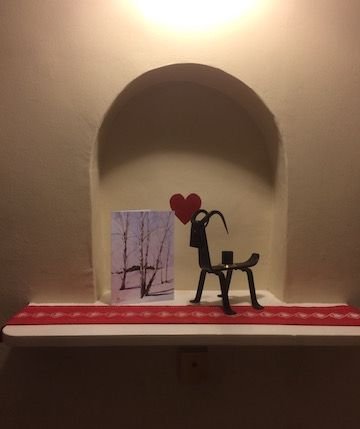
A few of my posts in the past 3 weeks have been about a very small mosaic made for a couple in their late 50s here in Portland, Oregon. They have an alcove that they would like to fill with a focal piece of art and for this mosaic to reflect what they love - their garden and each other. The birds and plants were chosen because they are their favorites.
The basic structure of a commission, almost any of my commissions tends to be something like this:
meeting with the client to get to know them, their vision and possibly their space-
drawing up my design -
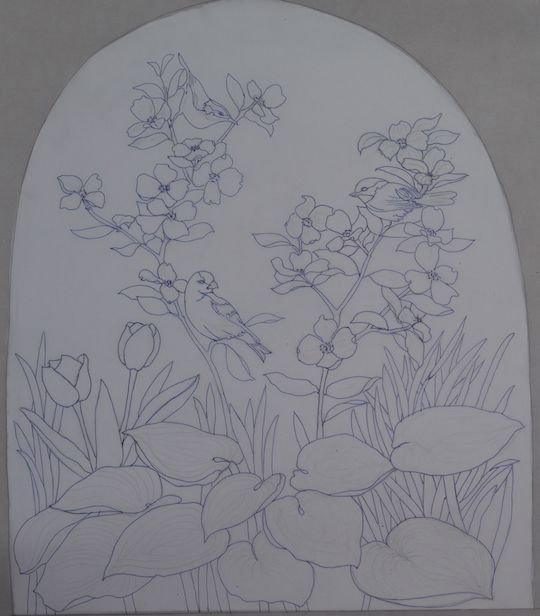
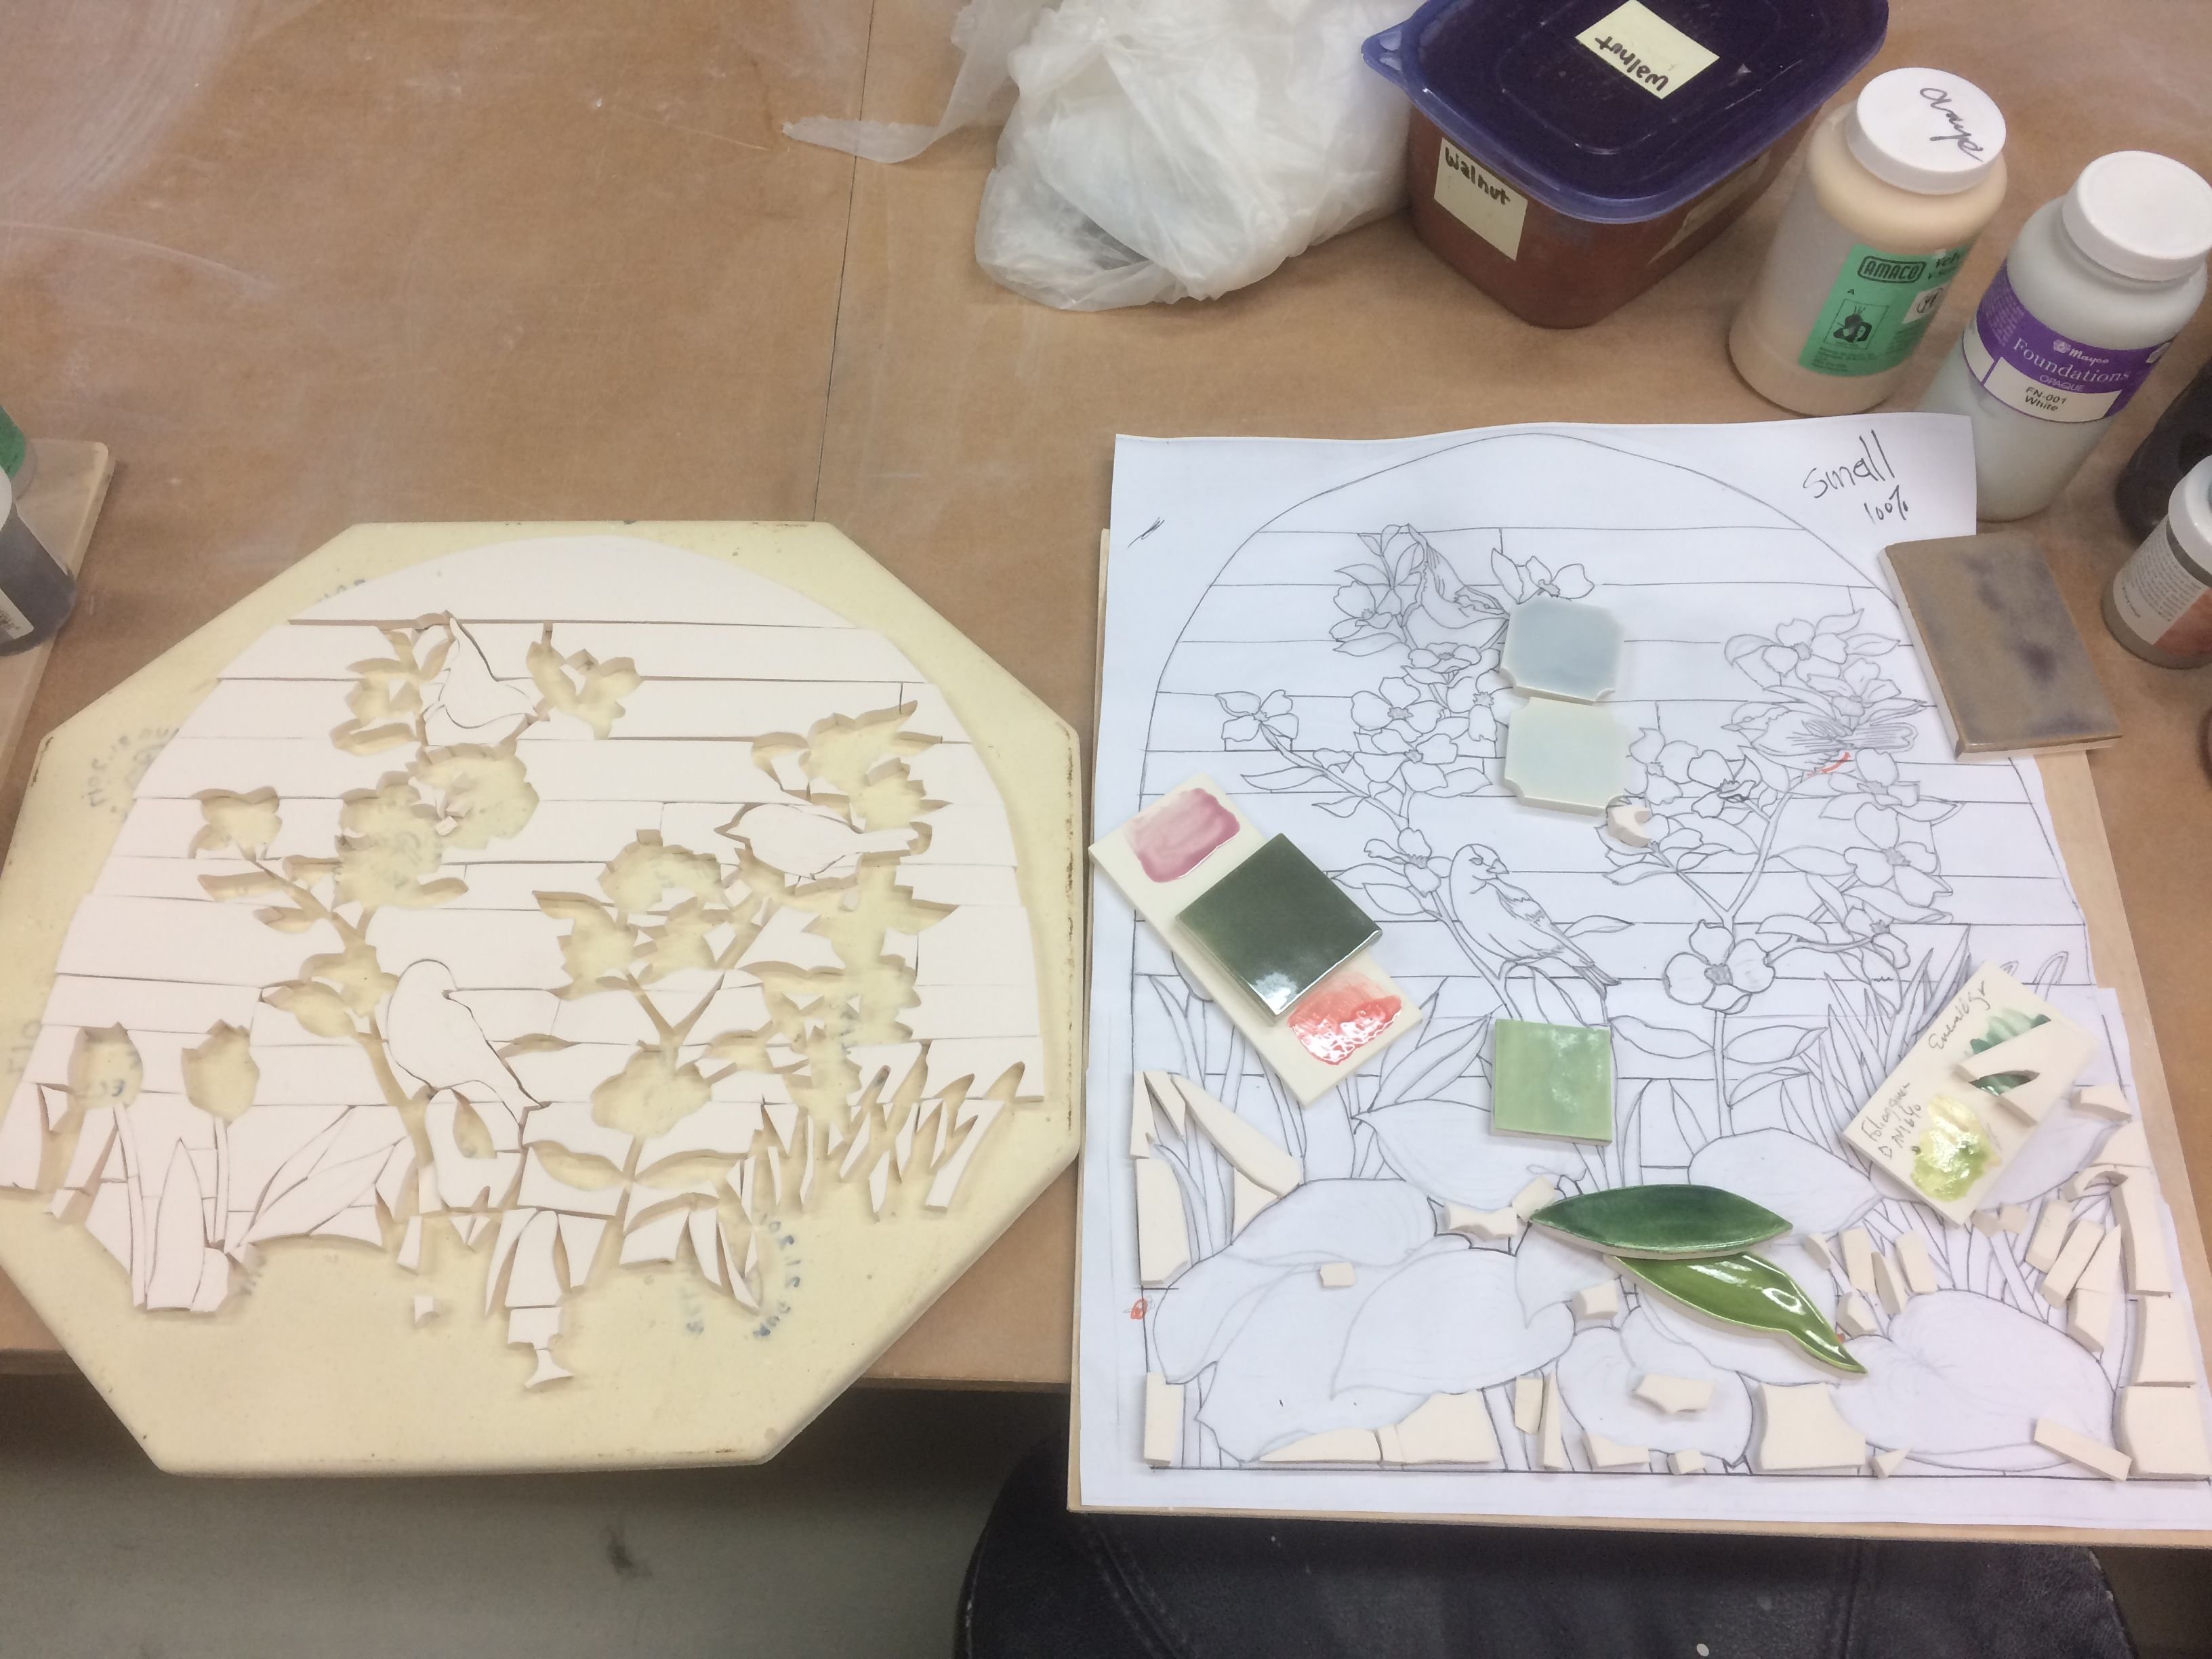
determine the palette and then show both drawing and palette to client -
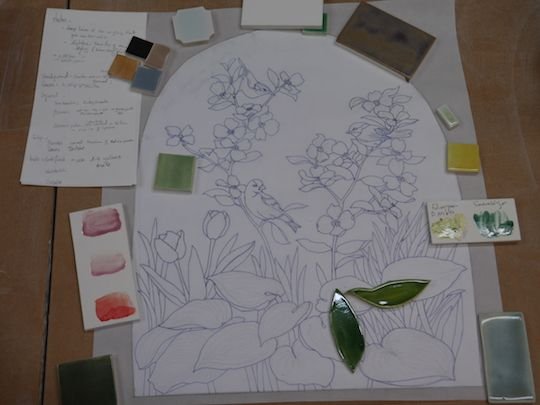
Next I make slight revisions as needed and show the changes to the client for approval.
All of the above steps can happen digitally or in person depending on the location of the project as well as the preferences of the client. Usually if it’s a local project the client enjoys studio visits so much of this occurs in person. However every client I’ve ever had enjoys having a connection with the process in some capacity so I always email or text photos at key moments showing progress.
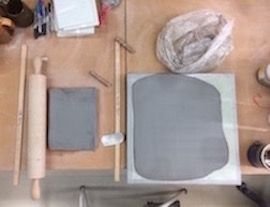
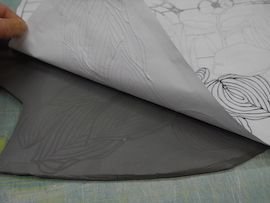
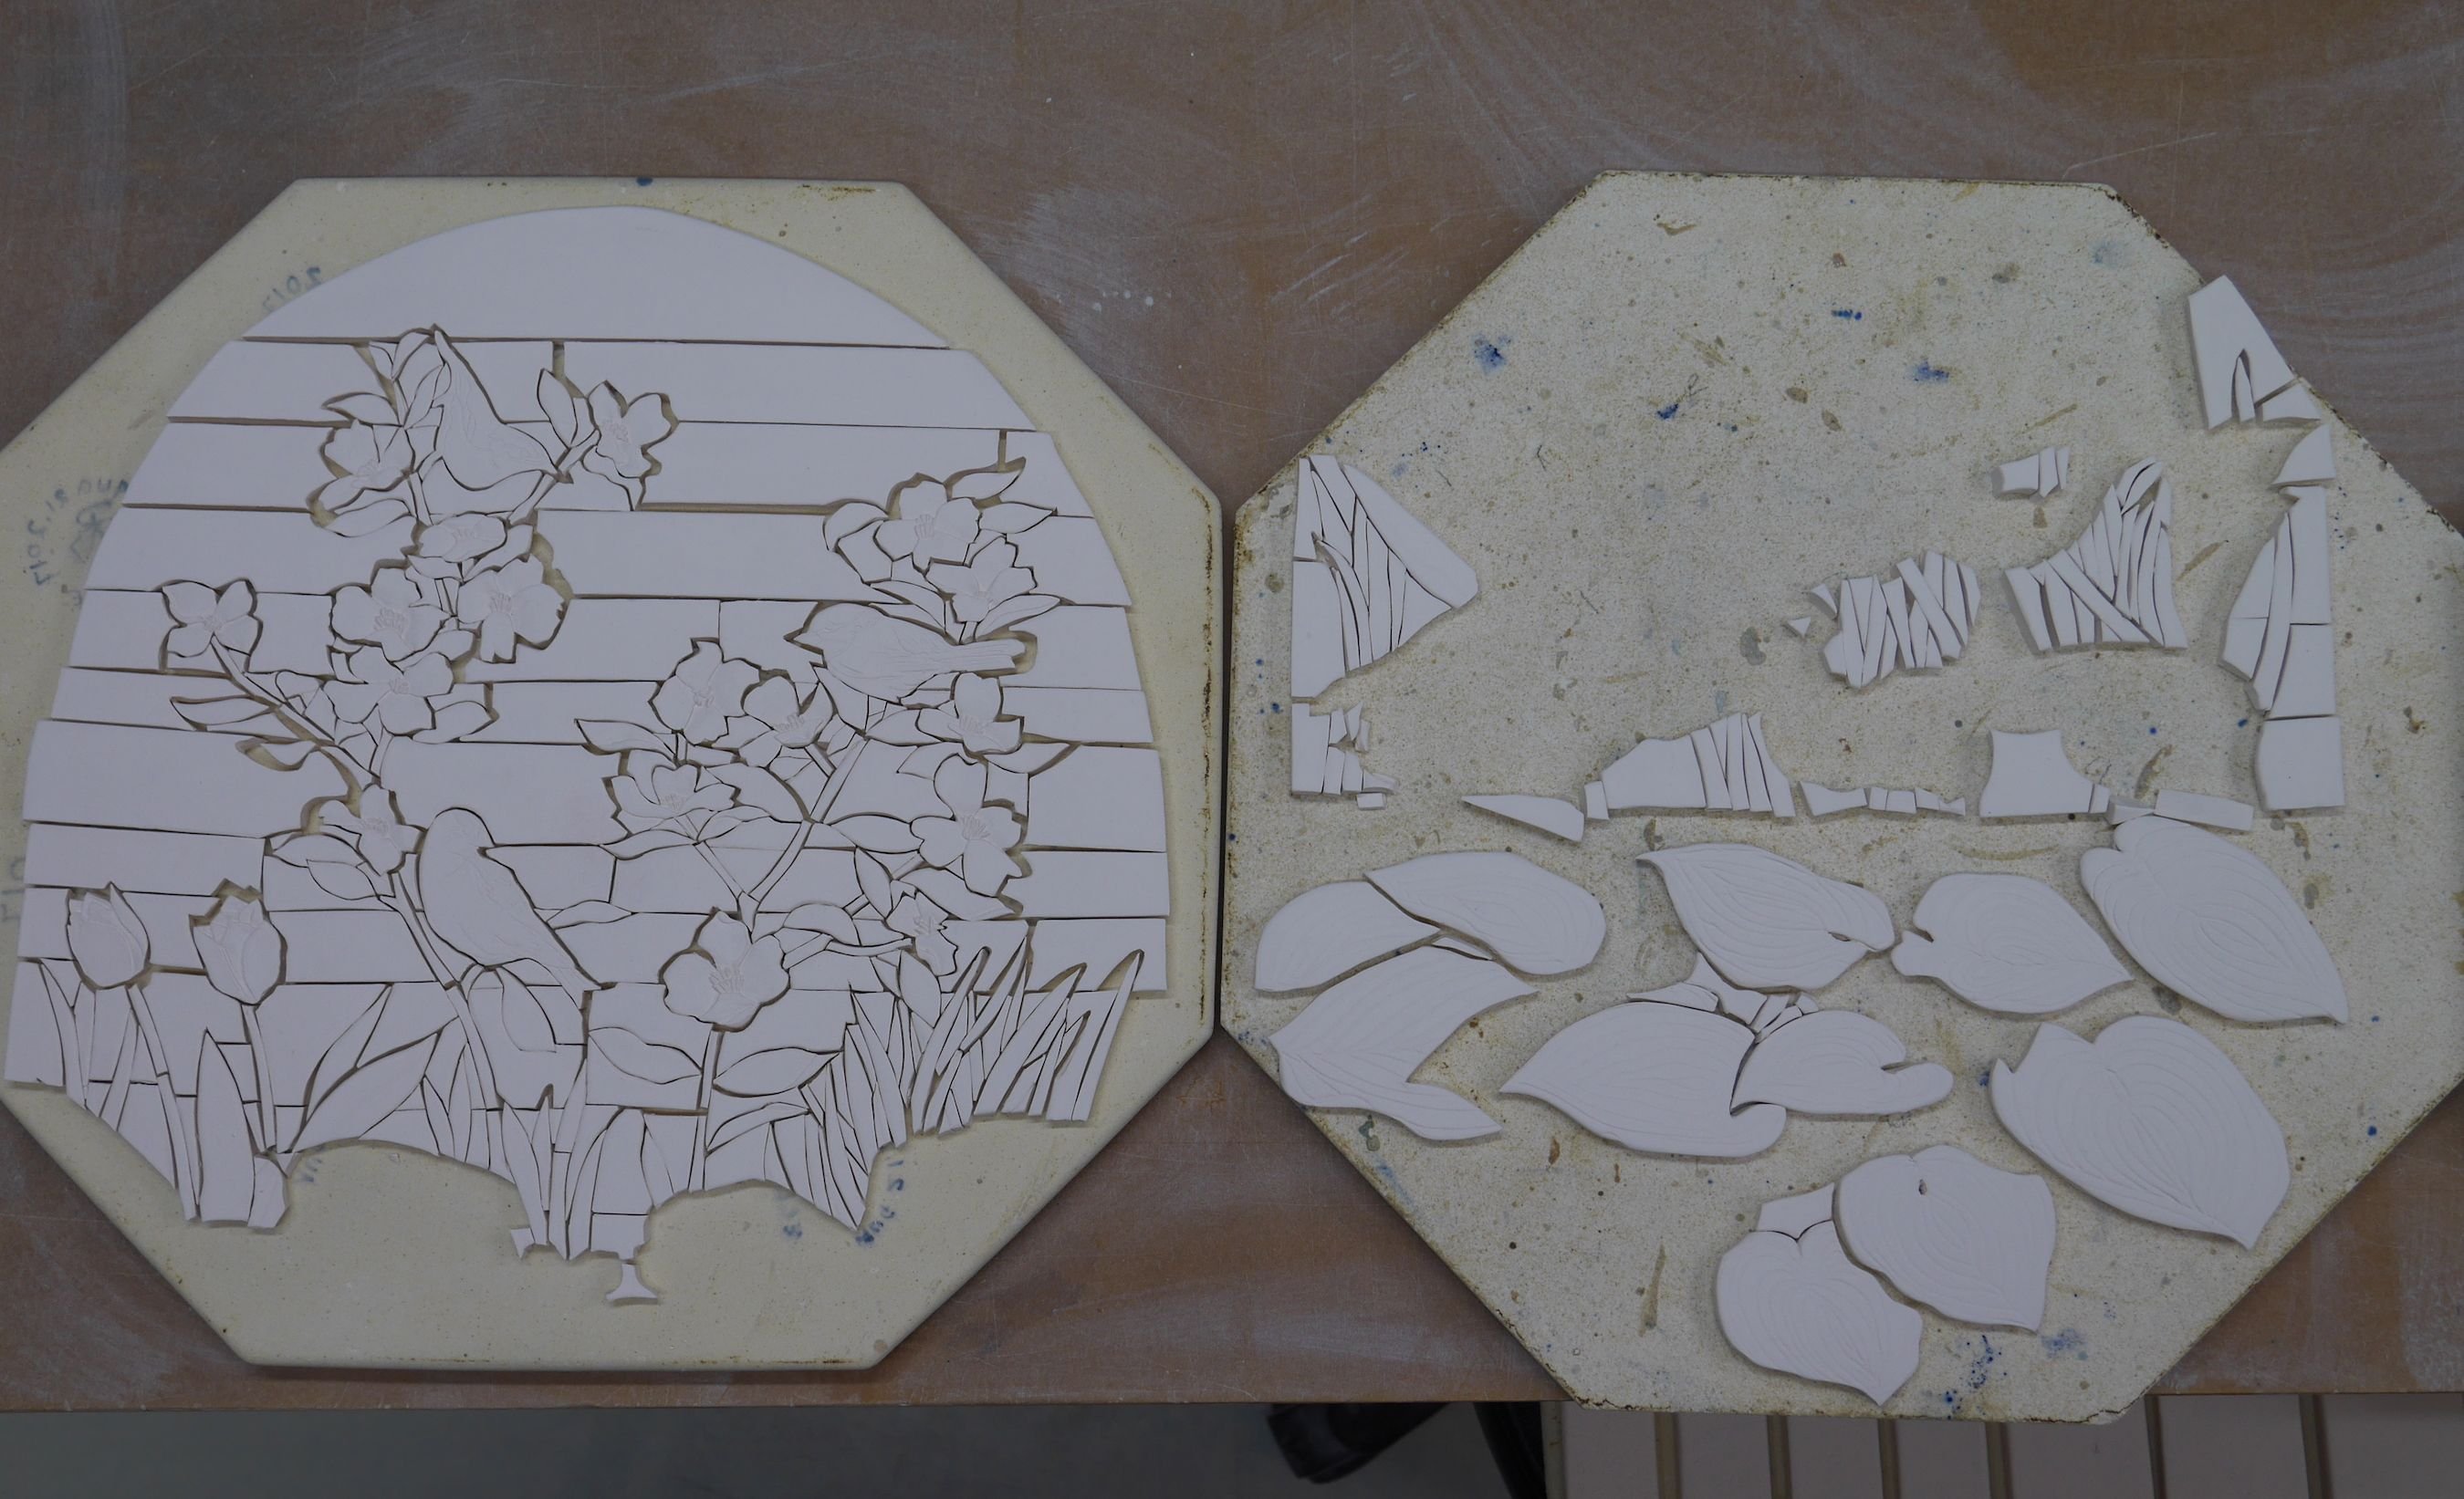
I continue on to the making phase which begins with rolling slabs, transferring the design on to the wet clay and cutting out the mosaic:
 []
[]
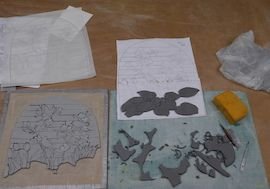
Once cut, I bisque fire the piece and when it cools and comes out of the kiln I begin glazing and this is where my last post left off -
At this point I’ve been bit by bit working away at the glazing. Because it’s such a small piece (17” x 10”) and each color has to be just right in relationship to the whole, I’ve glazed one section at a time, fired it and looked it against everything else before glazing the next section. This allows me to make adjustments the next color if needed.
What gives color, shine and atmosphere within ceramic glazes is the chemistry of the minerals and temperature so it’s a little bit unpredictable even if I’m familiar with the glaze. There isn’t a lot of room for fudging anything with this small piece, so I’m proceeding cautiously.
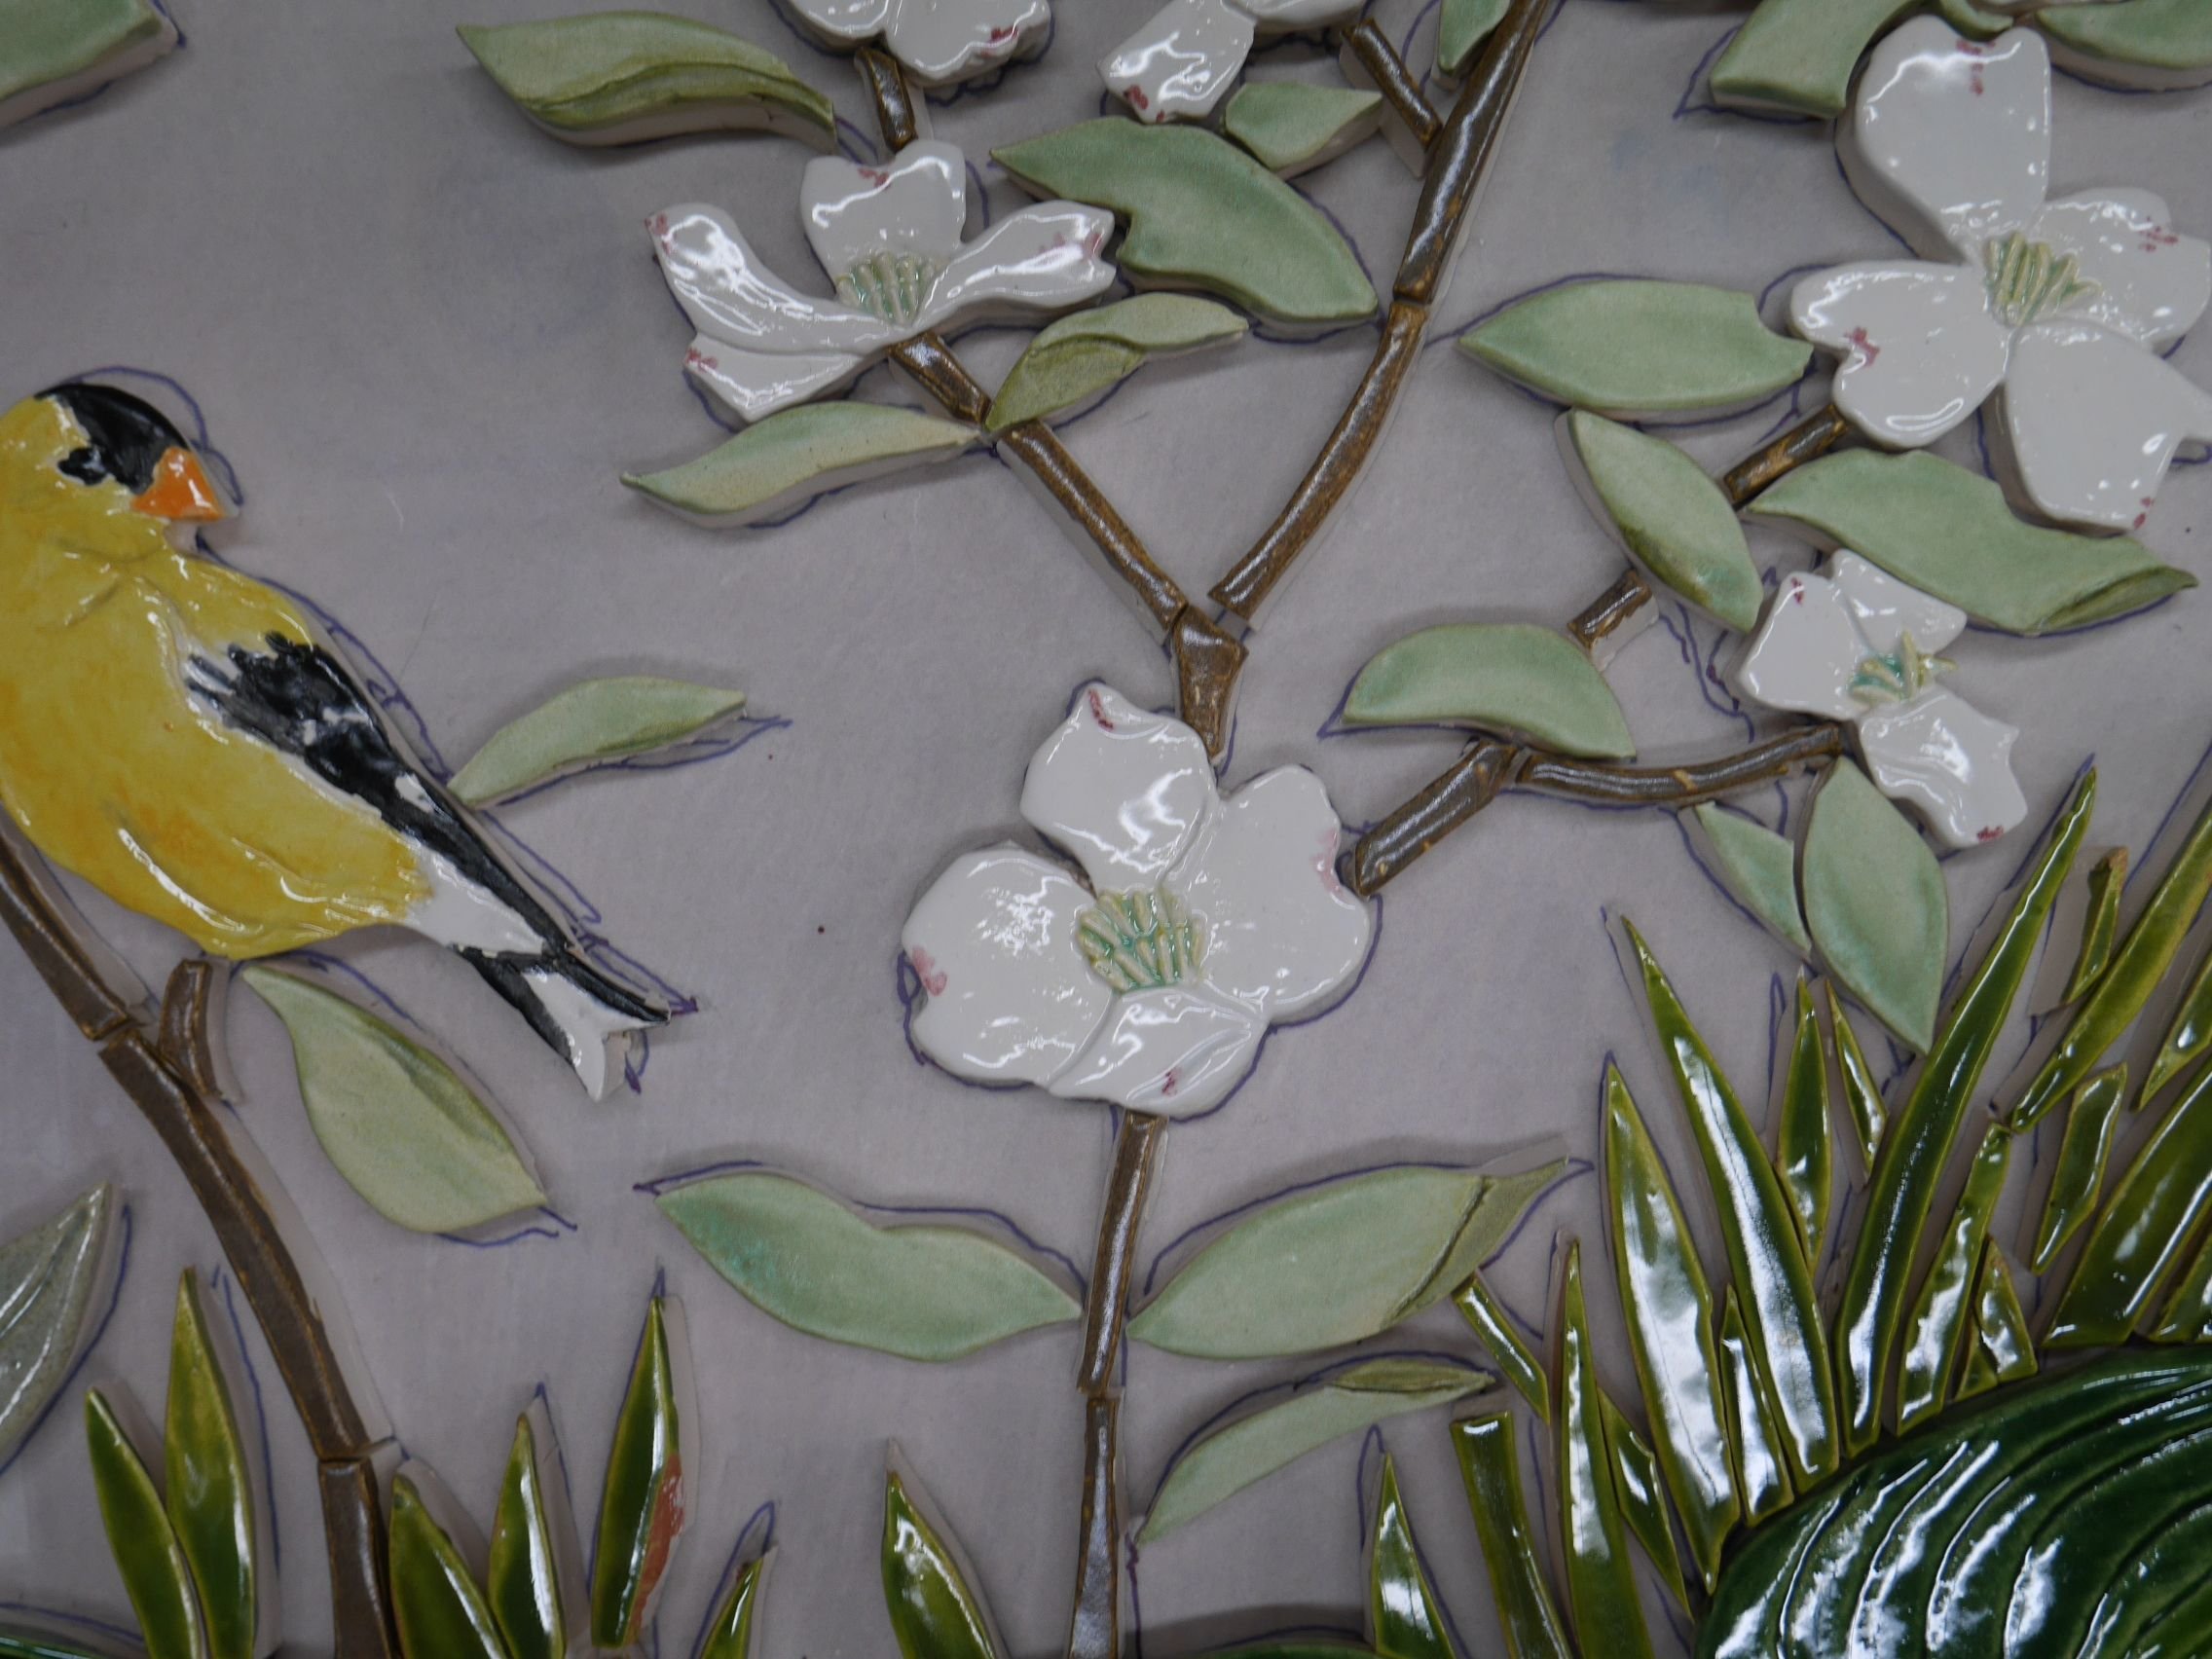
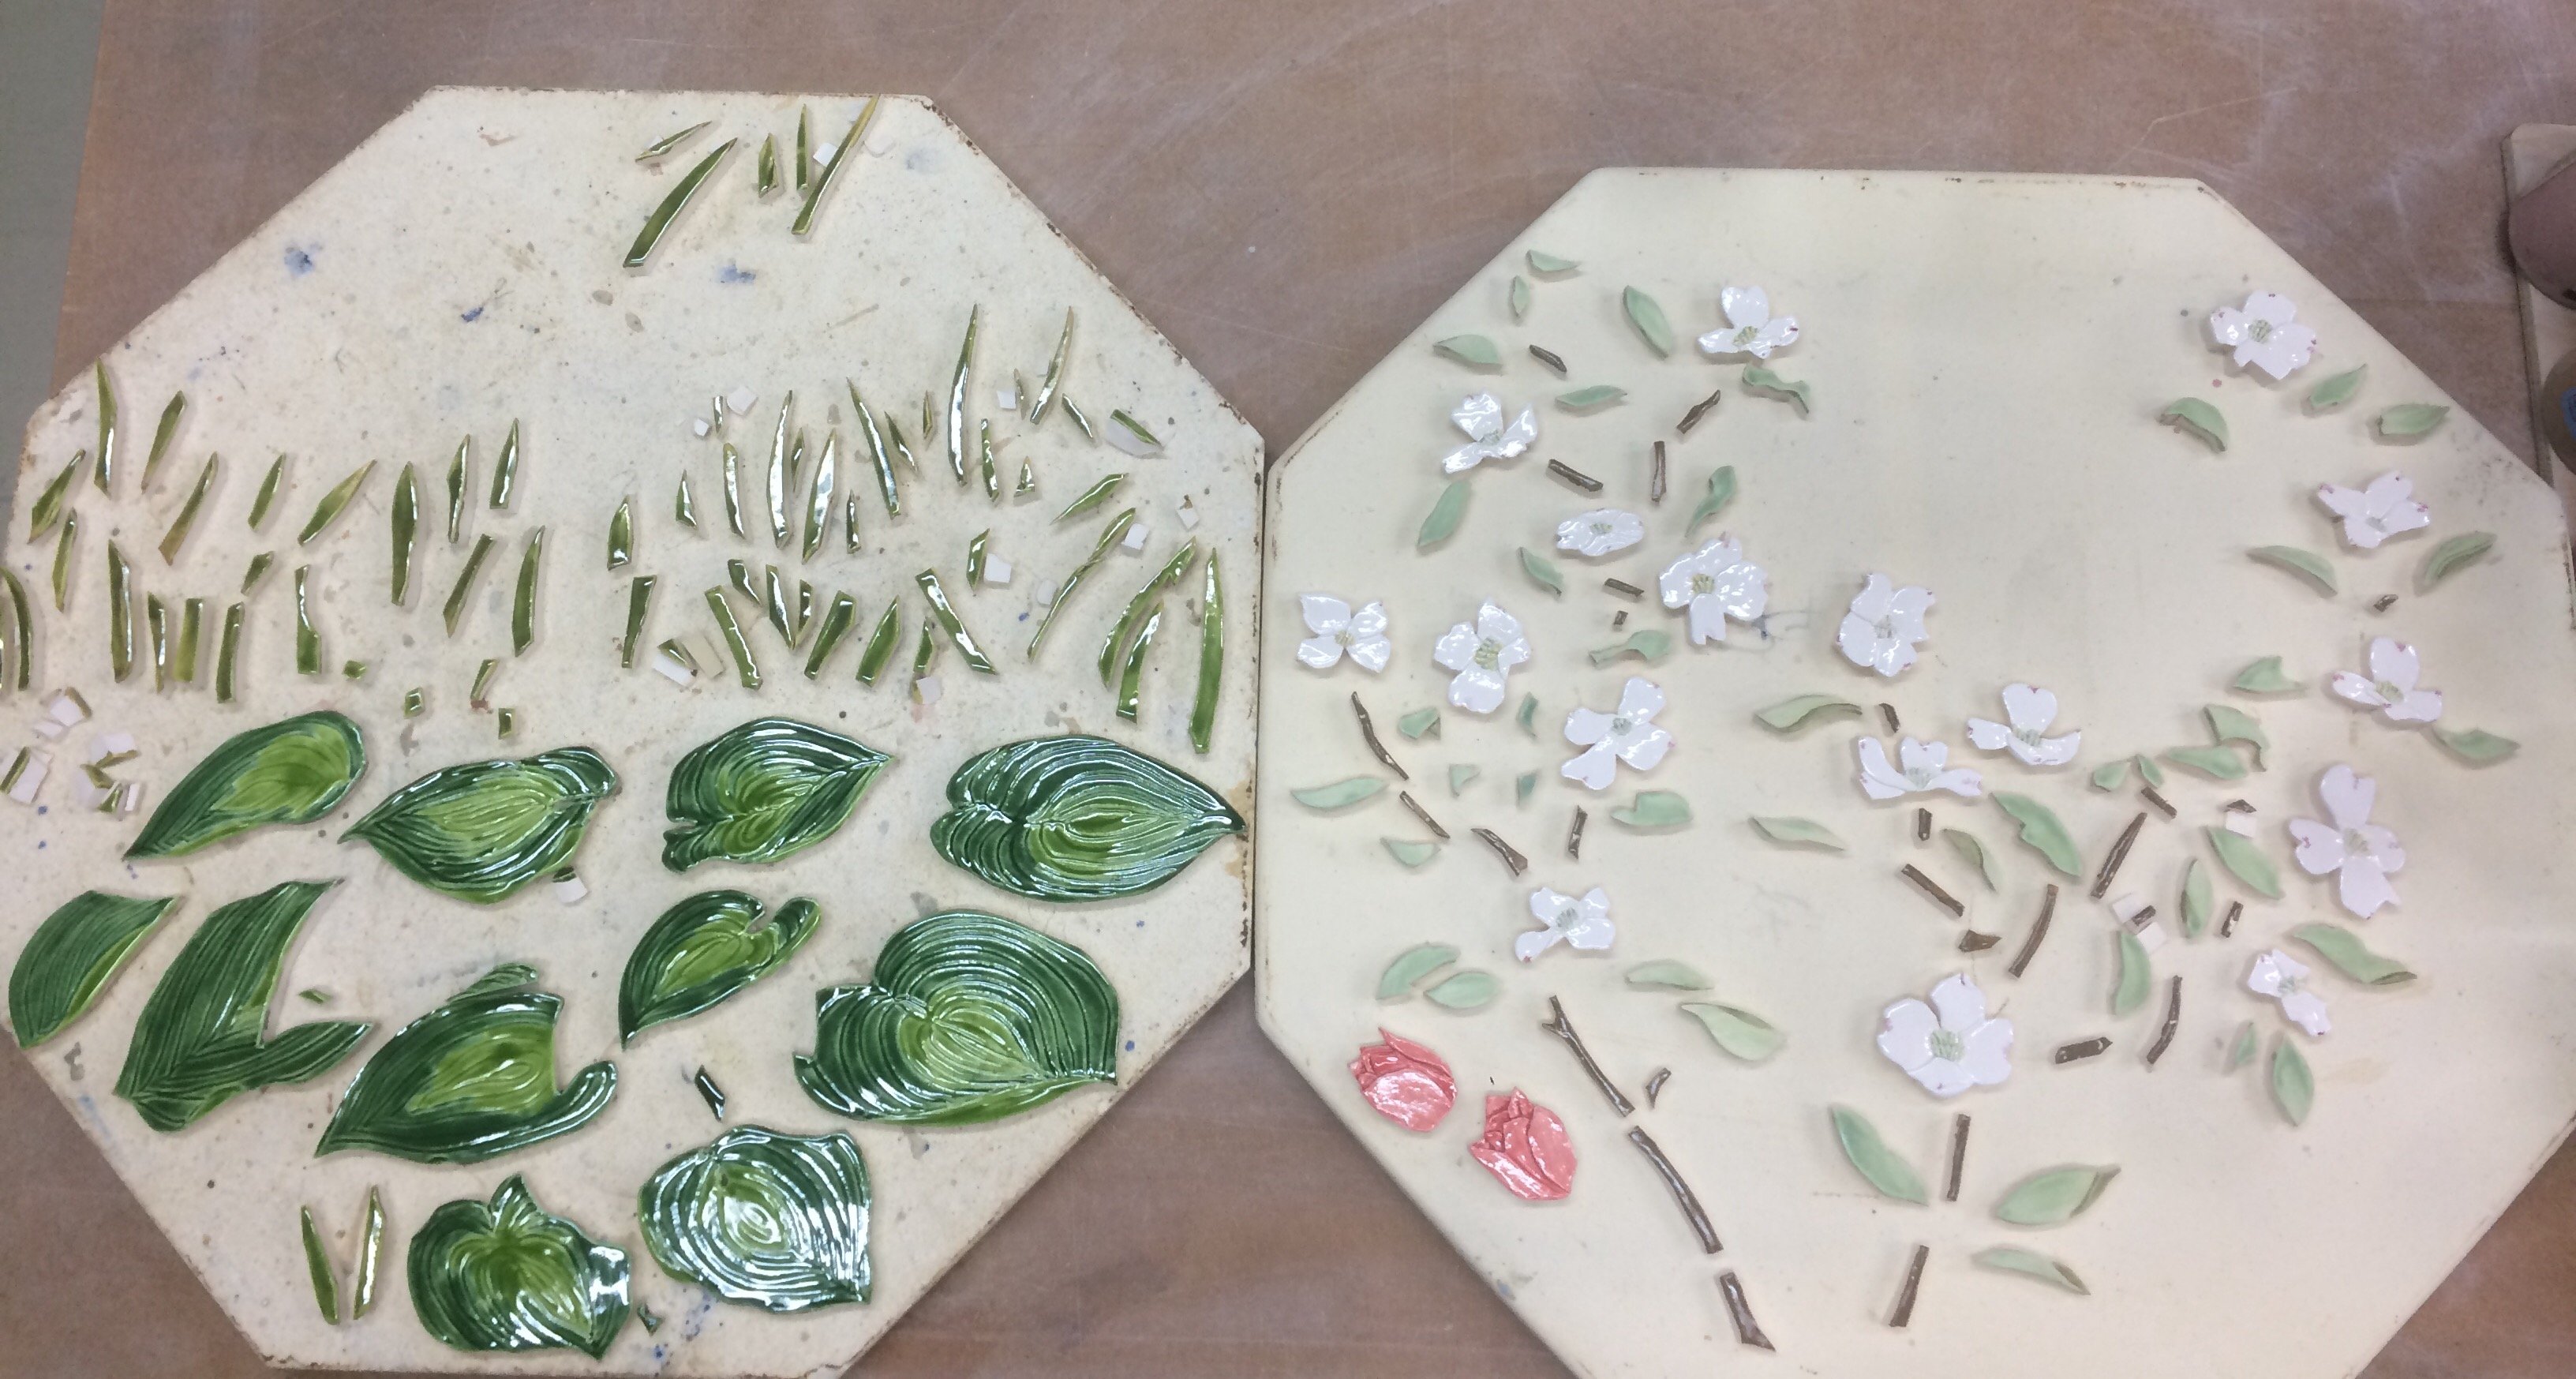
Here are the results from the first 2 glaze firings. I place the tiles on the kiln next to their neighbors helping me to keep track of where the pieces belong throughout the process -
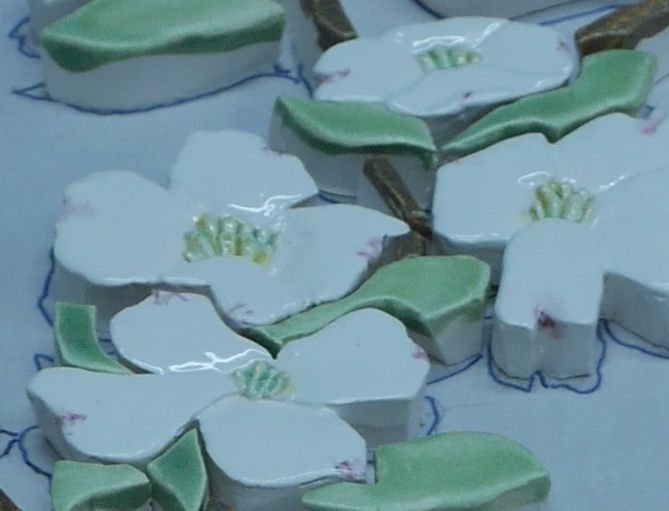
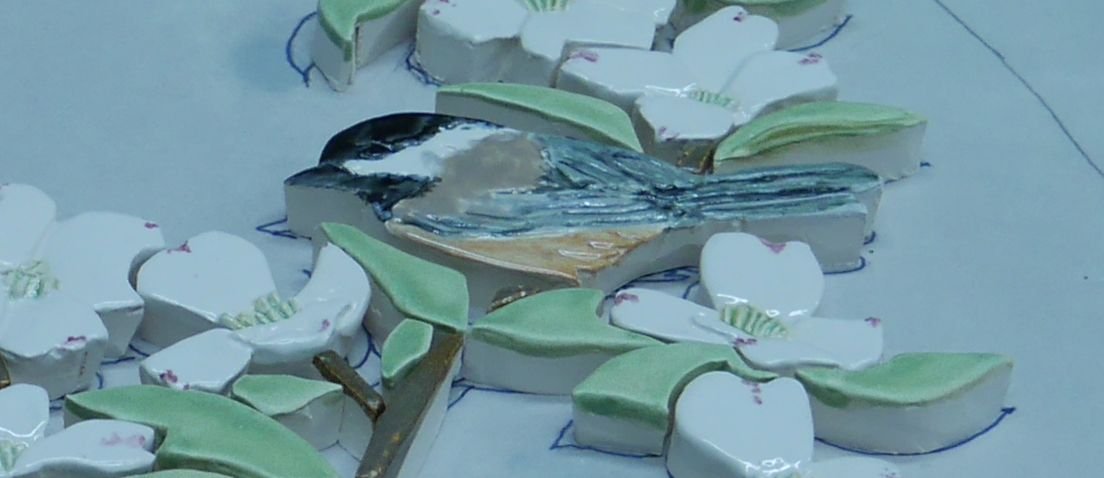
As I review my results, I'm proud of the insides of the dogwood flowers. I used 3 layers of color over the carefully carved 3 dimensional stamen to get the yellow -green depth of color -
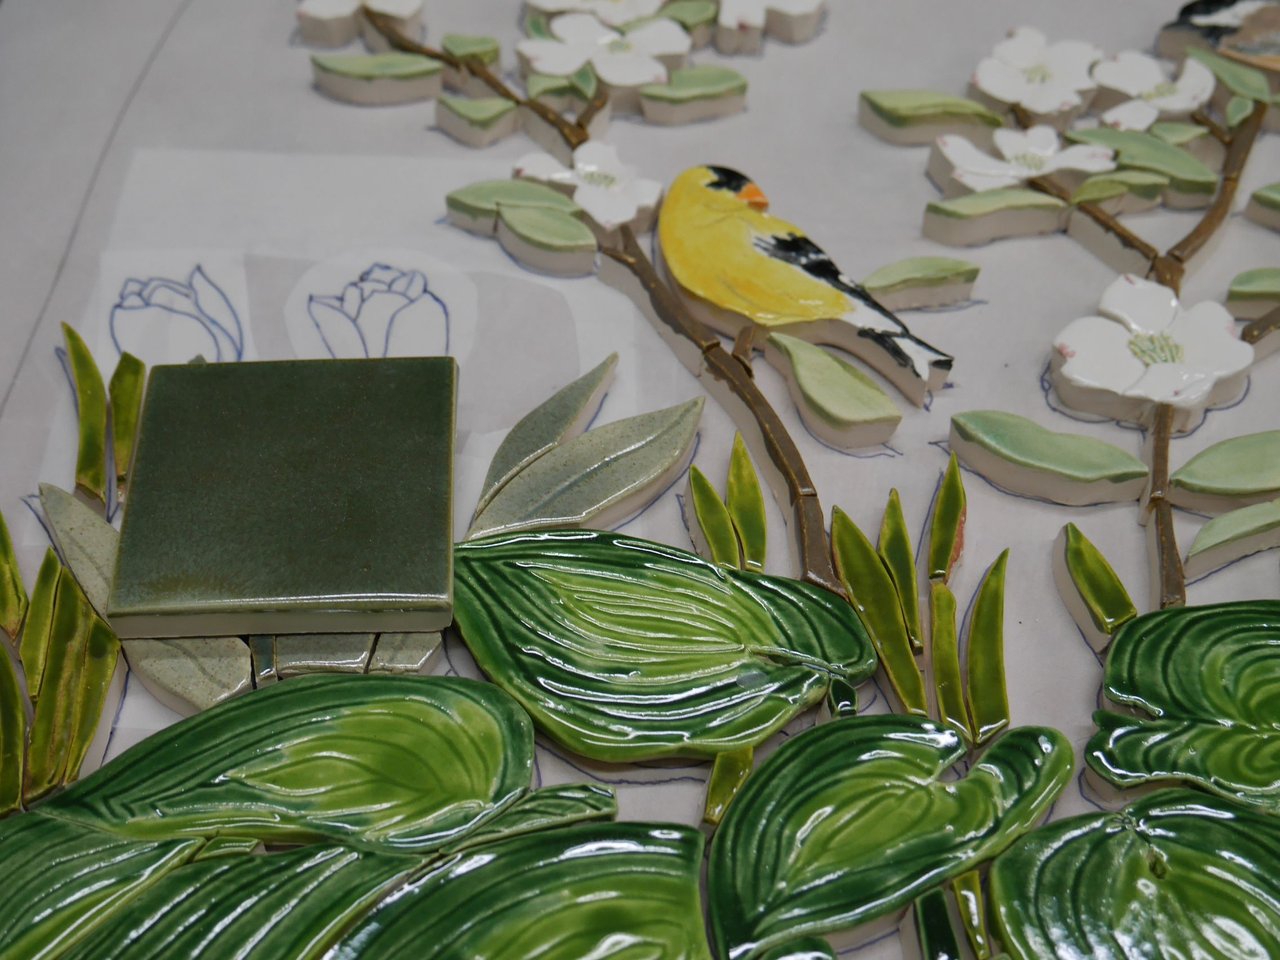
I put together all of the tesserae I’ve glazed so far on top of the drawing to see what I have so far -
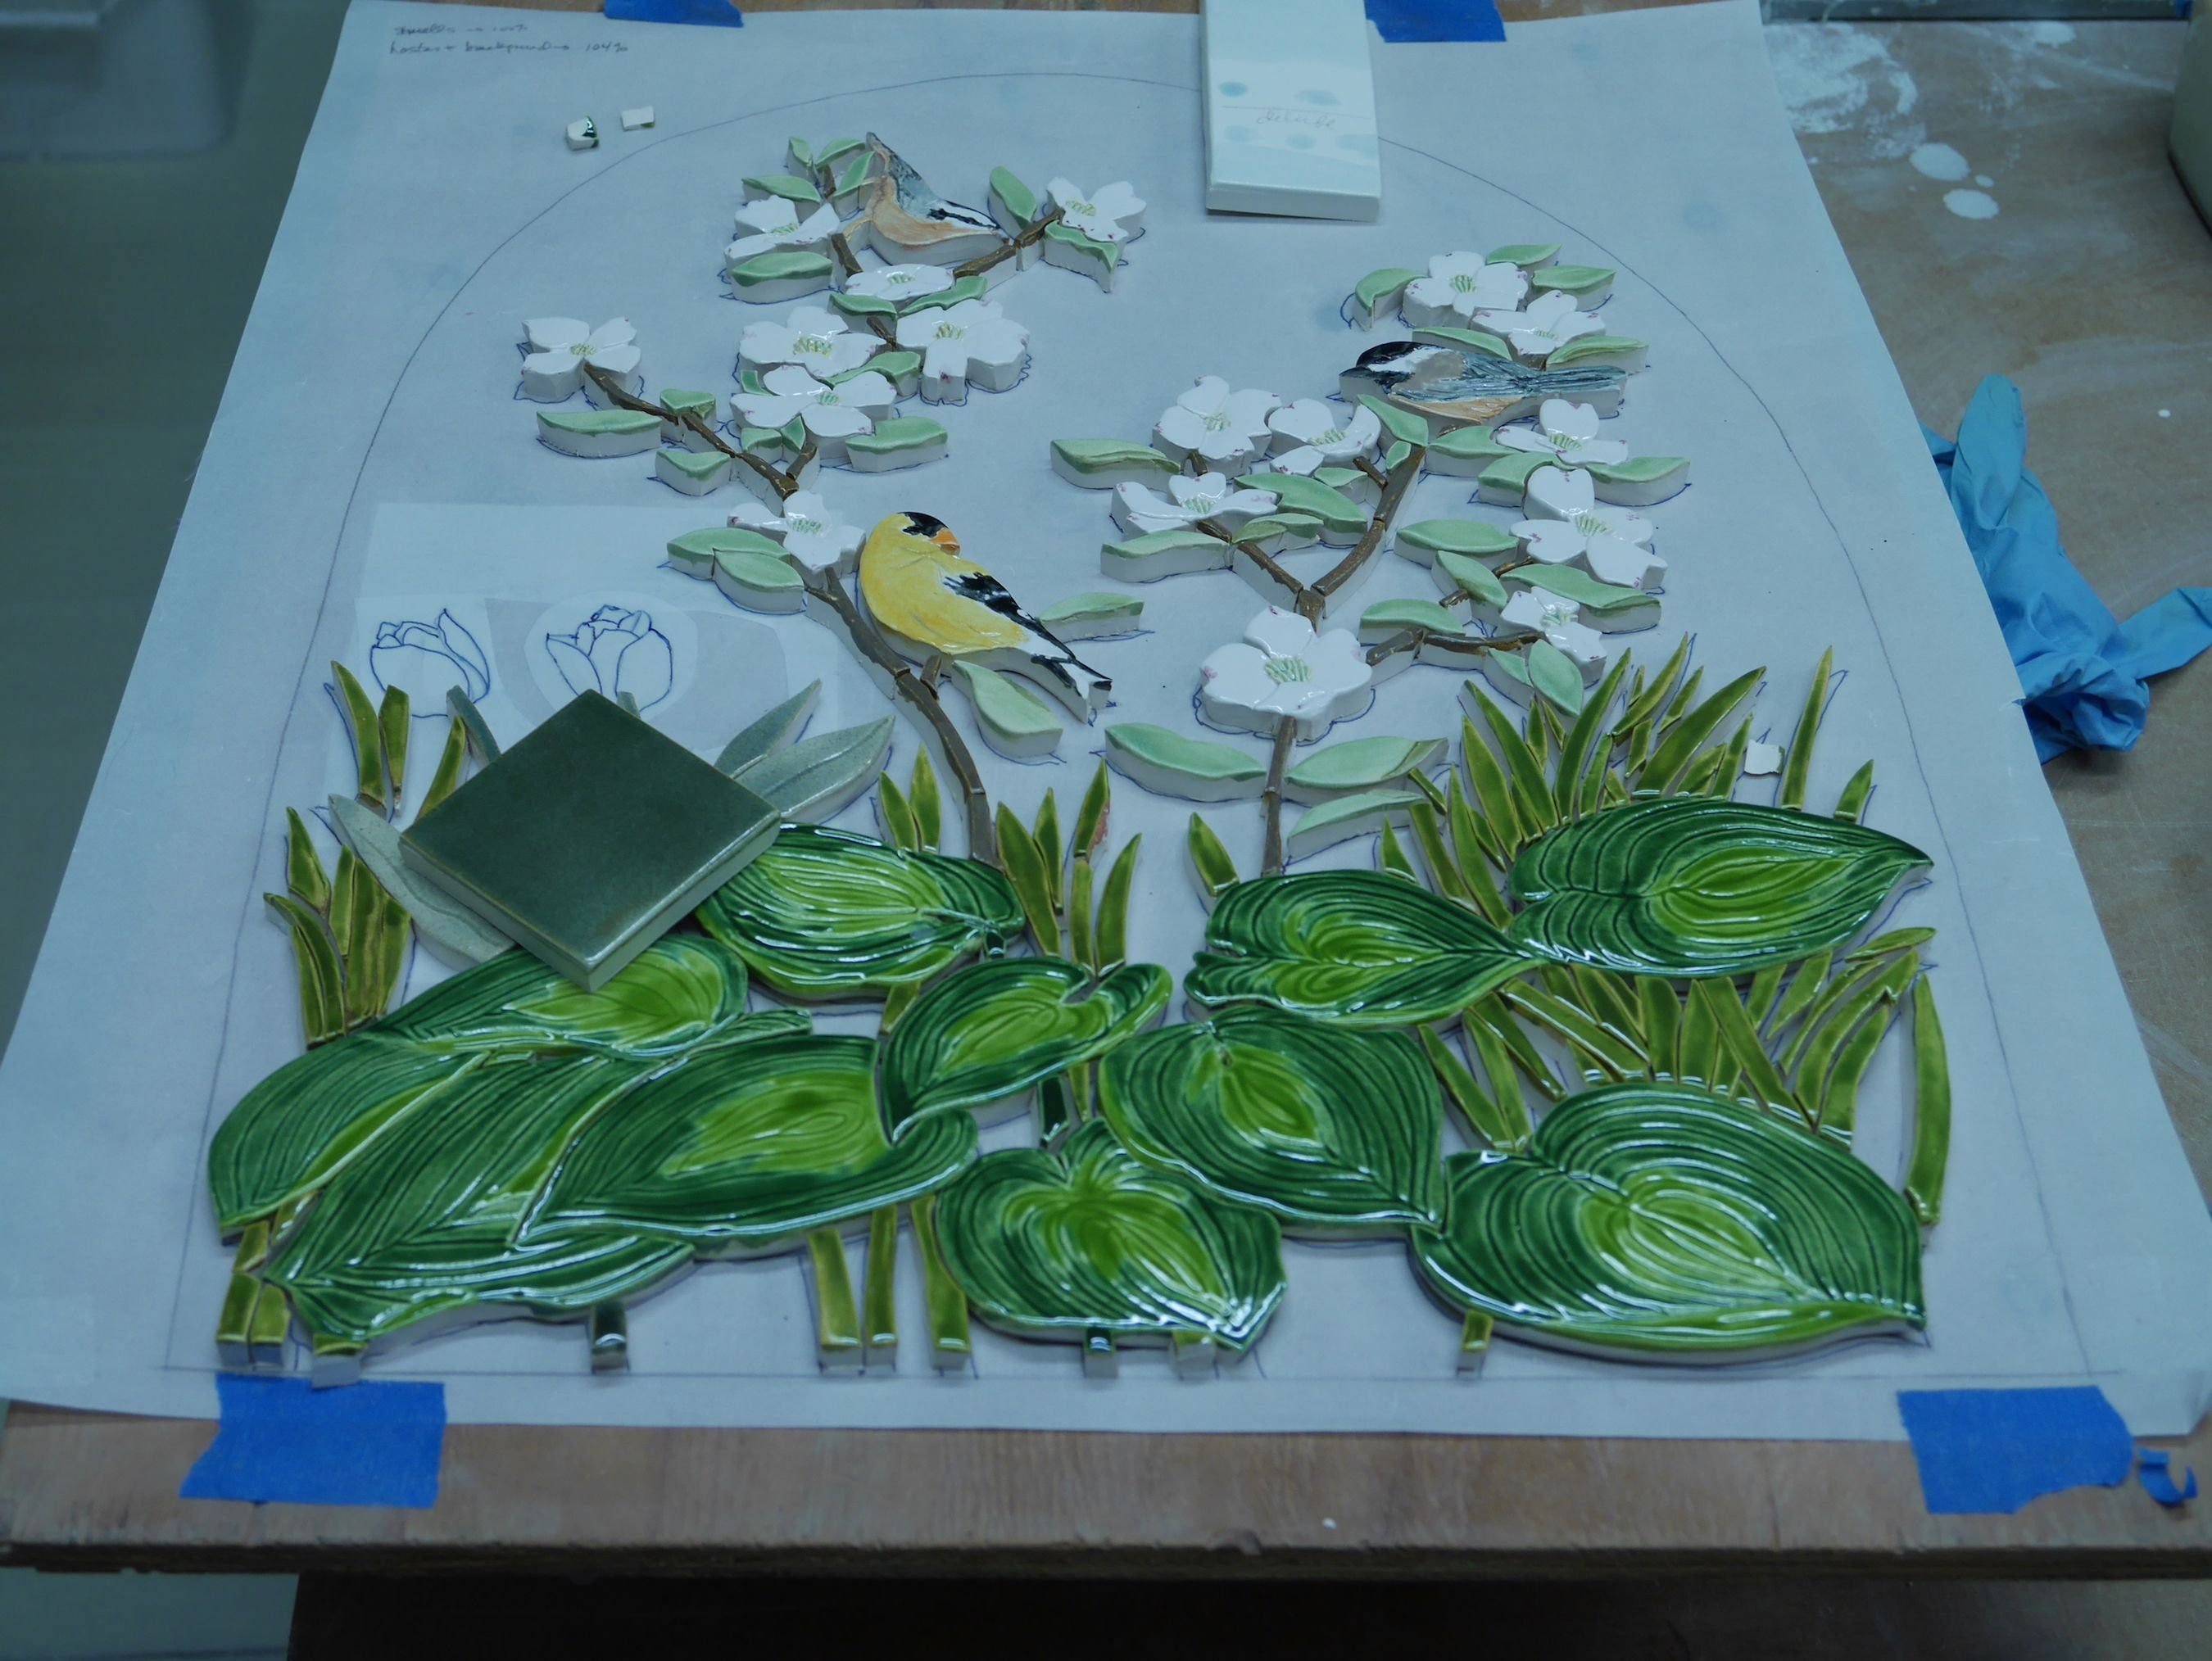
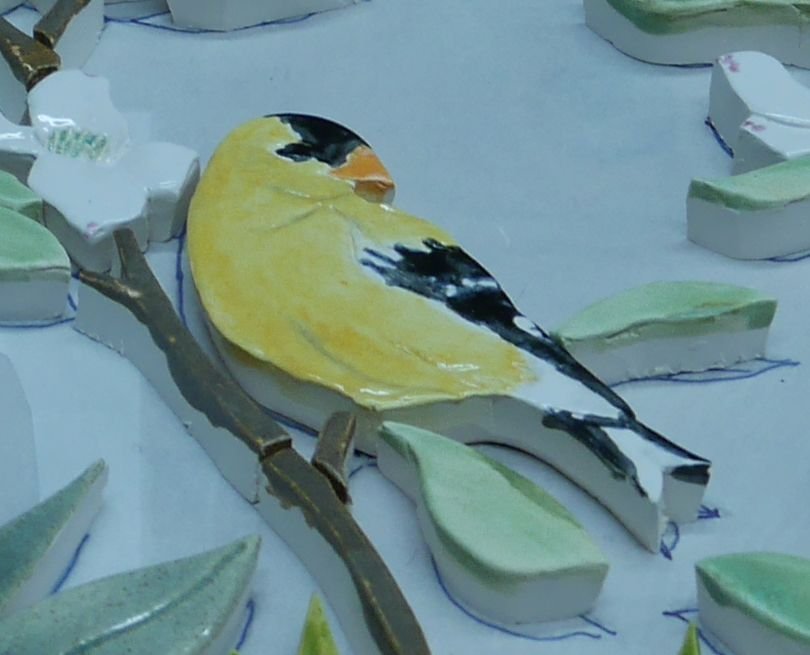
I'm also pleased with the Goldfinch, it has the bold look that characterizes the male -
The tulip leaves and stems however will need reglazing since they are too pale -
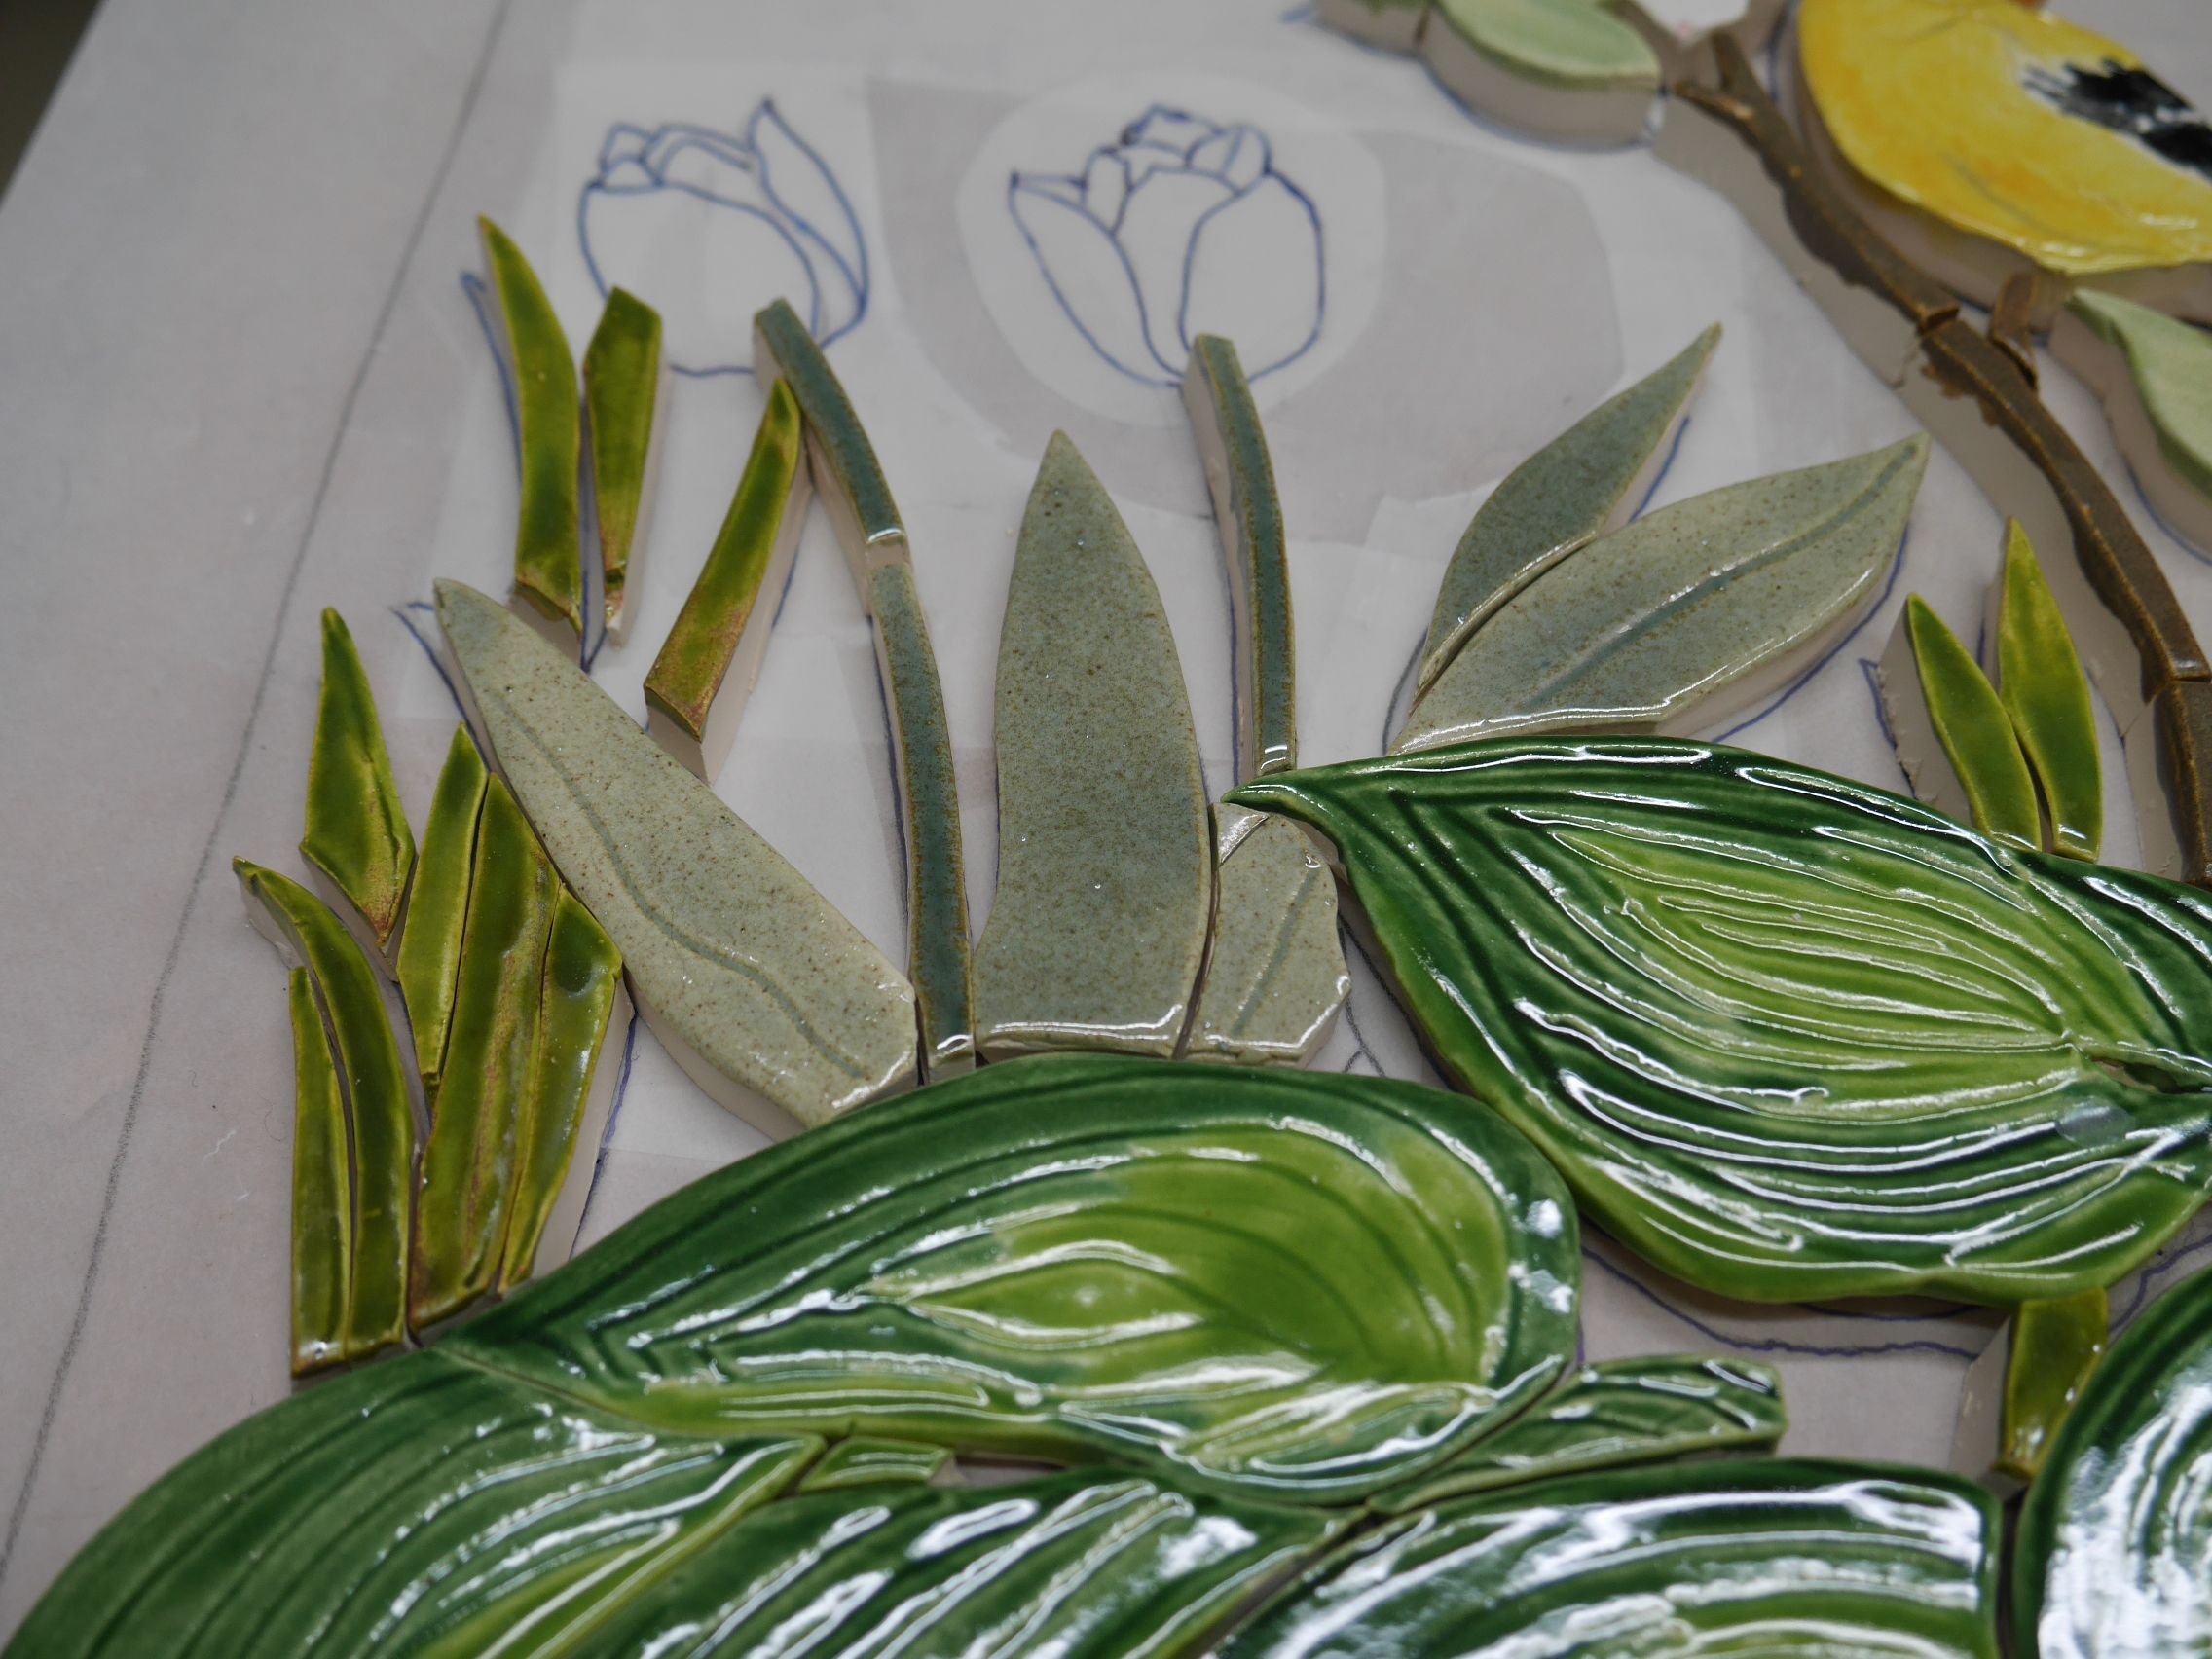
I'm going to use this glaze with olive, blue-green, gold tones which offer the needed richness over the lighter glaze -
The Chickadee is fine but it also needs a little more pop so I'm going to apply some white glaze to the edges of some of the feather for definition -
Assessing my next steps with the remaining tiles to be glazed-
Stay tuned for more as I finish this commission next week and I thank you for supporting my blog, it makes it possible for me to continue making art! I always appreciate your comments, feedback and friendship.
A special thanks to @osm0sis for teaching me how to center photos in a post, an invaluable tip <3
Follow these links to see more posts about this project:
@natureofbeing/more-about-the-drawing-phase-within-another-commission
@natureofbeing/cutting-phase-of-the-dogwood-mosaic-from-wet-clay