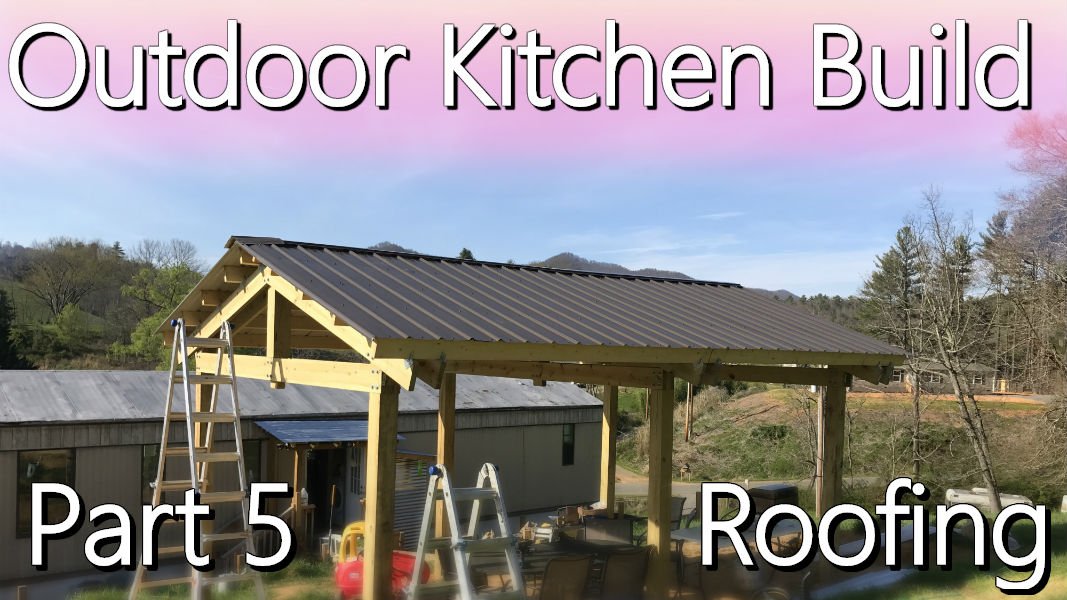
This post completes the major construction of the Outdoor Kitchen! Woo-hoo! In this post, I go through the installation of our metal roofing. Be sure to check out Part 1, Part 2, Part 3, and Part 4 if you haven't already.

Roofing Material


Perfection Needed


Plan of Attack
I came up with the following plan of attack for installing the panels. The main goal was to install the panels without having to get on top of the roof itself.

Installation Photos
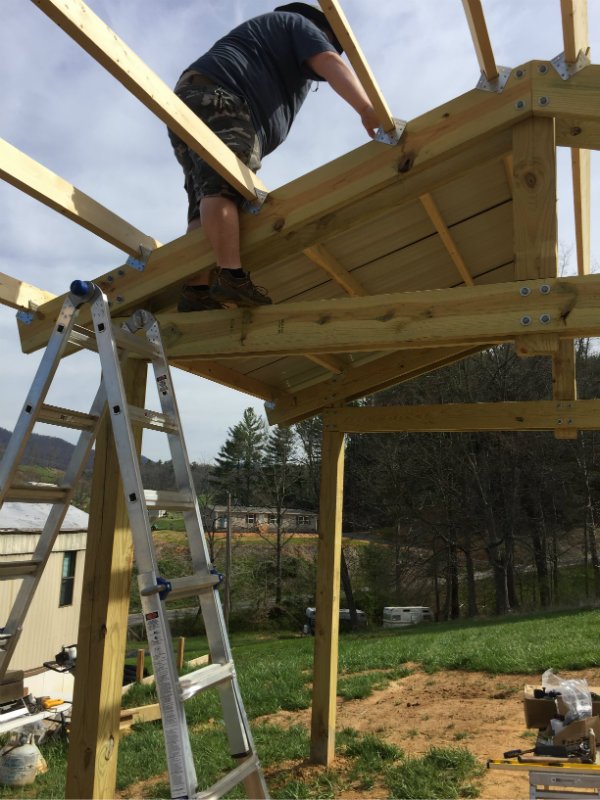
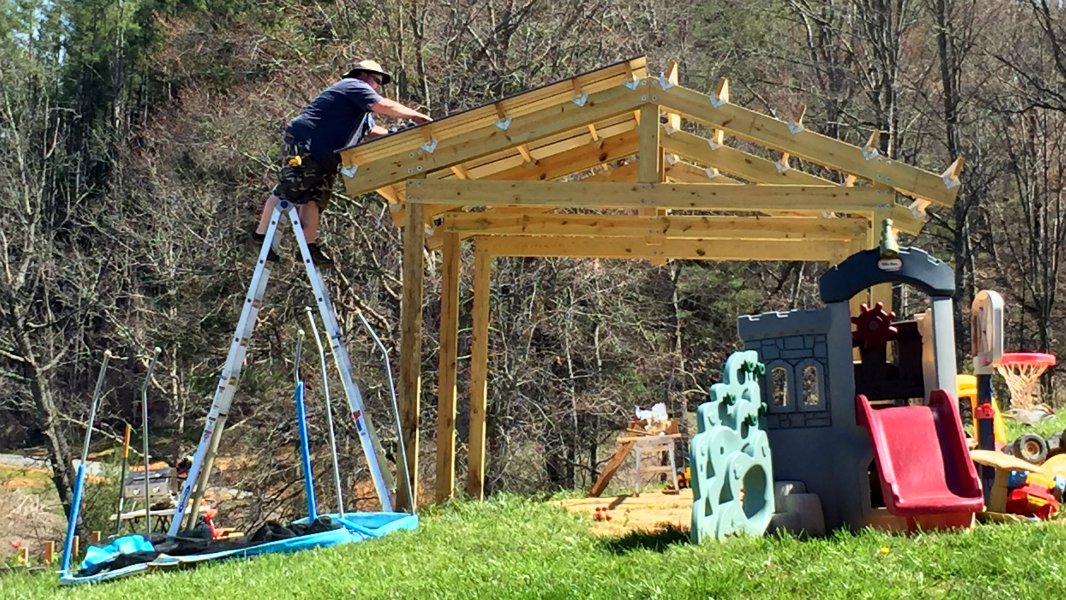
Finishing up the first side. No time for fear of heights! Actually, the ladder I have is FREAKING AWESOME!!! It's a Werner brand from Lowe's and what is known as an "articulating ladder"--it's fully adjustable and super-stable! I would never recommend getting any other ladder. This one is the 21 foot model.

Working on the other side. Here's a view showing the roof, ridge vent, and the other panels. At this point, I was ready to add another ridge vent piece. Here's also a view of the purlins and structure up close.
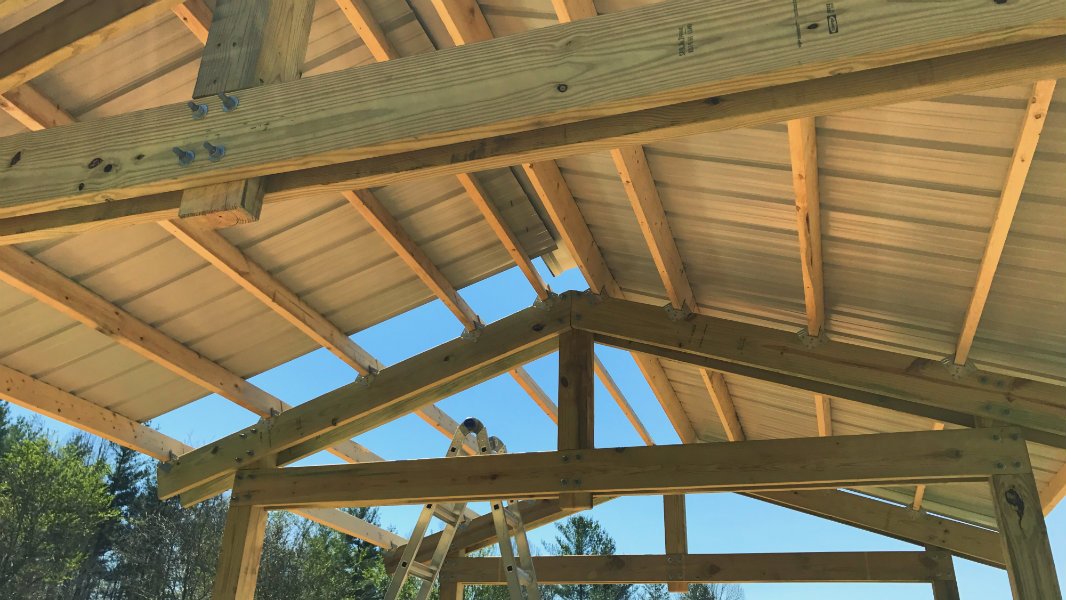
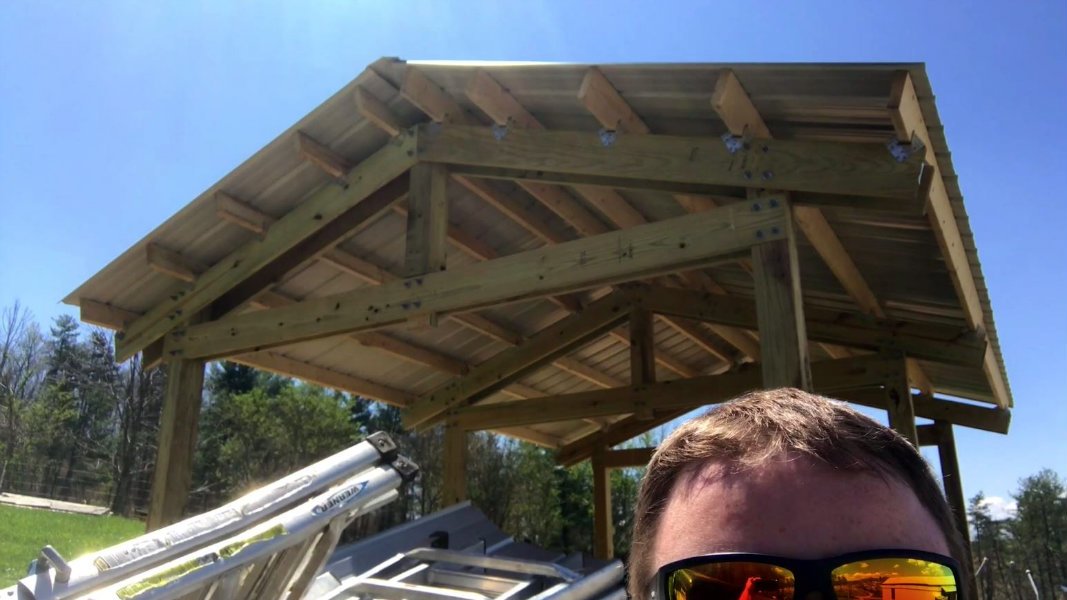
Took a break from the sun and snapped a photo showing the underside. Almost done... so nice to have (man made) shade!


Just a photo of me riding the truss Cowboy Style! Also showing how I would attach the roof panel, then attach the ridge cap to the panels. I used 1.5" metal roofing screws. These are the same color as the roof panels and have rubber washers on them to prevent leaks.

DONE!
Boy, what a day! This was the best photo I got at the time. I was beat from this one! Total time was about 6 hours doing the roof. However, it is so nice to have the major structure (and ladder work) done! And some shade on the hill now!

The Video
And now... for your viewing pleasure, may we present... the video!


Stay Tuned
We'll see you on the next update, where we get to begin "finishing" things in the Outdoor Kitchen! We have plans for lights, counter tops, etc, so it should be fun to watch.
Until then,
@greenacrehome

