
It's amazing that this is already Part 9 of this series! Sitting down to write all of this out shows how much work it took to build our place, and has been great fun to relive each stage. In this part, we'll talk about the hurdles, trials, and troubles we traversed to get our Certificate of Occupancy (CO). Links to Parts 1 - 8 are at the end.

What is a Certificate of Occupancy?
A document issued by your local government, the county in our case, that proves the dwelling has passed inspections and is deemed safe to live in. Without it, you are not legally allowed to live in a dwelling (again, in our county).

Official Requirements
Our county's Final Inspection Checklist was our guide and instructed us what we had to do. Here is what they required for our manufactured home:

Electrical Work
We had to hire a license electrician to connect the home's breaker box to the meter base. We also had them wire up our well pump system and check all the outlets in the home for any wiring issues. None were found, but they noted a few outlet boxes were loose and one or two outlets looked worn out. I told them I would handle them since I was going to re-do most all of the outlets in the home from the old 1980s outlets to new, tamper resistant outlets.
Once everything was squared away with the wiring, I made a "suicide cord" and connected our generator to the home to provide temporary power. This was vital for us to get the work done. It was getting later in the year and daylight was running thin. Add to this, the fact that I was doing all the work after my day job and I needed all the light I could get!
I am not recommending or condoning the use of a suicide cord. Use at your own risk if you are as dumb as I, and make one!

Plumbing Drain Lines
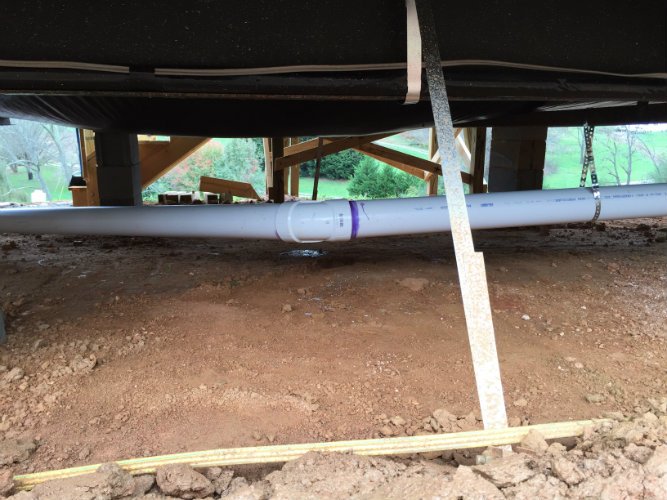


Plumbing Supply Lines
With the drain lines completed, we could test out our water supply lines for the first time... and holy crap.
NOT GOOD!
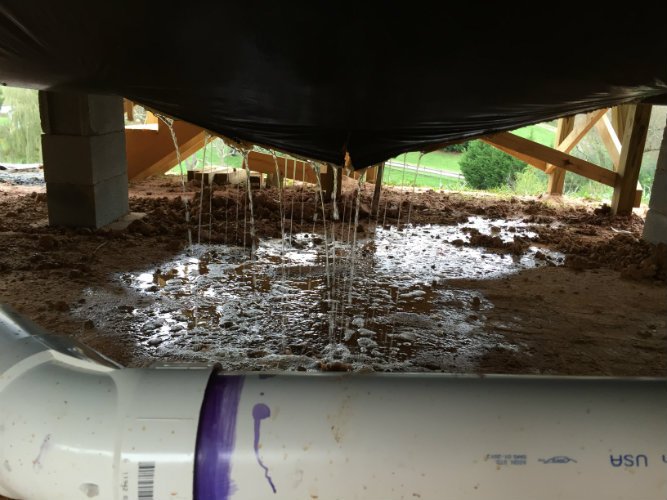
We had leaks everywhere it seemed!
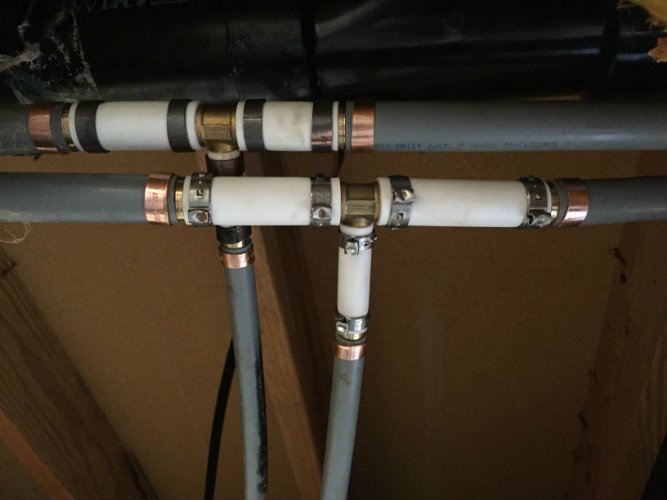
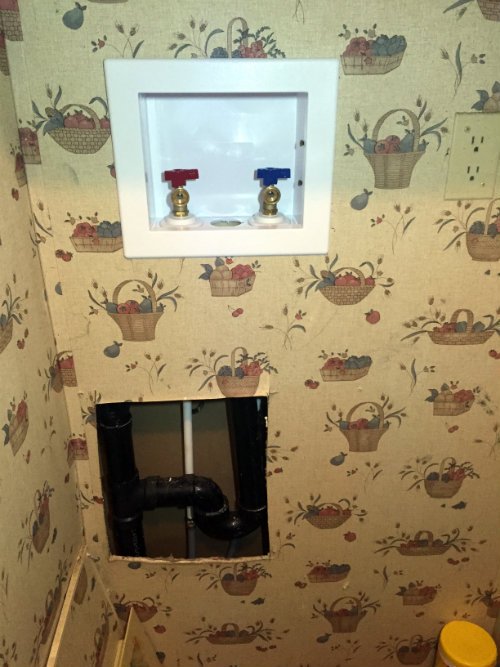
Finally, all the water supply line leaks had been replaced and fixed, so we could move on to testing the drain system for leaks. I purchased a pipe plug from amazon and began filling the system. A few minutes into the fill, both toilets were spilling water out from under them. The wax seals on both of them were shot and had to be replaced.
With the plumbing fiasco behind us, we could insulate the water supply lines and finish this part of our list.

Porch Construction
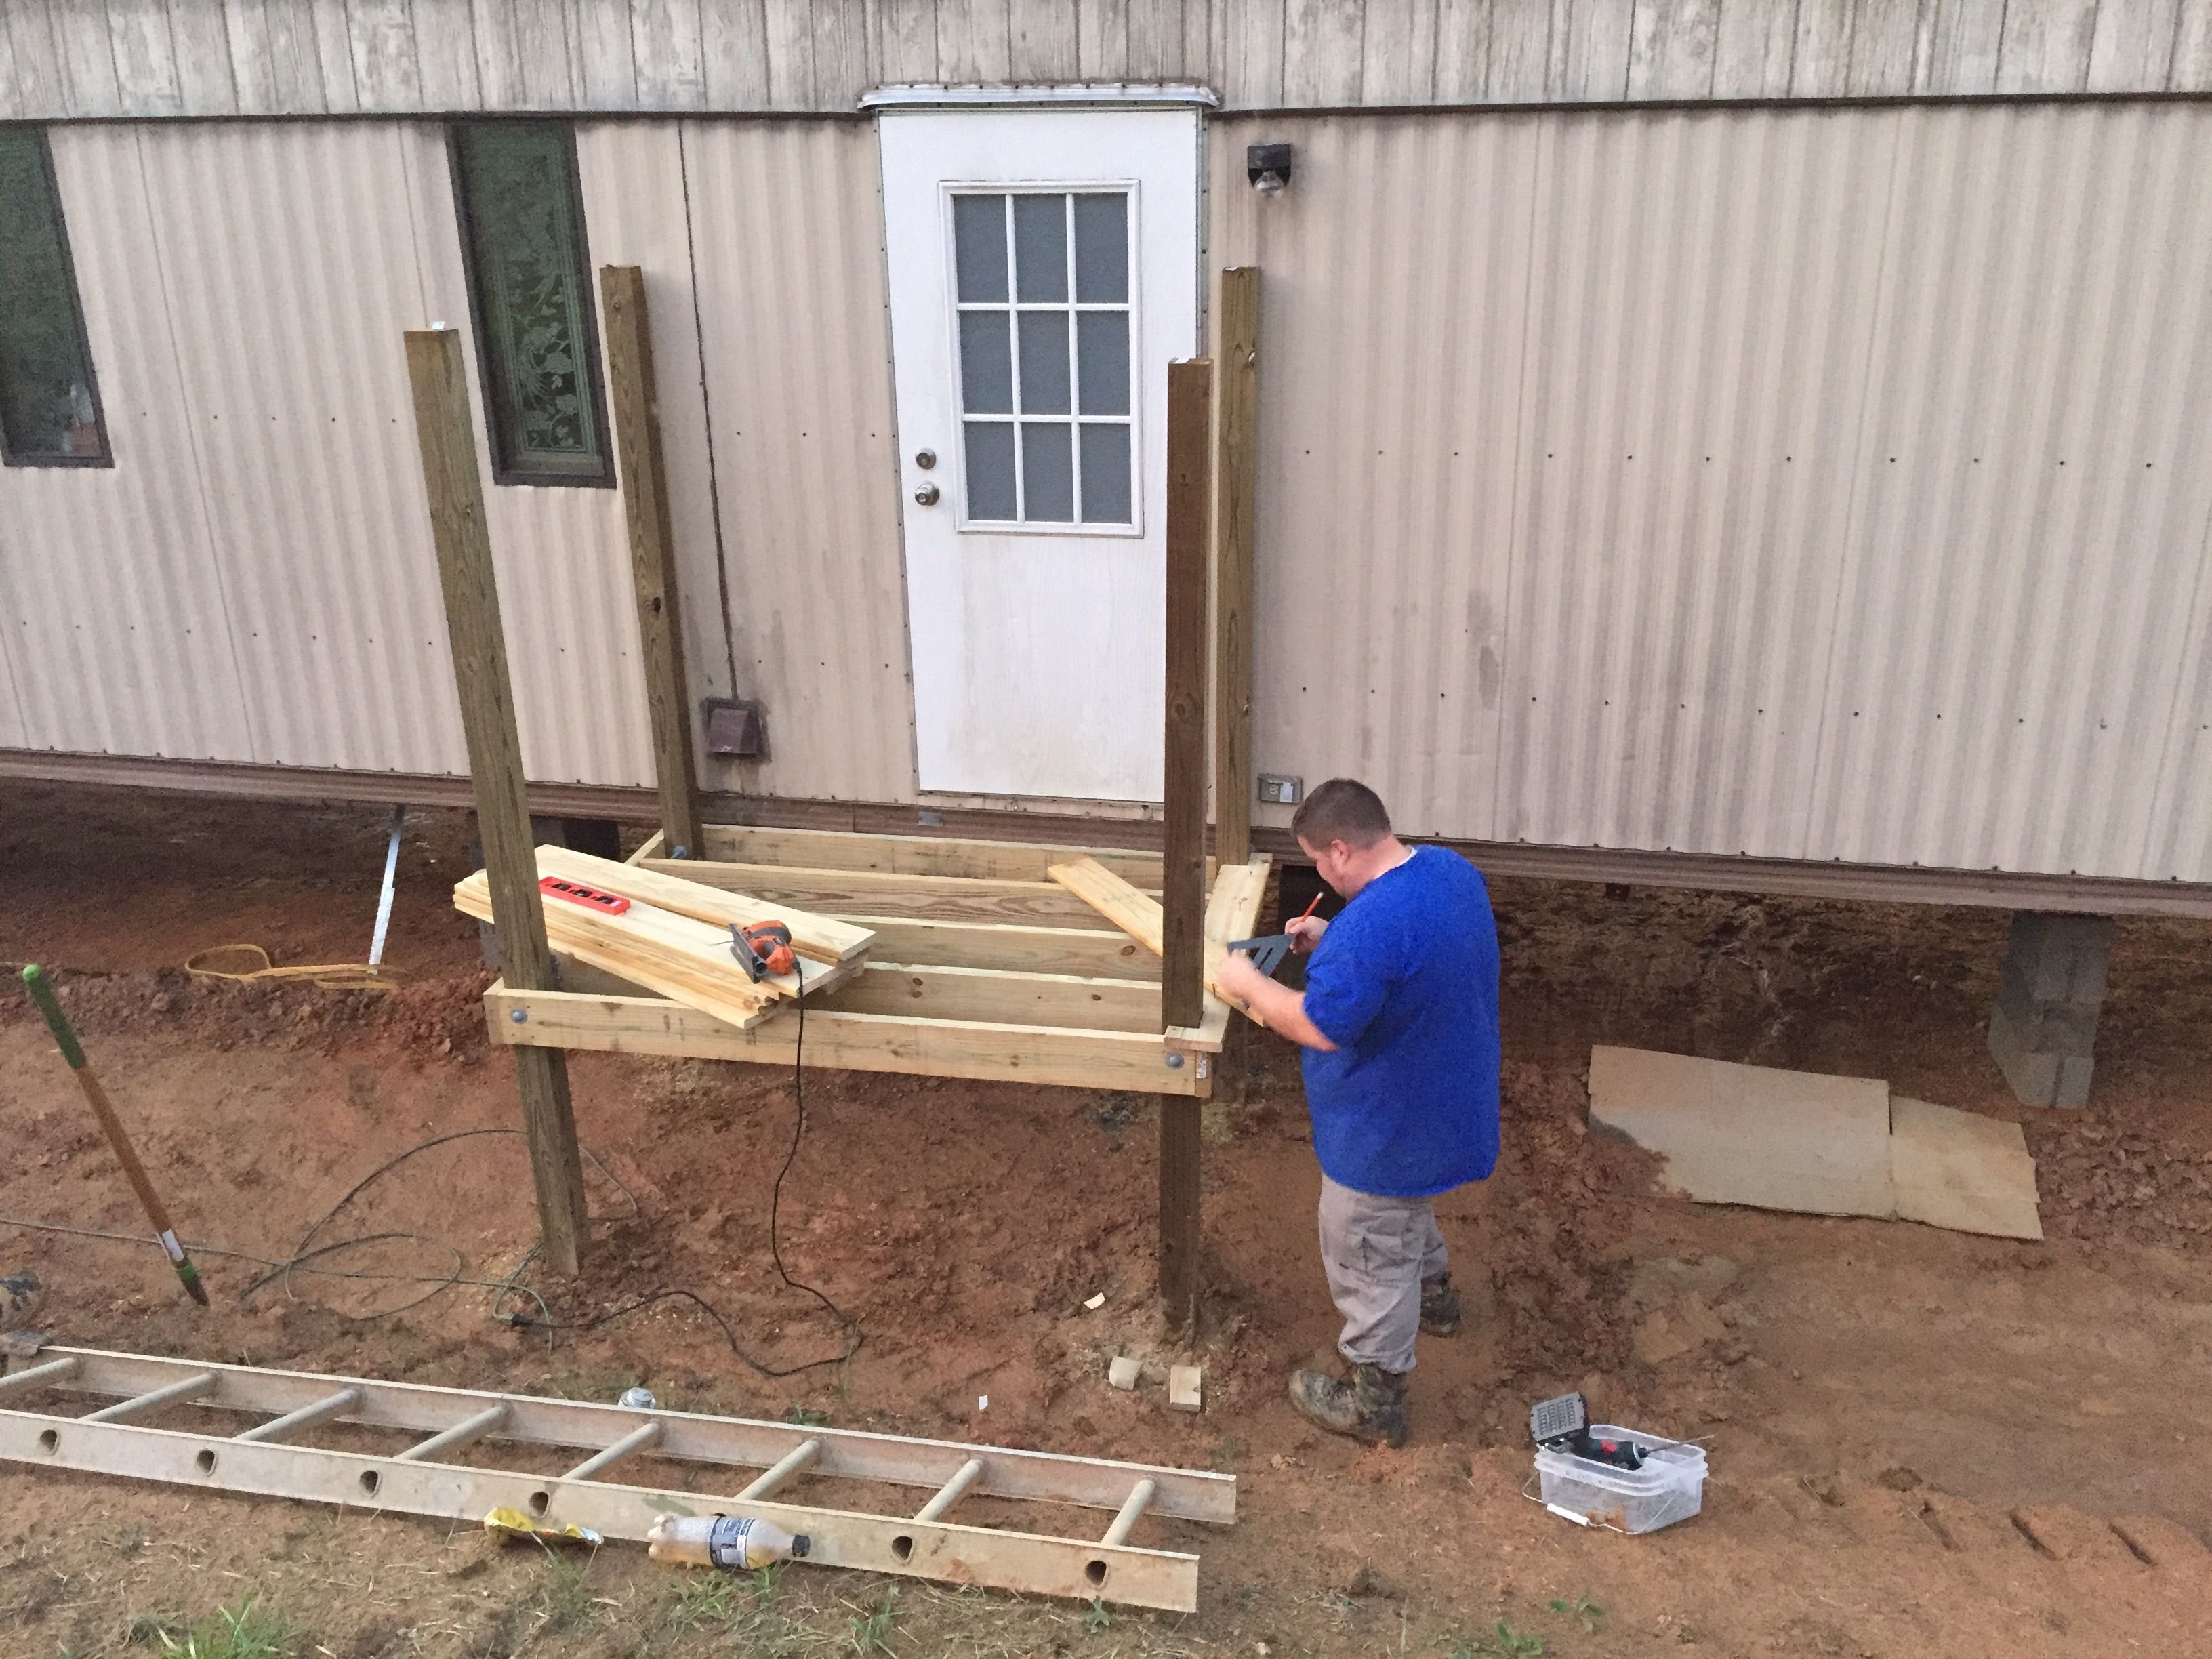
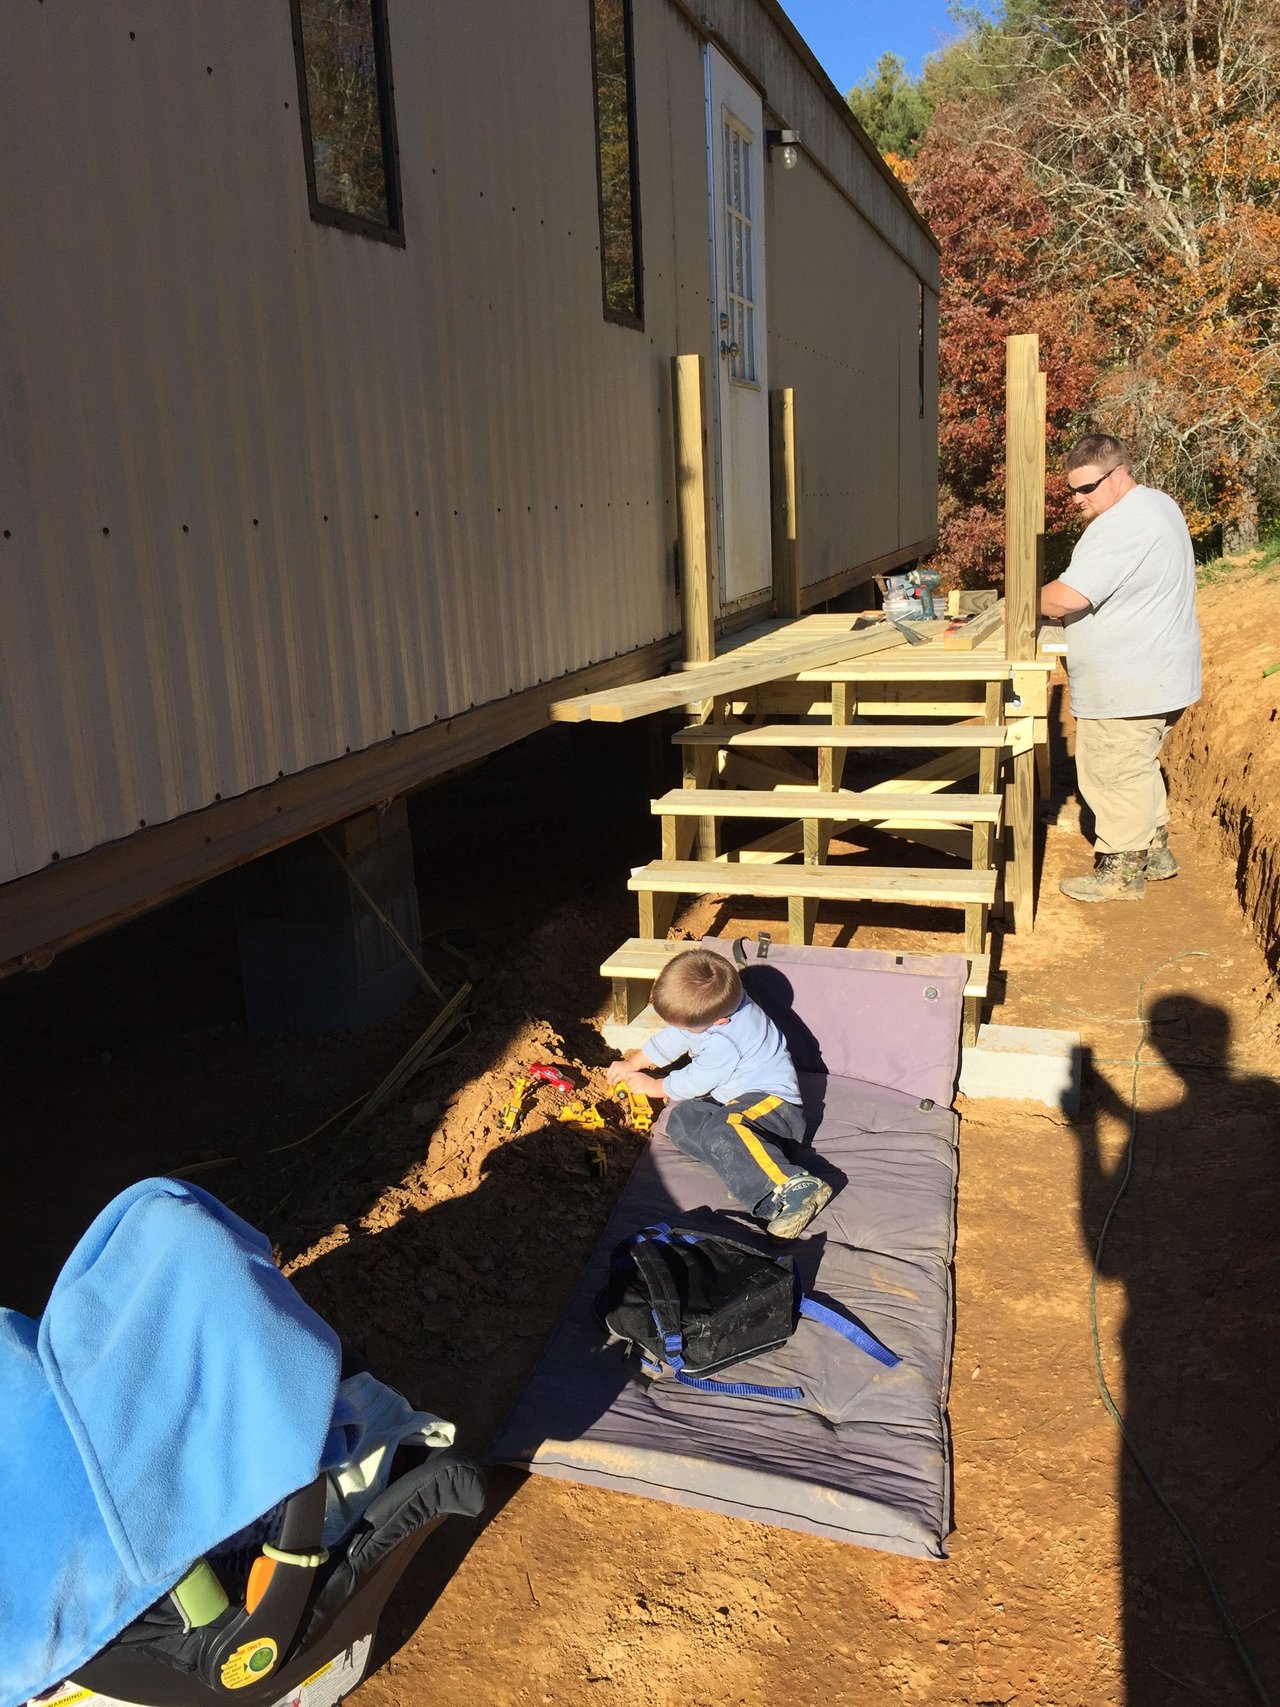
There was a little gray area with the county on whether one, two or any handrails would be required. However, I wanted them for the safety of my family, so I built two handrails onto each porch. I also made sure to keep the stairs as wide as possible to make carrying items up/down the stairs easy.

Final Inspection
After nearly 5 months of work on this whole project, we were ready to call for our Final Inspection from the county! I was at work they day of the inspection, and my wife barely missed them. They left a note though...
FAIL!!!
On the Reason for Failure section, they noted two things that we had not run across on any of our research:
Expose both grounding rod tops and the connecting wire.
Expose the one way check valve for the incoming water line from the well.
These were quickly fixed and I called back, fully expecting to have to pay a repeat inspection fee. They let us slide by! He said since we completed the items so quickly (the same day), they would swing by the following day and finish the inspection.
The next day we received the news... PASS!!!
Hooray! We were officially cleared to live in the home! Time to move, right?
NO!
We still had projects to do in the home before we moved in."Wait, what?!"
We had projects that we wanted done, but didn't want to put off our CO for. Those are coming up in the next update... Part 10!Stay Tuned!

Links to previous $20k Homestead posts
Did you like this post? Want to see more?
See you in the comments below, and on the next post!
Until next time, @greenacrehome

