Welcome back to our $20k Homestead series! Links to all previous posts are at the end. This post is all about THE GRID.

The Grid

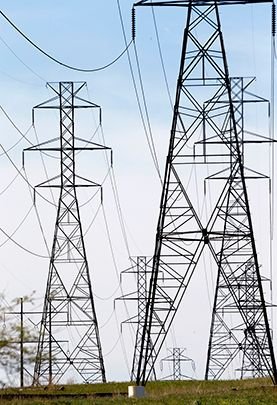
The (power) Grid
Our local power company is a membership co-op, but to be honest, I don't really know what that means other than they're a small regional company and do several community involvement projects.
Oh yeah, and saying the word co-op gives you warm fuzzies. Try it!
I called and setup a time for a representative to come out to our land and talk about connecting our home to the power grid. There were two options:
- 🐦 Aerial - Run wires from the nearest power pole to another sub-pole at our home and into our meter base.
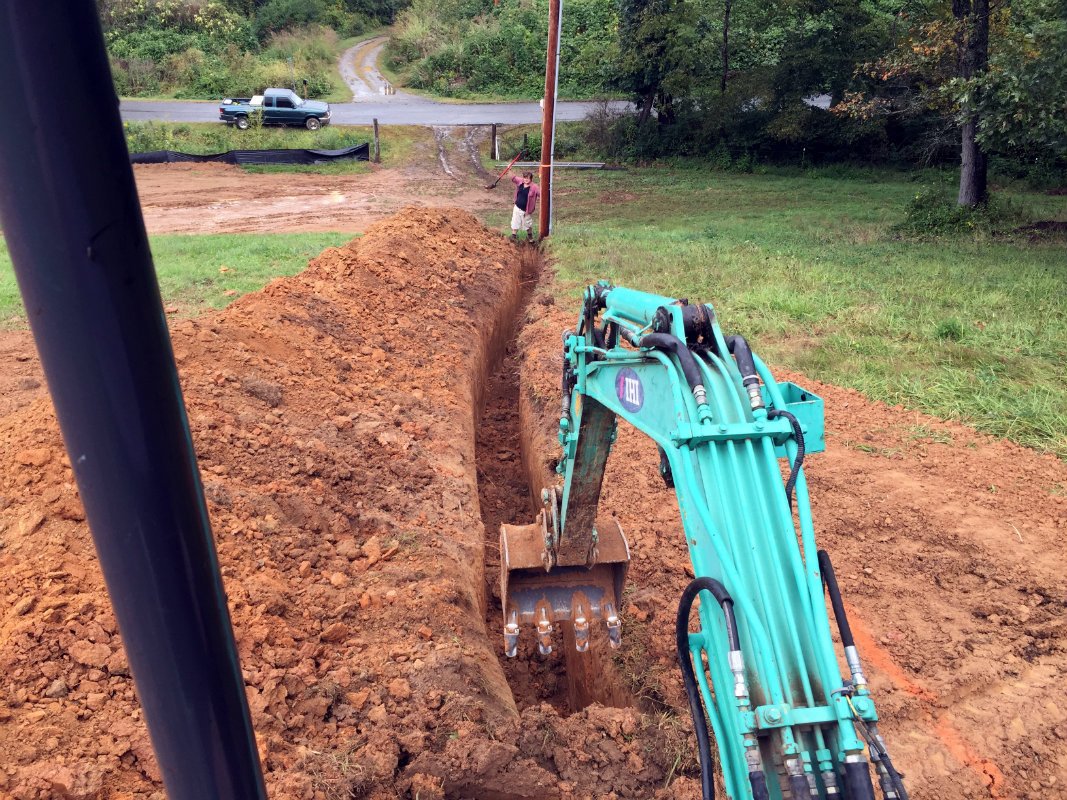
- 🐛 Underground - Trench from the nearest power pole to where the meter base will be at our home, then have the lines laid in conduit.
We went with the Underground option. While more work, it's just a cleaner install and less hassle to work around in the long term.
The Expensive Way or The Fun Way?
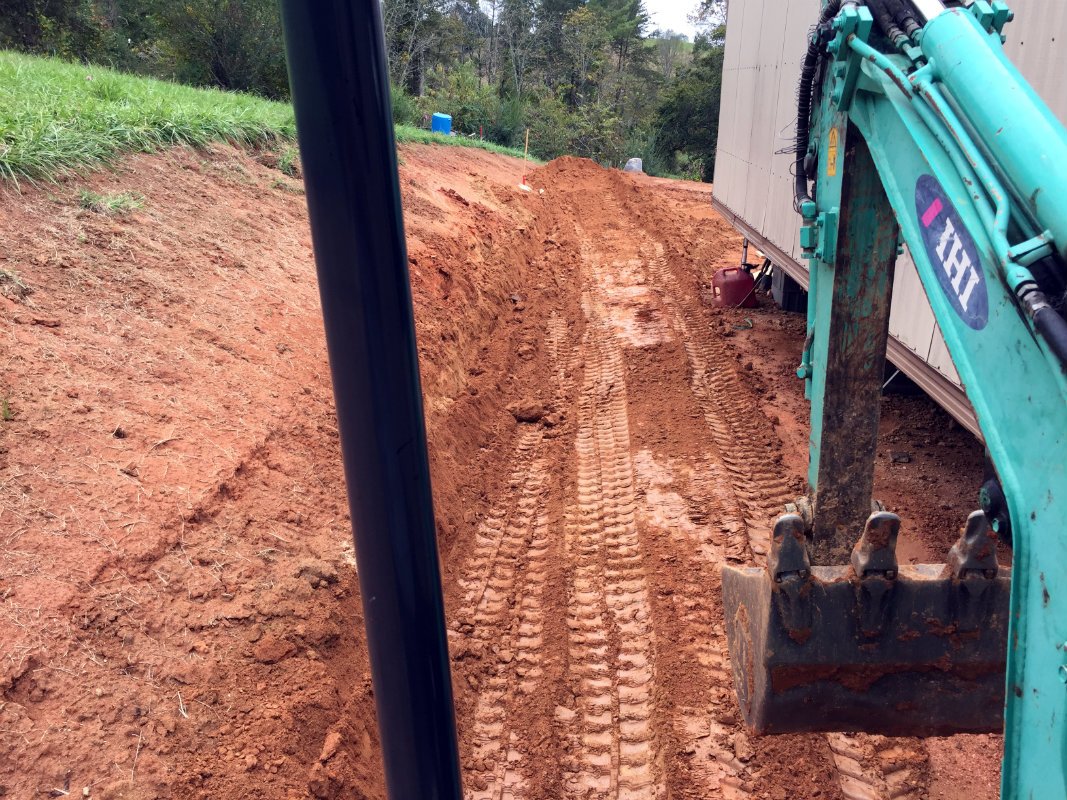
We were responsible for digging the trench ourselves, and the power company had strict requirements:
- 📗 Minimum 36 inch depth the entire distance. Anything less than 36 inches would result in conduit not being run and a fee to come back out later.
- 📗 Minimum 6 inch width. Same as above... anything less and a re-visit fee would be charged.
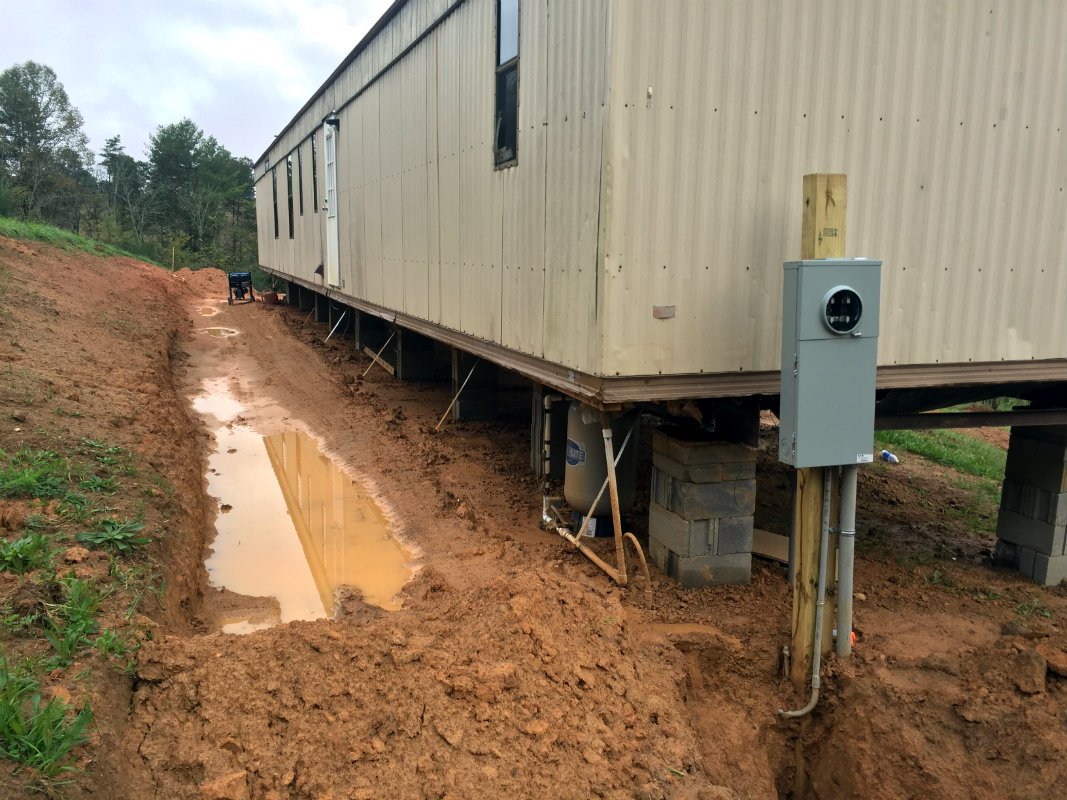
- 📗 Be complete from point-to-point (no digging would be done by the power crew). The power pole and the house's meter base had to be exposed down to the 36 inch depth and ready for conduit to be attached and run up the poles.
- 📗 Our meter base be installed and ready for conduit to be attached.
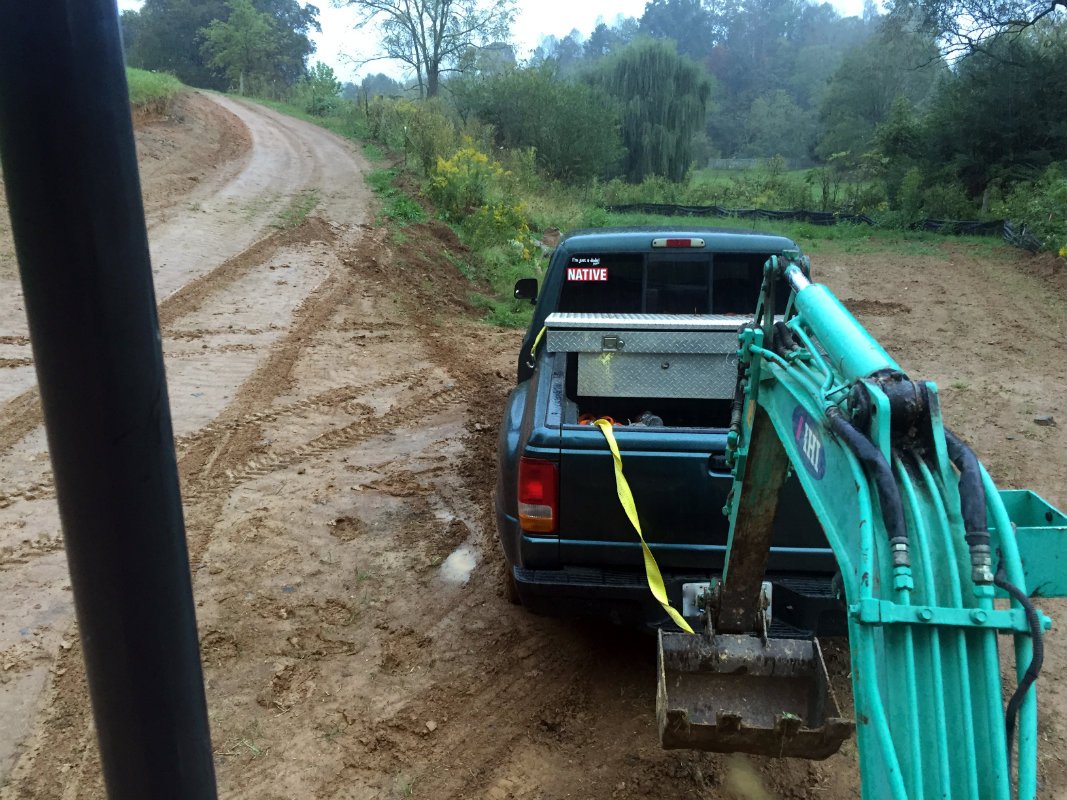
Our septic installer was still on-site when we found out about trenching the power lines, so I asked him what his charge would be for digging the trench and leaving the back-fill to me... $300. The cost to rent a mini excavator from our local hardware store was $175.
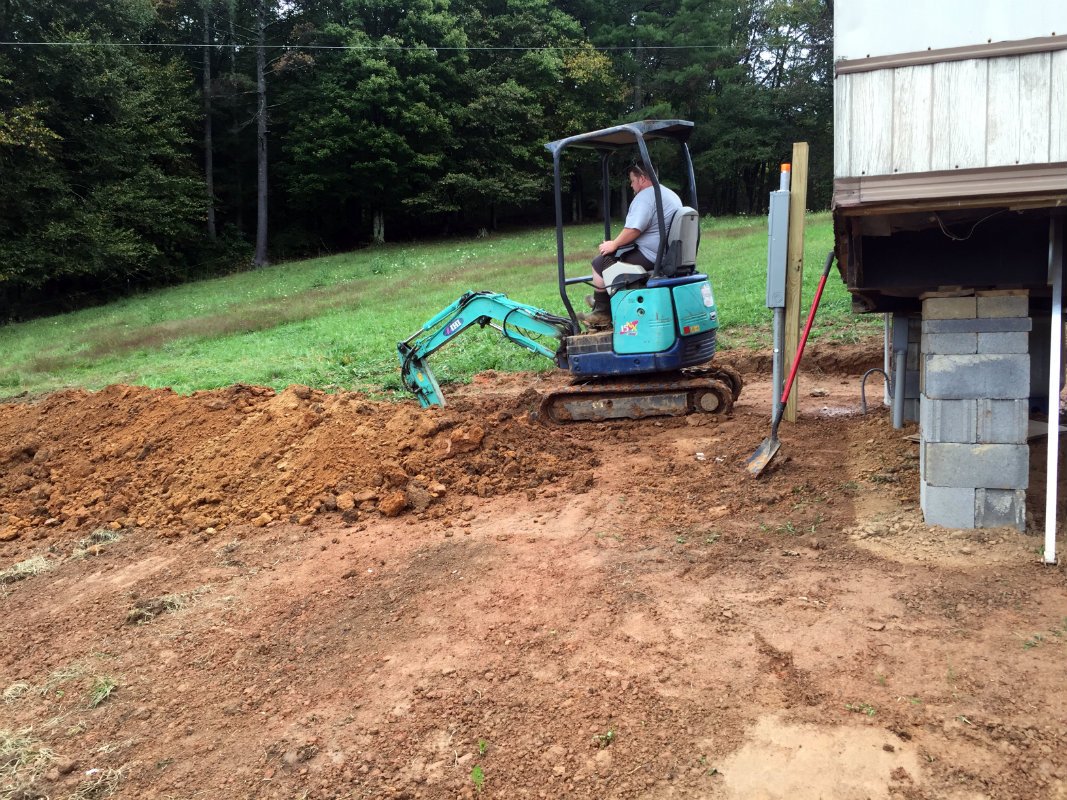
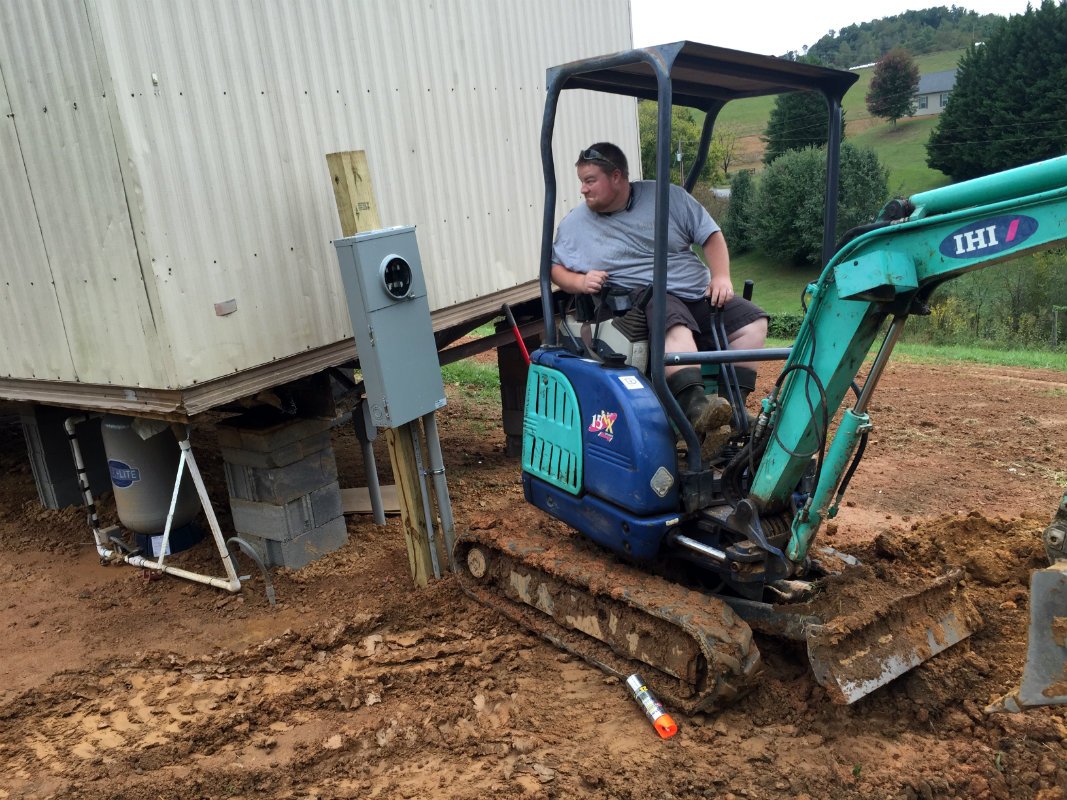
❓ Now, which do you think we chose? It's okay, I'll give you a millisecond to think... Of course--the DIY/Cheap Way! A call to our local hardware store (who also rents equipment) and a the next day I had myself a mini-excavator! Waahoo!
What is a Meter Base?

Isn't that usually on the home?
You're too clever! Yes, it usually is... with "house houses"... or double-wide mobile homes. Single-wide mobile homes are viewed differently in our region and not considered permanent. We had the option of permanently mounting it to our home since we owned both the home and land, but knowing later down the road we would be redoing the exterior of the home and possibly adding on to it, I opted for the mount that was most likely to not require me calling the power company to come back out.
Trenching Time!
The next day after calling the hardware store, they delivered the mini excavator. It was Friday and I had it for the weekend at the cost of a 1 day rental. Perks of a mom-and-pop store being closed on Sunday and only open half day Saturdays.
While I Have It...
While I had the excavator, I did some cleanup work to the grading of the house site.
I also let Josh (my brother) use the excavator for some projects over at his place. We're all on the same tract of land. I think I mentioned that in another post. Anywho, he used it to begin his underground greenhouse, but I'll leave that for him... he's getting setup on Steemit and I'll let him share that awesome project.
Missing Photos
Either we forgot to take them, or we have misplaced them. Either way, we have no photos of us back-filling the trench with our fancy 2 inch conduit full of power in it. Oh well...
So you had power now?
Not yet... the power company doesn't connect the power to the home (by installing the power meter) until the county issues the Certificate of Occupancy... the official OK to live in the home. We're still a few projects away from that point...
Coming Up Next
This update puts us past a MAJOR milestone!!!
💸 💸 The End of Contractors! 💸 💸
Meaning, the rest of the work needed to get our CO from the county could be done by us! Waahoo! Now we were just waiting on... us!
Time to get going! We were only waiting on ourselves now!
See you on the next post!
Until then,
@greenacrehome
Do you like DIY?
Outdoor Kitchen Build Series - IN PROGRESS
Part 1, Part 2, Part 3, Part 4, and Part 5
$20k Homestead Series Past Posts
Part 1, Part 2, Part 3, Part 4, Part 5, Part 6, and Part 7.