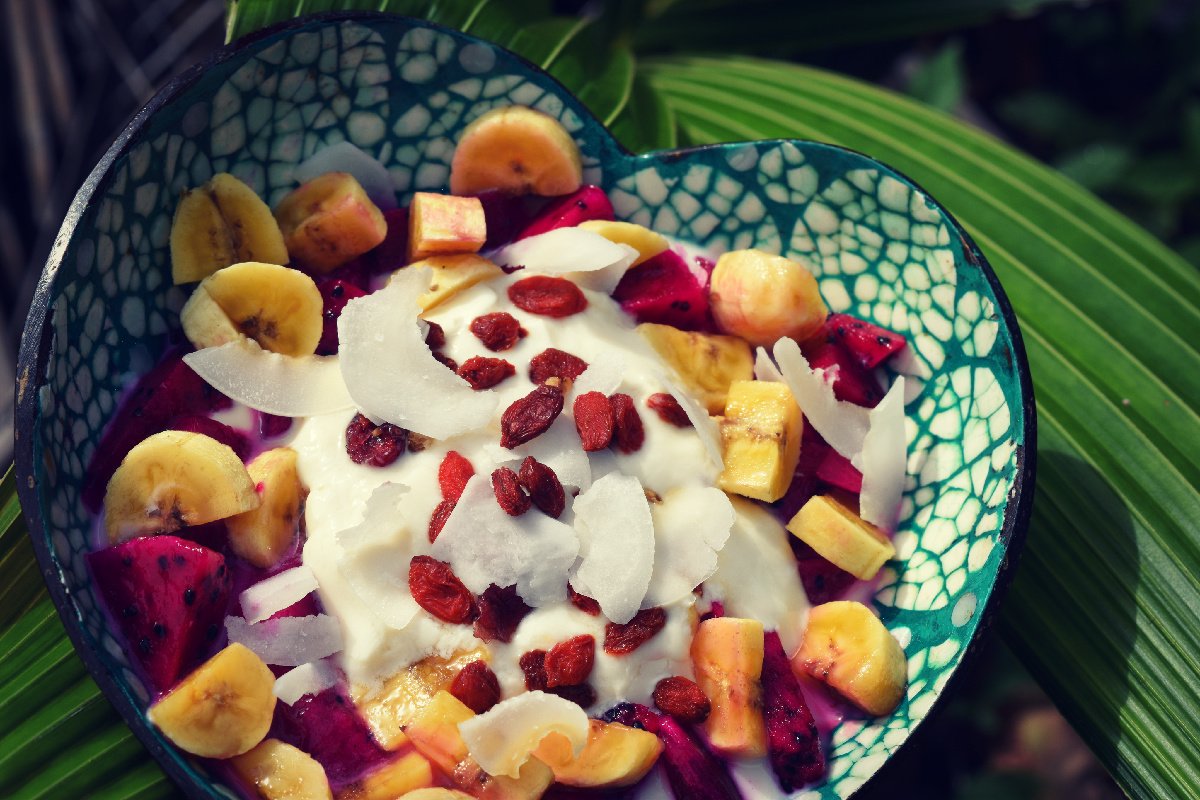
Good morning steemit. Though I will have a green smoothie later this day, this morning I felt like I needed something more so I made this yummy coconut yogurt fruit bowl to get me started.
Have you ever tried making your own cultured, probiotic-rich coconut yogurt? If not, I'll quickly show you how to do this. It's super easy. No need for fancy equipment. A jar and oven light or thermos will do the trick.
Homemade Cultured Coconut Yogurt
- 2 cans full fat coconut milk/cream (BPA-free)
- 2 tbsp maple syrup (optional, for a thicker consistency)
- Yogurt starter
Yogurt starter options
- 2 probiotic capsules
OR - 1 tsp probiotic powder (around 50 billion units)
OR - 1/4 cup coconut kefir or coconut yogurt from your previous batch
CLICK HERE for more info about probiotics.
Directions
- For a thicker yogurt, use coconut cream instead of coconut milk. Refrigerate the cans for a few hours so the cream rises to the top. Only use the thick cream to make the yogurt and use the coconut water in the bottom of the can make a delicious coconut flavored smoothie. If you don’t mind a runny yogurt use everything. Cream, and water. Or use unsweetened coconut milk instead.
FYI: homemade coconut milk can be used but you will have a very runny yogurt. We always use a can as we like a thicker consistency. - Combine the coconut cream, yogurt starter (if using capsules, open them up and add the content to the cream), and maple syrup (if using) to the clean jar (washed with hot water, no need to sterilize). Mix well with a metal or plastic spoon.
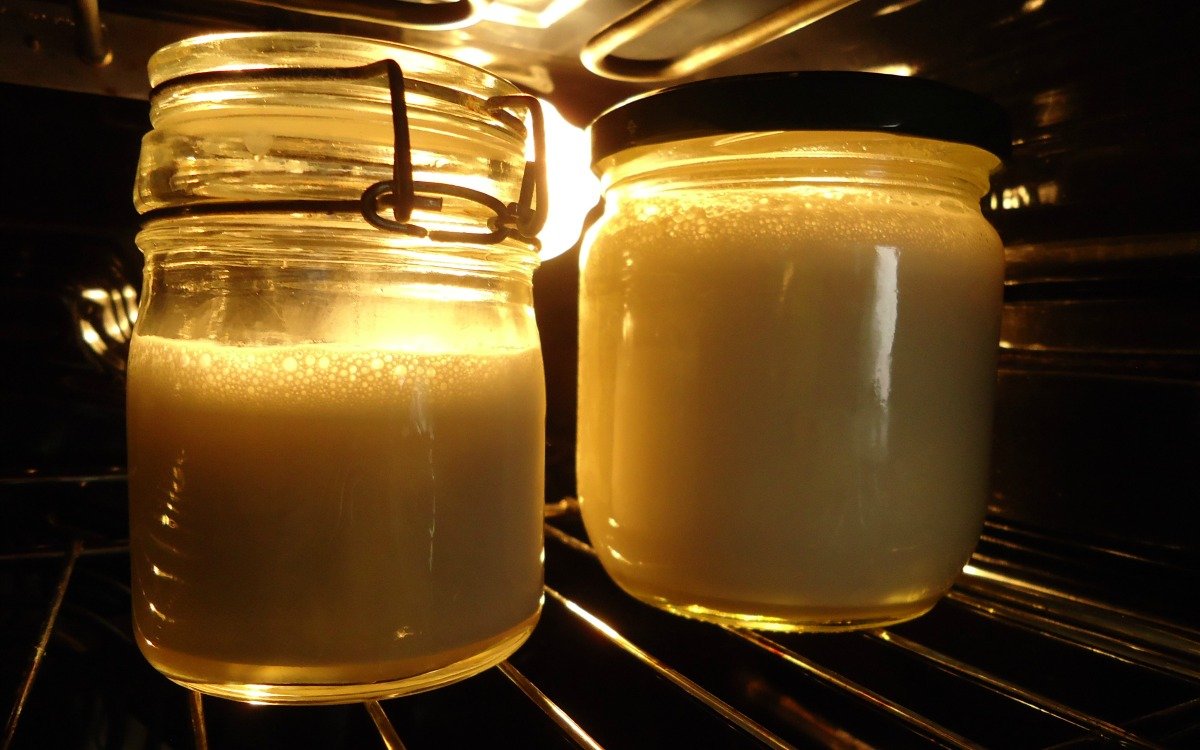
- Then there are three options you could use to make the yogurt. If you have a yogurt maker you can use that. For people who don't have one, they are quite cheap but not needed to make yogurt. You can just put the jar (with the lid loosely screwed on) in the oven with the light on. Place the jar as close as possible to the light. The light of the oven will generate enough heat to make the yogurt. Do not turn your oven on. Do not screw the lid on too tight. Air needs to be able to go in there. Cheesecloth or a coffee filter and a rubber band work too. If your oven doesn't have a light or you don't own a yogurt maker, heat the coconut cream to 40C or 104F. Add the yogurt starter and mix well. Pour in a thermos to incubate. Regularly open the thermos to let it brb and breathe.
- Leave the yogurt for 24 to 48 hours; This will depend on your climate and how sour you like your yogurt. The longer you incubate, the more it will thicken. The yogurt can still be a little runny but will further thicken in the fridge.
- Refrigerate for up to a week or more and don’t forget to save ¼ cup to make your next batch.
See super easy, right?
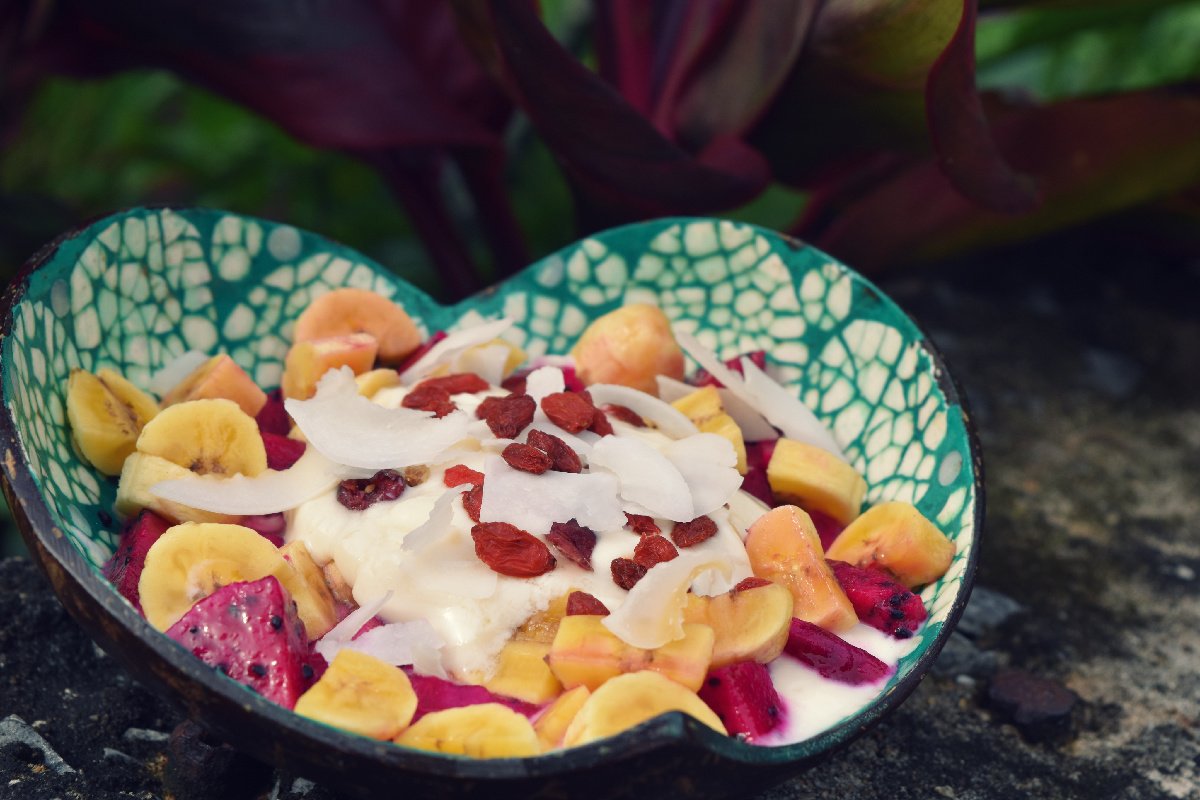
TROPICAL COCONUT YOGURT BOWL
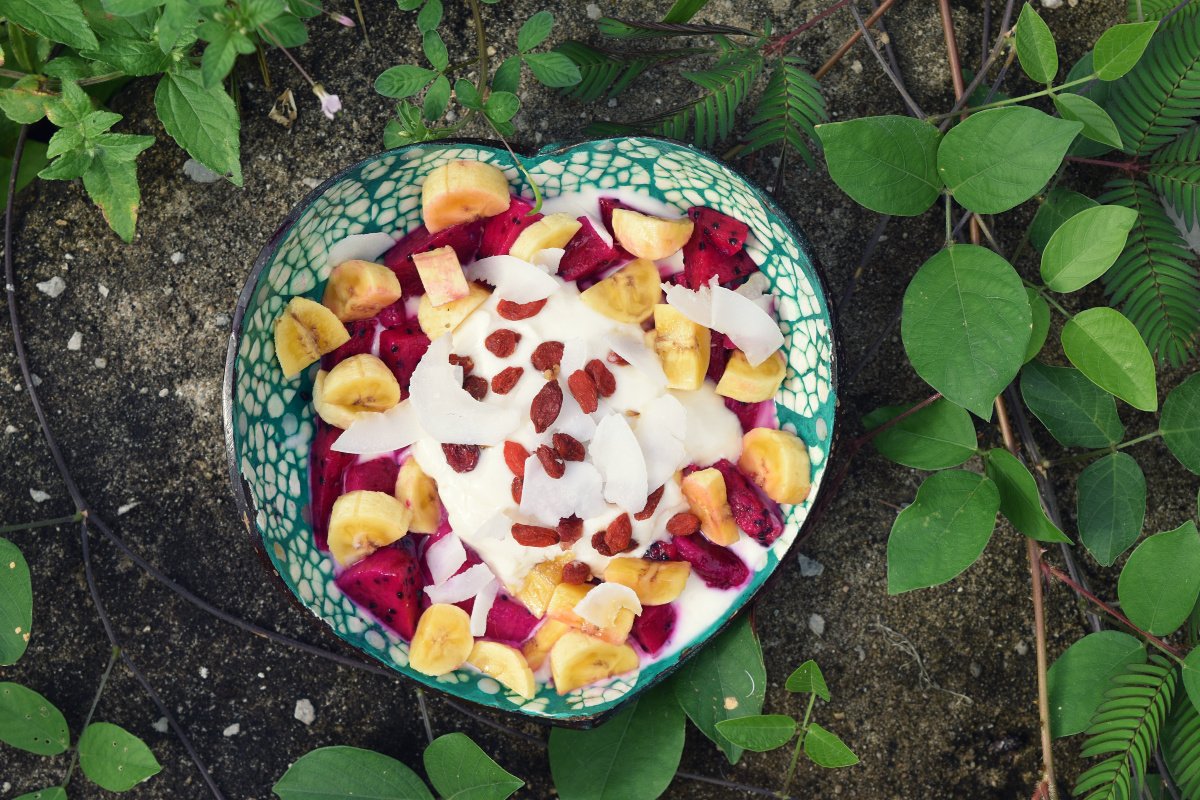
- Coconut yogurt
- Pink dragon fruit or pitaya
- Banana
- Coconut flakes
- Goji Berries
Add fruits to a bowl, top with yogurt, goji berries, and coconut flakes. Or use other toppings of your liking!
WISHING YOU A HAPPY AND HEALTHY WEEKEND!

ALL CONTENT IS MINE AND ORIGINAL!
PICTURE(s) TAKEN WITH NIKON D5600
FYI: For green smoothie tips, tricks, and recipes, download my FREE GREEN SMOOTHIE EBOOK HERE!
LET'S CONNECT!
🥑🍓🍆 FIND MORE YUMMY PLANT-BASED CREATIONS BELOW 🥑🍓🍆
20-MIN DINNER | TURMERIC-INFUSED FRIED QUINOA WITH PINEAPPLE
GREEN SMOOTHIE OF THE DAY | TROPICAL MORINGA MORNING BLISS
30-MIN VEGAN DINNER | TOASTED QUINOA WITH AVOCADO, RED BEET AND ORANGE MUSTARD DRESSING
WILD FERMENTATIONS | HOMEMADE KIMCHI - A KOREAN PROBIOTIC WONDER
GREEN SMOOTHIE OF THE DAY | BULLETPROOF SMOOTHIE TO BOOST BRAINPOWER AND CURB THE APPETITE )
30-MIN VEGAN DINNER | CRISPY TURMERIC COCONUT CAULIFLOWER TACOS WITH BELL PEPPER SAUCE AND SWEET AND SOUR COLESLAW