Having fresh wild greens to eat in season is great, but with such a short shelf life between fresh and soggy, you need another way to keep your greens for a longer time. The best way to do that is to ferment your greens.
There is no recipe for this. You need very few ingredients and very little preparation beyond simply cleaning your tools and greens.
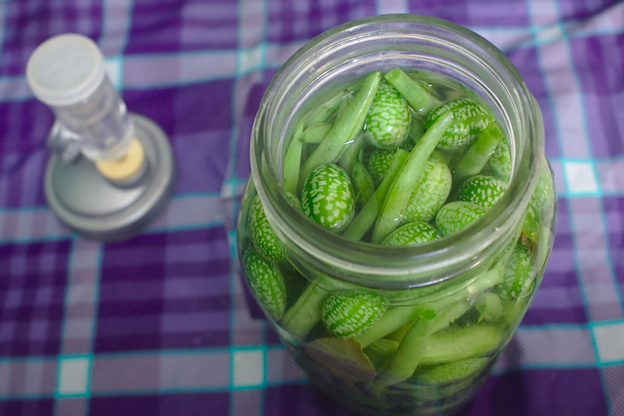
Image source: Pixabay
A Fermenting Jar
For this you need an anaerobic environment. Your jar needs to be able to seal out air, while still allowing the gases that build during the fermentation process to escape. If you have one a fermentation crock, fermentation jar, fido jar or pickling jar is great. It you don’t have one, there are ways to make it happen without them.
The idea is the keep your greens from being exposed to air. You can do this by making sure there are enough juices to cover your greens, but you will need something to prevent them from rising to the top of the liquid.
They make weights specifically for this purpose, but I found a set of 4 glass candle holders at Dollar tree for just $1 and they work great on smaller jars. They are heavy enough to hold your greens beneath the liquid and small enough to fit through the mouth of all but the smallest jars.
If you are handy with a saw, you can take a piece of 1-inch Plexiglas. Cut a circle the same size as inside of your jar, then slice the circle in half so it can be inserted into the jar opening. Sand any rough edges and wash completely to remove all traces of dust before using.
You can also take a heavy leaf, (think a whole leaf from a head of cabbage or several smaller leaves) and wedge it down over the top of your mixture, then weight it down with a glass that fits into the mouth of your jar. The leaf will keep your sliced veggies from rising to the top of the liquid and the glass prevents your leaf from rising to the top and allowing air to get under it.
Preparing your Greens
Wash your greens well. Spin in a salad spinner if you have it, or blot them with a towel to remove excess water.
You can slice your greens into thin strips, the size is your choice. It is easier to get small pieces of fermented greens out of the jar than to try to remove full, large pieces.
If you want, you can process them in a food processor so they are sliced up much like store bought coleslaw mix. There really is no wrong way of doing it as long as you can keep them under the liquid level.
Salt your Greens
In a large glass or plastic bowl, sprinkle a layer of greens, then sprinkle them lightly with salt. Don’t overdo the salt or your finished product could be too salty to eat.
Keep adding layers of greens and a light salting till all your greens have been salted. Once all are salted, rub (or massage) the greens to get the salt onto all surfaces of the green and get the juices to start flowing. Allow them to sit for about an hour to ensure they are nice and juicy.
Mash the salted greens and rub them together more, then allow them to set about another hour.
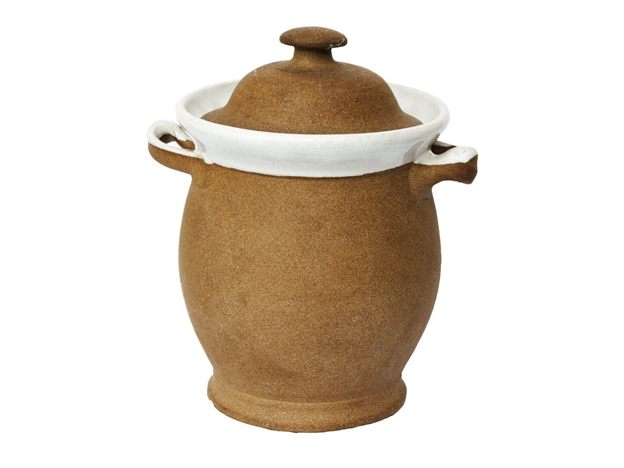
Image source: pixabay
Pack your Jars
Pack your jars tightly with greens till they are about ¾ full, then insert your weights on top. The juices should rise up till the level of juice is above the greens. Don't overfill! If your juice gets too high in the jar, it could cause it to overflow when the fermentation process makes it start bubbling.
If there is not enough juice to cover your greens, you can add a little distilled water to cover. DO NOT use tap water. Chemicals in tap water can prevent the fermentation process from happening.
Let ferment about a week
After about a week, if any greens have made an escape around the edges of your weight, skim them off and dispose of them. Pick a few pieces from below the water level and taste test them. They should have a sort of tart taste, similar to sauerkraut. If not, plop the weights back in and wait a few days to test again.
When you are happy with the taste, you can transfer them to smaller jars and seal for longer term storage.
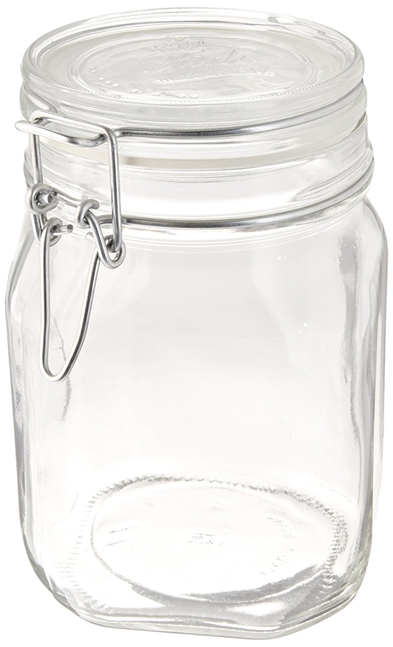
Fido Jar Image source: me
Why I prefer Fido Jars
Fido jars have a rubber gasket and metal wire that holds the lid tightly in place over the gasket. As the natural gasses from fermentation builds up, they can push past the rubber gasket and escape, but no oxygen is allowed back into the container.
If you have enough jars, you can make and store it in the same jar. The best time to buy them is in winter or early spring. Keep an eye on sales where stores are clearing out left over stock from the prior year. I lucked into getting 40 jars of various sizes for only $100 delivered as all but the larger jars were marked down to less than $2 each.
types of greens to use
Literally any type you happen to have a good supply of will work. Wild greens like dandelion, plantain, arugula, or cultured greens like spinach, cabbages, collards or pretty much anything else. You can even use garlic, chive and wild onion scapes.
Get creative and try mixing various greens. Who knows, you could create the next million dollar product, all from the counter top in your own home kitchen!
My other food foraging posts you might be interested in:
Food foraging plantain weed for food and medicine
Arugula a wonder food that self sows
garlic a must have for any survival garden
how to make diy garlic oil
One big beautiful camellia bloom
food foraging chicory
food foraging flowers you can eat
Pine Needle Tea
Borage
Cattails
Wild and Mock Strawberries
Seed Bombs
Clover
Fried Dandelion Flowers Recipe
Dandelions
Food Foraging 101 – part 1
Food Foraging 101 - part 2
Food Foraging 10 1- part 3