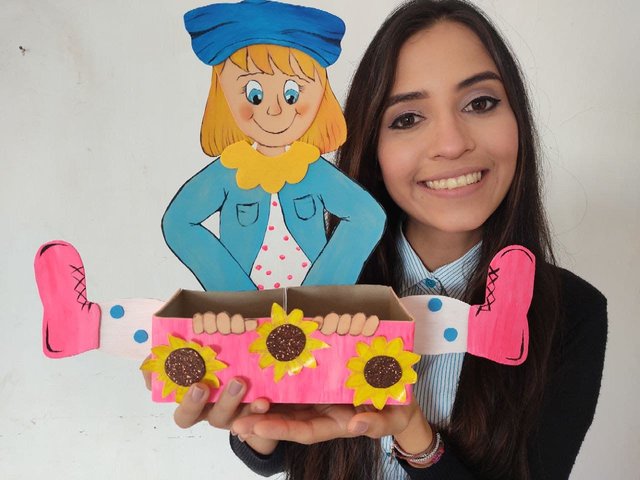
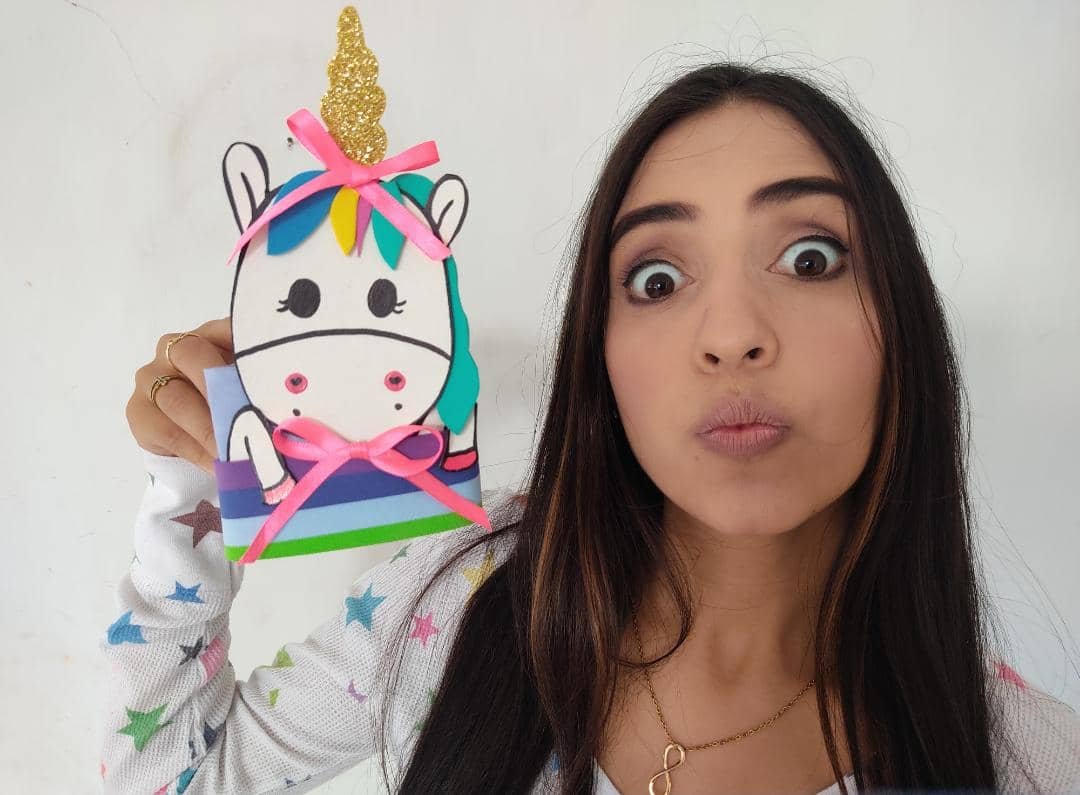
.jpeg)

Hello, dears ❤️
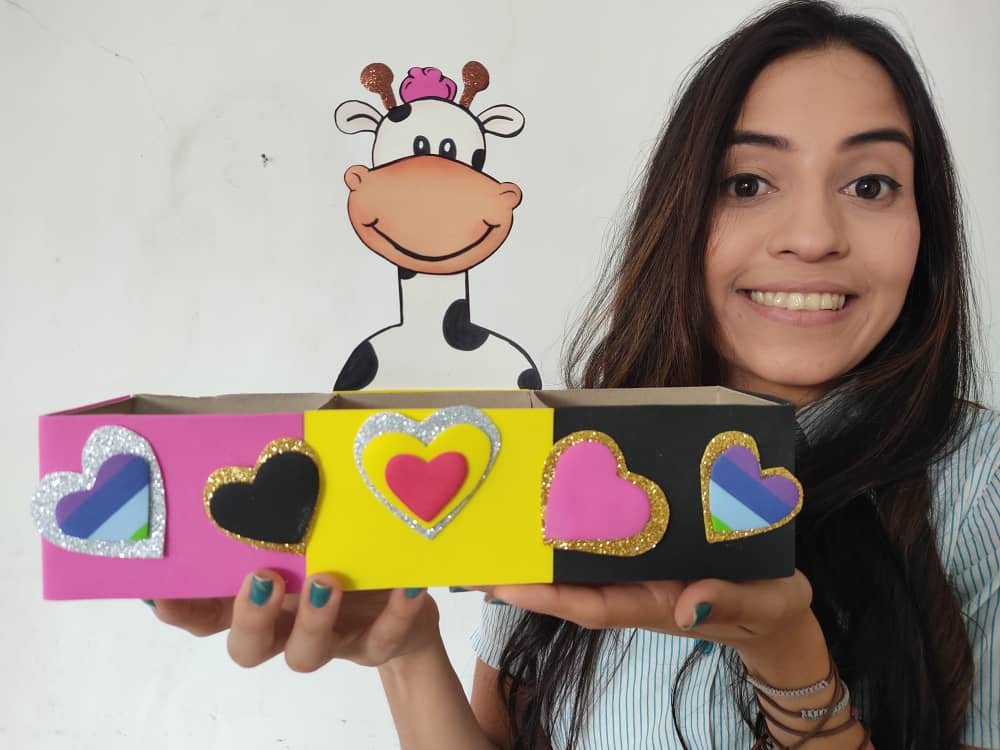
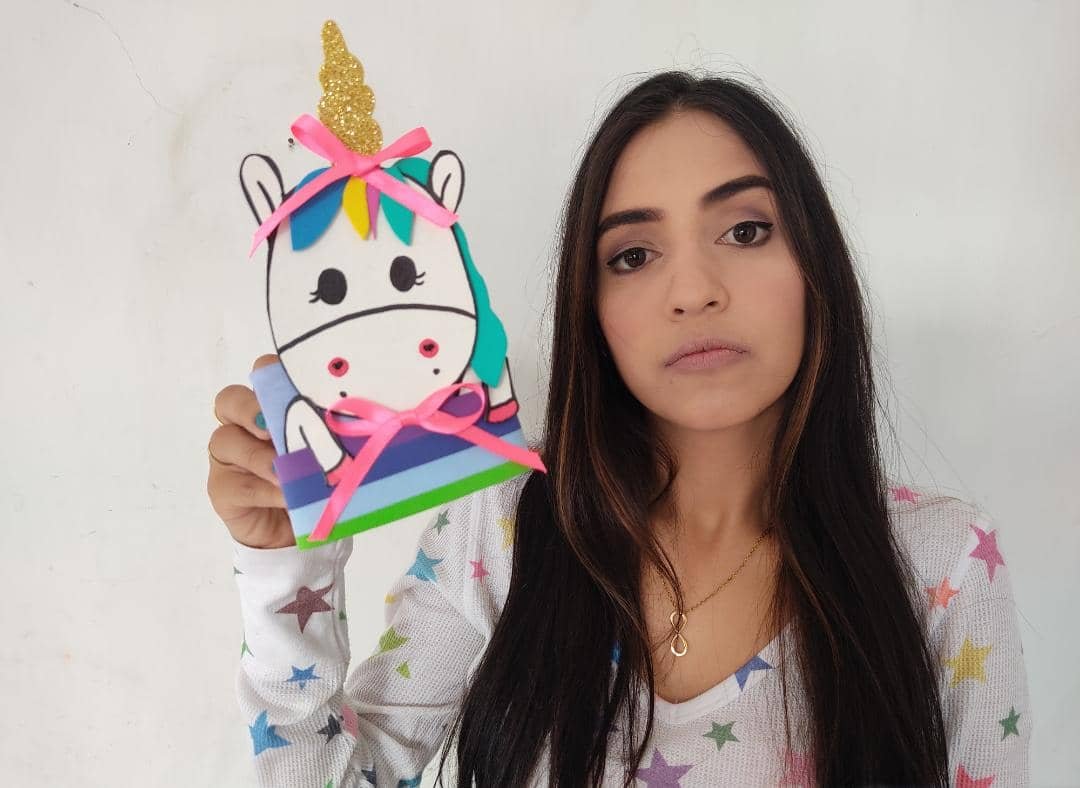
Today I bring you a new tutorial that had been pending days ago, it is a beautiful box protected by a cute unicorn ideal to give a little order to our work table, giving a creative and personal touch to our things, And the best of all is that it is made with recyclable materials, very cheap and easy to find, so let's not wait any longer and start this new year developing our creativity to the fullest.
Hola queridos ❤️
El día de hoy les traigo un nuevo tutorial que había quedado pendiente días atrás, se trata de una linda caja resguardada por un lindo unicornio ideal para darle un poco de orden a nuestra mesa de trabajo, dándole un toque creativo y personal a nuestras cosas, y lo mejor de todo es que está hecha con materiales de reciclaje, muy económicos y fáciles de conseguir, así que, no esperemos más y comencemos este año nuevo desarrollando nuestra creatividad al máximo.
What are they waiting for?
Thanks to this useful technique we can make our own unicorn box, perfect to carry our girls to keep their favorite materials and tools or some delicious treats. Cool no? Before starting do not forget to wash your hands.
¿Qué están esperando?
Gracias a esta útil técnica podemos realizar nuestra propia caja de unicornio, perfecta para llevar que nuestras niñas guarden sus materiales y herramientas favoritas o algunas ricas golosinas. Genial no? Antes de comenzar no olviden lavarse las manos.

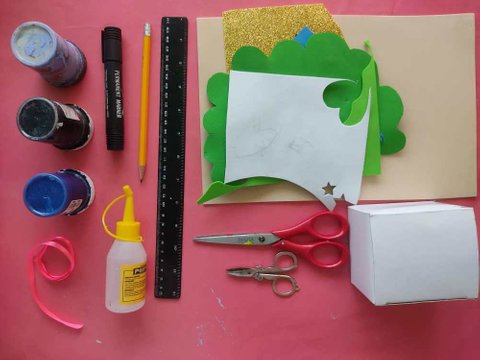
[Materials | Materiales]
To make this cute work we will need:
- Foamy or eva foam.
- Graphite pencil.
- Paintings.
- Brushes.
- Scissors.
- Recycled cardboard box.
- Glue or liquid silicone.
Para realizar esta linda obra necesitaremos:
- Foamy o goma eva.
- Lápiz de grafito.
- Pinturas.
- Pinceles.
- Tijera.
- Caja de cartón reciclada.
- Pegamento o silicón liquido.
Procedimiento (paso a paso)
Process (step by step)
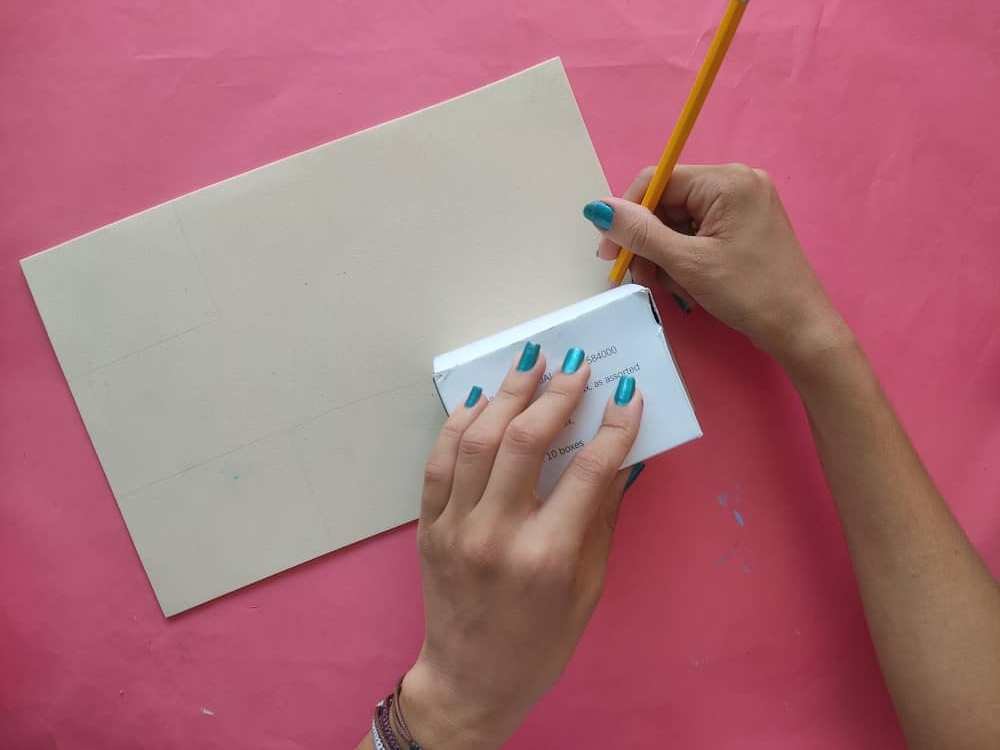
First, we make a strip of foamy that has the same measurements as the box, that is, 8cm by 28cm, and cut.

Primero, elaboramos una tira de foamy que tenga las mismas medidas de la caja, es decir, de 8cm por 28cm, y recortamos.
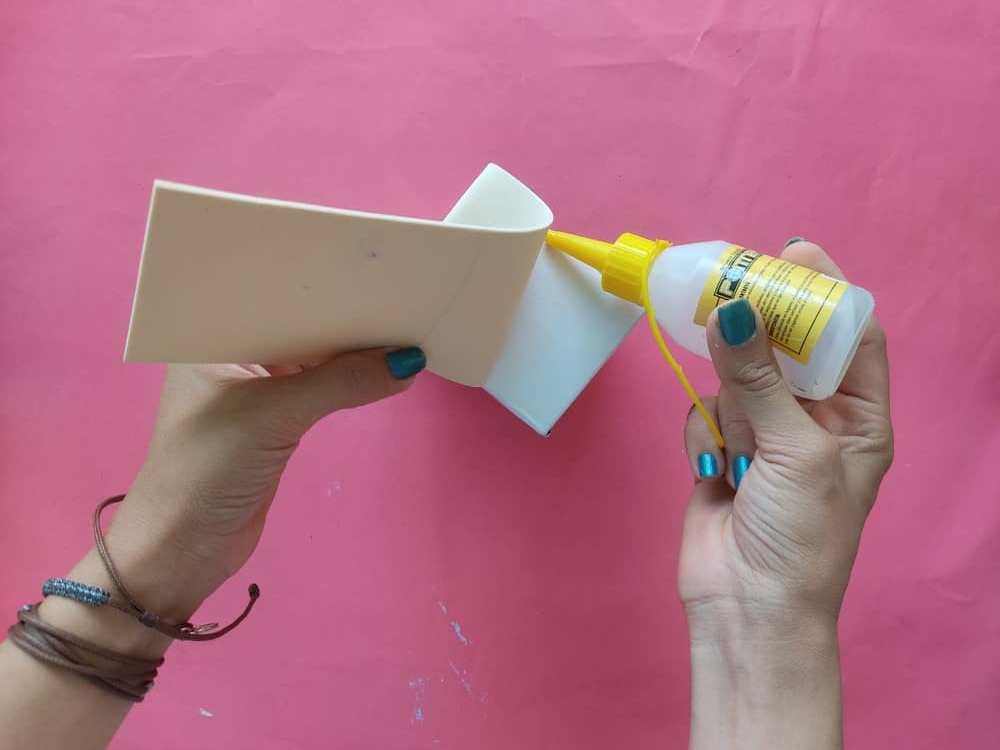
Then, we cover the sides of the box by gluing this strip with cold silicone, we must press for a few seconds so that our box is well covered.

Luego, cubrimos los laterales de la caja pegando esta tira con silicón frío, debemos hacer presión por unos segundos para que nuestra cajita quedé bien cubierta.
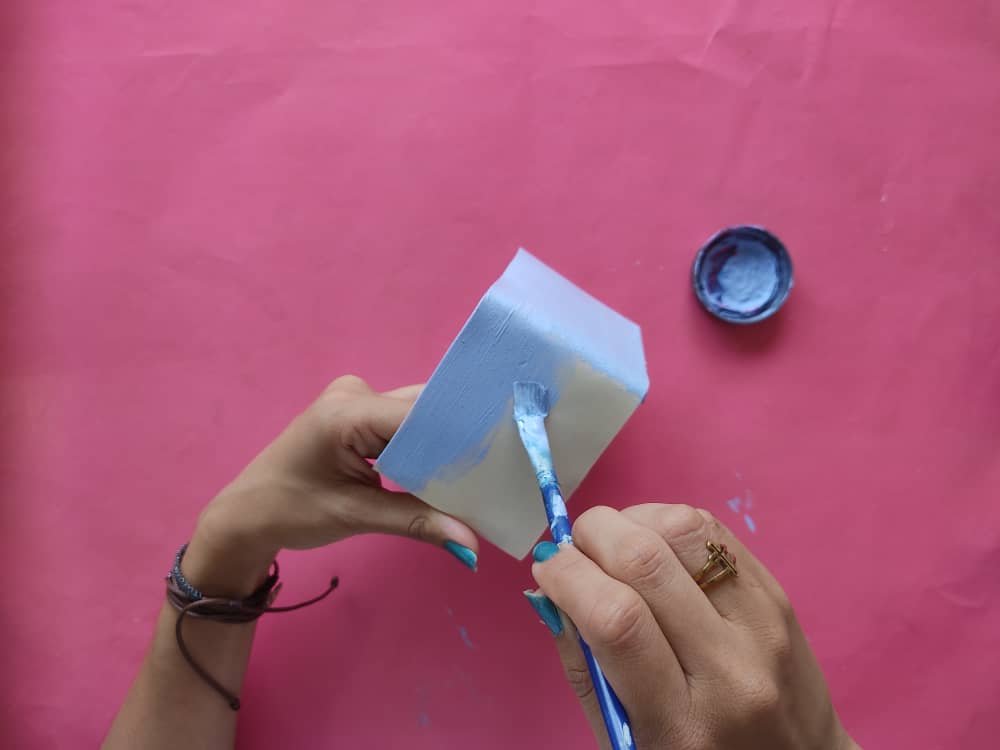
Now, we paint the box in the color we want, in this case, I decided to use lilac as it is a very tender and neutral color. And then we let the paint dry for a few minutes.

Ahora, pintamos la caja del color que deseamos en este caso decidí utilizar color lila ya que es un color muy tierno y neutro. Y luego, dejamos que se seque la pintura por unos minutos.
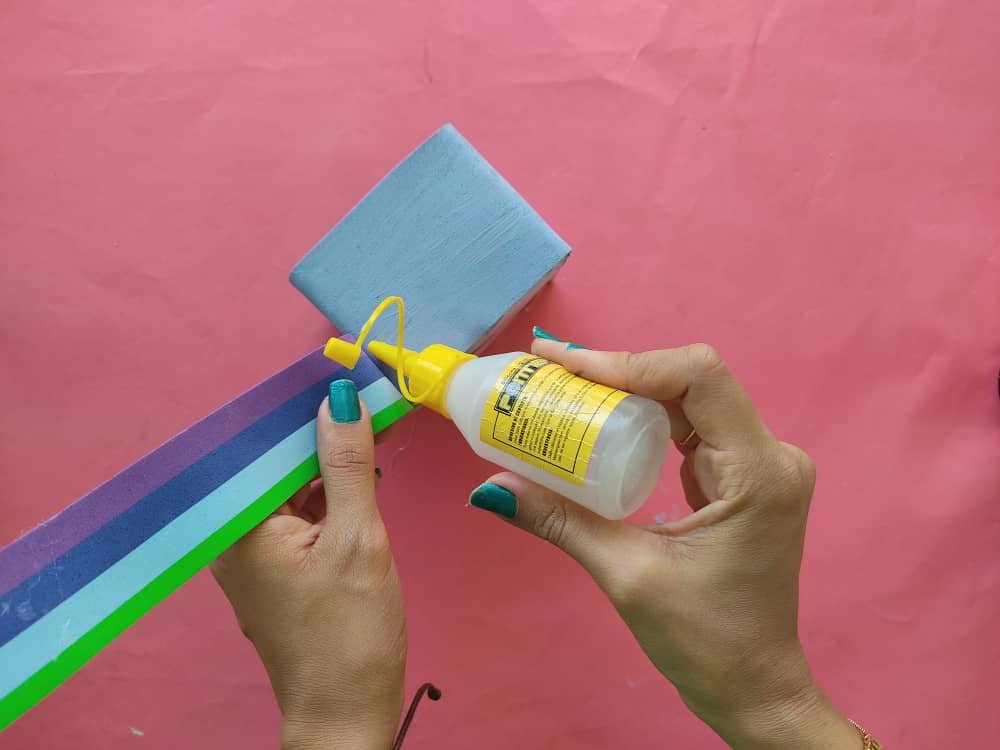
Next, we glue a strip of multicolored foamy to the middle of the box to decorate and give it a very original touch.

Seguidamente, pegamos una tira de foamy multicolor a la mitad de la caja para decorar y darle un toque muy original.
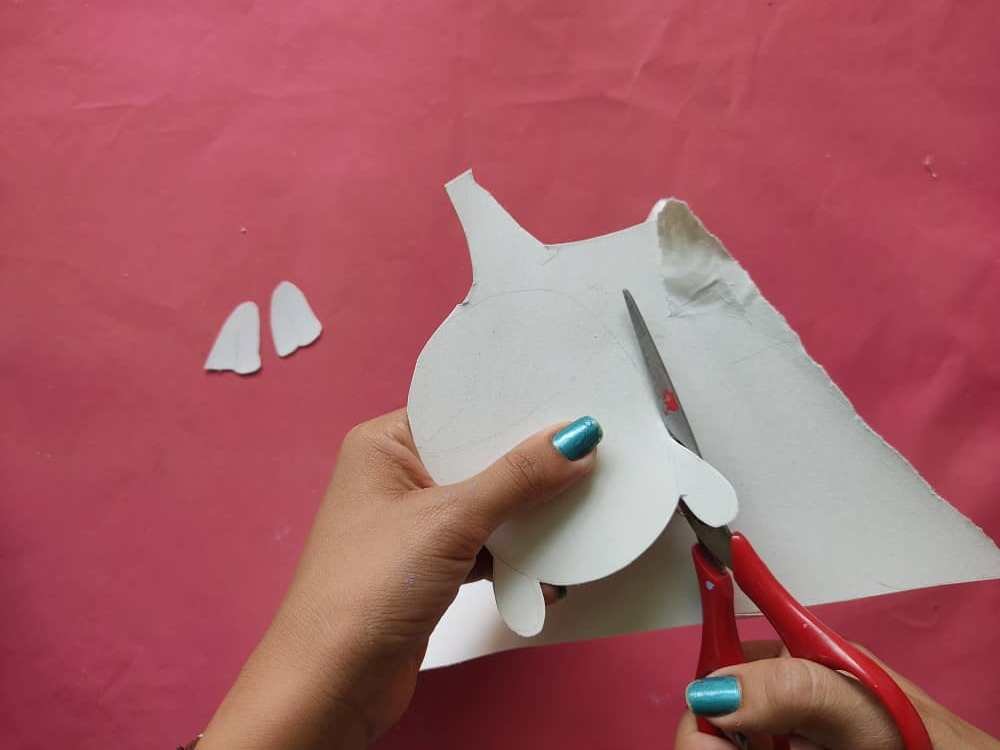
Once the box is ready, we make the face and legs of a unicorn in a white cardboard sheet and cut it out.

Una vez lista la caja, elaboramos la cara y patas de un unicornio en una lámina de cartón de color blanco y recortamos.
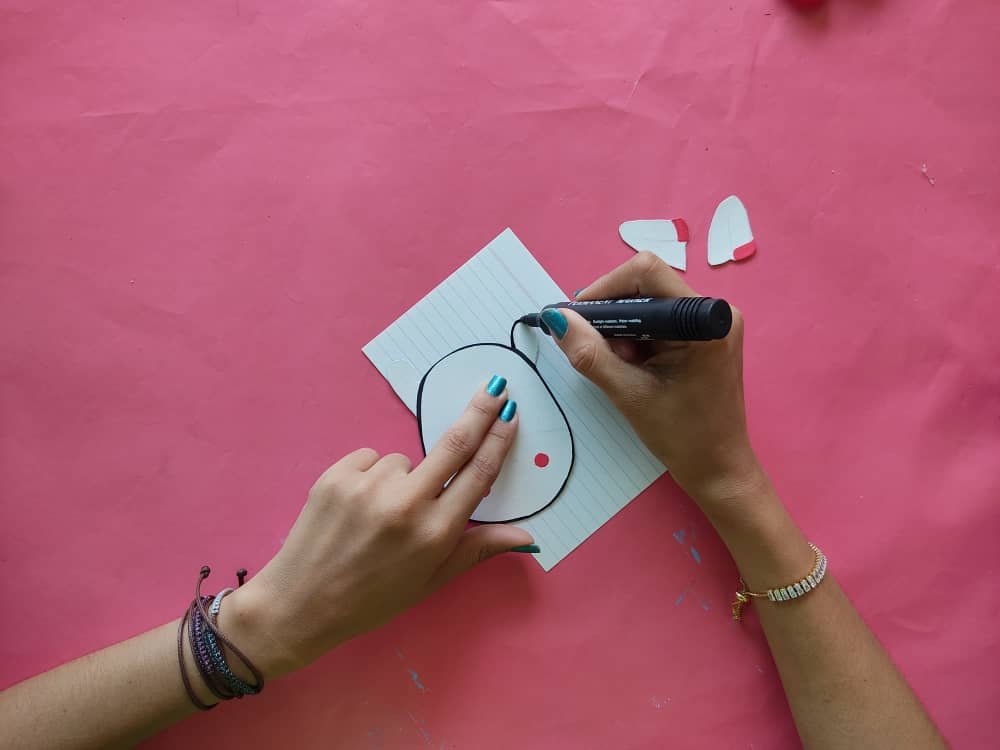
Next, we painted the unicorn's cheeks and the tips of its legs pink and defined the rest of the details using the fine-tipped black marker.

Luego, pintamos de color rosa las mejillas del unicornio y la punta de sus patas, y definimos el resto de los detalles utilizando el marcador negro de punta fina.
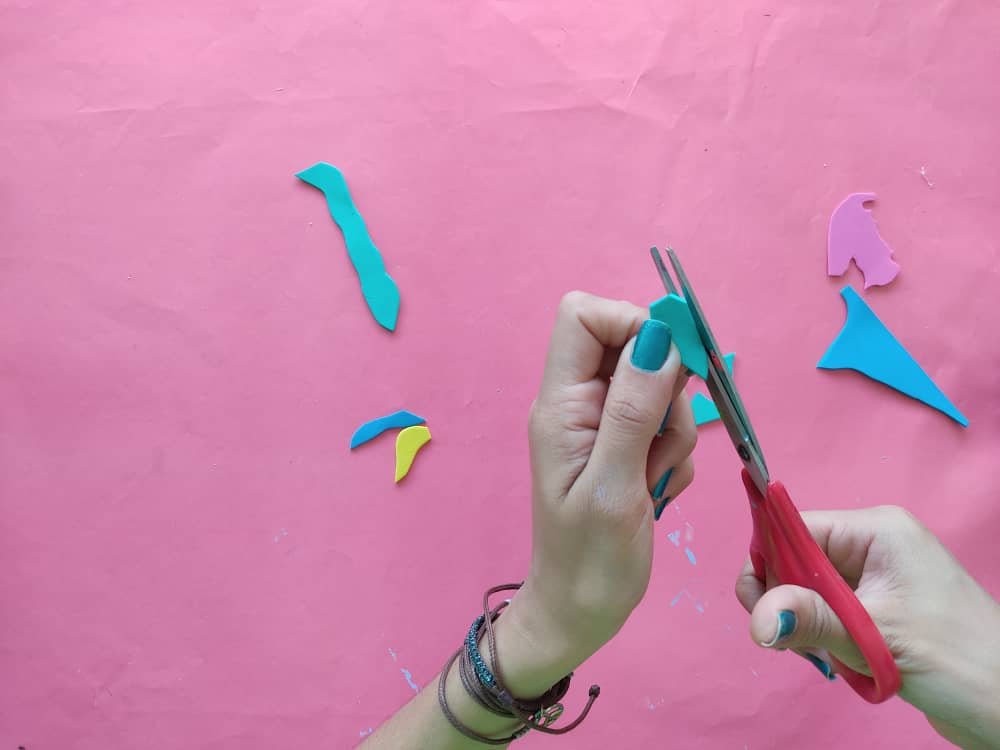
Now, we make the unicorn's hair in a very simple way, we just cut some colored strands and voila, it is not necessary that the strands are the same.

Ahora, elaboramos el cabello del unicornio de una manera muy sencilla tan solo cortamos algunos mechones de colores y listo, no es necesario que los mechones sean iguales.
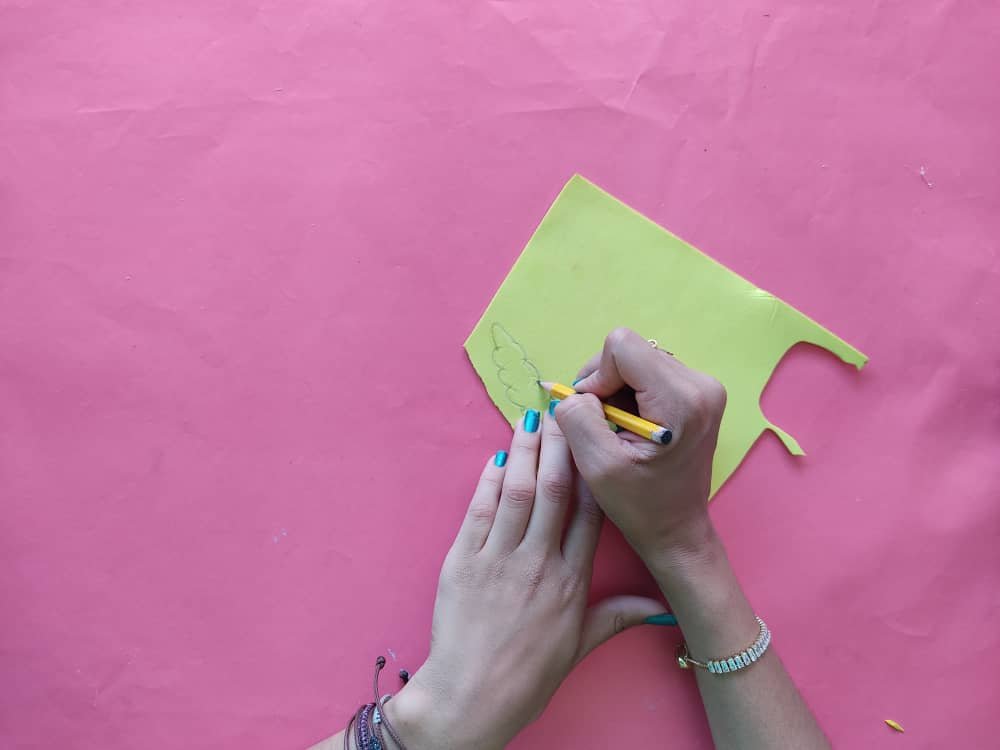
Then, we make a horn since a unicorn without its special horn is not a unicorn, so we will make a very cute one in frosted golden foamy.
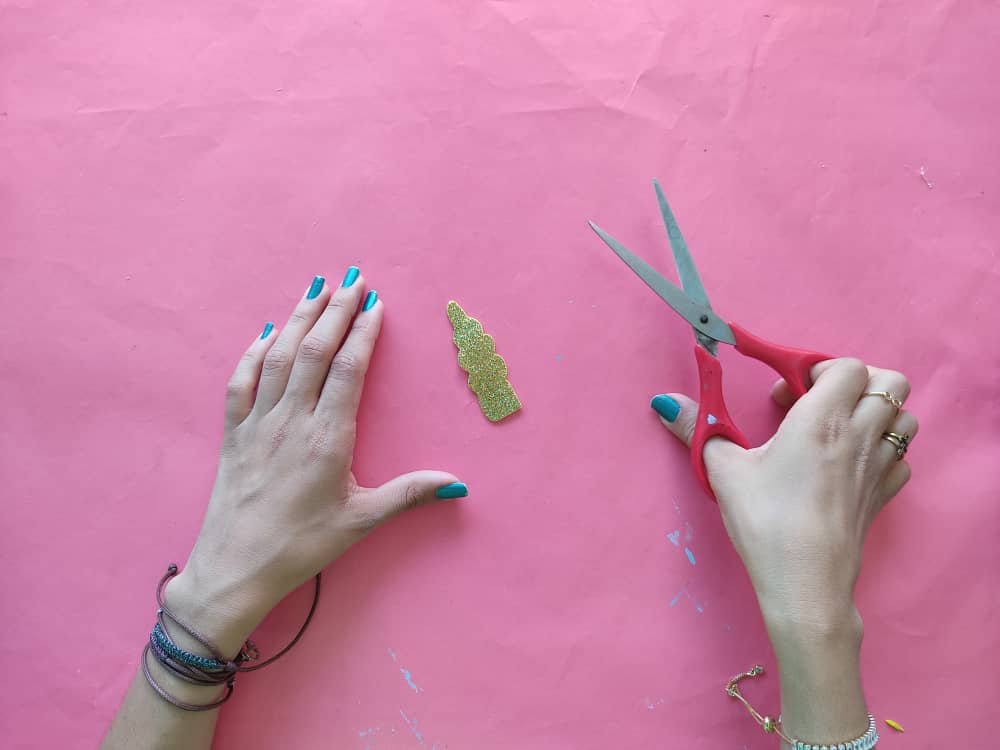
Luego, elaboramos un cuerno ya que un unicornio sin su especial cuerno no es unicornio, así que haremos uno muy lindo en foamy dorado escarchado.
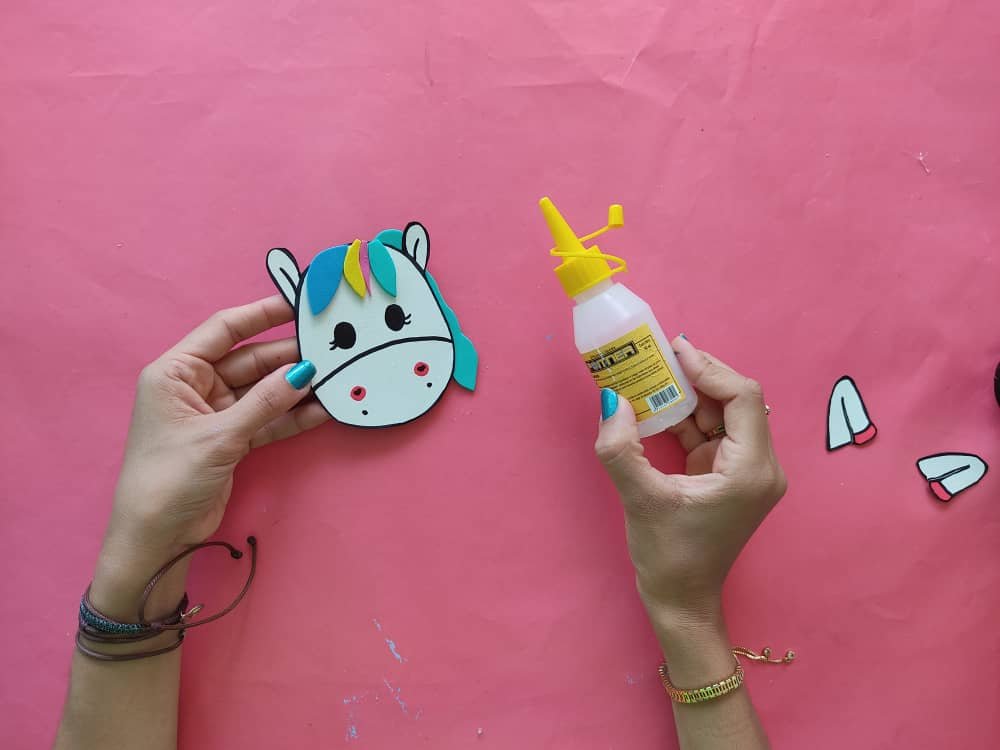
Now, we put together the face of this magical unicorn, gluing its hair and horn to its face.

Ahora, armamos la cara de este mágico unicornio, pegando su cabello y el cuerno a su cara.
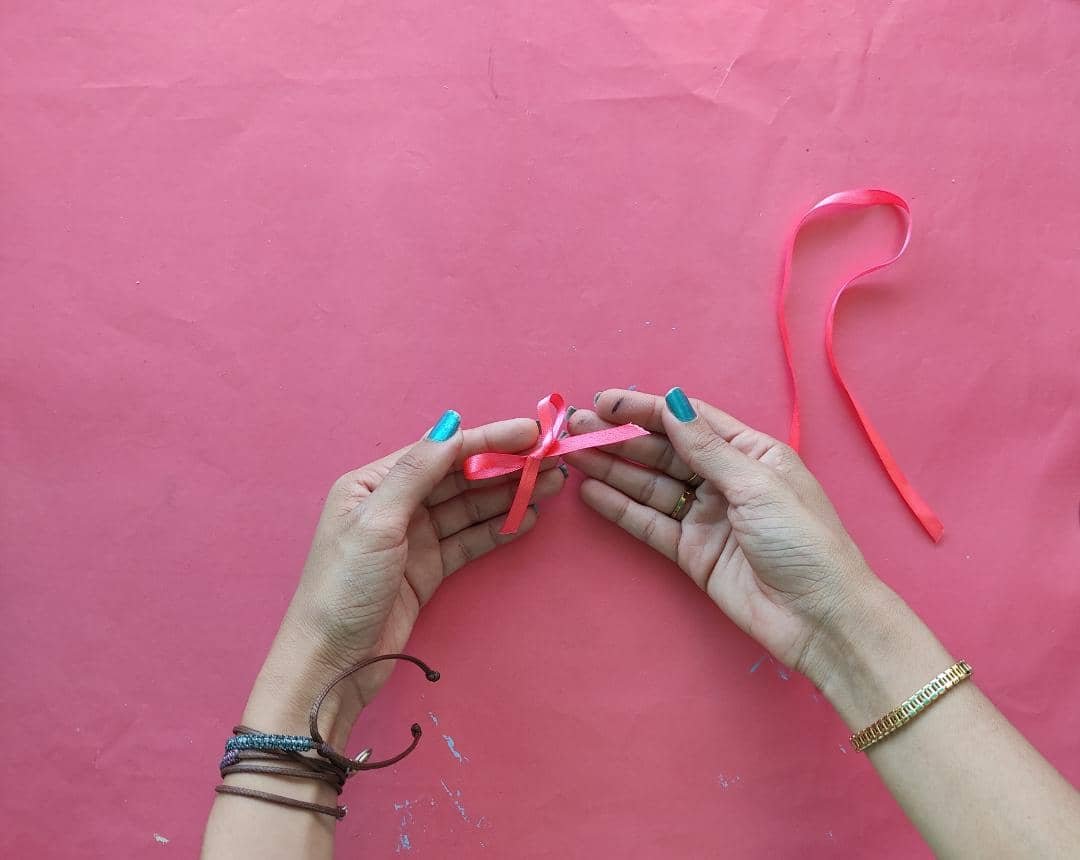
Now to give this project an even more special touch, we made two very cute bows with the ribbon we have and glued one on the unicorn's chick.
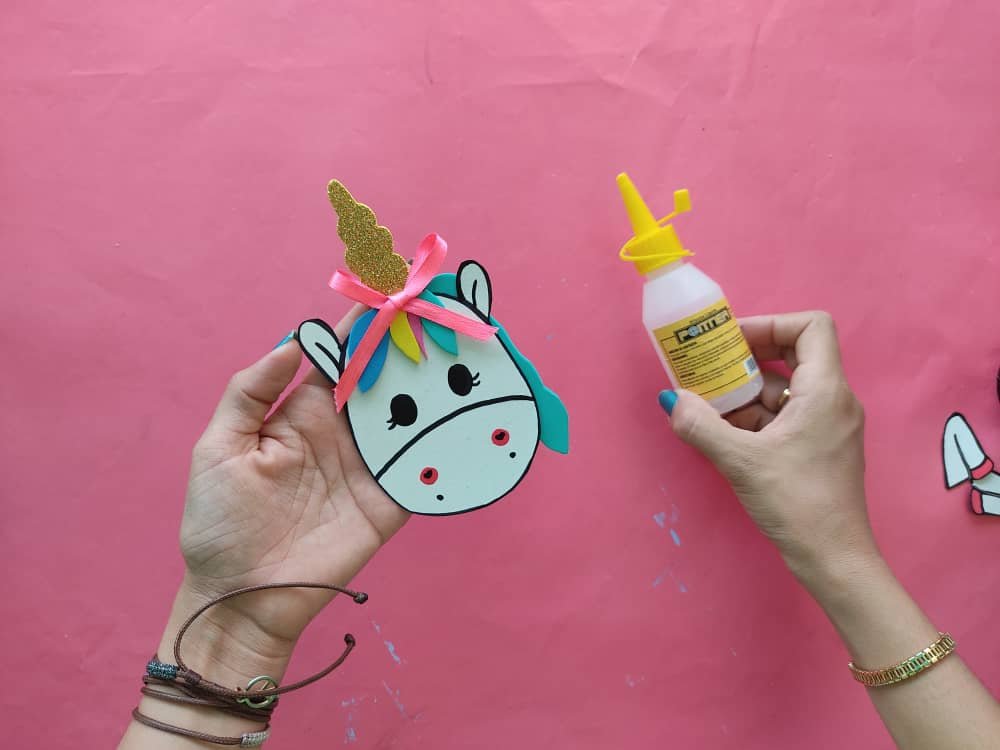
Ahora para darle un toque aún más especial a este proyecto, elaboramos dos lazos muy lindos con la cinta que tenemos y pegamos uno sobre la pollina del unicornio.
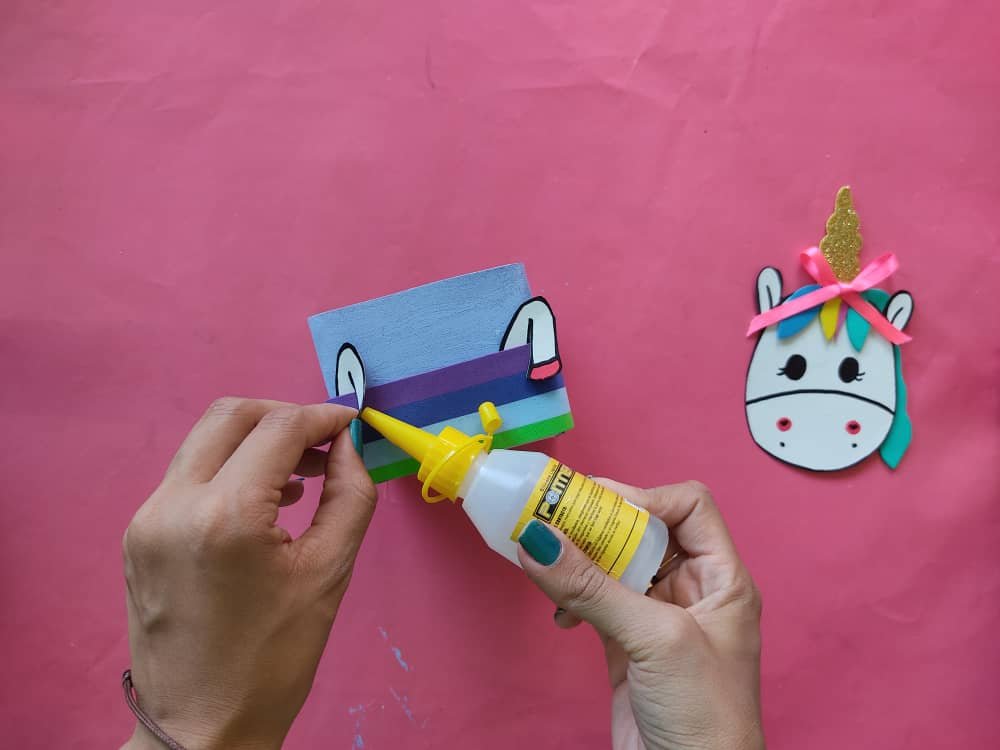
Next, we glue the legs and the face to the box using cold silicone, making sure that everything is well glued.
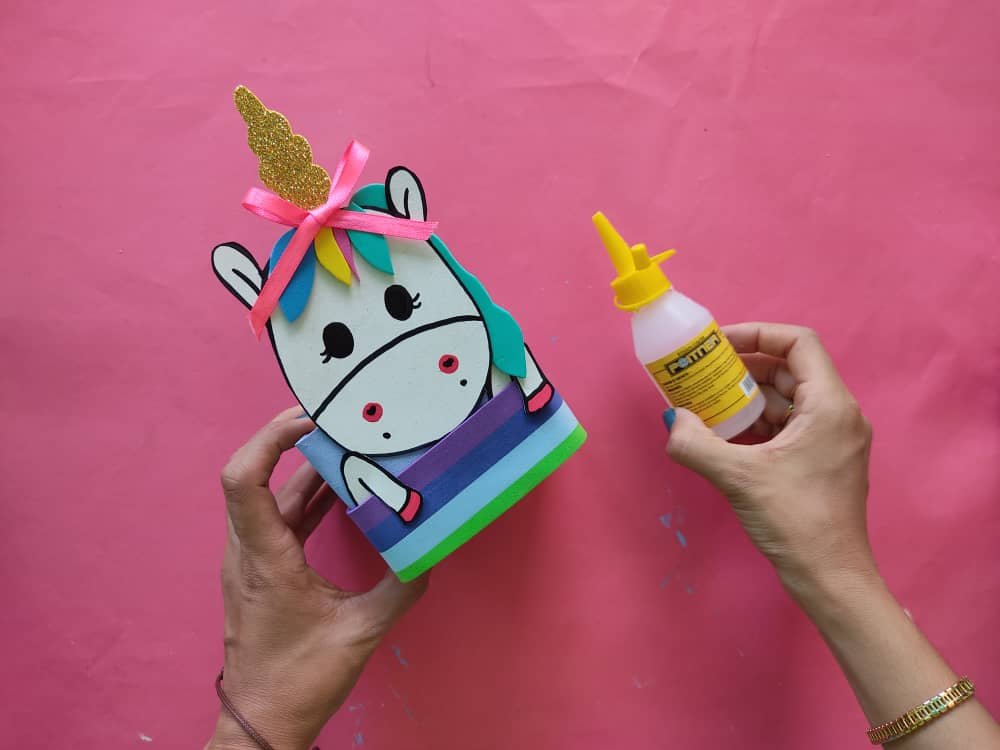
Seguidamente, pegamos las patas y la cara a la cajita utilizando silicón frío, asegurándonos que todo quede bien pegado.
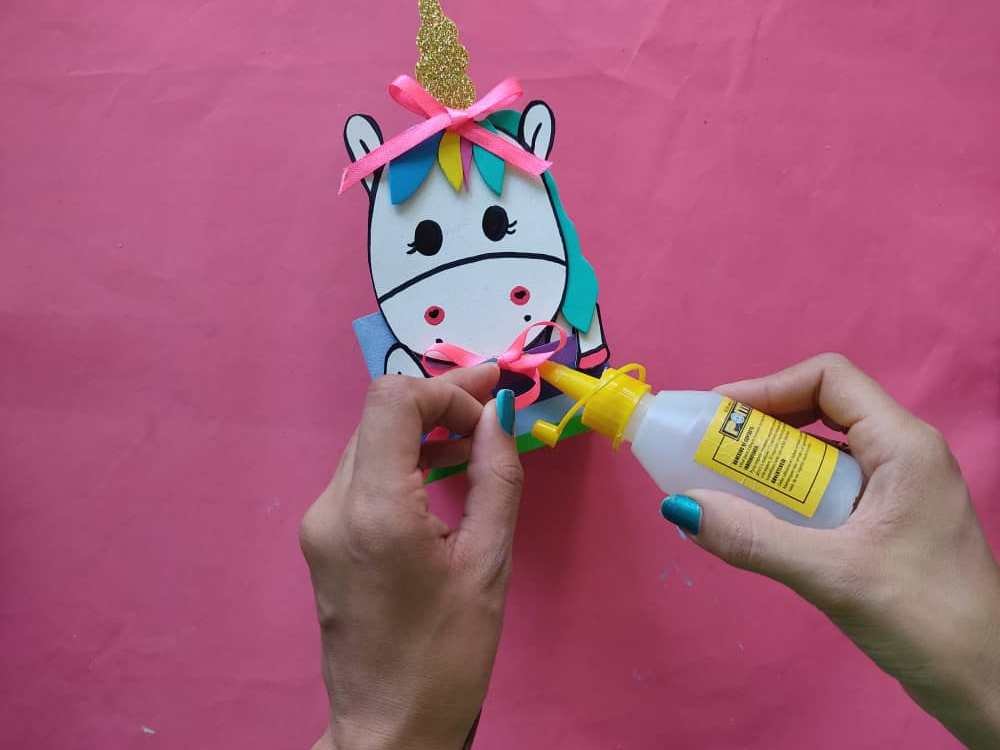
Finally, we glue the remaining bow to the bottom of the cute unicorn and that's it. Cool no?
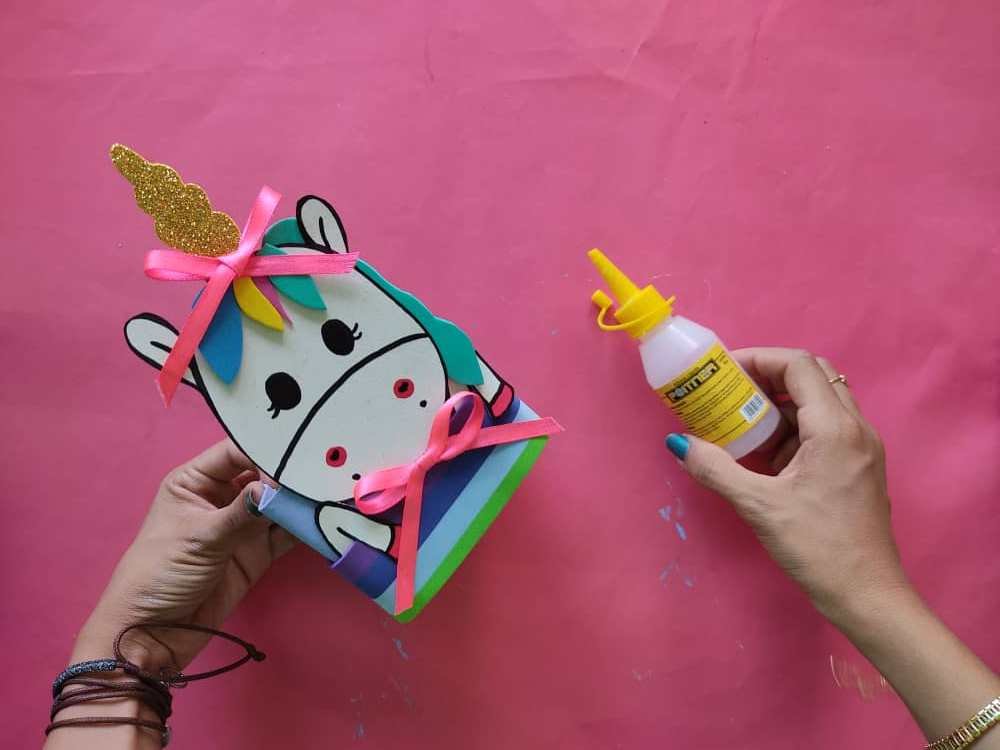
Finalmente, pegamos el lazo restante a la debajo del lindo unicornio y listo. Genial no?

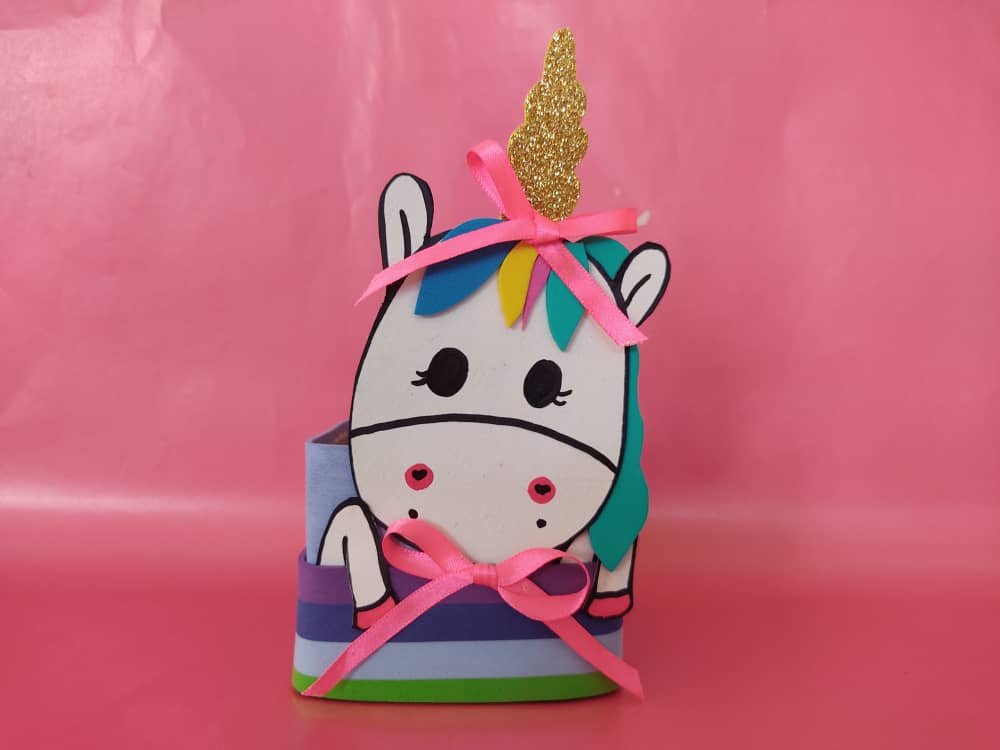
Thanks for joining and I hope you enjoyed it. ❤️
Gracias por acompañarme y espero que lo hayan disfrutado.❤️
.jpeg)
.jpeg)
.jpeg)
.jpeg)
.jpeg)
.jpeg)
.jpeg)
.jpeg)


