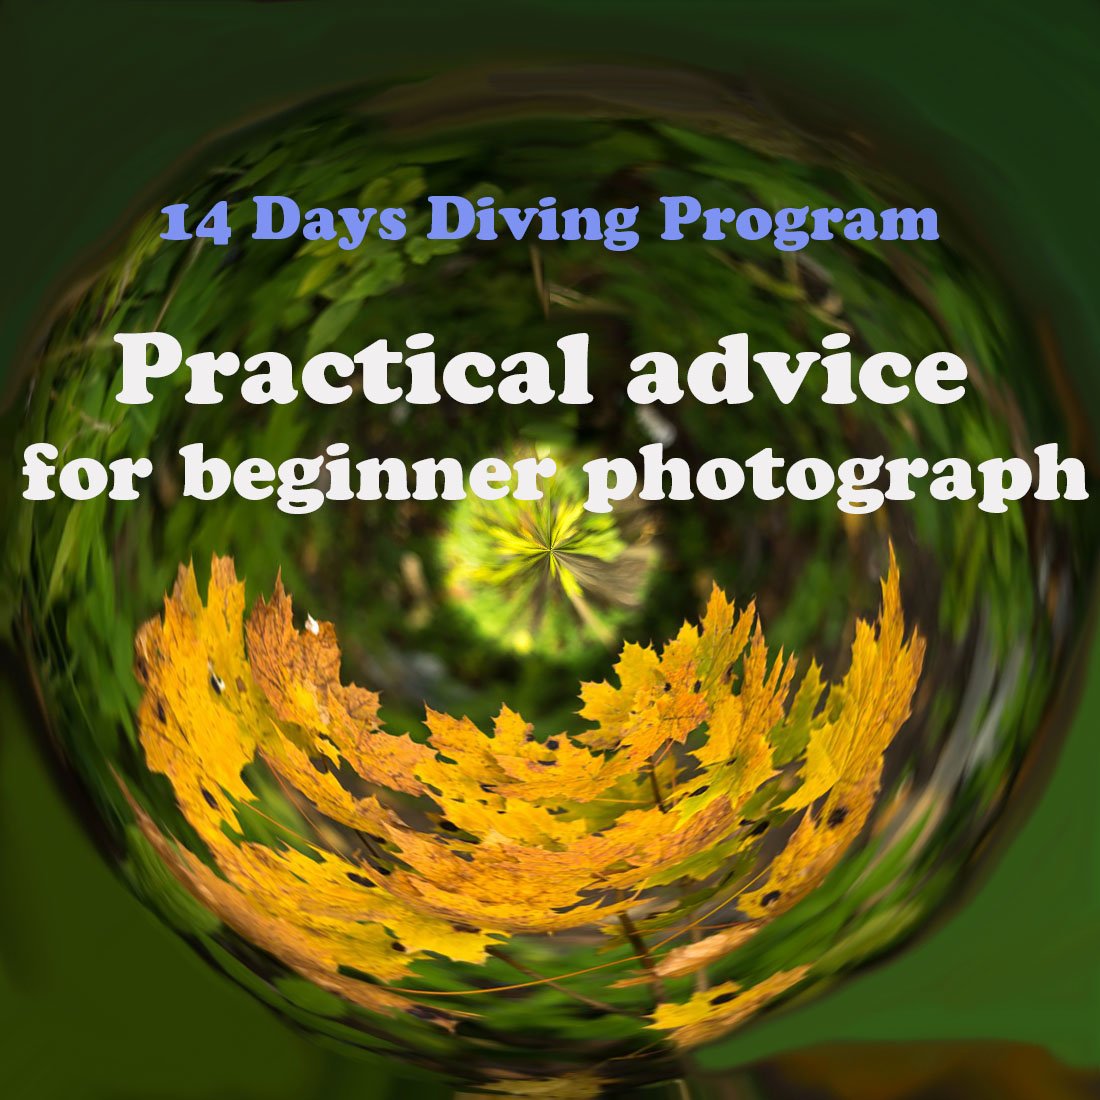
14 Days Diving Program
With this post I continue the series "Practical advice for beginner photographers". You can familiarize yourself with the previous posts at these links.
Basic photo editing for beginners
Manual camera settings: exposure

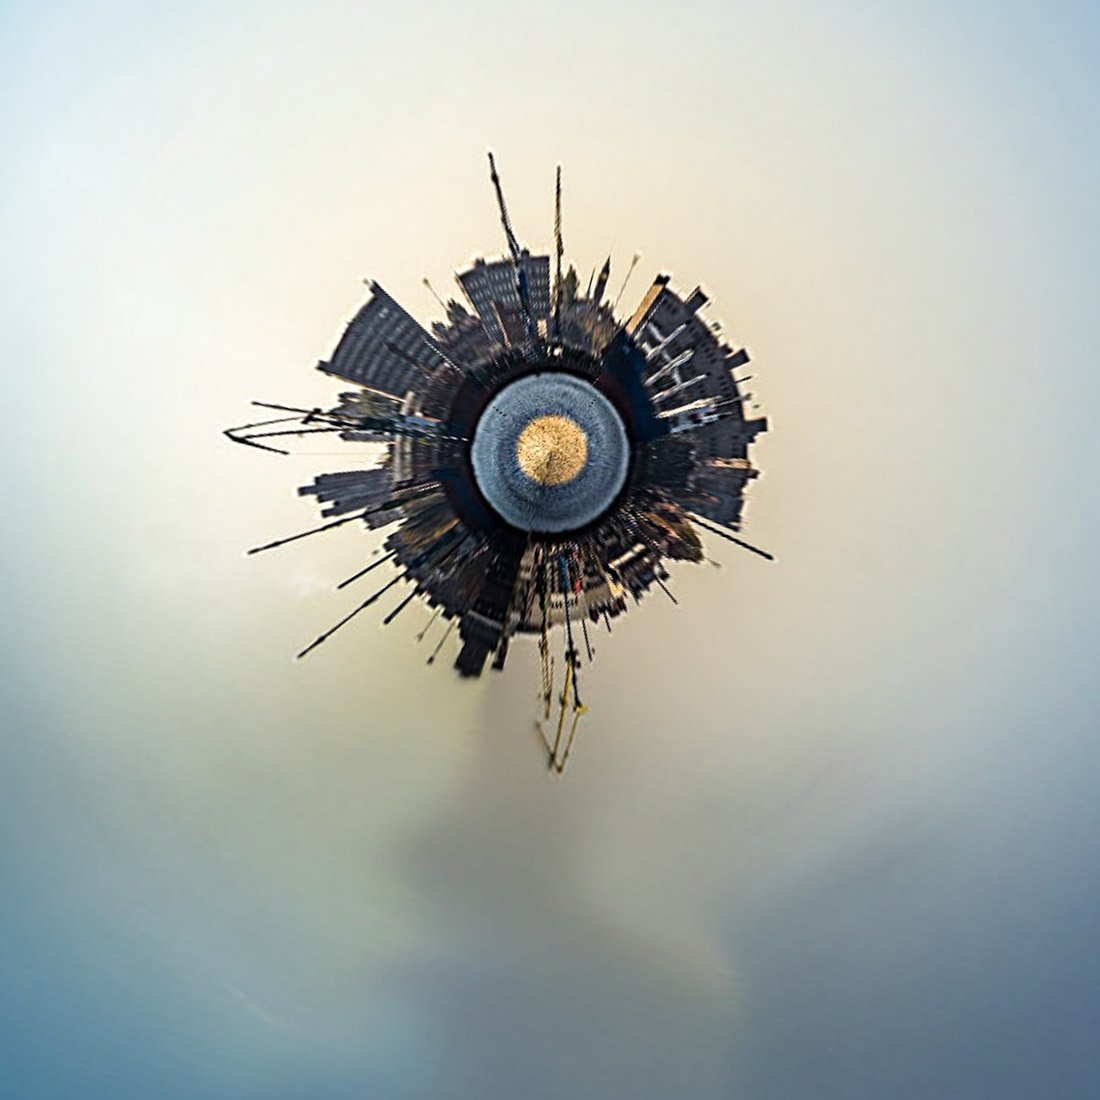
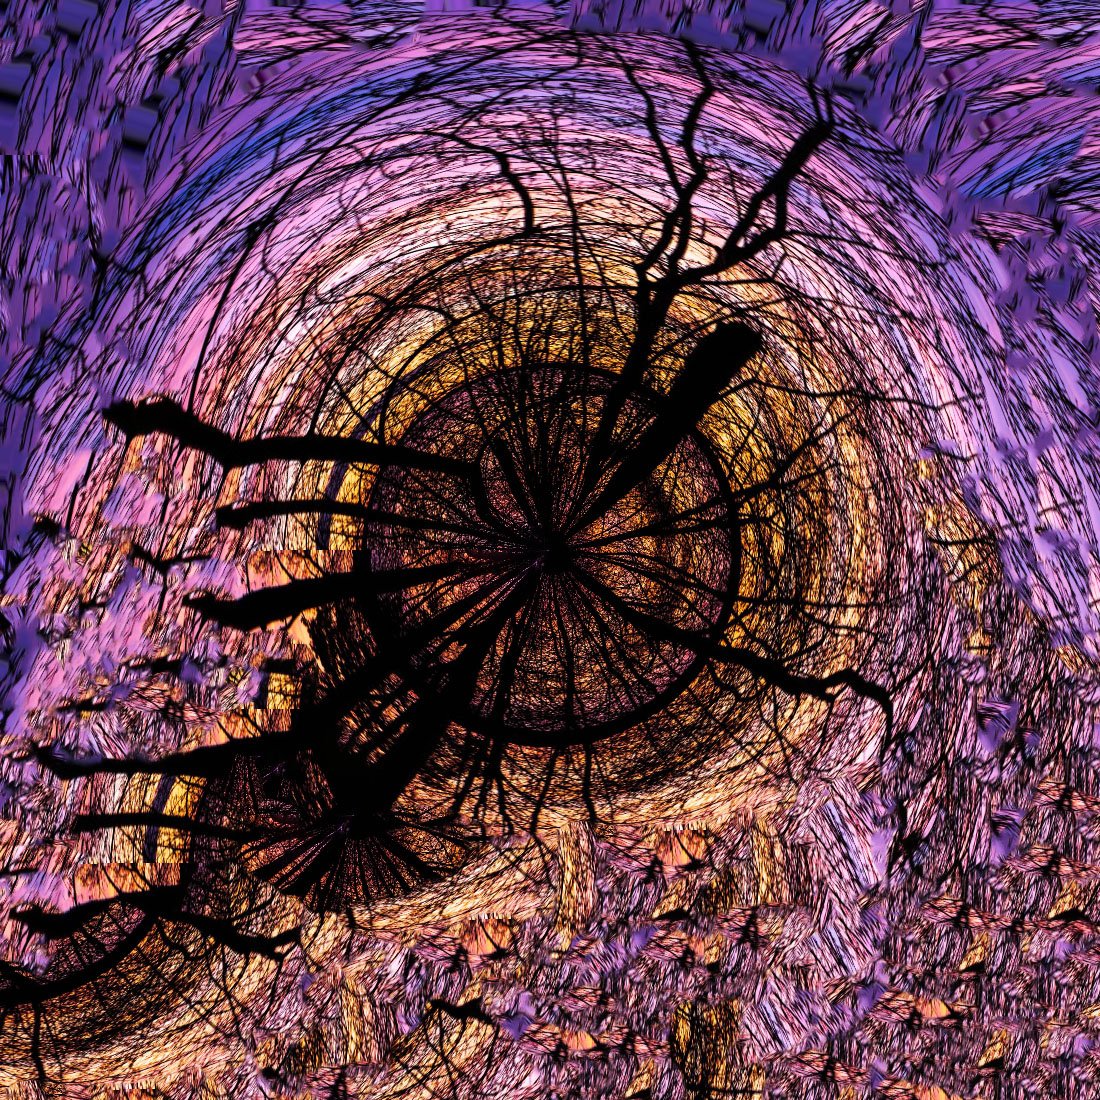
Today I want to offer you one funny story. It's about creating planets. For example, these are.

The planet can be anything, it all depends on your imagination and source material - photography. It can take off, but it can also fall in the direction of darkness and chaos.
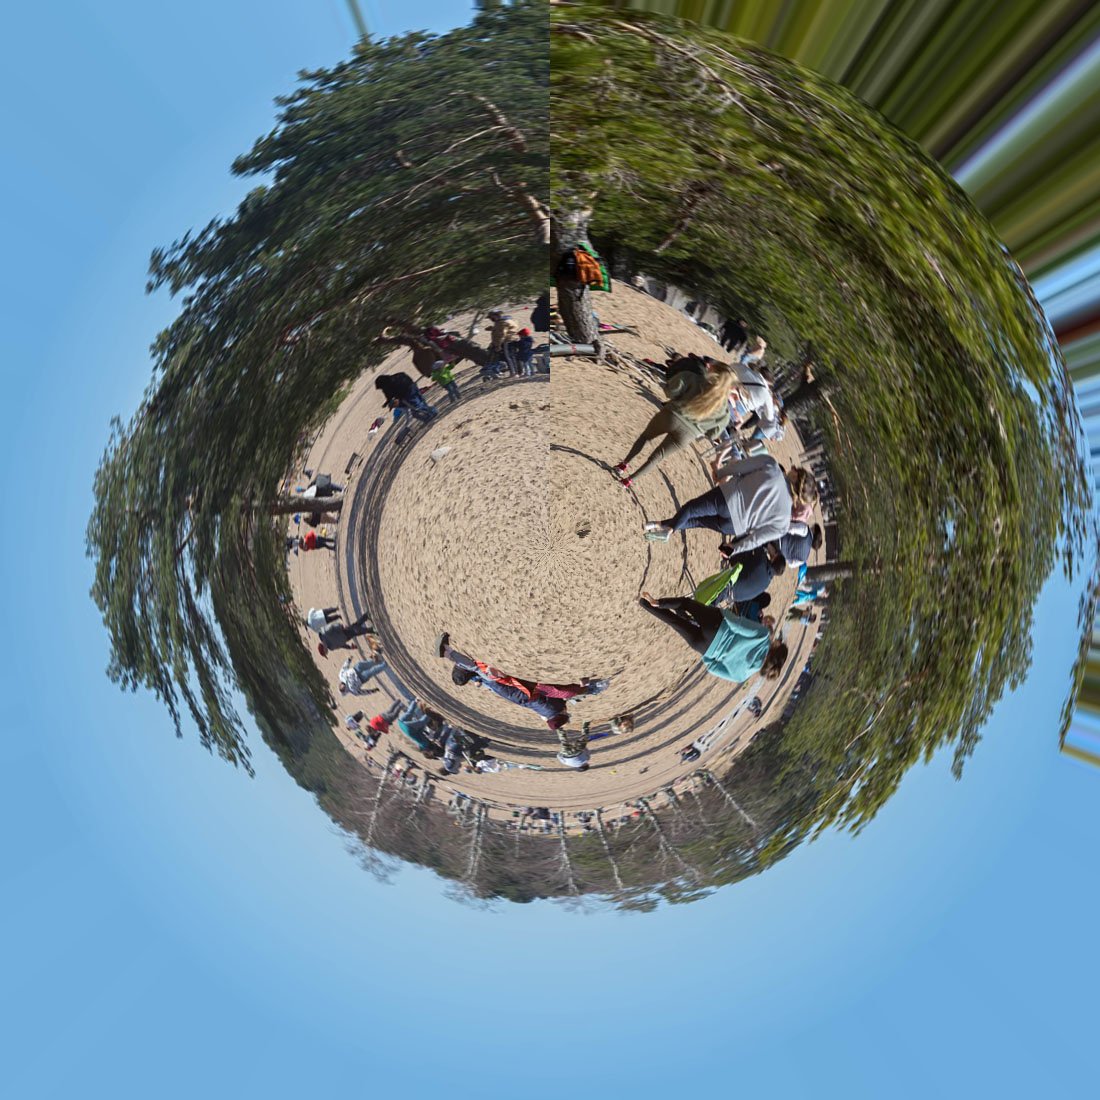
Some will turn out imperfect, but with their own flavor inside. Sometimes it can turn out not quite planets. It will be more like a decorative plate or something else.
It all depends on you.
I don't want to teach you, but I want to motivate you to experiment on this topic. Not every one of you will be ready right away, but if you wish, there are no insoluble obstacles here.
For this practice, you will need the following tools and materials.
Any photo editor that allows you to crop the original photo.
Photoshop or a similar program that has a polar coordinate filter in its toolbox.
Actually ... the original photo.
I will show you the steps I took in Lightroom and Photoshop.
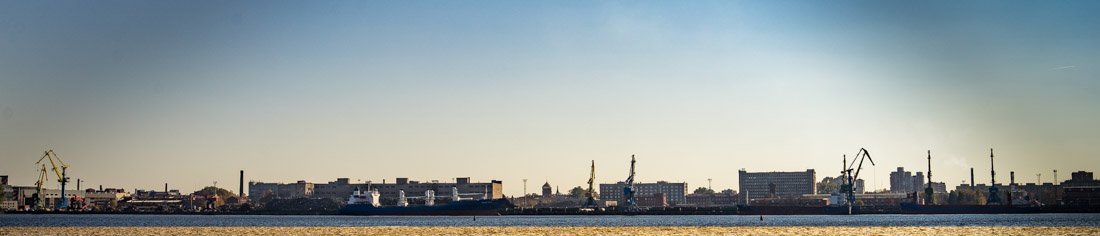
So, in my archive, I chose a photo that has a horizontal subject.

Не самый удачный случай фотографии. Почти контровой свет и небольшое марево на горизонте не позволяли добиться желаемой чёткости. Но иногда это не главное.
Я открыл это фото в редакторе лайтрум.

After working with the basic settings and adding clarity, I cropped the photo to a panoramic format.
Looking ahead, I will say that it is better to take several pictures and stitch a panorama from them. This will give more detail on the planet and less distortion.
To add warm colors to the center of the planet, I made a yellow stripe below (gradient filter)
When processing and cropping, try to make the left and right edges as similar as possible in color, shade, illumination and equal height of objects.
The language of my FS is Russian. When translated back, some of the words and commands of the program may not coincide with the original ones. Choose according to the meaning.
Save the resulting panorama and open the file in Photoshop.
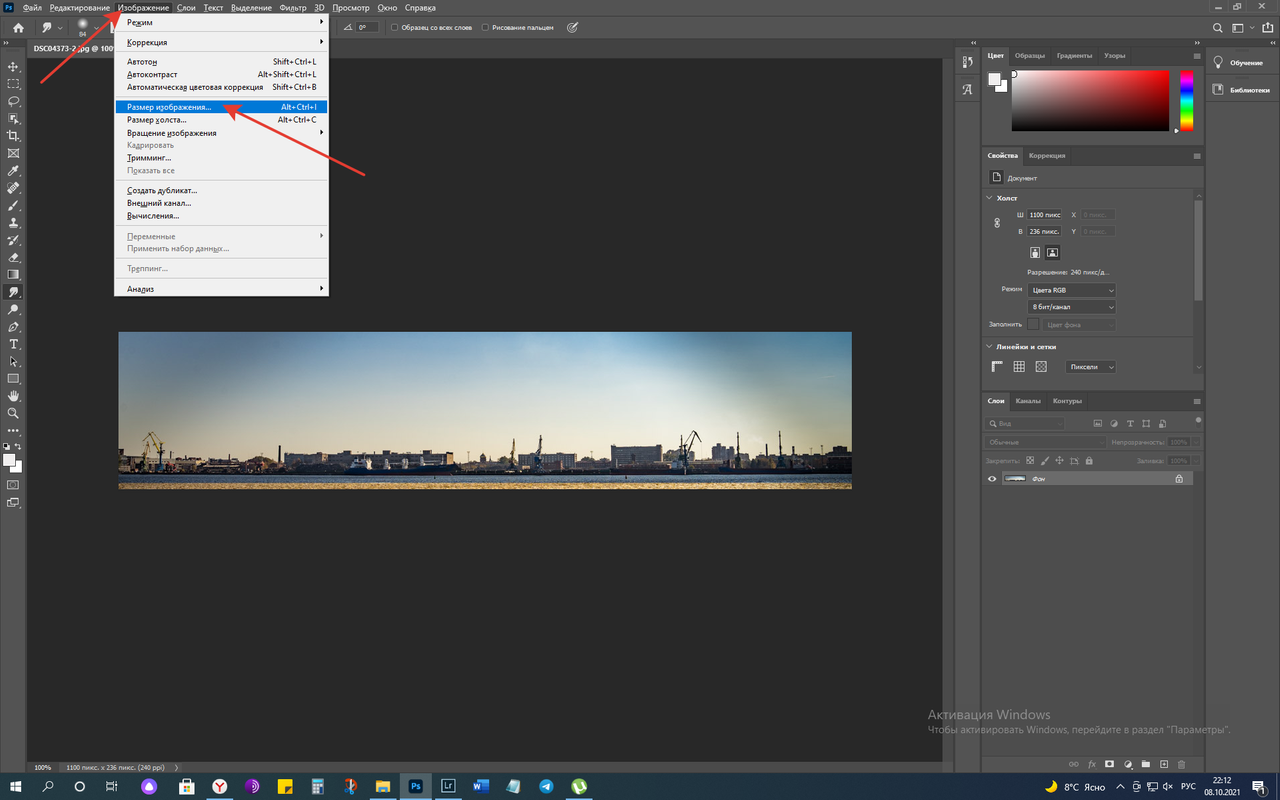
Go to the "Images" tab and select "size"
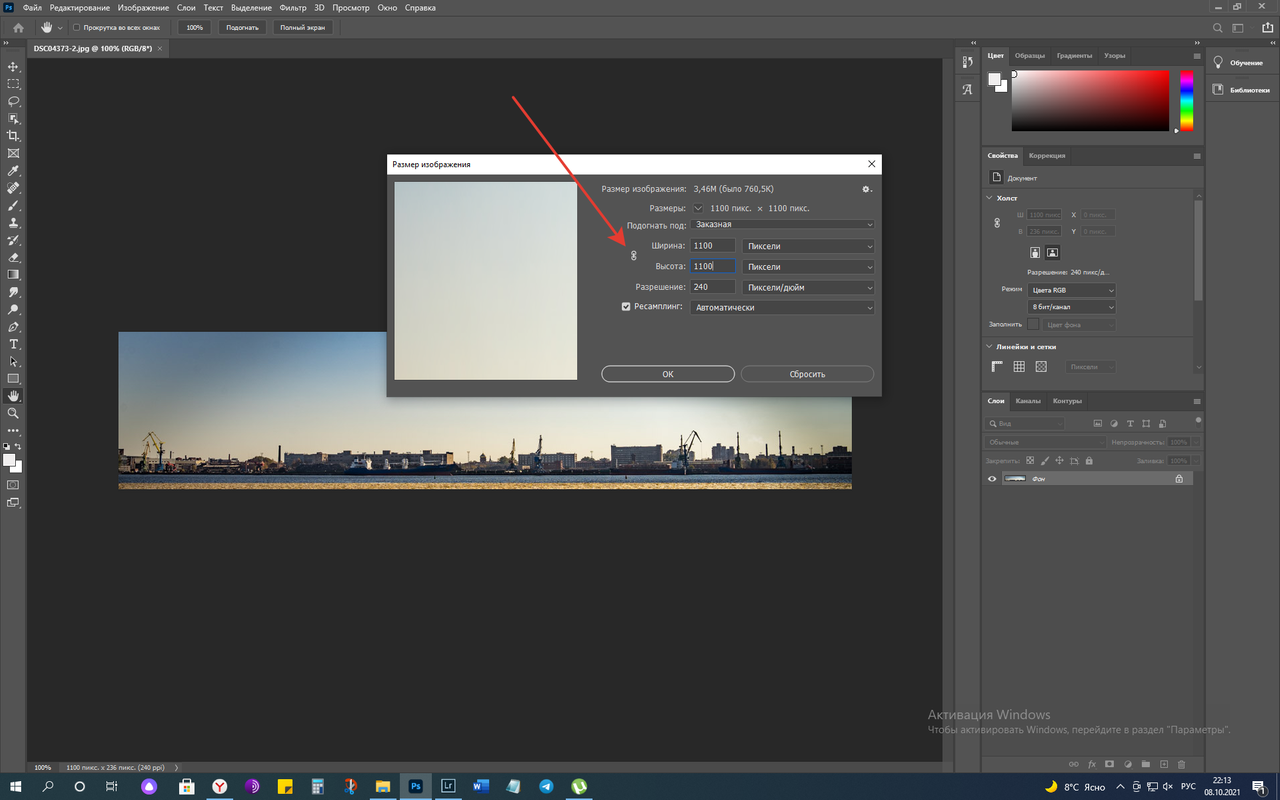
Remove the aspect ratio function and make a square with a side the width of the panorama.
We get a square.

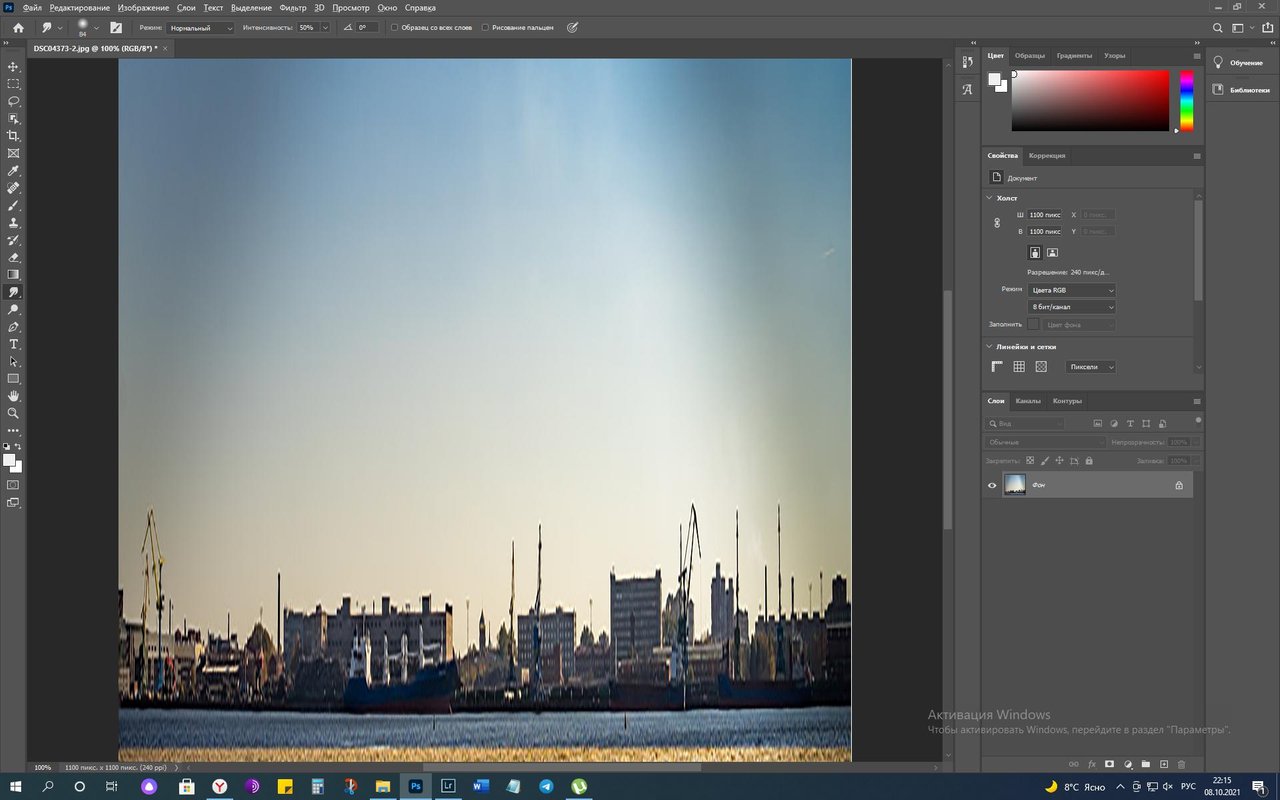
Rotate the square 180 degrees.

Go to the "filters" tab, select "distortion" and then "polar coordinates"
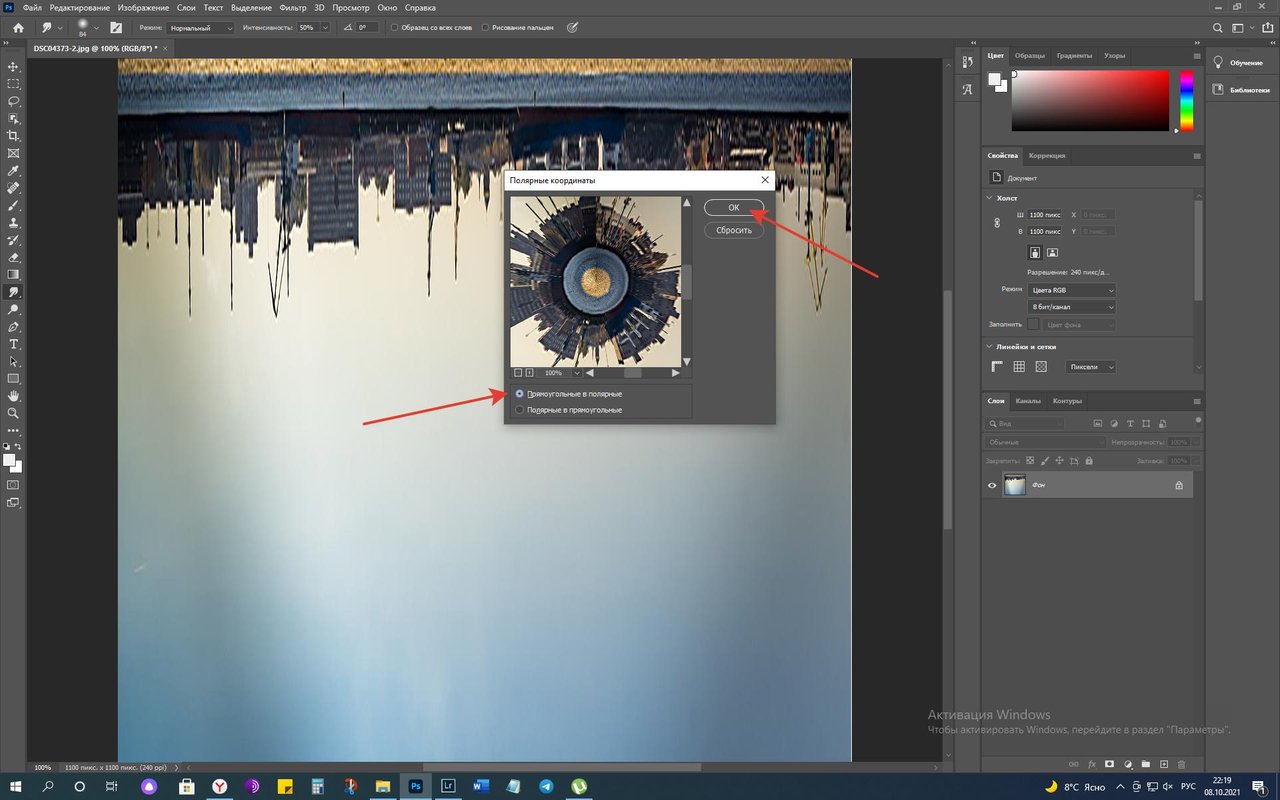
Click Ok and get a fresh planet.

Then everything is at your discretion.
You can just save the file if you're happy with everything.
You can fix something right in this program if you know how.
You can open this file in your usual editor and tinker with it there.
In any case, something needs to be worked out. This is usually the visible seam from the edges of the panorama. I'm still used to blurring it with the "finger" tool in FS. Then I open the file in LR and process it there.

As you can see, there is nothing complicated here. The main difficulty is associated with the selection and correct processing of the original photo.
I wish you a pleasant and useful time creating your galaxy. It is possible that in the future there will be a galaxy contest, get ready in advance.
I wish you all success.
Thank you for stopping by and reading to the end.
Until next time, friends.
100% SP (manual translation to SP)
5% beneficiary @wox-helpfund
▽ ▽ Camera Sony A7М2 Lens Samyang 35 1,4 Location Russia Post-production in LR
Manual processing in Lightroom
Unless otherwise specified, text and photos are copyright
From Russia with Love


SUBSCRIBE Here to join WORLD OF XPILAR Community
The time has come to build our own steem power
Regards, @bambuka
5% beneficiary @wox-helpfund
| ▽ | ▽ |
|---|---|
| Camera | Sony A7М2 |
| Lens | Samyang 35 1,4 |
| Location | Russia |
| Post-production | in LR |
Manual processing in Lightroom
From Russia with Love
SUBSCRIBE Here to join WORLD OF XPILAR Community
The time has come to build our own steem power
Regards, @bambuka