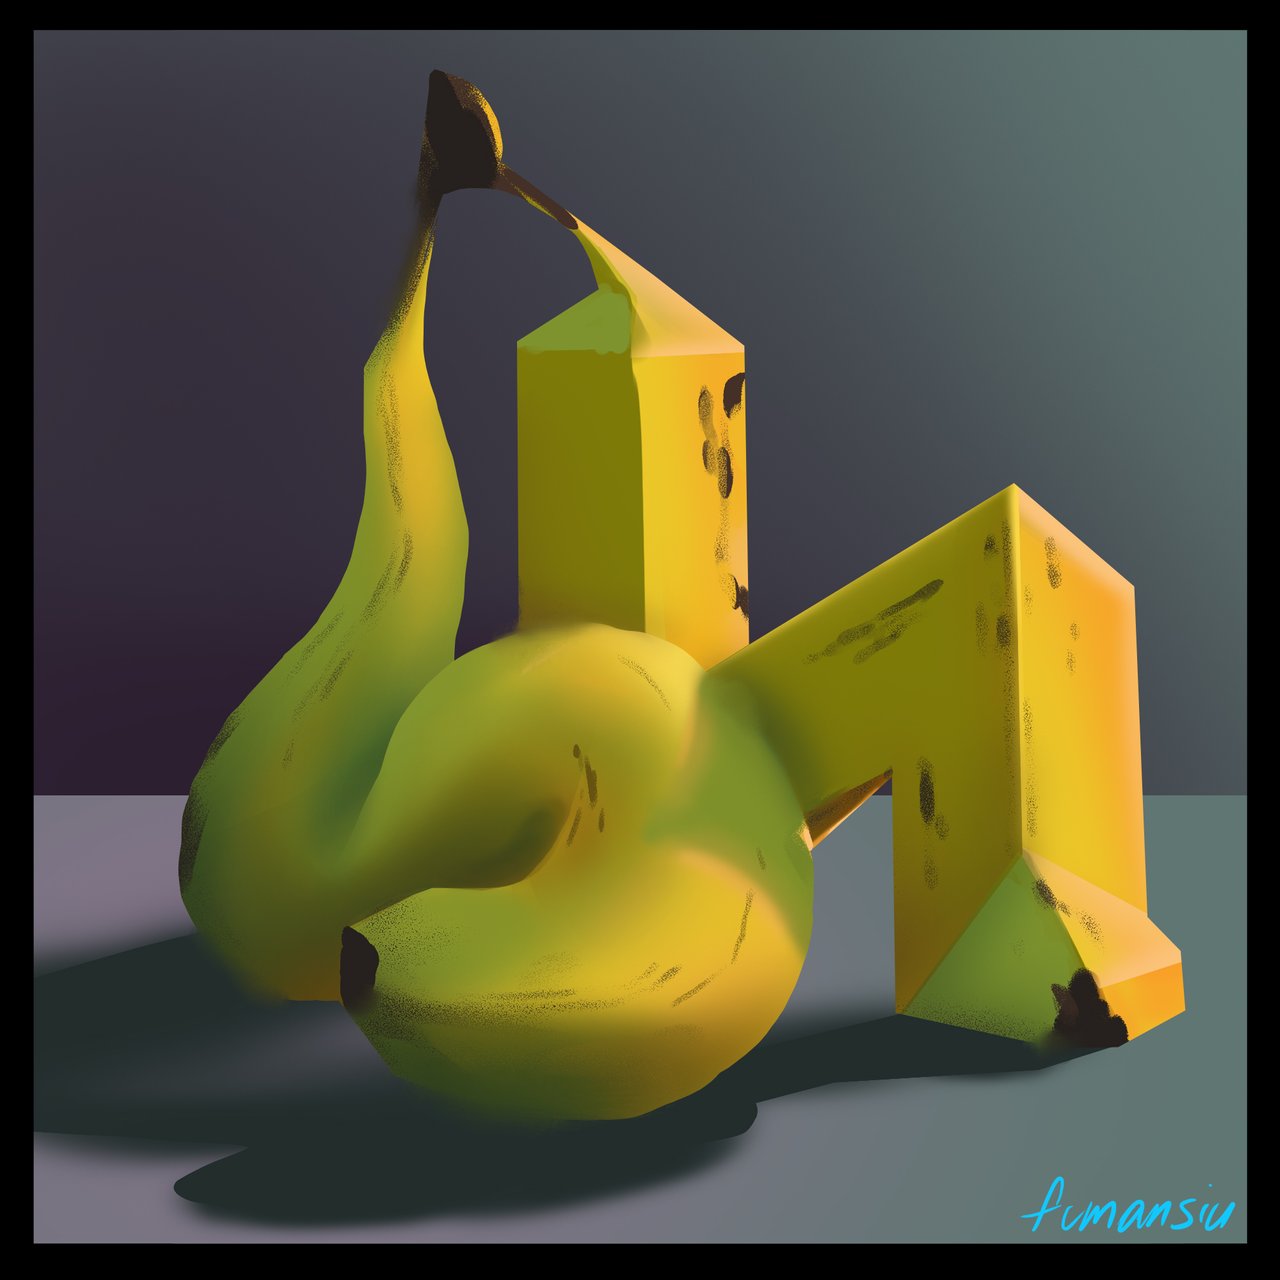
Are you ready for silliness?! We are at our last phase of the banana study so it's time to take all of the things we've learned from the first two studies and apply them to some VERY experimentally shaped nanners. If you want to review our first two studies check them out here:
The point of this study is to take the training wheels off and really throw our brain into the water. Without having a "banana" shape that we recognize to apply our knowledge to it is going to force our brains to fill in a lot of gaps. This is testing our ability to understand these weird shapes AND apply "banana" color and texture to them. So let's get started!
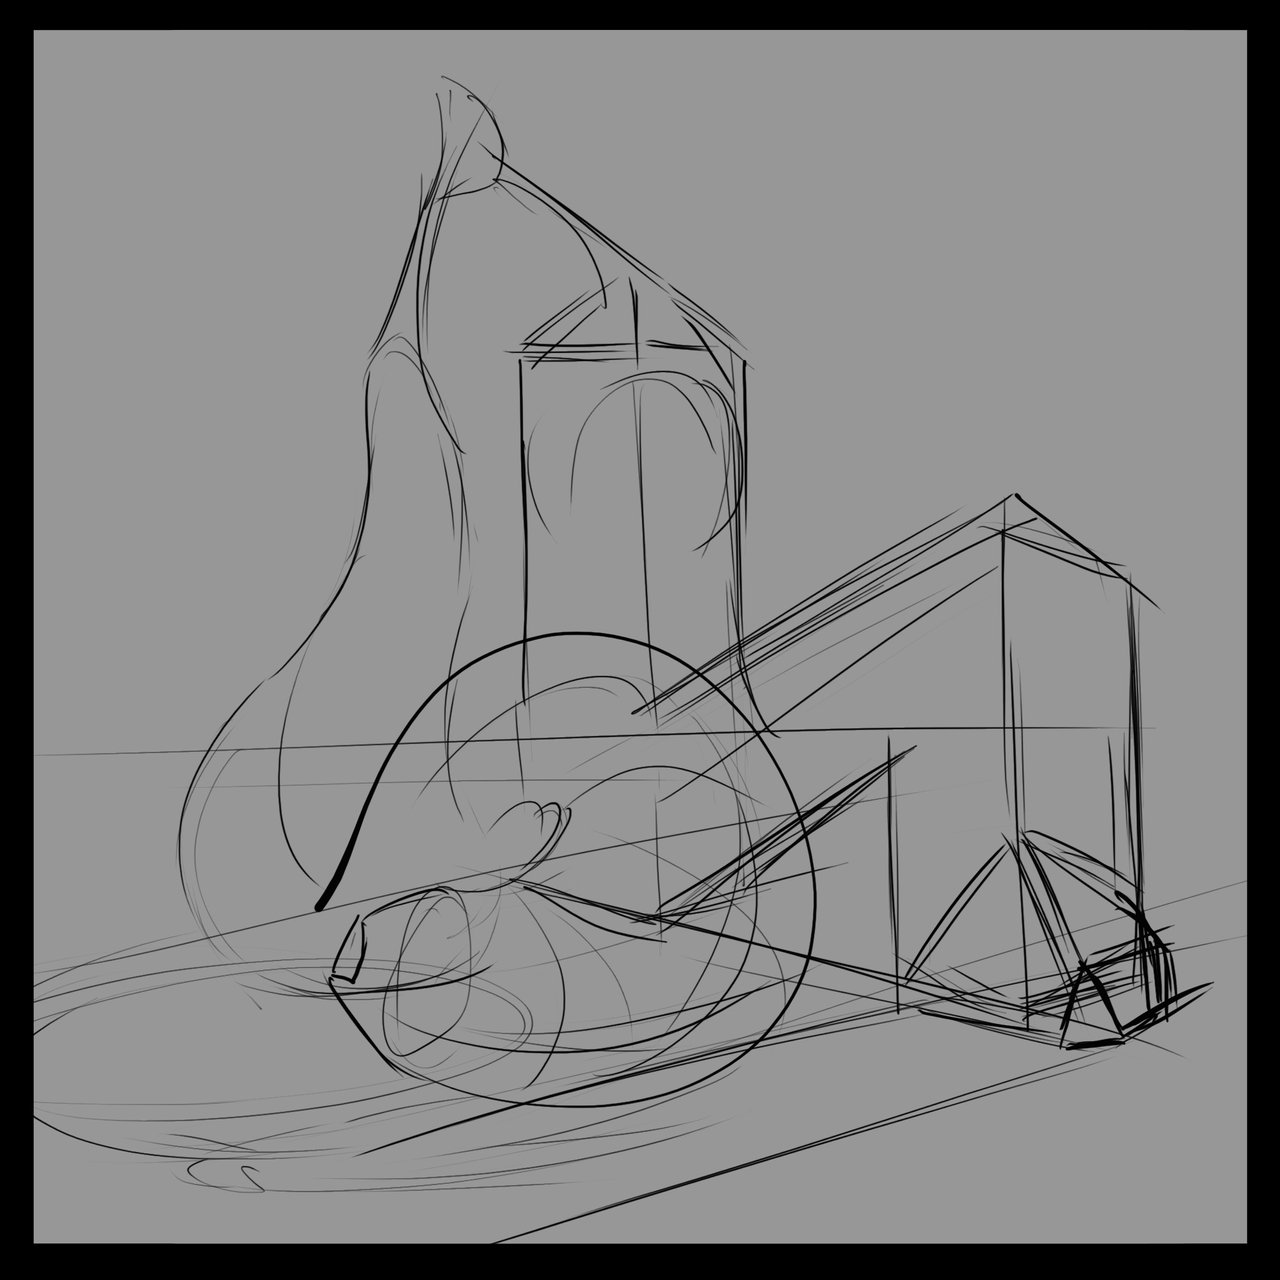
I started out with a sketch as usual and you are welcome to try out any shape you can think of, creativity is encouraged here! I wanted to give my brain a challenge in both the cylindrical squiggly zone as well as the more squared off shape.
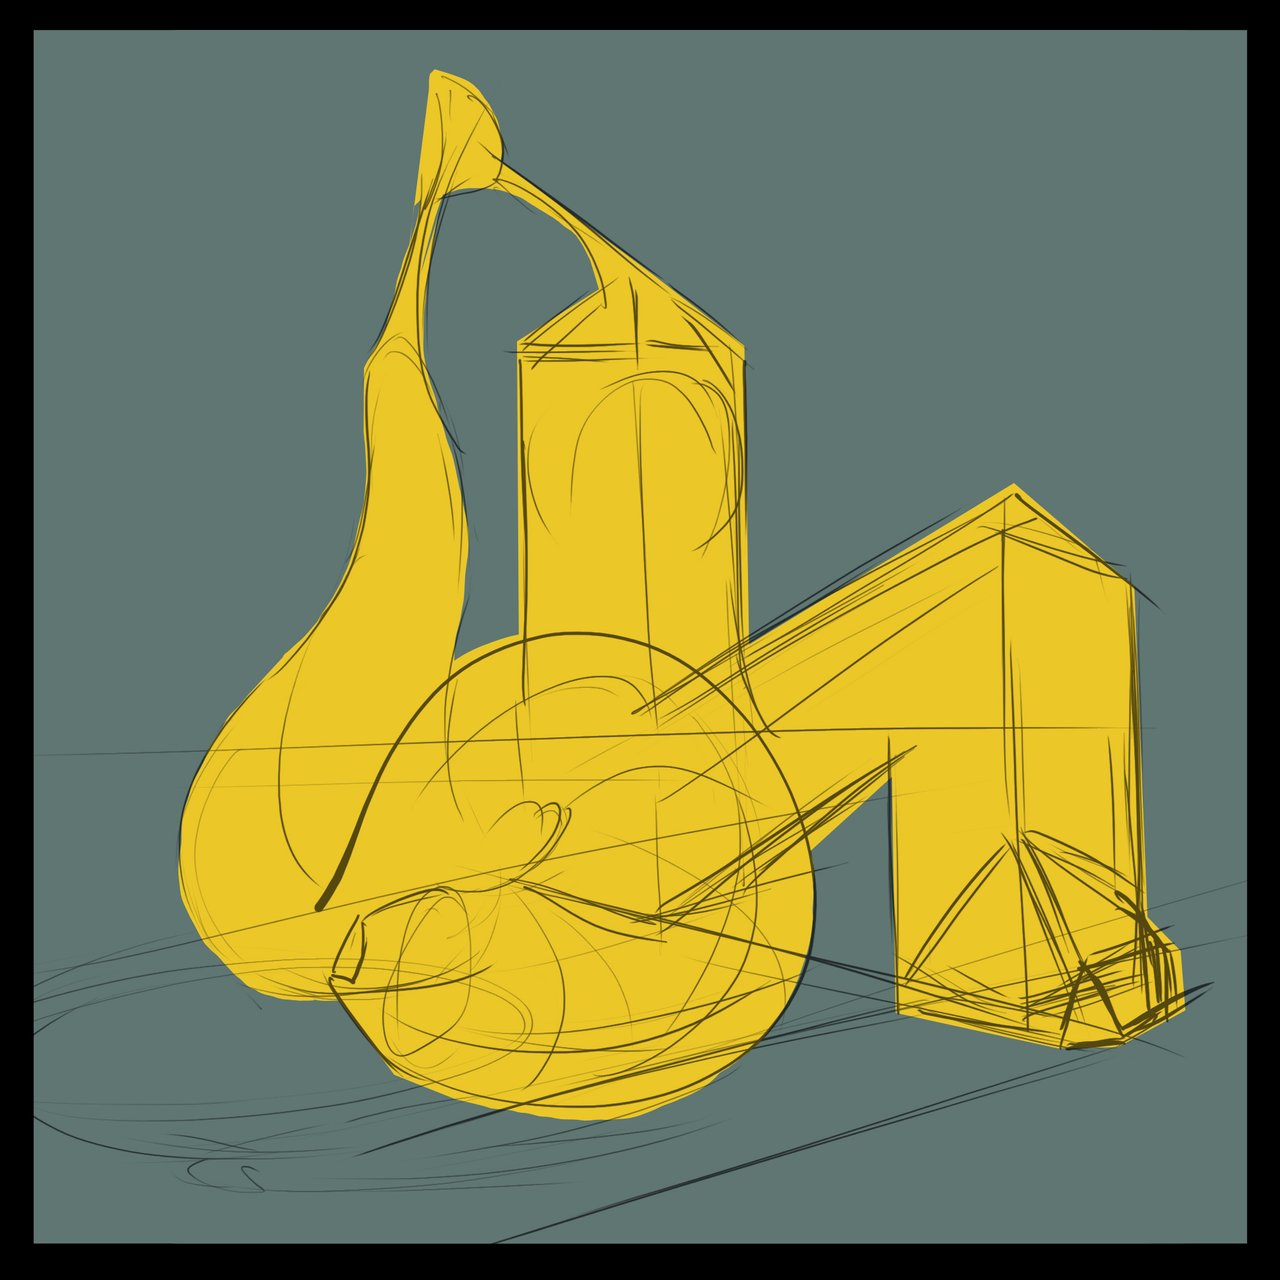
At this point I've done the banana a few times so picking these base colors is becoming second nature for me. I know that yellow gets a boost from the blue-y teals from my earlier experiments so I'm throwing in a basic background with that color.
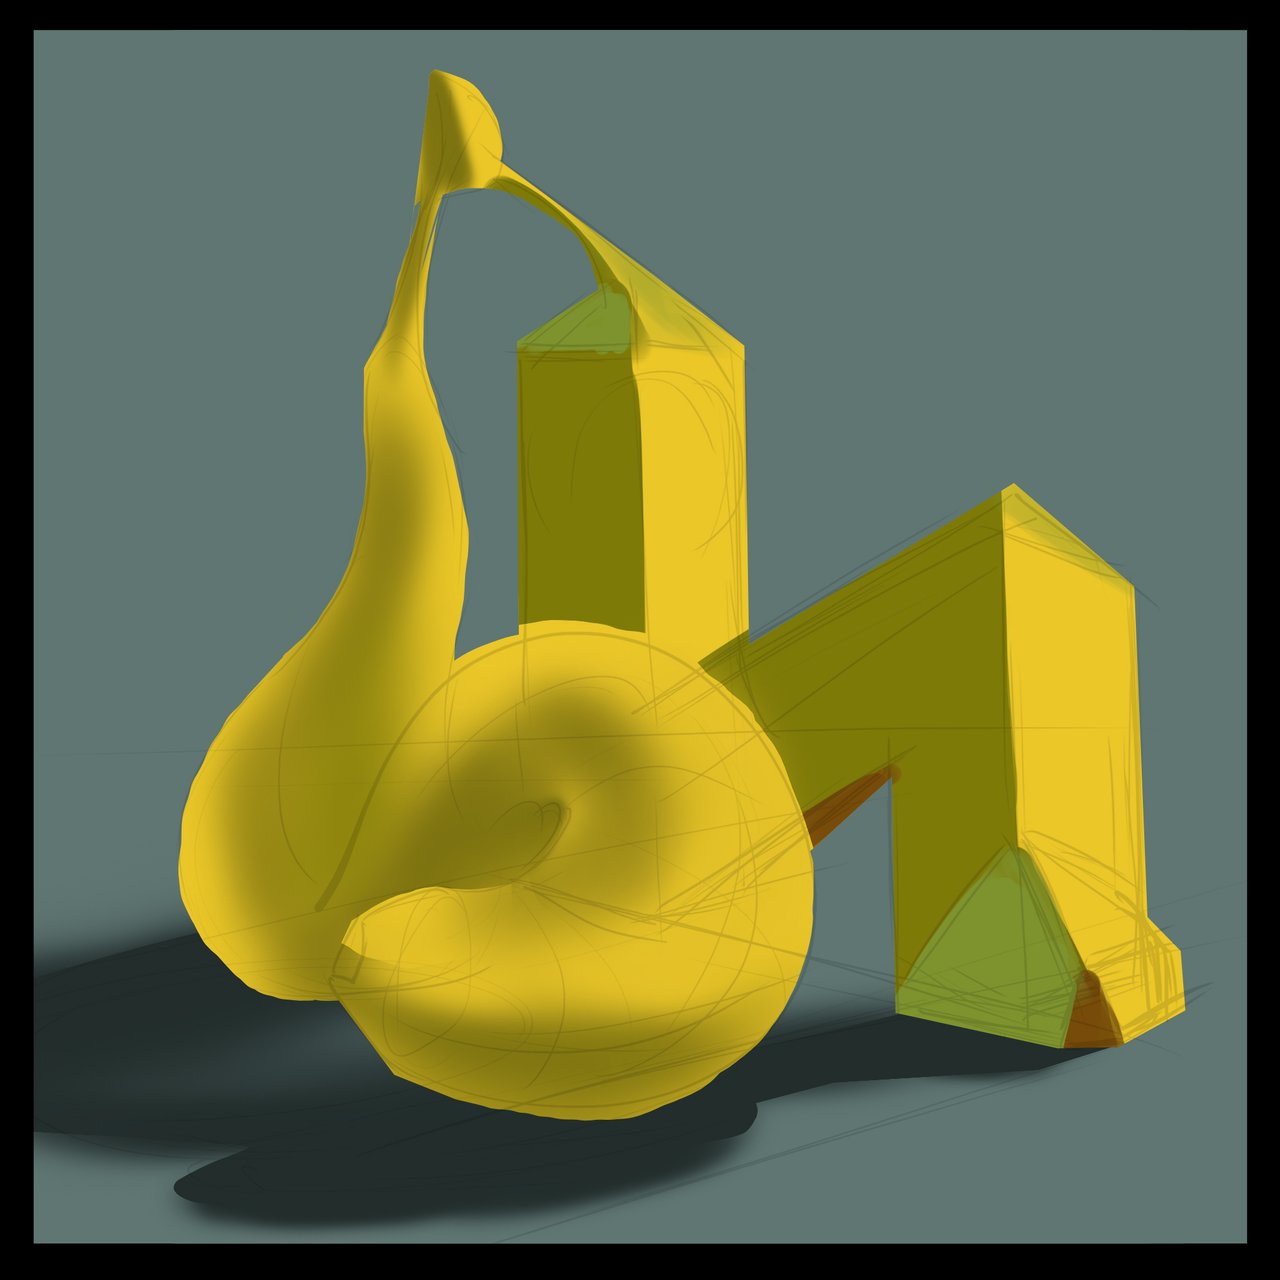
Because we are venturing totally far out at this point, I am challenging myself to remember how to treat the shadow sides and the light sides. I vaguely remember that I can go a bit cooler on the top sides of the shadow side so I'm leaning a bit cooler/bluer there and leaning a bit warmer/redder towards the sides that don't face upwards. The light side is a little easier. Going up a bit toward white and losing some saturation.
To bring it home I know I need to deepen the shadows that aren't receiving light and add my highlights. I realized that the cube-y banana might block some of the light going to the squiggly banana so I added in shadow there. I also thought it might be nice to vary the background a bit with some purple tones so I added that in some places I thought it might look nice.
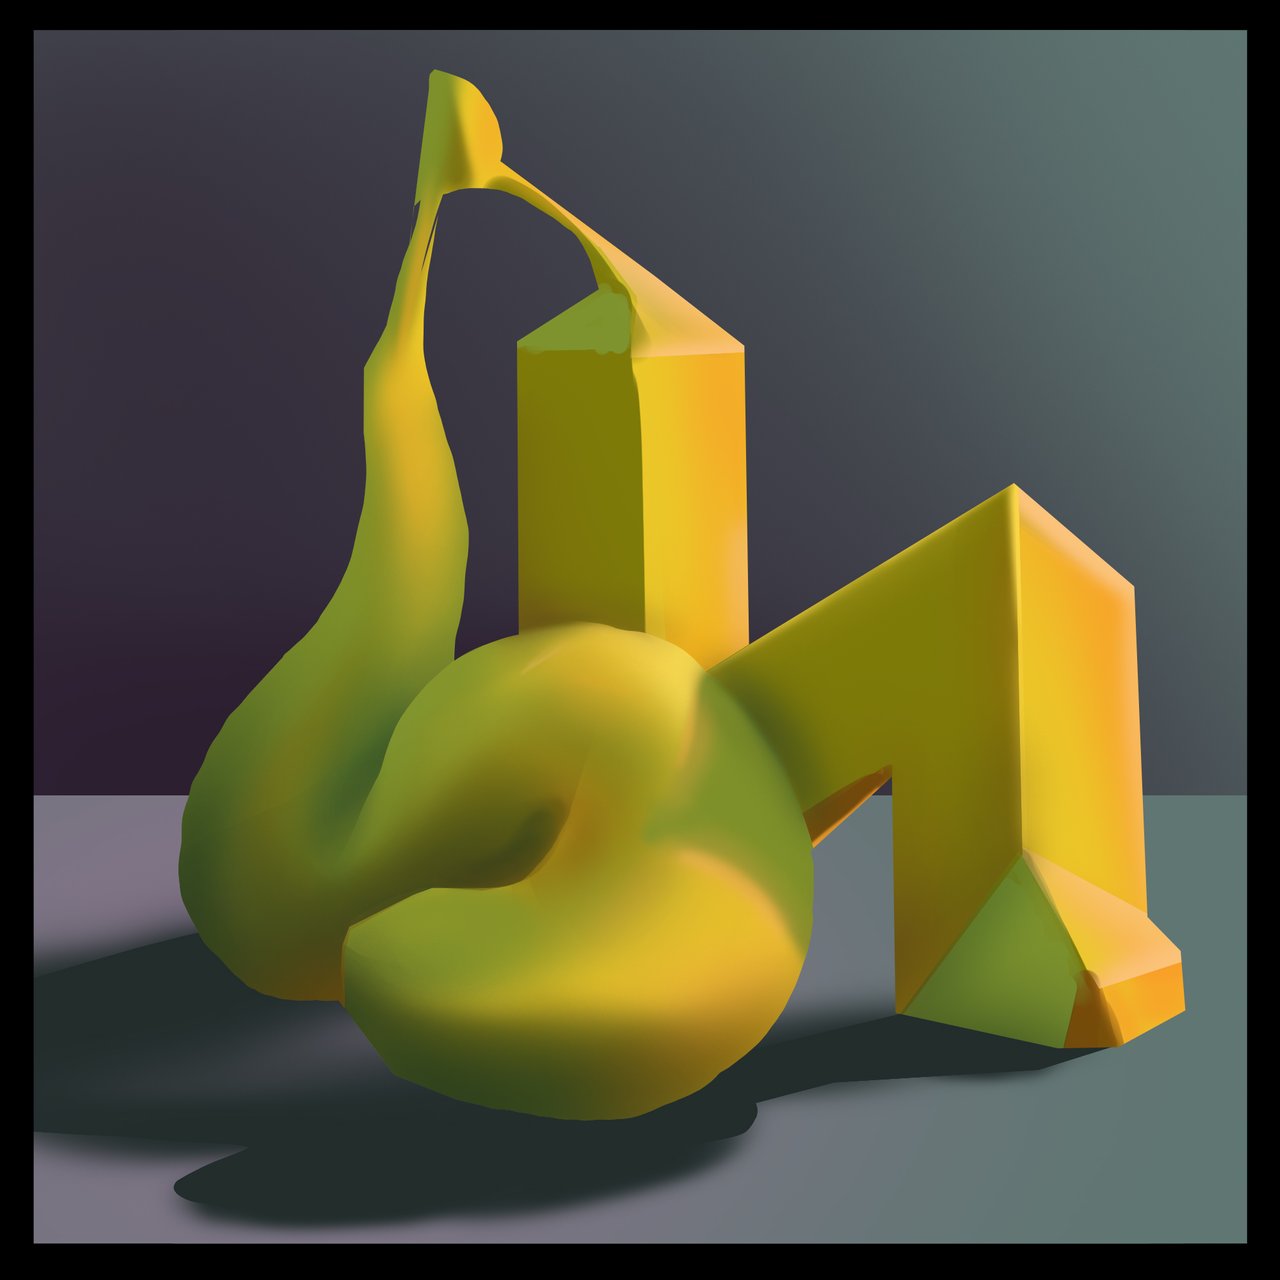
I'd like to stress at this point again that this is the final stage in our experiment. We have ventured out far beyond any banana that exists in real life so it is taking some real processing power from our brains. The point of this exercise is to lay bare the areas where we have not retained our banana knowledge. If there are parts of these oddly shaped bananas that don't look quite right then we've revealed something we can focus on the next time we make a study! How cool, we're unlocking areas that we can go back and study.
I added in the black spots of the banana and did some blending as I remember doing before to finish off this exercise.

You did it! Now, not only have you painted a banana from memory, you've also painted "banana" on an object that is completely outside of what we would expect a banana to look like. I think for me, I notice that I missed the opportunity to add in some texture to imply the bumpiness of the banana skin. I also think I could've added some bright highlights along the top curve of the squiggly banana and along the top edge on the cube-y banana. This is fantastic information for me because now I know that the next time I study a banana I need to look out for those highlights and textures that I missed.
I really think this kind of study is a fun way to find the holes in your own knowledge. Often times in the painting journey it's hard to pinpoint what we need to work on. Because the nature of painting from life comes with so much nuance, sometimes it's almost too big to deconstruct. By doing these studies and then building on them we are building up our visual library and if you're studious enough, eventually you will have all sorts of knowledge ready to access. When you are able to recall things without searching for a reference, painting becomes so much more playful. We are trying to have fun after all, let's enjoy painting!
I you want to go over how I made some of these color choices in this study you'll find a basic primer here.
If you need help getting started drawing, I highly recommend you head over to @jorgevandeperre's blog and start following along his lesson plans. @jorgevandeperre has over 20+ exercises to get started and is even giving out rewards to students who complete homework!
