
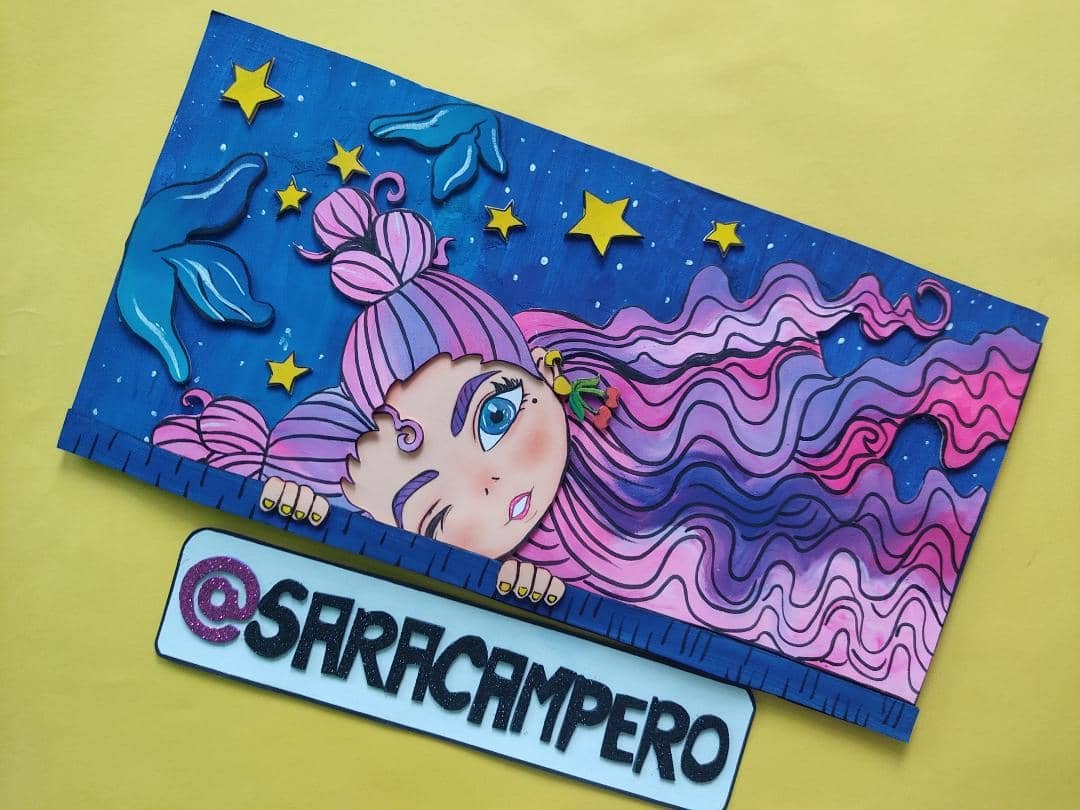
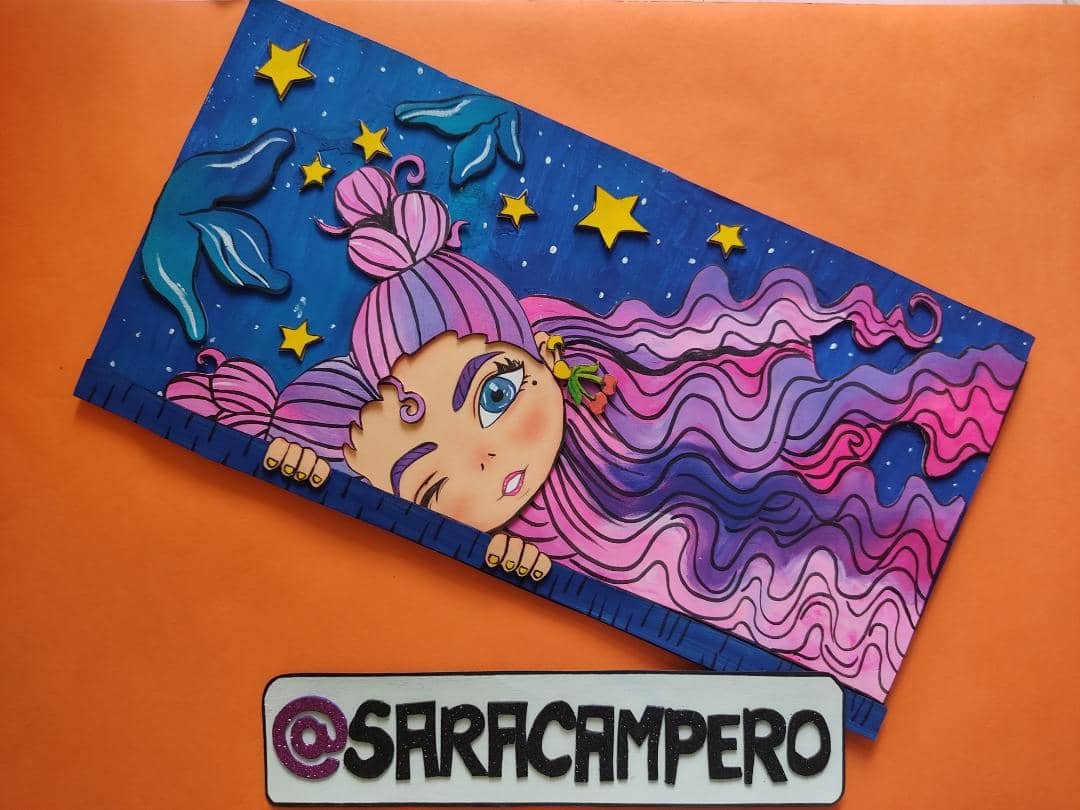
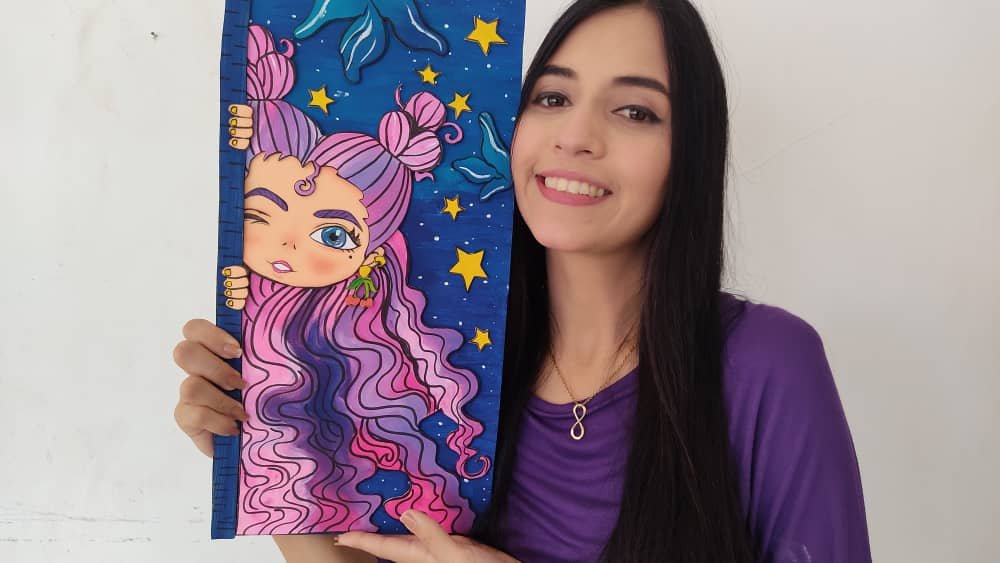
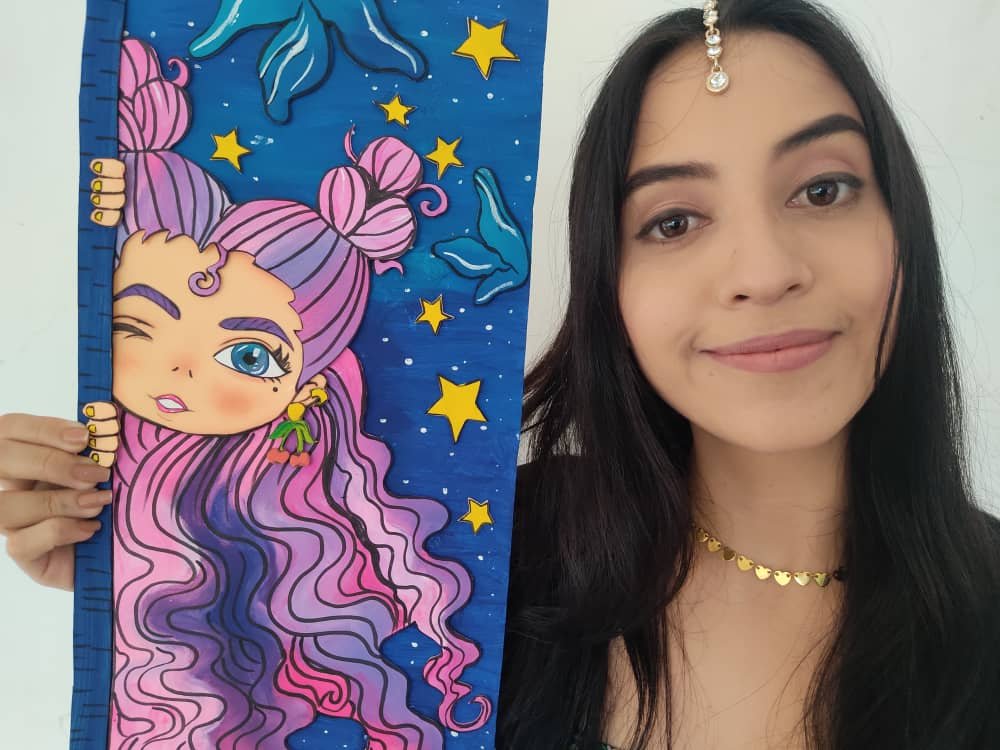
Hola queridos amigos 💋 Este lindo día les traigo un nuevo tutorial donde les mostrare como hacer un lindo y colorido cuadro de “niña curiosa”, ideal para decorar la habitación de nuestras princesas o también podemos obsequiárselos en una fecha especial acompañado de unas ricas golosinas. Genial no? Así que, los invito a disfrutar de este divertido paso a paso donde sin duda todos podemos aprender a transformar estos económicos materiales en una hermosa obra de arte.

Hello, dear friends 💝 This beautiful day I bring you a new tutorial where I will show you how to make a cute and colorful picture of a "curious girl", ideal to decorate the room of our princesses or we can also give them to them on a special date accompanied by some delicious sweets. Cool no? So, I invite you to enjoy this fun step by step where, without a doubt, we can all learn to transform these inexpensive materials into a beautiful work of art.
¿Qué están esperando?
Gracias a esta técnica podemos elaborar hermosos cuadros para decorar nuestras paredes favoritas llenándola de estilo y personalidad, además, una hermosa obra hecha en casa es una manera creativa y muy económica de darle un toque de alegría a nuestro entorno. Antes de comenzar no olvidemos lavarnos nuestras manos.
What are they waiting for?
Thanks to this technique we can make beautiful pictures to decorate our favorite walls, filling them with style and personality, in addition, beautiful work done at home is a creative and very inexpensive way to give a touch of joy to our environment. Before we start, let's not forget to wash our hands.
Materiales | Materials
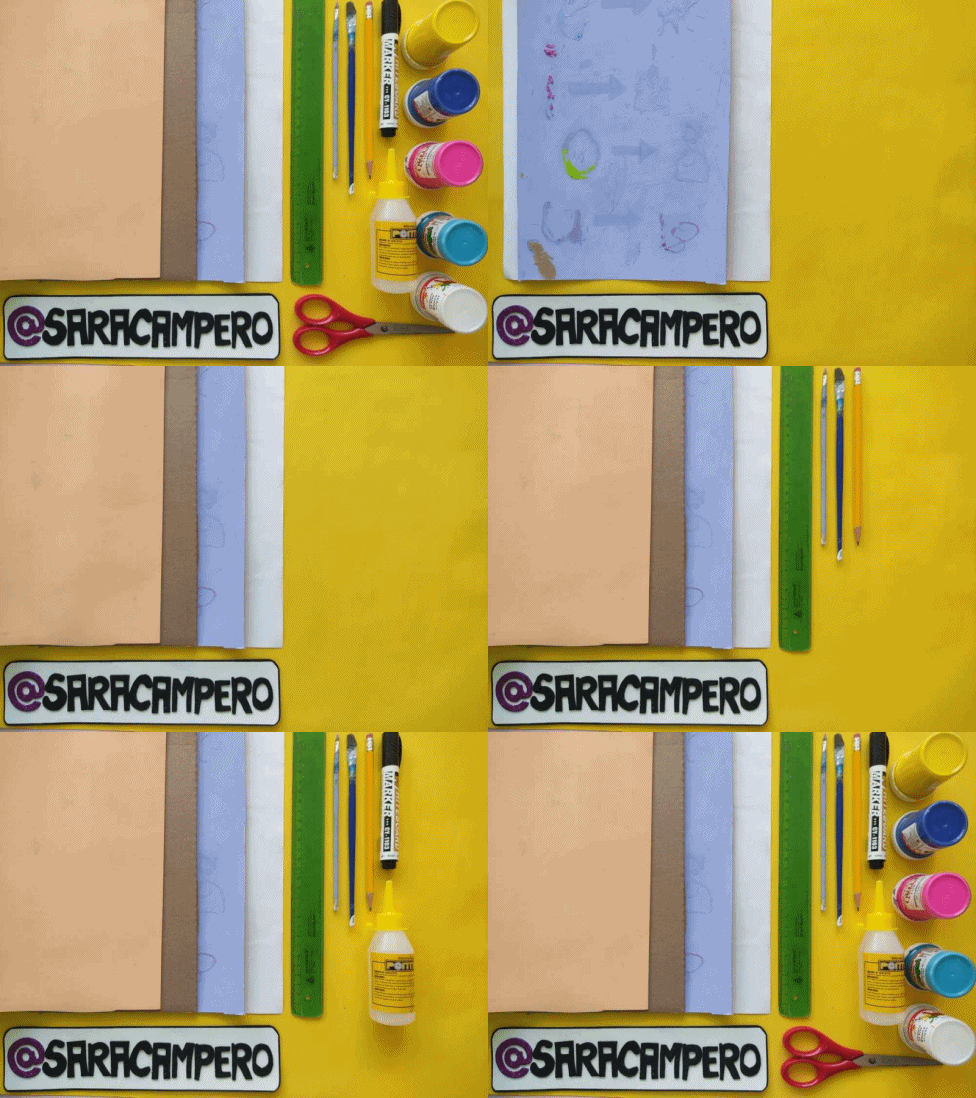
Para realizar esta linda obra necesitaremos:
- Lamina de papel.
- Lamina de cartón.
- Cartón.
- Foami o goma eva.
- Regla.
- Pinceles.
- Lápiz.
- Marcador negro.
- Pegamento.
- Tijera.
- Pinturas.
To make this cute work we will need:
- Laminate paper.
- Cardboard sheet.
- Cardboard.
- Foamy or eva foam.
- Rule.
- Brushes.
- Pencil.
- Black marker.
- Glue.
- Scissors.
- Paintings.
Procedimiento "proceso" | Process (step by step)
.jpeg)
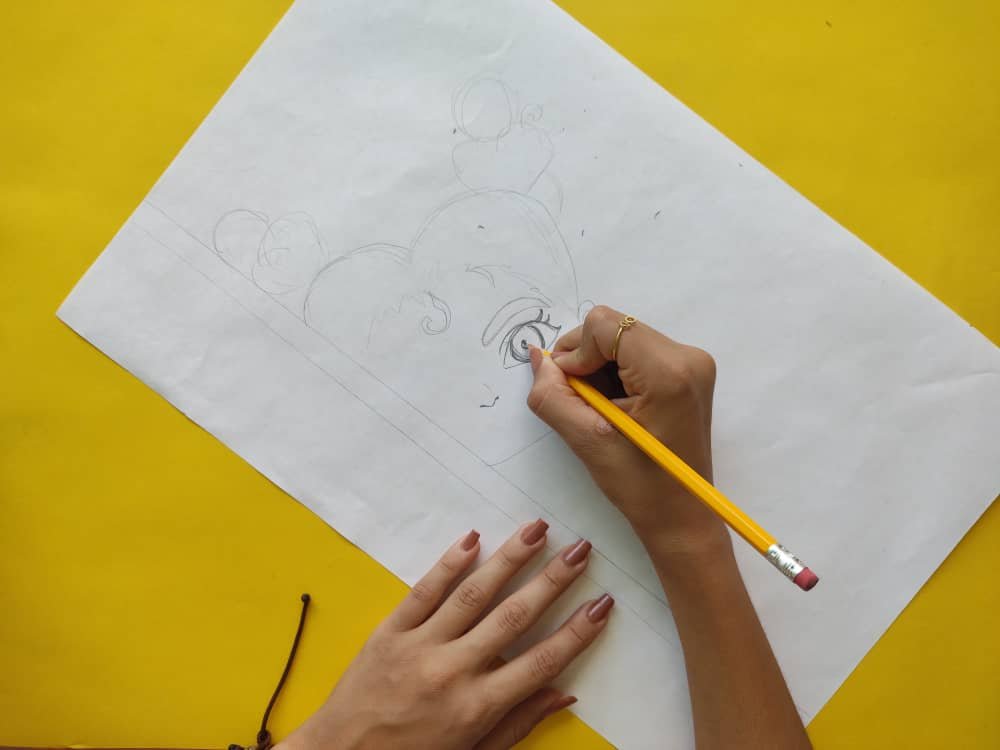
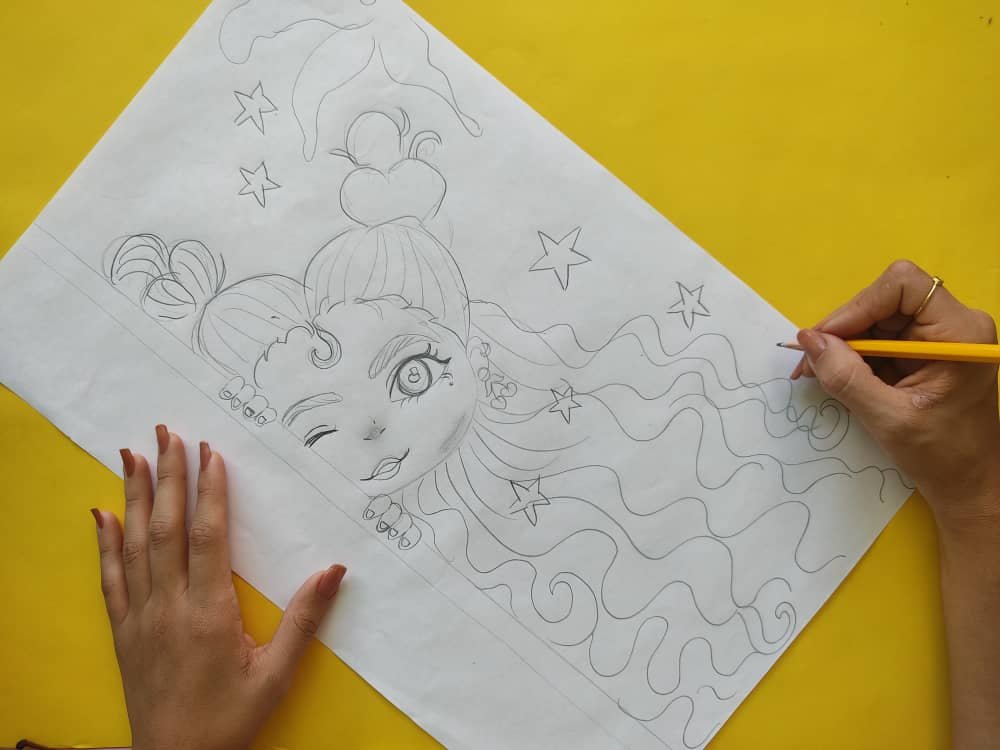
First, we let our imagination fly and we draw a cute girl with a beautiful hairstyle who is leaning or looking behind a door or wall.
.jpeg)
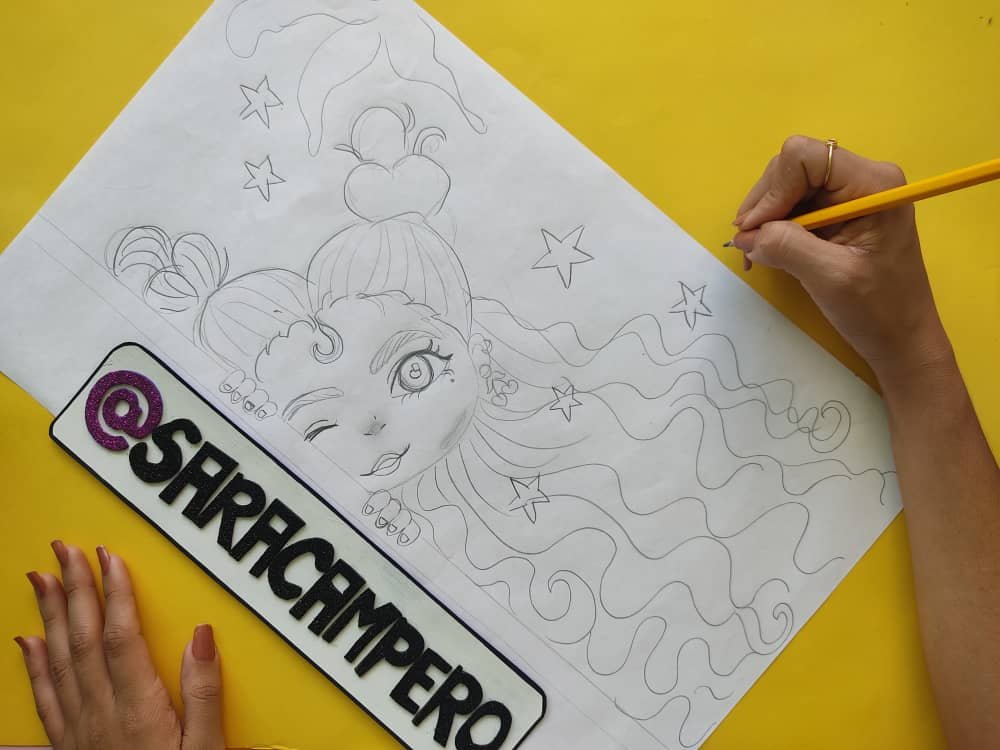

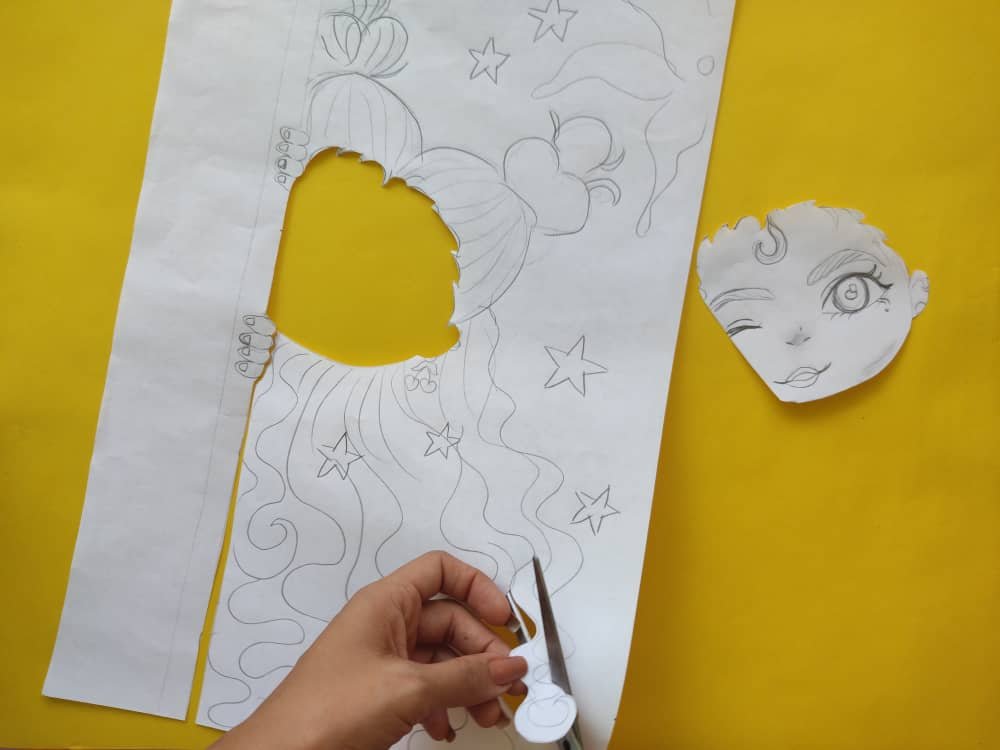
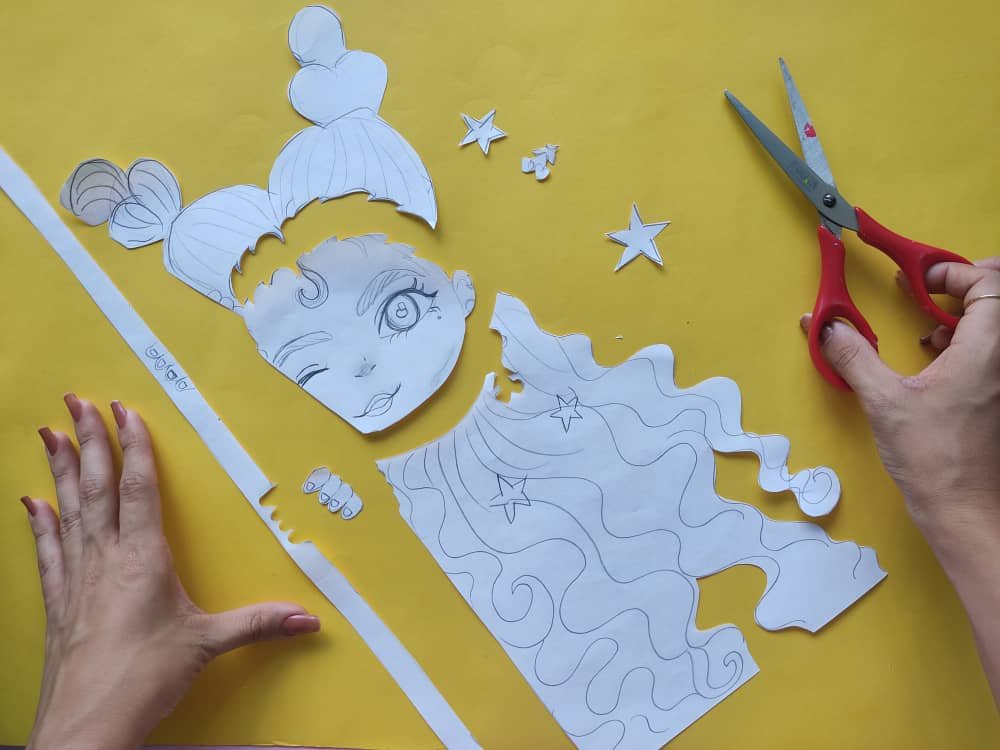
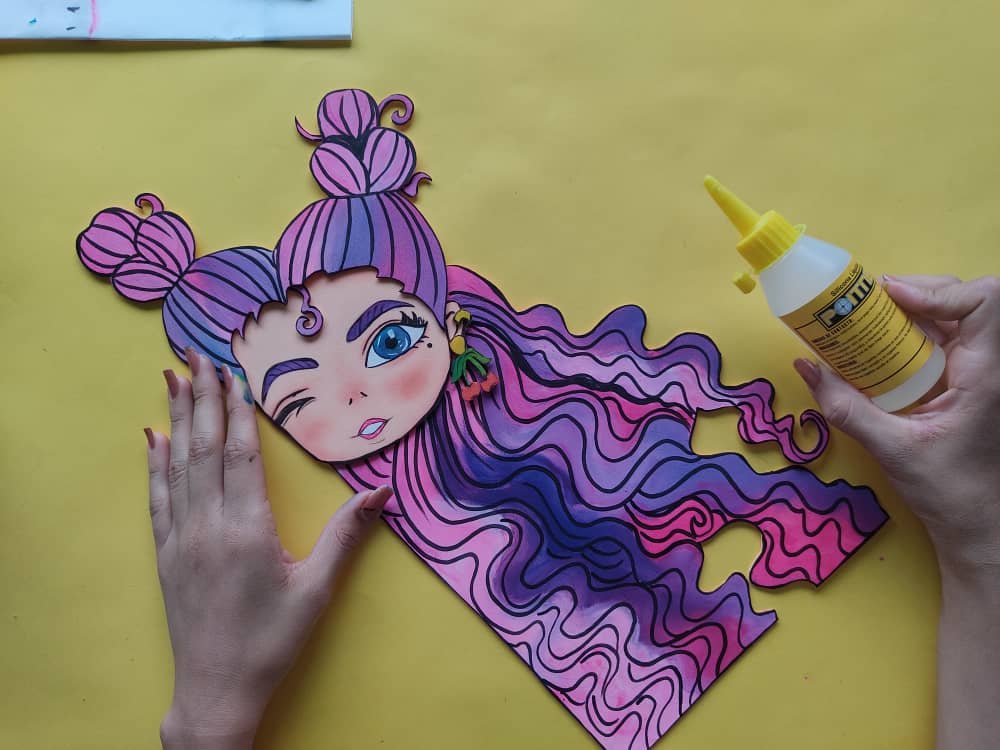
Then, we cut out our cute drawing of her, separating her hair, face, and little hands very carefully, not forgetting the stars.

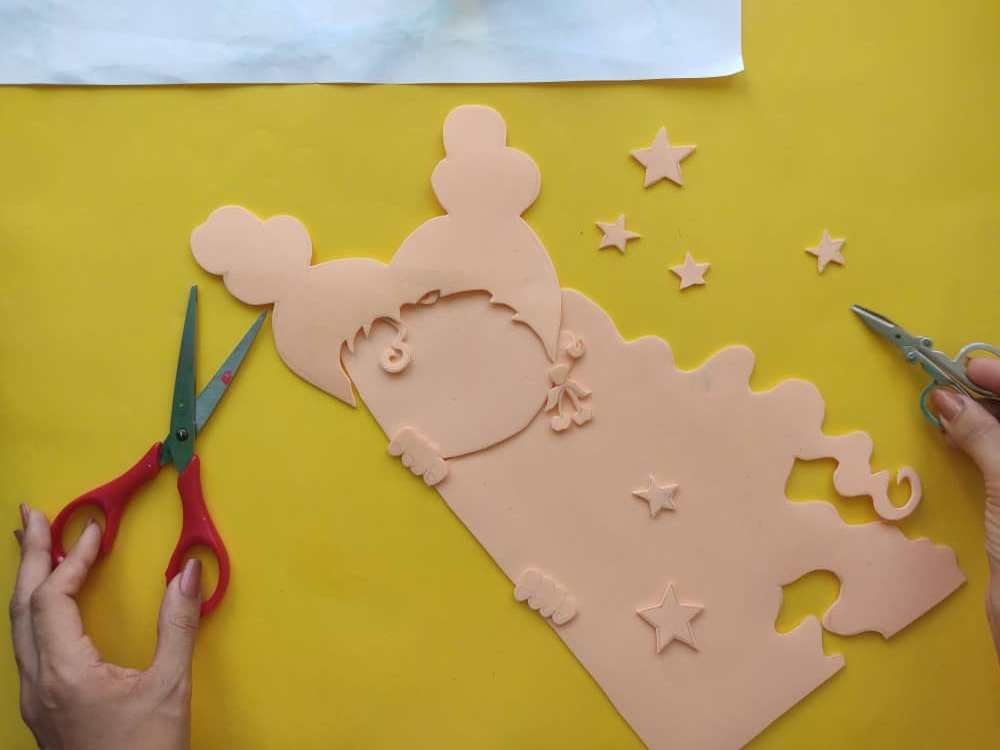
Next, we transfer the parts obtained to the foamy of the color we have or we like more, in my case, she only had skin-colored foamy and it is perfect because we will give it the color we want with beautiful touches of paint.
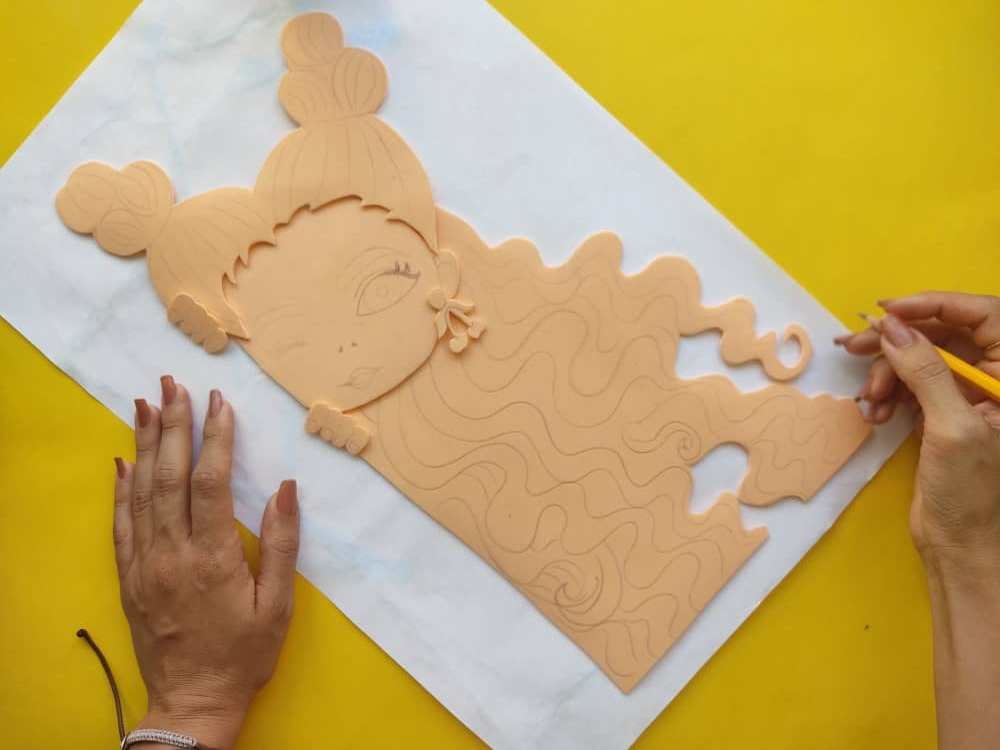

Now, we begin to paint the hair of this beautiful girl applying beautiful and magical shades of colors, in this case, I decided to paint it with fuchsia, purple, and blue colors.
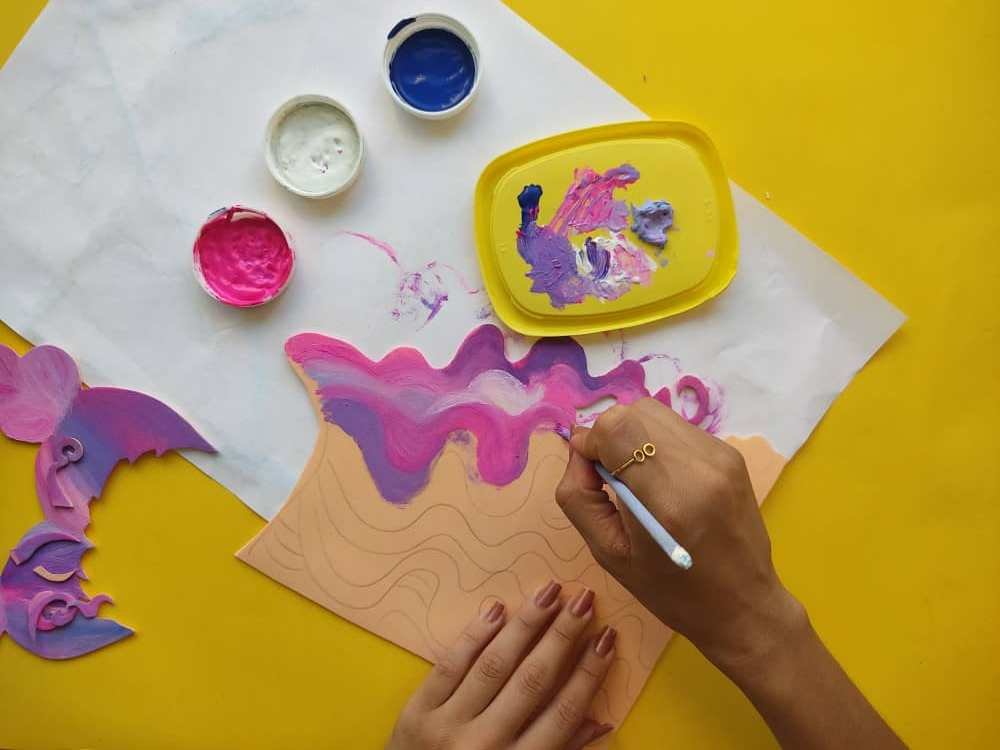
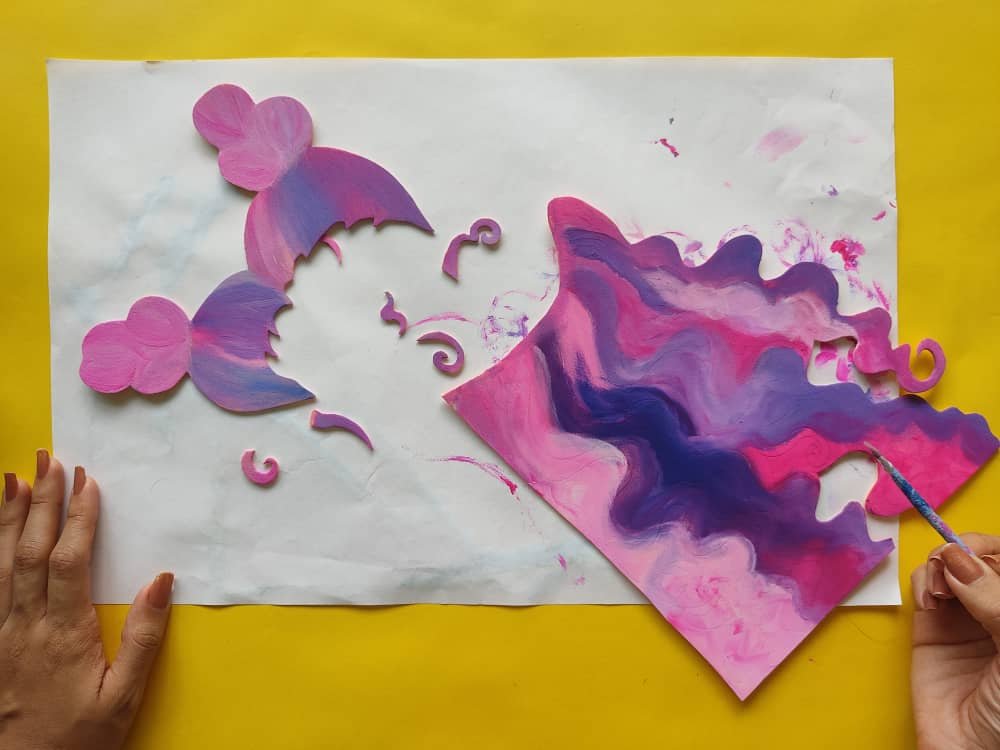

Next, we define the details of the hair with the help of the black fine point marker, this technique will help us to enhance the beauty of our work.
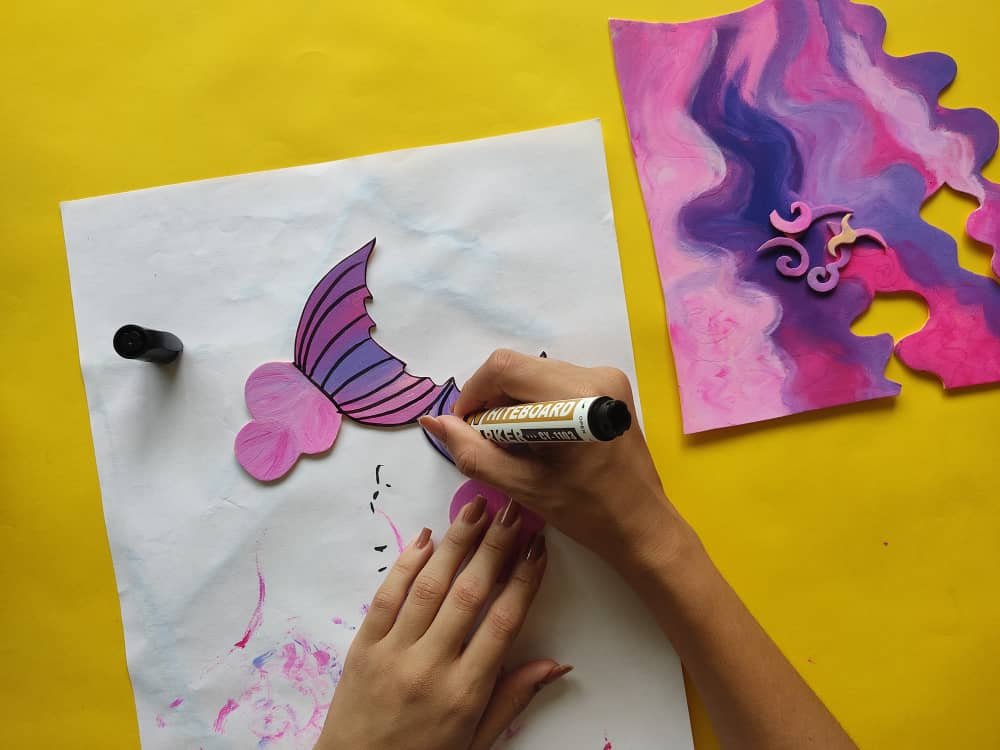
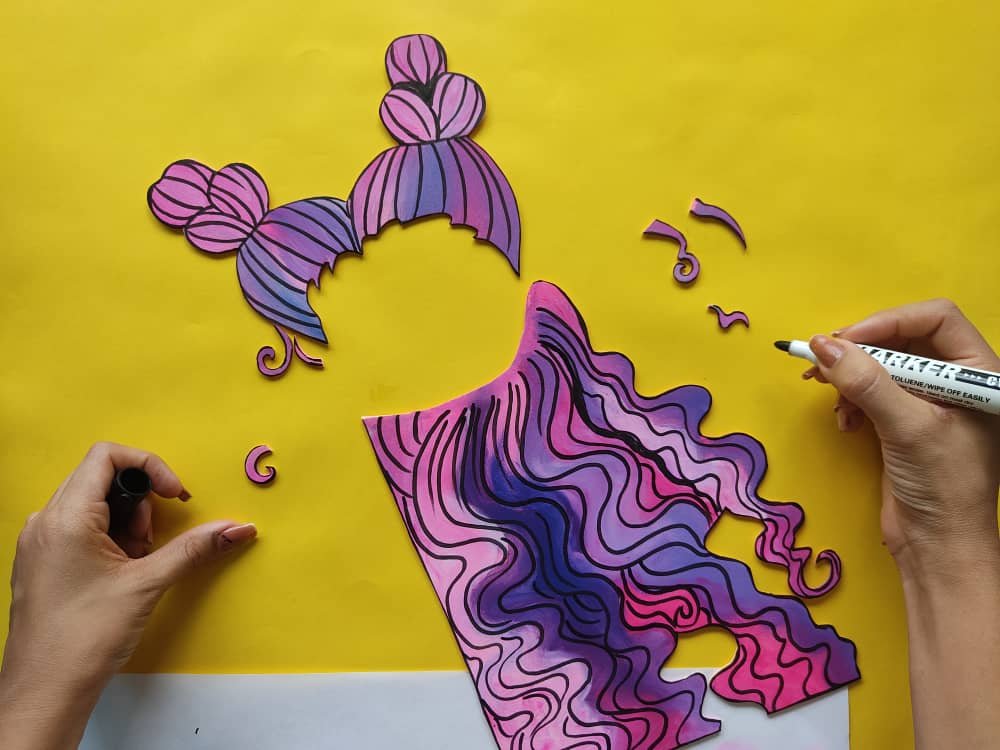

Then, we began to paint the girl's face defining her eyes, eyebrows, and mouth. Applying delicate brushstrokes so that everything is perfect. Next, we mark the details and edges of this girl's face using the black marker. We must do it with great care so as not to damage the rest of the face of our work.
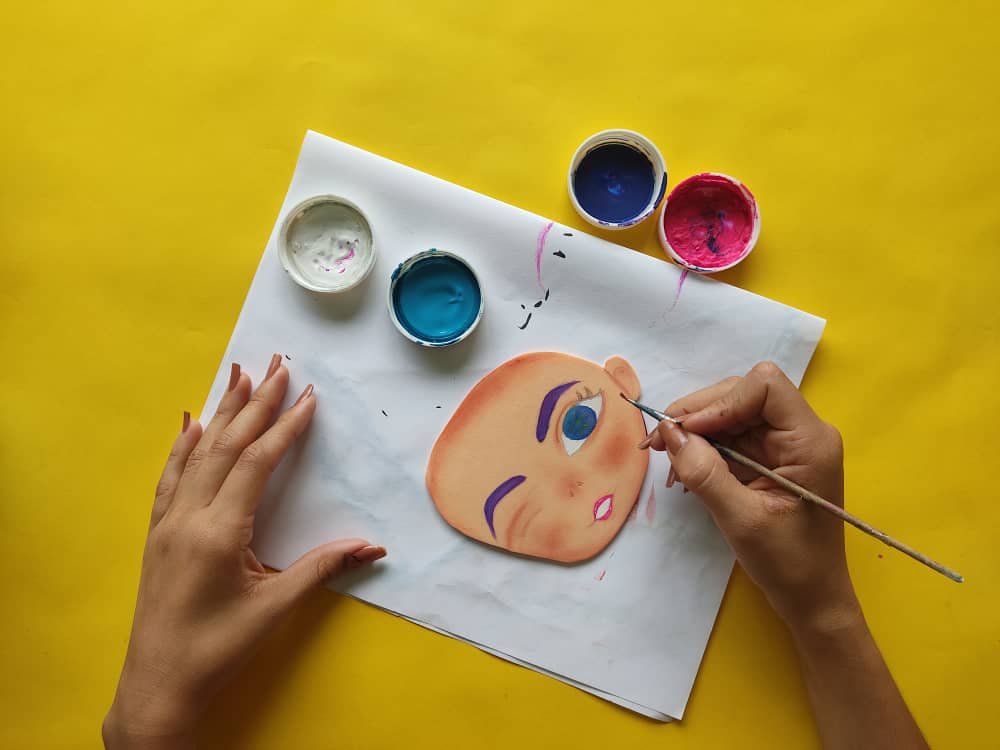
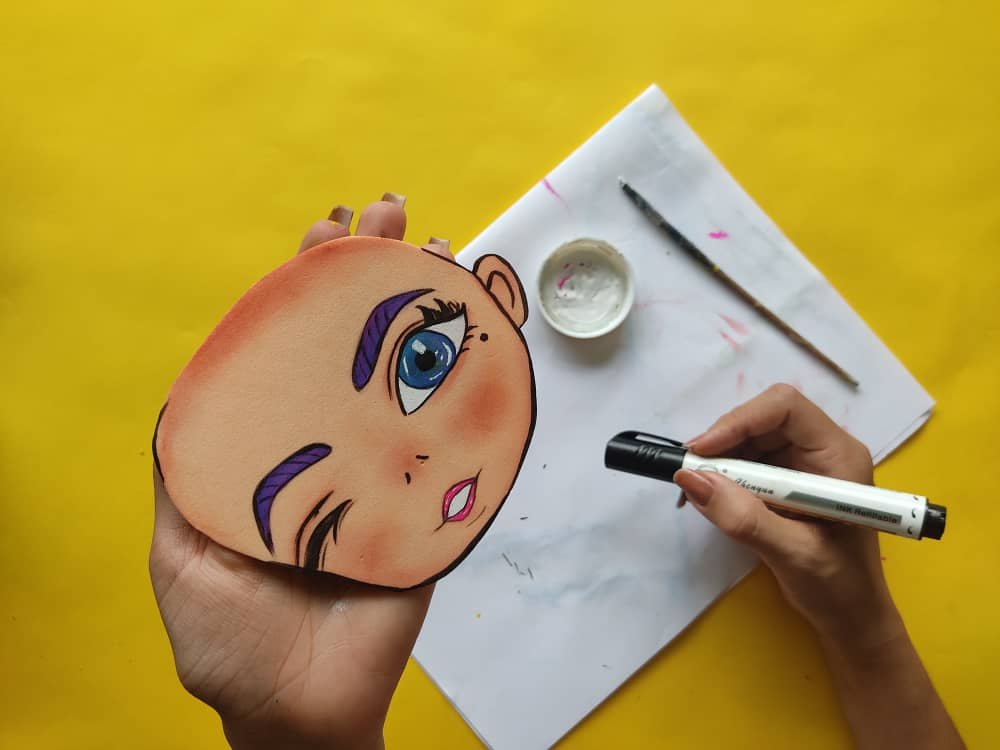
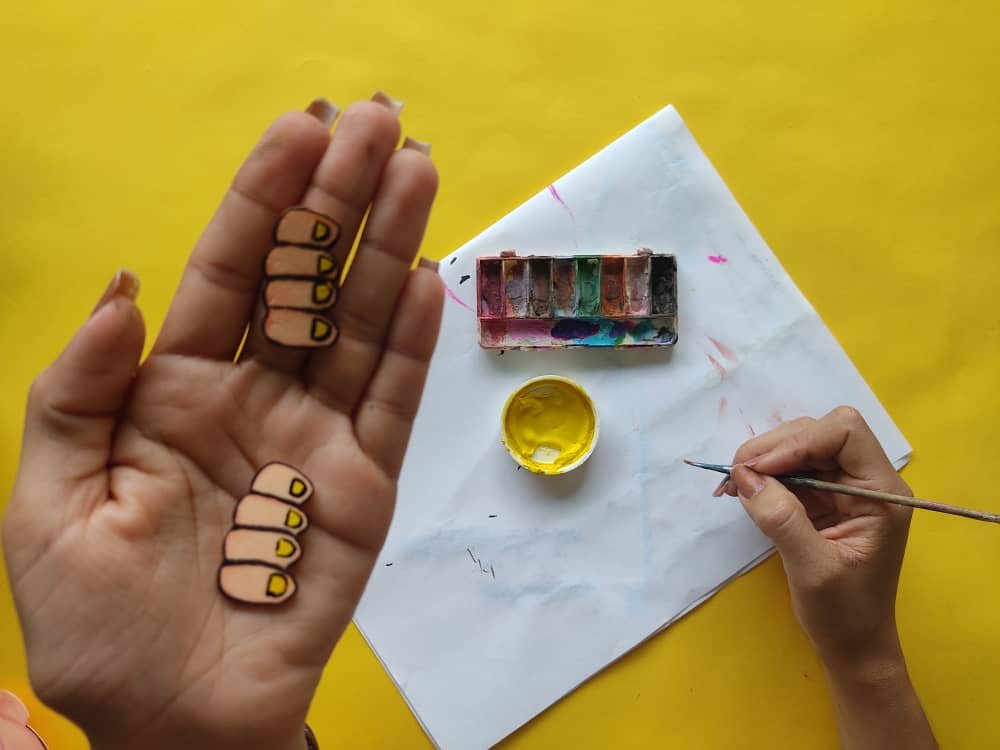

Then, we paint all the stars without forgetting the earrings of this beautiful princess, and at once we delicately mark the edges of her black.
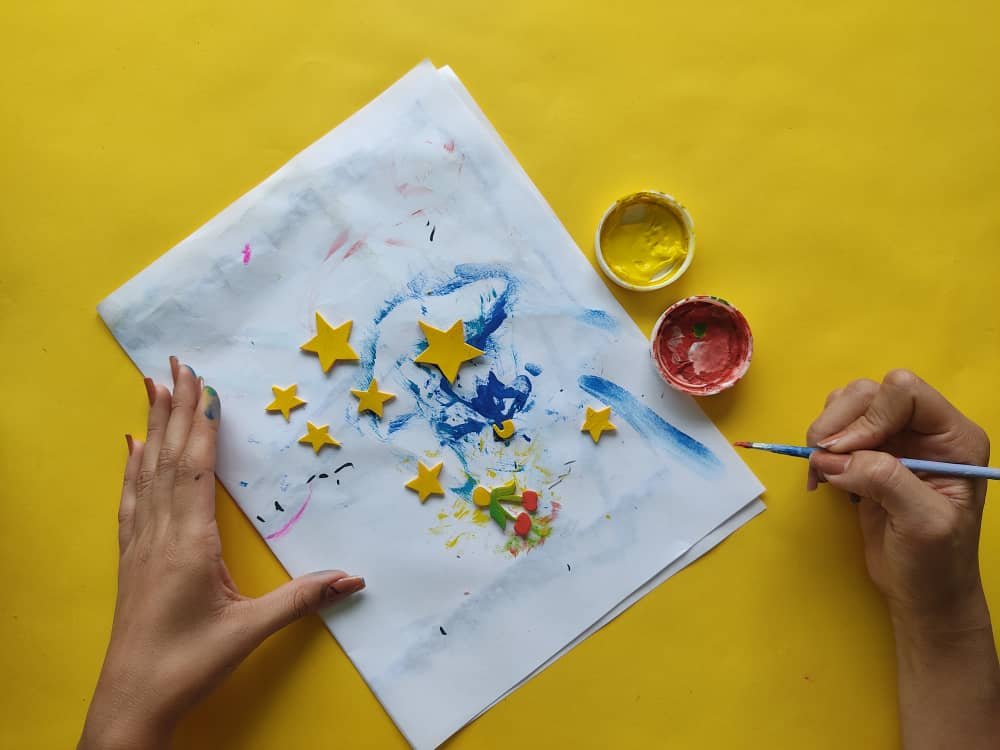
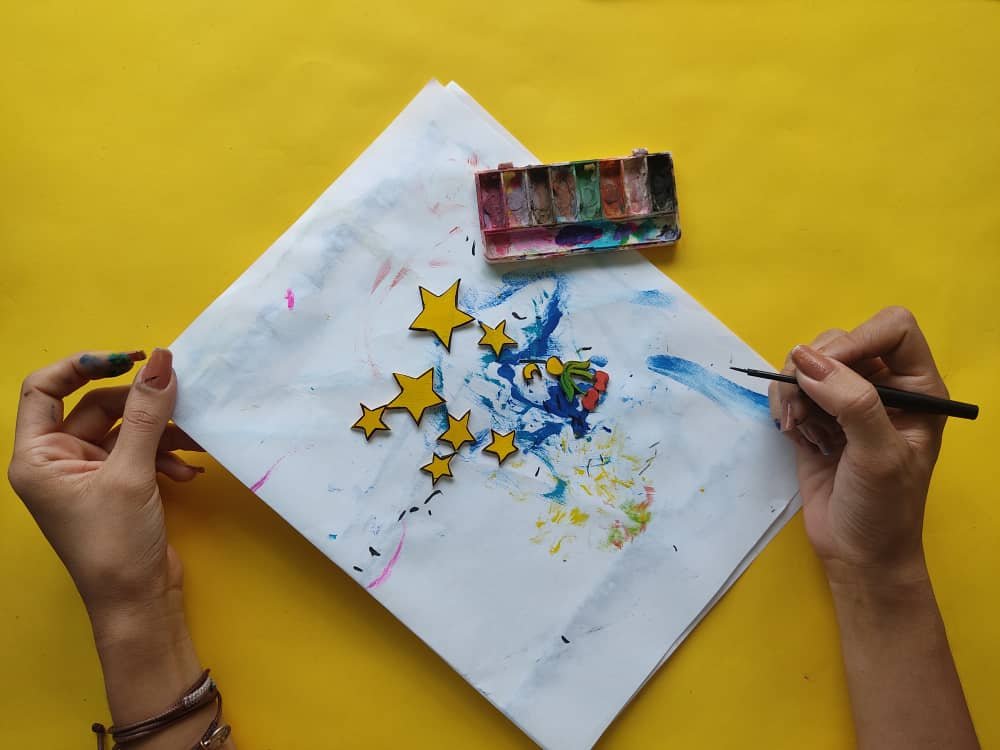

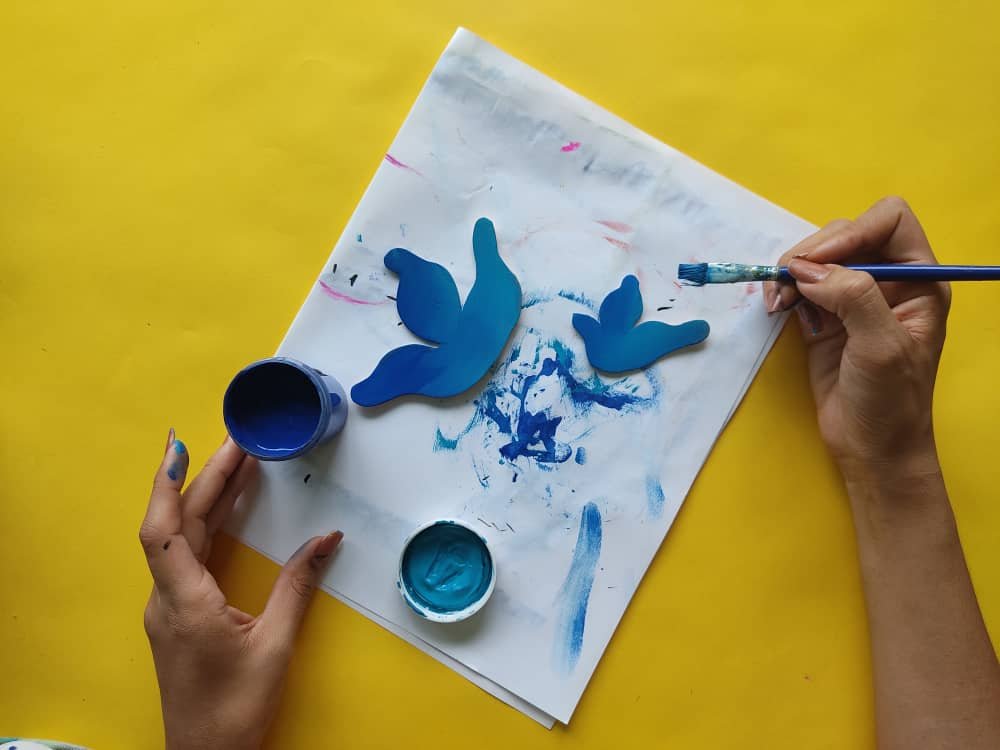
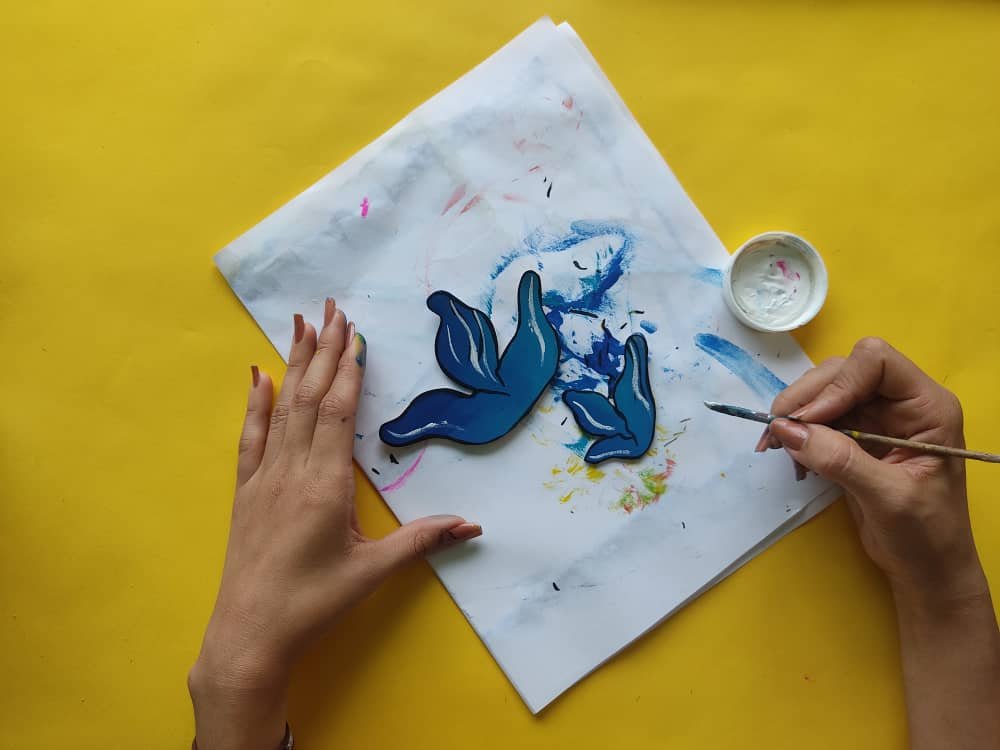
Next, we make two beautiful foamy flowers, we paint them the color that we like the most, we mark their edges in black, and we add some white details so that they have a touch of shine to these flowers that will decorate our beautiful work.

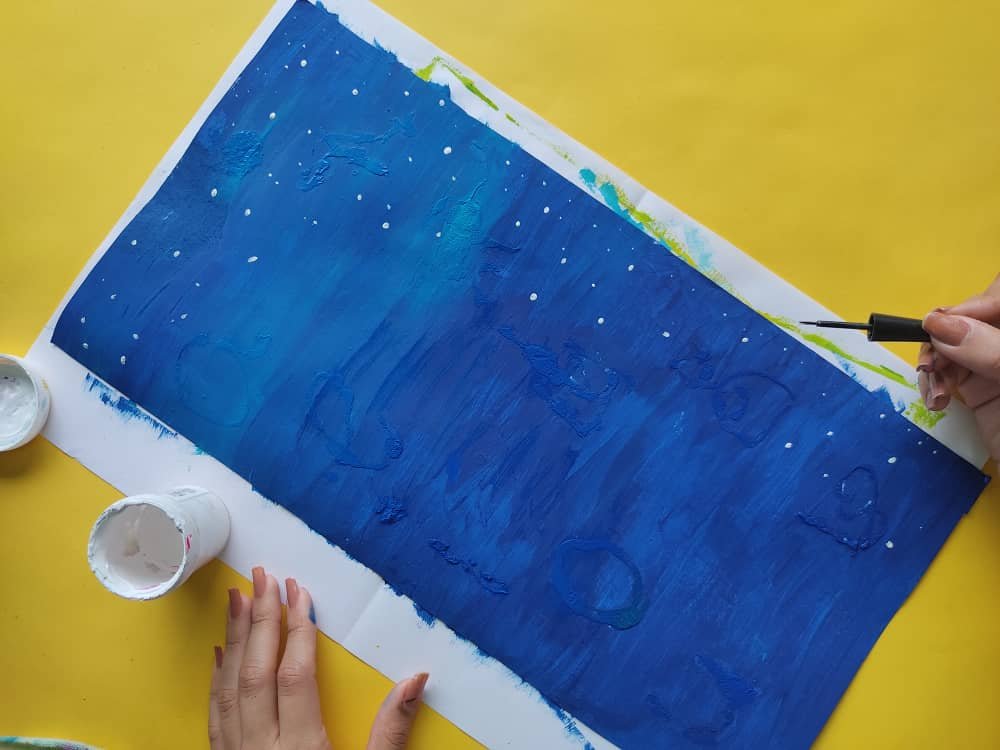
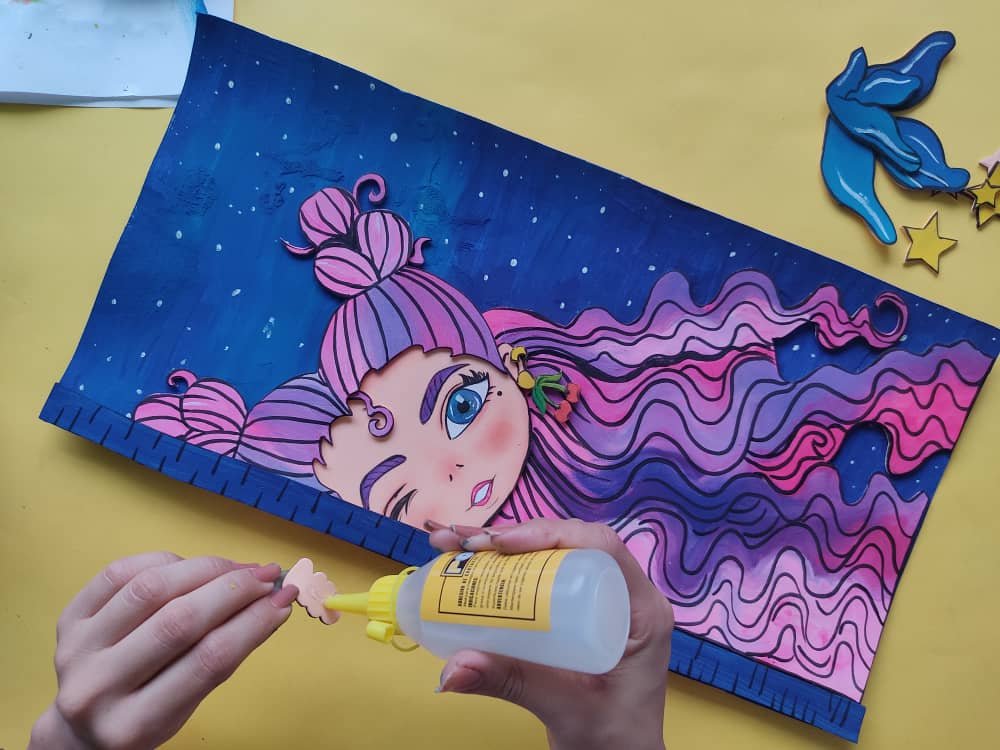
Then, we made a beautiful 45cm by 20cm base and painted it a beautiful navy blue color, this time I decided to paint small white dots that represent the stars of the night.
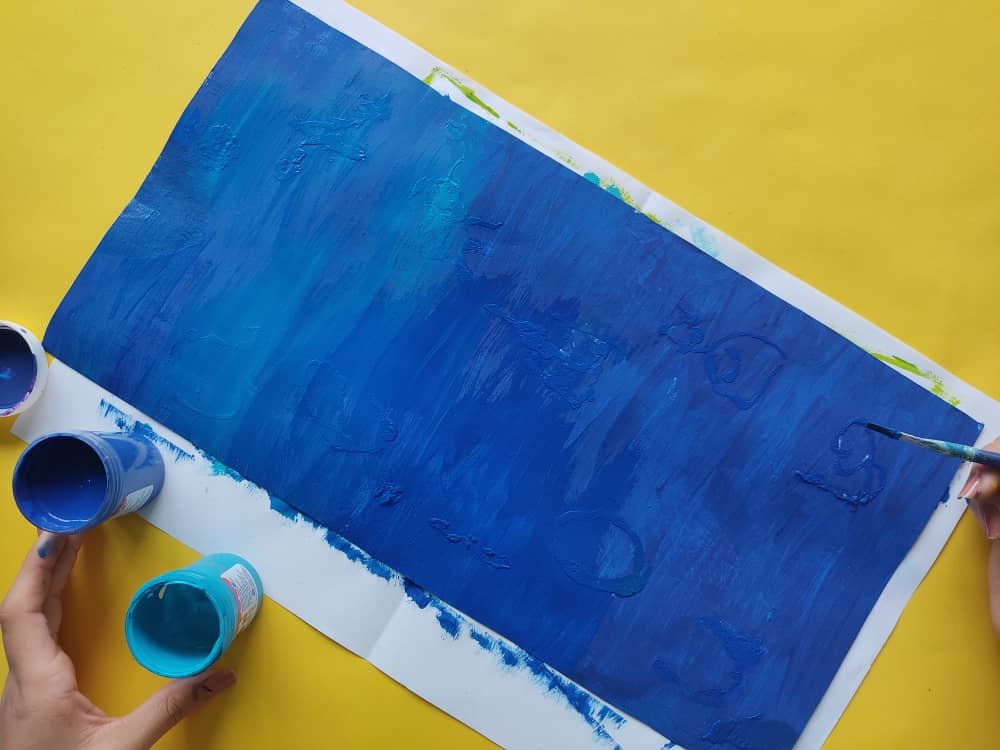

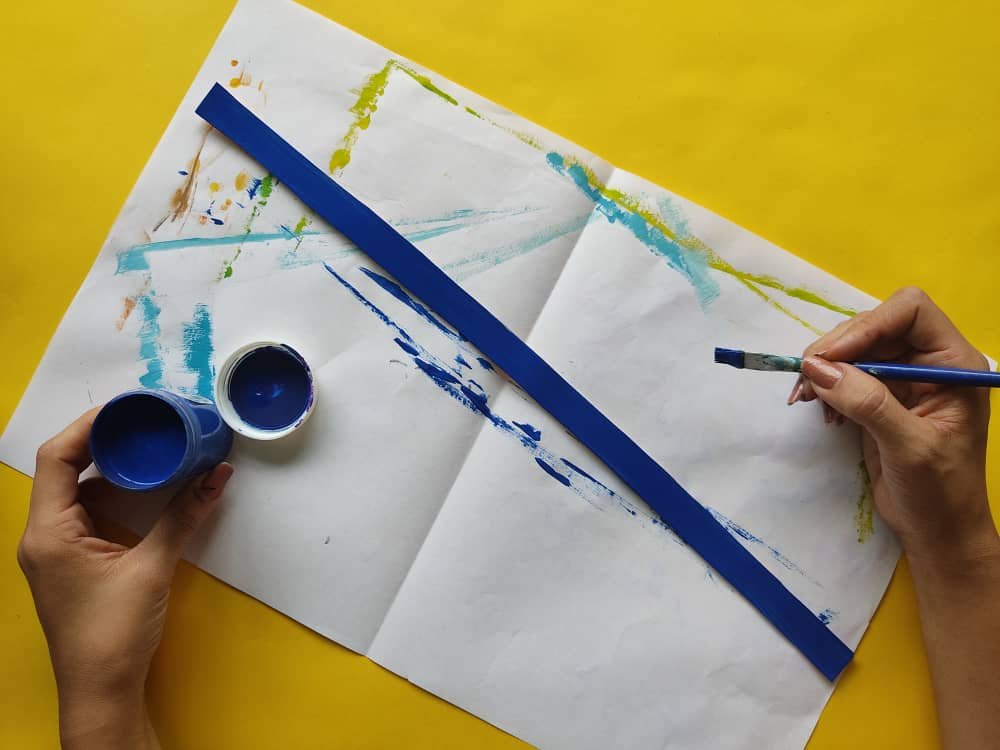
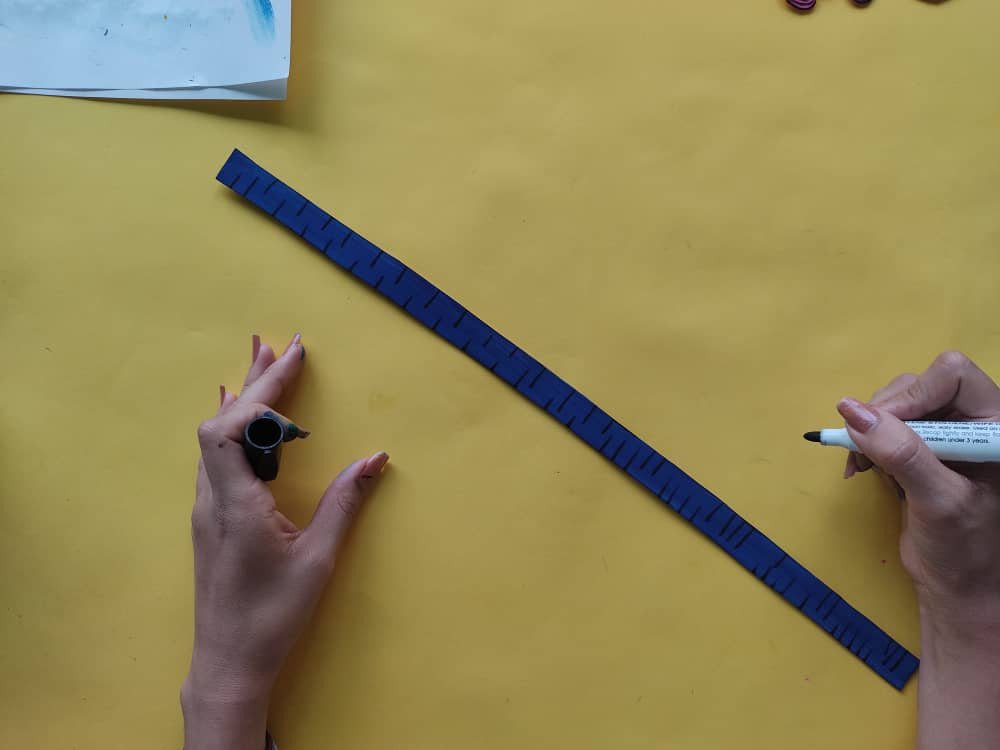
Then, we make a very thin strip of approximately 1.5cm by 45cm, paint it navy blue, and paint some black details to simulate the wall or door where our little girl will be leaning out.

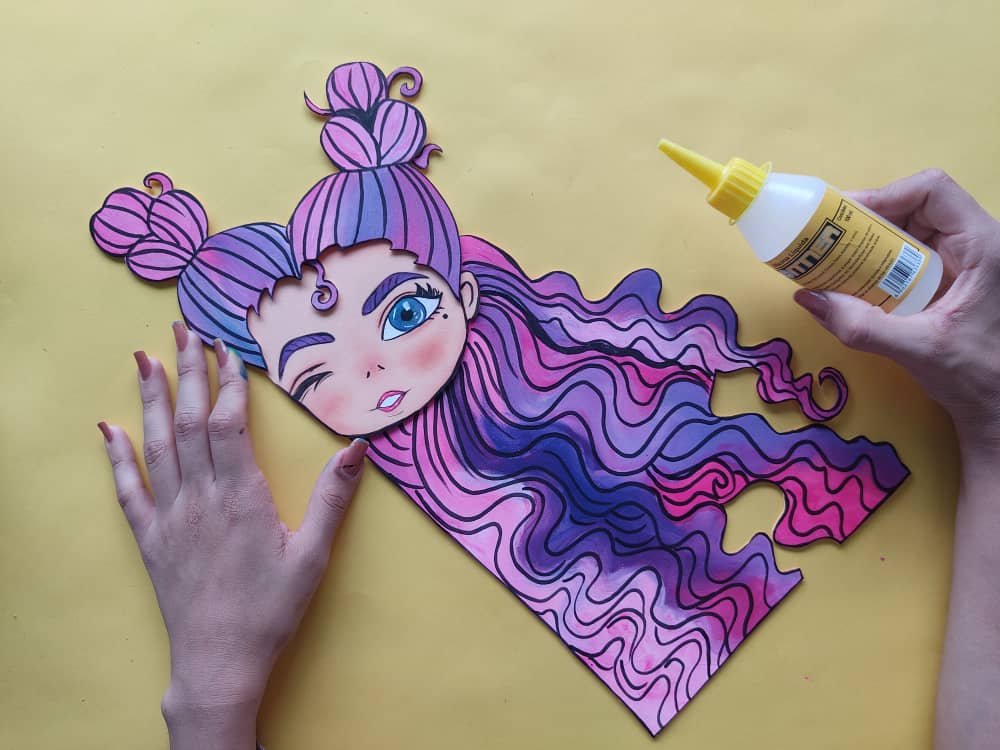
Now, we assemble our beautiful girl with funny hair using cold silicone or glue. We must apply a little pressure with our hands to ensure that the princess is well attached.

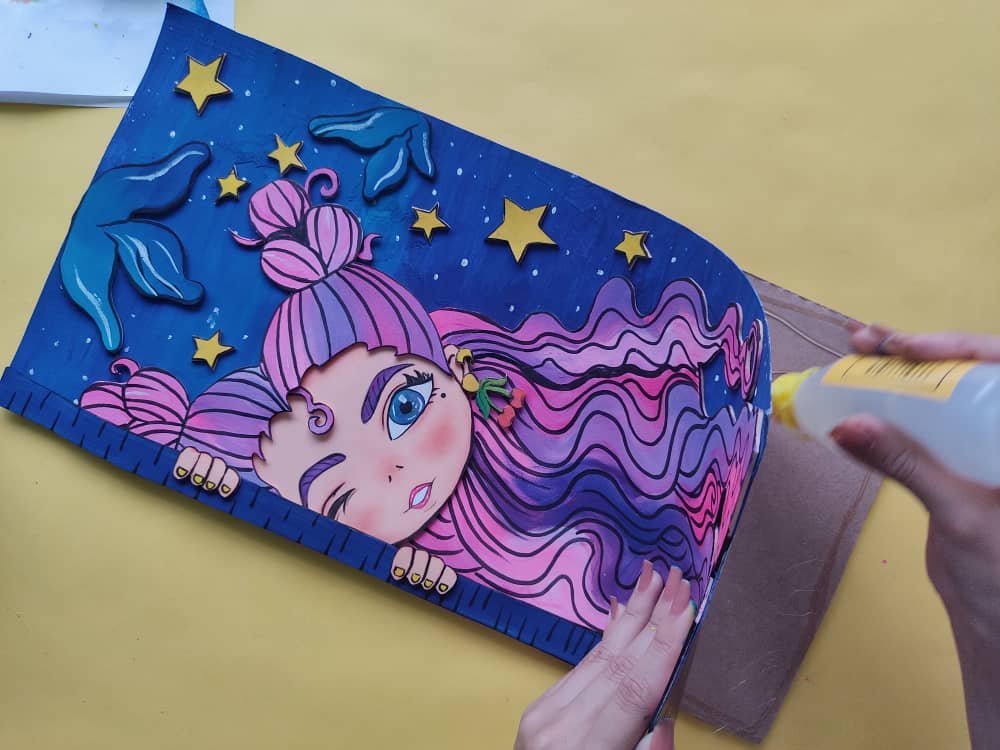
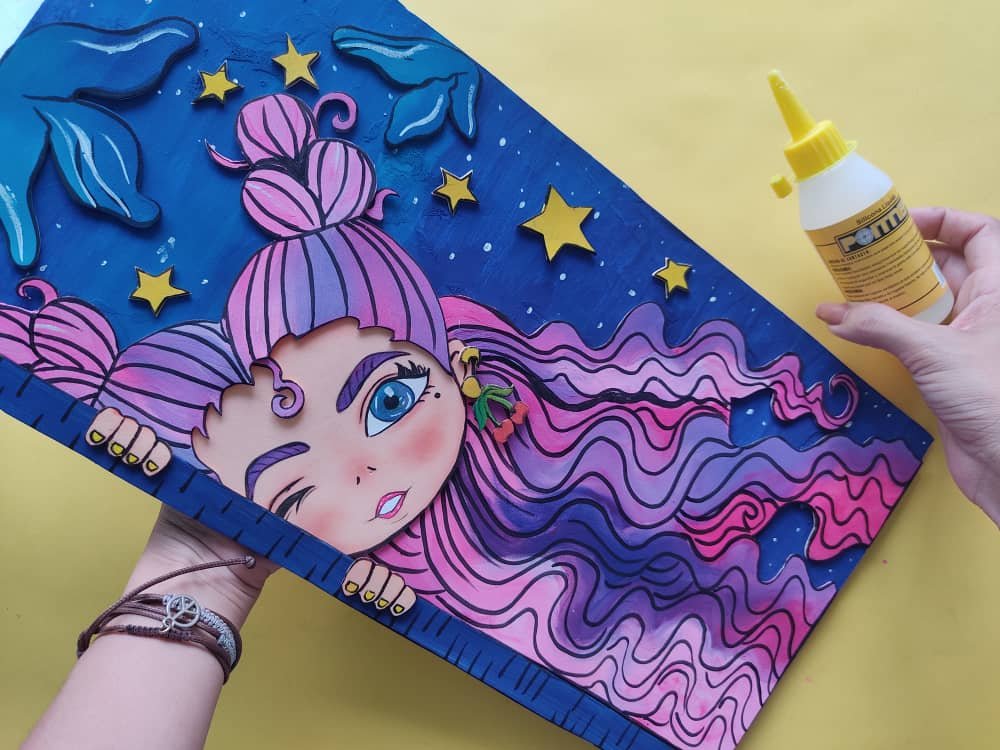
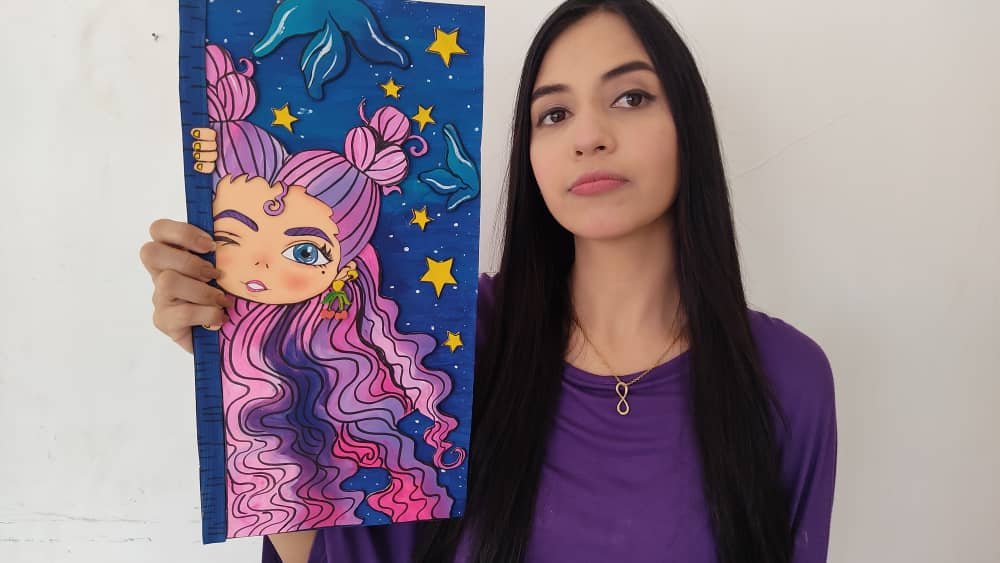
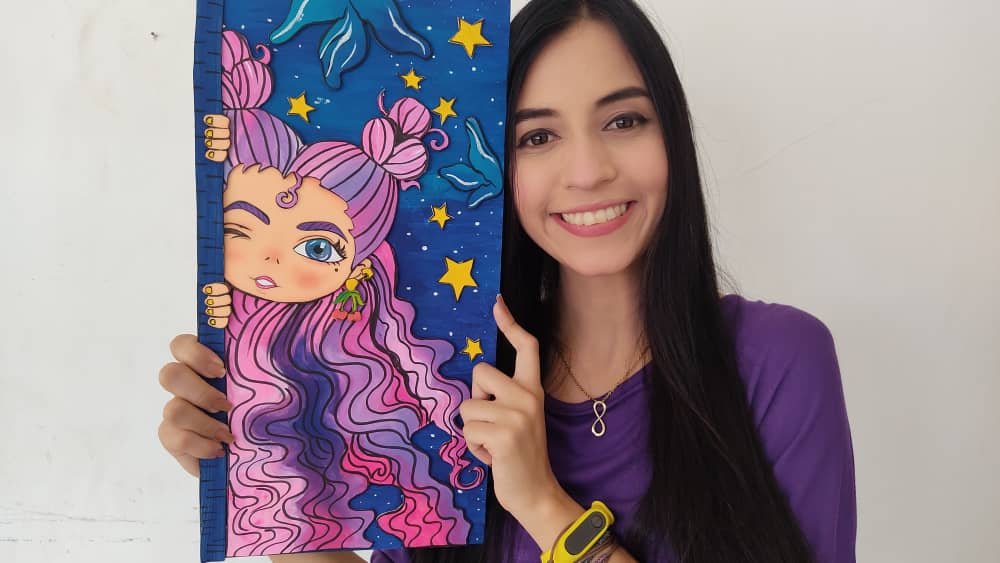
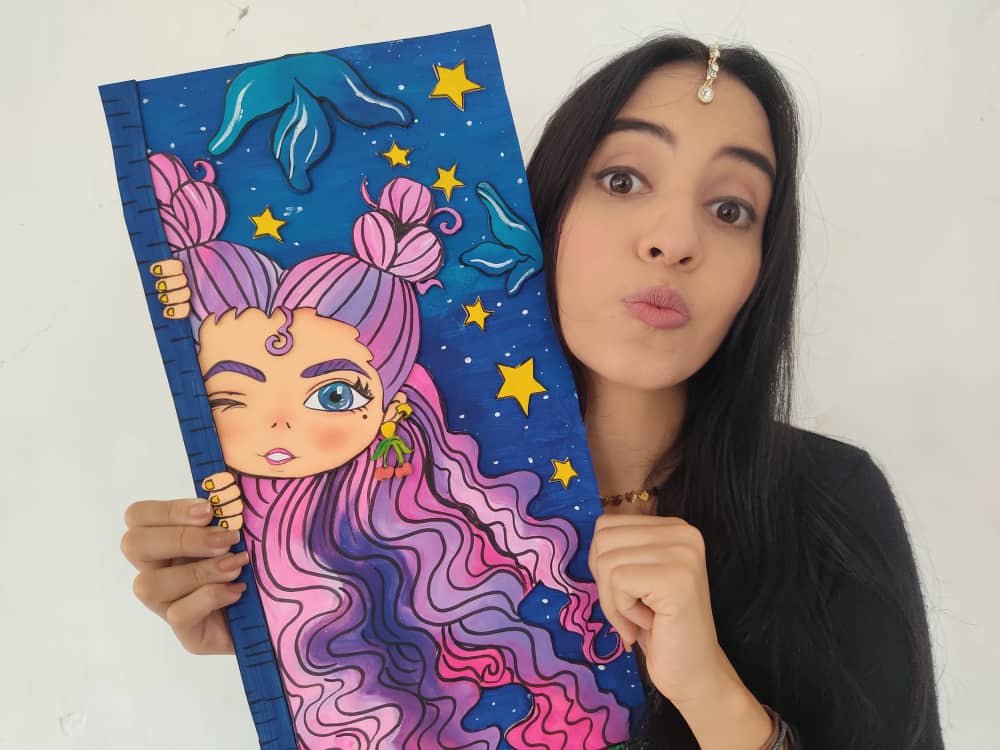
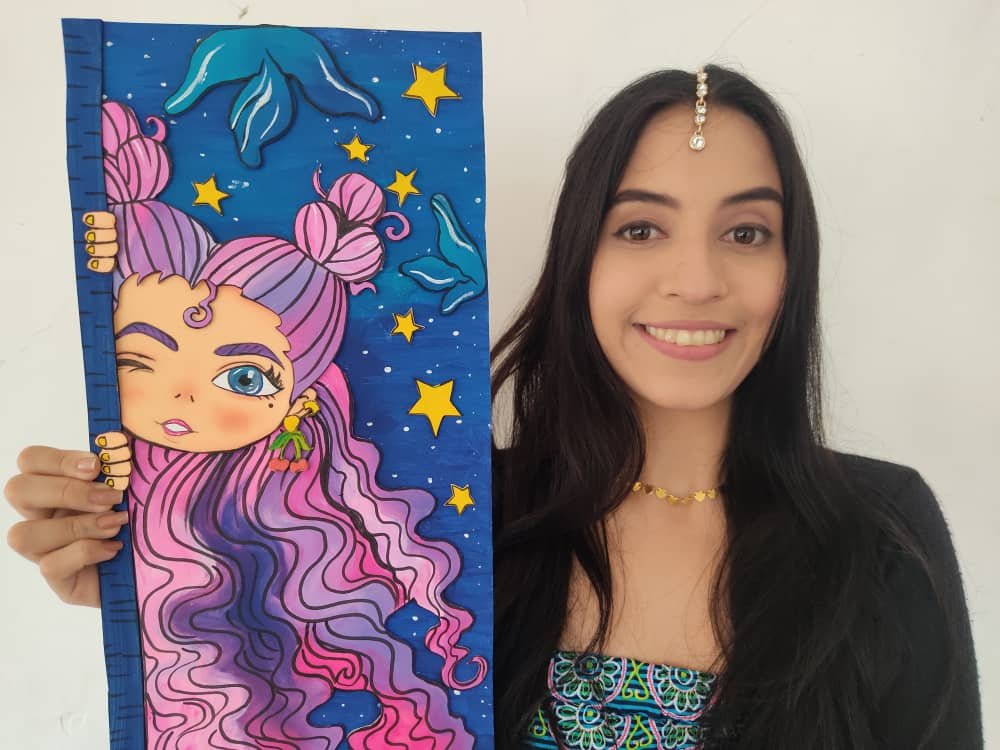
Finally, we glue the sweet girl on the base that we have made, plus the flowers and stars that will decorate our painting, and then we glue our work on a thicker cardboard base to give the painting more firmness, and that's it.
✯✯✯✯✯✯✯ ✯✯✯✯✯ ✯✯✯ ✯
.jpeg)

Muchas gracias por venir a disfrutar de mi blog, espero que te haya gusto y que vuelvas pronto.❤️
Thank you very much for coming to enjoy my blog, I hope you liked it and that you come back soon.❤️

.jpeg)
.jpeg)
.jpeg)
.jpeg)
.jpeg)
.jpeg)
.jpeg)
.jpeg)


@booming | @booming01 | @booming03 | @booming04 | @trafalgar | @nutbox.mine | @kryptokannon | @steemwomensclub |


