.jpeg)

Hello, dear sisters❤️
This beautiful day I bring you my entry to the new creative contest of @steemwomensclub Steem Women Club Community Contest # 8 'Handicrafts'. For this special occasion, I decided to make a beautiful and authentic cardboard cap, covered with shiny black foam and decorated with the logo of our beautiful platform Steemit.com. So, I invite you to enjoy my entry and the best thing is that I bring you a simple tutorial where we can all learn how to make your own Steemit cap, using recycling materials such as cardboard and others that are very cheap and easy to get, such as the foamy.
What are they waiting for?
This simple technique allows us to transform these incredible materials into a beautiful and original cap to wear on special occasions. Cool no? Before we start, let's not forget to wash our hands.
To make this cute work we will need:
)
- Foamy or eva foam.
- Recycled cardboard.
- Graphite pencil.
- Paintings.
- Brushes.
- Scissors.
- Rule.
- Glue or liquid silicone.
Process (step by step)
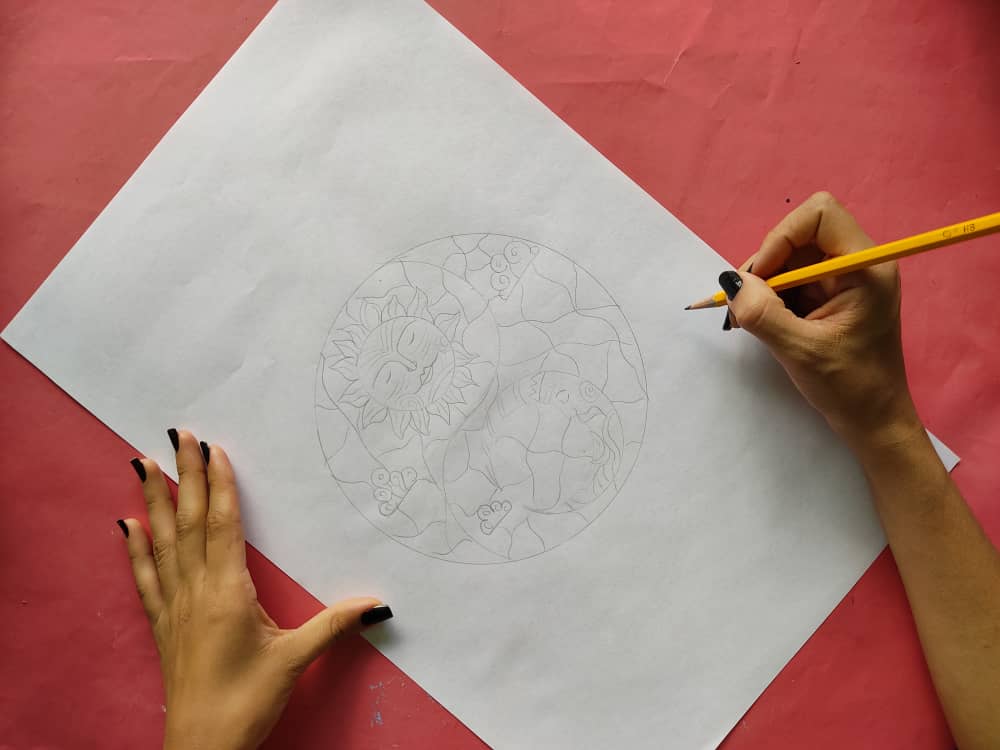
First, we take the measurement of the circumference of our head with the help of a thread and we transfer this measurement to a cardboard sheet, approximately 8 cm wide depending on the height we want for our cap, and we cut it very carefully.
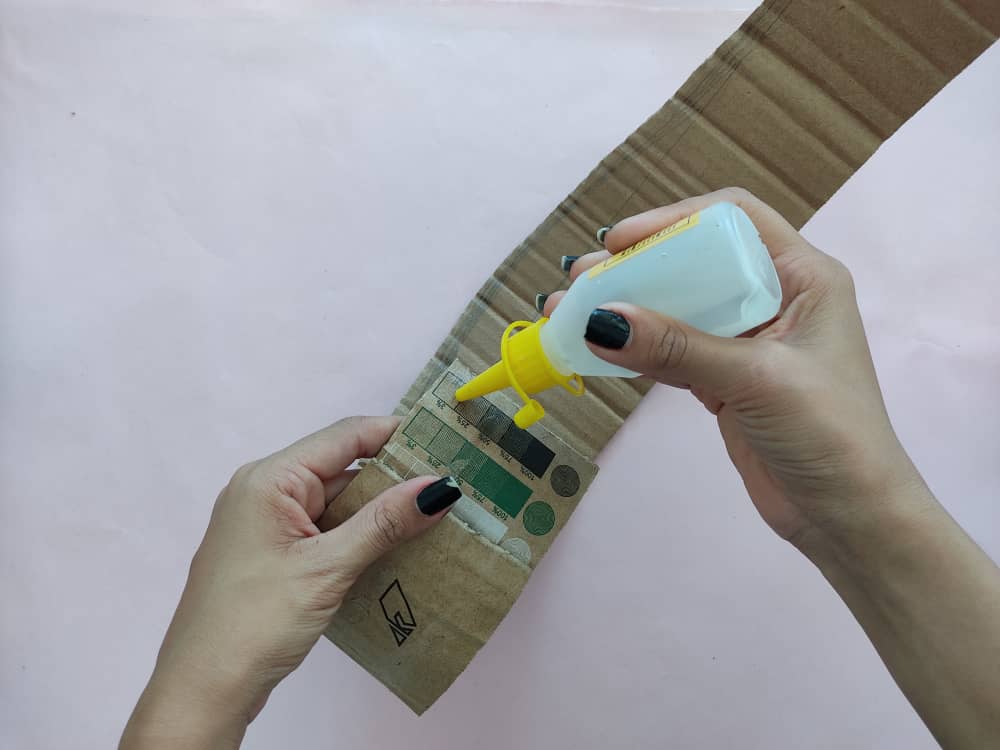

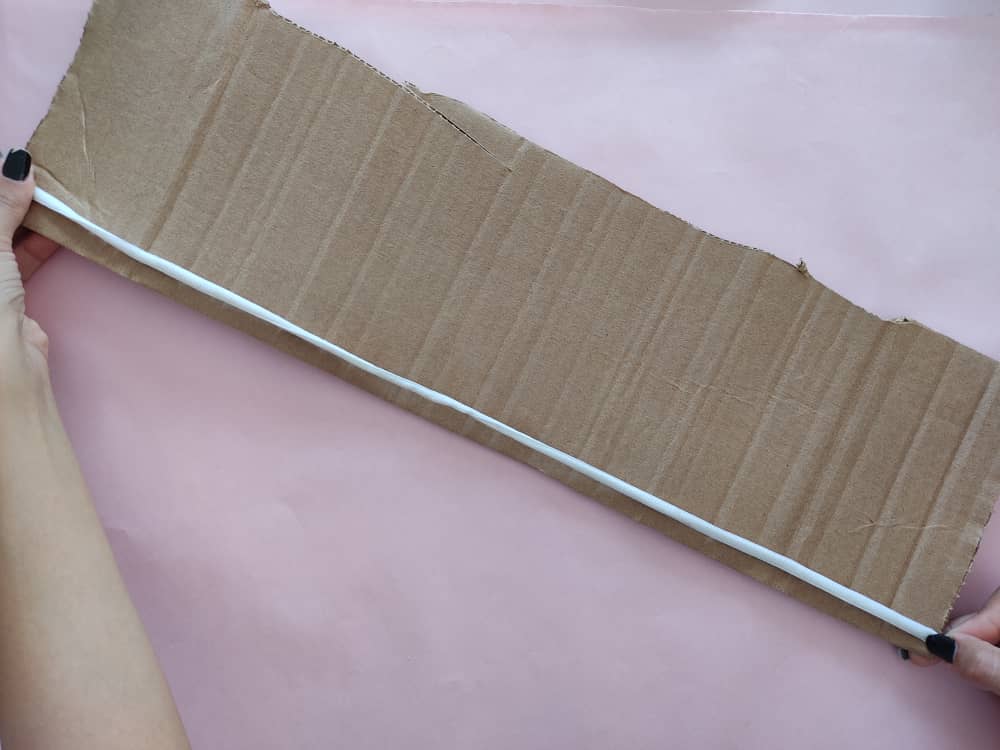
Next, we join the ends of this cardboard strip using cold silicone and applying a little pressure with our hands to ensure that the body of our cap is well attached.
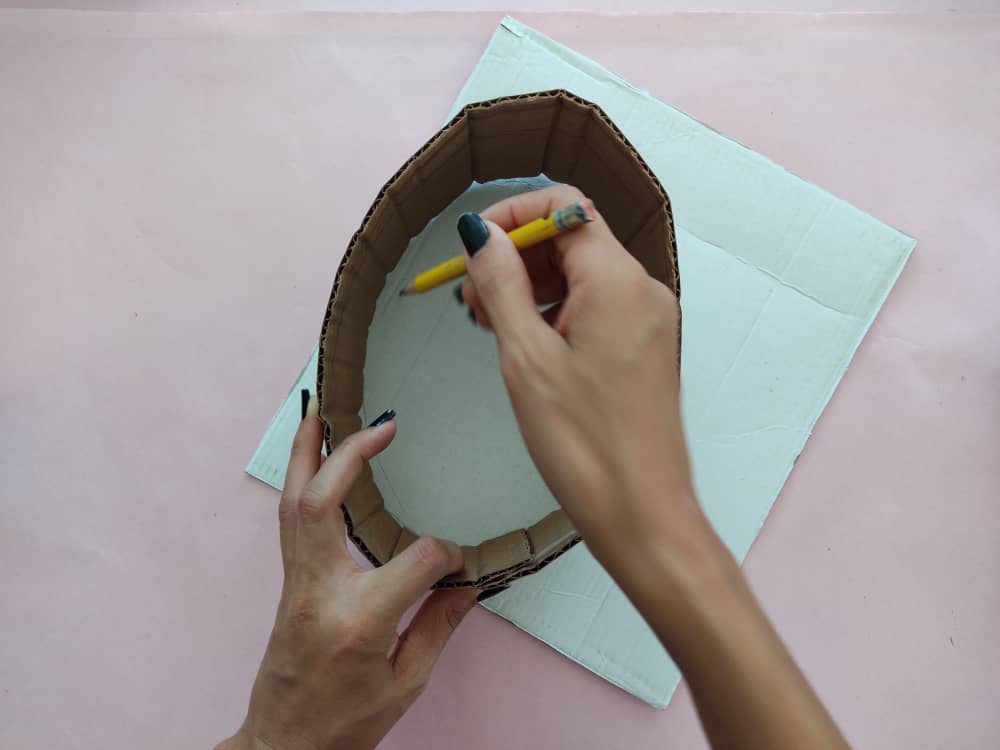
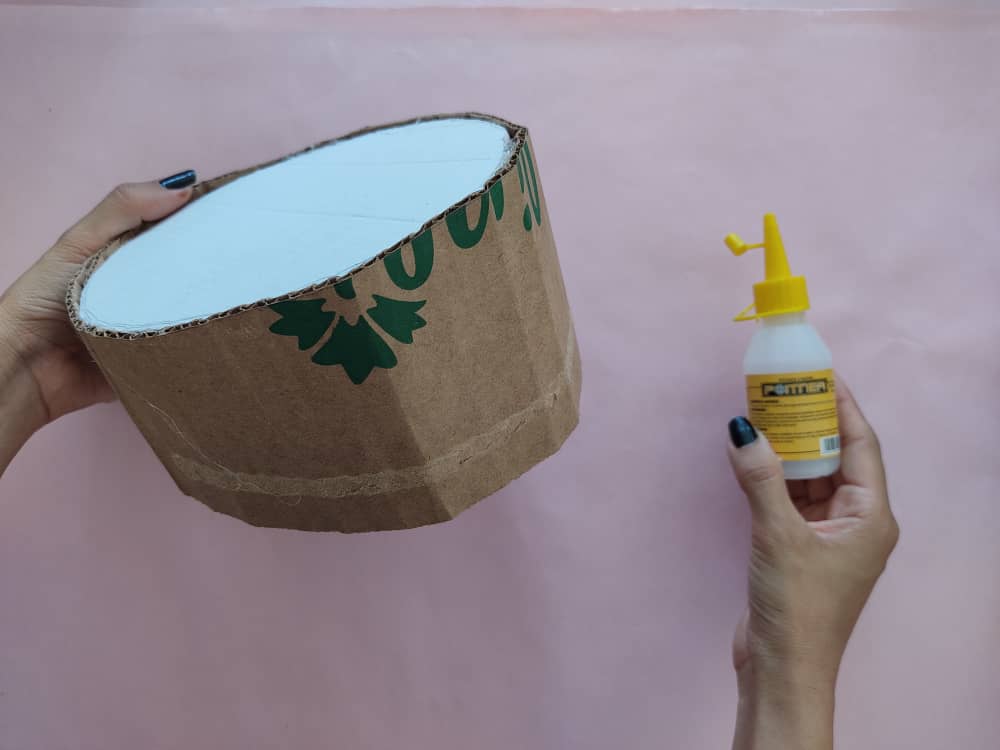
Now, we transfer the measurement of the circumference to another cardboard sheet, then we cut out to obtain the cap of said cap, and we glue the said cap on the upper part of the body of the cap.
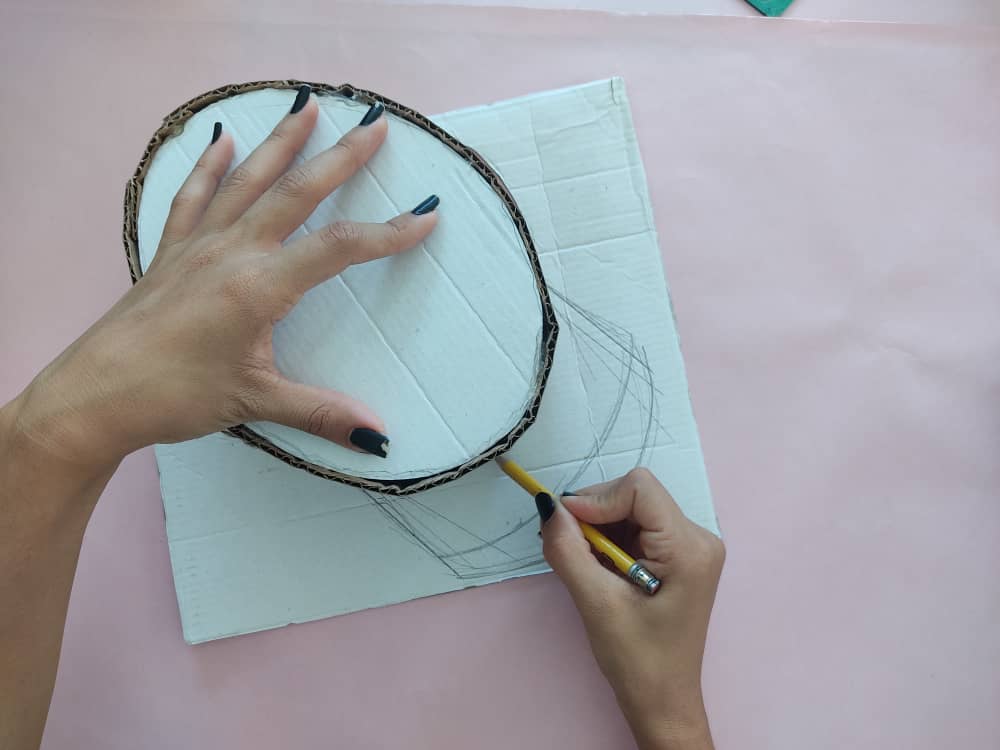

Then, we make the visor for our cap and transfer it to the frosted black foamy.

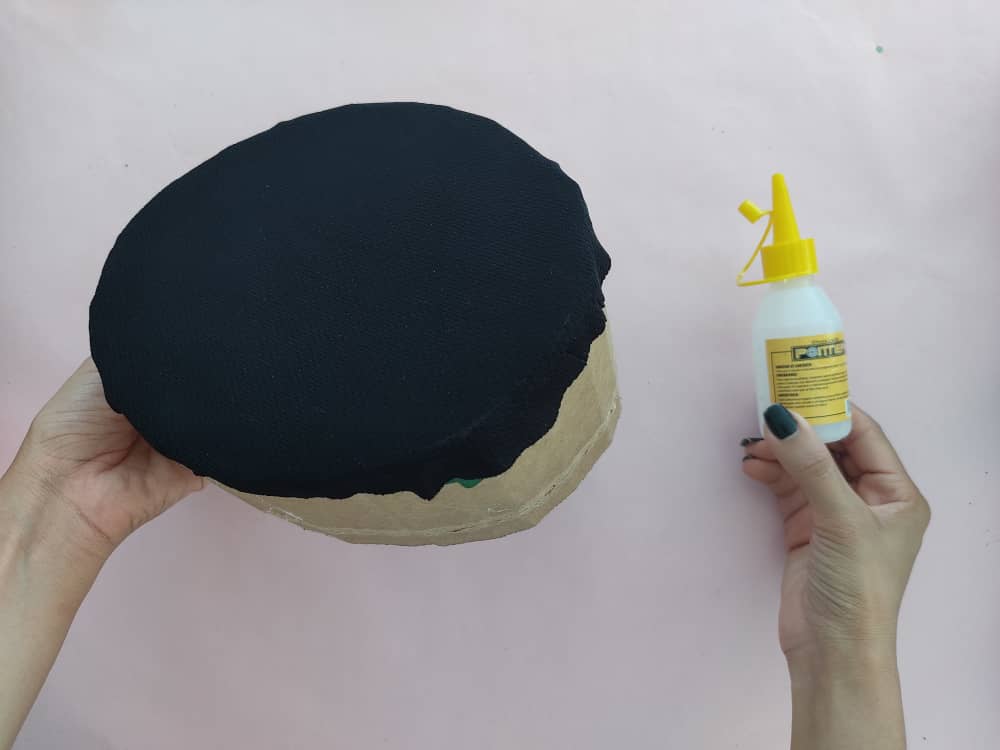
Now, we begin to cover our cap starting at the top (cap) and for this, we cut a piece of black fabric one centimeter larger than the circumference of our head. Next, we glue the fabric on the cover very carefully and making sure that it is well glued.

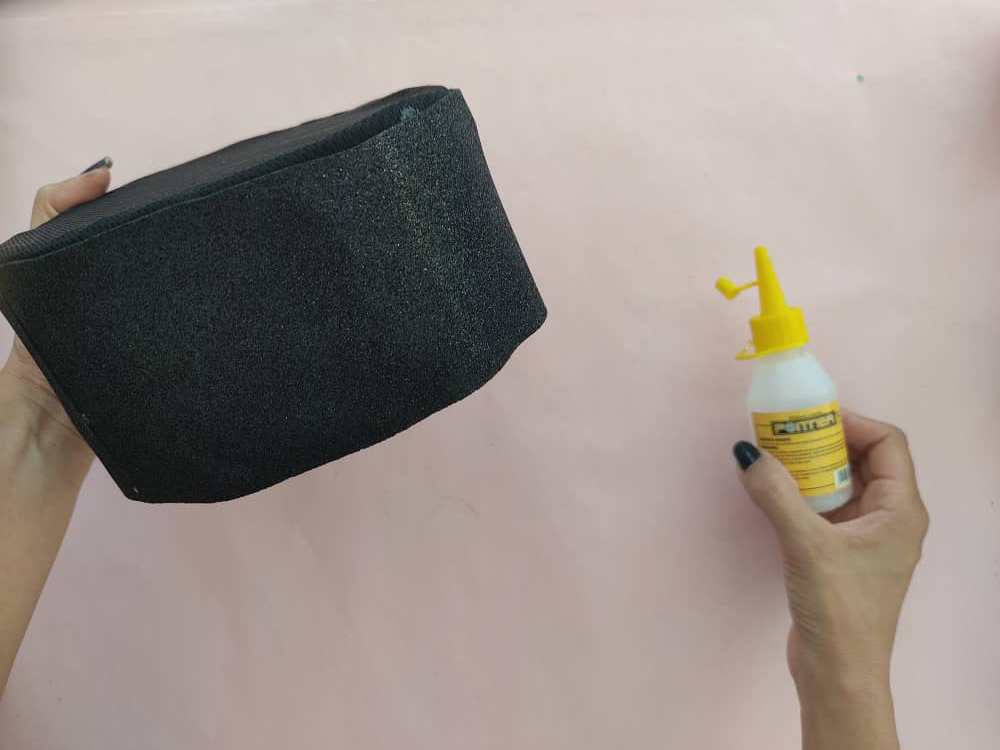
Then, we cut a strip of foamy with the same measurement of the body of the cap and we stick with a little pressure with our hands so that it is well covered.
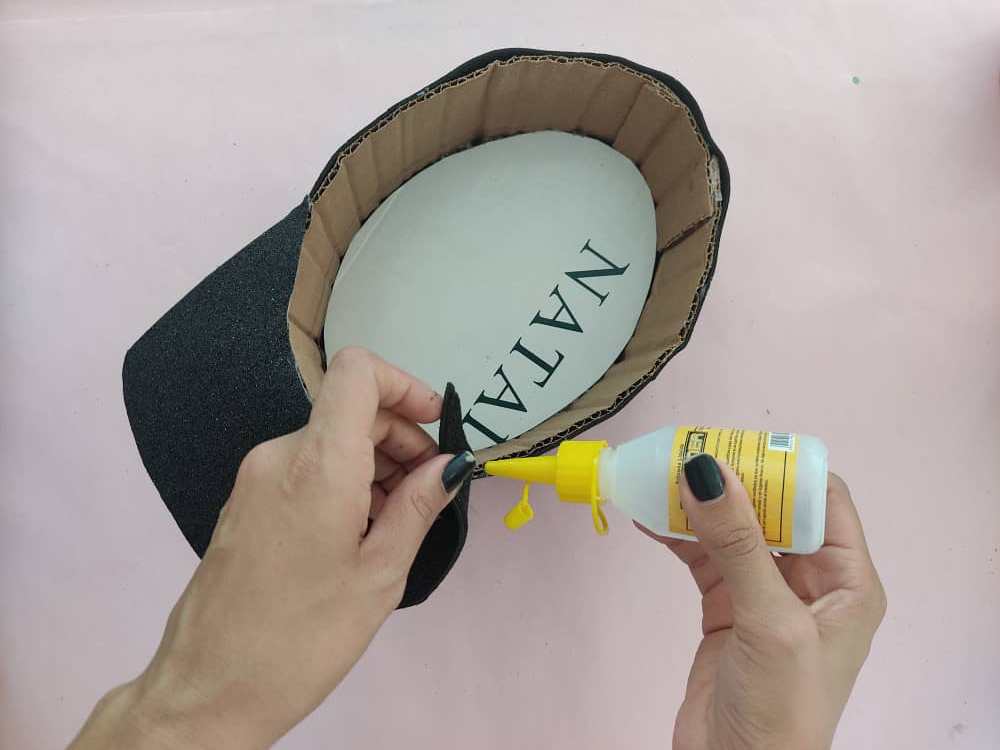

Now, we glue the visor to finish assembling our cap and do a little pressure to make sure that the visor stays firmly in place.
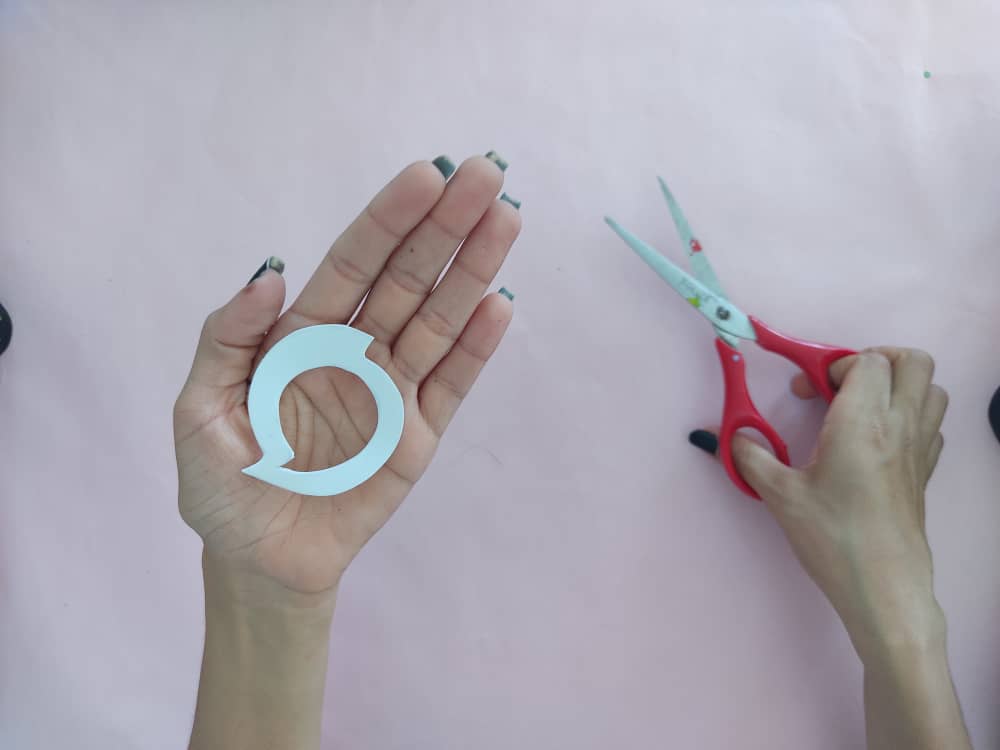
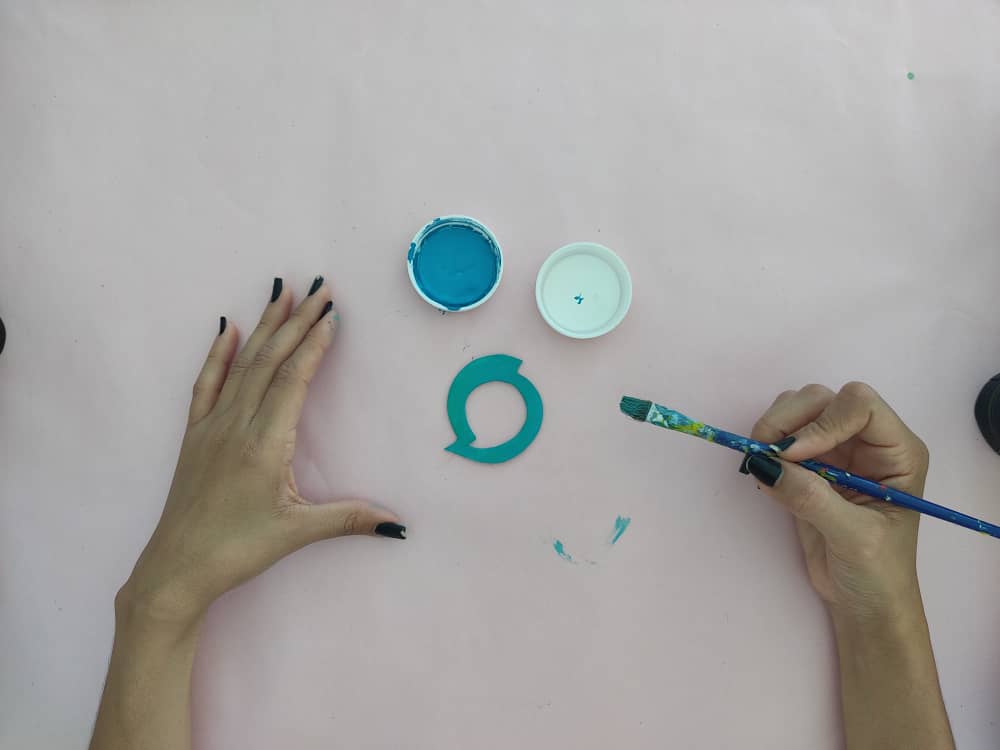
Next, we made the Steemit.com logo in foamy and painted it in turquoise blue to give our cap the most original touch.
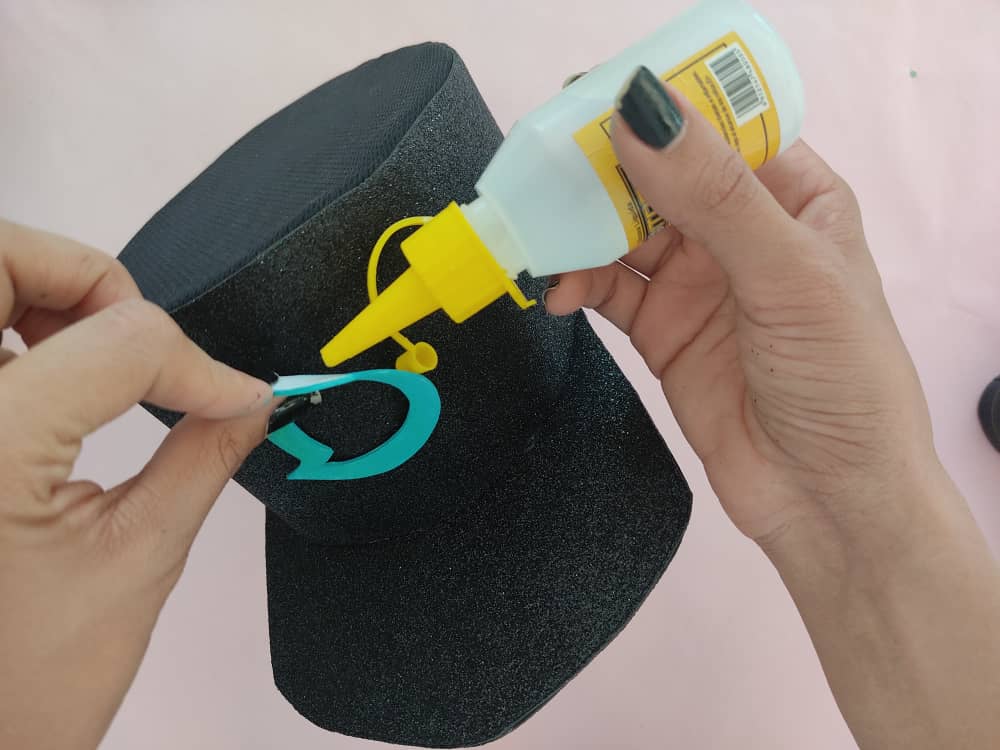
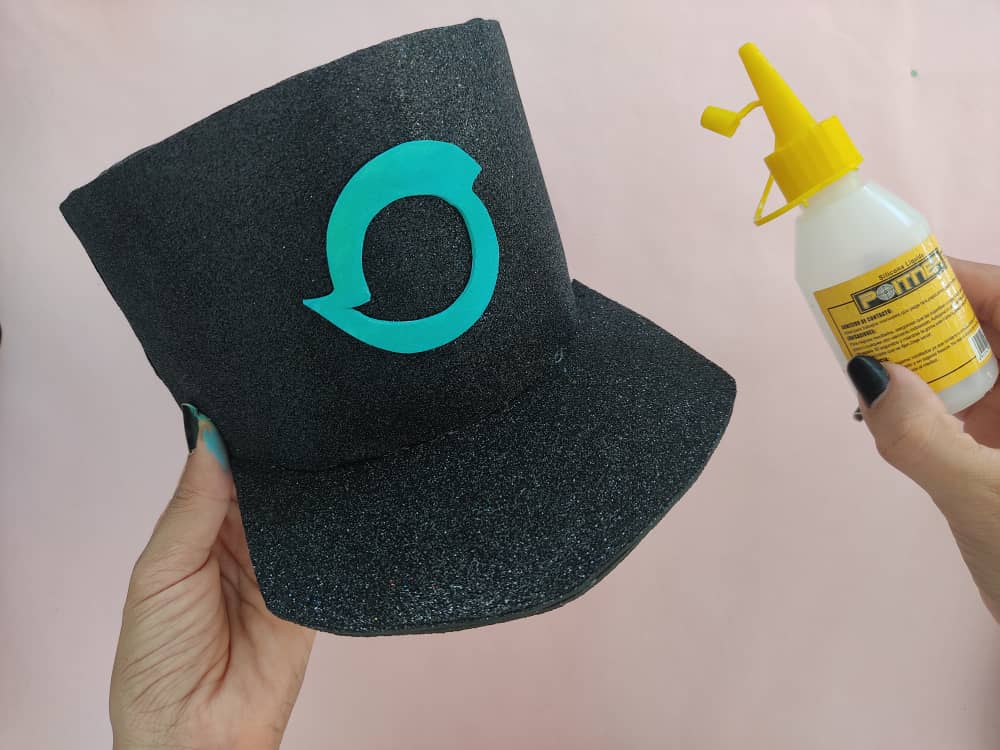
Finally, we stick the steemit.com logo on the front of our cap and that's it. Cool no?
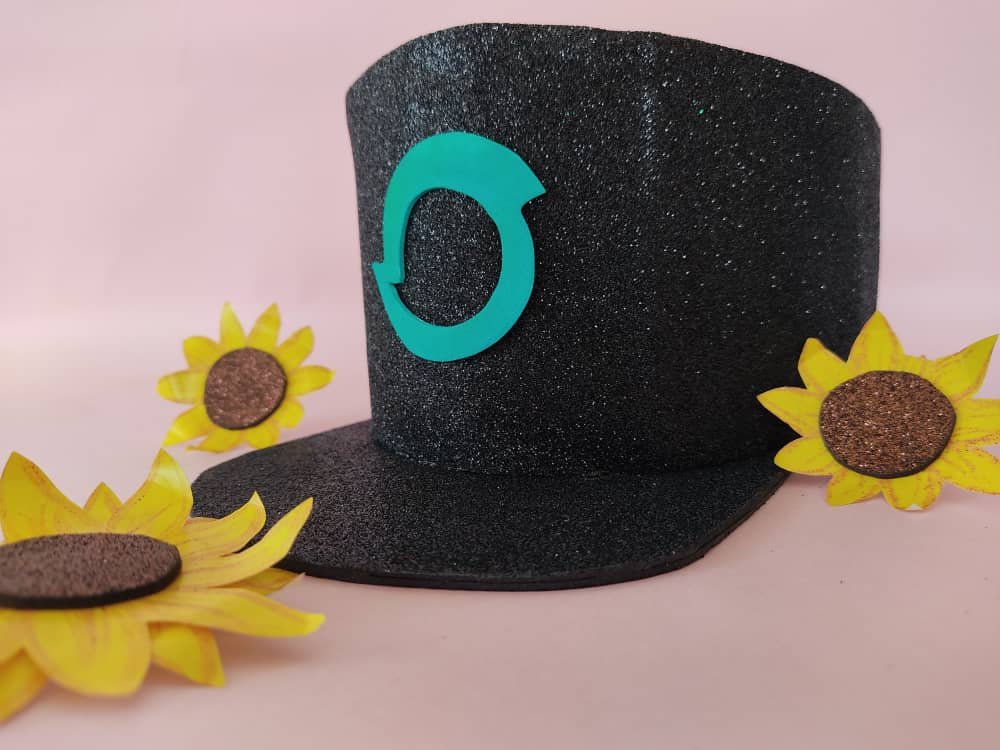
This was my entry for this fun and creative contest Steem Women Club Community Contest # 8 'Handicrafts' from @steemwomensclub, I hope you like it and can enjoy and learn to make your own cap and you can even use this tutorial as start-up material, and thus reproduce many caps for sale. Remember, crafts and crafts are perfect activities to share with the family in these times of quarantine, we need to divert our minds to something fun. Take the opportunity to invite my dear @yurilaya and @sacra97 to participate and win incredible prizes.
Thanks for joining and I hope you enjoyed it. ❤️
.jpeg)
.jpeg)
.jpeg)
.jpeg)
.jpeg)
.jpeg)