The Chicken Coop Construction - Part 2
Continuing my series about the construction of my chicken coop we'll now move to the interior with the Chicken's Room. The construction of the main building had taken me about a month and was weather proof enough to go into the winter which allowed me to work on the inside of the coop during the winter rains, snows, and cold.

12ftx8ft Chicken's Room
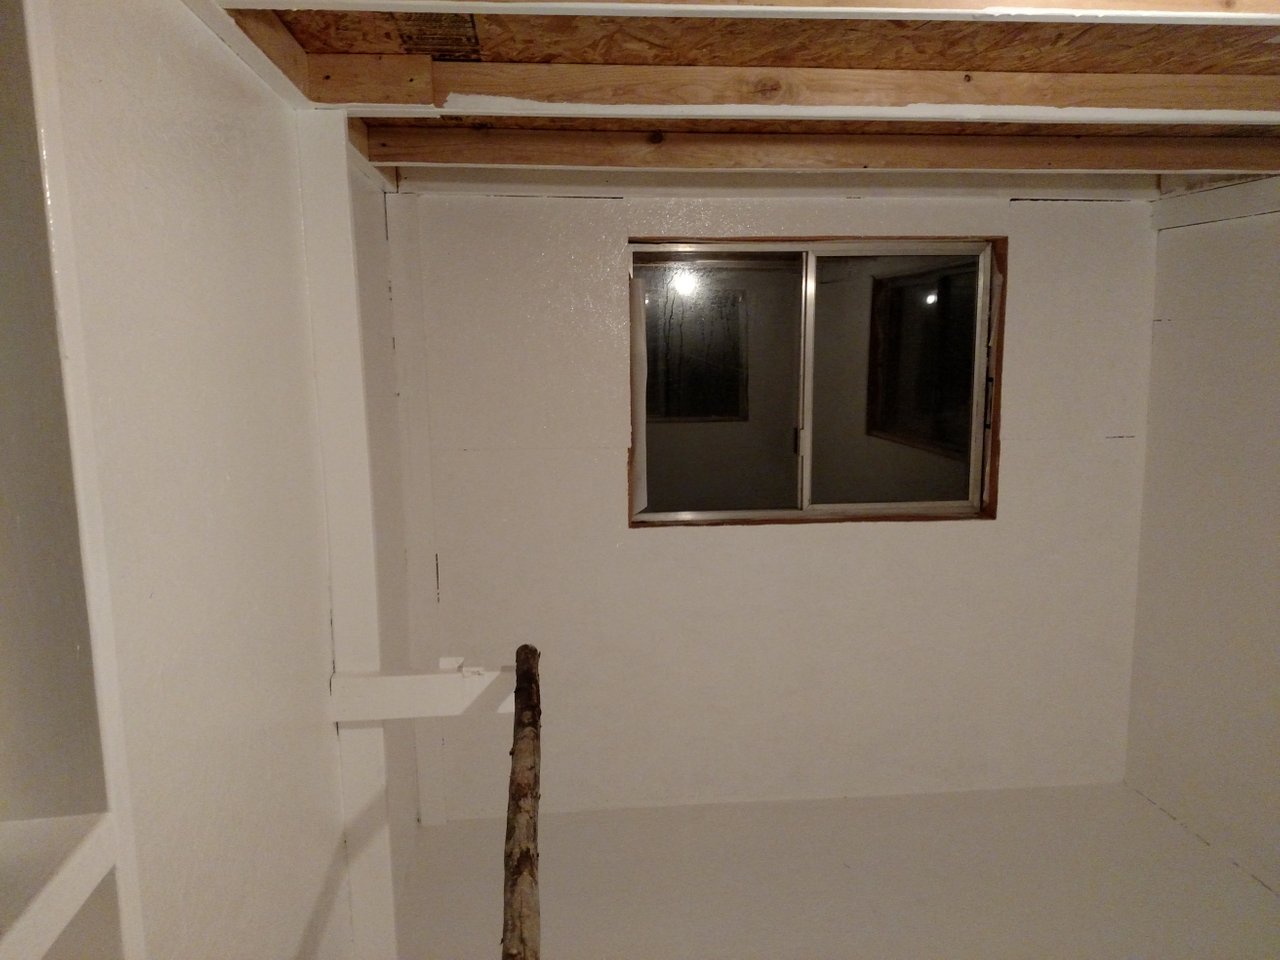
The chicken's room was the first step in the interior. I designed the room so that I would have enough room for all the birds, but still have space on top of their room for storage. The room ended up being 12 feet wide by 8 feet deep and 6.5 feet tall. My measuring ended up a bit skewered so I had to make some adjustments and fixes to get the ceiling studs where I wanted them, but they ended up nice and strong.
You can see in the first picture that I have sheathed the interior with wood to cover the studs, but this was also to cover the minor insulation I put in the walls. We had torn the carpeting out of the house and had a big pile of padding left so I cut it into strips and stapled it into the spaces between the studs. I only put a couple layers per, but it does help heat retention. I only did this on the 3 outside walls while the ceiling and inside wall have the dead airspace of the building for insulation.
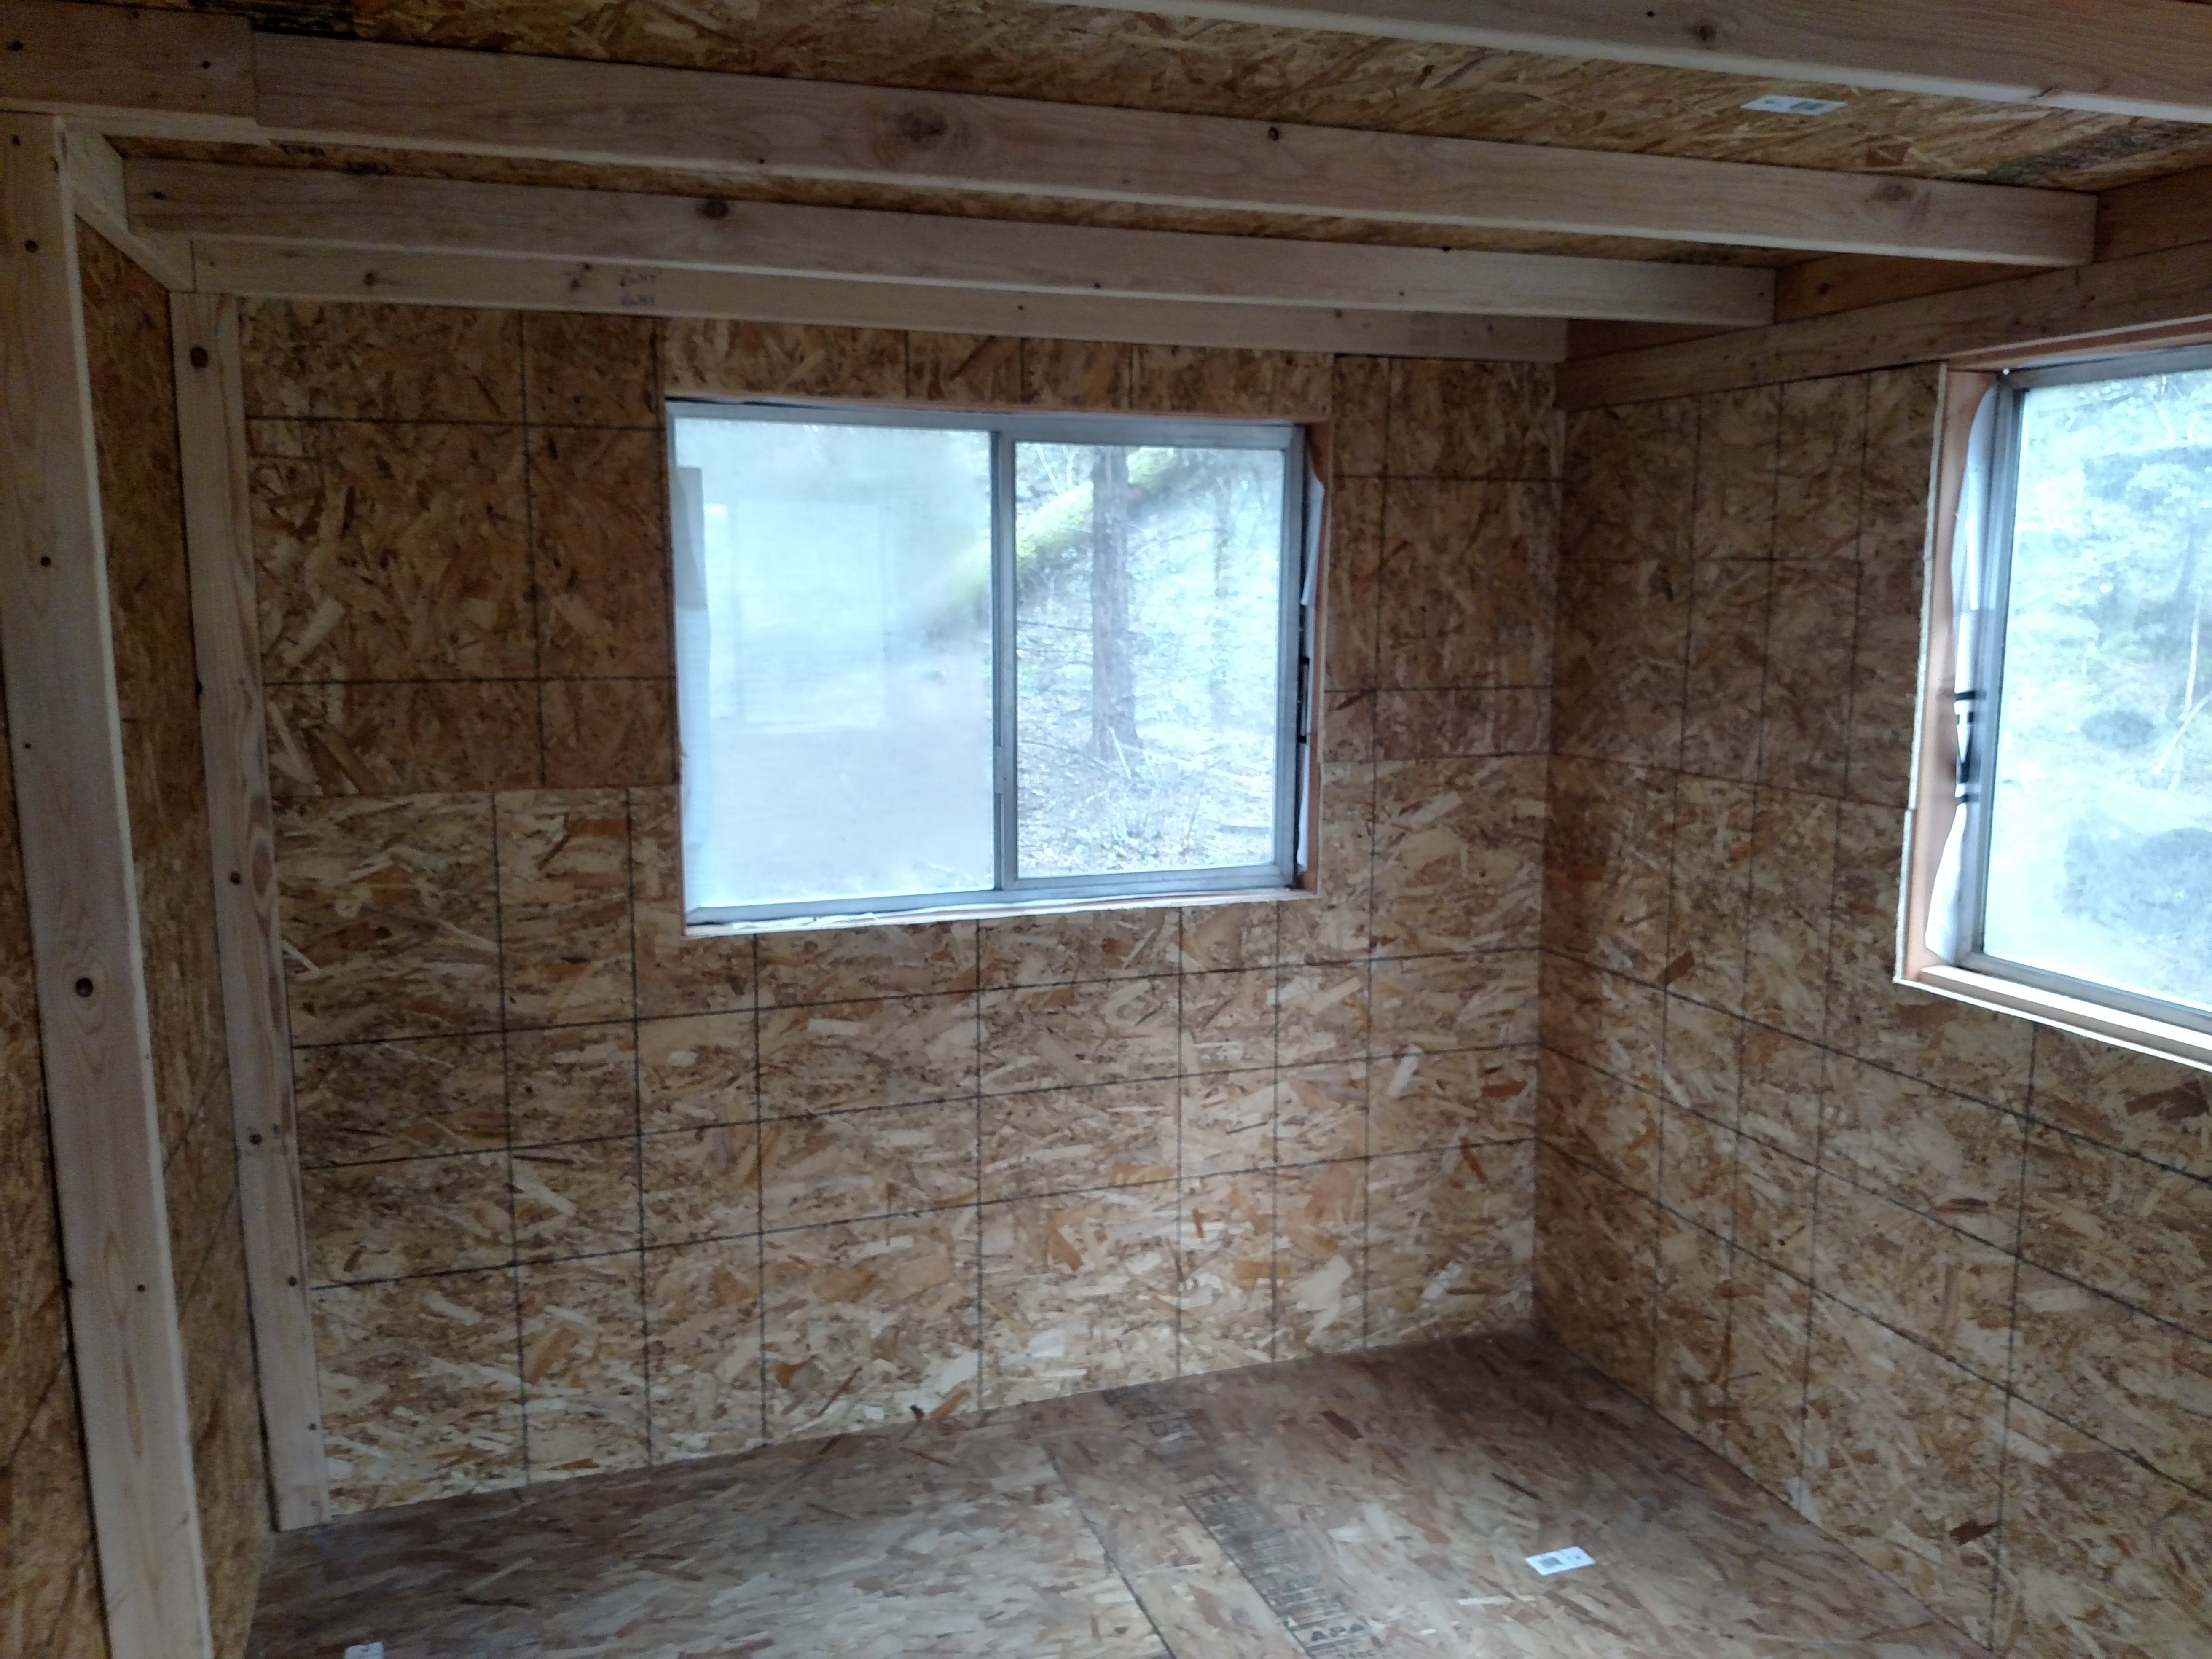
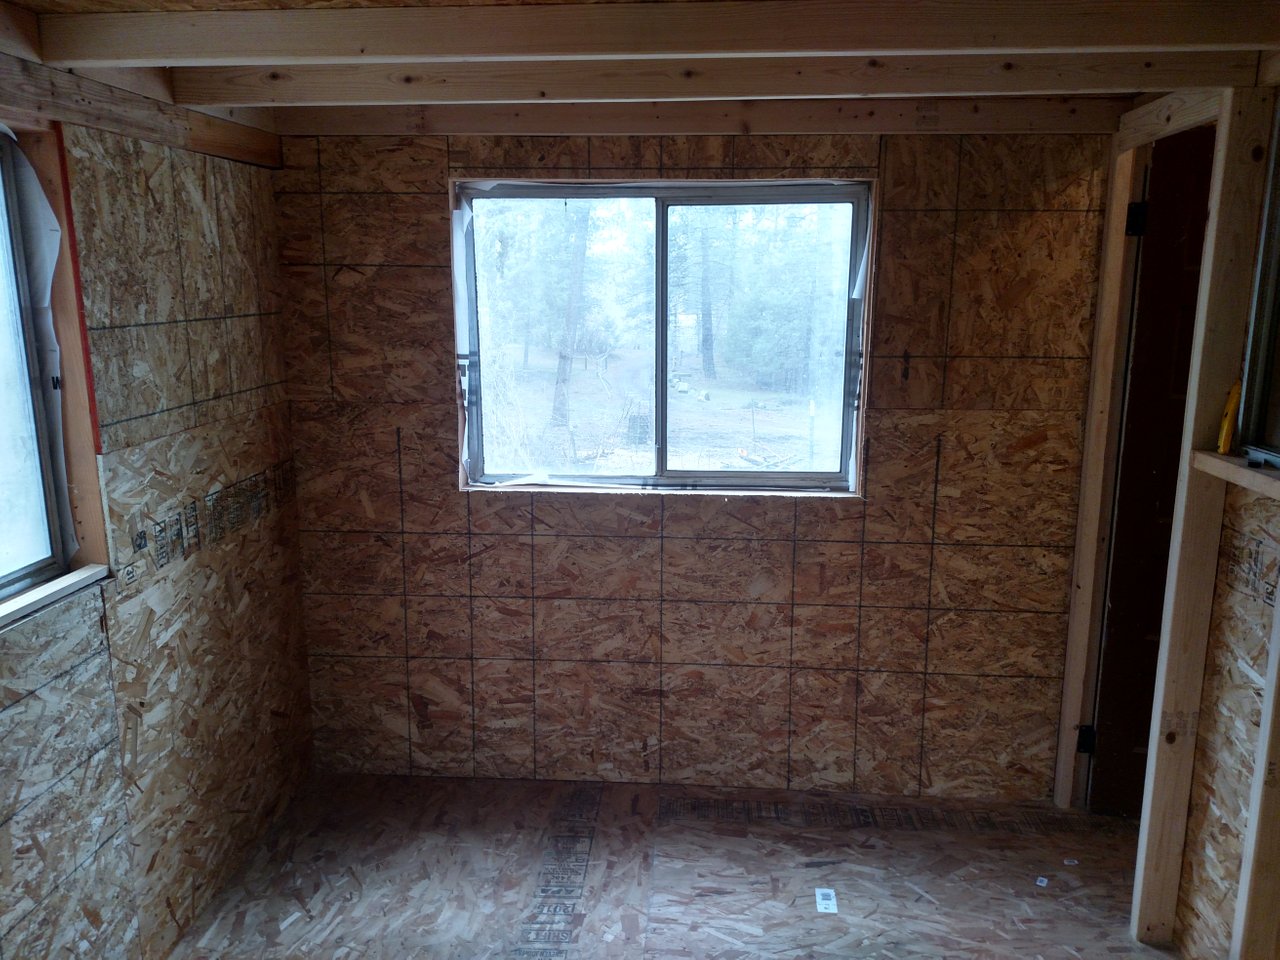
The door I used is an old closet door from our house and fits my door frame nice and tight so that I don't really need a lock or latch. I put in a window next to the door for a view port to see the birds and interior. It is an old window from a travel trailer that ratchets open and closed.

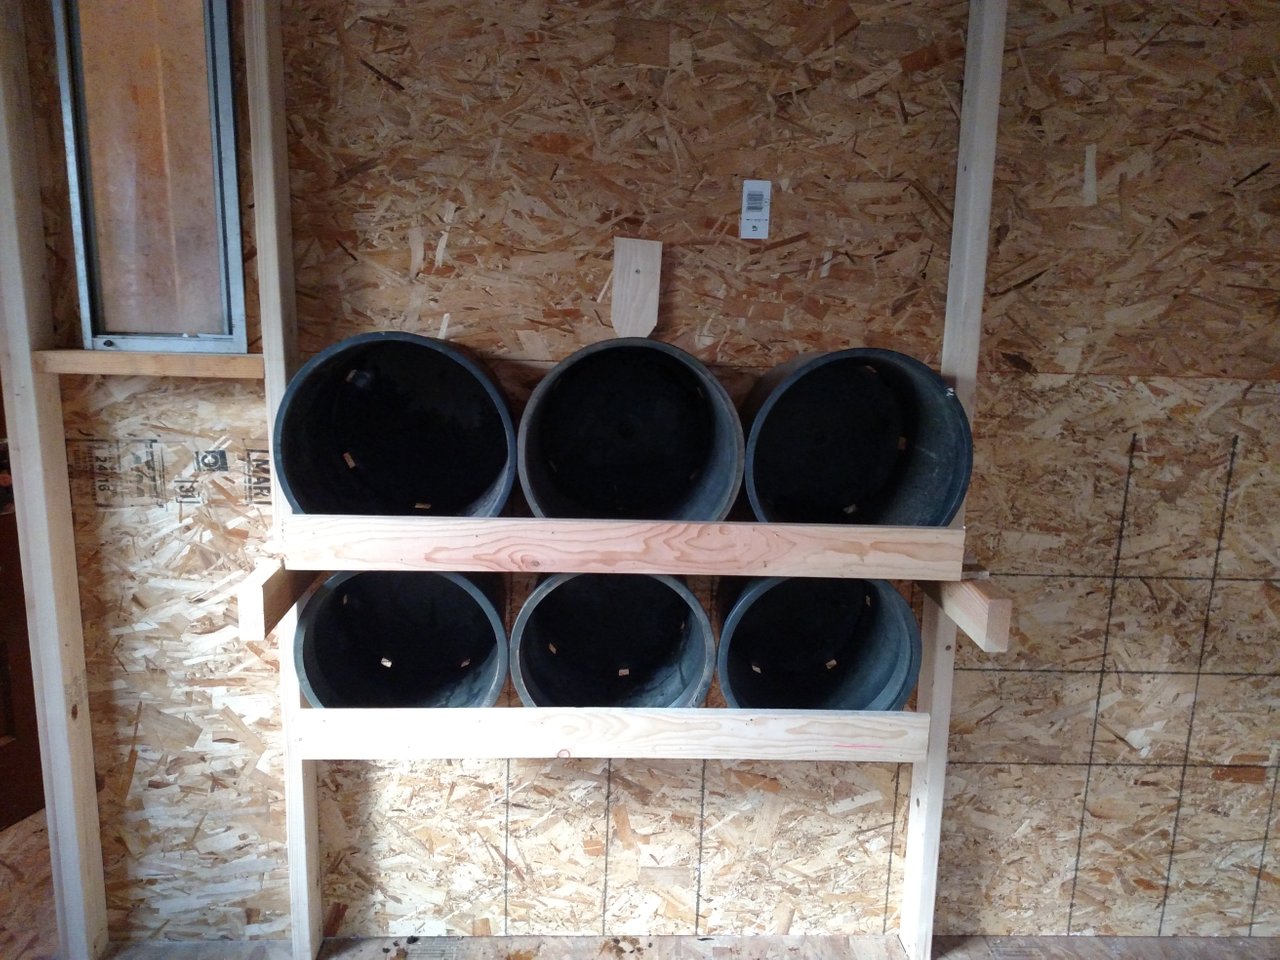
This is the original design of my nest boxes. The top row worked okay but the bottom row hung at a funky angle and did not allow enough eggs to be held. The chickens also roosted on top of the nest boxes which caused them to tip forward and dump birds and eggs on the floor. You can read about my new nest boxes here: How I built my Nest Boxes for my Chicken Coop - A Fleming Family Farm design costing $12 to make
Painting
The chicken's room needed a good painting to help deal with their messiness. Kilz white was our choice and I went with the high traffic version in hopes of it working better and longer with the birds. The first coat went on well and the wood soaked up a fair amount.
The second coat of paint did the trick and left me with a nice solid paint coating that has worked nicely so far. Initially I was unsure about the floor, I knew I needed something on it, but paint just did not seem like enough to deal with the moisture content of the chicken poo.
Perch and floor covering
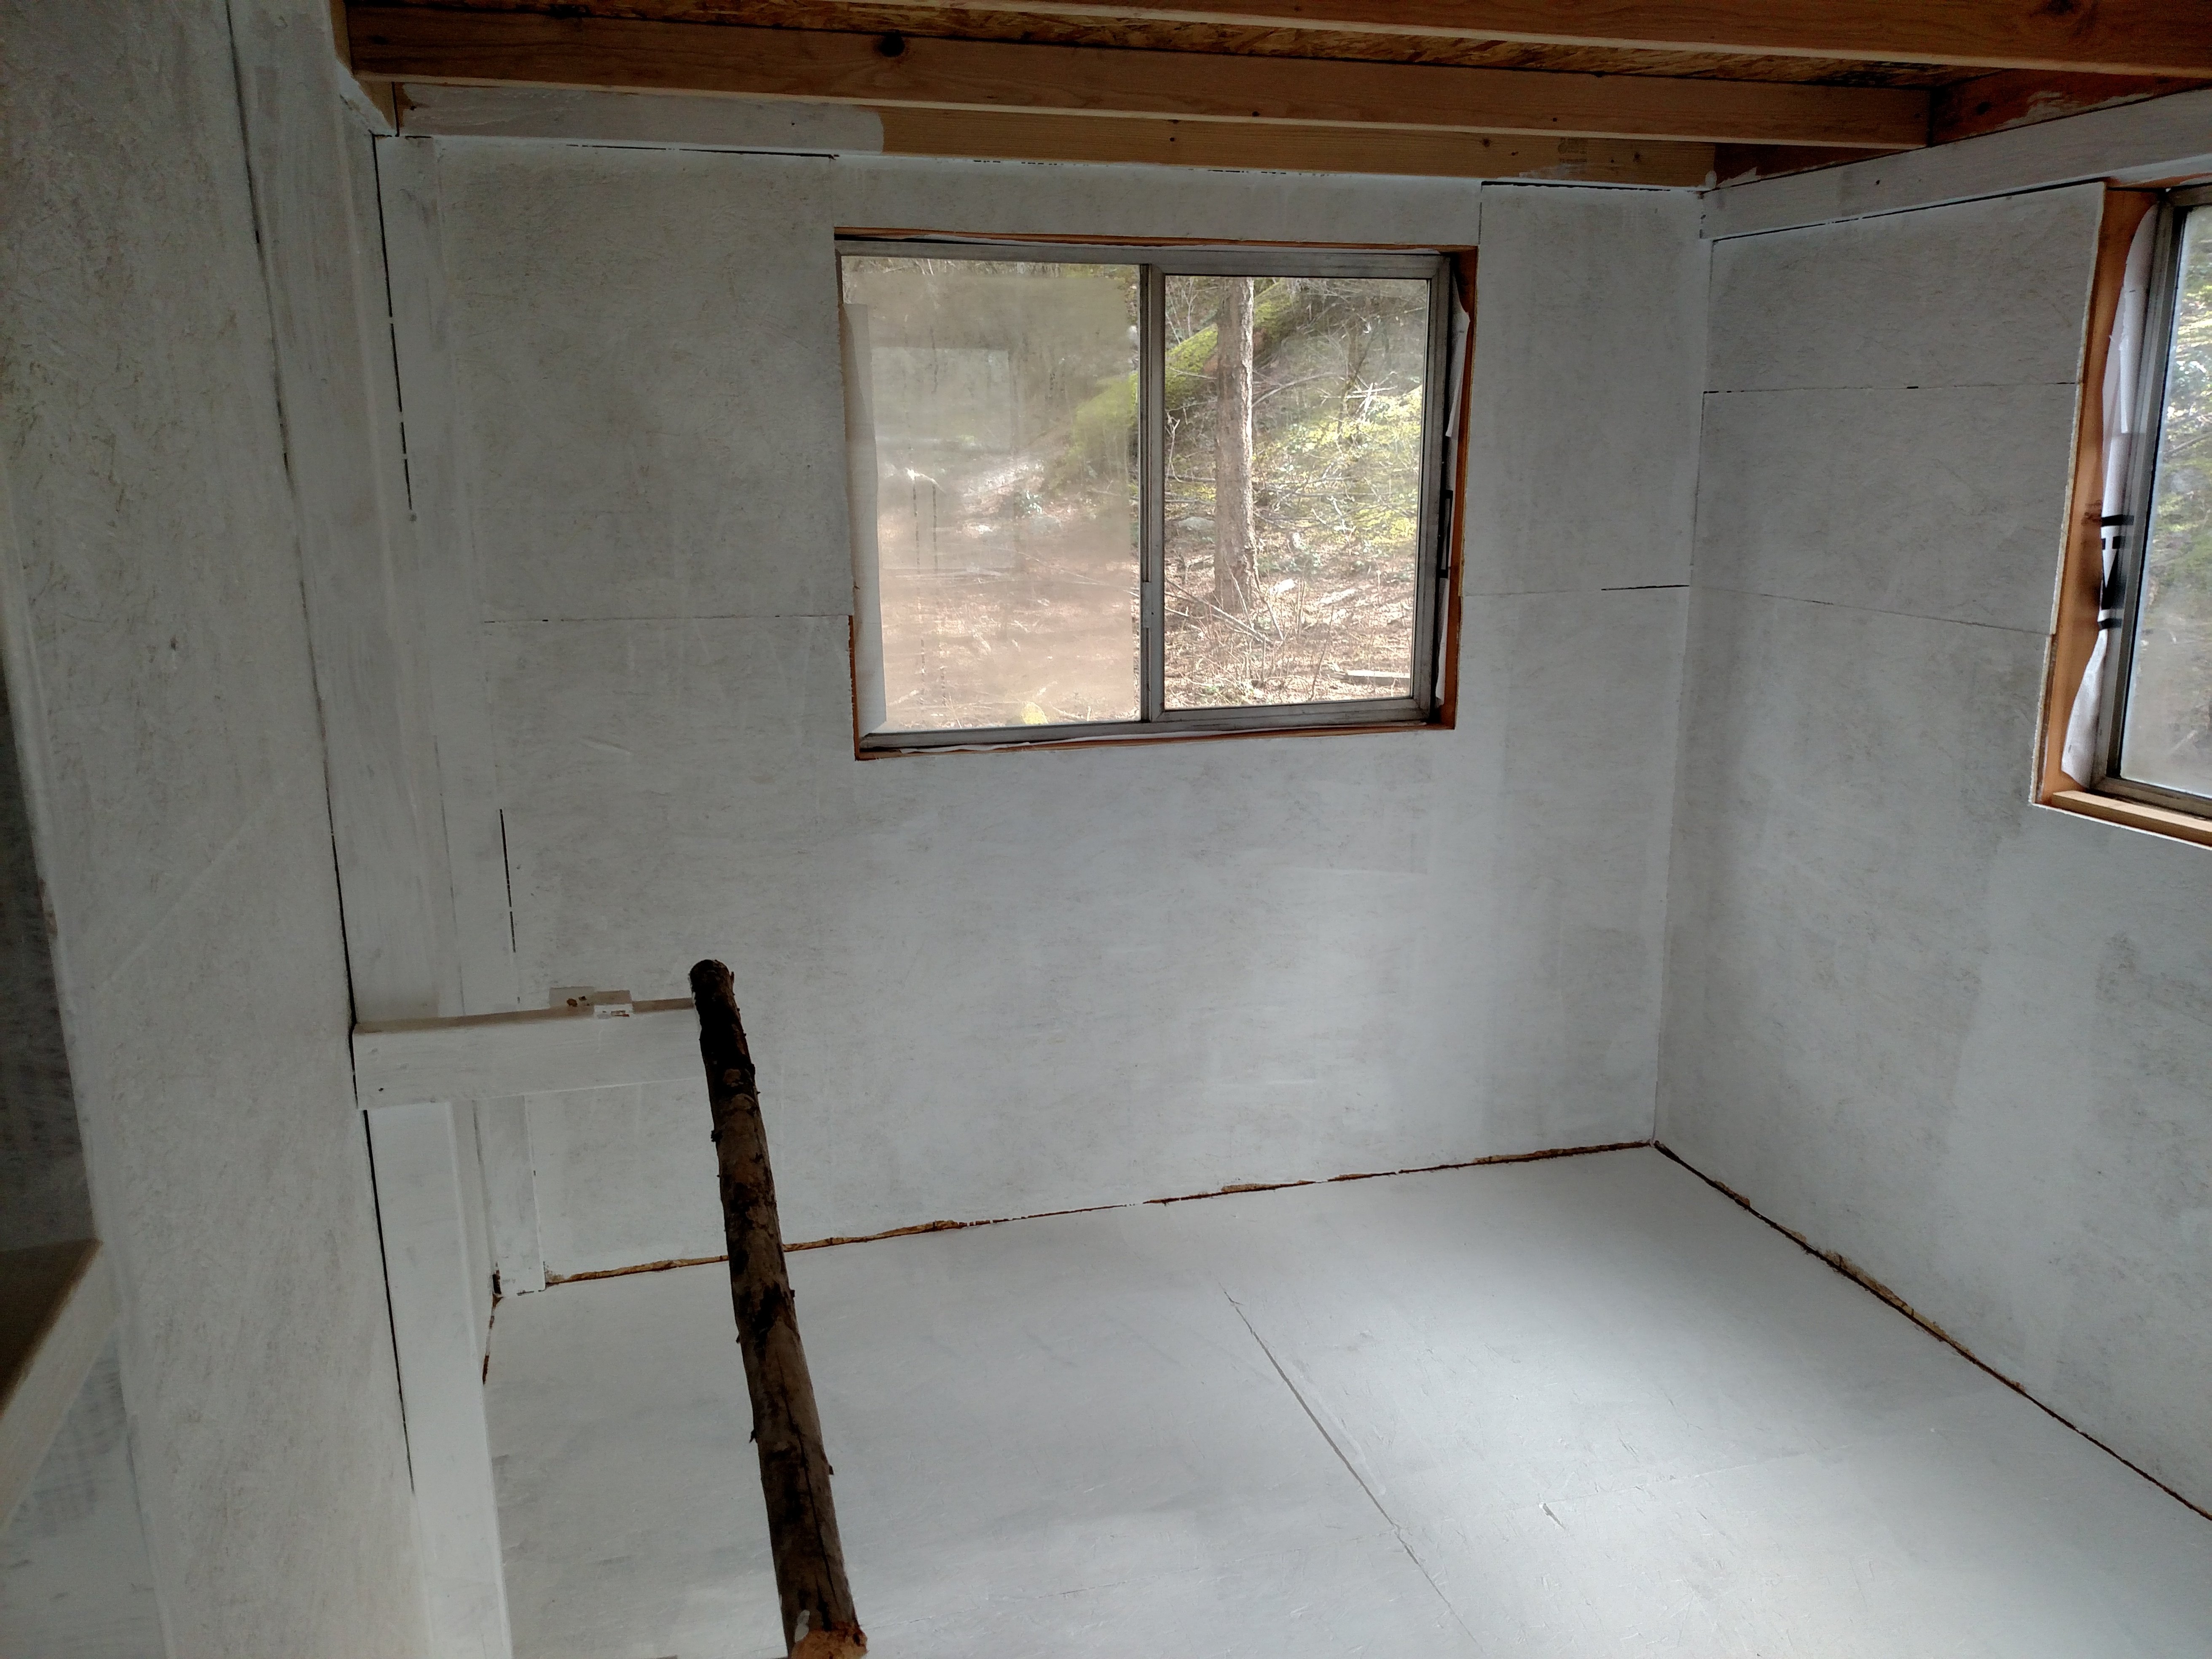
In a "prior life" I did a large amount of work on high end landscaping and water features. This work afforded me the benefits of excess materials and left overs which I am still using on the farm to this day. One of those leftovers was a couple fairly substantial pieces of thick rubber pond liner. The pond liner is the waterproof layer that goes underneath the concrete of a water feature to keep the water from just draining into the soil. These 2 pieces fit perfectly the floor space of the chicken's room. I have it attached to the walls about 1 foot up all the way around, except for the doors.
The pond liner really showed its merit this past winter. Our second child was born and I let things get away from me as the winter wore on such that I had to deal with a full chicken coop of poop. The pond liner worked perfectly to keep all the mud, water, and poo from destroying the wood flooring or the walls. It was a trial by fire for it and it passed with flying colors.
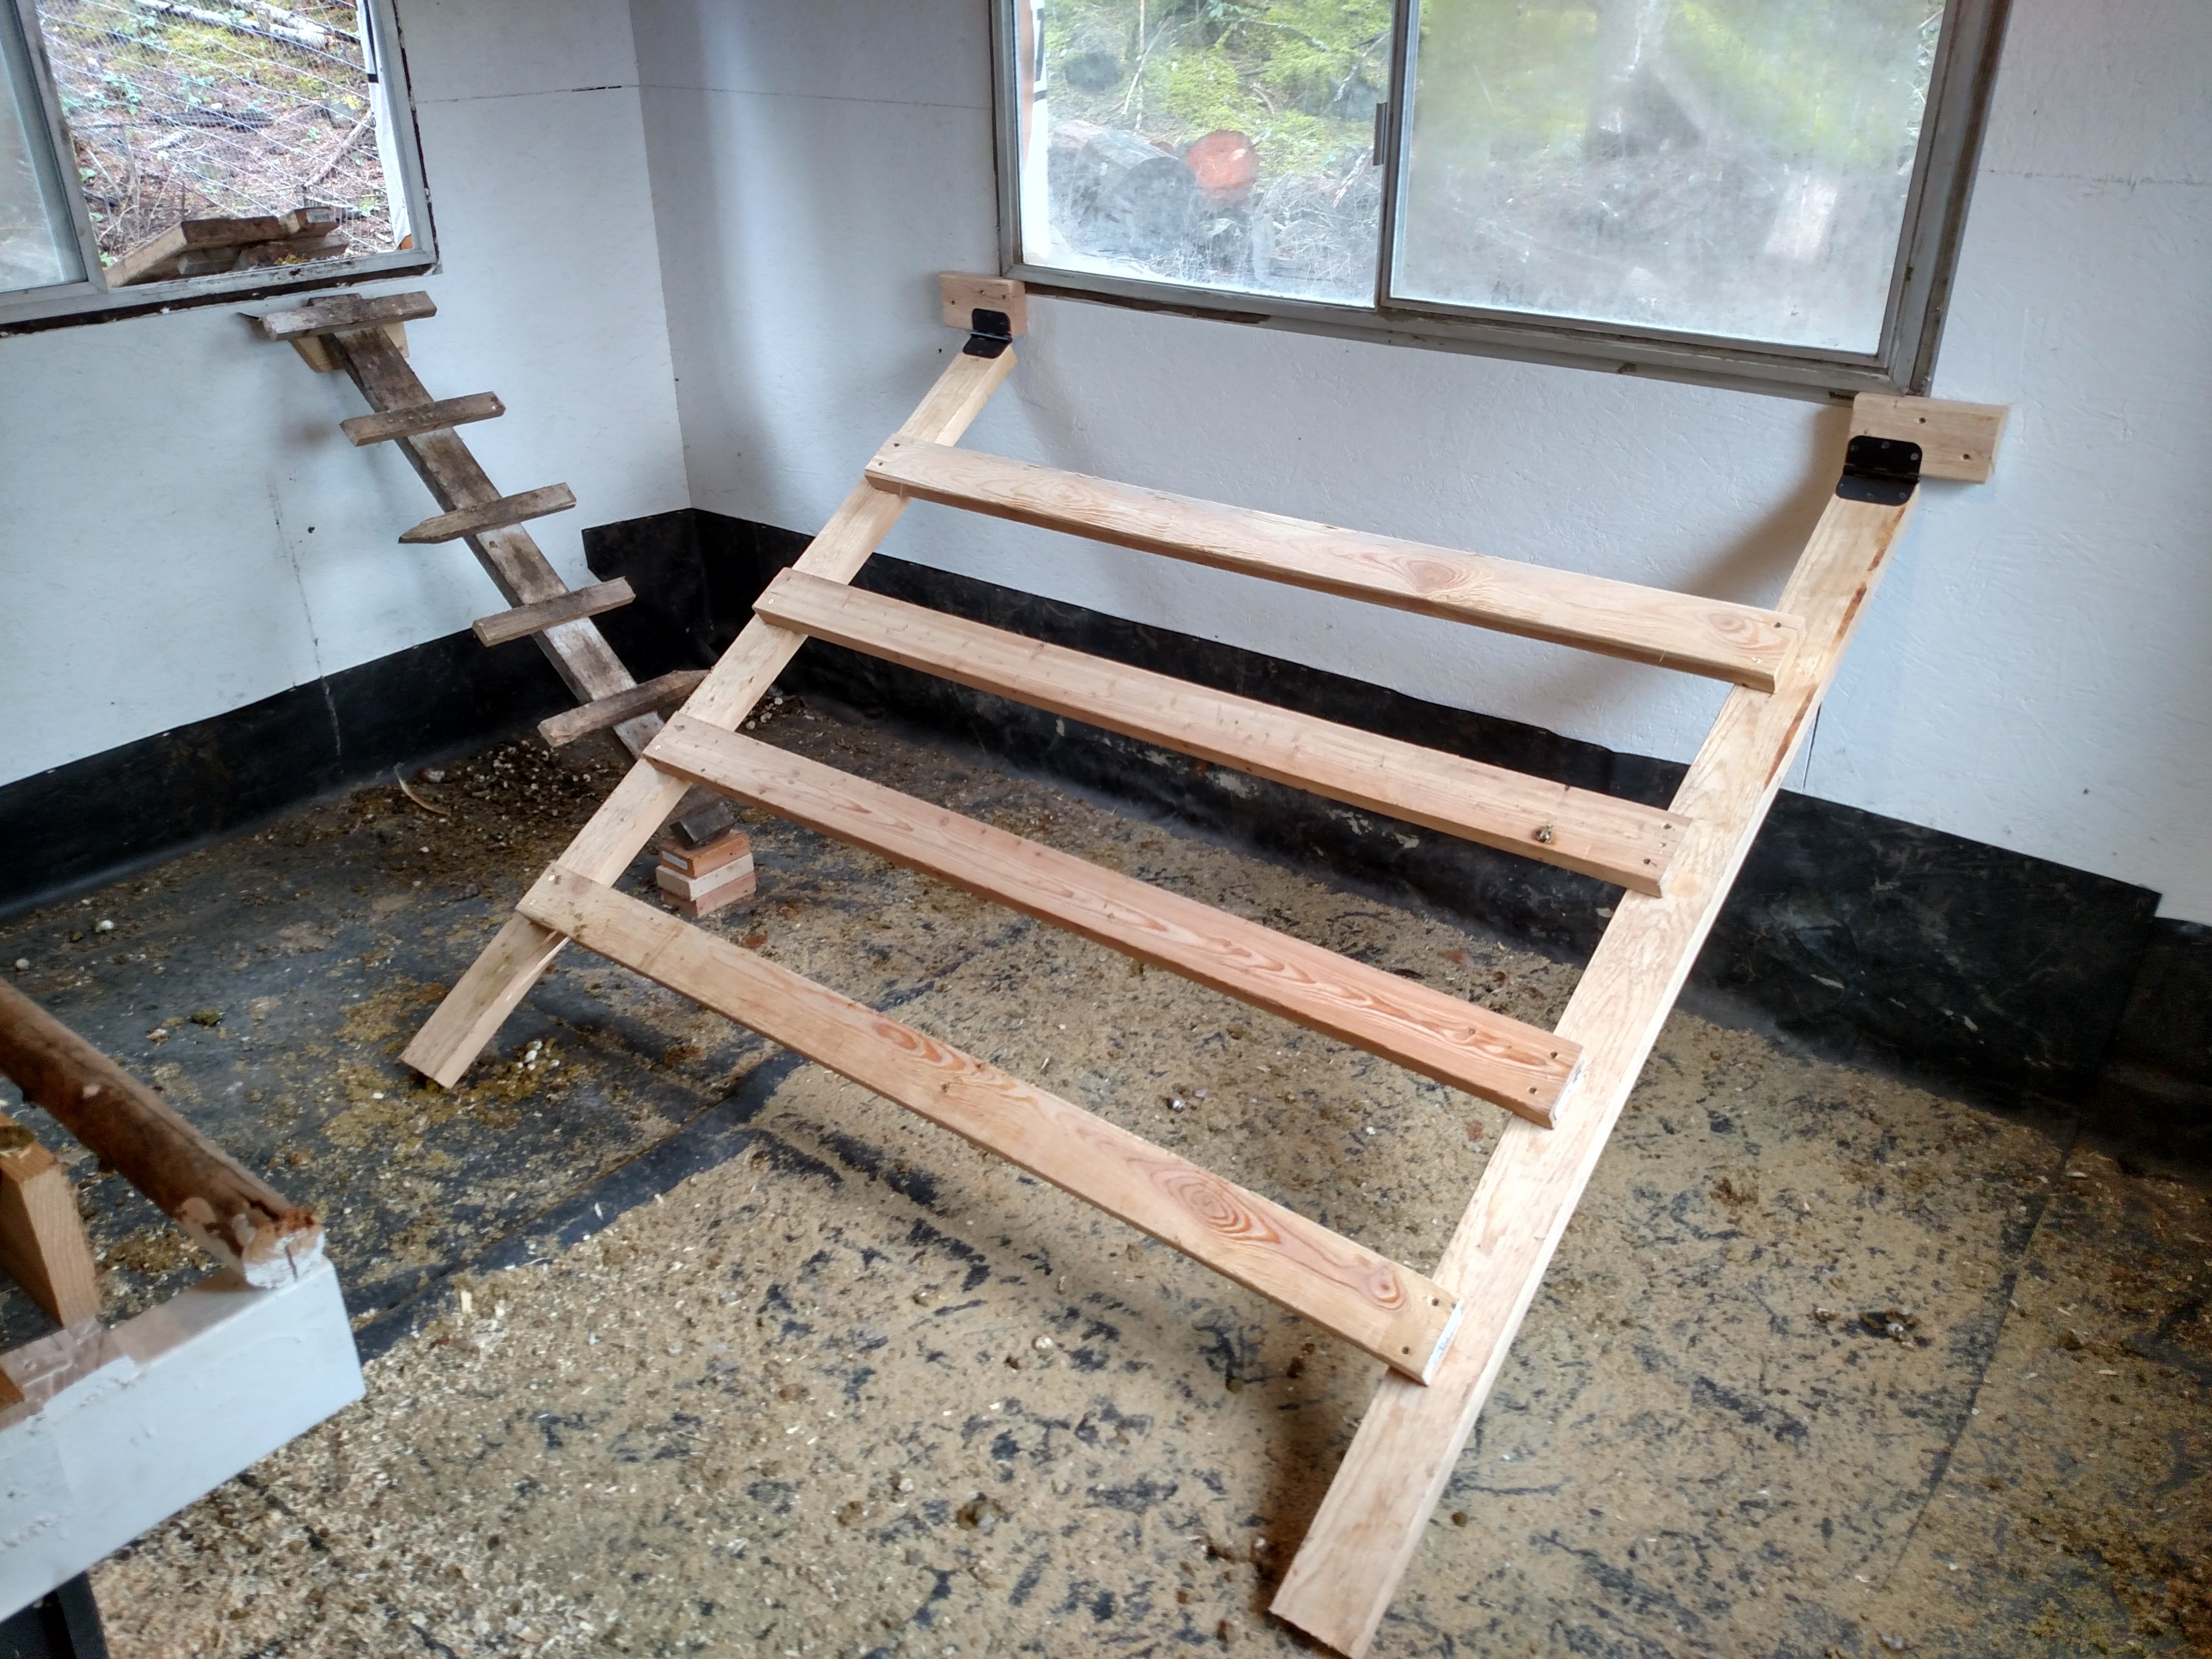
The perch (1st build) is pretty simple, just 2x4s and a couple of hinges. The problem came in with the turkeys and their fat asses. I had figured enough spacing for the chickens on the perch but had neglected to leave enough for the turkeys or take into account their added weight. The perch lasted through the winter but was beaten badly and got rebuilt this spring.

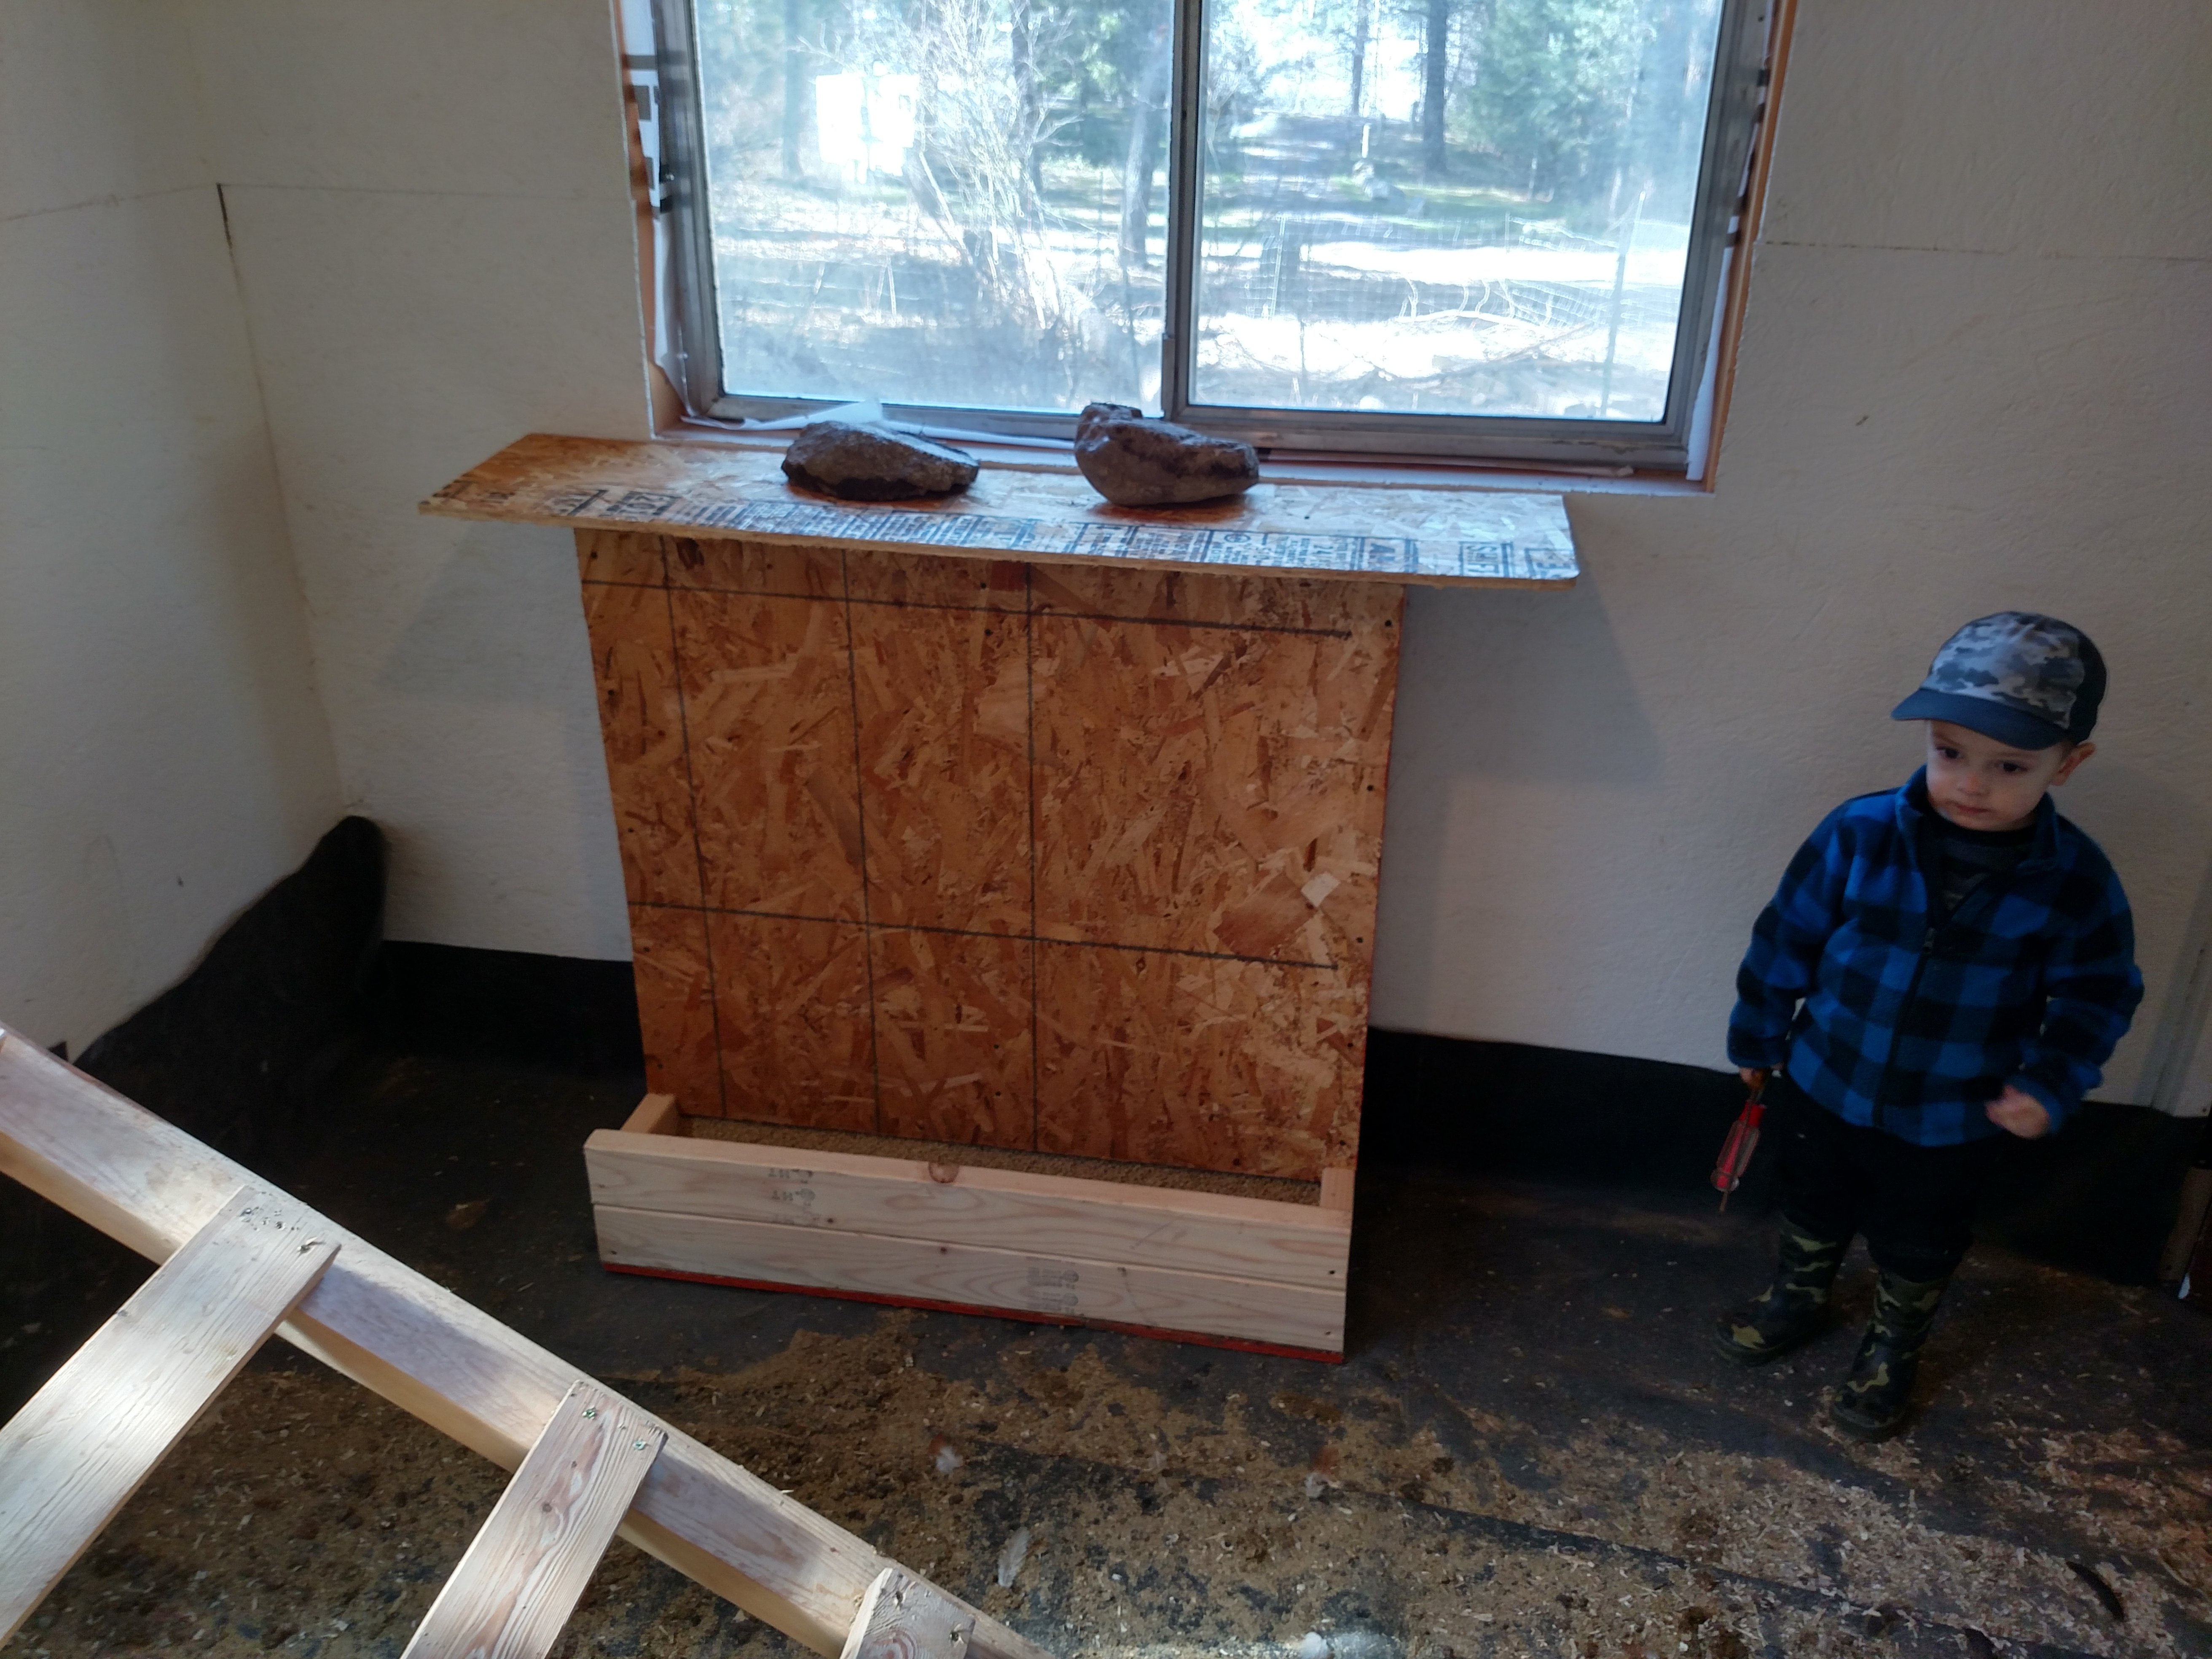
Building Feeder
My mother in law gave us boat loads of chicken feeders, waterers, and butchering equipment some years back. I tried to figure out a way to use all the feeders in the chicken's room but each one led to more problems, either too easy to tip over, stand in or on, needs filling too often, etc. This led to my building a large feeder that will hold much more feed, 150lbs compared to 20lbs in the metal ones.
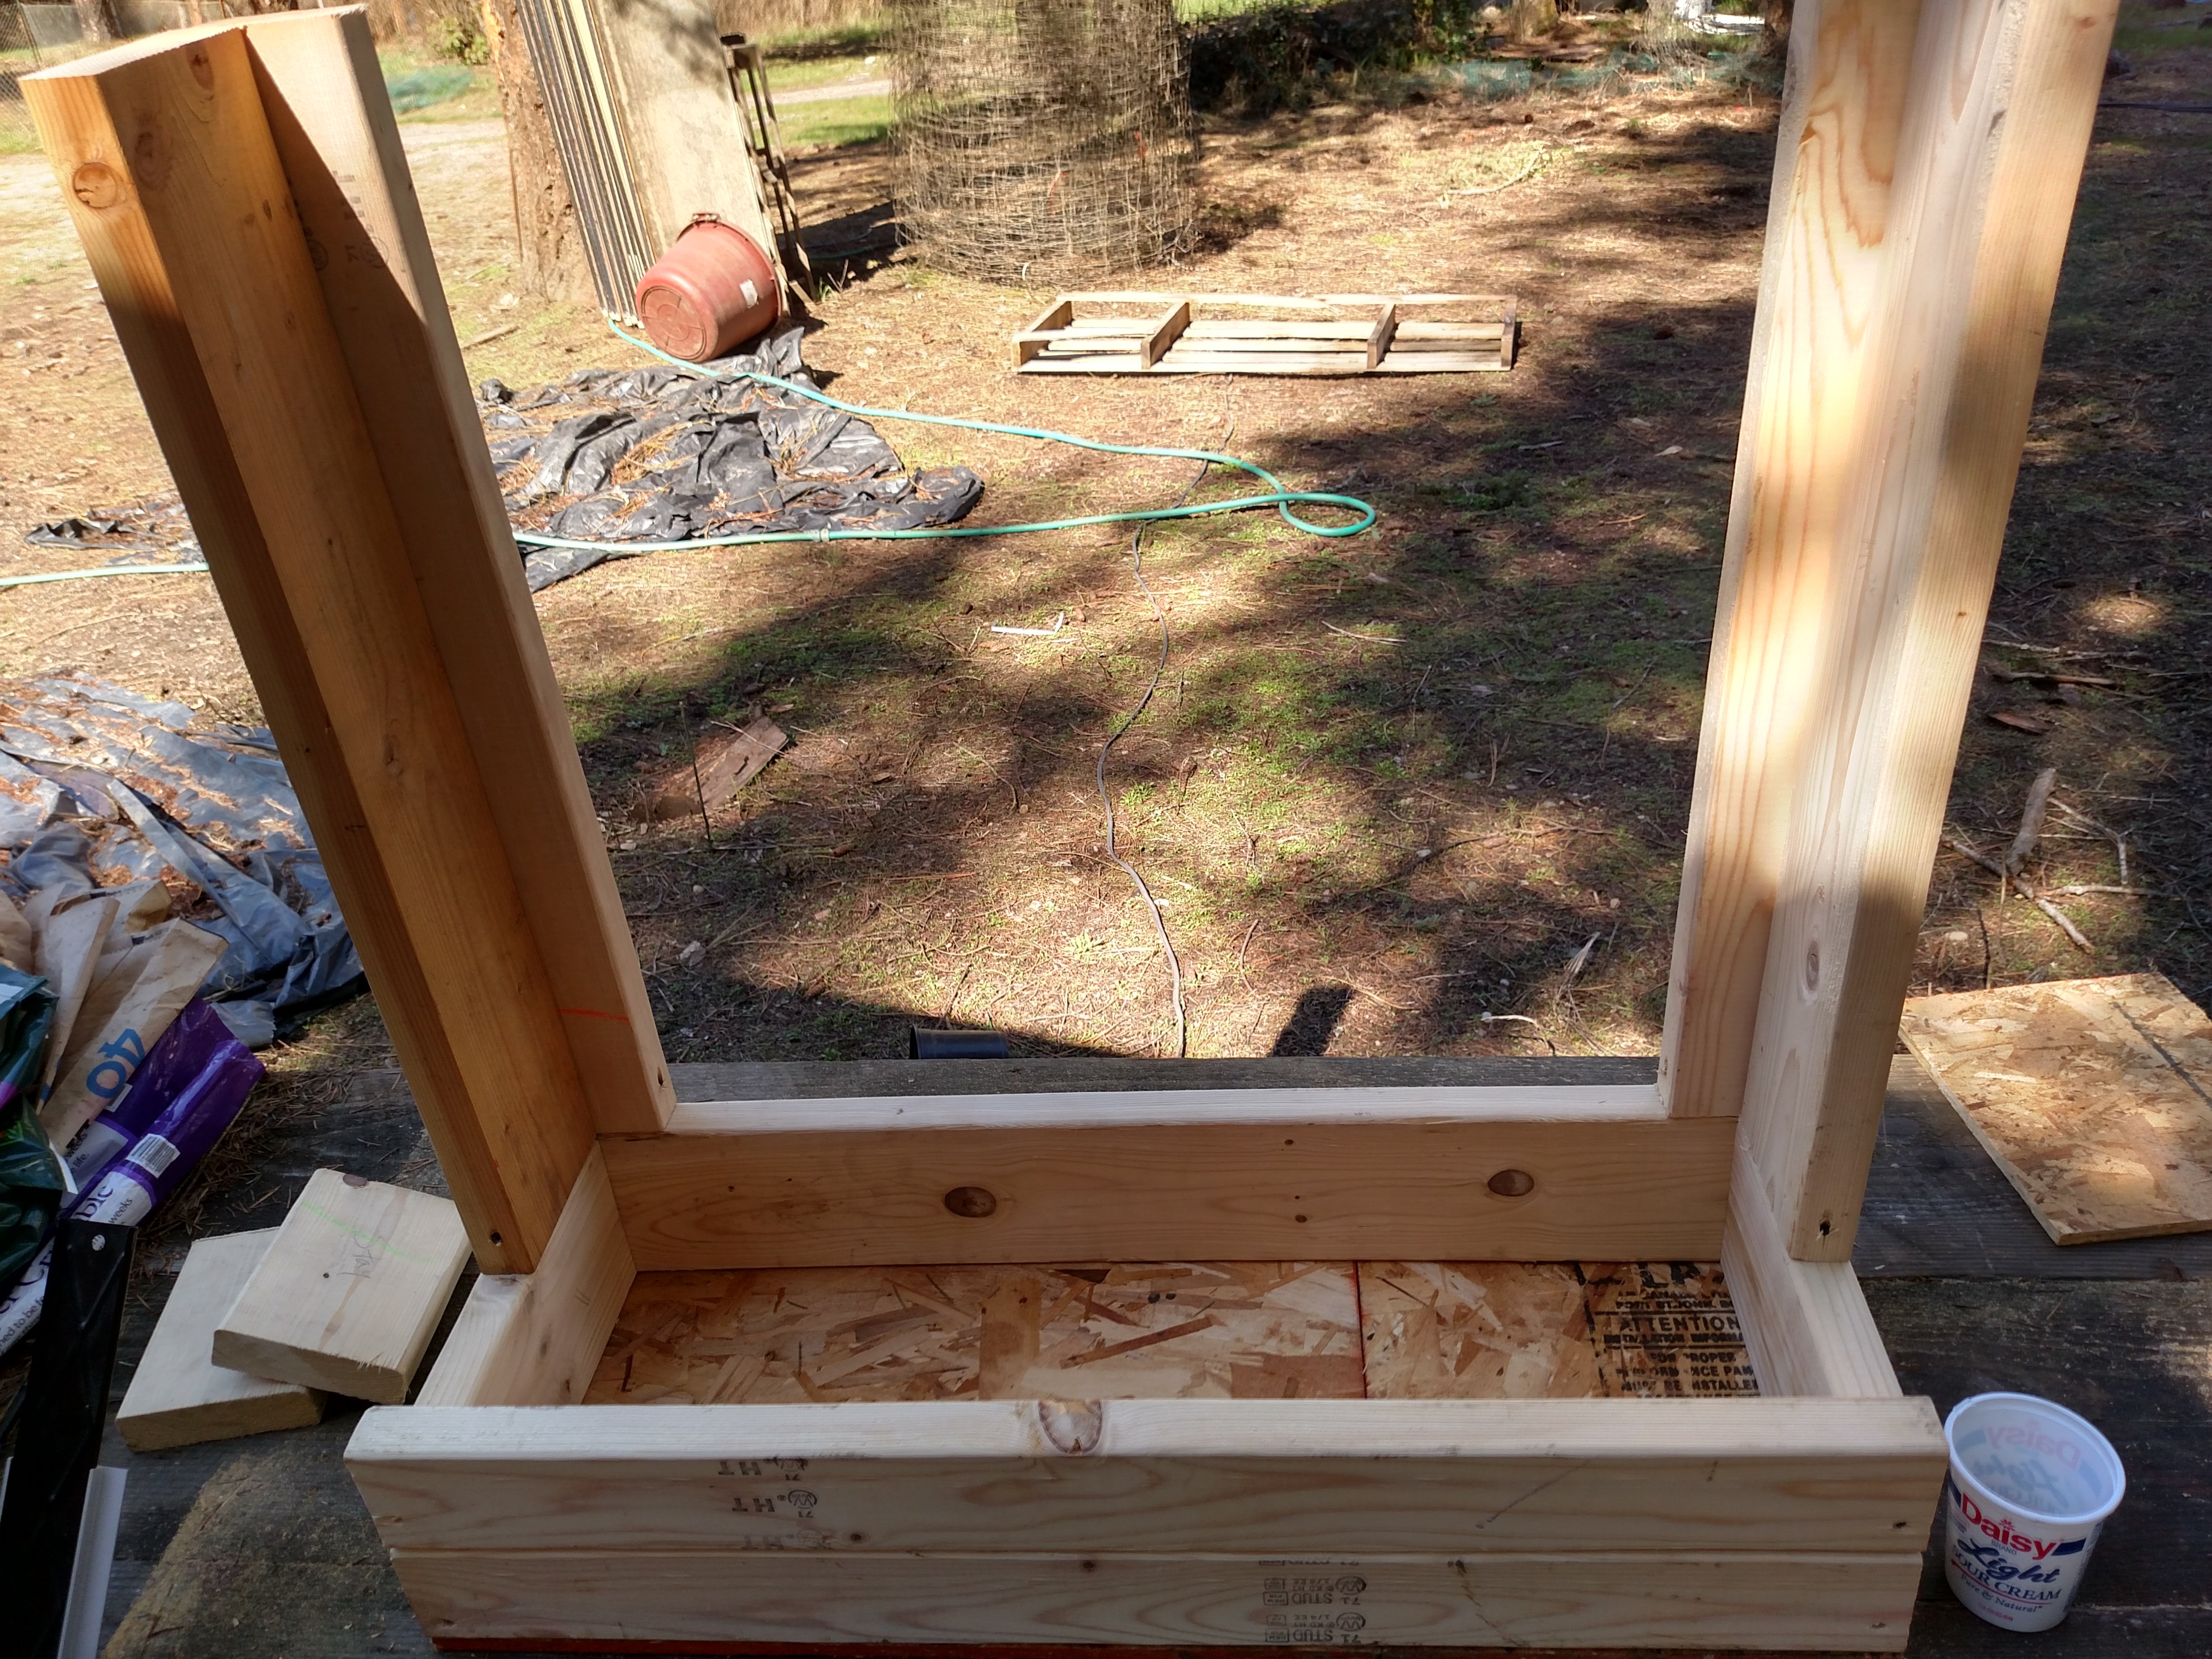
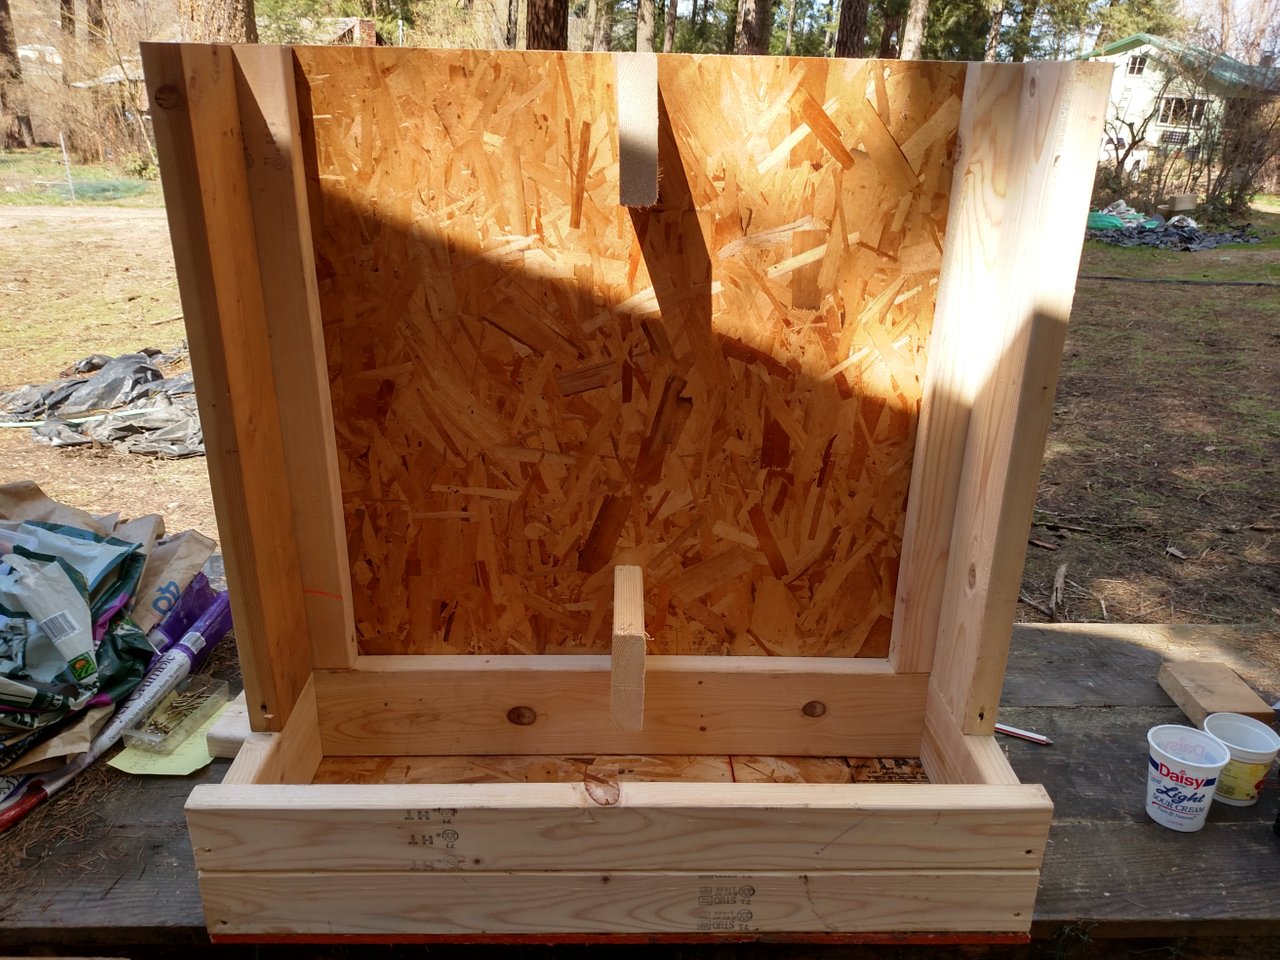
I intended to have a hinged lid for the feeder but came to realize that the chickens will perch on top of it so the flat top was traded for a wonky setup, but it works okay for now. I screwed pieces of OSB to the top lip of the feeder such that the top of the OSB rests against the window and doesn't leave a lip to stand on. One of the things that I still need to fix properly.
I will end the post here as it is quite long already. In the final, (Part 3) about building my chicken coop I will show the rest of the interior of the building with the egg wash room, shelving, and feed storage area. I will also show the current state of the coop with the chicken's entrance, new perch, and new nest boxes.
--If you missed Part 1--
How I built my 12ftx20ft chicken coop by myself - Part 1 - The main structure
OR
--You can read about building my nest boxes--
How I built my Nest Boxes for my Chicken Coop - A Fleming Family Farm design costing $12 to make

Check out my blog @flemingfarm
OR
You can read my blog series here:
| Time | #1.0 - Back Pain |
| Expectations | #2.0 - Weeds |
| Patience | #3.0 - Pests - Gophers |
Fleming Family Farm
FLEMING FAMILY FARM, LLC
Sustainable & Organic Methods | Heirloom Produce
All images are original works of Fleming Family Farm unless otherwise notated and credited.
If you find this post useful or entertaining, your support is greatly appreciated by upvoting, resteeming, & following!


Join the SteemitHomesteaders Slack Channel! Image is Invite Link.