How to write your first blog
If you are new to Steemit, this simple to follow tutorial is for you. It is a down to earth tutorial to guide you into writing your first post in Steemit.
Many newbies are not very sure what to write or blog about in Steemit. No worry, you can write almost anything with some exceptions like NO pornography and other offensive topics. But in most cases, many Steemian write an introduction of yourself post since this is your first post in your account.
To begin with, go to steemit.com website with your preferred browser. If you are not sure how then you should read this Newbie01 Tutorial - How to open steemit website
There are several techniques to write a quality article. For the purpose of this tutorial, you will start with a simple blog to "Introduce Yourself." You can follow the steps described below
Hold it! Before you begin to write, formulate an idea how do you want to introduce yourself to the steemit community. Form a storyboard in your mind and write it down on a piece of paper or notepad with your computer, if you prefer. Below are some ideas you may take:-
- Who are you?
Briefly describe who you are by name include steemit ID, - Where do you live
-describe a little about the place you live
-Include some background about your childhood, school/college days and childhood story - Briefly share your first job and your career progression
- Briefly tell how you get to know Steemit
- Why you want to join Steemit
How you want to contribute to steemit community locally and globally - Conclusion
Okay, now that you have an idea what to write about your Introduction Story, let's begin with the following flow:-
Steps
Get access to steemit.com website and click on the pencil icon or the "post" button as shown in Newbie01-Tutorial
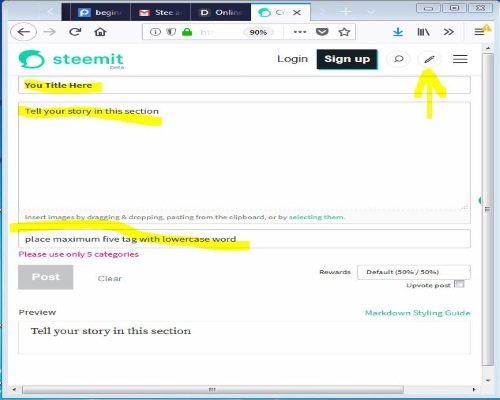
Once you are in steemit post editor page, try to spend a couple of minutes to get familiar with the posting page.
There are several sections in the editor that you must be familiar with. As for the post editor, They are as follows :-
- Title Box
- Body Box ( Write your story here )
- Tag input box ( limit to five tags only )
Title
This is perhaps the most important section you need to pay attention. This is the place where you can catch the attention or lose the audience.
You need to input a few words or make up a sentence in this Title Box that is seductive enough to catch attention. There is no hard and fast rule about the type of word use and the total length but it is good to understand reader's behavior when you construct the title. More Reading on Length of Post
Body Text -
Choose those relavant items in the Storyboard mentioned above, and elaborate them usng text as well as suitable images or photos.
Please be aware that this posting editor is a Markdown Editor which has its unique codes to format your image/text and the entire page layout. The beauty of this post editor is a real-time WYSIWYG ( What-You-See-What-You-Get) features in the preview section. Therefore, you can be sure the markdown code you uses display exactly what you expected in the previewer
However, please be aware that this Steemit post editor has a save draft function but do not have a dave function. In another word, whatever you have input in the editor box, it will be lost if you turn off yur computer or it is interrupted due to power failure.
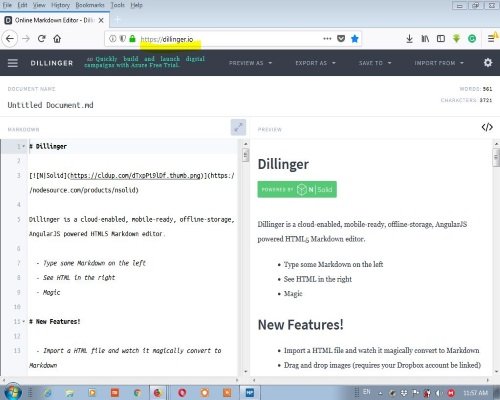
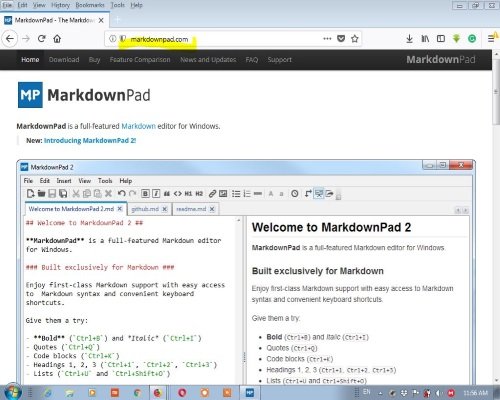
Alternatively, you can use offline Markdown Editor which is available for free if you do a google search. Some of the offline and online markdown editors are listed below:-
It is an online markdown editor which has a save and export functions to your local harddisk or cloud storage like Dropbox, Github, Medium, Google drive and One Drive
However, its previewer is not 100% compatible with Steemit posting editor for the image link. It does not display the image in its previewer.
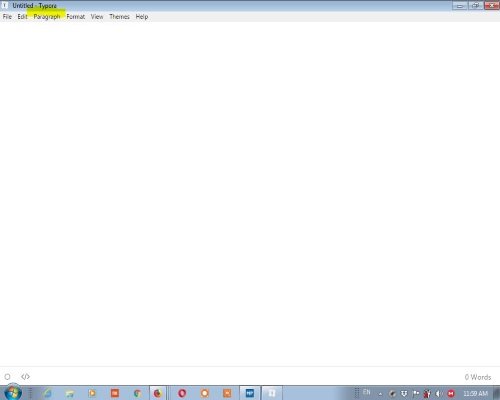
This is an offline markdown editor that has almost essential features to create a nice and conducive page. The setback for its previewer is not 100% compatible with the Steemit Posting editor. Becuase the markdown code for an image you have inserted into the article does not show up as an image. It only shows shown text for the image link URL.
Besides this small feature issue, it is a perfect editor for you to use as it is an offline editor. You do not need to be connected to internet service
It is an offline markdown editor which has a save function. I started to use this offline markdown editor when I just started Steemit. It was good enough as I do not want to lose my content in the editor as a result of power supply interruption or the internet connection problem.
However it does not has a previewer which makes it difficult to imagine how your content may look like it is posted to Steemit.com. For this reason, I did further Google search and discovered the Dilinger and MarkdownPad
Alternatively, if you are a Google Chrome user, you can also install the chrome extension for markdown editor.
It is an offline markdown editor that is available as an extension to Google Chrome. The features are very basic and the menu is somewhat unclear. However, once you learn all the feature, it is quite an easy markdown editor to use.
So much about the Markdown editor. If you decide to use the markdown editor outside Steemit.com, don't forget to transfer the content to the posting editor in Steemit. Othewise, your post will not be published.
Tag
This is one important section that you should do it correctly. You may consider "TAG" is similar to a category of an article. But in this aspect, tag is used to group all post that uses this tag for easy search and reference.
There are a few factors to consider when you deal with tag
The first tag in the tag input box is fixed in a way that it could not be changed later. It is also used to anchor the post to this "tag" for searching purpose . For this introduction post, the tag to be used is "introduceyourself "
Please take note that introduceyourself is a word when it is used as a tag. If the word is separated by a space, then it becomes two words and it is considerd as two tags. Therefore, you can either join the two words or join it with a " - " in between the two words. However, introduceyourself is already registered and therefore it should remain as it is.
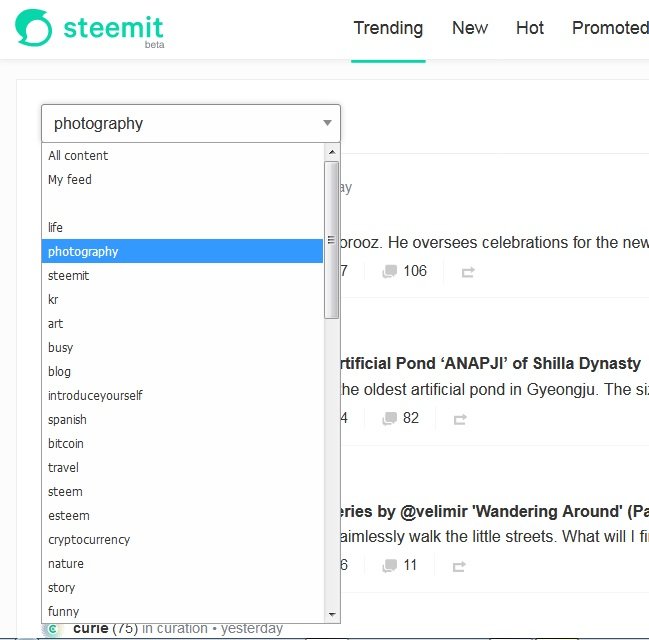
Then you are allowed to add four (4) more tag that are relevant to the article. You can either use some of the existing tag ( listed in the screenshot above) or create your own. The total number of tag allowed is five (5)
A list of existing tag and their usage volume can be found in https://steemit.com/tags
Common Formating Code
In order to make your article conducive for reading, it is important to format your text and images accordingly with simple markdown codes. Please refer to more detail of the markdown code written by @scrooger
Some Basic Rules **Do & Don't **
Do
- Do check grammar ( Can install grammarly for free )
- Layout the write-up to a readable manner
- use image approariately
- do insert link to source of article or image ( if it does not belongs to you )
Don't
- do not copy and paste copyrighted article or image from internet or steemit website
- Do not copy and past any other article or image without giving an attribution ( source referene)
Link to @digitalmind Newbie Tutorial Post
- Newbie01 - A Beginner Guide To Steemit for an Overview of the Website Steemit.com
- Newbie02 - Tutorial to safeguard your password and How to use Posting Key
Some Related Articles
Disclaimer:
- The screenshot taken is with my laptop and browser used. It may differ from what you get from your laptop or computer.
- The appearance may be different if you use a mobile device to read this post