Sword making is not only about working with steel and iron. Wood and leather work is just as important. the handle scales for a sword are generally made from wood wrapped in either leather, string or both.

So I have a small woodworking workshop withs some nice tools (and those that I do not have yet , i can make myself. The perks of being a blacksmith)
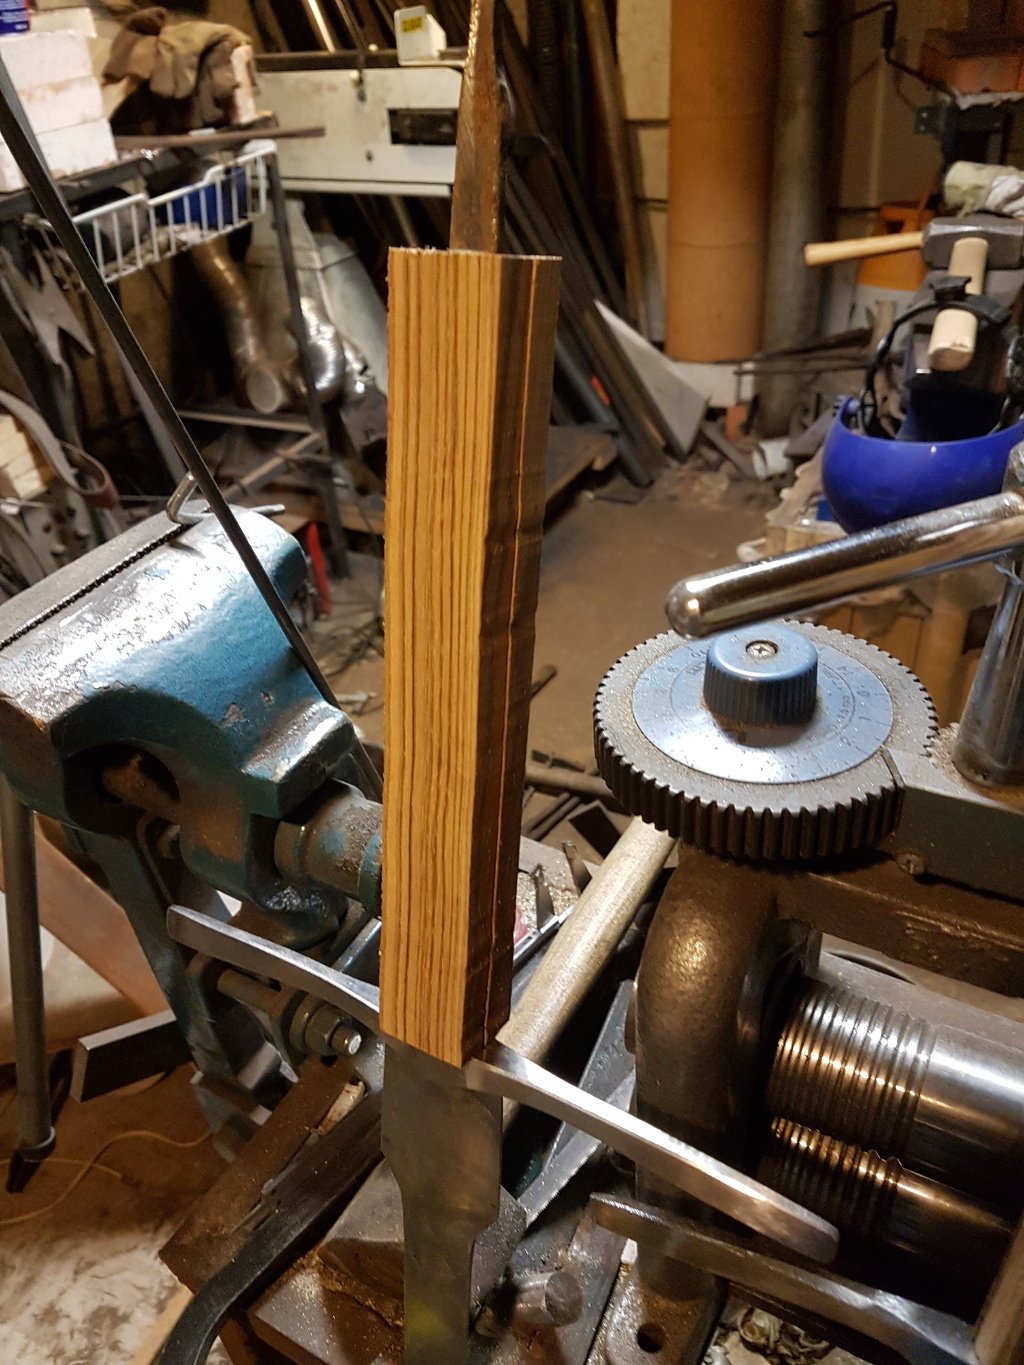
I start by finding a suitable piece of wood. It needs to be hard since it will have to withstand quite a few blows from steel swords (yes the handle gets hit frequently)

I have a large chunk of Zebranowood lying around, it smells really nasty when you are working it, but it is durable and really pretty(not that that matters on a swordhandle where the wood wont be visible)

I cut out a rectangular piece of the right length and app 4X4 cm. I then cut that in two lengthwise , remember to mark the pieces so that the right faces go together each time.

as long as the same faces go together in the same way every time , you do not need to worry to much about it being perfectly flat, but it is a good idea to make sure they are fairly flat and fit together with no gaps
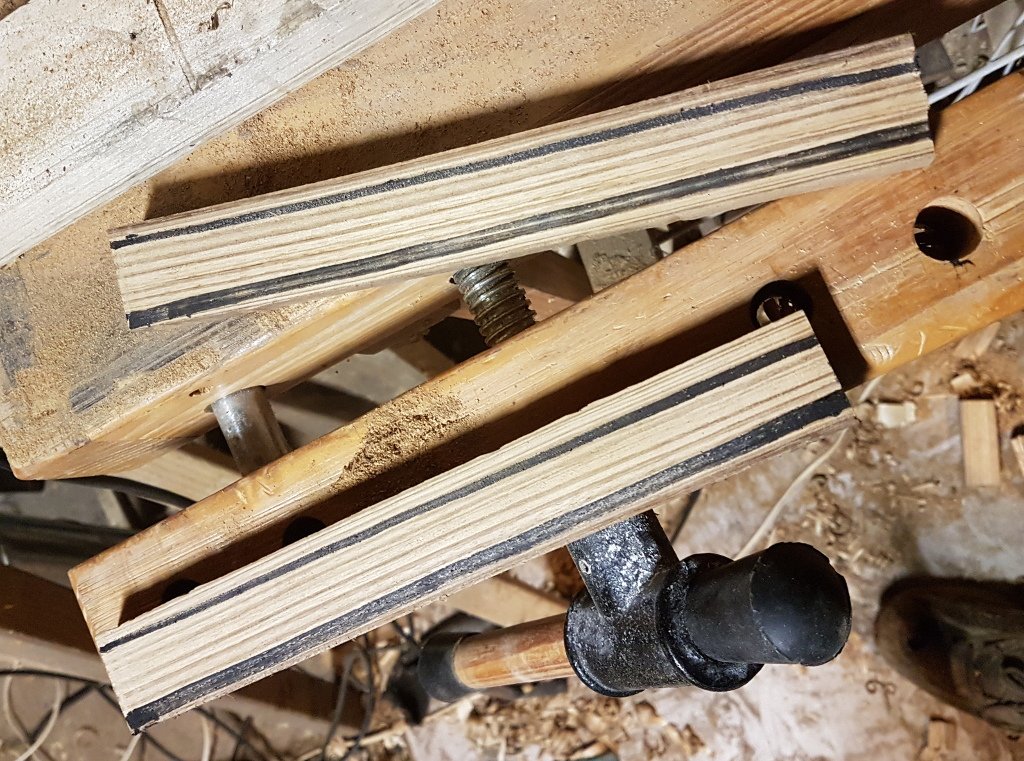
I mark up where the tang of the sword goes with a speedmarker. I should probably use a pencil but I find the speedmarker is easier to see, and does not get rubbed off.

I then cut a groove in each half using a router, Sometimes I take the long road and do it by hand but more often than not I use the router, which is fast and give a nice clean result. I cut each depression exactly half the depth of the tang (usually 3 mm)
After this step it is a good idea to check that the scales fit the tang. Quite often there is a little fiddling before it is perfect.
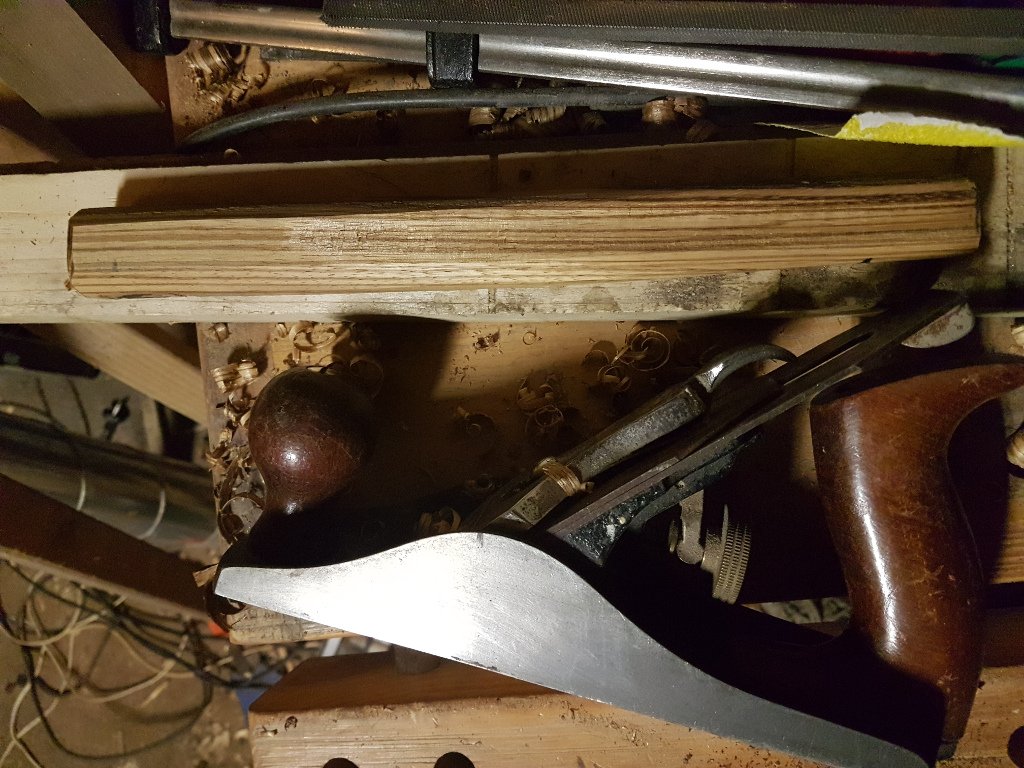
I do a rough shaping of the handle, using a combination of handplanes and files. This is still rough and I do not want to get to close to the shape since the scales are still in two parts. we need to fix that first.
I glue the two parts together using woodglue. I dont want them to be completely fused though. When putting together the sword I need to mount the pommel and the quillons before the handlescales. Mounting the pommel risks destroying the handlescales if they are one first, and the quillons need to go on before the pommel.
Thus I would like to be able to take the glued halves apart again easily, and some time ago I saw a really nice way of doing that.

I glue the halves together with a piece of paper in between, this is more than robust enough to hold up until I finish shaping the handle, and can be taken apart quite easily using a sharp knife. I fire up the trusty belt sander and do the rest of the shaping on that. It is vital to wear some sort of breathing apparatus, when working with wood in this way. many types of wood are actually poisonous or allergenic.

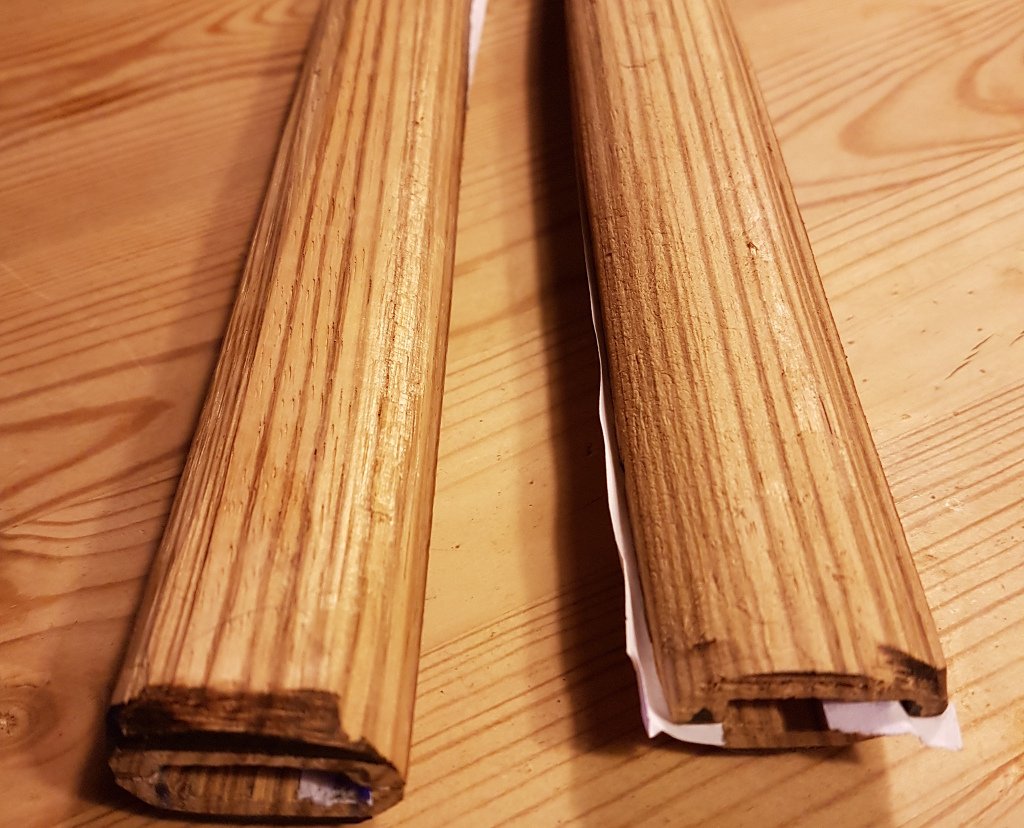
When i am satisfied with the shape (the can be testfitted to the tang during this process to make sure it looks nice and symmetric) I take the halves apart again. I simply take a sharp knife and pull it along the fine line made by the paper. the two halves come apart surprisingly easy

A last testfitting. at this point it is still possible to add a little mixture of woodglue and sawdust to fill any gaps between the tang and handle. This will be invisible on the finished piece and will not compromise the durability.
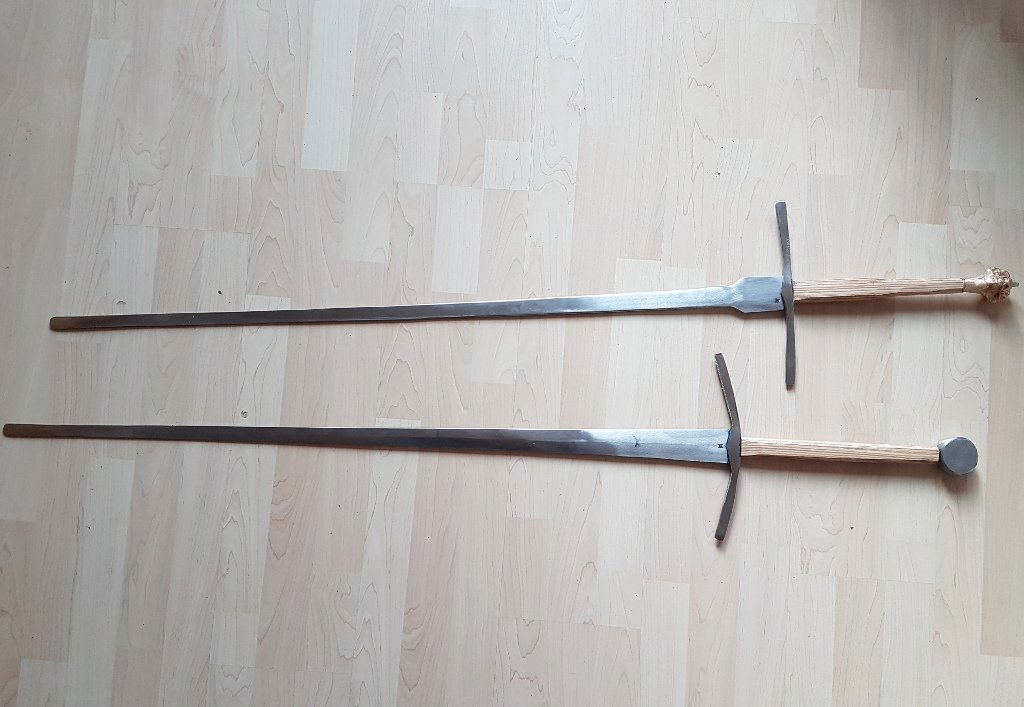
Final test fitting and progress shot before I finish the metal fittings and mount them, After that I can mount the handles and finish the wrapping or leather covering.

Im EvilHippie, a compulsive creative and jack o' trades. If you want to know more about me, check out my introduction post here
If you like what you see, feel free to upvote, follow and resteem
or you can check out these recent posts
printing tolerances
alternative pommel
silent wood
upgrade!
pommelcasting part 2
pommelcasting part 1