Once you’ve gifted your family and friends with the endless number of straight (at least I hope they are straight!) scarves you have knitted, using my tutorials on Learning To Knit with @sweetpea as a guideline, why not take it up a knot and start working on some more intricate patterns?
Knitting more complex things like jerseys, beanies and toys, of course, means that there are some trickier stitches involved. So, in an effort to help you progress with your new skill, our next step will be to learn how to decrease stitches on a knit row. Knowing how to decrease stitches correctly will help you to shape your knitting project neatly and securely.
As usual, I have included a video tutorial demonstrating the steps. You will see that there are two ways to decrease stitches, your pattern will guide you on which method to use. The different methods are essentially used depending on the direction/angle you want your knitted piece to shift towards. I’ll write the steps below as well, for your reference.
Learn How To Decrease Stitches: Learn To Knit With @sweetpea
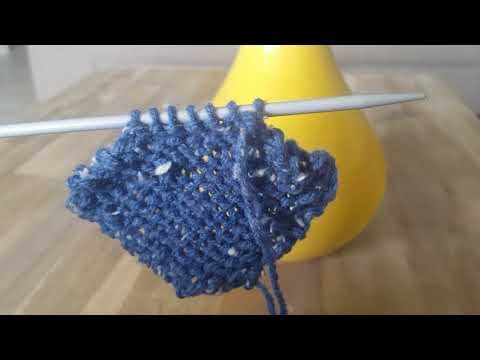
Video by @sweetpea
Method one:
This is the easier of the two methods and simply requires you to knit two stitches together. That is, instead of sliding your right needle through on stitch, slide it through two of the stitches on your left needle, and do a knit stitch.
Method two:
This method is called Slip Slip Knit and you will see it abbreviated on your patterns as SSK. This method is slightly more complex, but you will need to know how to do it so that your project shapes correctly.
- Slip the next two available stitches on to your left needle (your working needle), one at a time, on to your right needle, without knitting them.
- Insert the left needle into the front loops of these stitches (left to right).
- Wrap the yarn in the usual way around the right needle and knit the 2 slipped stitches together.
* This method is for knit row only, increasing with a SSK on a purl row differs slightly, we’ll get to that in my next tutorial.
In case you missed the first few entries from Knitting With @sweetpea, you can find them here:
01 - Learn To Knit: Matching Yarn And Needle Sizes
02 - Learn To Knit: That First Stitch
03 - Learn To Knit: Casting On The First Row Of Stitches
04 - Learn How To Knit With @sweetpea: The Knit Stitch (Garter Stitch)
05 - Learn How To Knit With @sweetpea: The Purl Stitch (Stocking Stitch)
Much love - @sweetpea
(bringing you original content)


Join us @steemitbloggers
Animation By @zord189