I performed a preliminary test on SteemPi v2 by using both the Github release and the SteemPi SD image.
早前我利用兩個不同的安裝方法來做了一個簡單的SteemPi v2測試:Github發佈的安裝軟件和 預先做好SteemPi SD卡鏡像。
I used Github release on the Radpbian system I am using, that already had StermPi v1 installed. To install SteemPi v2, I just needed to following the instructions.
我利用Github的源來在我原本的Raspbian 系統上面,雖然上面已經安裝了SteemPi v1,但整個過程基本上是一個SteemPi v2的重新安裝。只需要跟著指示做即可。
Here are the SteemPi Installation steps | 安裝步驟
- sudo su
- mkdir /var/www/html -p
- apt-get update
- apt-get install git -y
- cd /var/www/html
- git clone https://github.com/techtek/steempi.git .
If you already had SteemPi v1 installed, you will got a message complains about the already existence of steempi directory. You need to remove the directory before cloning again.
如果系統已經安裝了SteemPi v1, 到了這步驟就會有報錯,你要先把 steempi 目錄 刪除才可繼續。
Now last step:
最後就是安裝:
- ./install
No challenge at all. However, it was a fresh install of new version instead of an upgrade, so time needed was about the same as installation of SteemPi v1. Having a Raspberry Pi 3 on hand made the waiting time reasonable, not sure what would it like on less powerful hardware platform.
沒有難度。但由於是一個新安裝,要一定的時間。在我的樹莓派3上尚算可以。不知道在比較慢一點的硬件上面需時多少。
Suggestion : Try to prepare an upgrade process that may require less resources, shorter time, for older hardware platforms.
提議:做一個昇級包,讓早期的硬件平台都可以輕鬆昇級。
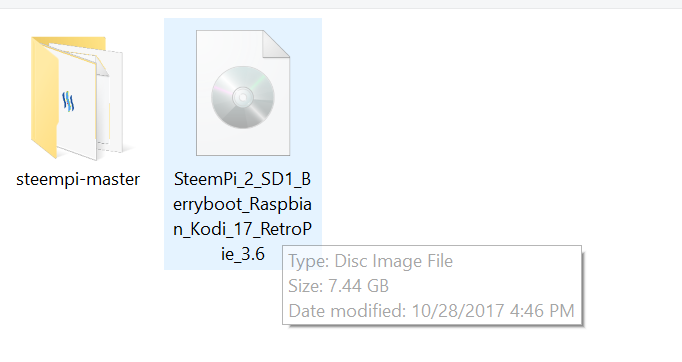
As per SteemPi v2 SD image, the installation procedure was very simple: just downloaded the image as per instructions in @techtek‘s post to my Dell notebook. Then I use Etcher imager to brun the image to my spare 32GB micro SD card.
如果用SD卡鏡像做安裝,安裝的步驟是非常簡單。只要下載了鏡像之後,用Etcher去把鏡像放到早前已買的32 GB SD卡中。
When it is completed, I had a 32GB micro SD card with Steempi v2 on Raspbian preload.
完成後就有一張已經安裝好Steempi v2的可以開機的RaspbianSD卡。
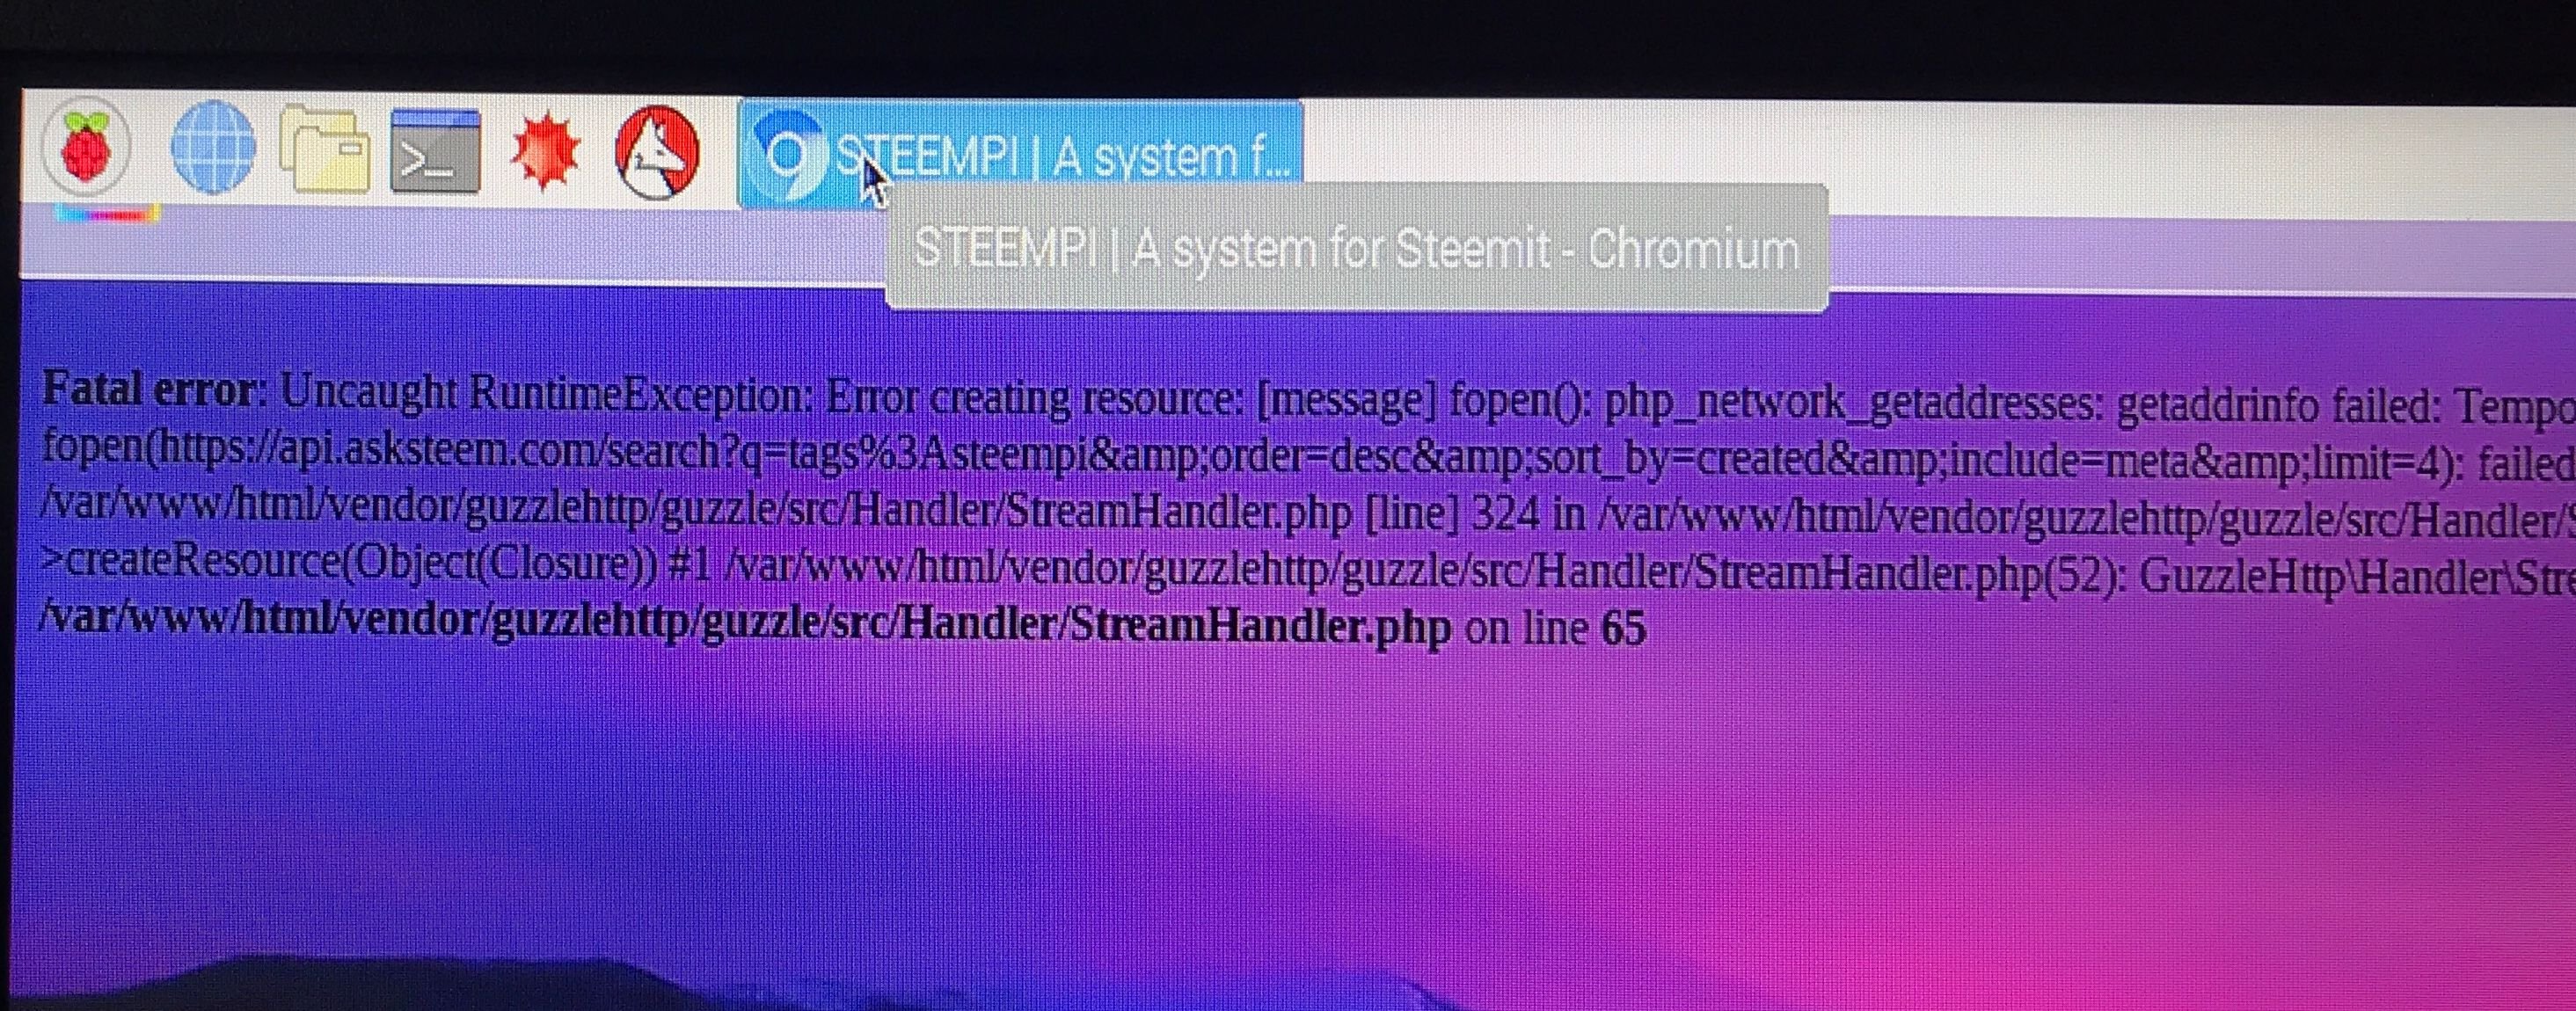
Then I put the SD into Raspberry Pi 3, power on. Berryboot client showed up. By default Steempi kiosk mode Raspbian was selected. Users could press “Enter” to boot or just wait 10 seconds so that the system could boot Raspbian with Steempi kiosk mode pre-loaded. Steempi automatically loaded at startup. However, there was error shown.
立即放入樹莓派試一試。可以見到預設是用Steempi新機的。只要按下「輸入」或者等10秒就會使用它開機。果然開機之後就見到Steempi. 可惜就見到這個錯誤信息。
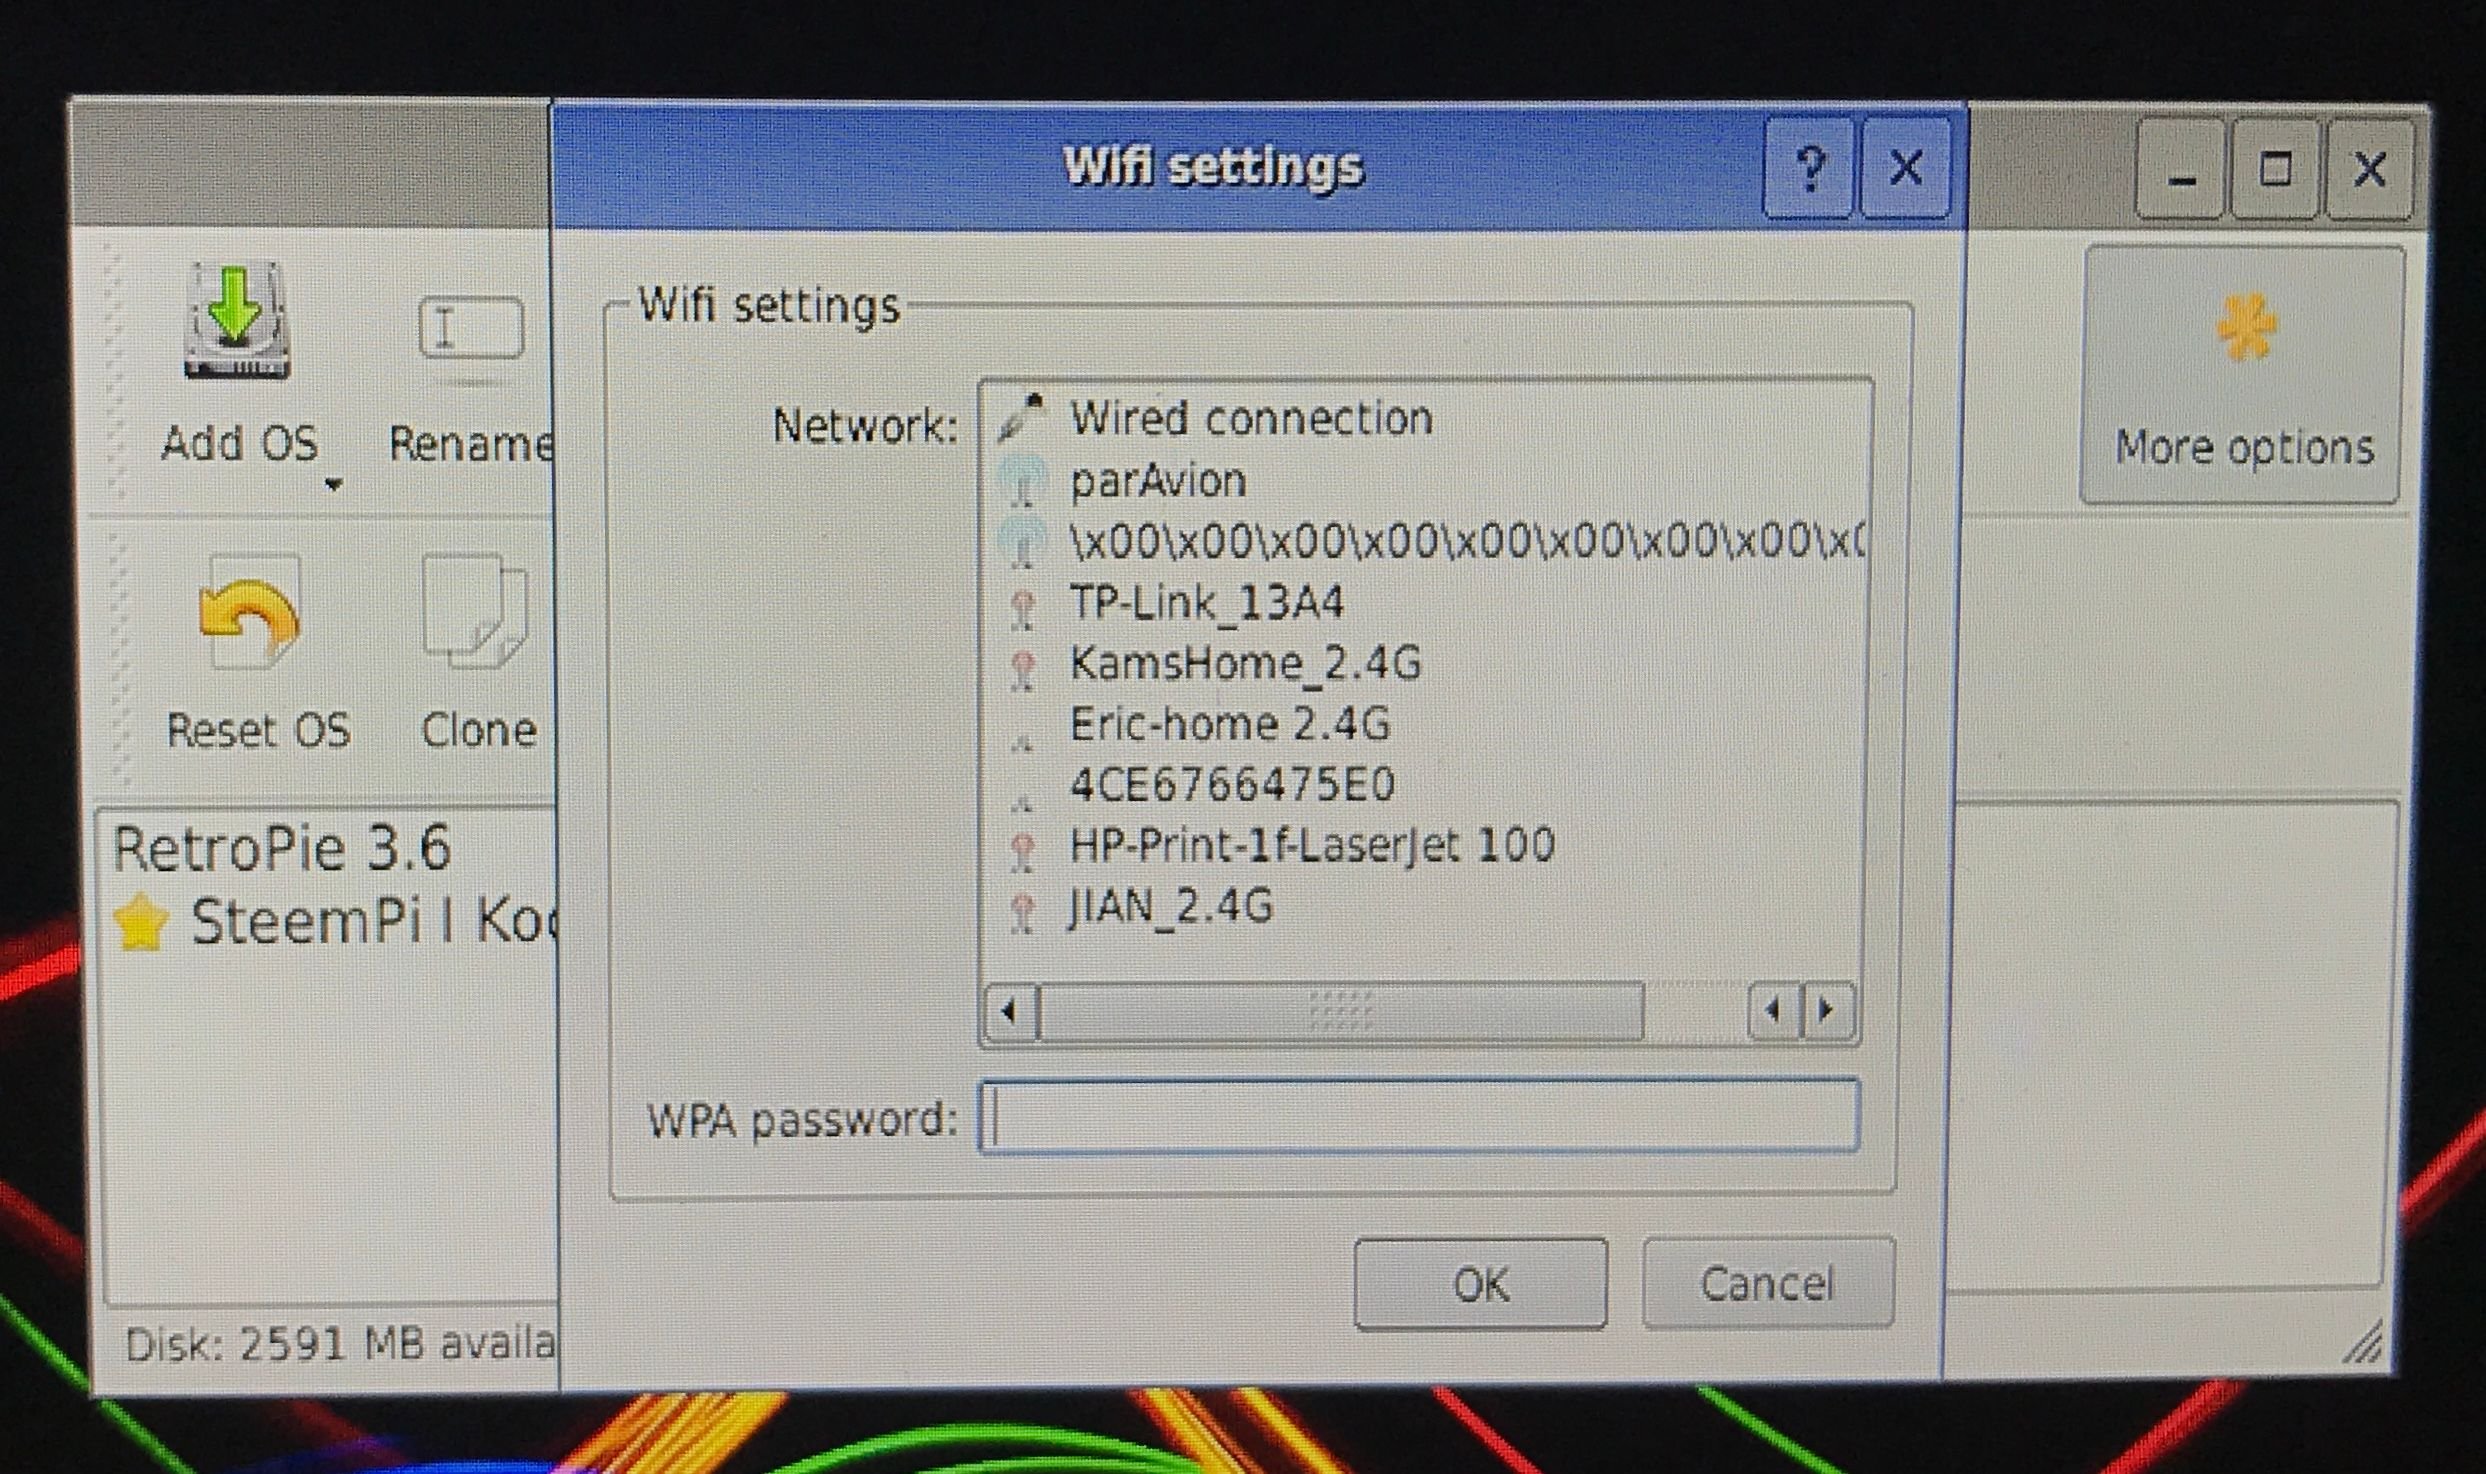
I figured out it was because there were no Internet connection. Therefore, I had to configure it to connect to my home’s WIFI network. In the documentation it stated that F10 should be able to get me to the Desktop where I could find the Network Configuration menu. However, my keyboard‘s F10 key didn’t work. After plenty of trial and error, I found that Alt + F4 did the same trick.
我發現原來是沒有網絡連接。所以我就要做好無線網絡設定。在Steempi 文件中提到用F10鍵可以叫出原來的卓面,所不知為什麼我的鍵盤的F10鍵卻沒有效。在無數次的測試之後,我發現「Alt + F10」都有相同效果。
In fact, at the BerryBoot screen. There was an “Connection” menu for network configuration. However, in this tool, I could not find my home’s WIFI network. That‘s why I had to use th Alt + F4 method.
其實在一開始的開機畫面中,可以選擇"Connection"菜單來設定網絡。可惜在這個工具中找不到我家中的無線網絡,所以最終我還是要在開機之後才利用「Alt + F4」來做設定。
After connecting to the WIFI and got Internet access, Steempi v2 worked fine.
網絡設定好之後,Steempi 就正常連作了。
Issue found : SteemPi SD Image cannot pre-configure network setting, user will experience problem when they first bootup the machine. If the user is not familiar with Raspbian OS, it will be very difficult to fix the problem. This is very discouraging. Need to find a way to fix this problem if SteemPi wants to have better adaptation.
>問題所在: 因為使用SteemPi SD卡鏡像是無法預先做好網絡設定的。所以用戶一開始一定會遇上這個問題。如果用戶不是一個熟悉Raspbian系統的人,那麼要解決這個問題會有一定的難度。亦令用戶感到不快。如果想令SteemPi更普及,就要找到解決這問題的方法。
Suggestions:
- Modify documentation to clearly point out this issue and shows all possible solutions.
- Create a simple pop-up dialog box in Raspbian GUI during first system boot up. In the dialog box, guide user to network configuration. After user configured the network and fixed the issue, ask user to acknowledge after they complete configuration.
建議:
- 改善安裝文件,使其清楚指出系統將會出現這個情況,再將所有解決方法列出。
- 在第一次進入Raspbian用戶介面時加入提示。教導用戶如何做網絡設定。並要求用戶在完成網絡設置及解決問題之後,來做確認。
As SteemPi position itself as a TV-box, user friendliness is very important. Therefore, I would like to address the problems that affect this area. Hope this can improve SteemPi's user base.
由於SteemPi的定位是一個機頂盒,用戶友善度就變得非常重要。所以我亦針對這部分提出建議,希望可以提高它的普及化。
Open Source Contribution posted via Utopian.io


